Butter Cookies (GF)
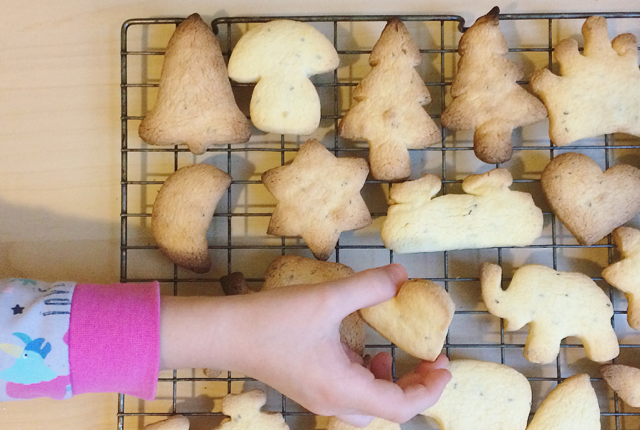
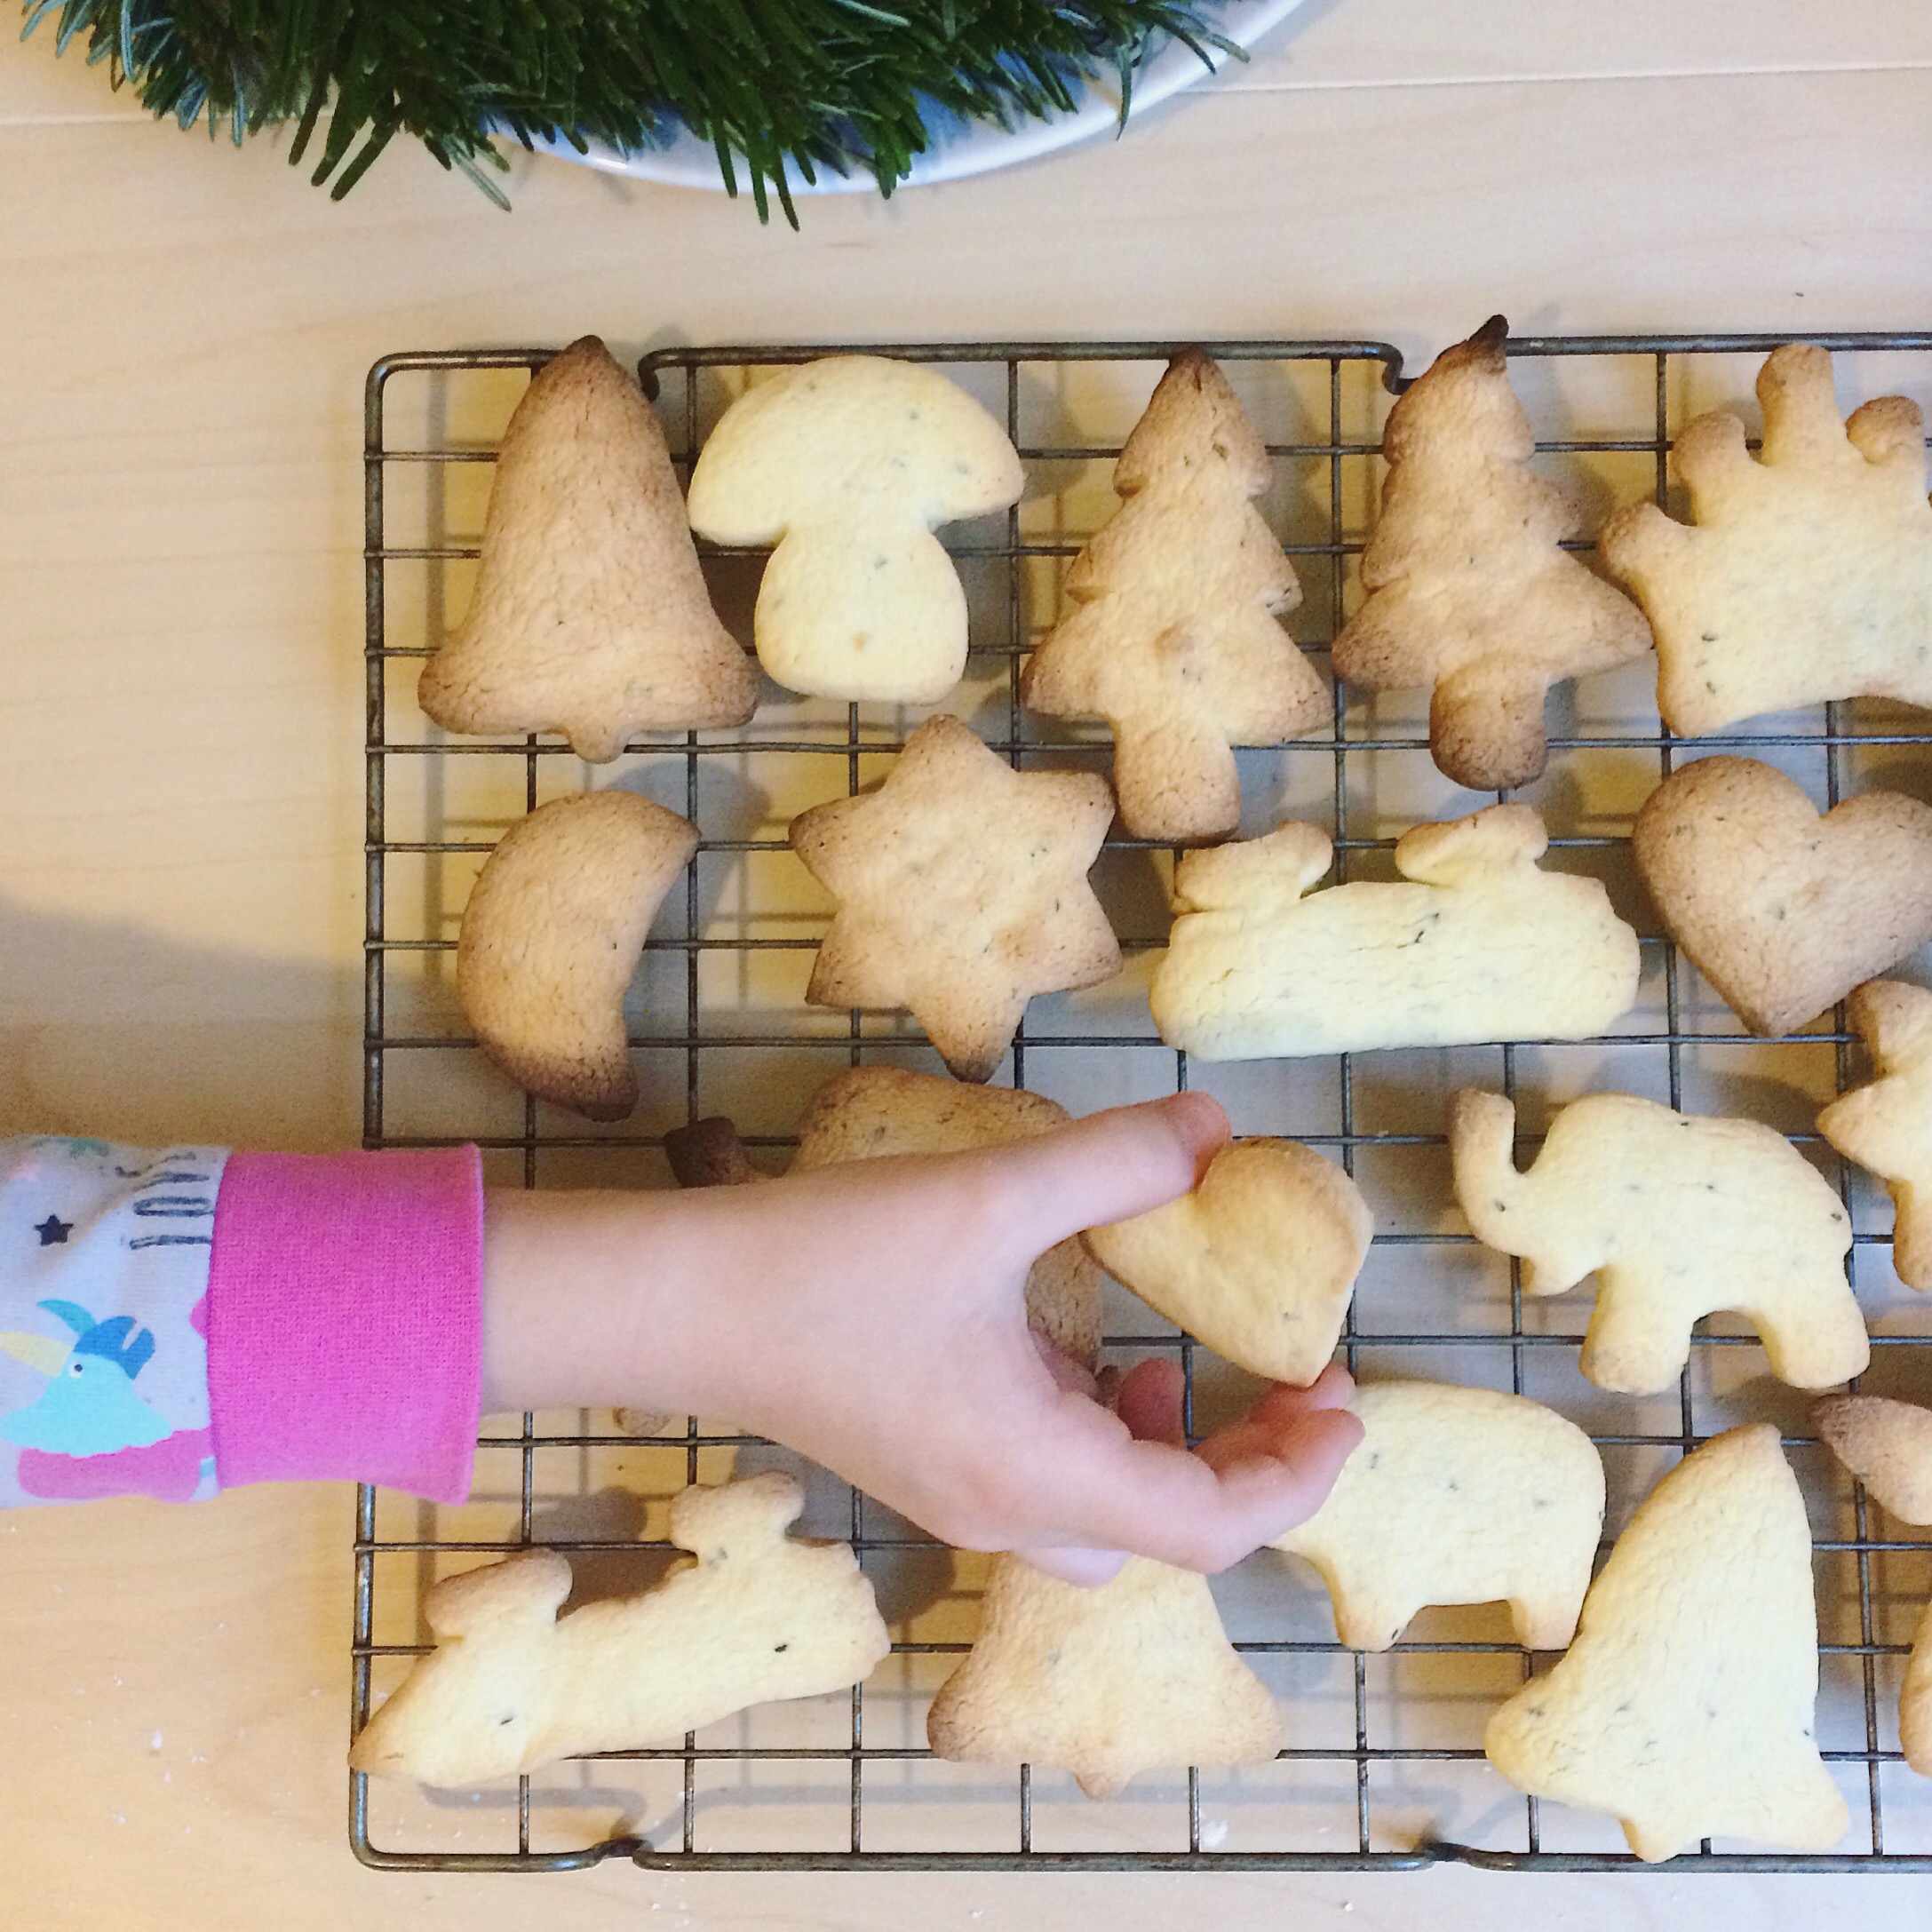
It’s the Second of Advent already, how time flies! We’re off on a festive Advent steam train ride today, through wintery Berlin-Brandenburg. There are rumours St Nicholas will drop by too! When we come back, we’ll probably have afternoon tea and cookies to warm us up, before trimming our tree. We’ve been busy baking home made cookies, which is a huge part of German Advent (and other countries too, I know), with certain recipes that just don’t get baked at other times of the year. I shared some pics on Instagram last week, of cookies I baked with the boys, and thought I’d share the recipe here. Simple butter cookies were an Advent staple at our house when I was a kid. They kind of fell out of my repertoire after I left home, but now I have kids of my own they are back, and have quickly become a firm favourite. It’s a different recipe from back home, as I wasn’t baking gluten free back then, so this is one I’ve experimented with and perfected over the year. It’s so difficult to bake gluten free cookies that will hold their shape, but these do pretty good!
Ingredients
- 150g soft, unsalted butter
- 120g icing sugar
- 1 sachet vanilla sugar (e.g. Dr Oetker) or 1 teaspoon vanilla essence
- 1 egg, whisked
- 80g ground almonds
- 240g gluten free plain flour
- 1 tbsp shredded psyllium seed husks*
What I usually do is make the dough by myself, a couple of hours ahead of when I want to make cookies with the boys, then we just need to take it out the fridge and we’re good to go. See below for directions.
* In the cookies from the photos I used un-shredded psyllium seed husks, which is where the black specks come from, but subsequently discovered that shredded husks work much better. You can leave these out altogether if not doing gluten free cookies.
Directions
- Beat together the butter, sugar, vanilla and egg until creamy.
- Mix in the ground almonds, flour and psyllium, and knead together in to a dough. Don’t worry if the dough seems a little too wet, it will get drier during resting time.
- Wrap the dough in cling film and put it in the fridge to rest for around 2 hours.
- When the dough is ready, pre heat your oven to 200 C (fan oven 180 C).
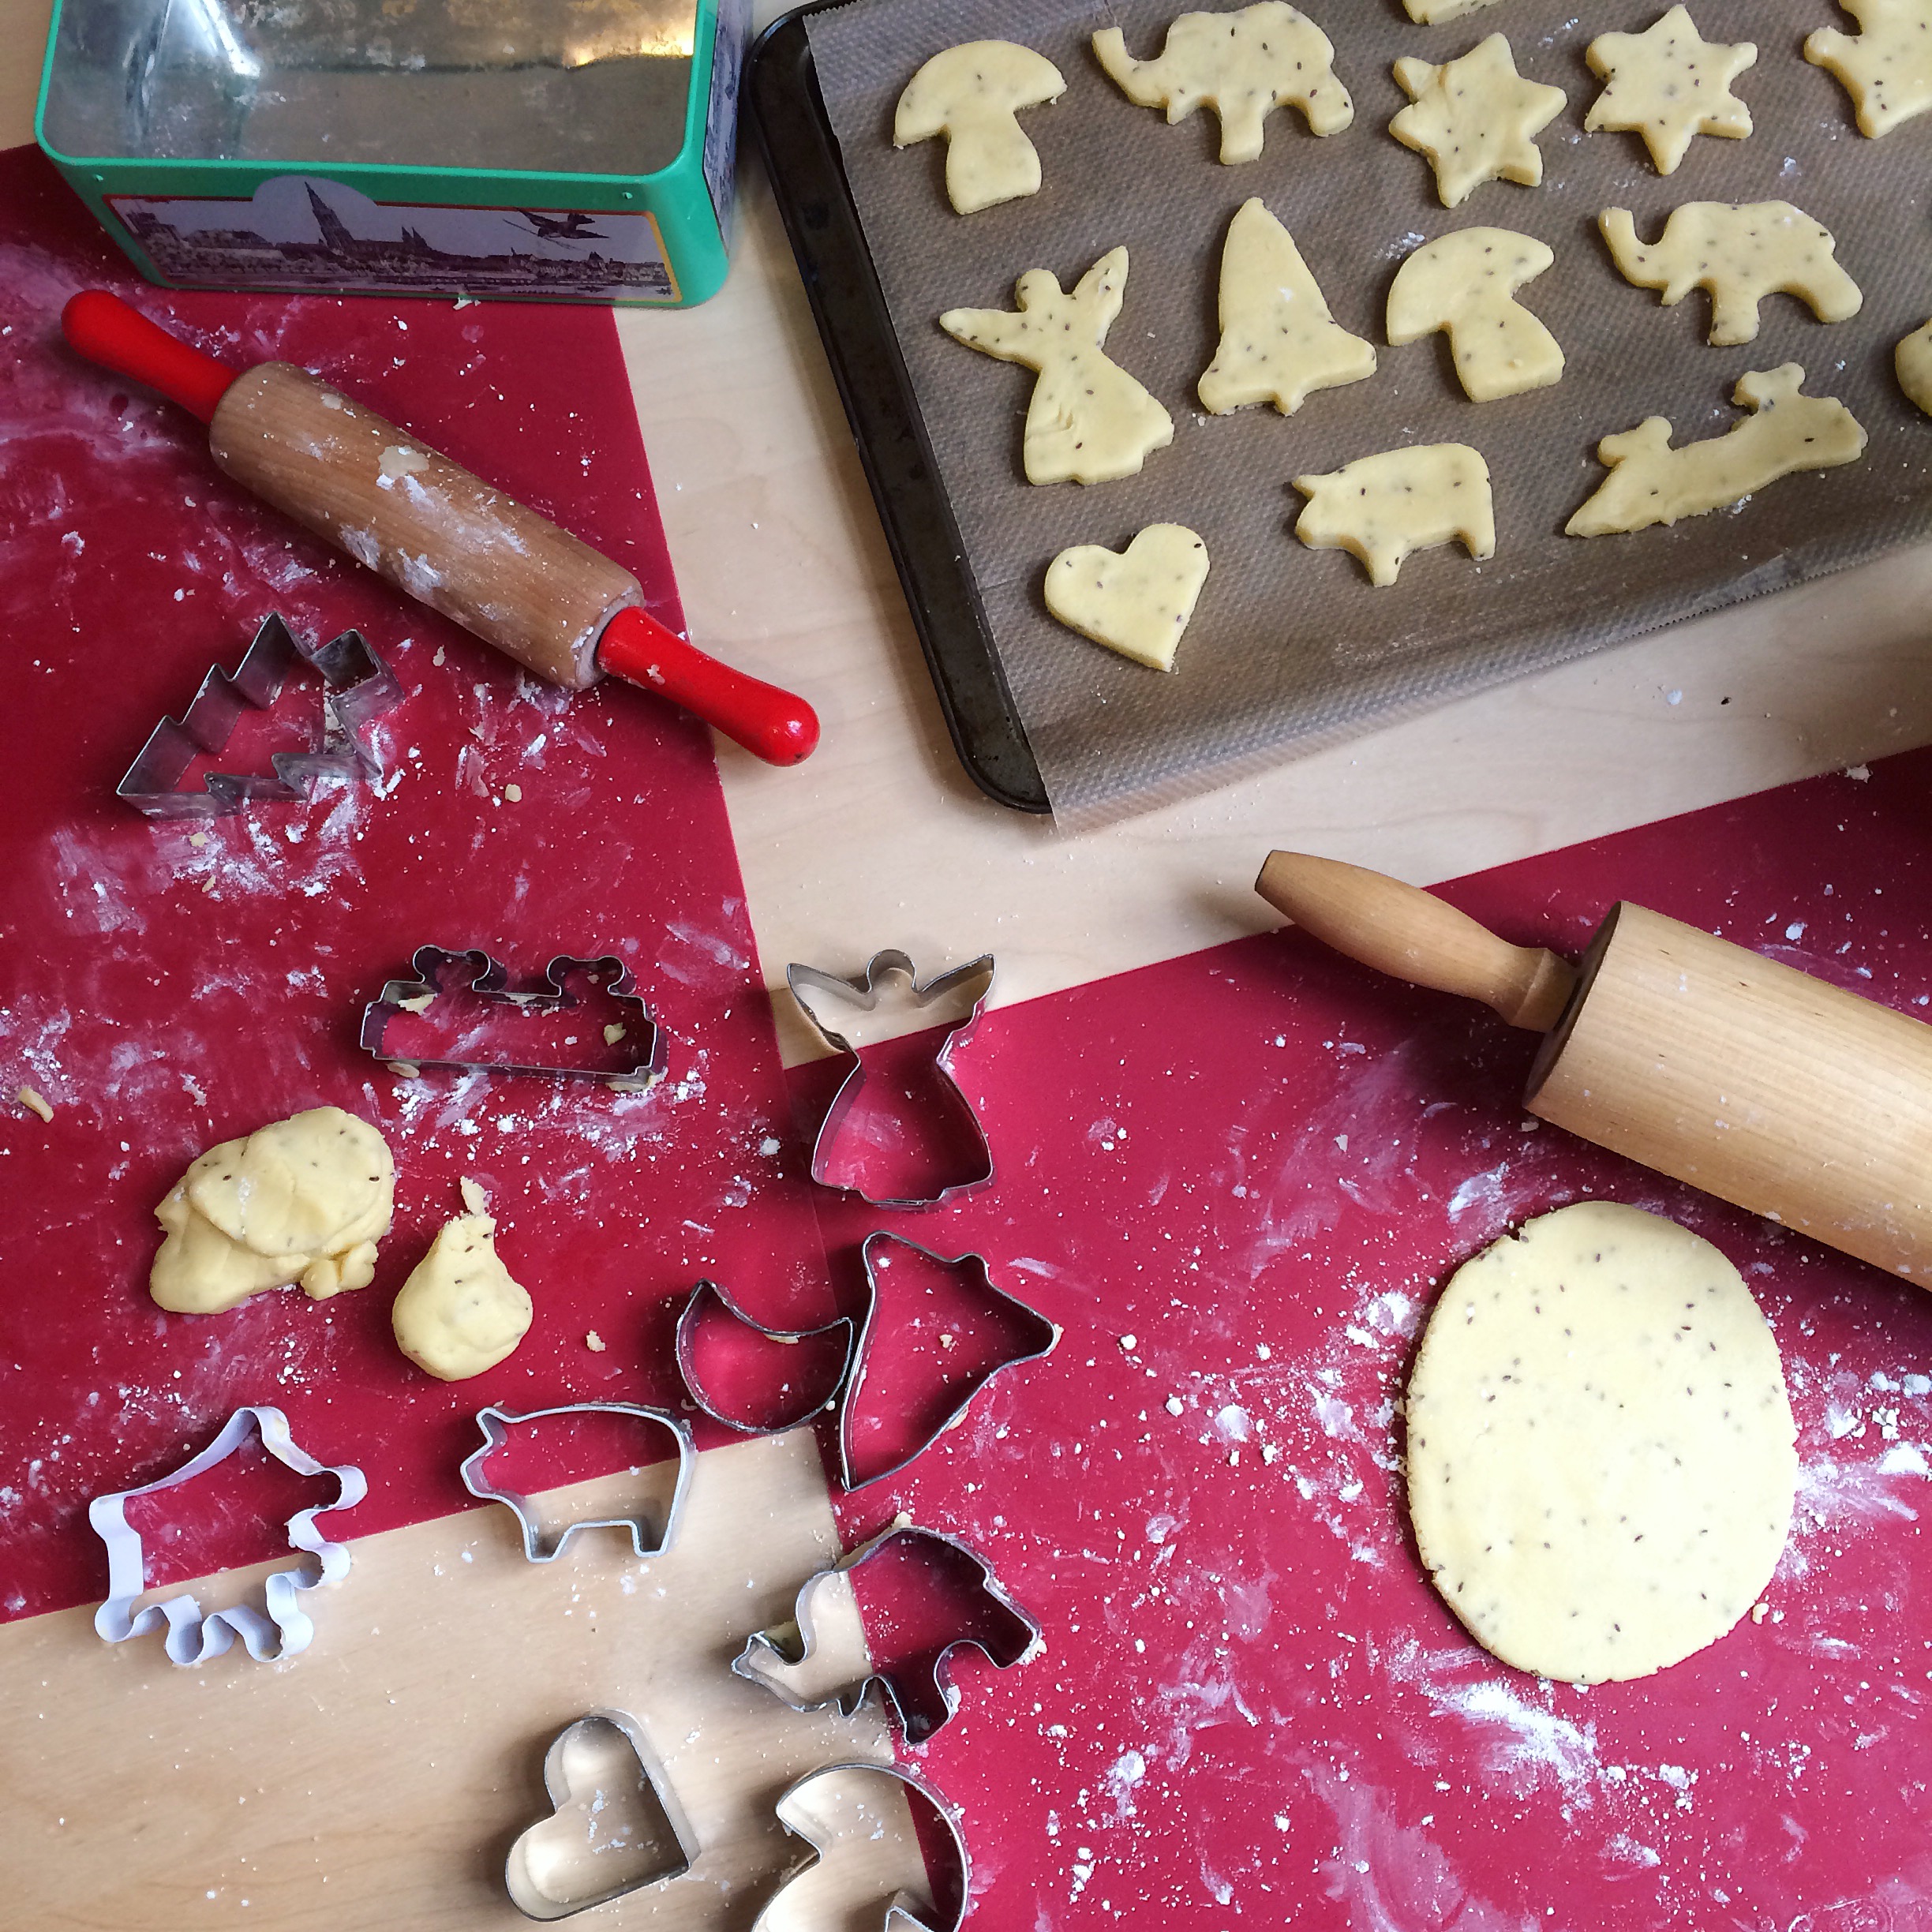
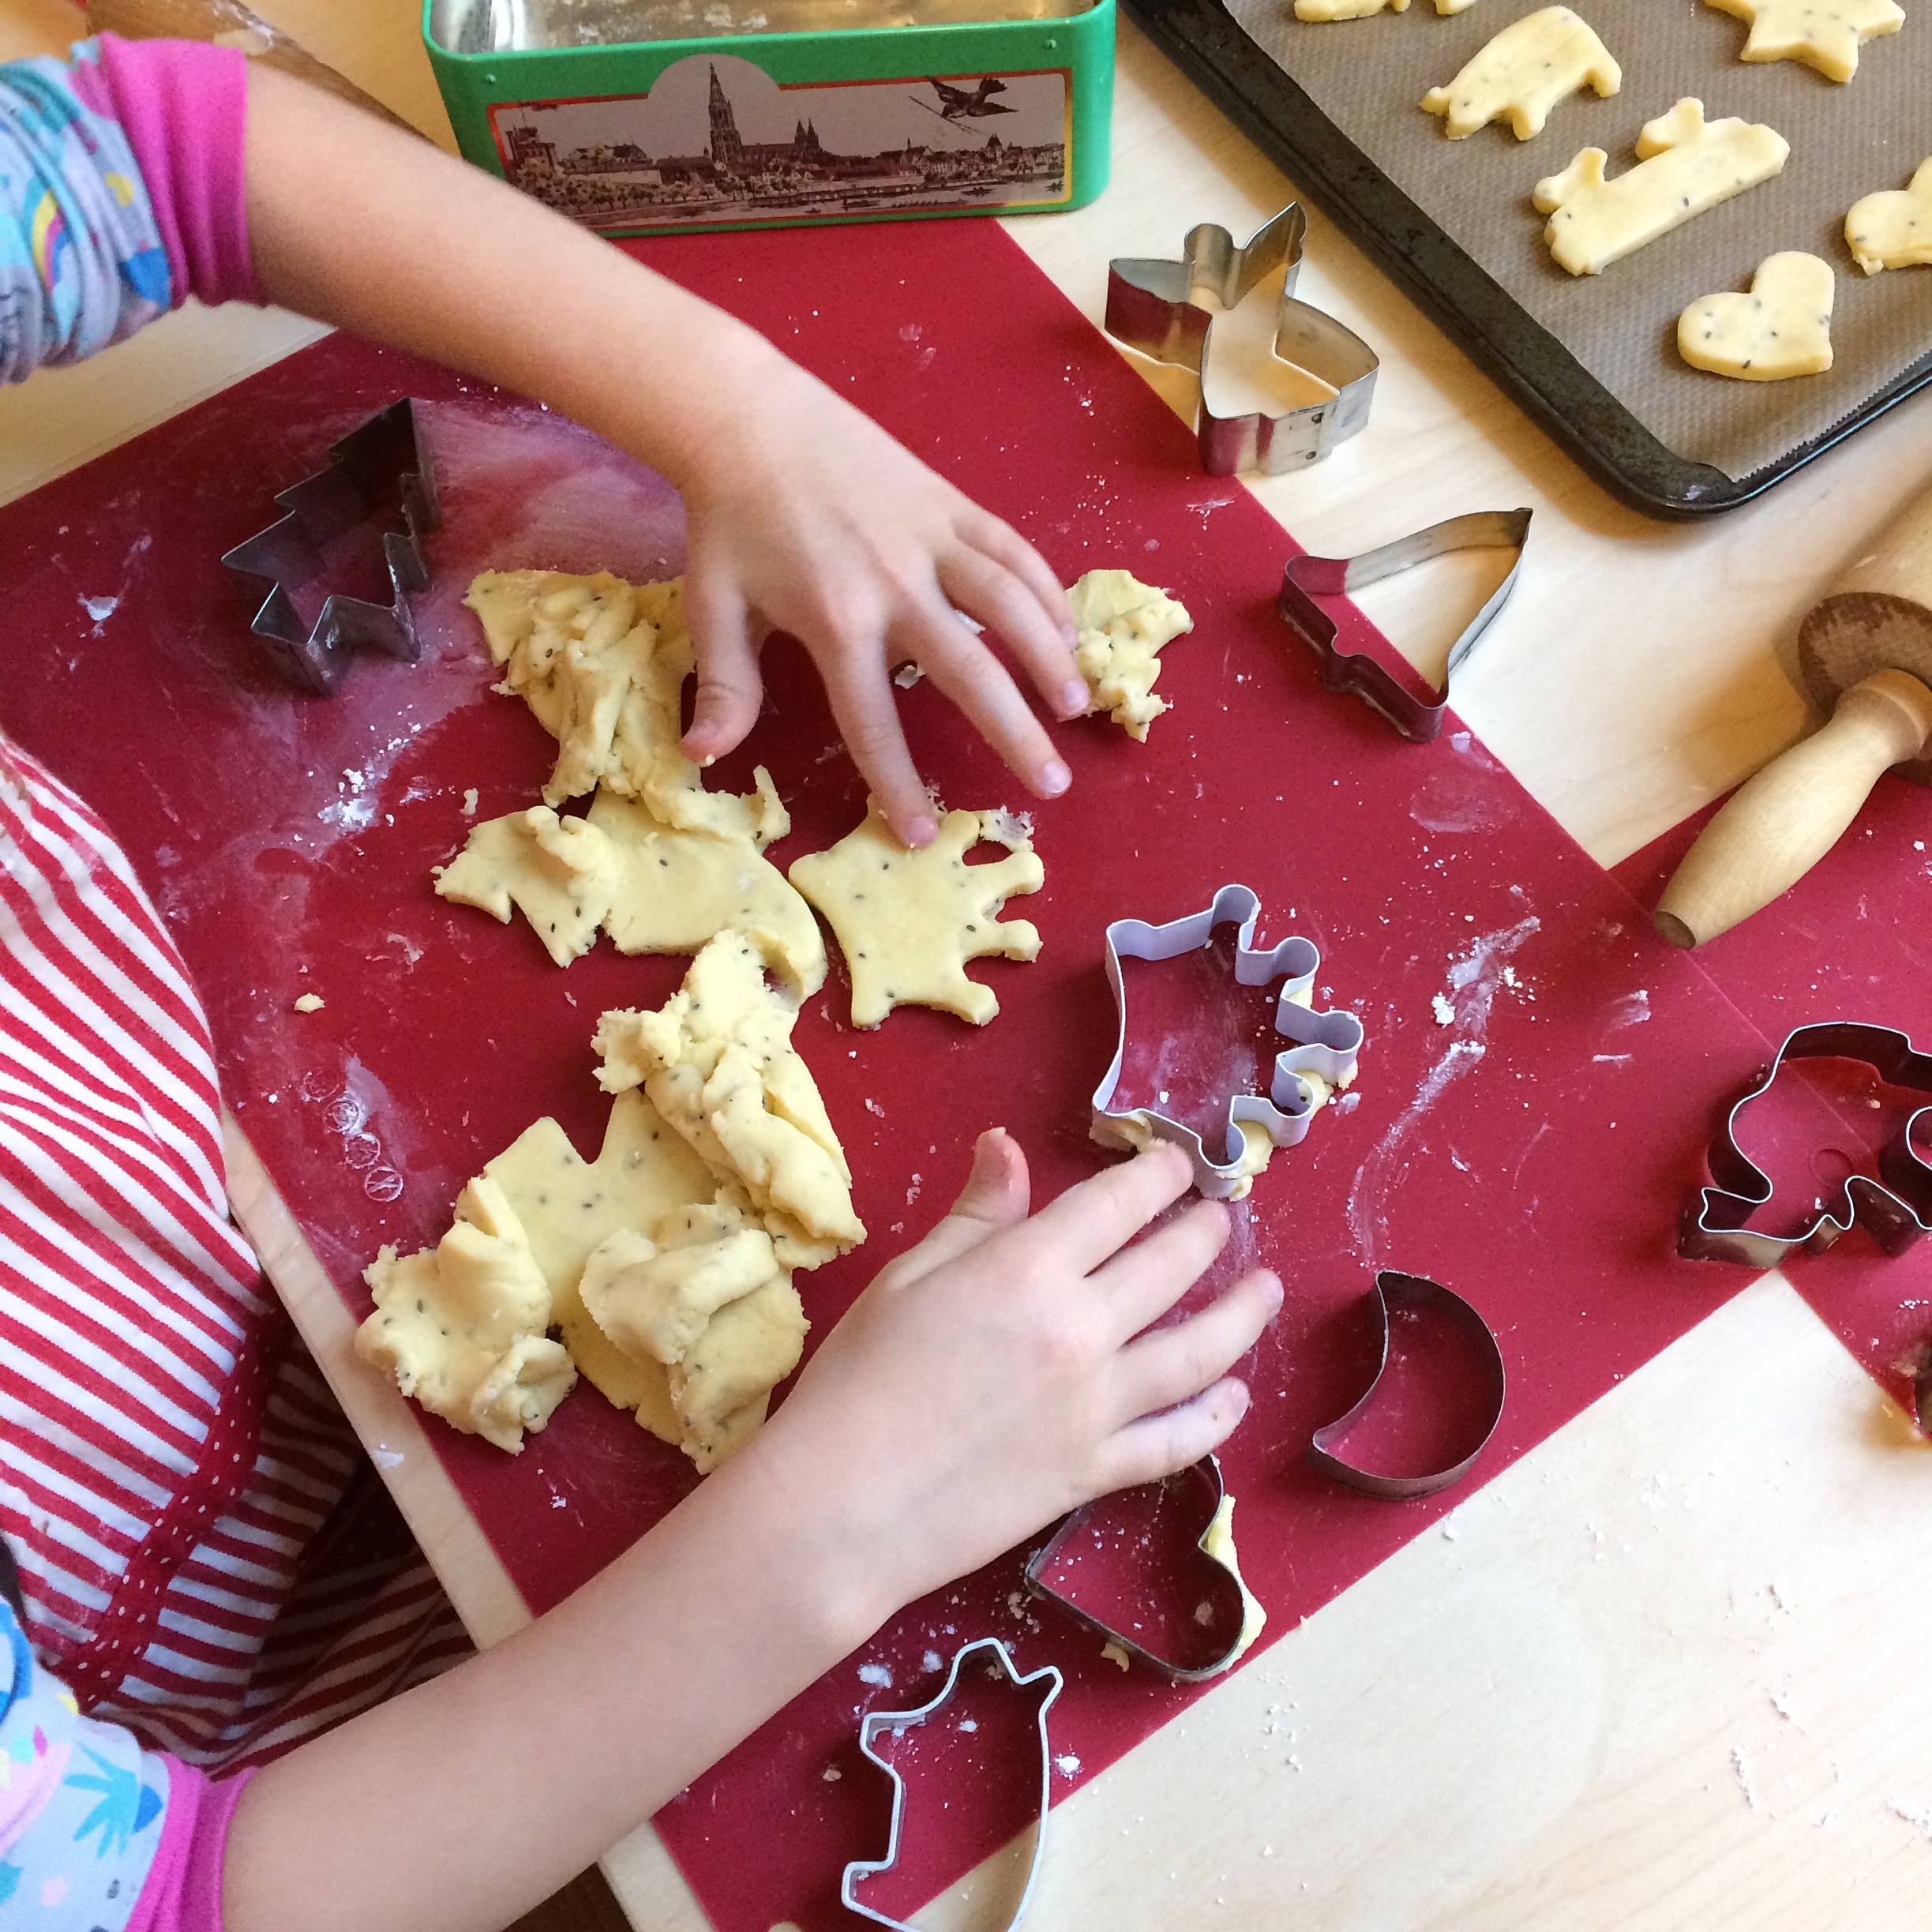
- Roll the dough out, about 2cm thick.
- Cut out shapes with cookie cutters, and place them on a baking tray lined with baking paper. Don’t place them too close together, as they will expand a little when they bake. We filled two and a half trays, but they are rather on the small side. If you have full sized trays you’ll probably get by with two trays.
- Bake for 6-8 minutes, depending on your oven (in our previous apartment, these took 8 minutes to be done, in our current apartment, the oven seems to run hotter as they were almost burnt at 8 minutes so I did the other trays at 6 mins and they were perfect).
- If the cookies survive long enough, you can also ice them once they’ve cooled off. Ours didn’t, lol…

- 150g soft, unsalted butter
- 120g icing sugar
- 1 sachet vanilla sugar (e.g. Dr Oetker) or 1 teaspoon vanilla essence
- 1 egg, whisked
- 80g ground almonds
- 240g gluten free plain flour
- 1 tsp psyllium seed husks
- Beat together the butter, sugar, vanilla and egg until creamy.
- Mix in the ground almonds, flour and psyllium husks, and knead together in to a dough. Don’t worry if the dough seems a little too wet, it will get drier during resting time.
- Wrap the dough in cling film and put it in the fridge to rest for around 2 hours.
- When the dough is ready, pre heat your oven to 200 C (fan oven 200 C).
- Roll the dough out, about 2cm thick.
- Cut out shapes with cookie cutters, and place them on a baking tray lined with baking paper. Don’t place them too close together, as they will expand a little when they bake. We filled two and a half trays, but they are rather on the small side. If you have full sized trays you’ll probably get by with two trays.
- Bake for 6-8 minutes, depending on your oven (in our previous apartment, these took 8 minutes to be done, in our current apartment, the oven seems to run hotter as they were almost burnt at 8 minutes so I did the other trays at 6 mins and they were perfect).
- If the cookies survive long enough, you can also ice them once they’ve cooled off.

Pingback: Travel with Kids - 48 hours in Copenhagen – The Bear & The Fox
Pingback: Christmas Cookies: Vanillekipferl – The Bear & The Fox
Pingback: German Christmas Baking Round-up: Our Top 5 Recipes (GF) – The Bear & The Fox