Craft Corner: Puffin Windsock
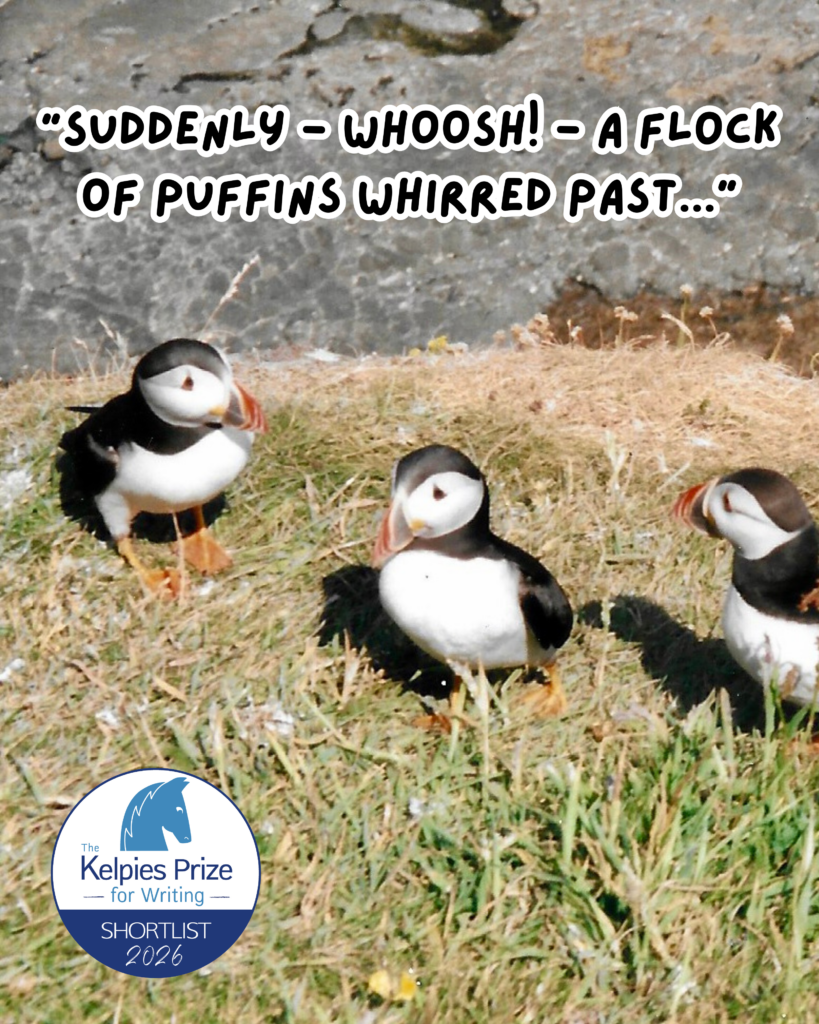
A couple of weeks ago I shared the news that I have been shortlisted for the Kelpies Prize for Writing 2026. The story I submitted is about a wee gust of wind, Wilma, who longs to be seen and understood. In the extract shared in the shortlist announcement, Wilma encounters a stranded fishing boat, a scared puffling, and a small boy with a kite. So, in the run-up to the award ceremony in September when the winner will be announced, I have been sharing some crafts inspired by Wilma’s encounters.
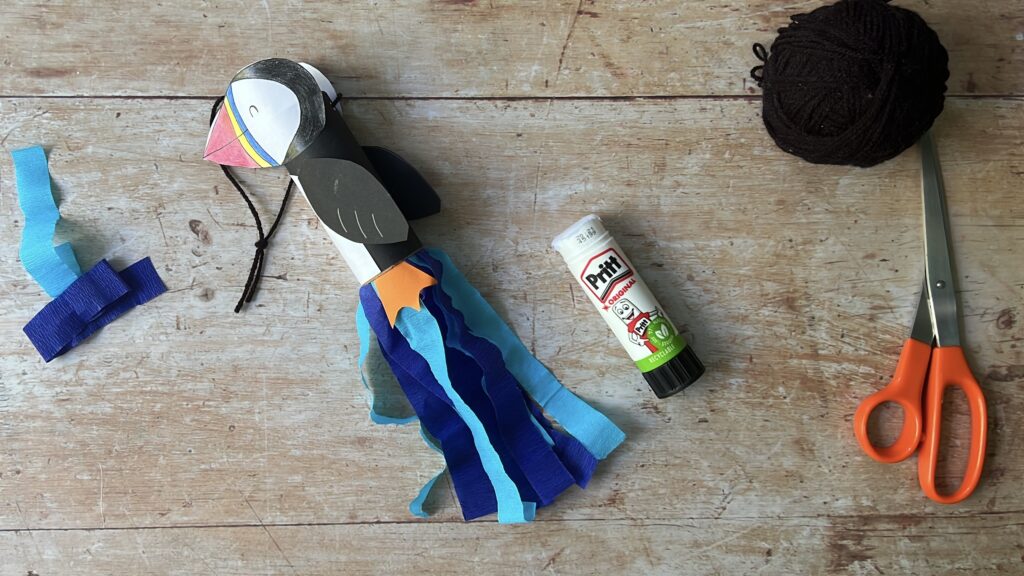
The first craft I shared was for making driftwood and/ or egg carton boats, and this time I have a cute puffin craft for you! I’ll be showing you how to make some puffin-inspired windsocks (a windsock is a tube, usually fabric though we will use paper and card, that blows in the wind to indicate wind direction and strength).
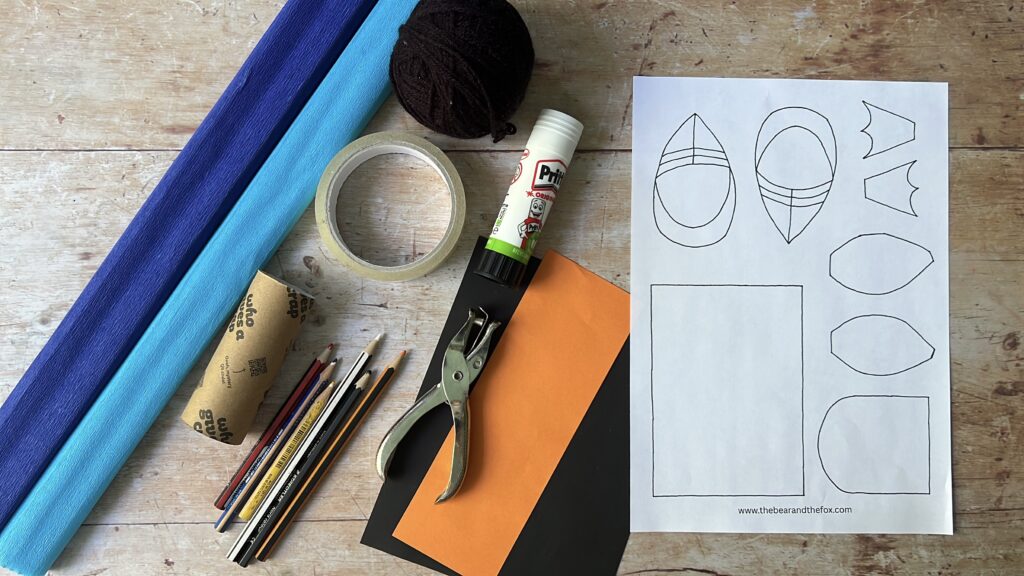
You will need:
- my puffin windsock template (download and print)
- some black and orange paper OR black and orange colouring pencils/ pens/ crayons
- black, blue, yellow and red colouring pencils/ pens/ crayons
- a white colouring pencil/ crayon (optional)
- an empty toilet-roll carboard tube
- glue
- selloptape
- wool or string
- blue crepe paper
- scissors (forgot to include them in the photo, oops…)
- a hole punch
Quick Video Overview
Watch the video for a quick overview of how to make the puffin windsocks, or scroll down for more detailed step-by-step instructions.
Detailed Step-by-Step Instructions
Step 1
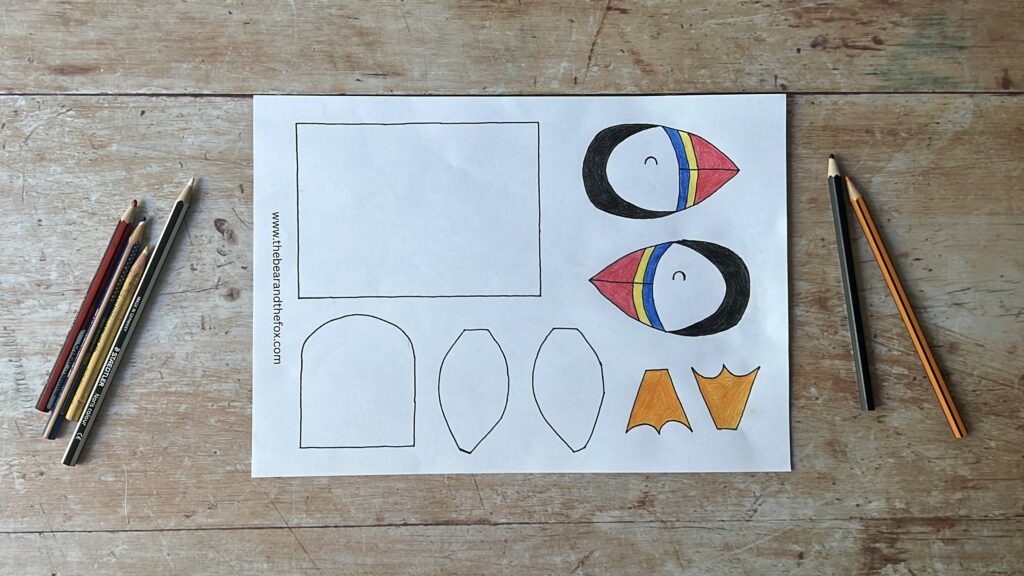
First, colour in and cut out the templates. Use the black, blue, yellow and red pencils to colour in the heads in the typical puffin colours (or you can go freestyle with the colours if you want to!) If you don’t have any black or orange paper, you can use black and orange pencils to colour in the feet, body and wings. Leave the belly white.
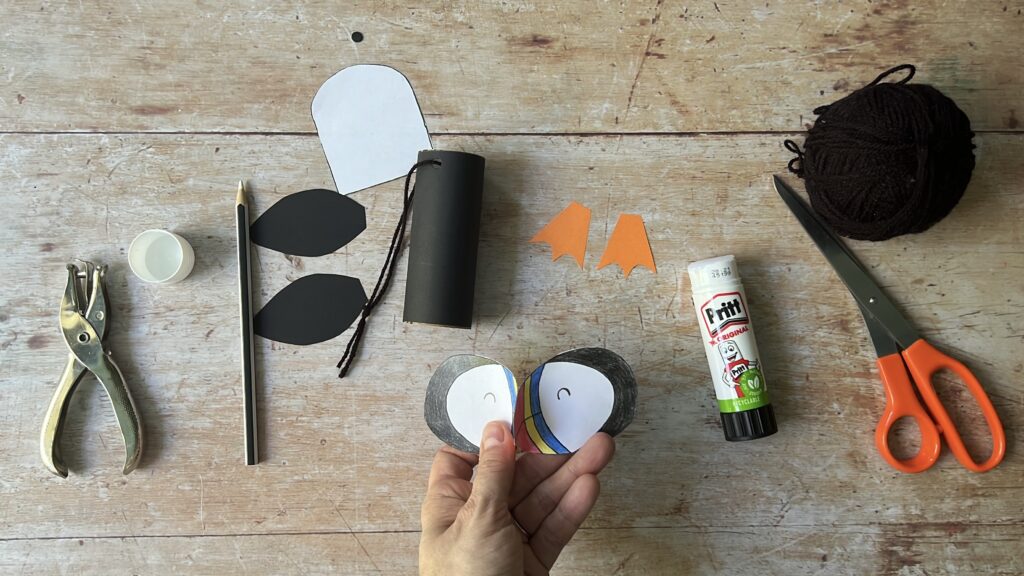
One important thing to note: when drawing eyes on to the puffin’s face, make sure that the heads are pointing in oppostie directions, as shown in the photos below! If you do them in the same direction, then one of them will end up being upside down when we glue them together.
Tip: it’s easier to colour in before cutting out!
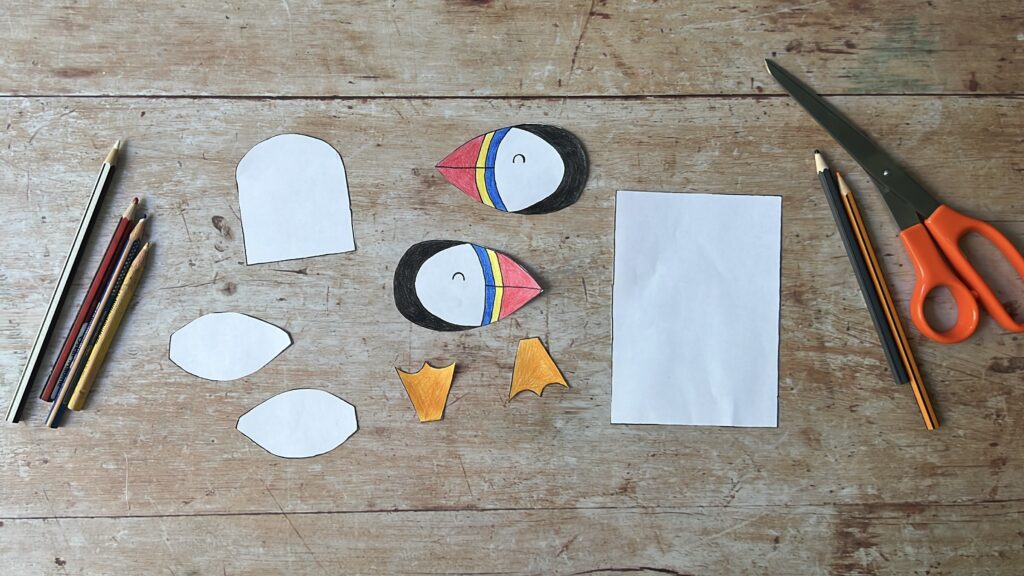
If you do have black and orange paper, draw around the body and wing templates on black paper, and around the feet templates on orange paper, and then cut those out too (in the example, I first coloured in the feet and then cut them out of coloured paper, to show you both options – you don’t need to do both!)
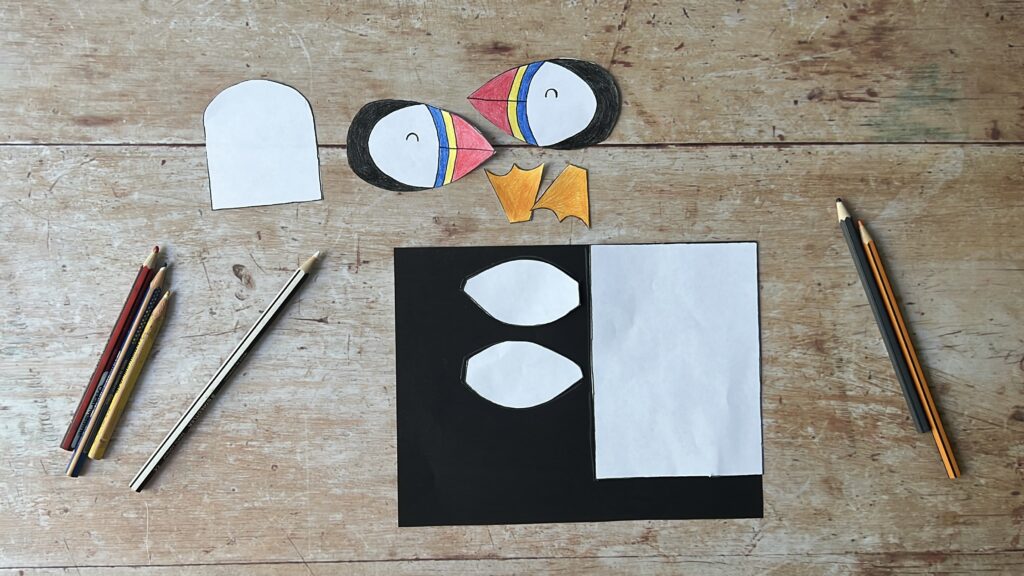
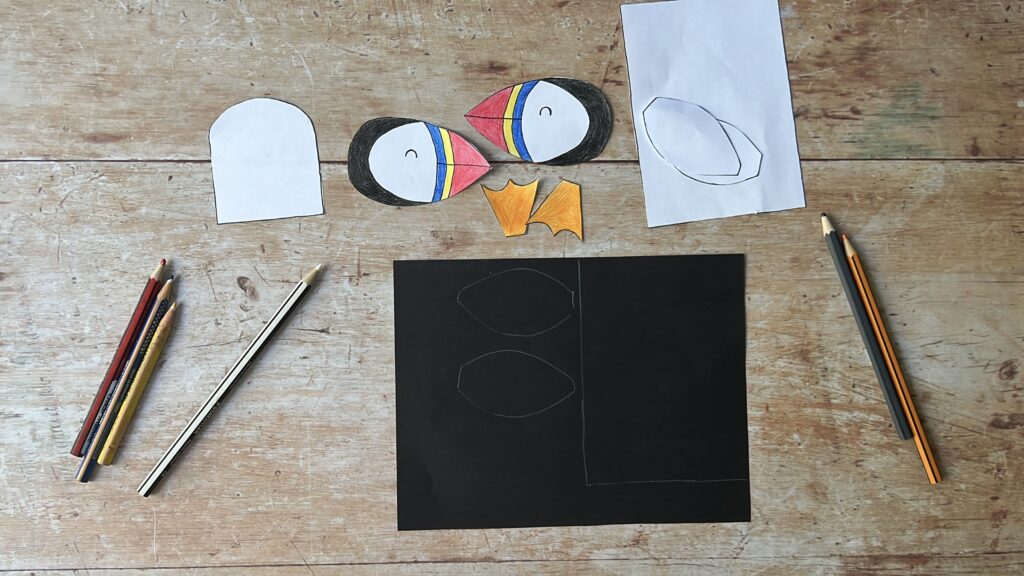
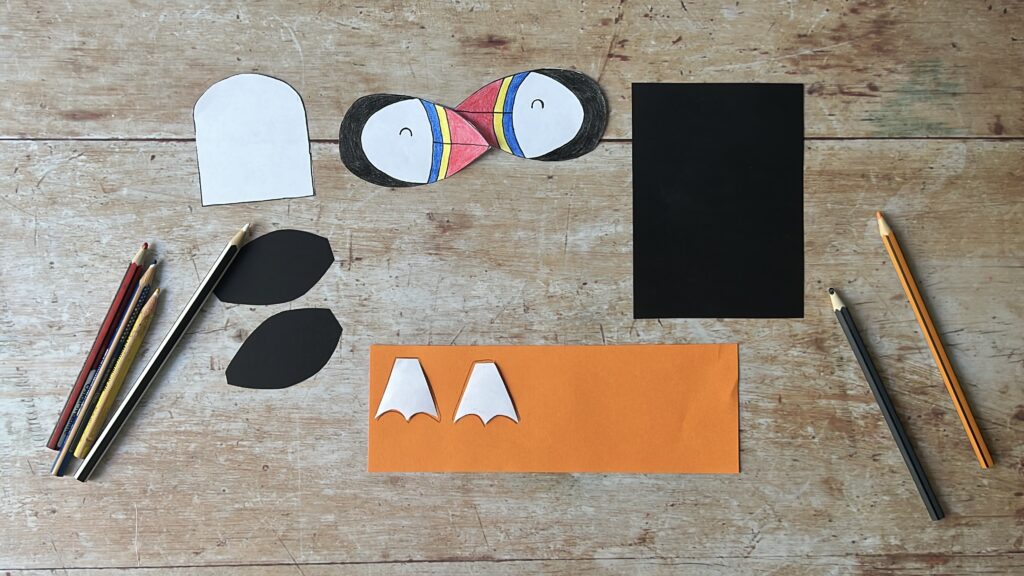
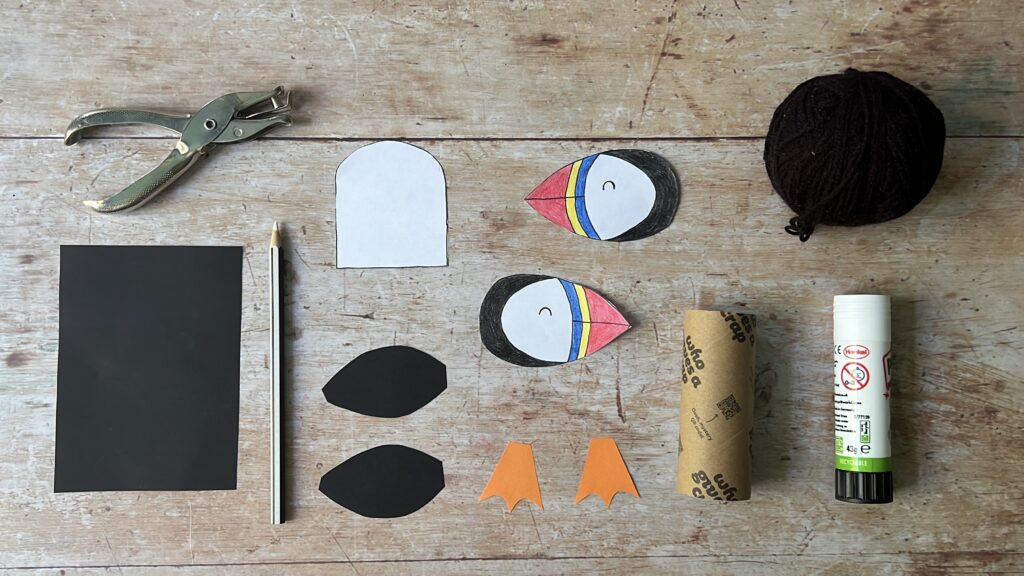
Step 2
Once you have all your template pieces coloured in and cut out, start by glueing the black body piece on to the toilet-roll tube.
Step 3
Next, punch two holes at one end of the tub, on either side, and thread through a length of wool. Knot the wool at the end – this will be your loop to hang up your wind sock, so don’t make it too small.
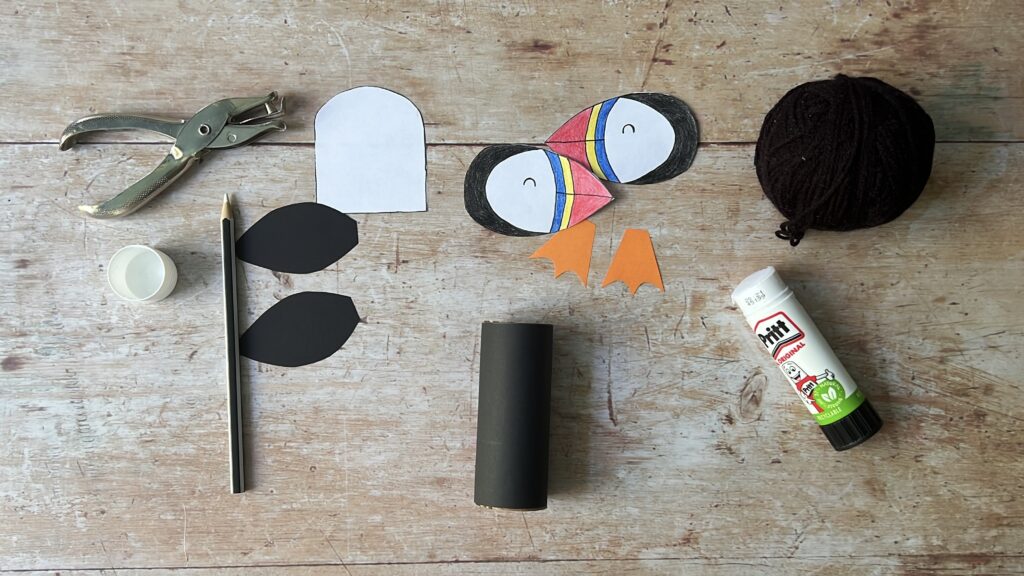
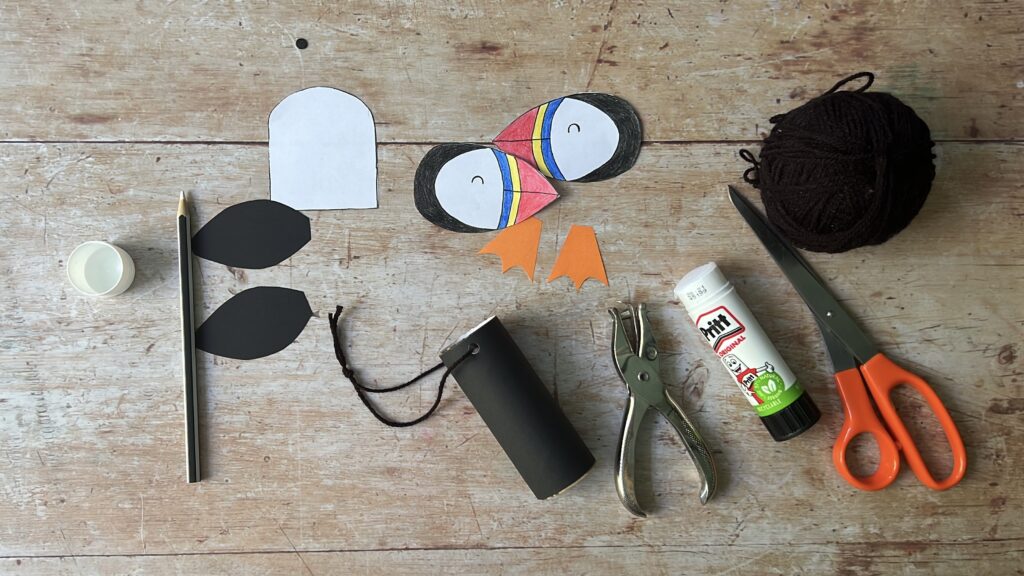
Step 4
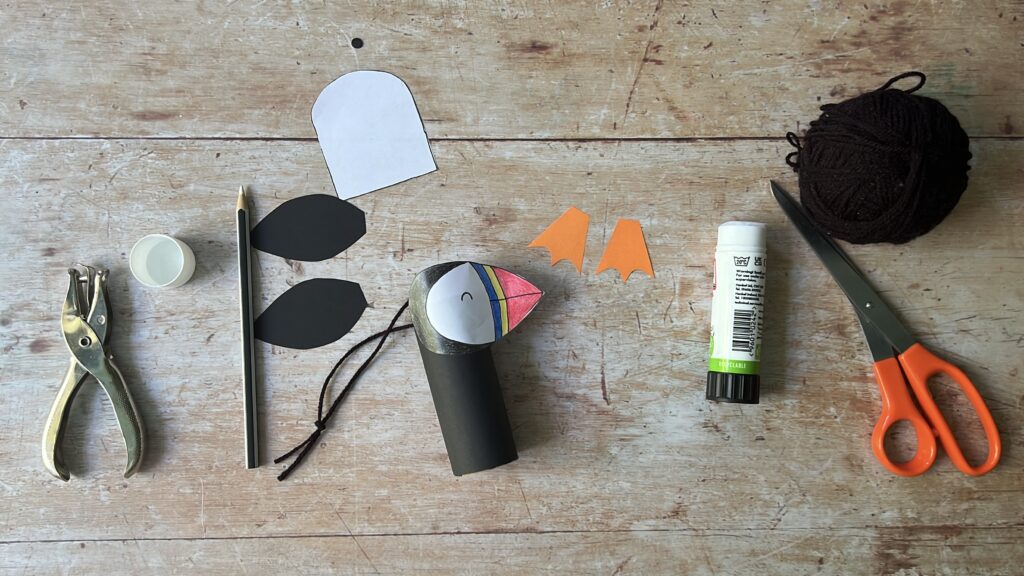
Now we’re going to add the head. Take the two head pieces, and a dab of glue on the backs of the beaks, and glue the two pieces together – JUST THE BEAKS! (see photo 1 below).
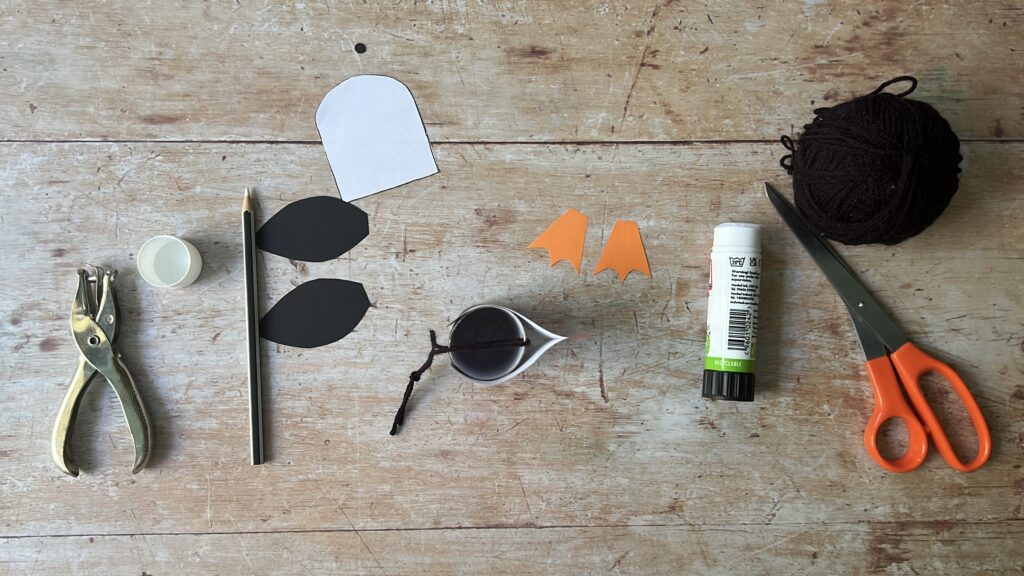
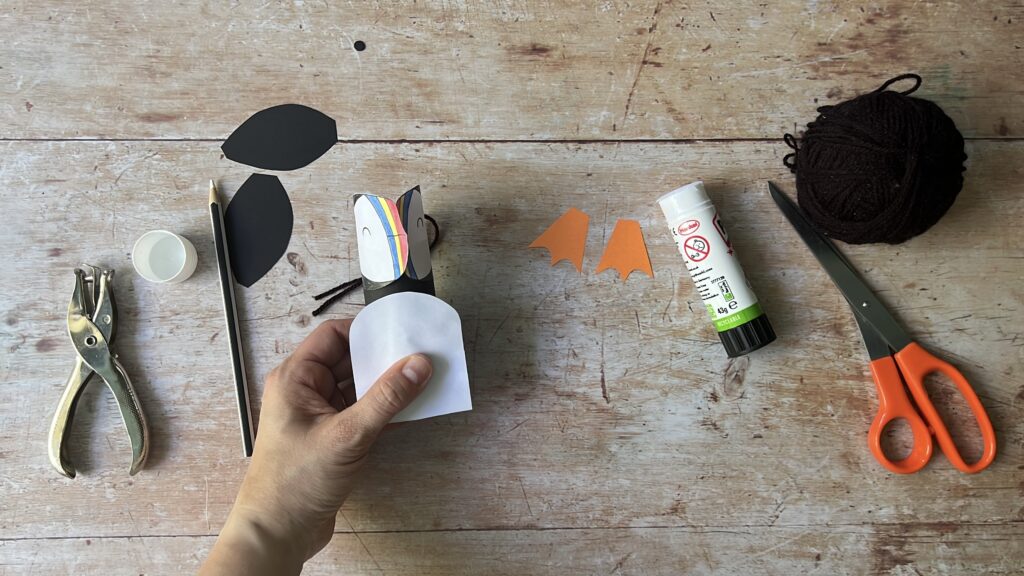
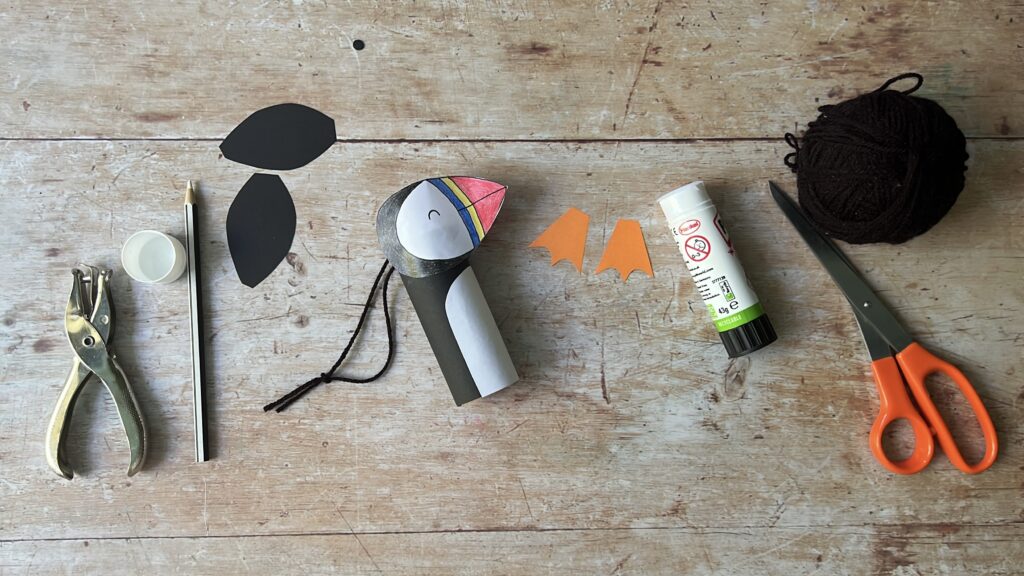
Then, add a dab of glue on the backs of each head, BUT don’t glue them together – glue them either side of one end of the the toilet-role tube (see photos 2 & 3 below).
Step 5
Next, we’re going to add the white belly. Glue this to the front of your puffin, below the head (depending how high or low you’ve glued on the head, the belly piece may be too long, in which case you can just trim the bottom so it sits lower).
Step 6
After the belly, we’re going to add the wings. If you have a white pencil or crayon, you can add some feather ‘marks’ (see photos below) but this is optional. Glue the wings either side of the puffin, slightly overlapping the white belly.
Step 7
Last but not least, glue on the feet. Add these either side, on the inside of the toilet-roll tube.
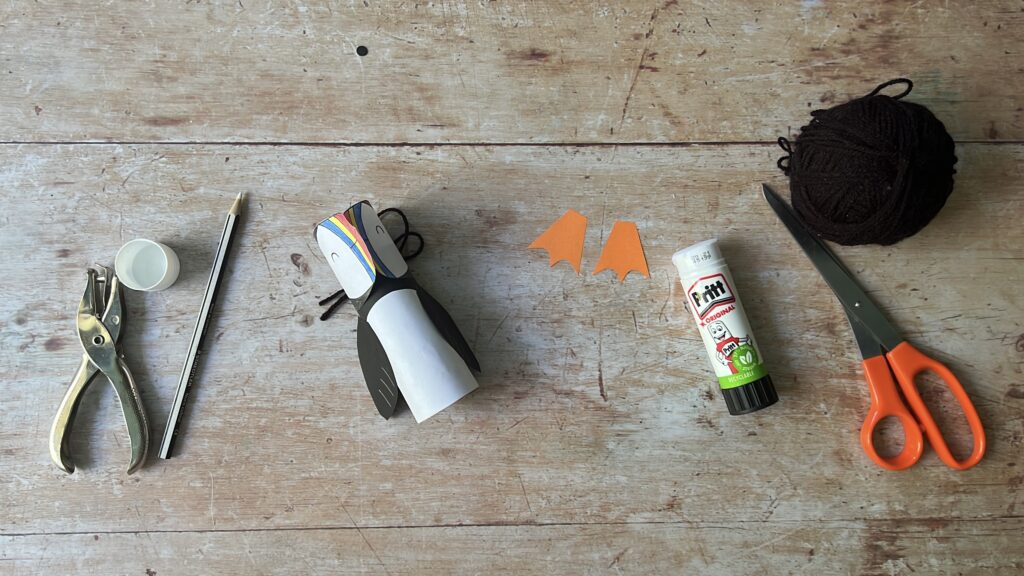
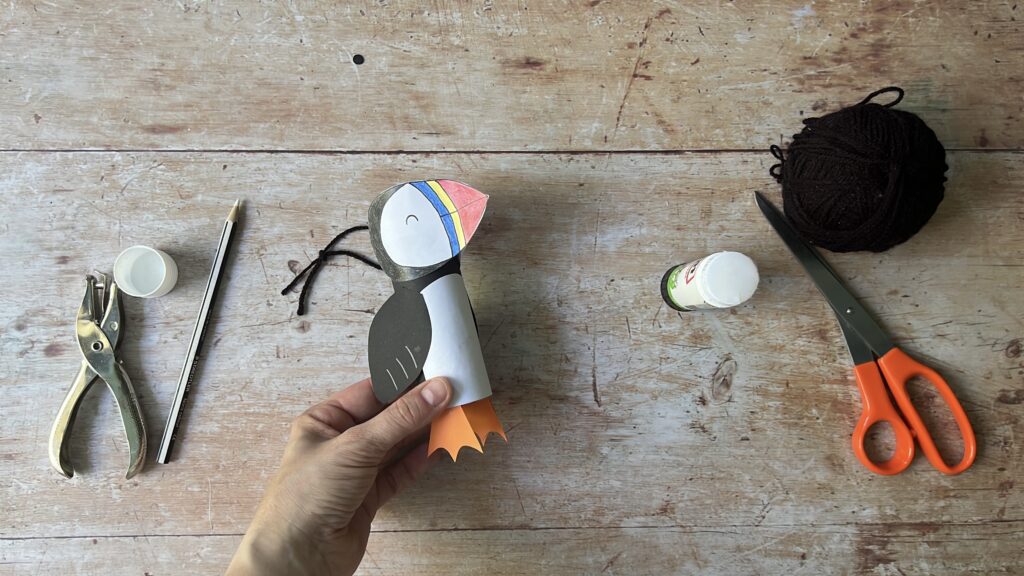
Okay, so you could leave it at that and hang up your cute puffin as is. BUT…my story is about the wind, so the final step is to make it into a windsock by adding the parts that will blow in the wind!
Step 8
Cut some strips of crepe paper, 1-2 cm wide and about 15 cm long. I used blue to indicate the sky, but you can use other colours if you have them to hand.
Glue the strips of crepe paper on the inside of the toilet-roll tube, at the foot end of the puffin. Overlap them slightly to create a fuller effect. I used about ten strips in total.
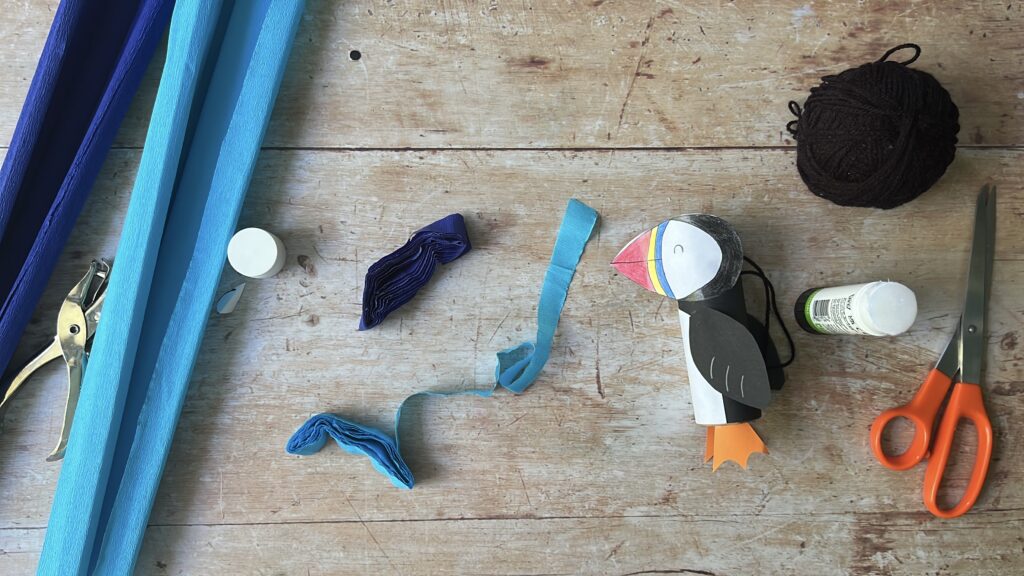
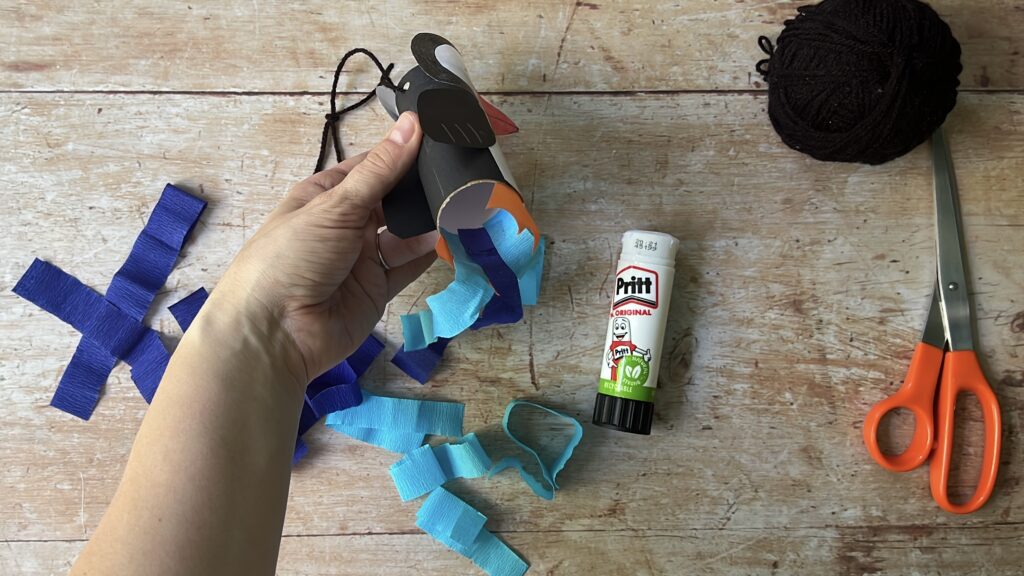
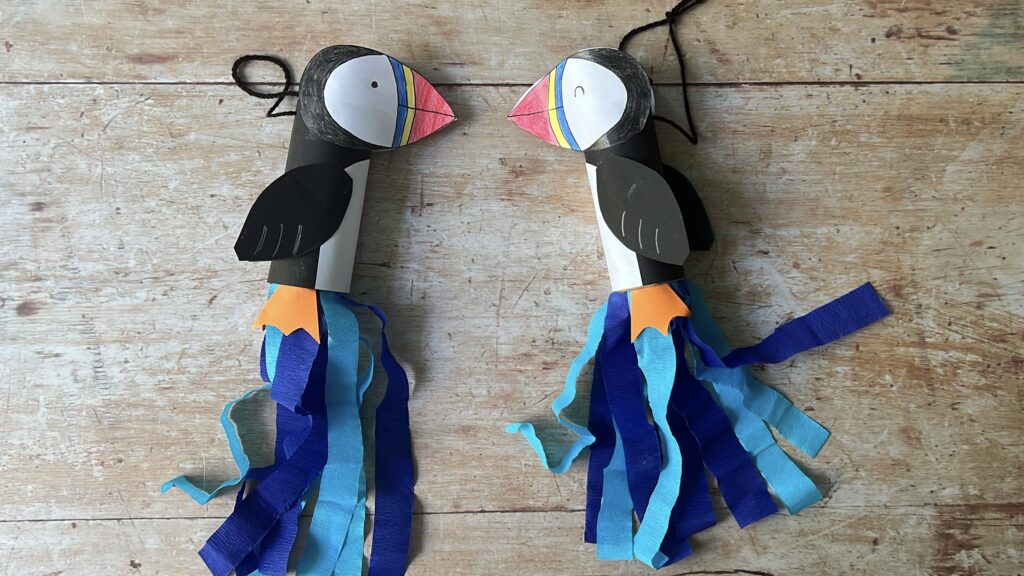
Ta da! And there you have it, your finished puffin wind sock! Hang it near an open window to see it blowing in the wind. Why not make a couple to have a whole colony of puffins – you could give them each a different facial expression.
If you enjoy the activities on my blog and would like to support me in creating more great content for you, I am always grateful for donations to help with the running costs of the blog.
One Comment