Craft Corner: DIY Paper Kite
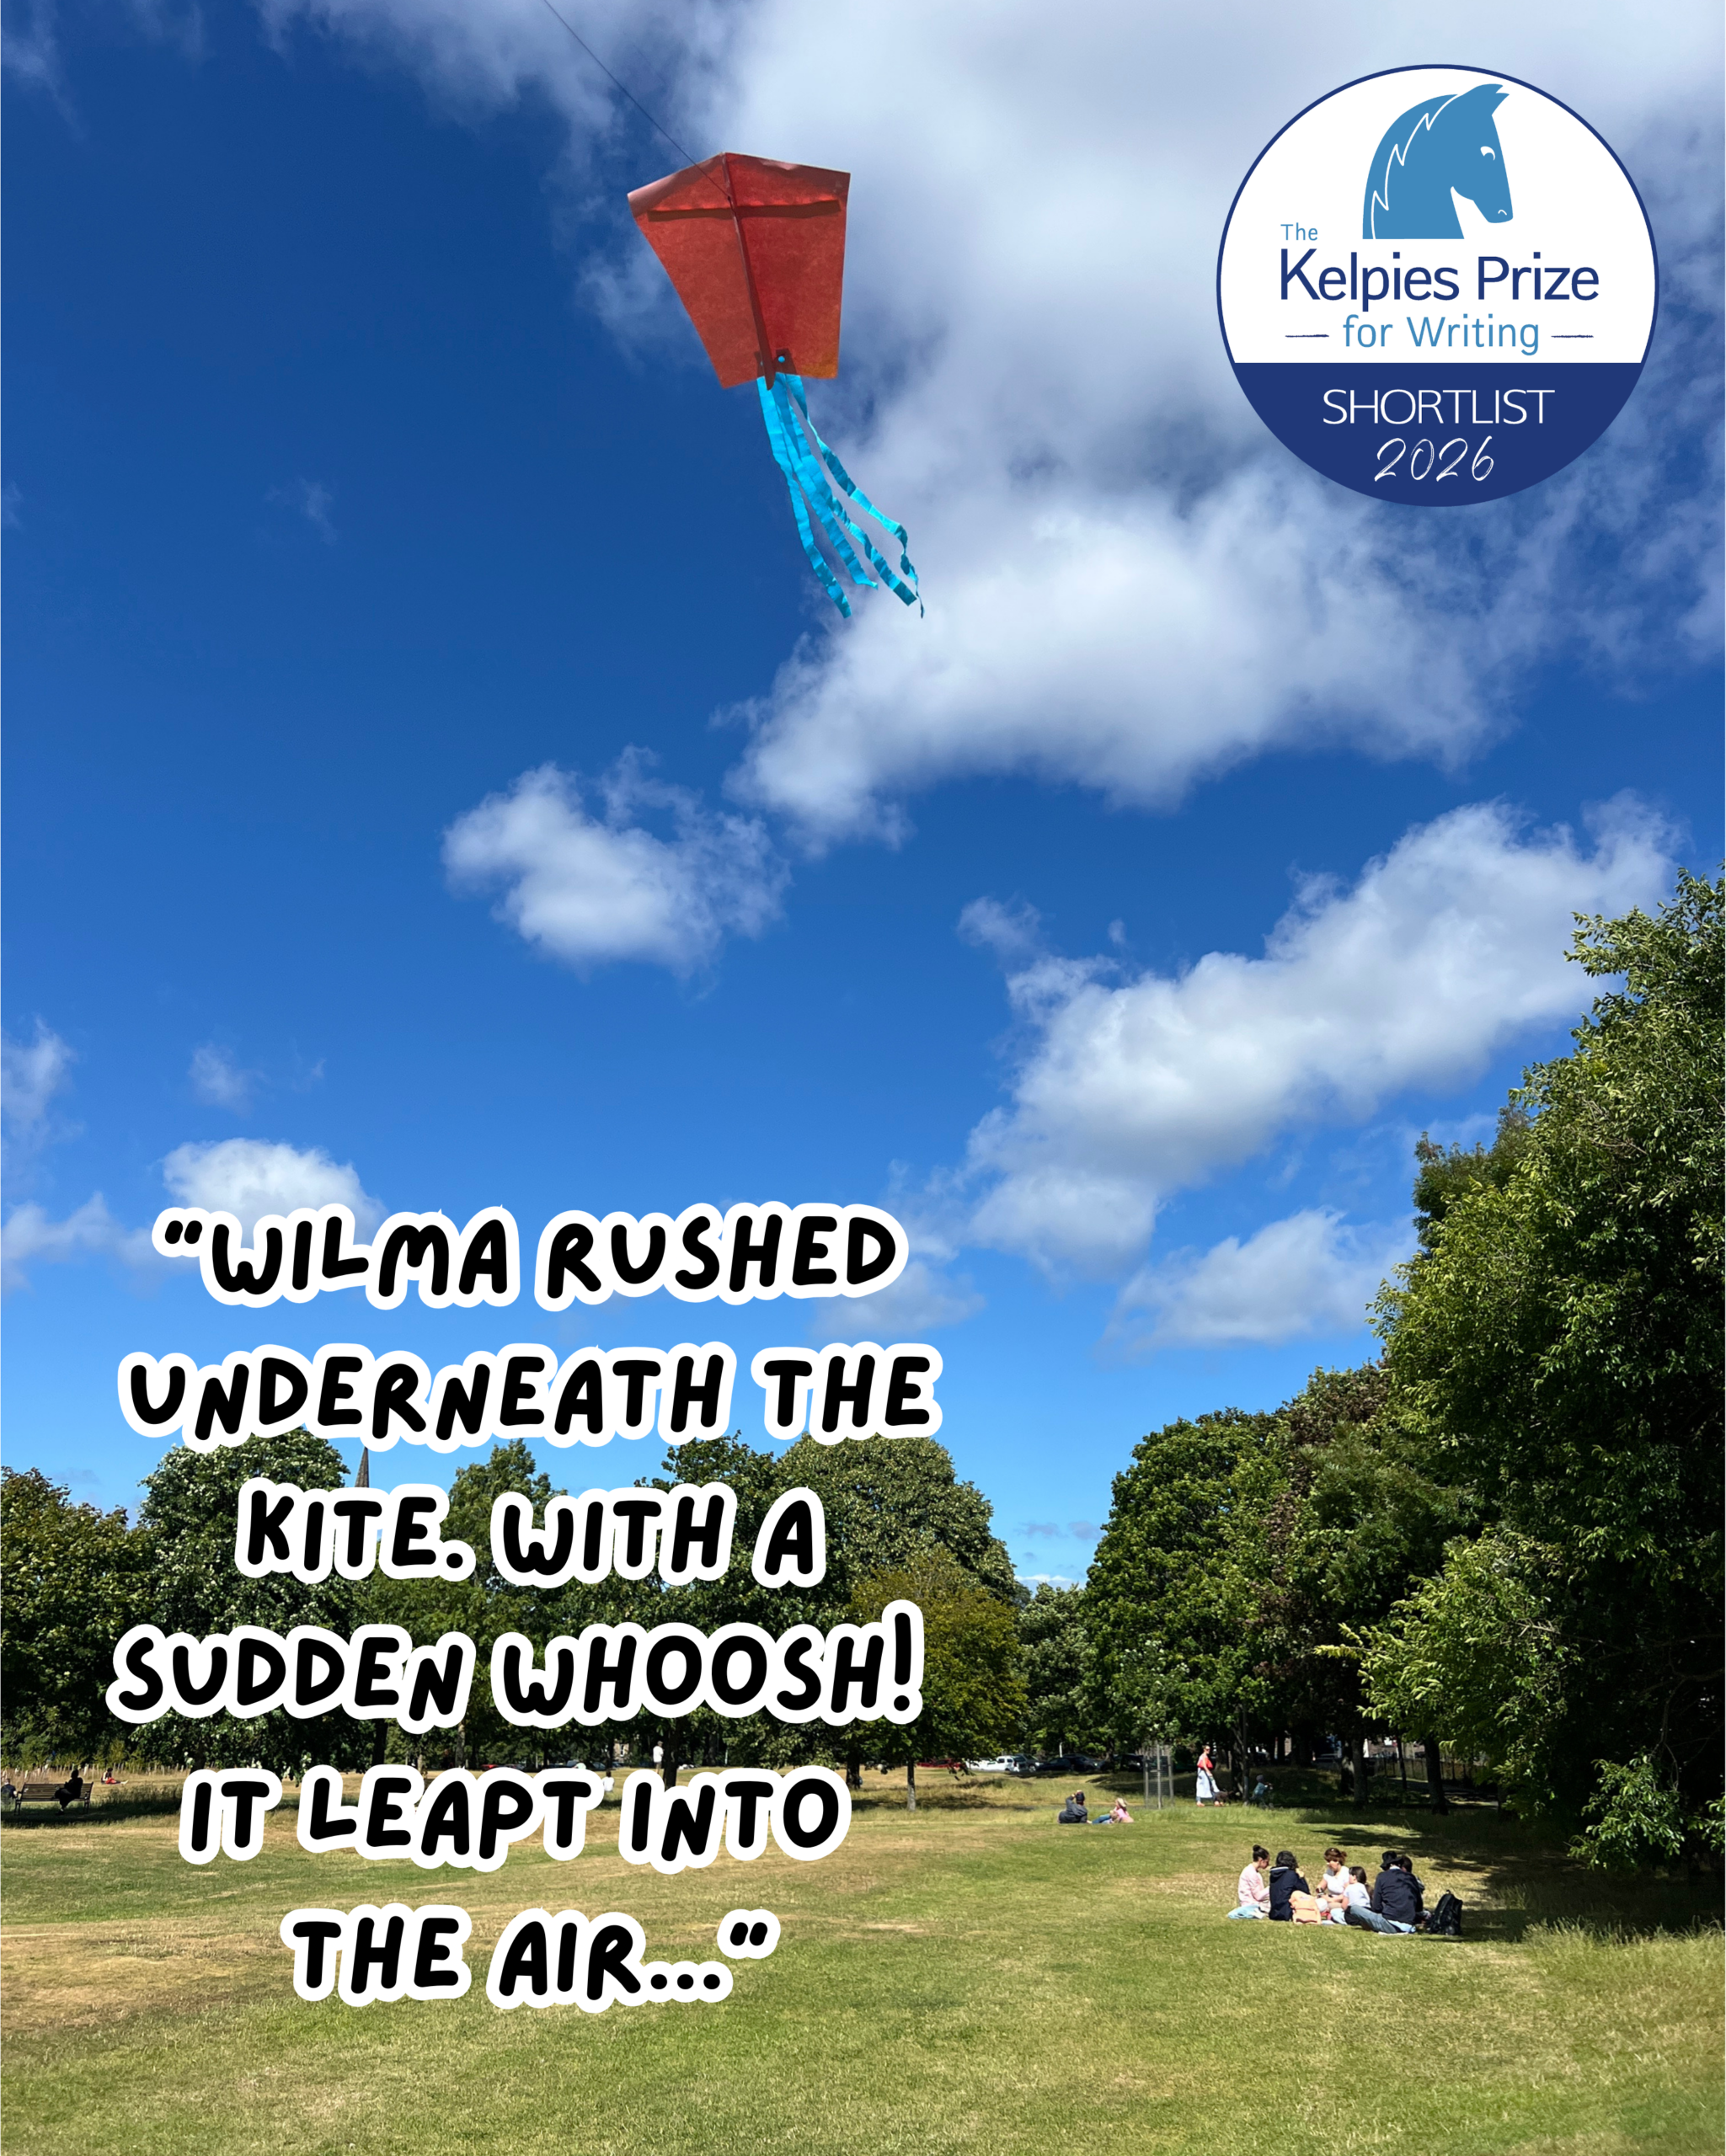
In June, I shared the news that I have been shortlisted for the Kelpies Prize for Writing 2026. The story I submitted is about a wee gust of wind, Wilma, who longs to be seen and understood. In the extract shared in the shortlist announcement, Wilma encounters a stranded fishing boat, a scared puffling, and a small boy with a kite. So, in the run-up to the award ceremony in September when the winner will be announced, I have been sharing some crafts inspired by Wilma’s encounters.
So far, I’ve shared a boat craft (making driftwood and/ or egg carton boats) and a cute puffin craft. The final craft in my Wilma-inspired series is how to make a simple paper kite.
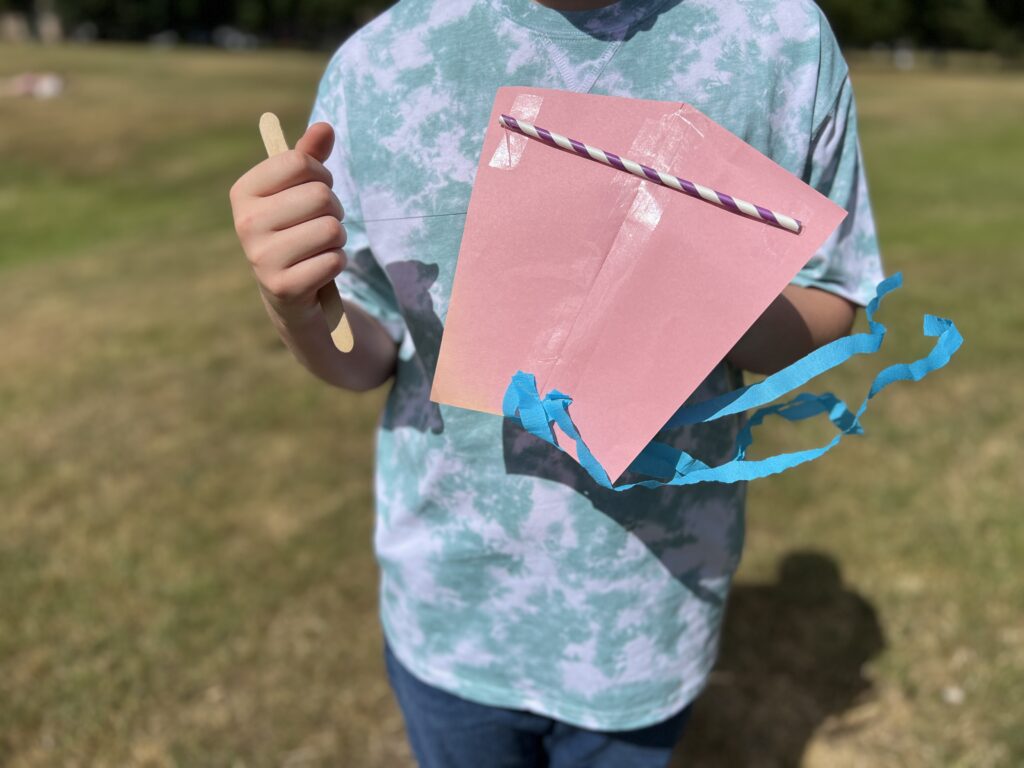
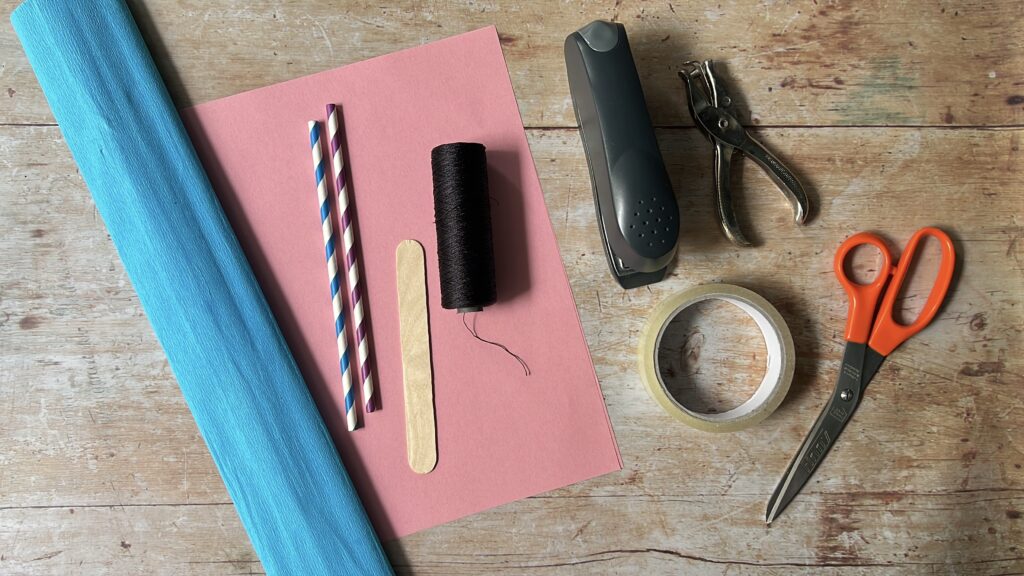
You will need:
- a sheet of A4 paper
- a paper straw
- sellotape
- crepe paper
- a hole punch
- a stapler
- scissors
- lightweight string
- a lolly stick
Quick Video Overview
Watch the video for a quick overview of how to make a paper kite, or scroll down for more detailed step-by-step instructions.
Step-by-Step Instructions
Step 1
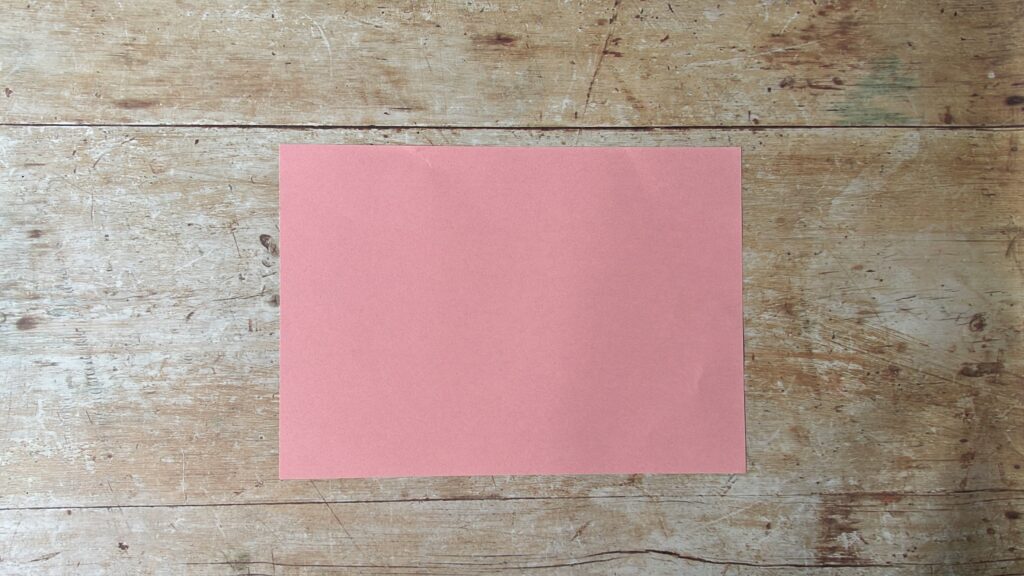
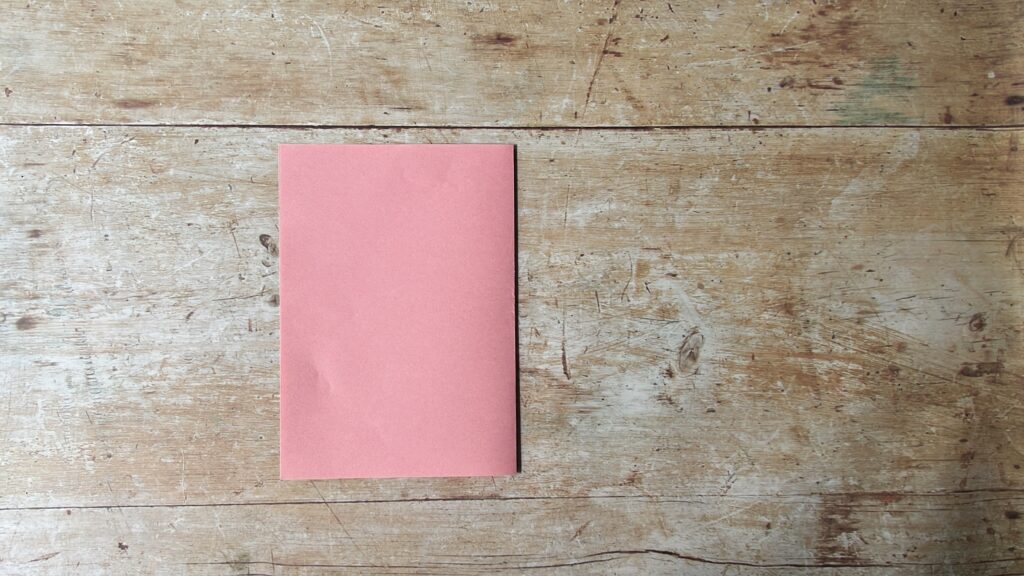
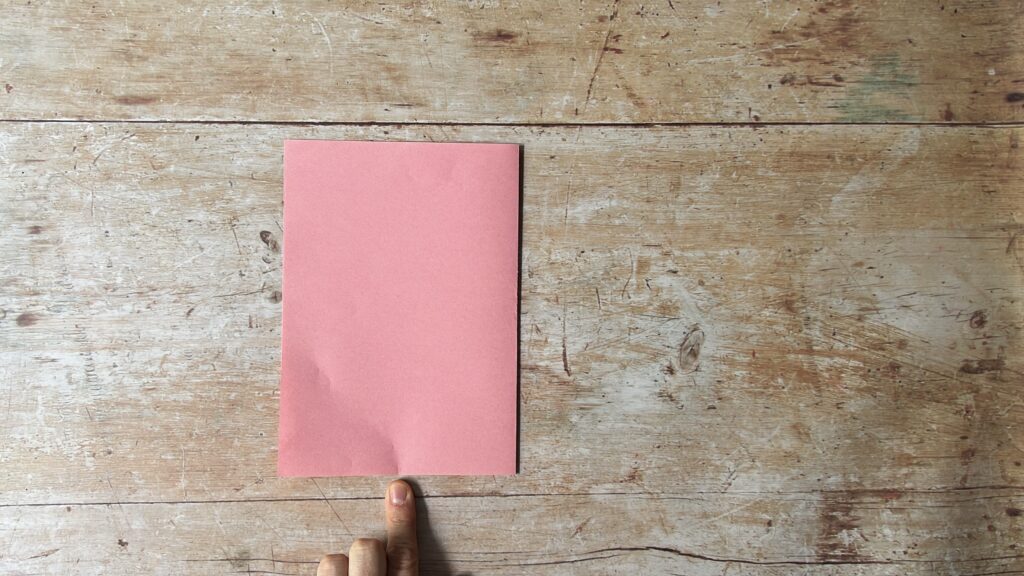
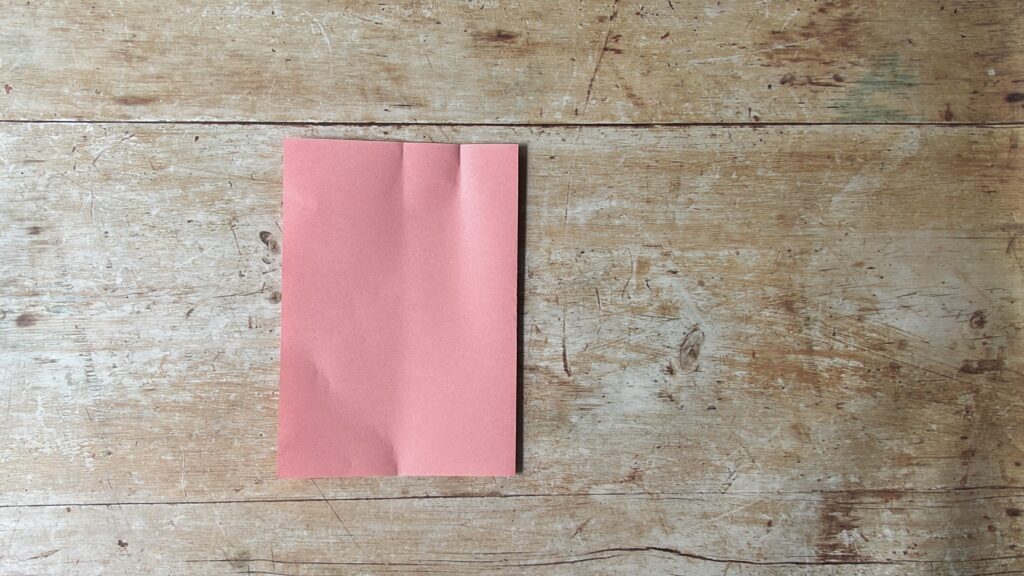
Lay your sheet of paper sideways (landscape) and fold it in half, creasing the paper from top to bottom along the fold. You’ll now have one side that is open and one side that is folded.
Step 2
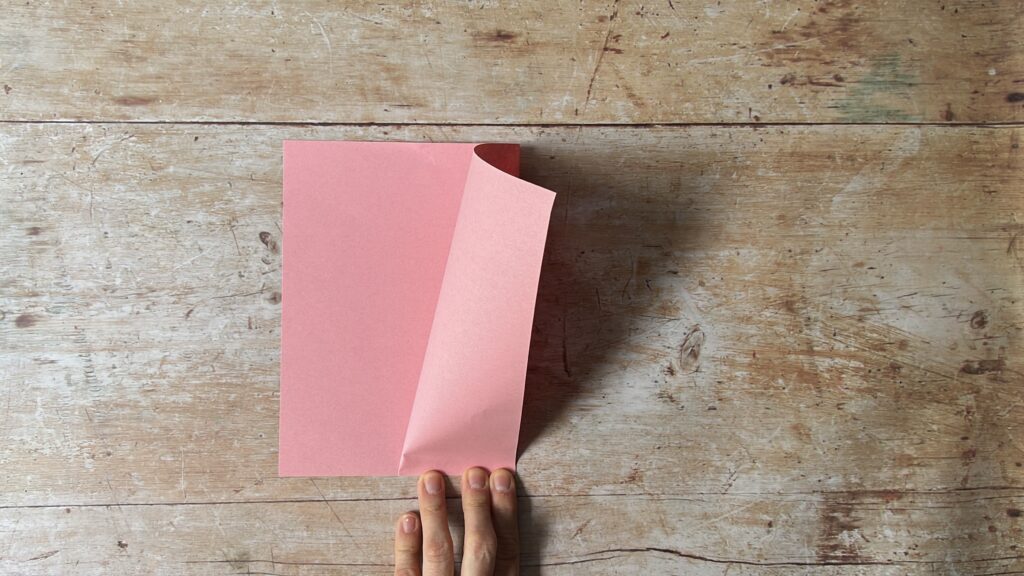
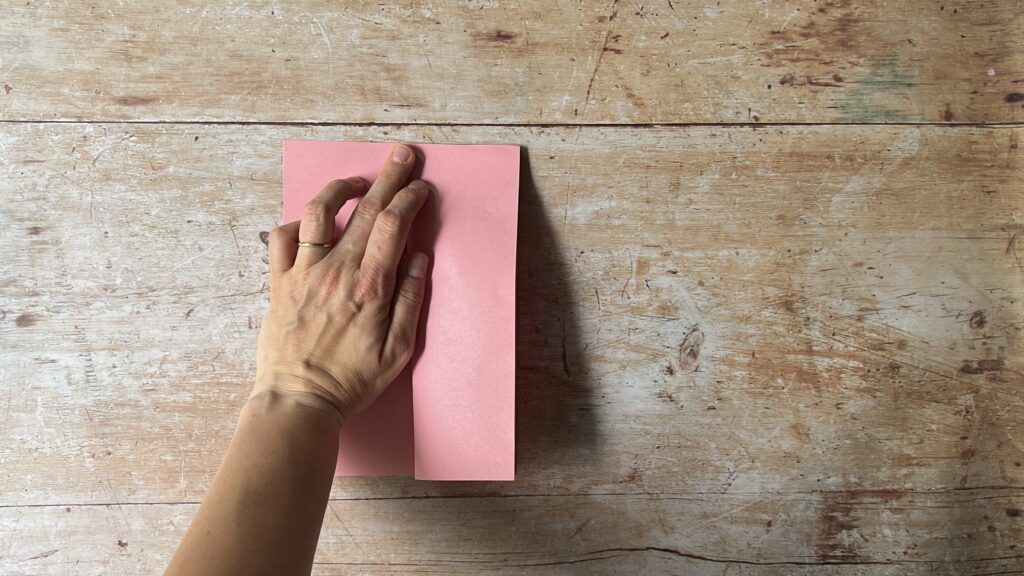
On the open side, take the top layer and fold it back towards the folded side, but DON’T crease it all the way down – just give it a little ‘dunt’ with your finger on the bottom edge to mark the midway point, then flatten it out again.
Step 3
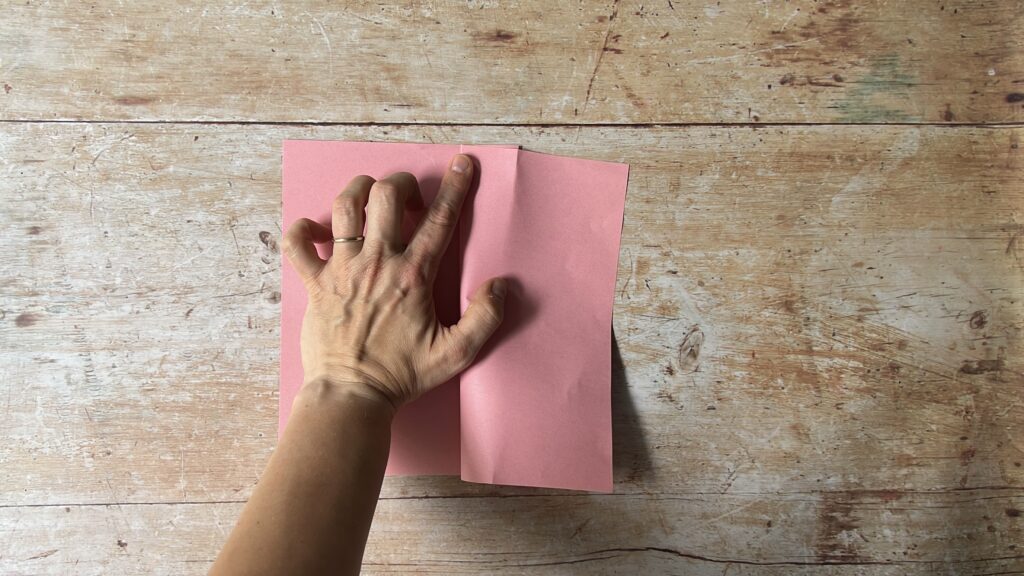
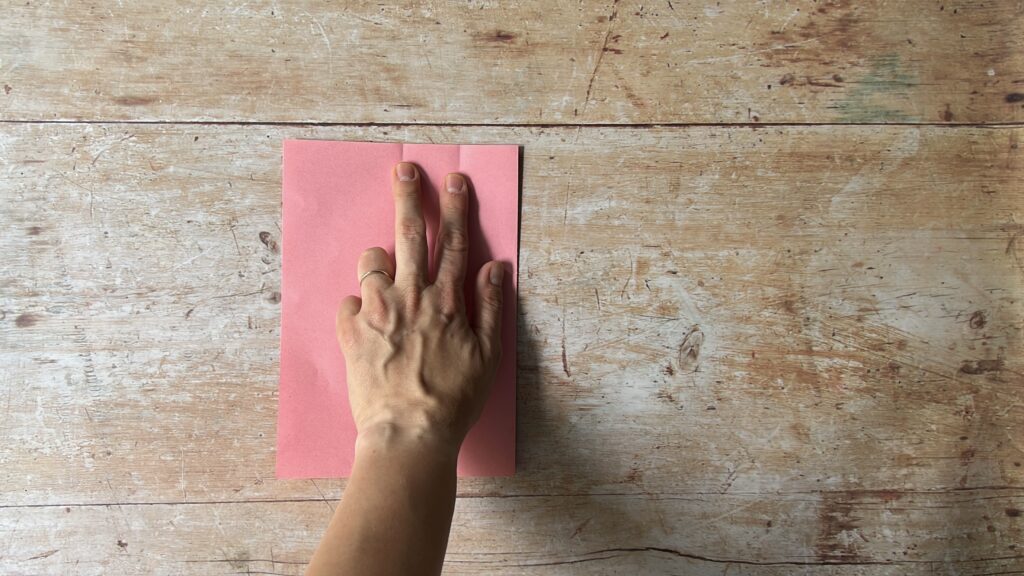
Now to the same on the top edge – mark the middle point as in Step 2 above, then fold that middle point over again to mark another point and flatten it out again. You should now have one mark half-way along the bottom edge, and two marks along the top edge, one half-way and one a quarter of the way along.
Step 4
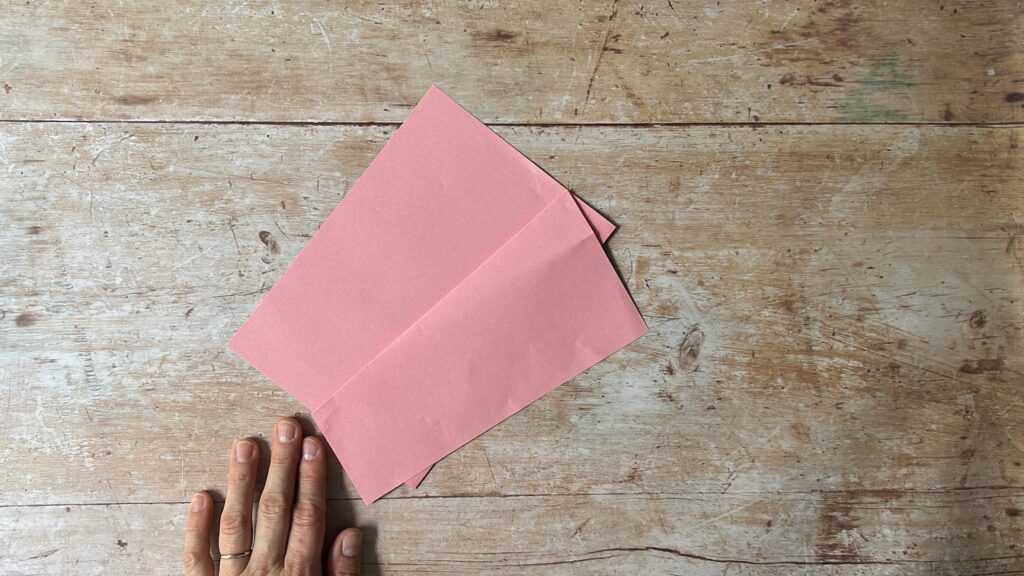
Now we are going to make a fold from the quarter-mark on the top edge, to the half-way mark on the bottom edge. This time you want to crease the fold all the way along. Then, place a piece of sellotape along the fold.
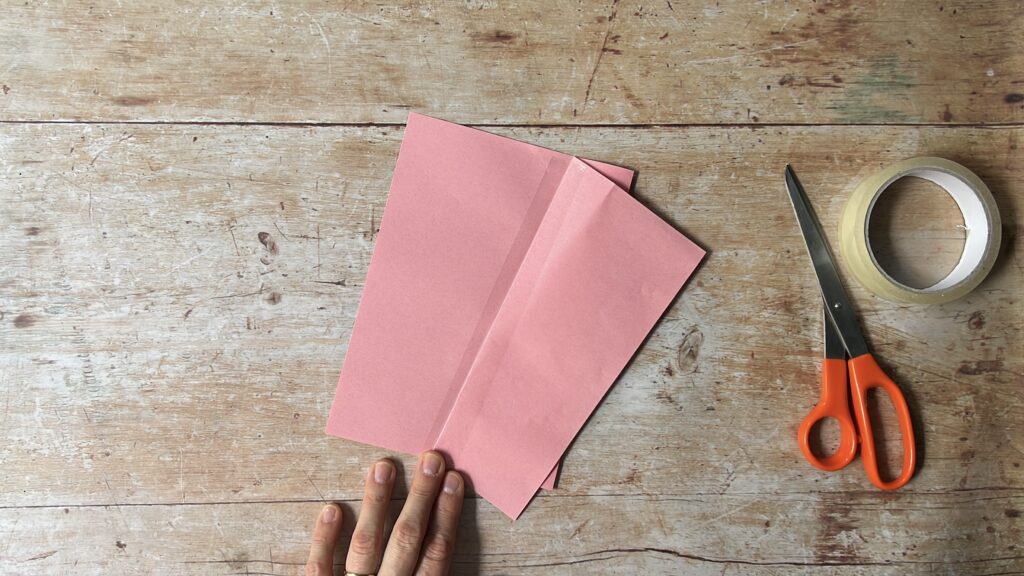
NOTE: At this point, you can decorate your kite with coloured pens, pencils or crayons if you want – it’s easier to do it at this stage than when the kite is complete. You could add patterns or pictures, but it’s also fine to just leave it blank. It’s entirely up to you.
Step 5
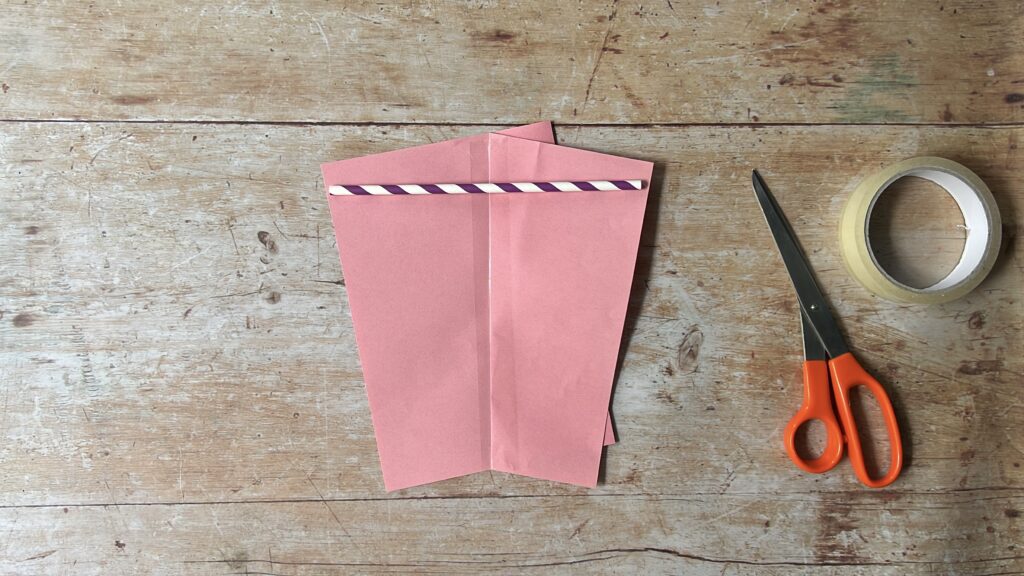
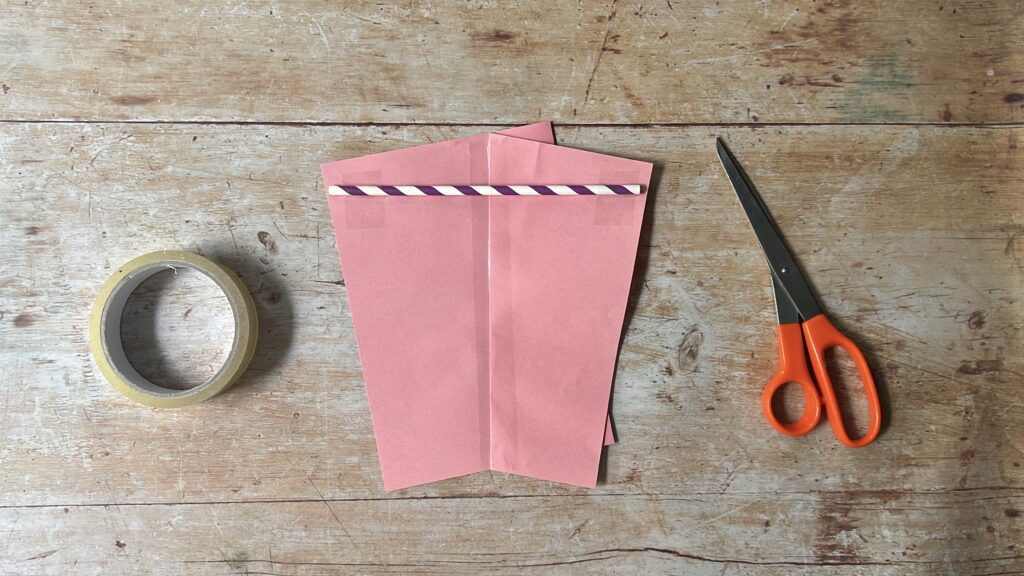
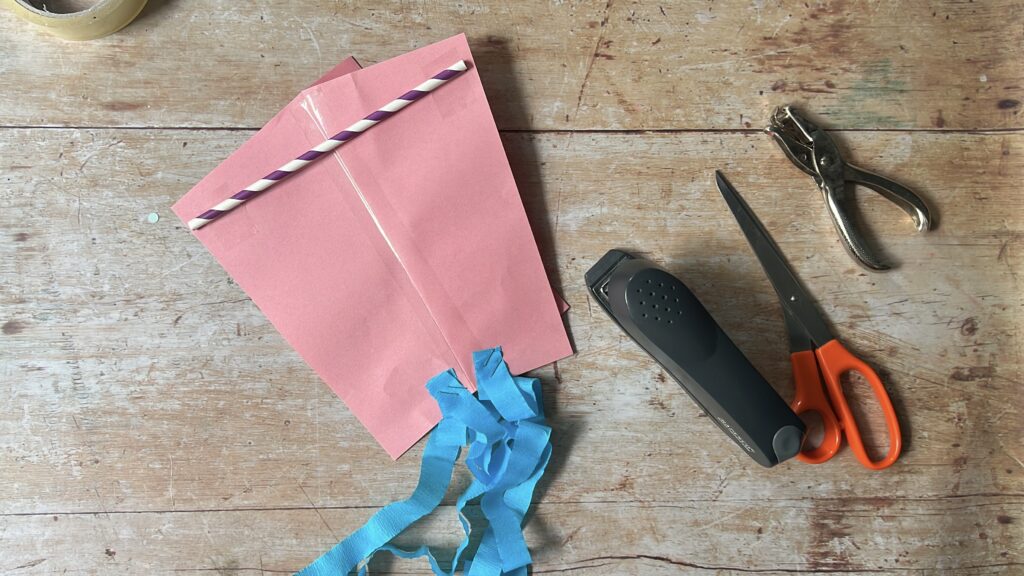
Next, take your paper straw and lay it across the fold at the top (the wider end) of your paper. Secure it in place with a small piece of tape at each end of the straw.
Step 6
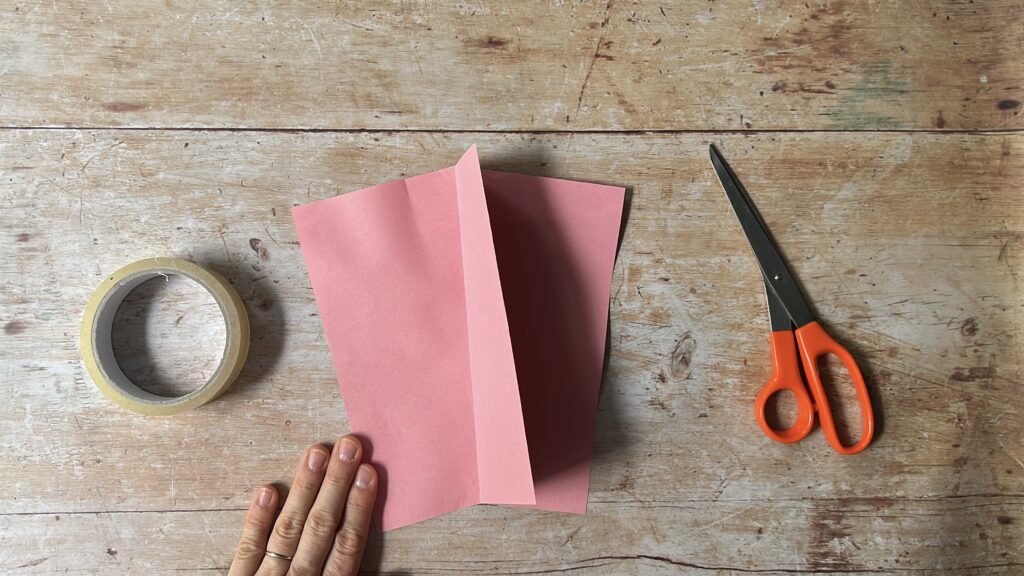
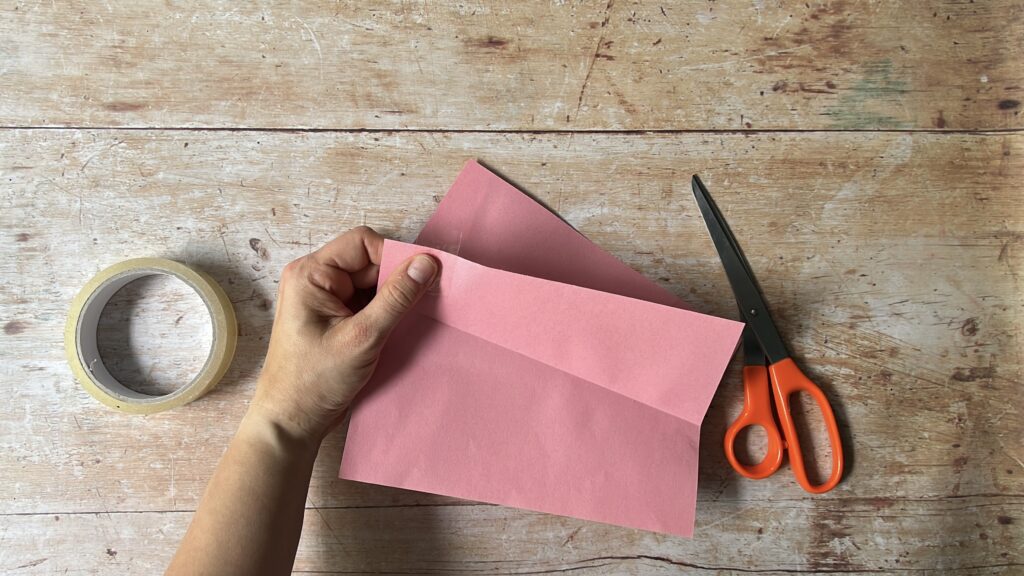
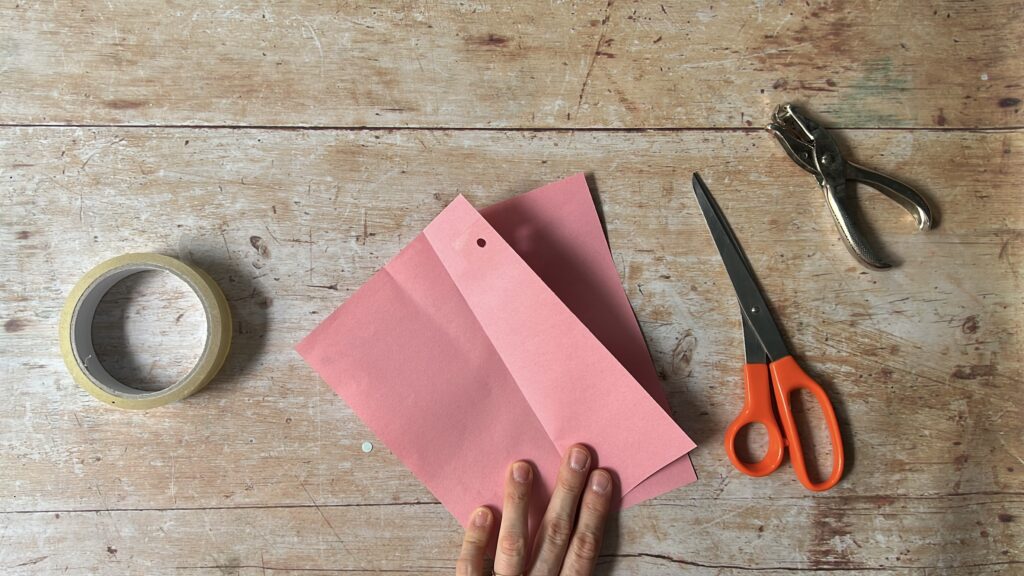
Turn your paper over. You should have a ‘flap’ now on the other side. Fold the flap both ways so it has a crease on either side, then bring it back to the middle. Stick a piece of sellotape over the top end of the ‘flap’ (the end that has the straw on the other side) – this is to strengthen the paper, as the tape will make it less likely to rip once your string is pulling on it. Punch a hole in the middle of the taped bit.
Step 7
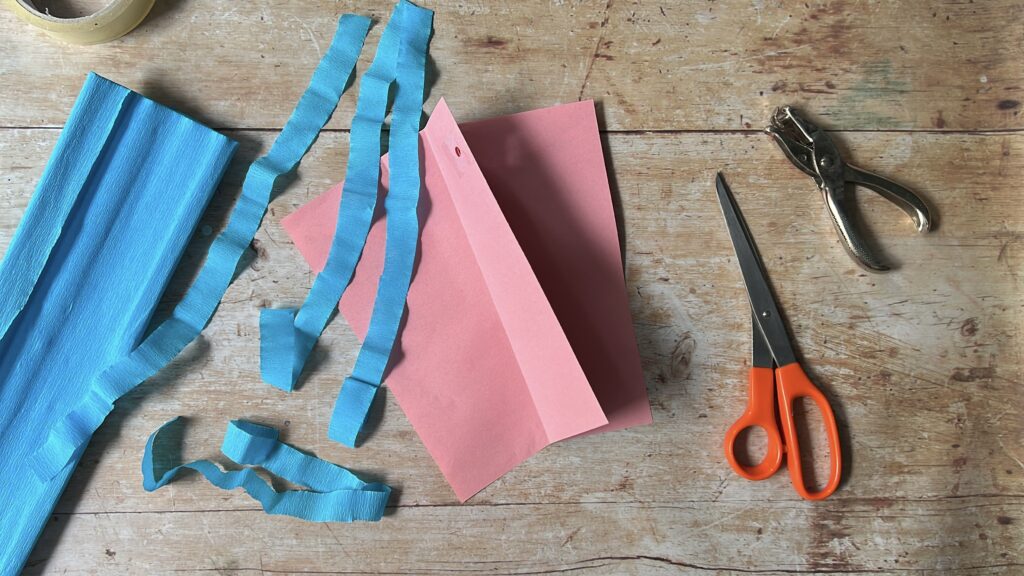
Now take your crepe paper and cut off a few strips. These are to make the ‘tail’ of your kite. We decided on four strips, which were about 1.5cm wide and 40cm long. You can experiment with the number or length of the crepe paper strips, but be aware of not making your kite too heavy!
Staple the strips onto the front of your kite, on the bottom edge (that’s the edge opposite the straw). Word of warning – be careful not to accidentally staple the ‘flap’ on the back of the kite! I may be speaking from experience here…
Step 8
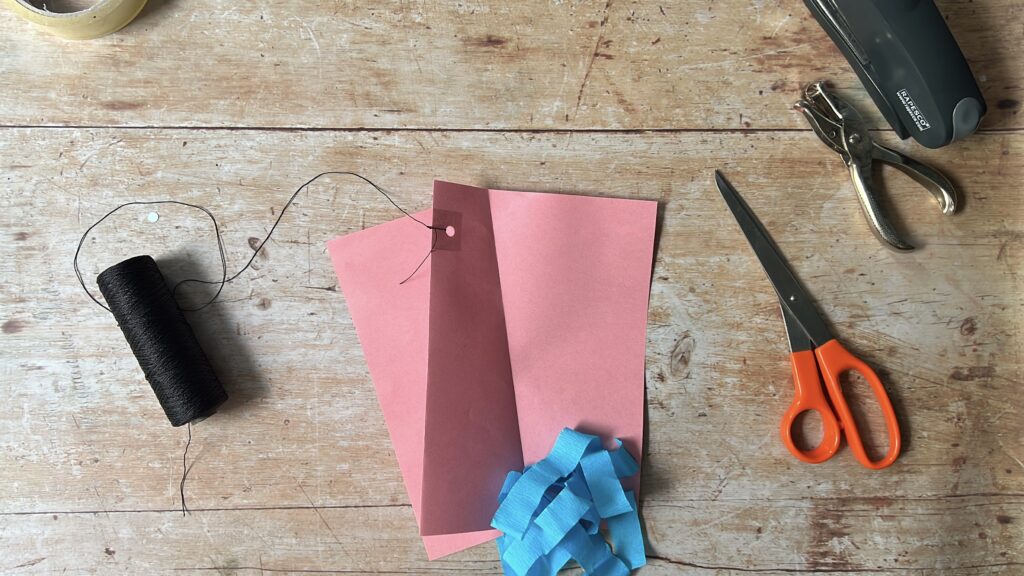
The final step is to add your string! On the back of your kite, thread one end of your string through the hole you punched earlier, and tie it securely in place with a double or triple knot.
Measure out a couple of metres of string – I think we had around 5 metres – and then tie the other end of the string round the middle of your lolly stick. Wrap a piece of sellotape around where you have tied it on for good measure, to stop it slipping off.
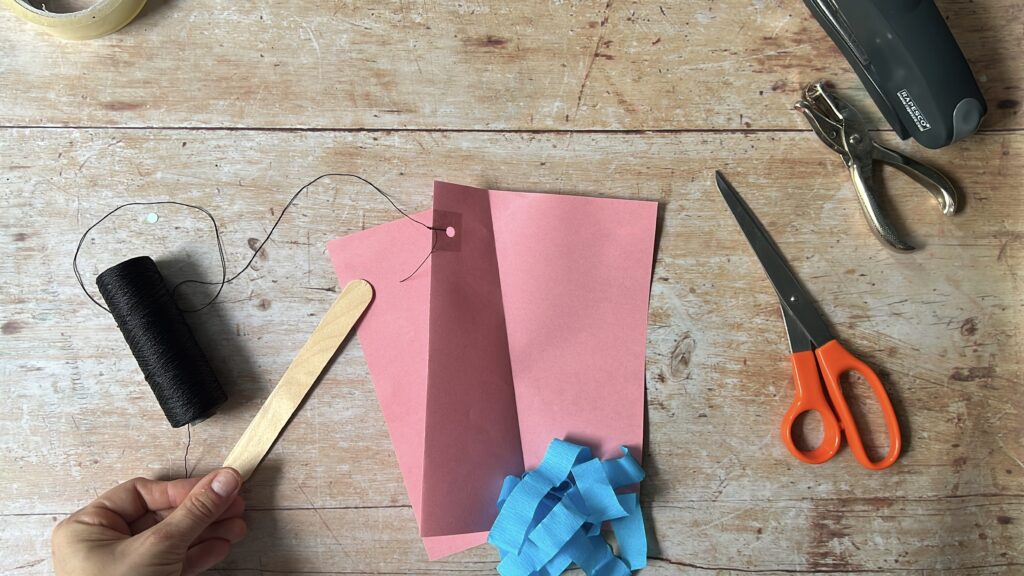
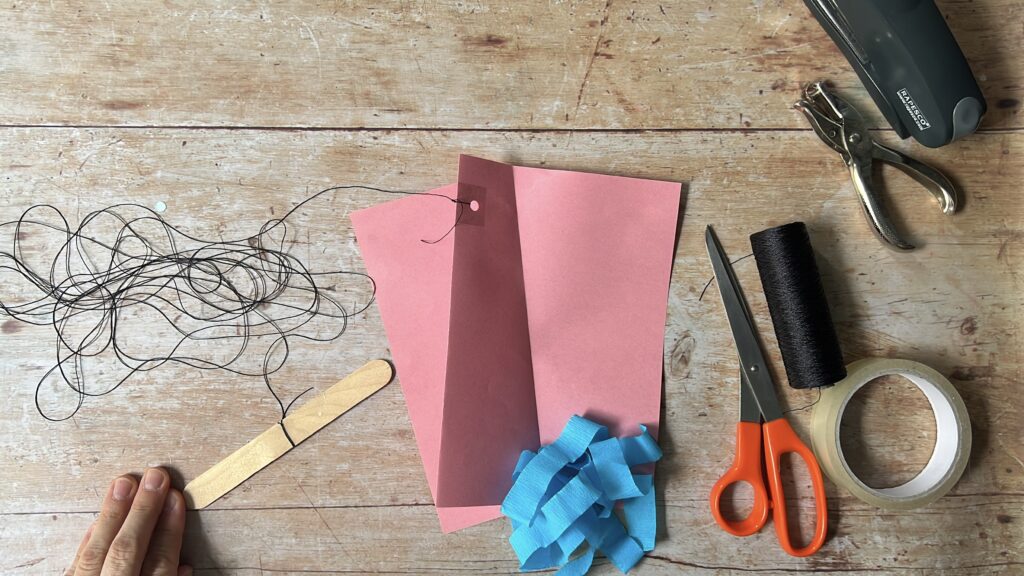
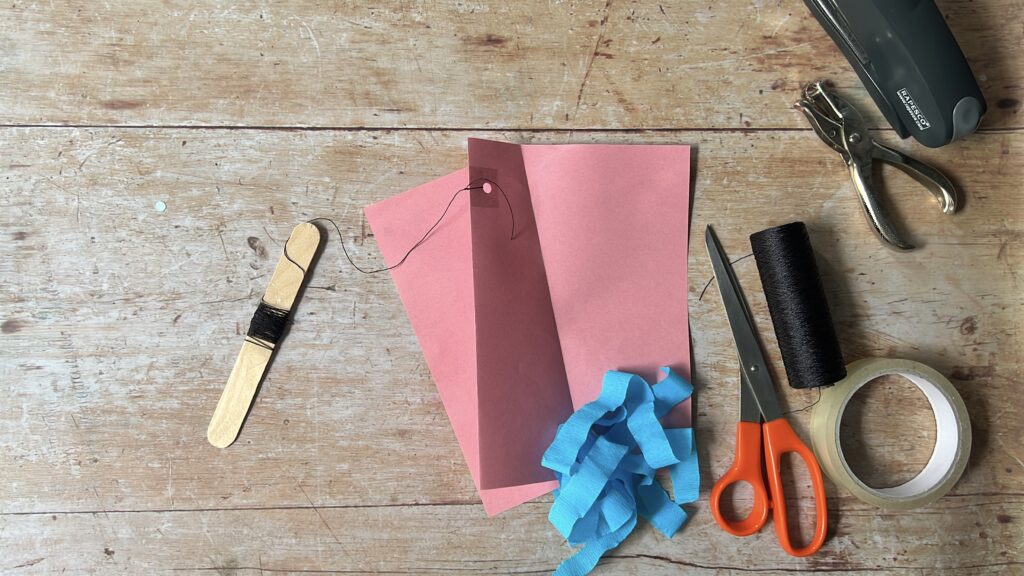
Then all you have to do is wind the string around the lolly stick, and you’re done! When you go to fly your kite, you can hold either end of the lolly stick, and turn it between your fingers to let out more string.
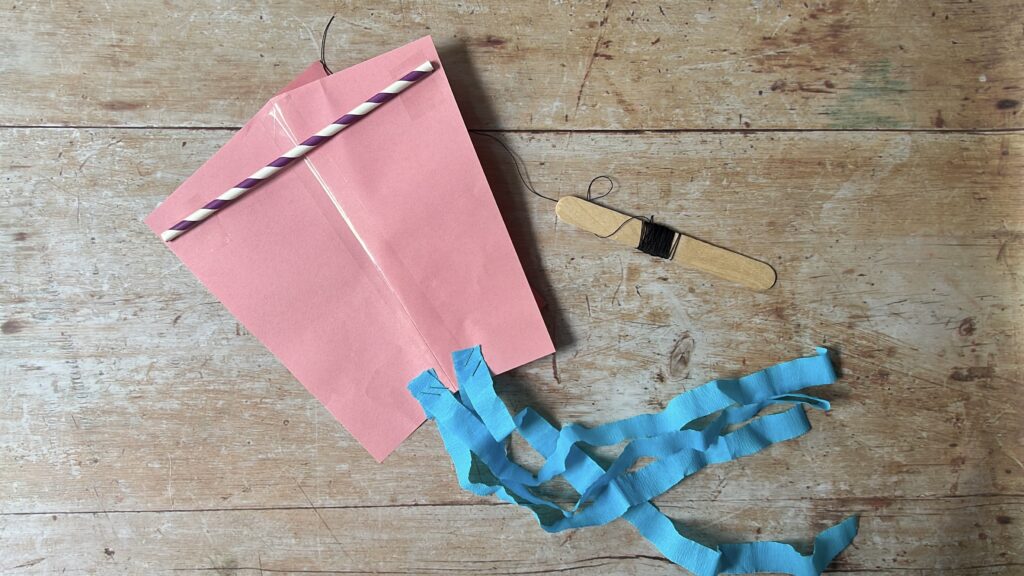
This was one of two models of kite we made and tested, but the other one didn’t fly very well so we decided to go with this one. We successfully managed to make it fly as you can see in the image at the end of this post, but be aware that it can take a few attempts. Steady wind is easier, if there are gusts of wind then you might get the kite up but it could come down again in between gusts. But half of the fun is the experimenting.
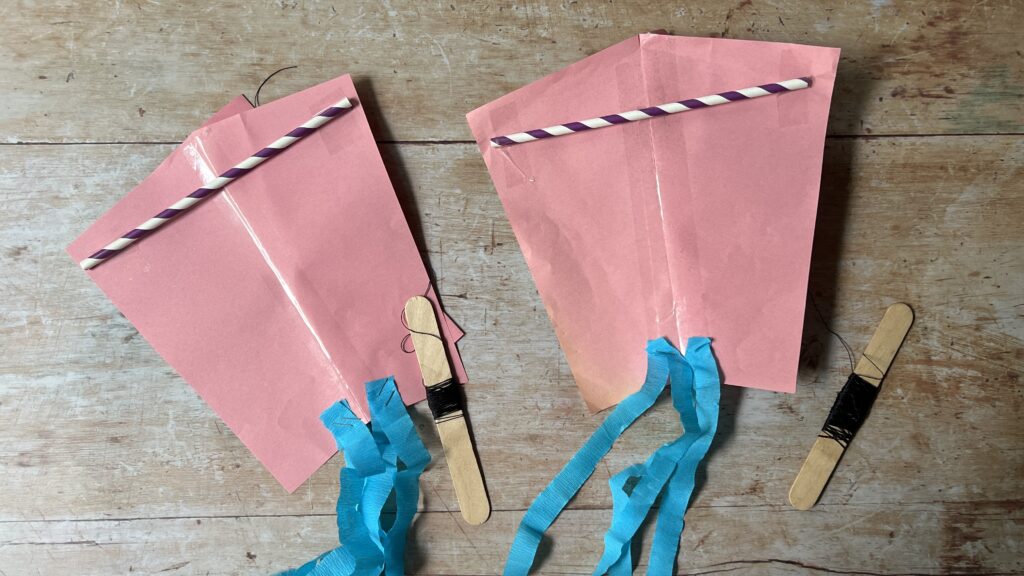
You can also experiment with the angle of the fold – as you can see in the picture below, one of the kites is slightly wider at the top than the other, because despite making the guidance marks we slipped a little when creasing along the fold. Most importantly, go and have fun with your kite!
If you enjoy the activities on my blog and would like to support me in creating more great content for you, I am always grateful for donations to help with the running costs of the blog.