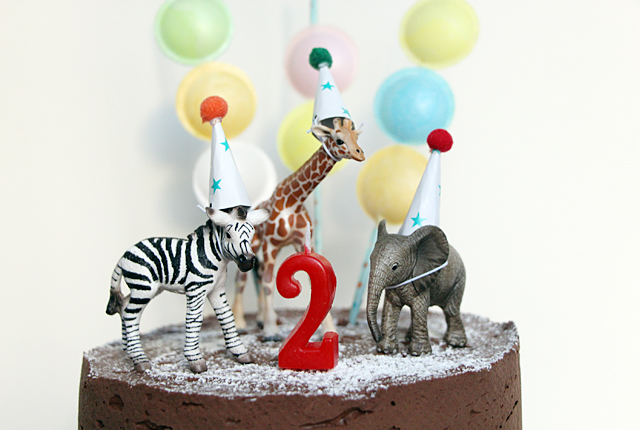
Hooray for Hat! Birthday Cake Decor
Another week, another birthday. In November, birthdays are a bit like buses in our house – you wait for ages, then two come along at once! Having made such an epic cake for his big brother just over a week before, which took several hours to decorate (baking time not included), I was faced with the dilemma of finding something that was equally spectacular but at a fraction of the time and effort. Because as much as I don’t want either of my boys to feel like they’re losing out to the other, I was experiencing a bit of cake fatigue. So, today I’m going to share with you how I made a super easy birthday cake, inspired by Brian Won’s fabulous picture book ‘Hooray for Hat‘ (Amazon affiliate link) – a much loved favourite in our family – which had all of the spectacular impact I was aiming for, but took next to no time to put together.
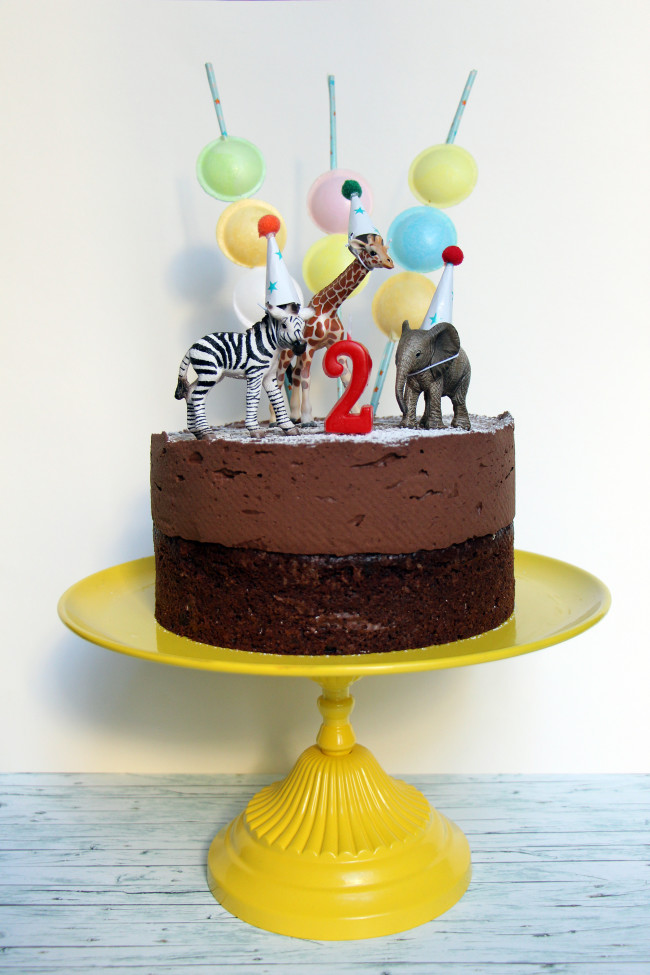
You too can put together a cake like this in three simple steps!
Step 1: Bake a chocolate cake of your choice! Okay, that sounds a bit like a cop out, but this post isn’t about the baking, it’s about the decorating. Any cake will do, and ready mixes are totally allowed. Heck, it doesn’t even have to be a chocolate cake. I’ve made this cake from scratch in the past, but on this occasion I used a gluten free ready mix, baked in an 18cm diameter tin. To give the cake some extra height, I added a truffle topping – melt 300g of dark chocolate (70% cocoa) and leave to cool. Whip 450ml double cream in to stiff peaks. Fold the chocolate in to the cream until fully mixed and spoon on to the cake, then leave to set in the fridge overnight. A super easy way to spruce up a ready mix cake. And if all of that still sounds like too much, you can even go out and buy (gasp) a ready made cake from a shop, then add the decorations to give it your own flair.
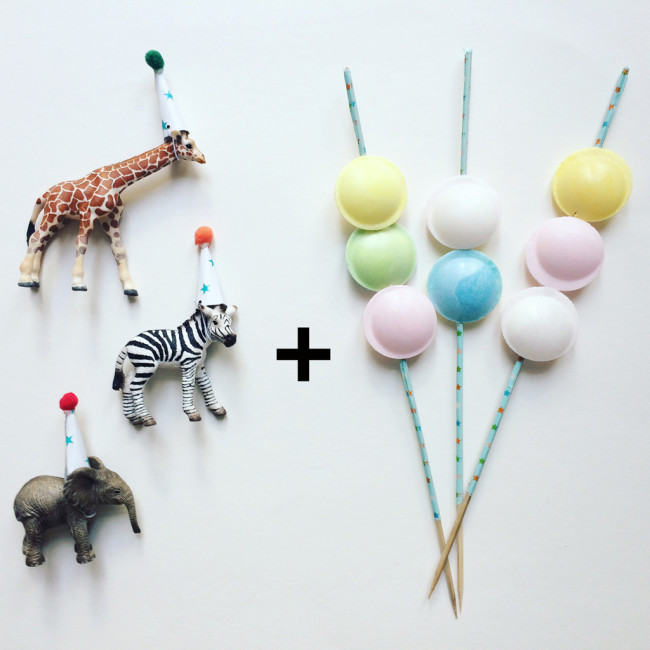
Step 2: So, let’s move on to the decorations then. These come in two parts: the party hat animals, and the candy skewer background. Let’s start with the animals.
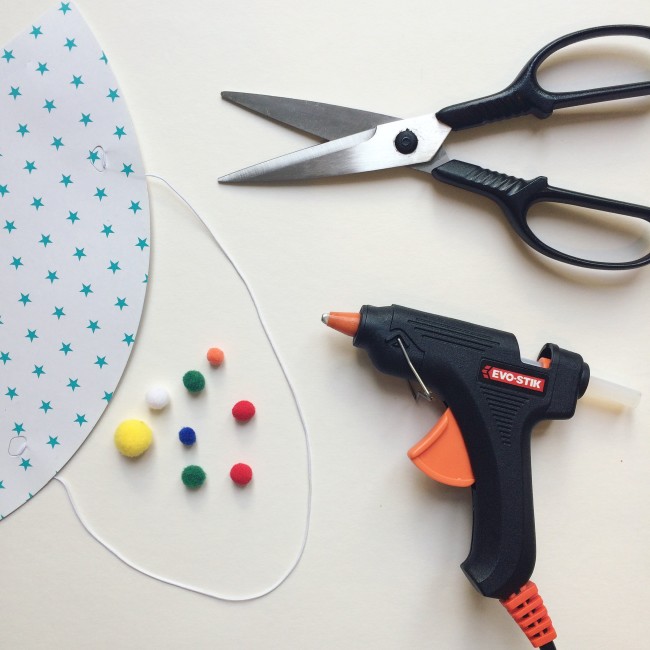
You’ll need some small plastic animals of your choice – I went with three of the animals from the book, these ones are from the company Schleich, which are on sale in every toy store here in Germany – colourful thick craft paper or thin cardboard (I cut up one of the party hats I’d bought for us humans), sticky tape, some elastic string, mini pompoms, a pair of scissors, and ideally a glue gun as that’s the fastest and easiest way to make the pompoms stick.
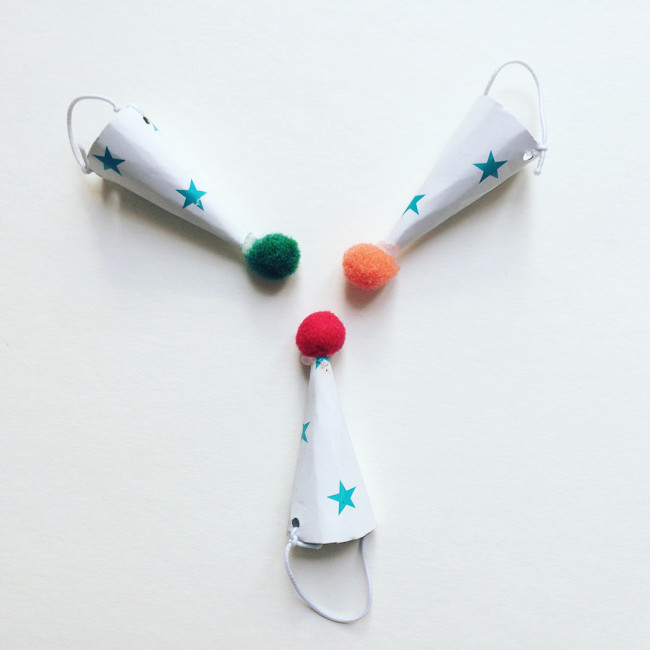
Cut out pieces of cardboard roughly a third of a circle in shape, and roll them in to little cones. Secure them with sticky tape. Glue the mini pompoms on top. piece holes either side with the tip of the scissors, then tie on some elastic string – make sure to measure on your animals how long the elastic needs to be, as each of my three animals needed a different length for the hats to sit securely.
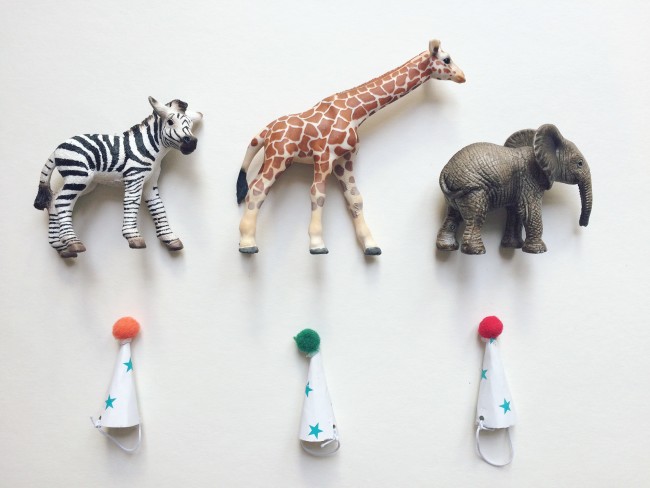
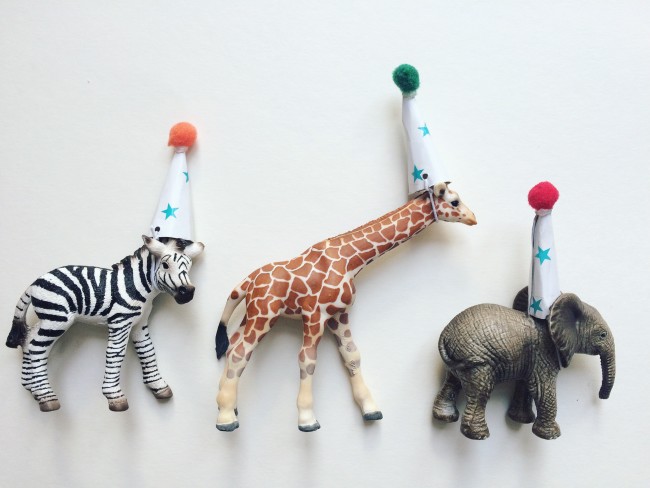
Don’t they look adorable in their little party hats!
Step 3: Right, lets move on to the candy skewers. These are even simpler – no special tools or glue guns required. I first made these for last year’s round of birthdays, and they have become my go to cake decoration. I’ve used them on about half a dozen cakes for different occasions since then. There’s really no easier or quicker way to spruce up a cake and give it that hint of fabulousness. Well, okay, maybe there is. But these skewers definitely ranke high on the list of easy-peasy cake decor tricks.
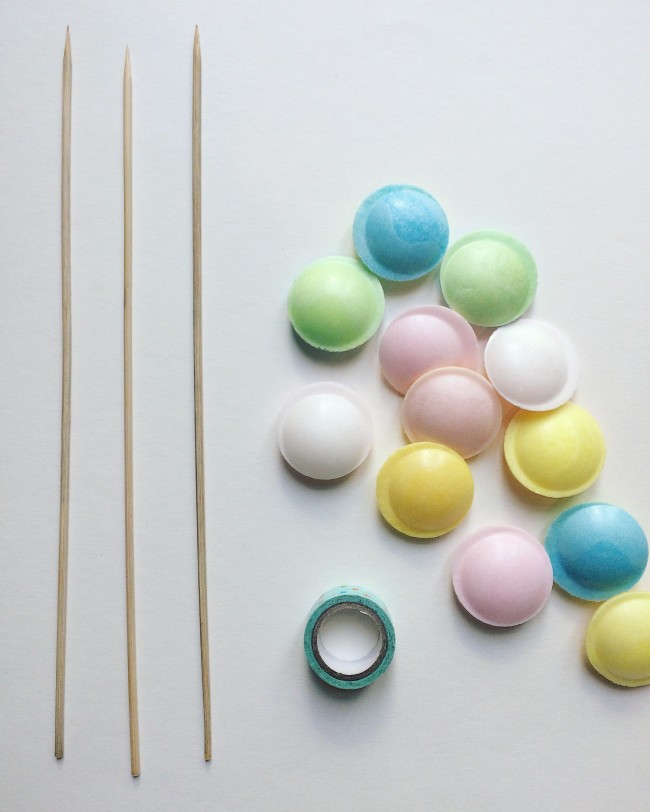
You will need some wooden BBQ skewers, some flying saucer candy/ sweets, some washi tape. That’s it!
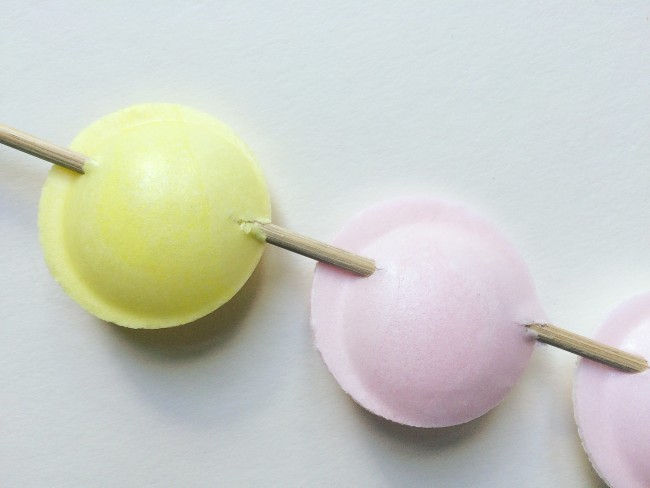
Pierce a couple of flying saucers on to each skewer – here’s what the backside of it looks like.
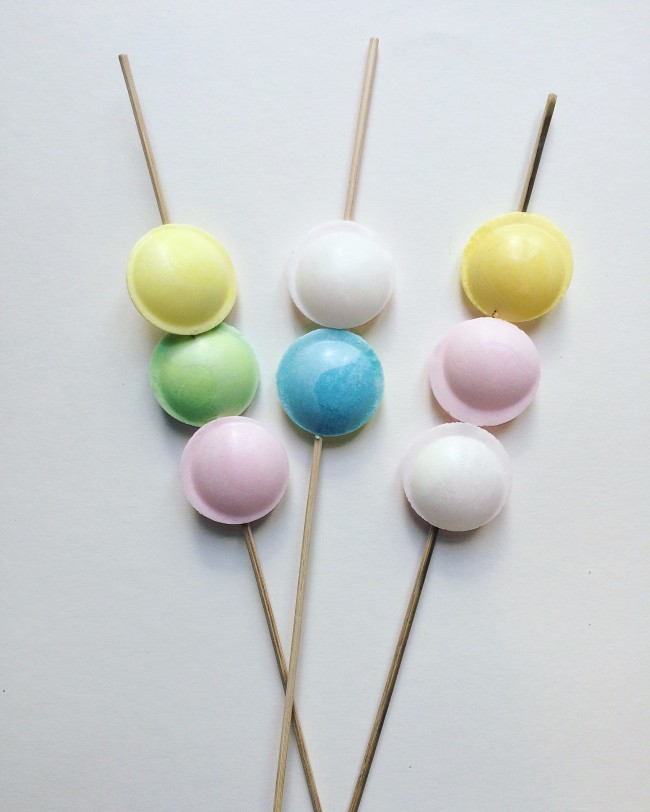
The front looks like this. I like to vary the number on each skewer for a bit of variety.
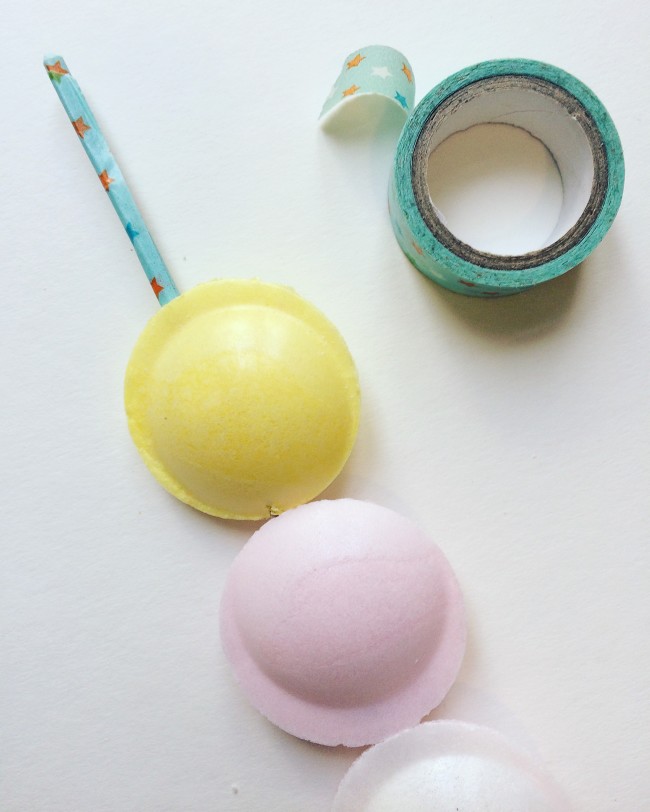
Then wrap pieces of washi tape around the exposed wooden ends of each skewer.
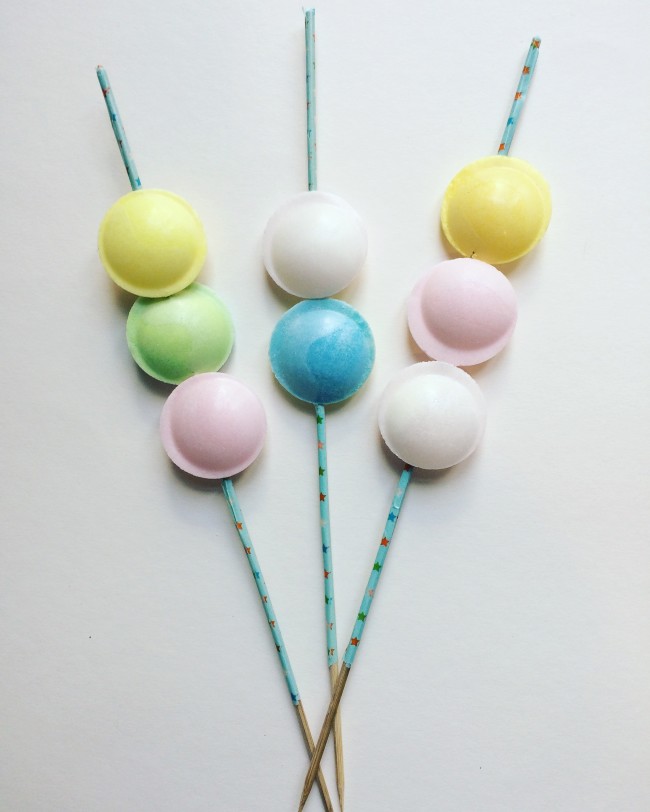
And you’re done! (Almost) instant cake decor gratification.
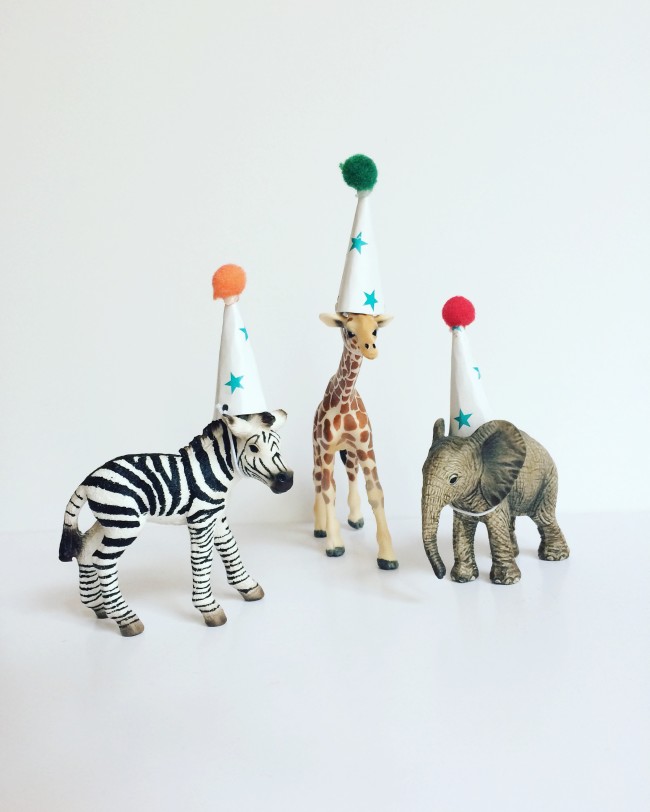
Now you’re ready to put it all together. Did I mention how cute these guys in their little hats are? They can’t wait to jump on to that cake.
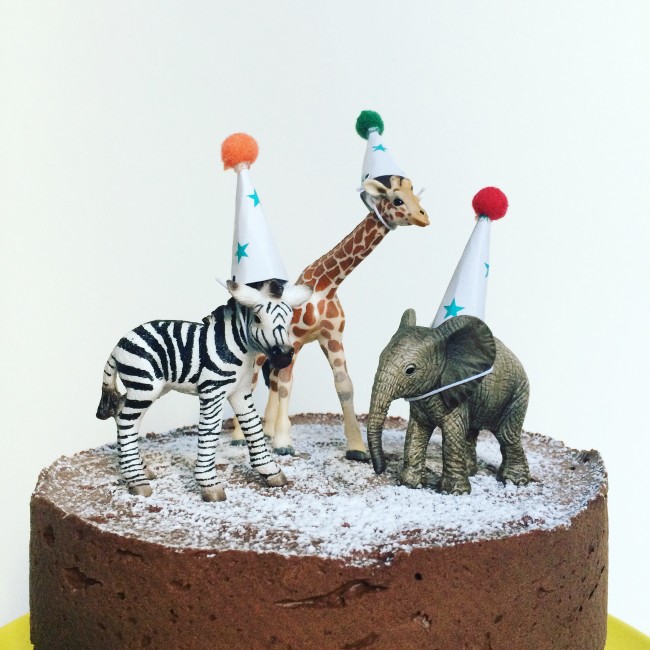
Simply position your animals on the cake until you are happy with how they are grouped (I also sprinkled some icing sugar on the top of the cake first, for added effect)…
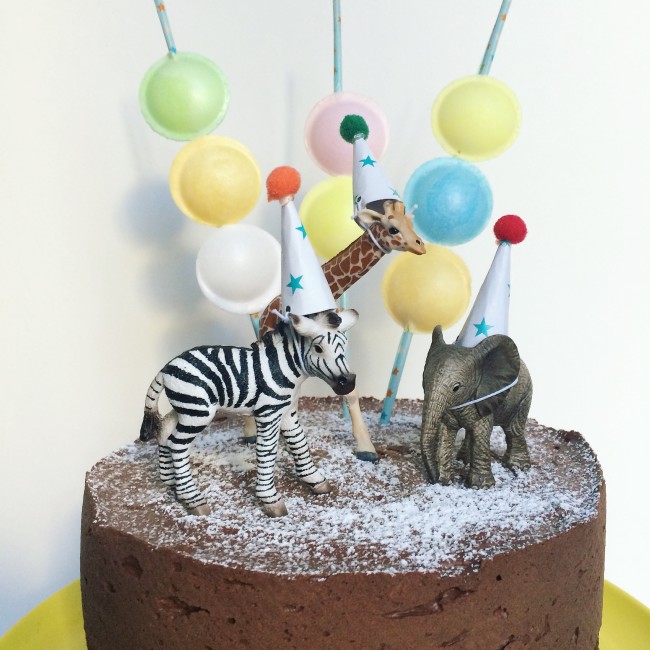
…then stick the candy skewers in to the cake behind them. It really is that simple!
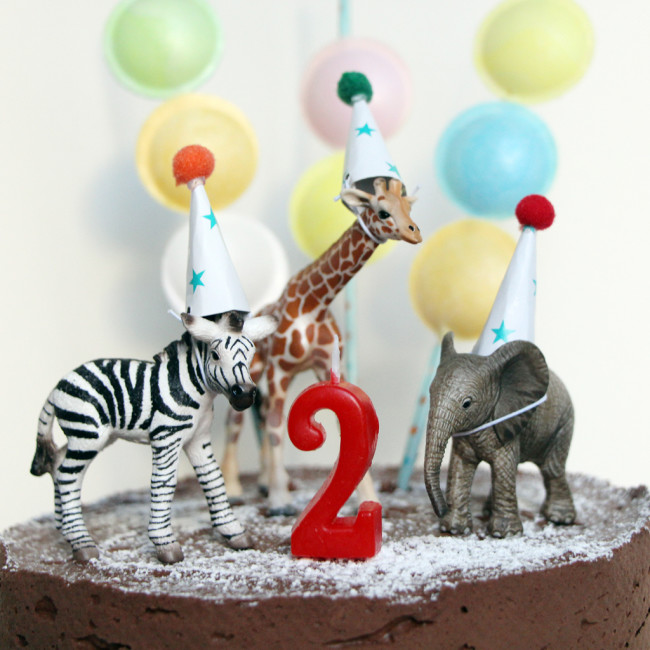
Since this was a birthday cake, I also added a candle in to the middle of the cake. Happy Birthday, Fantastic Mr Fox! Can’t believe you’re 2 already. And may I just say, how fabulous you look in that hat. Hooray for Hats! And Hooray for Birthdays!


Pingback: 9 Zoo-Themed Cake Ideas for First Birthday Parties
Laura Trigg
Love this! So simple but so effective. I think I will try something similar for Amy’s 2nd birthday – she loves giraffes, so I might do a little family of giraffes on top!
Tamsin
Such a gorgeous cake! Love the yellow cake stand too. May I ask where it’s from? x
Jenni
Thank you, I’m glad you like the cake. The stand is from Ikea.
N
Can I just ask, do you leave the cake in the tin and put the topping on to set? I can think how else you’d get the nice smooth edges?
Many thanks- gorgeous cake, totally stealing the idea xx
Jenni
Thanks for commenting, Nadine. Once the cake rises, it takes up most of the baking tin but I lined the tin and I made the grease proof paper an inch or so higher than the baking tin, which then acted as a kind of cuff to spread to topping out in. I used a spring-form baking tin, so I did keep the cake in the tin but loosened the tin while it was cooling down. I then retightened it to put on the topping, and once that had set I removed the ring of the tin and carefully peeled off the grease proof paper cuff. I think I’m describing it to sound more complicated than it was – I hope you know what I mean!
Pingback: Party Animals Birthday Party Ideas
Pingback: Zoo-Themed Cake Ideas for First Birthday Parties