Kids Activity Travel Kit
We are moving house next week, and the last couple of nights we’ll be staying at a friend’s house. Then another couple of nights in a hotel at the other end until our things arrive. In the mean time, I need to find a way to entertain the boys, who have been getting increasingly grumpy as more and more of their things keep disappearing in to boxes, so after spotting two cute little metal cases on sale at H&M, I decided to make them some activity kits to pass the time.
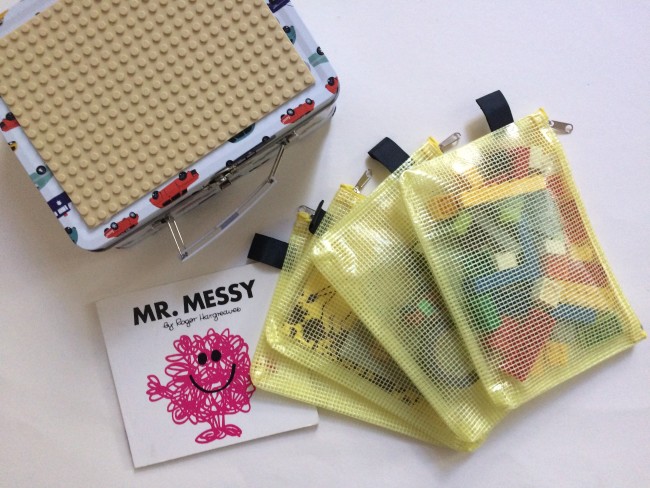
Yes, I know, I shouldn’t be buying more stuff when we are trying to squeeze everything in to a finite number of removal boxes, but these will be going in their hand luggage anyway. They’d also make great little kits to take when travelling e.g. on holiday. I’ve made a quick little video to show you how I made the kits:
Or if you’d rather have the longer, more detailed step-by-step tutorial, read on…
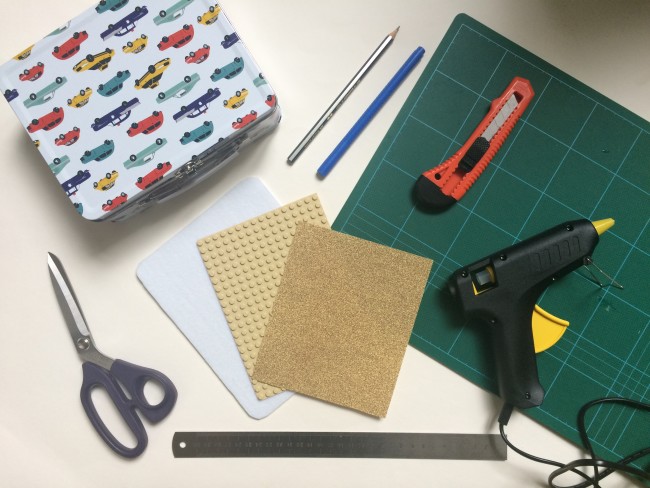
Here’s what you will need to make the case:
- one small metal carry case – these ones were just a little bit bigger than size A6
- a piece of thick felt
- a felt pen
- sharp scissors
- a Lego base sheet
- a pencil
- a metal ruler
- a craft knife
- a cutting mat
- some sandpaper
- a glue gun
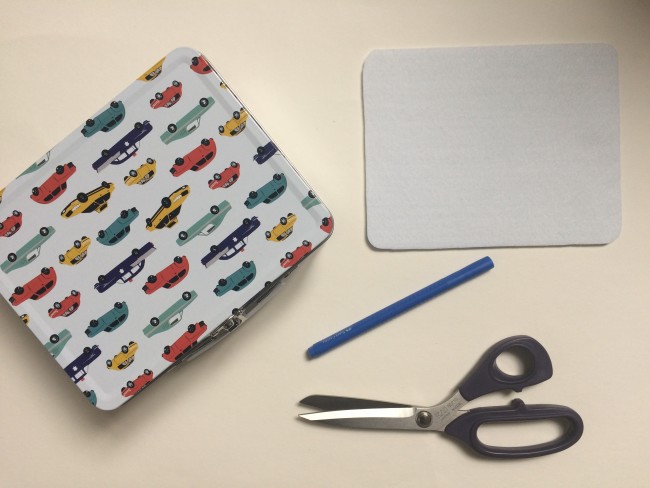
Step 1: Cut a piece of felt to snuggly fit the inside of your metal case. For this, I place the case on the felt and drew around the bottom of it, then cut it out exactly on the line. I was planning on trying to glue it in place, but it wasn’t necessary. This wouldn’t work so well with thin felt, so it needs to be the thick kind.
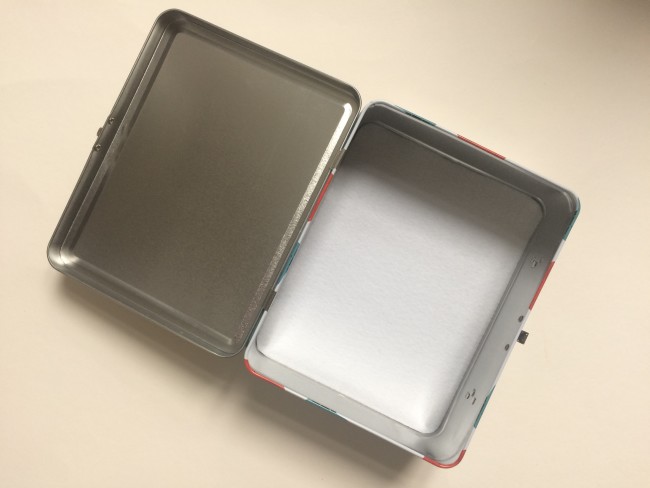
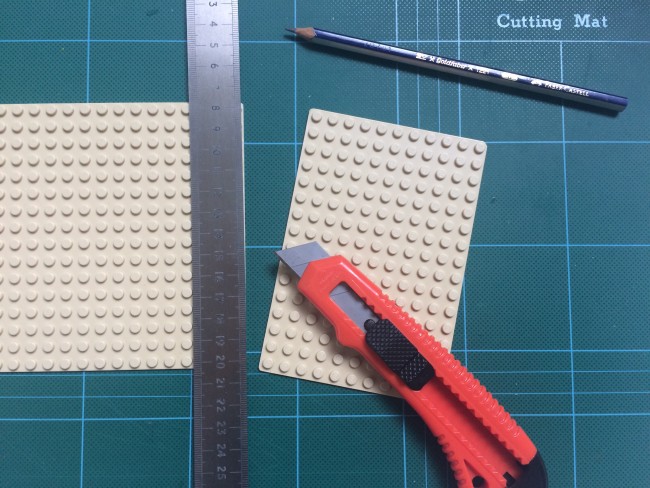
Step 2: Cut your Lego base sheet to size. For this, I measure the size I would need – to fit the inside rim of the lid of the case, so that it lies flat – and marked where I needed to cut with the pencil. Then I cut along the metal ruler with the craft knife. Note: I noticed to late, that the Lego sheet in the photo above is the wrong way round. It’s better to cut it on the underside, so the ruler can lie flat on it. Next, use the sandpaper to smooth the cut edges and round off the corners.
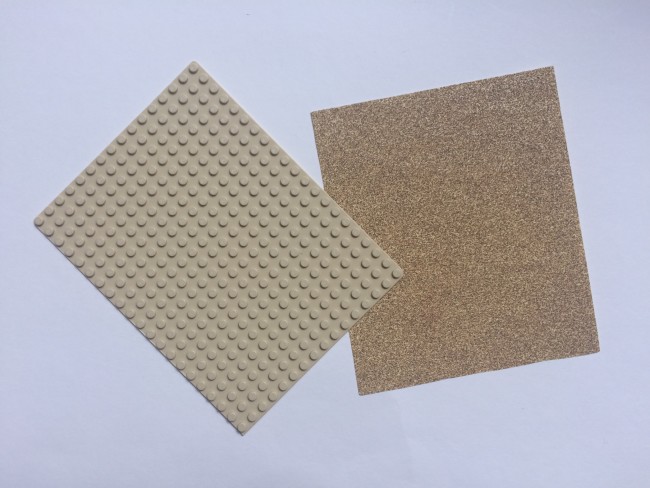
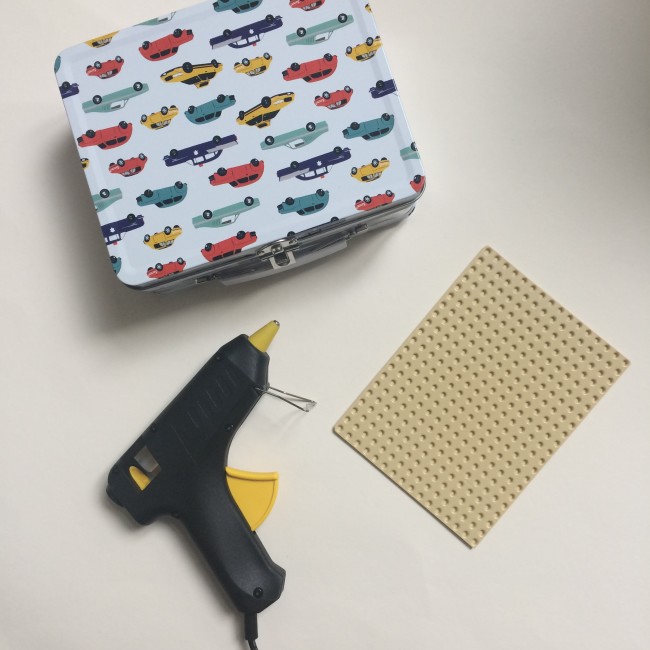
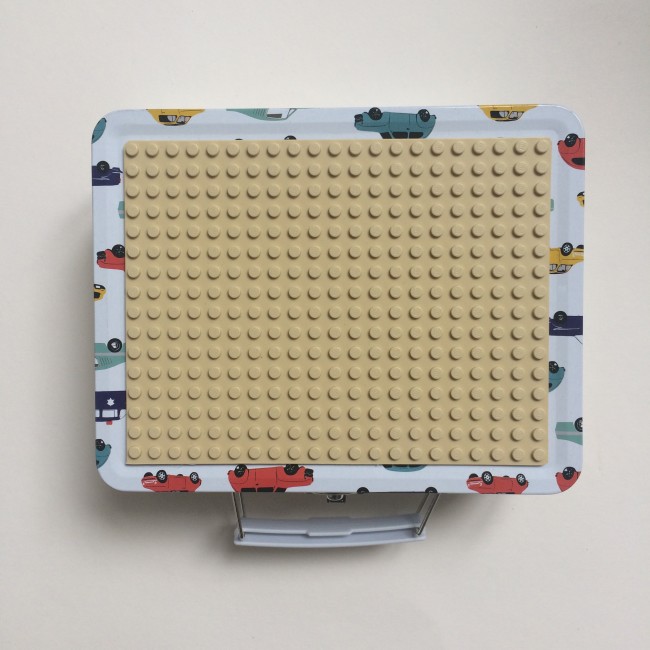
Step 3: Glue the Lego sheet (the right way up, this time) on to the lid of your case with the hot glue gun. Apply the glue to the Lego sheet. Go once round the rim and then add a squiggle of glue in the middle for good measure. Make sure you let the glue get really hot, else it won’t stick properly. The first case I did, I was too quick and the glue was only half heated up. The whole thing came off again, and I had to scratch off all the dried glue and start again. Uff.
Now comes the fun part – filling the case. To stop everything being jumbled together (to least until the kids get their hands on it), and to stop the entire contents spilling out if the lid falls open, I decided to get little zipper bags to put inside, with an activity in each. Four seemed the right amount when filled, to still get the lid closed. Our local DIY store had sturdy little zipper bags in size A6, just a perfect fit for my tins. And they had them in different colours too, so I got yellow for one kid and green for the other.
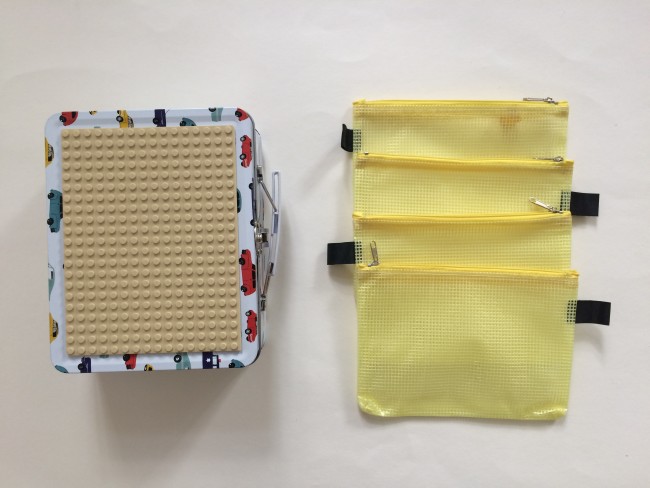
So, what did I put inside?
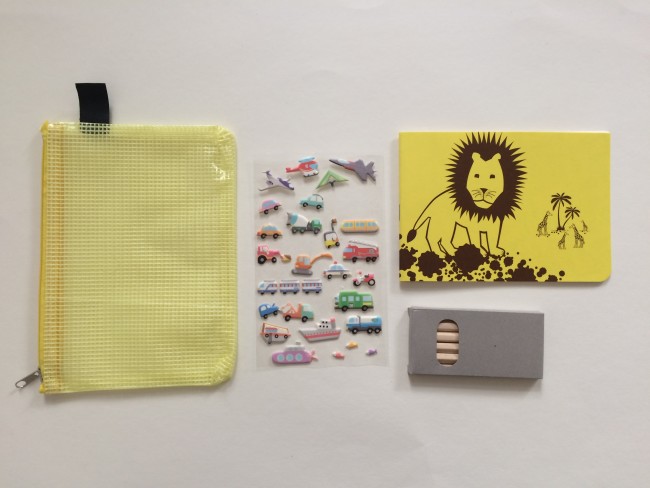
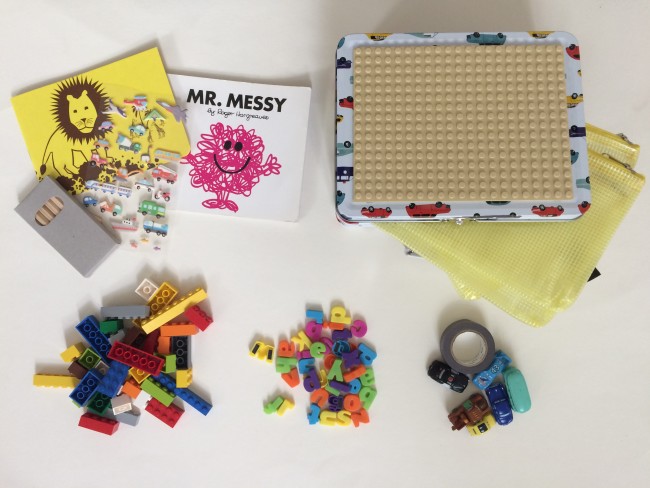
Bag No.1: A classic travel activity – a sketch pad and coloured pencils. I couldn’t find any A6 sketch pads that didn’t cost a fortune, so I bought some cheap, blank A5 school jotters and cut them in half. As well as the mini coloured pencils, I also included some stickers. My two year old still struggles to peel off stickers, so these 3D stickers were a great find as they work much better for him.
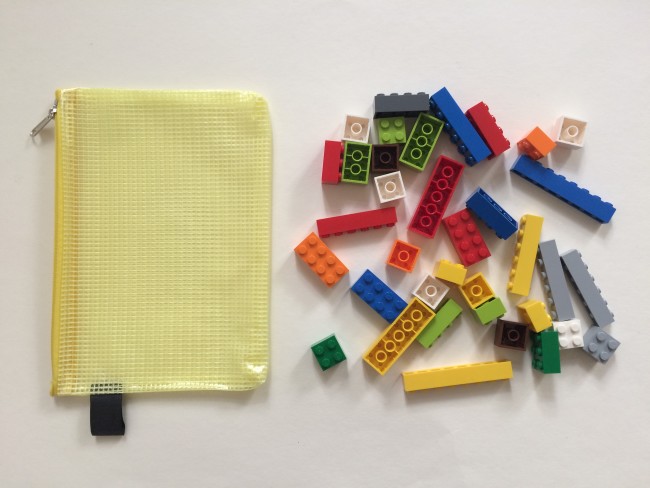
Bag No.2: Lego! Now the Lego sheet glued on top makes more sense, right? They can use the Lego bricks to build something on top of the case. I just grabbed a big handful each from our miscellaneous Lego brick box. My two year old is fine with these small Lego bricks, he has never tried to put any in his mouth, and Duplo bricks were to big for the case. Also, I didn’t put in any bricks that were too tiny. But each child is different so you will know best what size of Lego bricks to trust your kids with.
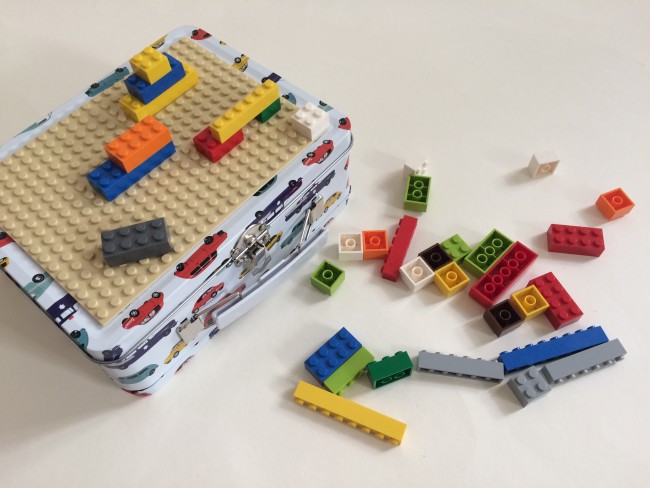
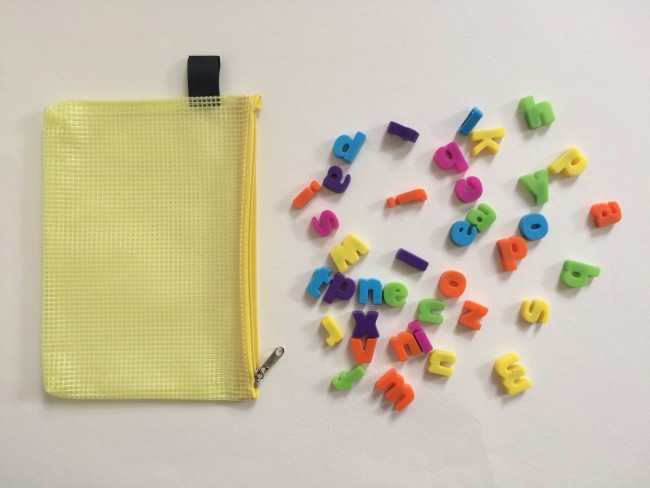
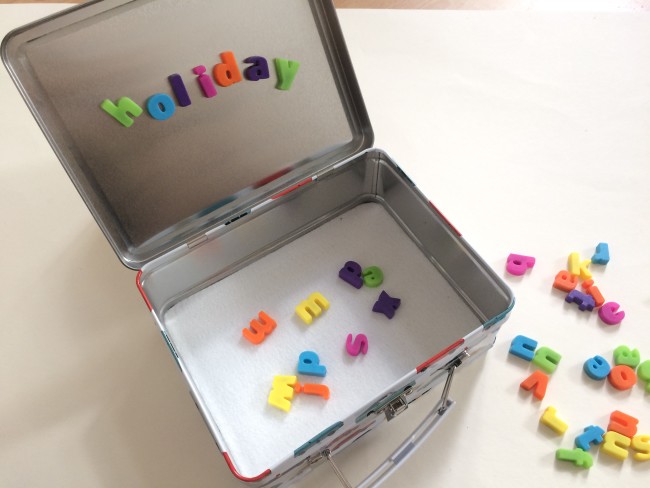
Bag No.3: Magnetic letters. Since the case is metal, the letters stick to it. The kids can use the inside of the lid as a ‘board’. Again, these are rather small, so you must decide for yourselves if your kid is ready for them. You can also get bigger letters.
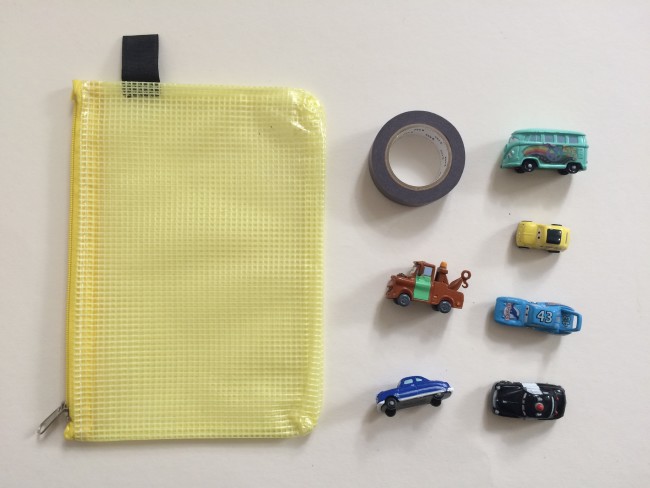
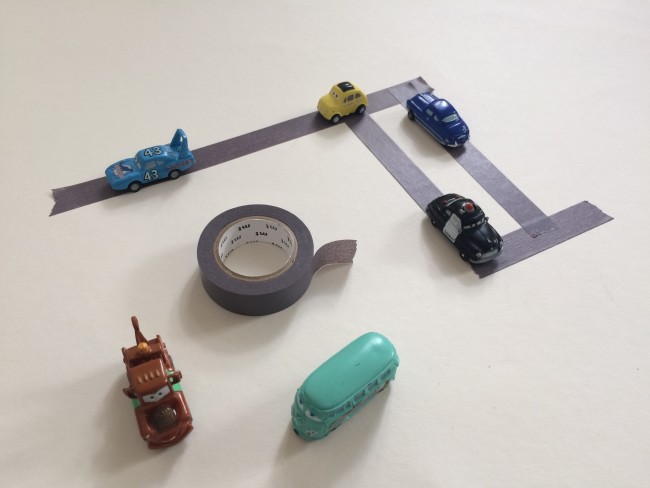
Bag No.4: Mini cars and washi tape. I think this is my favourite bag. I still had a load of mini Pixar Cars from a couple of year back, when we collected them from Kinder Surprise Eggs. They previously put in a stint as cake toppers, at my elder son’s Cars birthday party a few years back. Now they are getting a new lease of life in the travel kit. But you can also buy mini sized cars in the shops. The kids can use the washi tape to create roads for the cars, which can easily be removed afterwards.
So that’s what I put together for the travel kits. Times two – once in yellow, and once in green (though the contents are exactly the same). I also added a new Mr Men book for each of the boys.
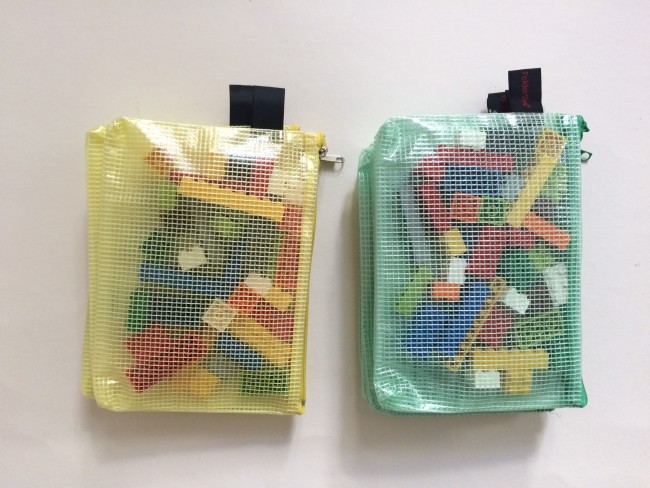
And in to the cases the bags go…
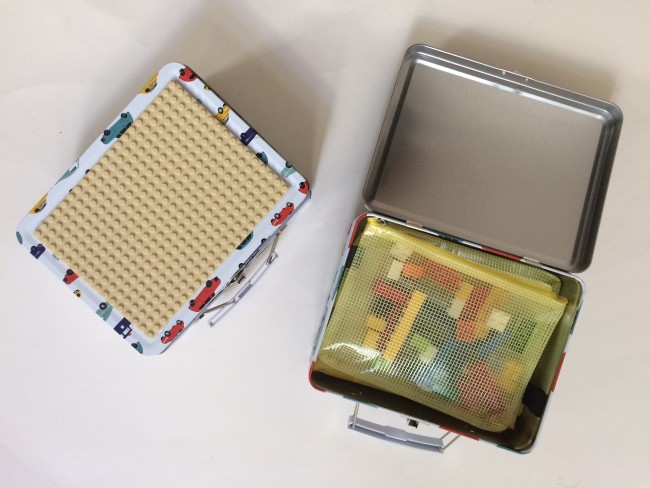
I’m so pleased with how these turned out. I hope the boys like them!
What about you? Have you ever put together a travel activity kit for kids? What did you or would you put inside them? I’d love to hear about it, just leave a comment below!


These are great! Enough to set their imaginations running but not too much to takeover a space. Very creative!
Love this – what a genius idea. I’ll be trying this out for our next holiday for sure.
Honestly Jenni, you are super talented – this is such a great idea. X
What a brilliant idea! Hope your move goes well and your boys love them!
Oh what a fun idea. This is perfect for traveling
What a brilliant idea. I love it! I have just the right sort of metal case to replicate this for our forthcoming USA trip next month. This post couldn’t have come at a better time!
These are such good ideas, I’d have never thought about something like this. Thankfully a book used to be enough for me for when I was a kid x
That is so amazing, you are really creative and super talented! There’s a business idea in the making there!
I will try making this type of case with the kids. Sounds like a fun craft.
Great ideas! Maybe we will try and take some lego on holiday… Good luck with the move!
This is such a great kit! I’ll definitely be keeping in mind for when we are off exploring!
What a fabulous idea. I’m so going to make this for mine this summer!
These are such great ideas; I’d have never believed about something like this. Thankfully a book used to be just for me for if I was a kid Yummy
The Kids Activity Travel Kit is a lifesaver! Packed with fun, educational activities, it keeps kids engaged and happy on-the-go.
Thank you x
The Kids Activity Travel Kit is a lifesaver for parents, offering diverse activities to keep children engaged and entertained during journeys, ensuring smoother and happier travels for the whole family.