DIY Cardboard Box TV
This week’s summer camp craft project is a little more complex, but it is a super fun one. We are going to make a TV out of a cereal box and cardboard tubes, and then draw a ‘film’ to show on the TV.
Who is this activity suitable for? Older kids can help to make the TV box itself (some of the cutting may require adult assistance, even for more independent kids, especially is using a craft knife). For younger kids, adults can make the box for them. Kids of all ages will enjoying drawing the pictures to go in the TV.
Here’s what you’ll need to have ready:
- An empty cardboard cereal box (or a box of a similar size)
- Two cardboard tubes that are long enough to be at least 5cm wider than your box. We used two tubes from empty kitchen paper rolls. If you can longer tubes you can cut them to size.
- Scissors
- A craft knife and cutting mat if you have them, otherwise you can manage with scissors.
- A couple sheets plain white paper.
- Colouring pencils.
- A black pen.
- 6 – 8 small rubber bands (optional).
- A sheet of coloured paper.
- Glue stick.
- Sellotape.
- Masking tape.

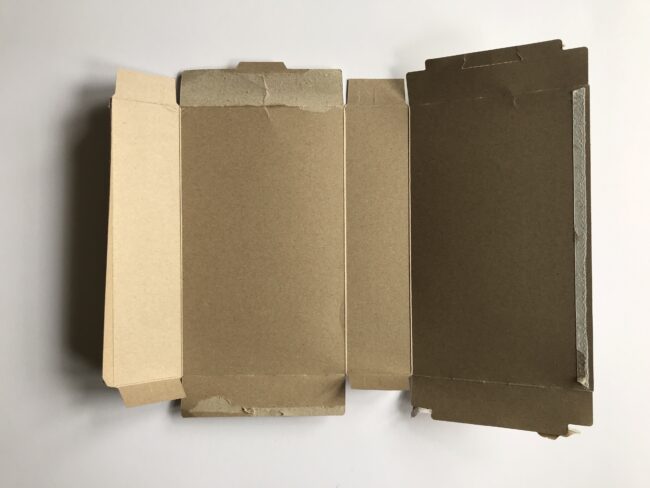
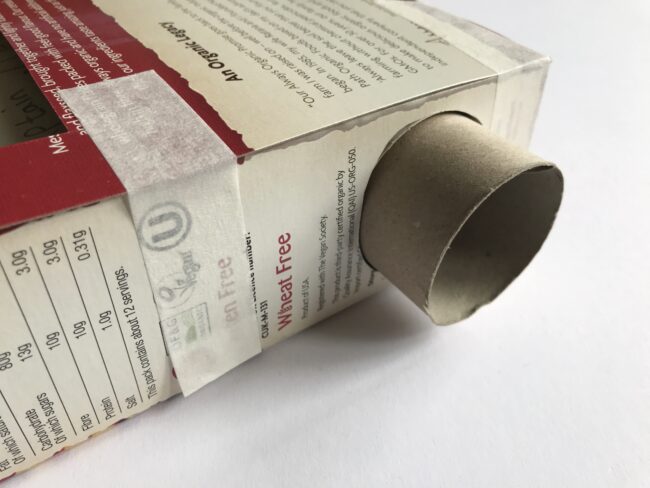
Step 1: Carefully take apart your box, as shown in the picture below.
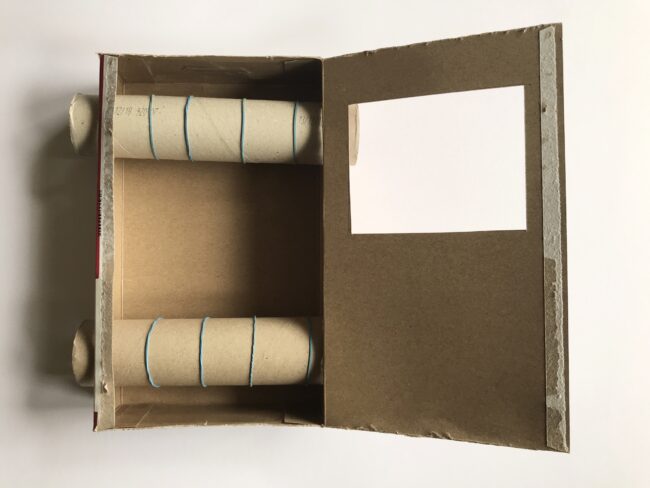
Step 2: About 2cm from each end, on the narrow panels of the box, draw around your cardboard tubes and cut out four circles. The tubes should be able to fit through and turn around, so if the holes are too tighter cut them a tiny bit wider. On the large outermost panel, about 3cm from the top, cut a window the size that you want your pictures to be. See the picture below for reference. Don’t throw away the piece you cut out from the window!

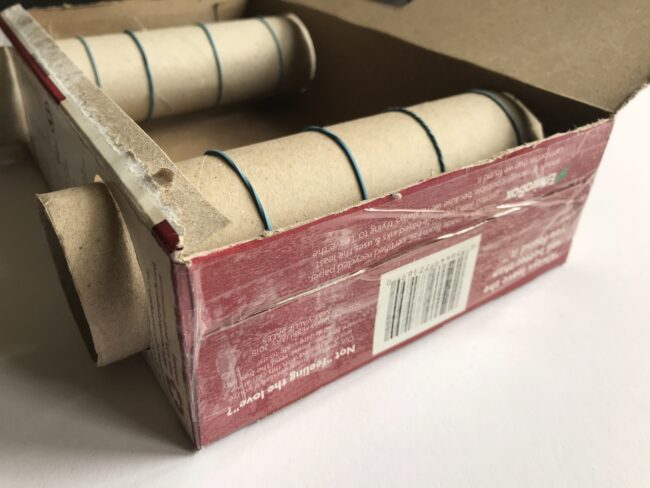
Step 3: Thread a couple of rubber bands on to each cardboard tube, and insert the tubes in to the holes you have cut. The rubber bands are optional, but make the paper grip better.
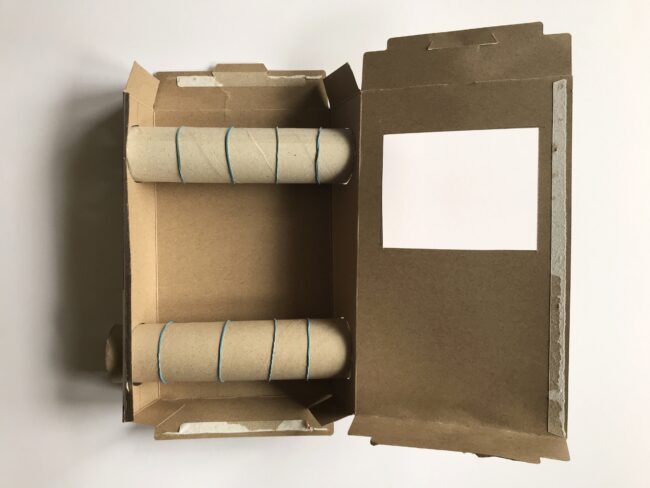
Step 4: Tape the top and bottom of your box back together, but not the side! Then cut along the top and bottom so that the panel with the window in it opens. See the two pictures below for reference.
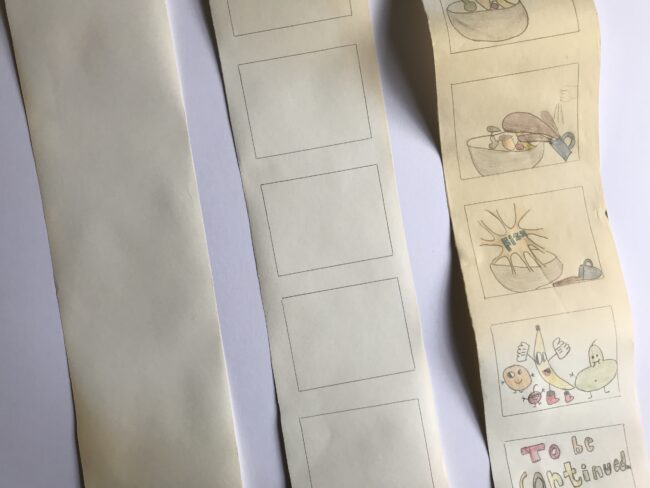
Step 5: Now it’s time to get drawing. Cut plain white sheets of paper to a couple cm less than the width of your box and glue them together to make one long strip (we actually had a big roll of paper, so I just cut a strip from that and cut it to the right width). Use the piece of cardboard you cut out from the window to draw around so that you know exactly where your pictures need to go. It’s up to you how many pictures you want to draw. Leave about 5cm blank space above your first picture, and about 2cm in between pictures. Under your last picture you need to leave blank space that is at least as much as the space below your the window you cut in your box.
Tip: Do not leave your paper on a south facing window sill! Unfortunately that’s exactly what I did, before I got around to putting everything together, and the paper of comic strip my 9 year old had so carefully drawn got completely discoloured bu the sun. Sorry kid…
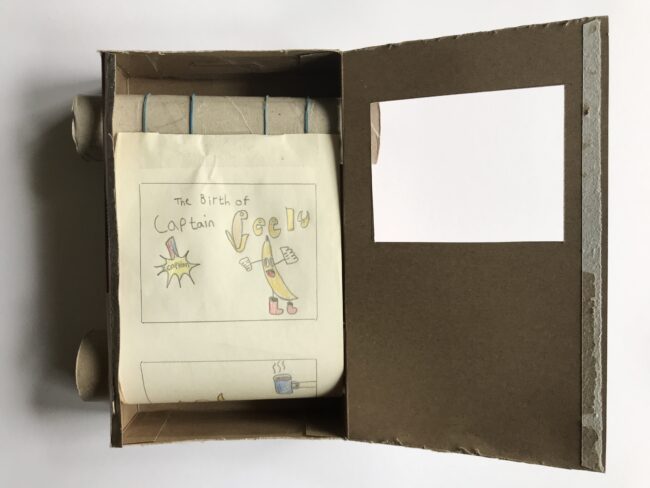
Step 6: Once you have finished drawing, tape the bottom of your strip of paper to the bottom cardboard tube as shown below – you can also see how we have left some blank space. Turn the tube downwards so that the strip of paper rolls up on to it…
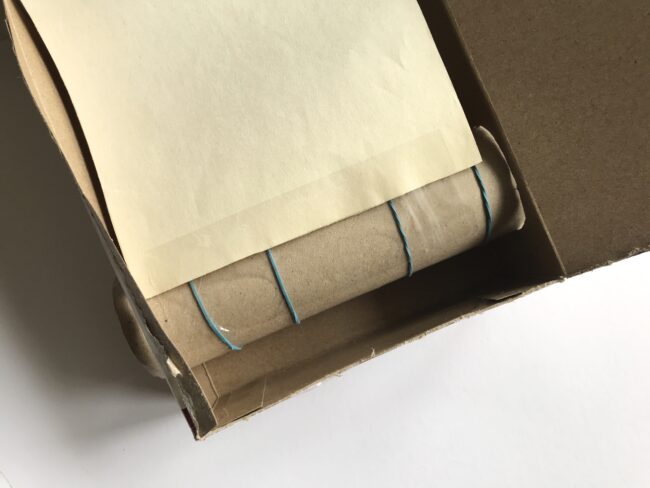
…until you have rolled it up enough so that you can tape the top of the strip of paper to the top cardboard tube.
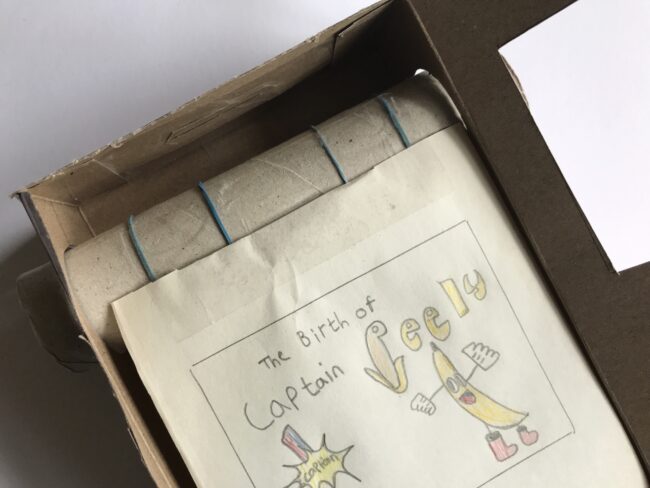
Your box should now look something like this:
Step 7: Close the box, and tape the side shut with masking tape. This makes it easy to open up again if you want to change over the paper with a different picture strip. I folded the ends of the mask tape under to create a little tab, so that we can easily pull it open if needed.
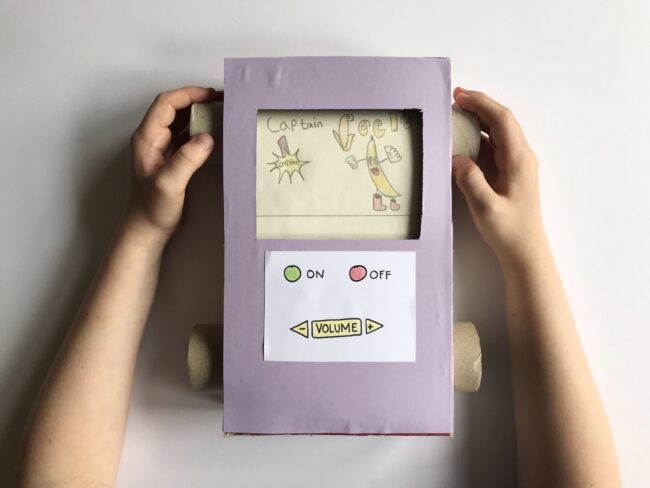
Step 8: The final step is to decorate the front of your TV box. We stuck on a sheet of coloured paper and trimmed it so size, then drew a control panel with on, off and volume buttons.
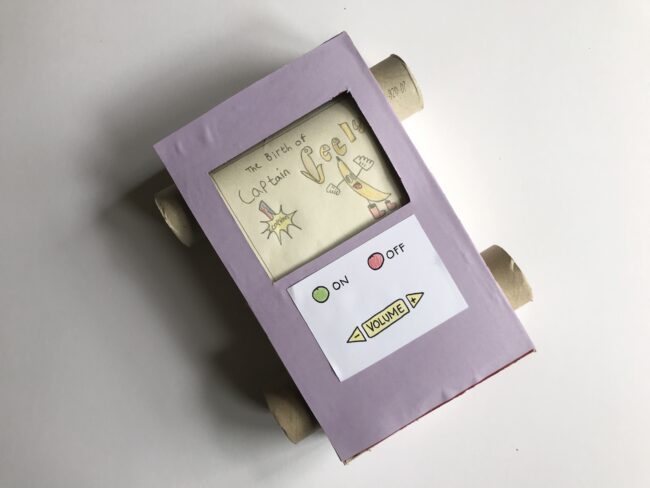
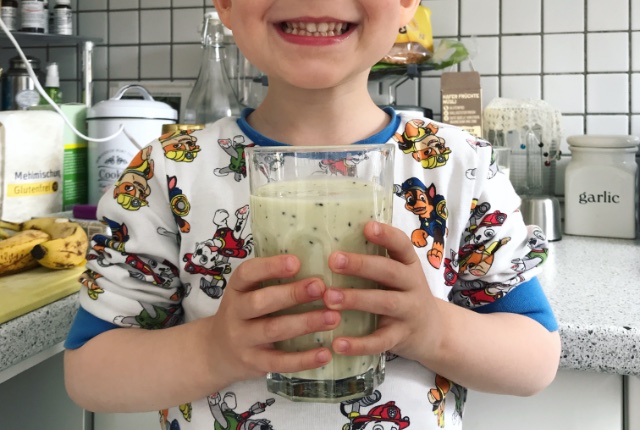
Ta da! That’s your TV ready. My boys are really chuffed with theirs and planning further stories to draw for them. Here’s my 9 year old’s TV in action:
If you enjoyed today’s activity, please feel free to leave a comment or tag me in on Twitter and Instagram. I would love to see pictures of your cards too, if you want to share. And in case you missed it, check out our other summer camp crafts. Remember to use the hashtag #BearAndFoxSummerCamp if you are sharing any photos!
[line]
All Summer Camp activities are free to make them accessible to as many people as possible. However, if you enjoy the activities and are able to, you can support me with a donation on Ko-fi. Just hit the button below. Every little helps and is much appreciated. Thank you.
One Comment