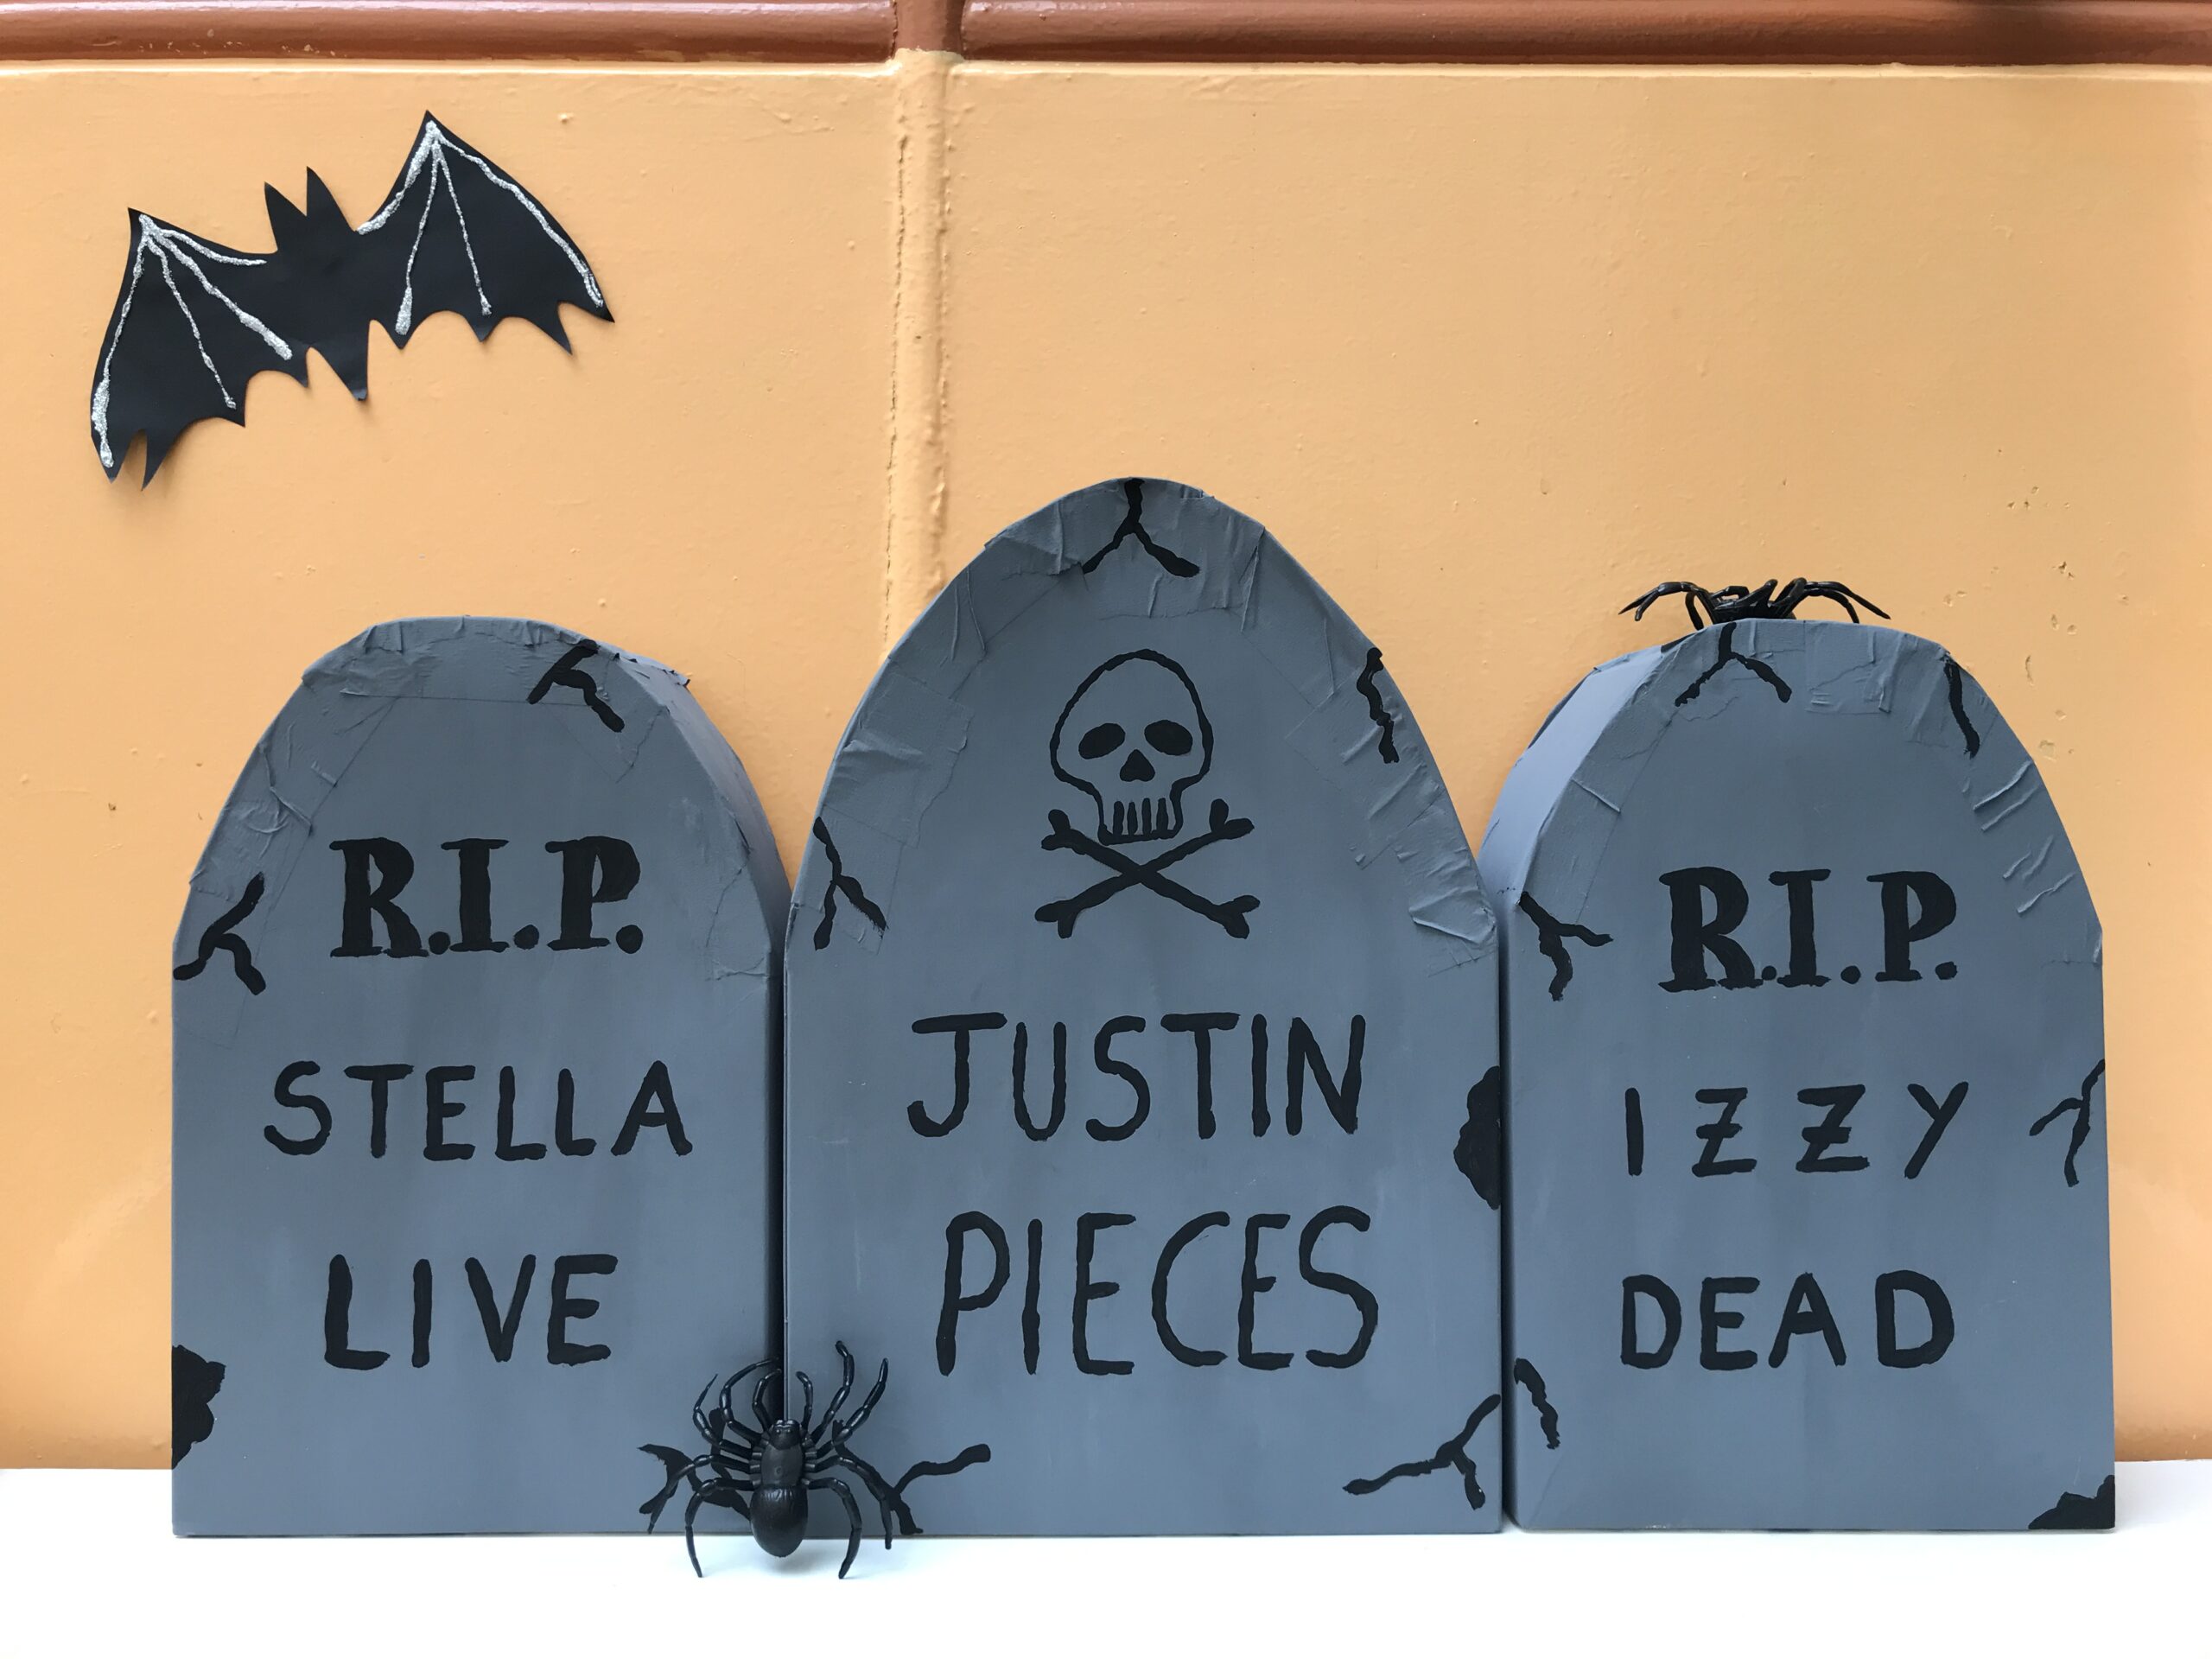
DIY Halloween Gravestone Decorations
With Halloween only a couple of weeks away, we’ve ramped up our decorating and have been crafting some spooky gravestones out of recycled cereal packets. These are really super simple to make.
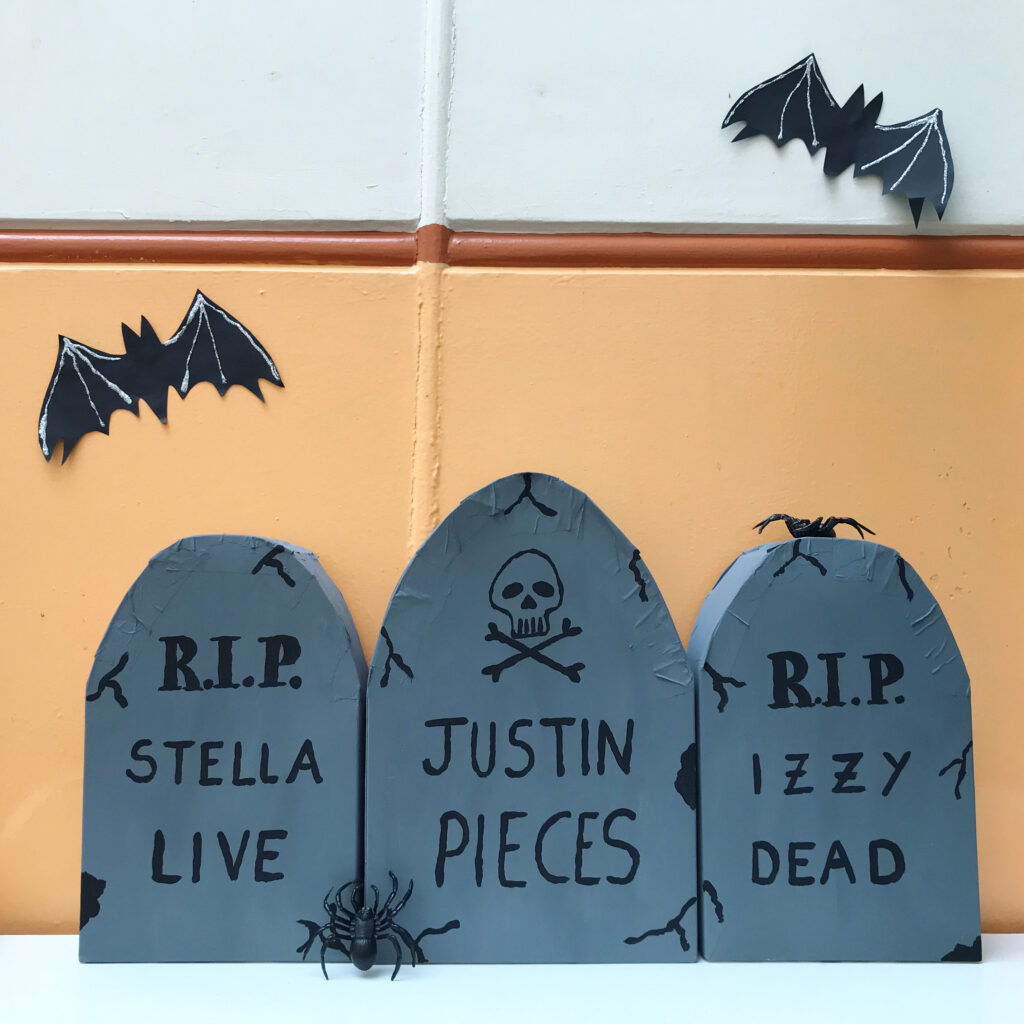
The puns are optional, haha. I made these while the kids were at school, to surprise them when they came home, but you could also do this as a family project and get the kids involved in the making.
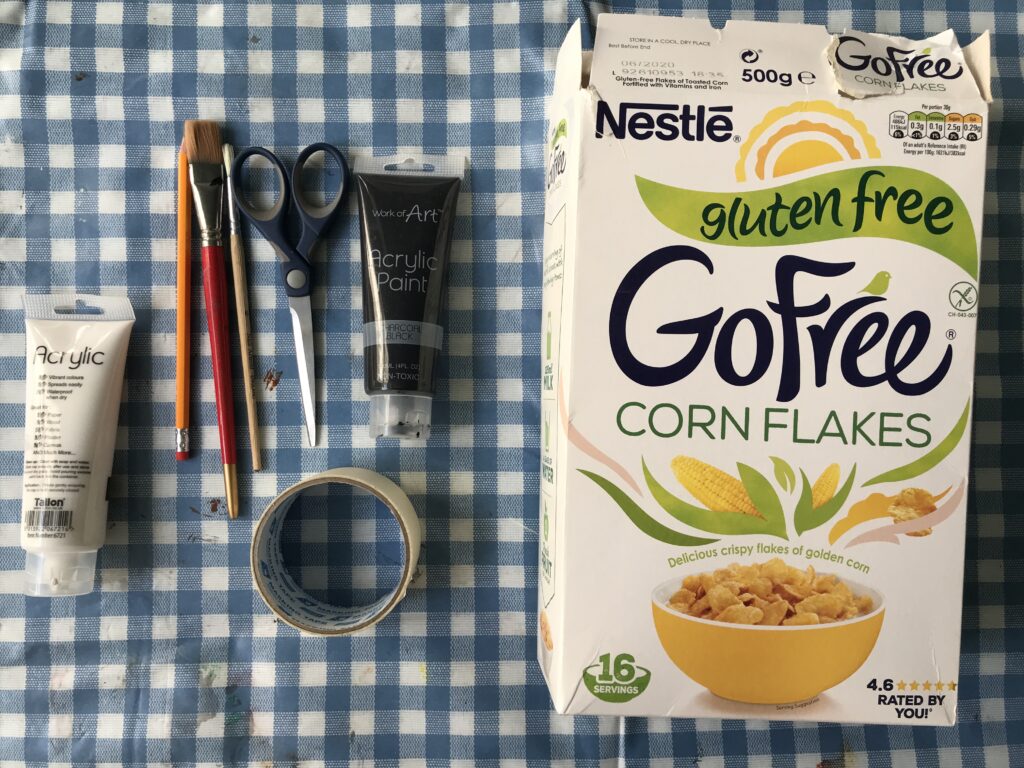
You will need:
- large empty cereal packet
- masking tape
- scissors
- black and white acrylic paint
- large and small paintbrush
- pencil (optional but useful)
Directions:
I’ve put together a quick video tutorial, but if you prefer you can also scroll down for a step-by-step photo guide.
Step 1
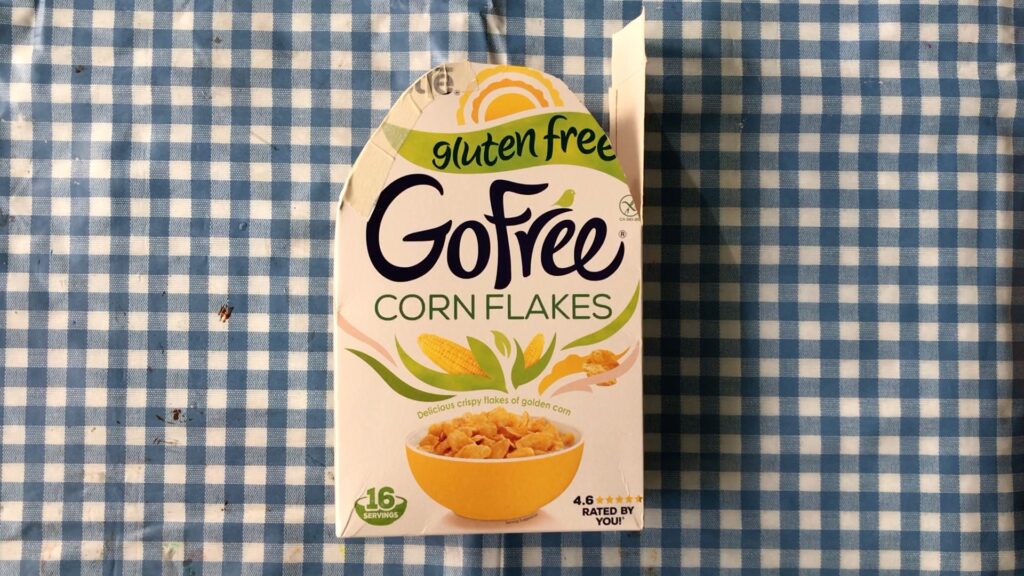
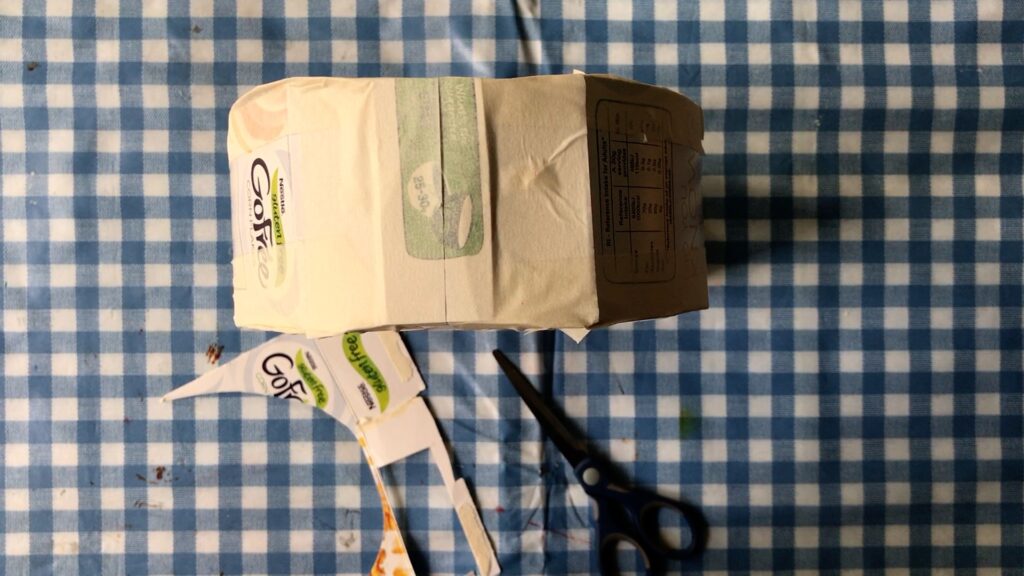
First, you’re going to cut round the top of the front and back of your cereal packet, to create a curve. You want the curve to go roughly a third of the way down. Don’t cut in to the sides!
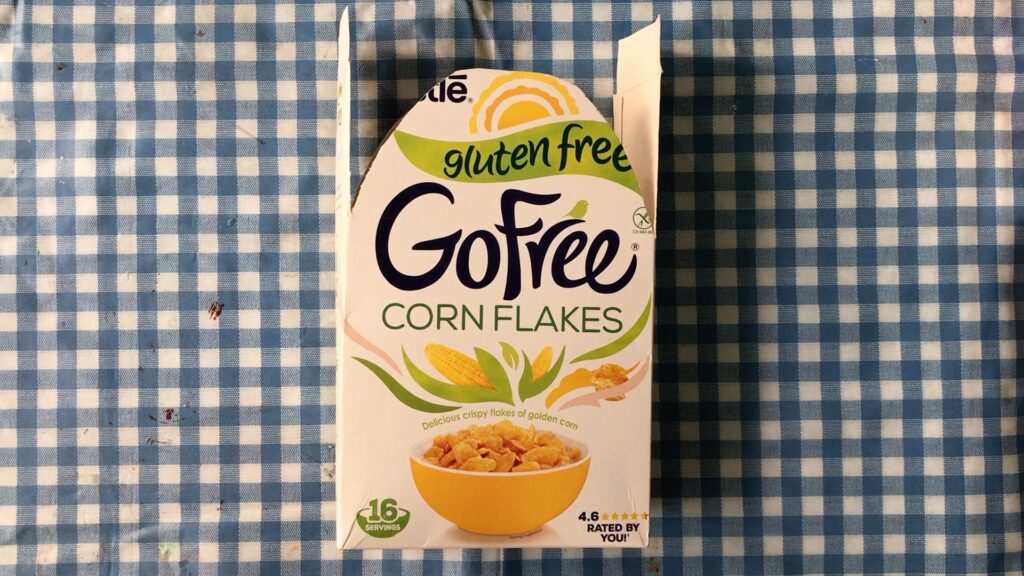
This is where the pencil comes in handy, to sketch out first where you’re going to cut. If you’re feeling super confident (I wasn’t) you could also just eyeball it. Tip: Cut the front first, then use the bit you cut out as a template for the back to that both sides match.
Step 2
Bend the sides of the cereal packet in so that they lie along the curve you just created, then stick them in place with the masking tape. You need to use masking tape for this, or other paintable sticking tape. Shiny tape won’t work as the paint won’t stick to it.
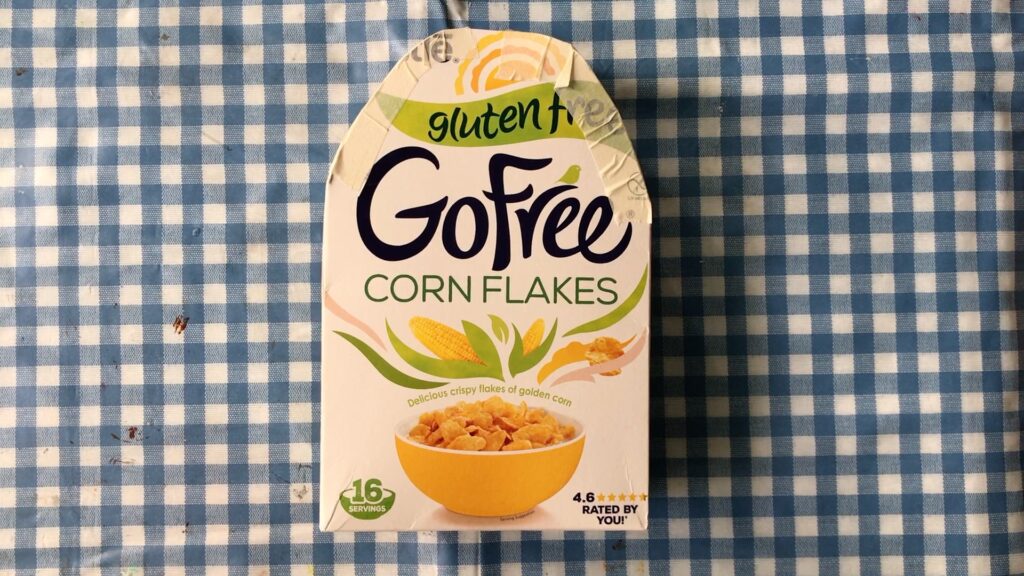
Step 3
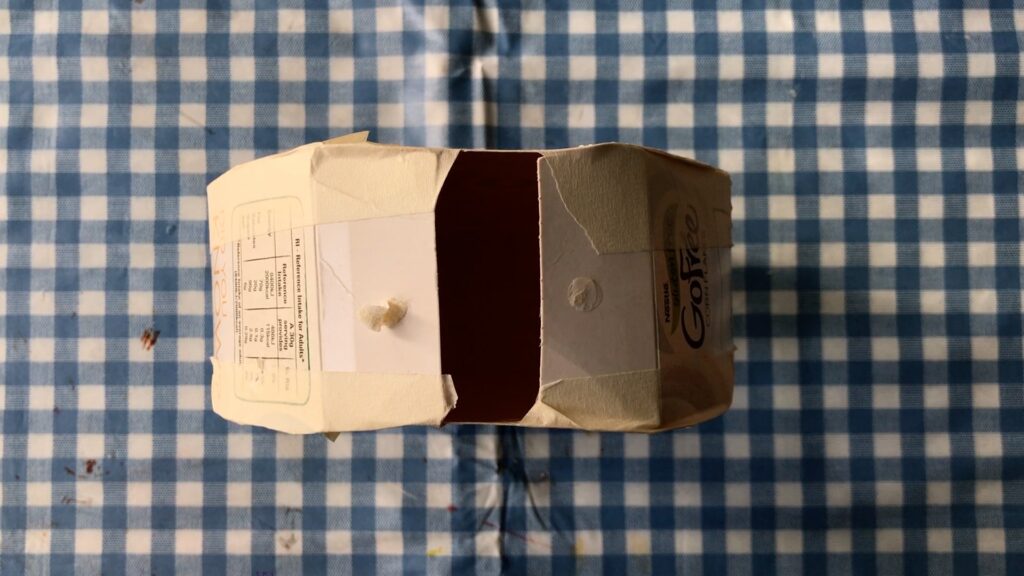
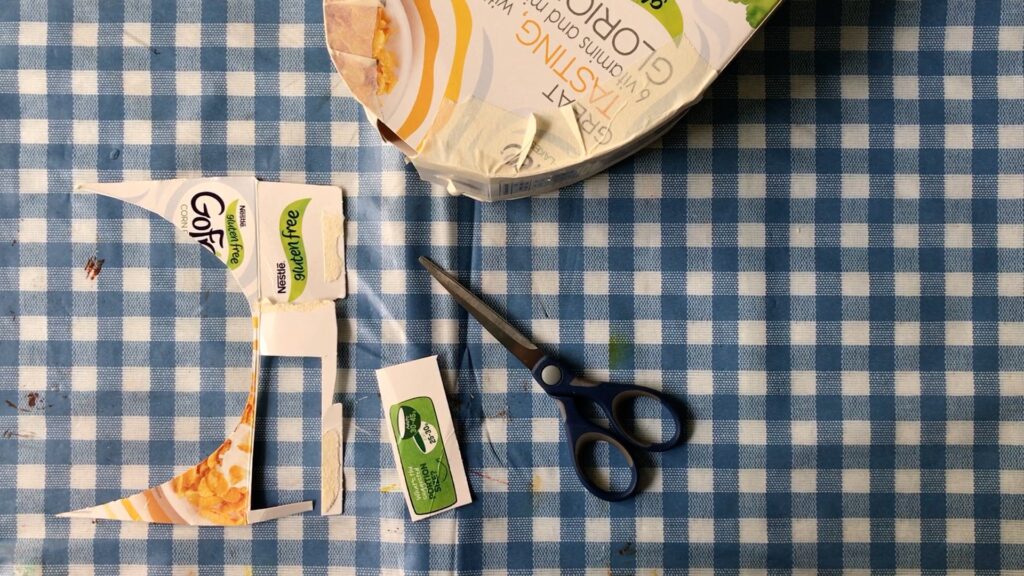
Once you’ve stuck down the sides, you’ll probably end up with a little gap at the top. No problem! Just use the scraps you cut off in Step 1, and cut out a small piece of cardboard to fit the gap, then stick it in place with more masking tape.
Step 4
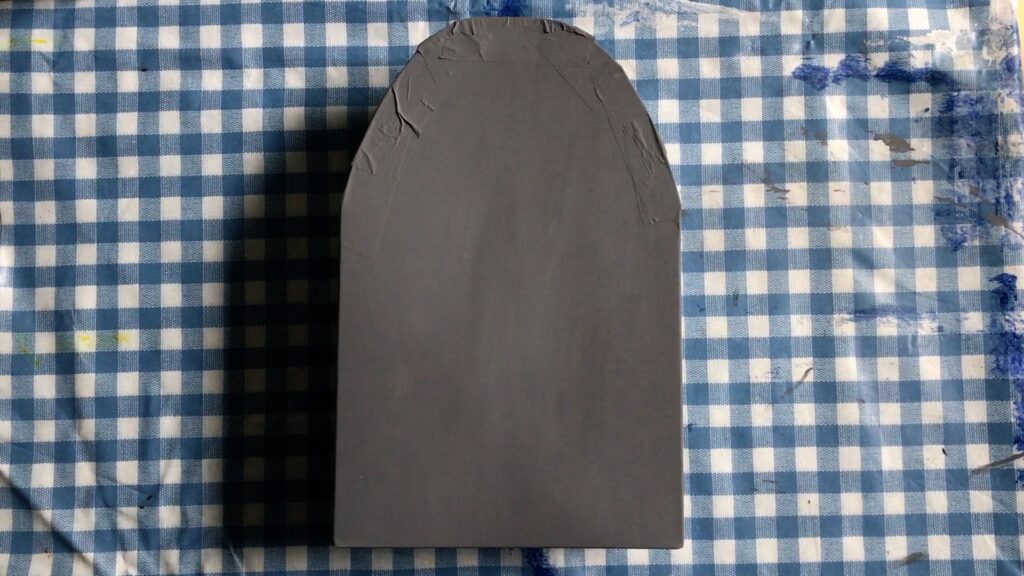
Now you’re ready to paint. Mix some white acrylic paint with a dash of black to create a gravestone shade of grey. Don’t make it too dark, or any writing you add at the end won’t stand out well enough. I had to give it two coats to stop the print of the cereal packet showing through, but because I knew I was going to line them up against a wall I just covered the front and sides and then only did one coat on the back and left the bottom unpainted.
Step 5
Once you’ve got good grey coverage and everything has dried, it’s time to get creative. I had three cereal packets in total, with one being slightly bigger, so I decided to paint a skull and crossbones on one and a big “R.I.P” on the other two. And then I picked some really silly puns for the names. There’s loads others you could do, just do a search online and it will come up with plenty of suggestions. I also painted on some extra details to make it look like the gravestones were old and cracked.
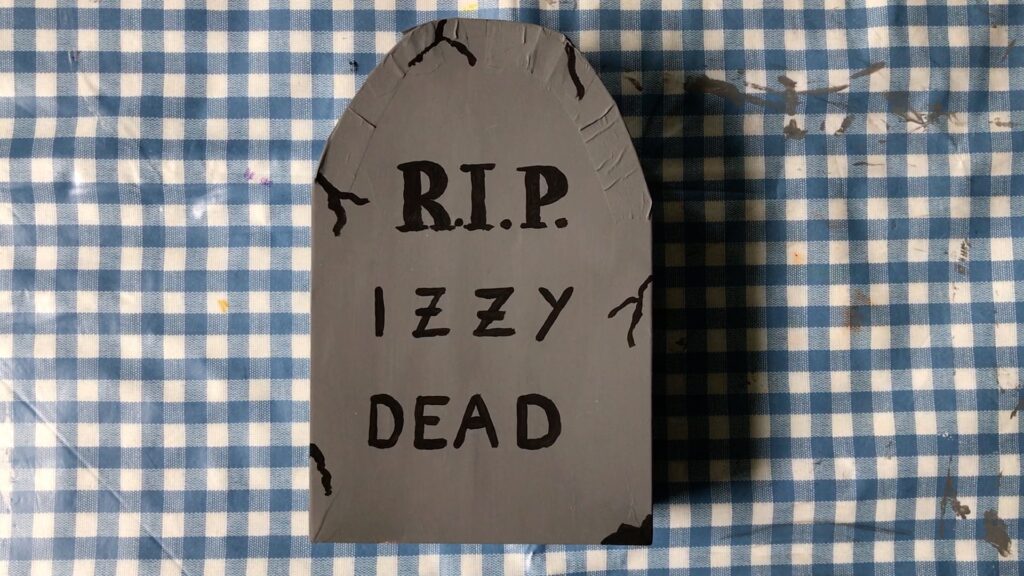
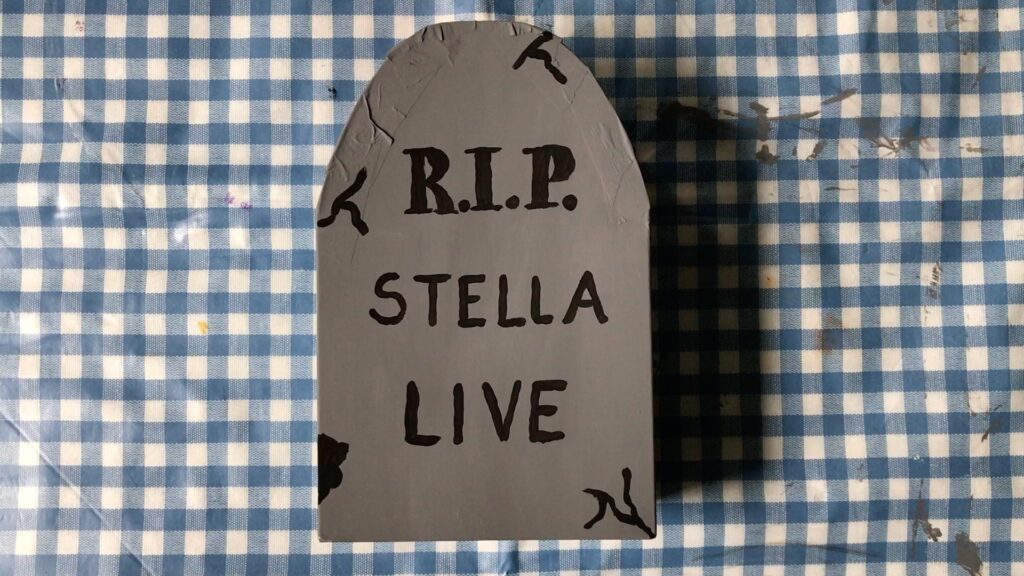
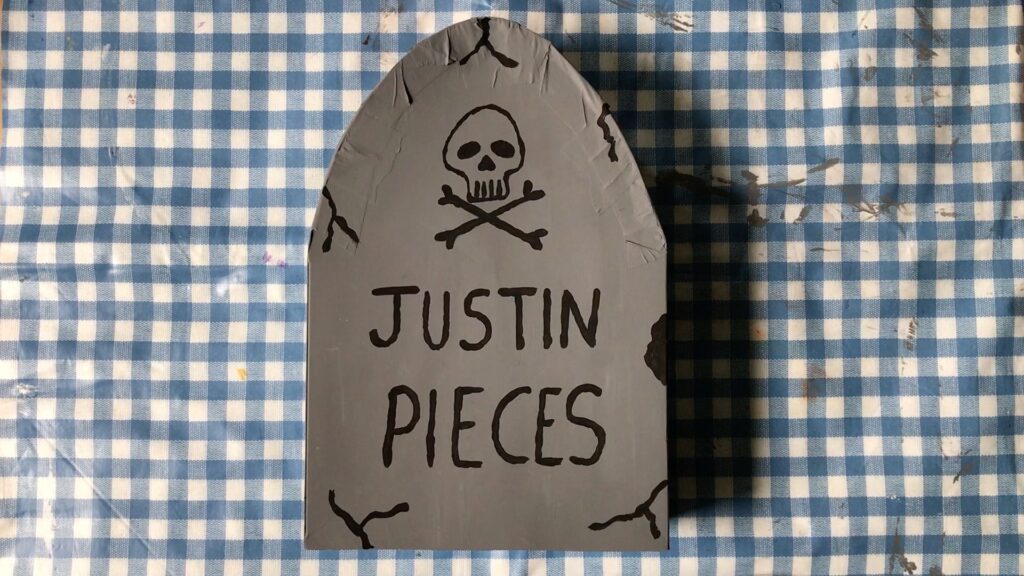
And that’s it – easy peasy! These are now sitting on top of the shoe shelf outside out front door, ready to greet the postie and any other visitors. If you make your own cereal packet gravestones, I’d love to see pictures so please feel free to tag me in on Twitter or Instagram. And check out our Halloween archives for other fun activities to do with the kids!
As always, all recipes, tutorials and other resources on this blog are free to enjoy and share, but if you feel able to and would like to make a small donation to help keep this blog running, then it would be very much appreciated. Just hit the support button. Thank you!



Sarah Howe
These look really fun to make! I’d be able to use them for my fireplace, where we always decorate!!
MELANIE EDJOURIAN
Ha, I am loving this, what a great idea. The good thing is it’s easy enough for my kids to do without too much supervision which helps. They like to make their own decorations.
Mudpie Fridays
These are brilliant. We are planning a little Halloween celebration so will definitely be trying to make these and I am sure we have everything we need too which is a real bonus.
Nadia
What a fab idea for fun and easy Halloween decorations! Will try with the kids.
Pingback: Halloween Crafts - Mum's Family Fun
Pingback: Halloween Crafts And Activities -
Pingback: Planning for October – The Bear & The Fox