DIY Mini Pompom Trick
We have the school Autumn holidays coming up here in Berlin, so I’m going to be taking a little break from blogging to spend some quality time with my family, but before that I wanted to share a really quick and easy DIY with you. Hands up if you have ever made pompoms before? When I was a kid, we used to make pompoms with the help of cardboard rings, now you can get pompom makers that make the whole things a lot easier. But when I was a craftworker at the Iona Community retreat centre in Scotland during my student days, we would make mini pompoms with the help of a fork. Yes, a fork! Here’s how:

It’s really easy. All you need is:
- a fork
- some wool
- a pair of scissors
Step 1: Wind your wool around the fork a good couple of times. You want enough wool to make a nice fluffy pompom, but not too thick that you won’t be able to tie it.

Step 2: Take another piece of wool, thread it through the middle of the tines, and tie a simple knot around the wool you wound round (see picture above). Don’t tie a double knot just yet!
Step 3: Carefully pull the wool off the fork. Now pull your knot really tight, then tie a double knot to secure it in place so it doesn’t come apart again.
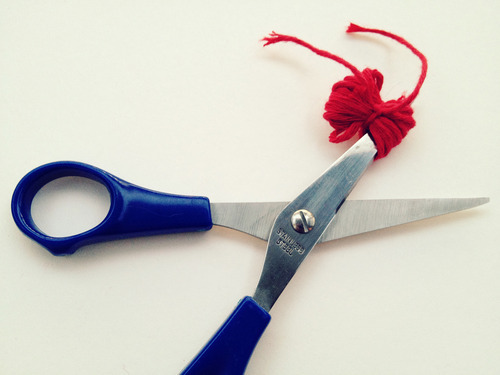
Step 4: Take your pair of scissors and cut through the loops either side of your knot (see picture above).
Step 5: Cut the excess wool from your knot, fluff up the pompom and trim any other bits that are uneven or sticking out.

Voila! A mini pompom! You can do all kinds of things with them, like sew them on to hats, cardigans or other clothes for embellishment. We also used to make loads at once and then string them up into garlands to decorate the common room at the retreat centre. So go and grab a fork and some wool, and have fun with mini pompoms.

Browse the archives for more fun DIY ideas!