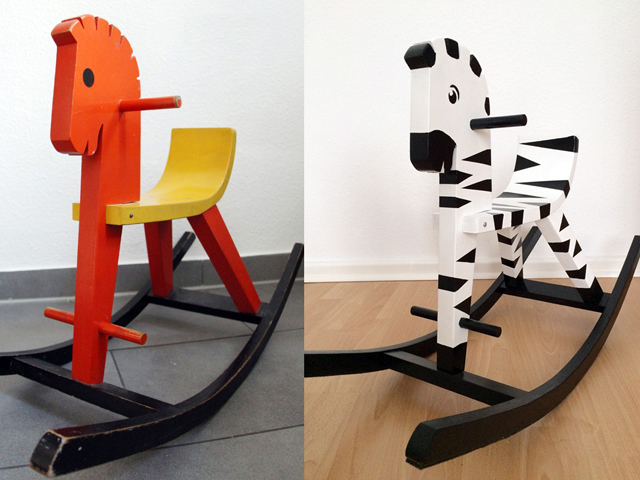
Rocking Horse Makeover
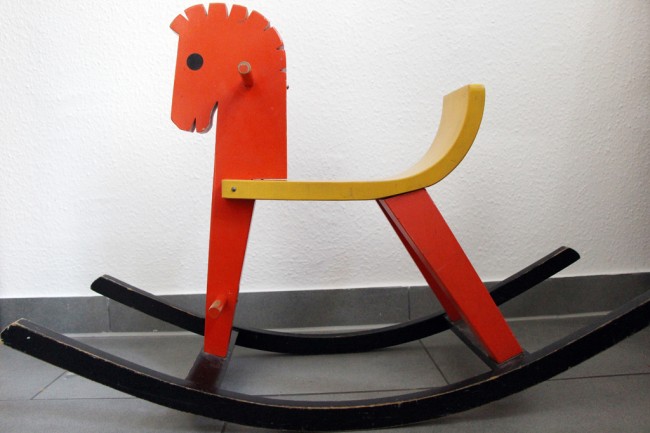
Last Christmas, when pondering the inevitable question of what to get the kids, we decided to up-cycle some of our old toys for them. It was a great way to not generate even more new stuff, when we already had such a great resource sitting in the basement, and I think DIY projects are always a lot of fun. Especially when they allow you to be nostalgic! One project we had our eye on, was giving my old rocking horse a makeover.
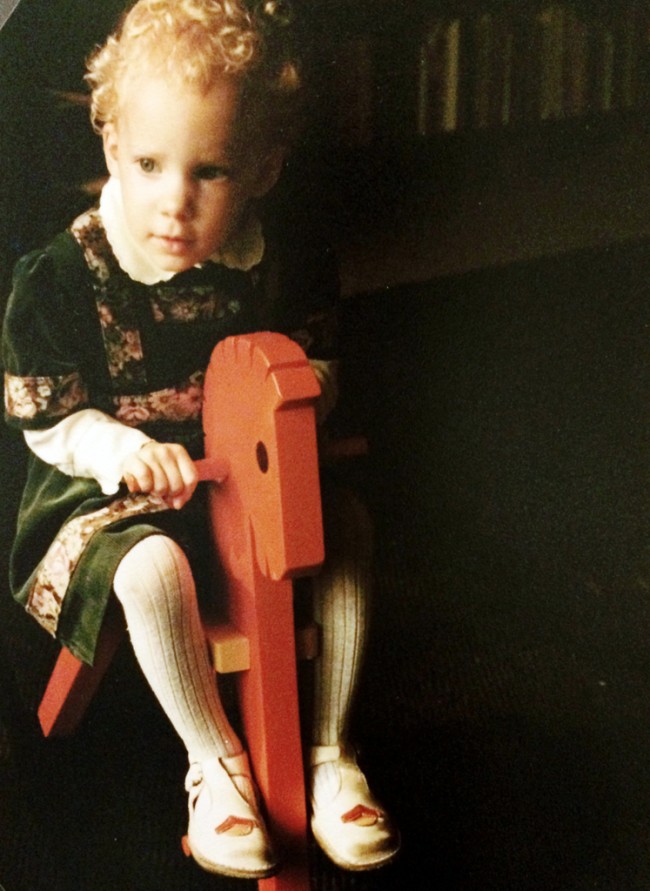
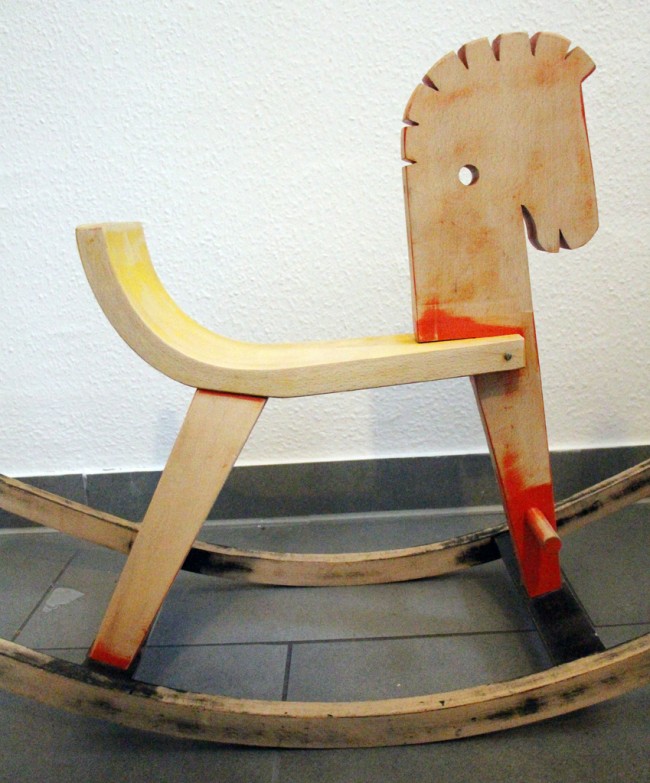
It’s had quite a life already. It entered our family as a gift from my parents on my second birthday (see evidence below), and subsequently also brought first my younger sister and then my brother great joy. The Boy was never that interested in it, when my parents brought it with them to Berlin a couple of years ago, but perhaps he was already too old for it at that point. But we thought it would be a perfect gift for Mr Fox.
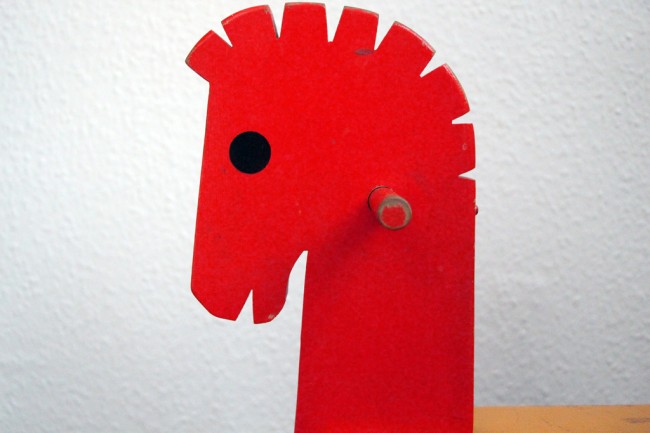
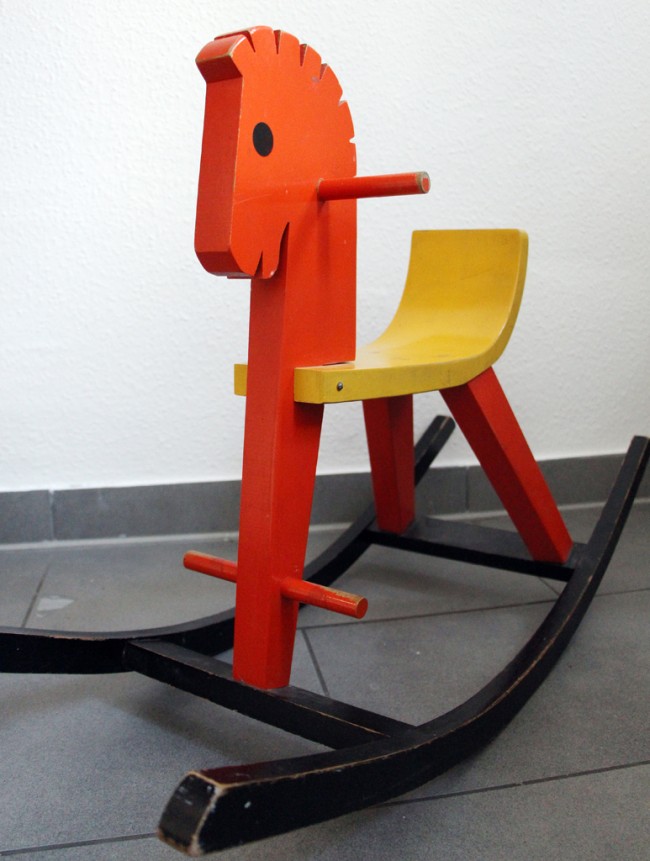
As you can imagine, after more than thirty years and four owners, it was getting a bit worn round the edges. Mr Fox probably wouldn’t have cared, but it seemed wrong passing it off as a Christmas present in the condition it was in. Easy enough though, we thought, we’ll just give it a lick of paint and it will be as new.
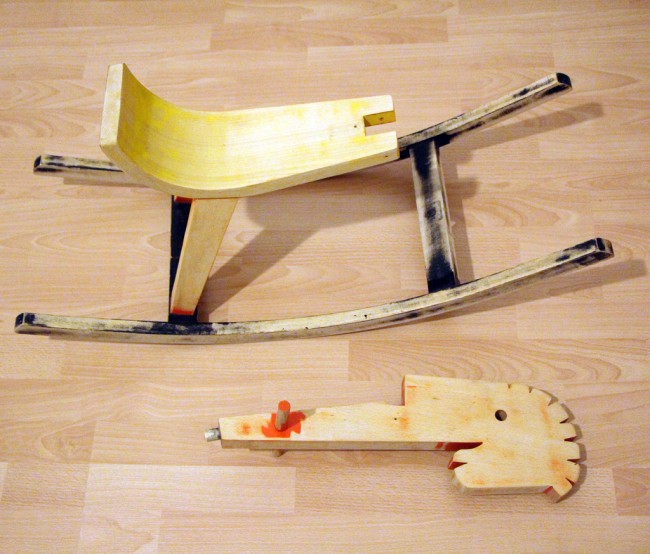
We ended up sanding it down first though, and taking it apart, because we wanted to do the job properly. And when I say ‘we’ sanded it down, I mean The Husband was left up to his eyeballs in paint dust while I took the boys away for a long weekend to visit Oma and Opa…
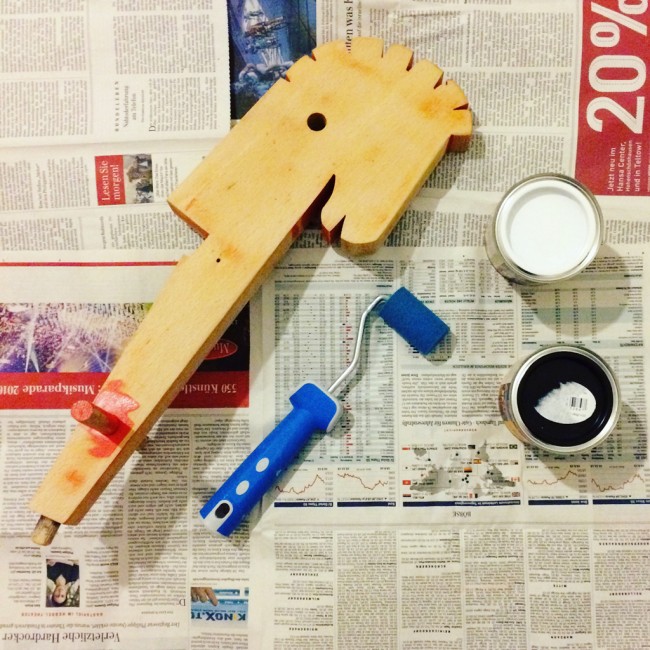
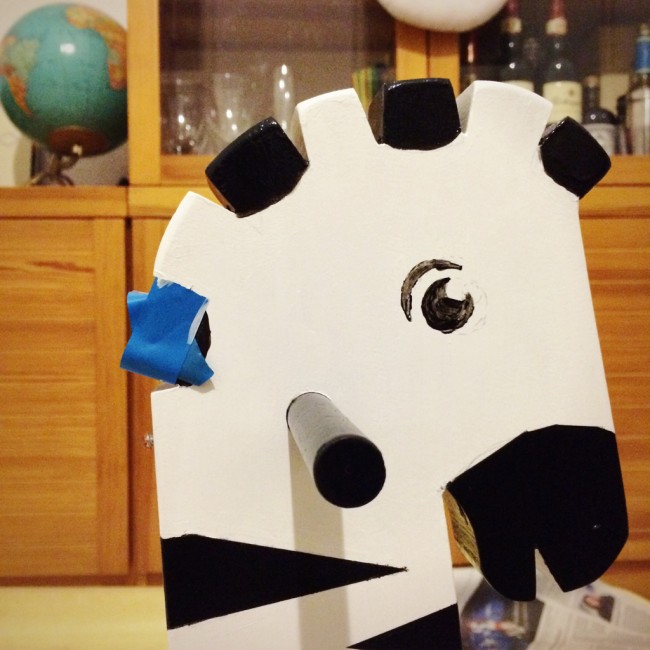
Ready to roll with the paint…
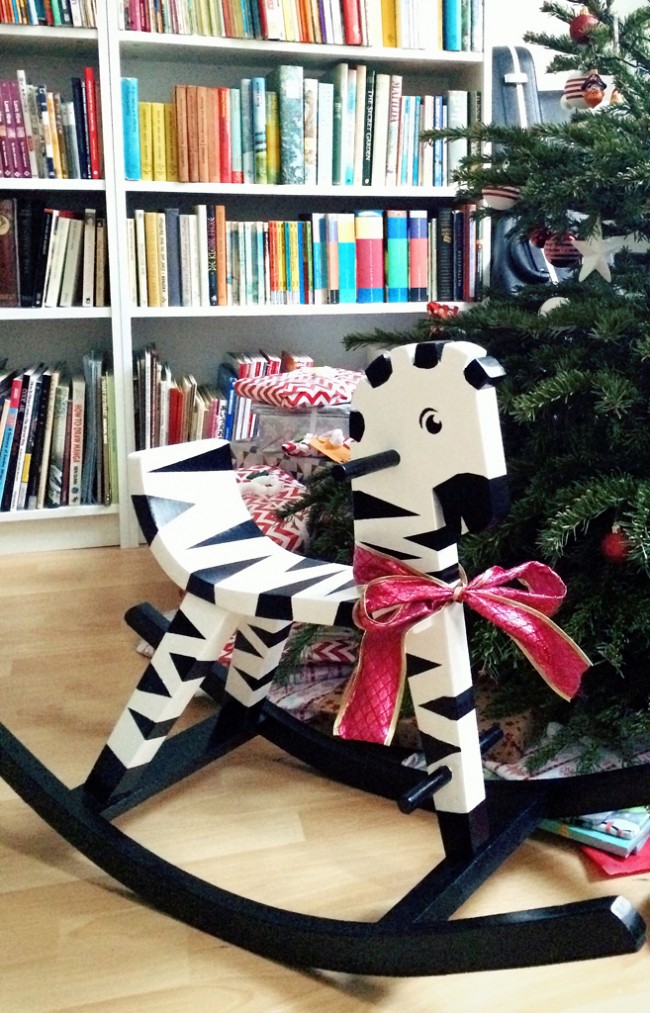
Just black and white paint? Umm, yeah, did I mention that in the course of its makeover, the rocking horse also underwent a slight change of species – because who needs a rocking horse, when you can have a rocking zebra! Doing all those stripes was a lot more work than just block painting it, but the final result was totally worth it. And, you know, monochrome in children’s rooms is totally in right now, haha.
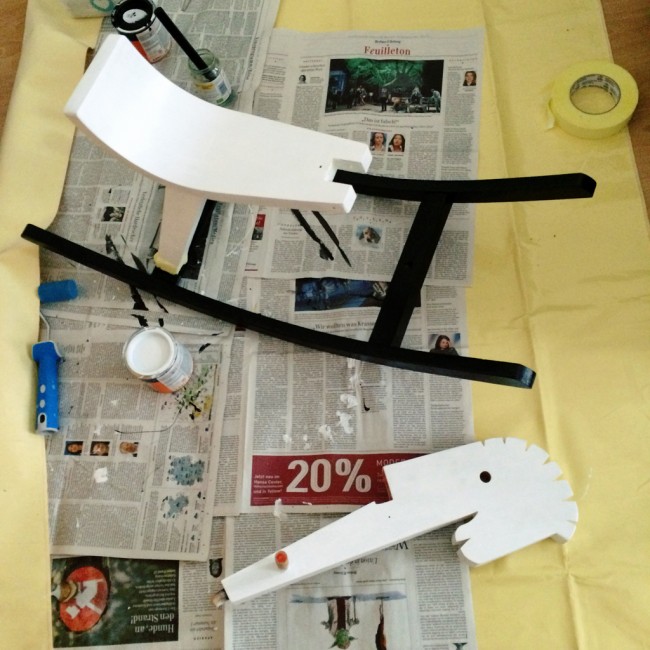
After painting the rockers black and the rest of the rocking horse white, we taped off the triangular stripes until it looked like it had been in a car crash. Some of the paint seeped through, despite our vigorous taping, so The Husband spent two evenings very patiently going over all the edges with a fine paint brush, evening them out.
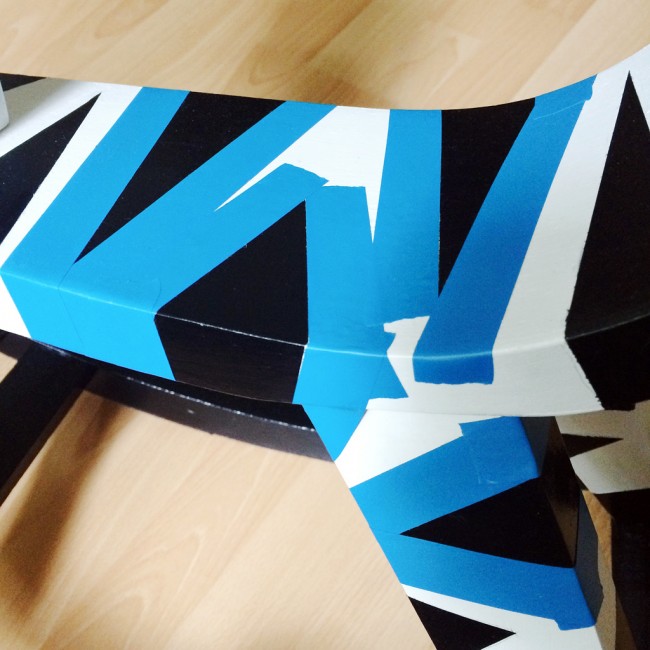
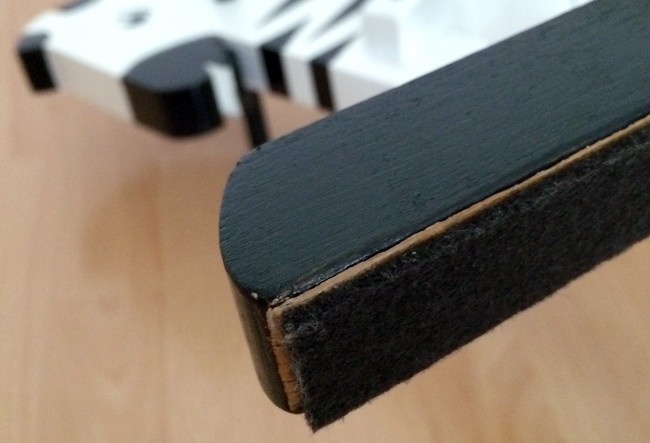
All in all, the base painting was three coats, and the stripes were two to three coats each. Finally, after everything had dried, we glued some felt runners under the rockers, to protect our floors (and to make the rocking a little quieter). I found some self sticking, really thick and sturdy 20 x 20cm felt squares at the DIY store, which I cut in to strips with a craft knife and metal ruler to make sure they were all cut straight and to exactly the same width. I’ve used the same felt before on our rocking chair, and the glue is really strong so they don’t fall off. Here’s a close up:
And that was it! All the hard work really paid off, what a transformation!
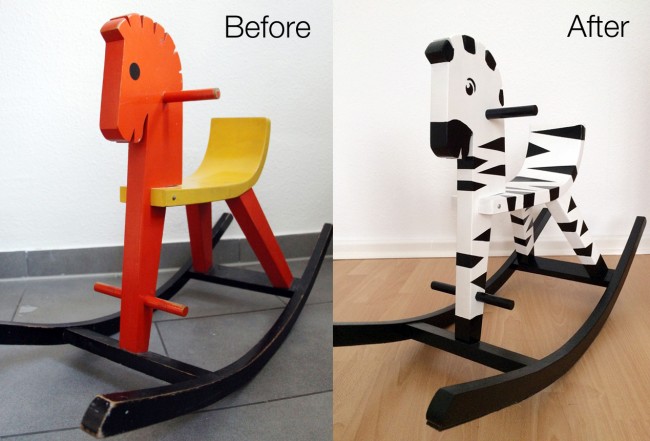
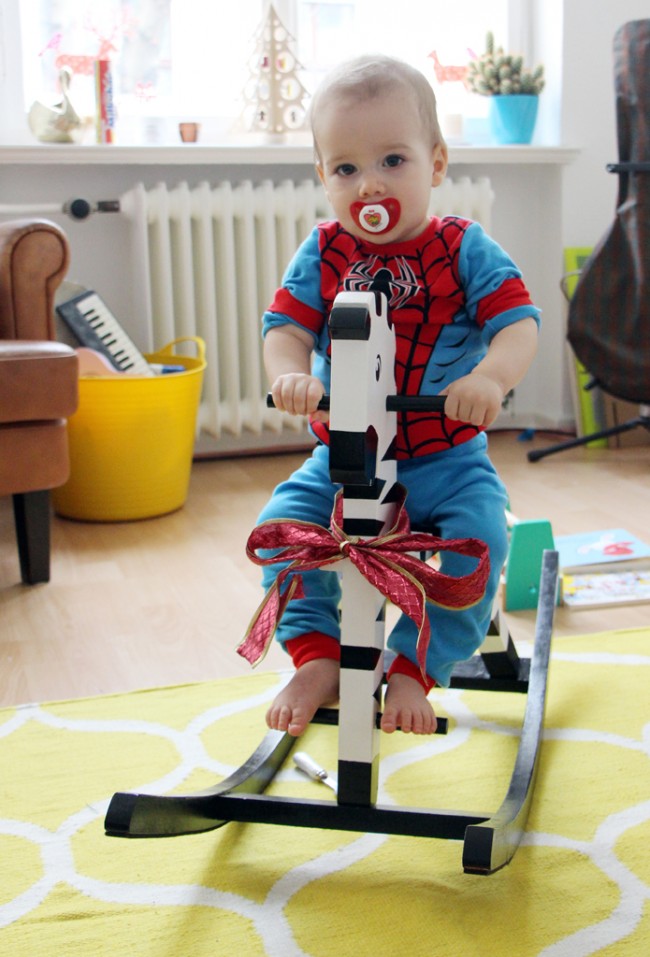
All that was left was to tie a huge bow around its neck and let it take pride of place under the Christmas tree. I could not have been more pleased with the result. One awesome rocking zebra, ready for it’s new owner! And the new owner absolutely loves it.


Anna International
Aww, such a great makeover, and so cute! Love that you’ve kept it in your family all these years – hope the boys can pass it on to their kids one day!
Shannette
You and ur husband did an amazing job. Loved the way it came out. It looked brand new.
Jenni
Thank you!!
Julia
I really love the rocking zebra! What kind of colour did you use? Chalk Color? Thanks for your help!