
Mini Eggs Easter Bark
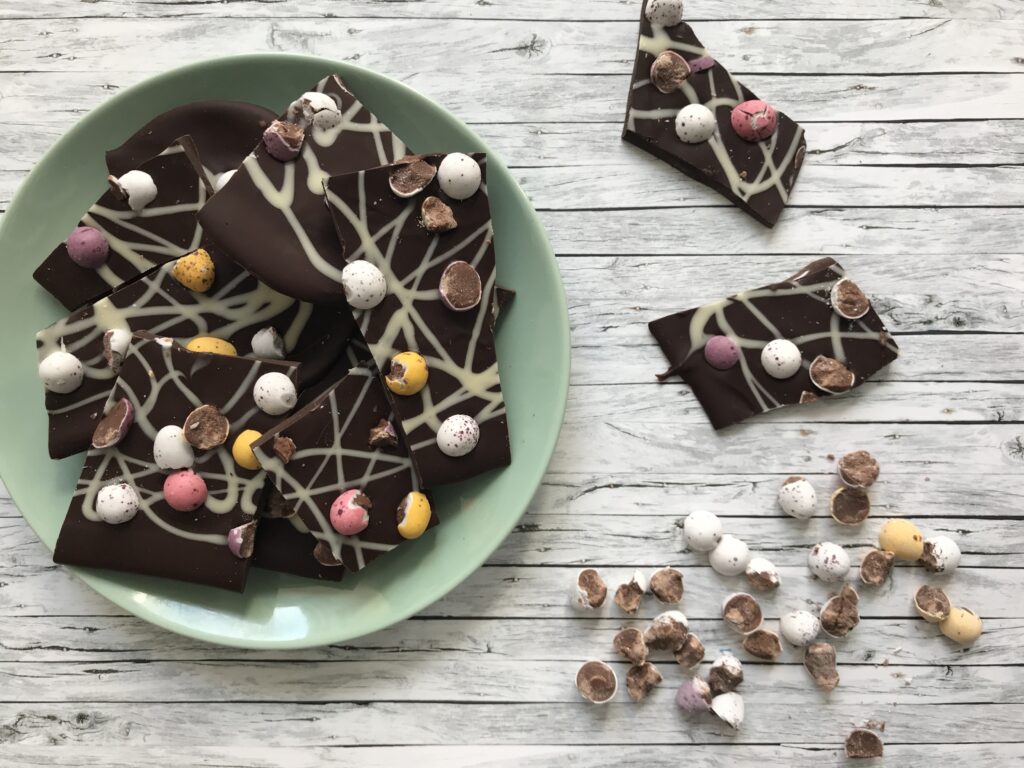
Today I’ve got a super simple Easter treat for you, that you can make with just two or three ingredients: chocolate, and mini eggs. Sure, you could just eat them separately, but it just makes it feel that little bit more special and festive. And it’s fun to make together too, if you want to get the kids involved.
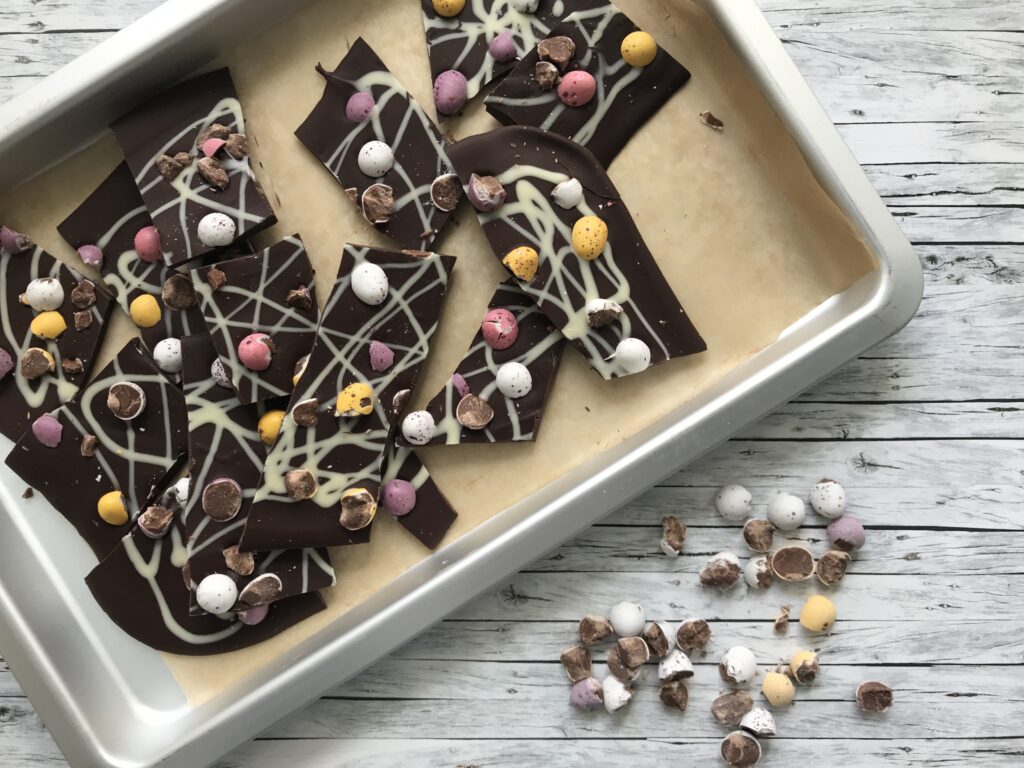
All you will need is 300g dark chocolate, 1-2 bags of mini eggs, and optionally also some white chocolate. We still had a tube of white chocolate for decorating, which was perfect, but you could also just use regular white chocolate and melt it in a bowl. It looks like a lot of steps, but that’s just because I’ve broken it down for you and really it’s quite simple to make.
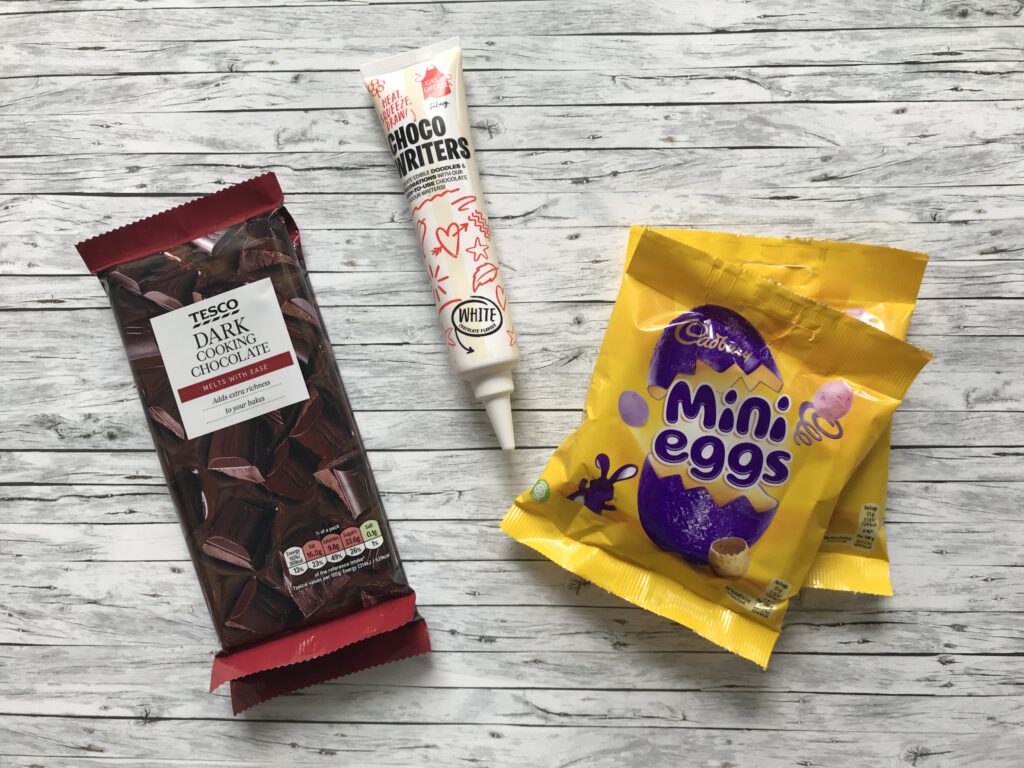
Step 1: Line a baking sheet with grease proof paper and set aside.
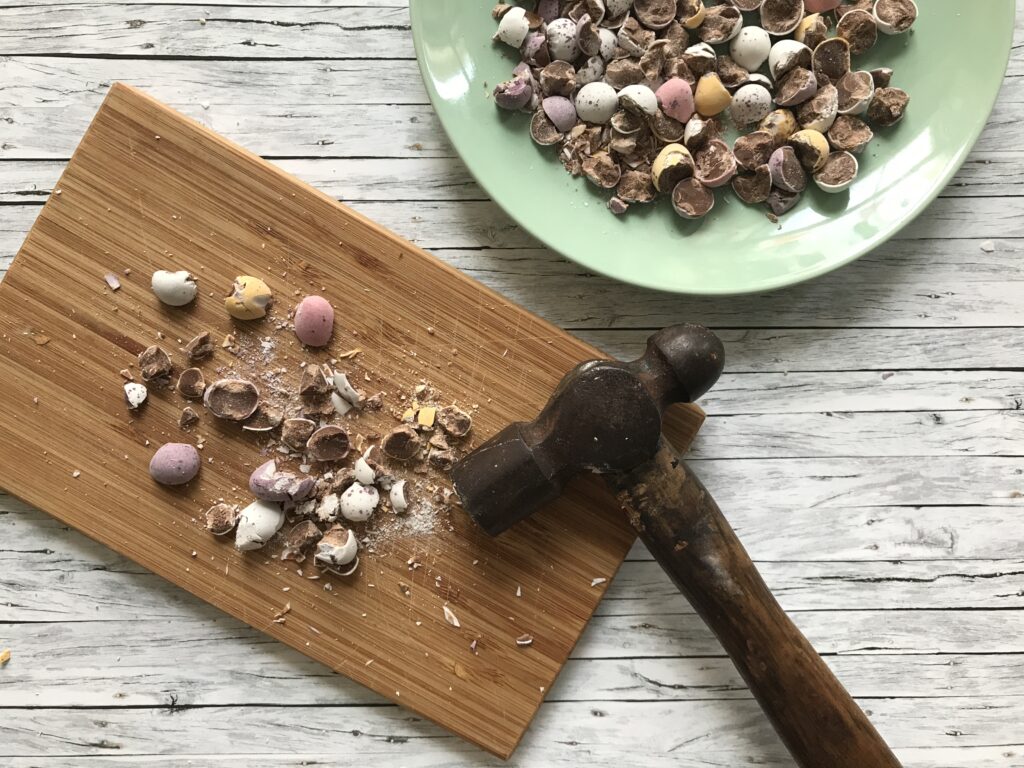
Step 2: This is the fun part – you’ll need a hammer, and maybe a board to protect your work surface. We’re gonna smash some eggs! I do this firstly because I think it’s easier to eat if the bark is made with shards rather than whole eggs, and secondly because I am paranoid about kids choking on mini eggs. It’s fun for the kids to help with this, though be careful of squashed fingers and egg shards flying in the eyes. The safest way is for the kids to have a go at bashing them while they are still in the bag, then for a grown up to break down any individual eggs after you’ve emptied them out.
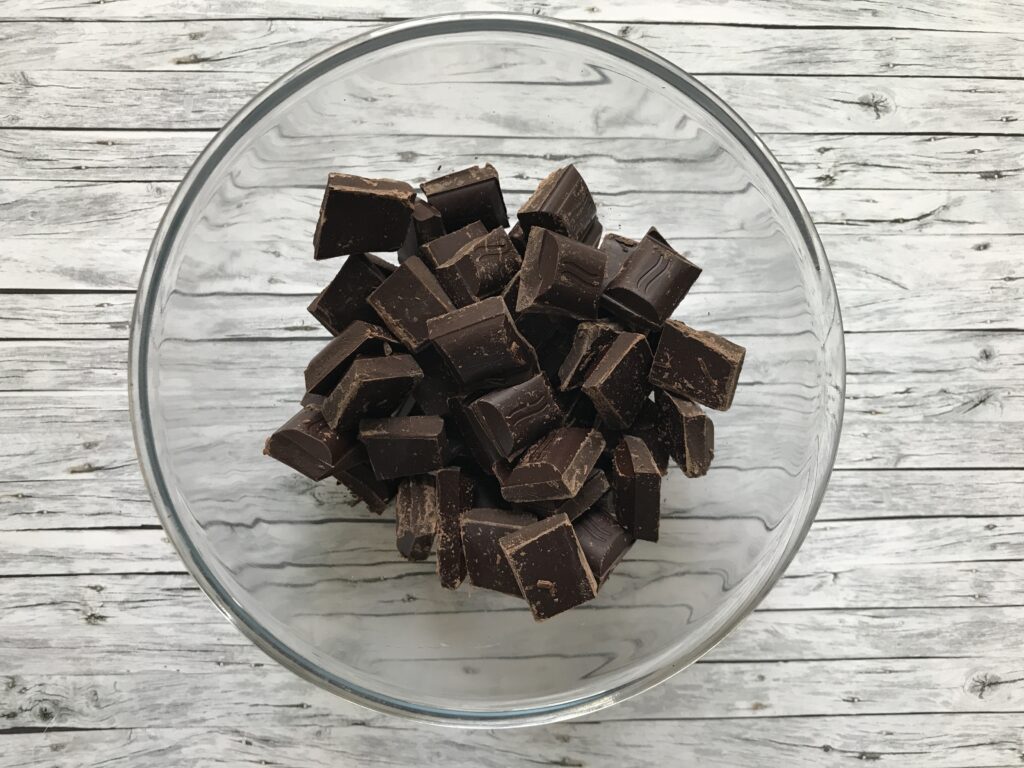
Step 3: Break up the dark chocolate in to pieces and place them in a heat proof bowl. You can get the kids involved with this too.
Step 4: Place the bowl over a saucepan with about half an inch of simmering hot water in it. Keep stirring the chocolate with a wooden spoon as the chocolate slowly melts. This will take a couple of minutes. Depending on the age of your kids, you can let them help with the stirring but please be careful around hot pans and hobs!
Step 5: If you are using one of the white chocolate decorating tubes, just place it in a heat proof jug or bowl filled with hot water while you melt the dark chocolate. If you are using regular white chocolate, you’ll need to melt it the same way as the dark chocolate. If you have enough pans and bowls you can do them at the same time, you’ll have to melt the white chocolate afterwards but you’ll only need a small amount so it should be fairly quick. If faffing around with two kinds of chocolate is too much for you, you can also just leave it out (though it does look more impressive having two colours).
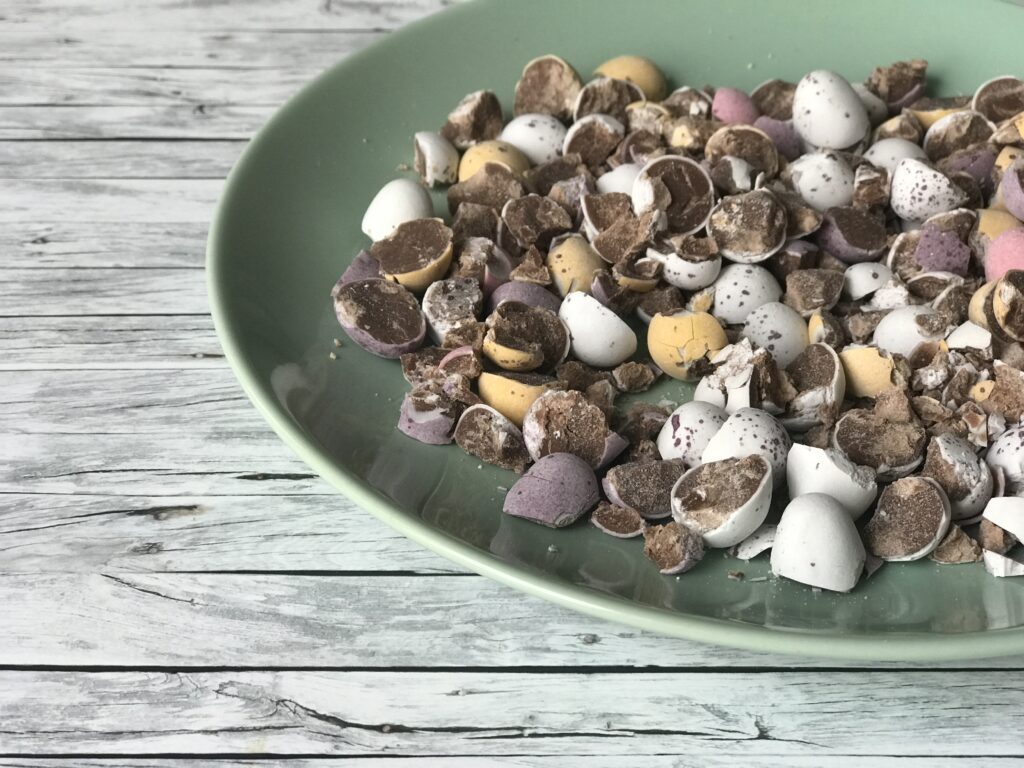
Step 6: Once your dark chocolate is melted AND your white chocolate is ready to, carefully pour the dark chocolate on to your prepared baking sheet and spread it out evenly with the back of a table spoon. Handling the hot bowl is an adult only job, but the kids can help with the spreading out, and with the next steps too. Try to get the chocolate spread out as evenly as possible.
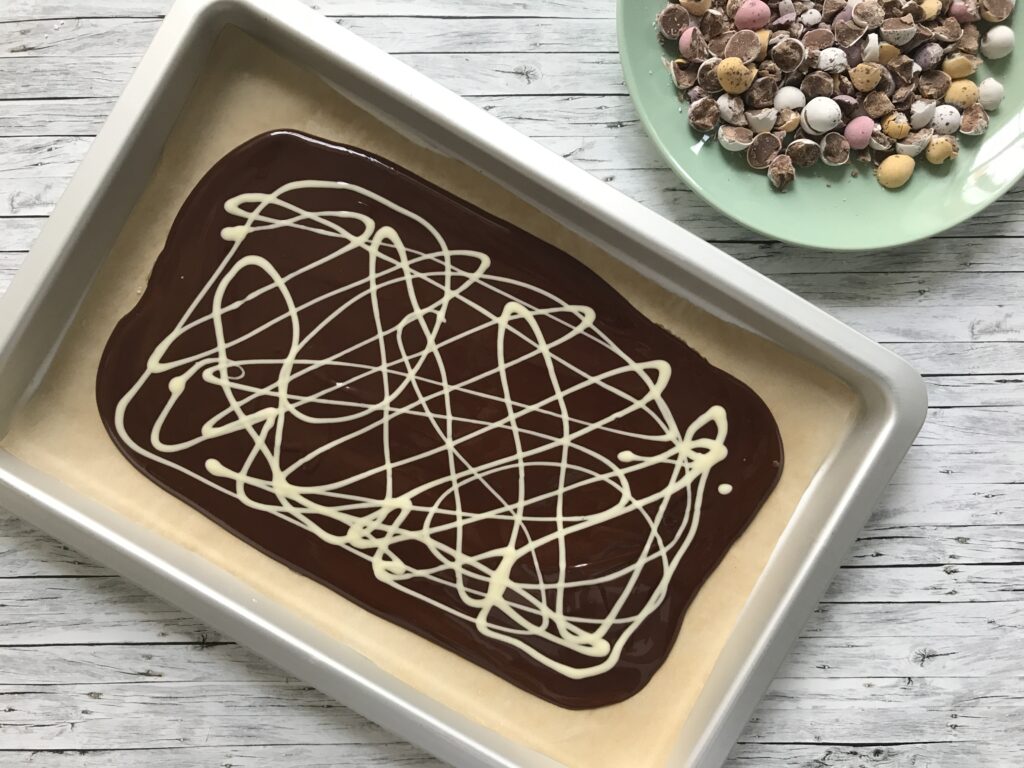
Step 7: Drizzle the white chocolate over the dark chocolate in random swirls. If you are using a decorating tube, then you can squeeze it straight from there. If you’ve melted your white chocolate in a bowl, use a tea spoon to drizzle it over.
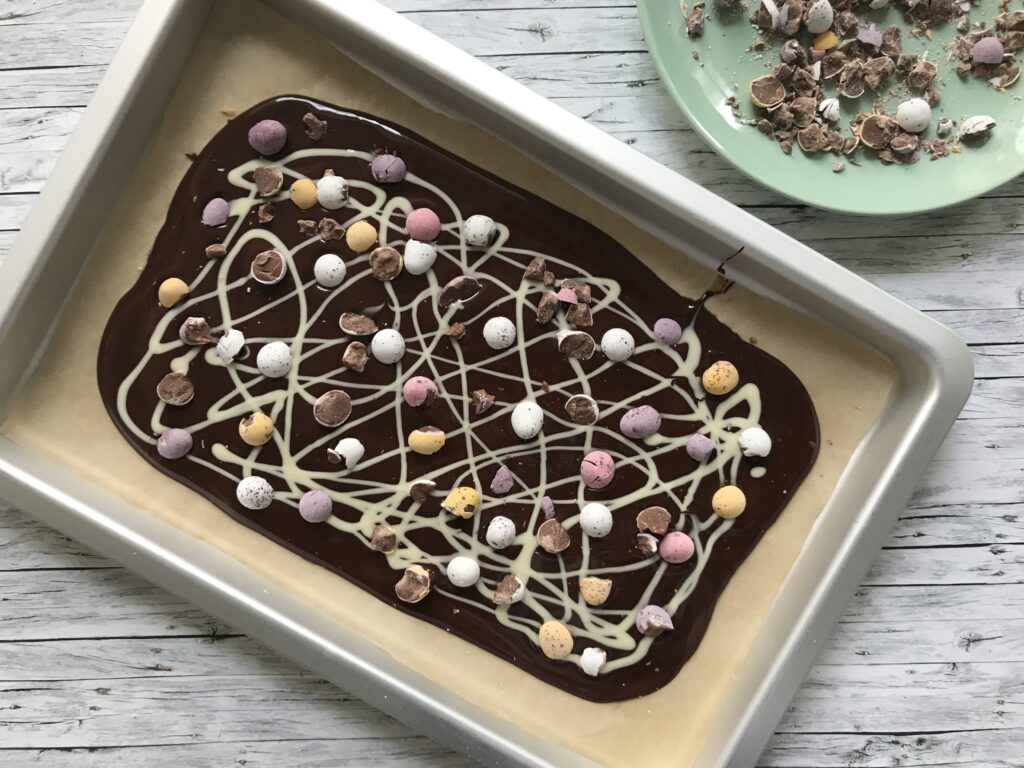
Step 8: Scatter the broken shards of mini eggs in to the melted chocolate before it starts to set. If you have any cake sprinkles to hand, you could add some of those in between the pieces of egg too, but the point was to keep it all very simple.
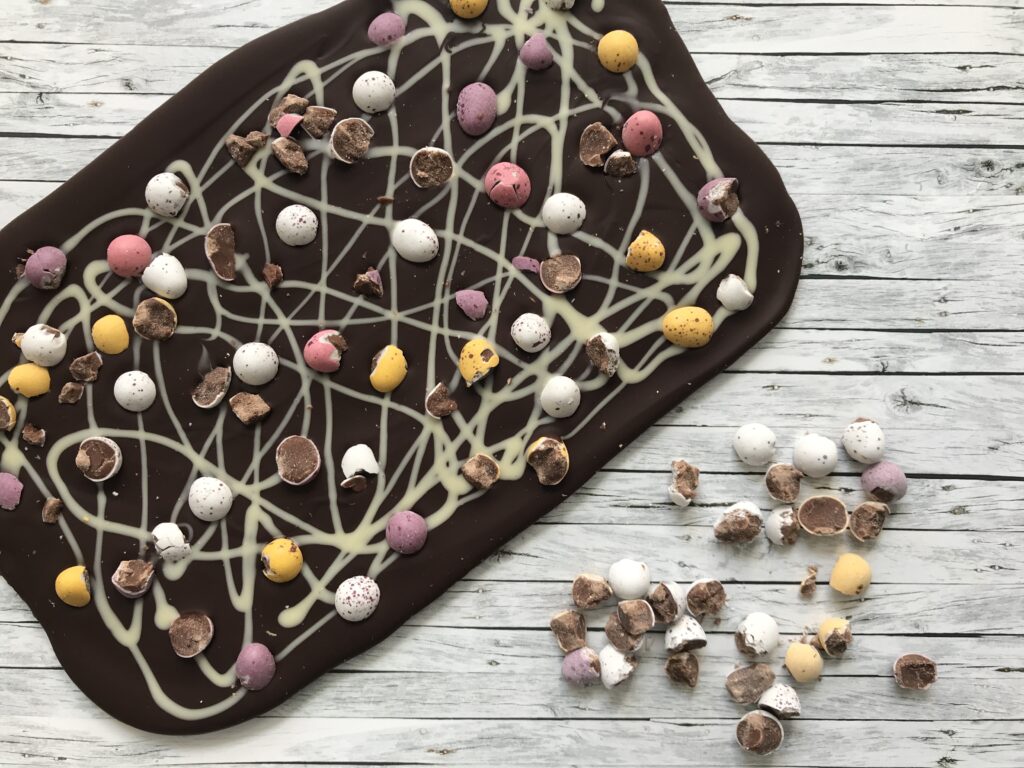
Now all you need to do is to leave it all to set. If you can fit your tray in the fridge, that will speed up the process a lot. Once everything is set, you can break the chocolate up in to shards to serve.
Check out more recipes and craft ideas in our Easter archives. Or follow along on Instagram and Facebook for more ideas.



Pingback: Planning for April – The Bear & The Fox