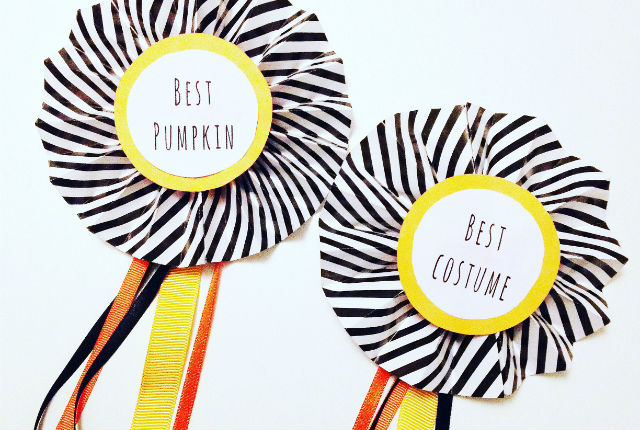
Hallowe’en Rosettes
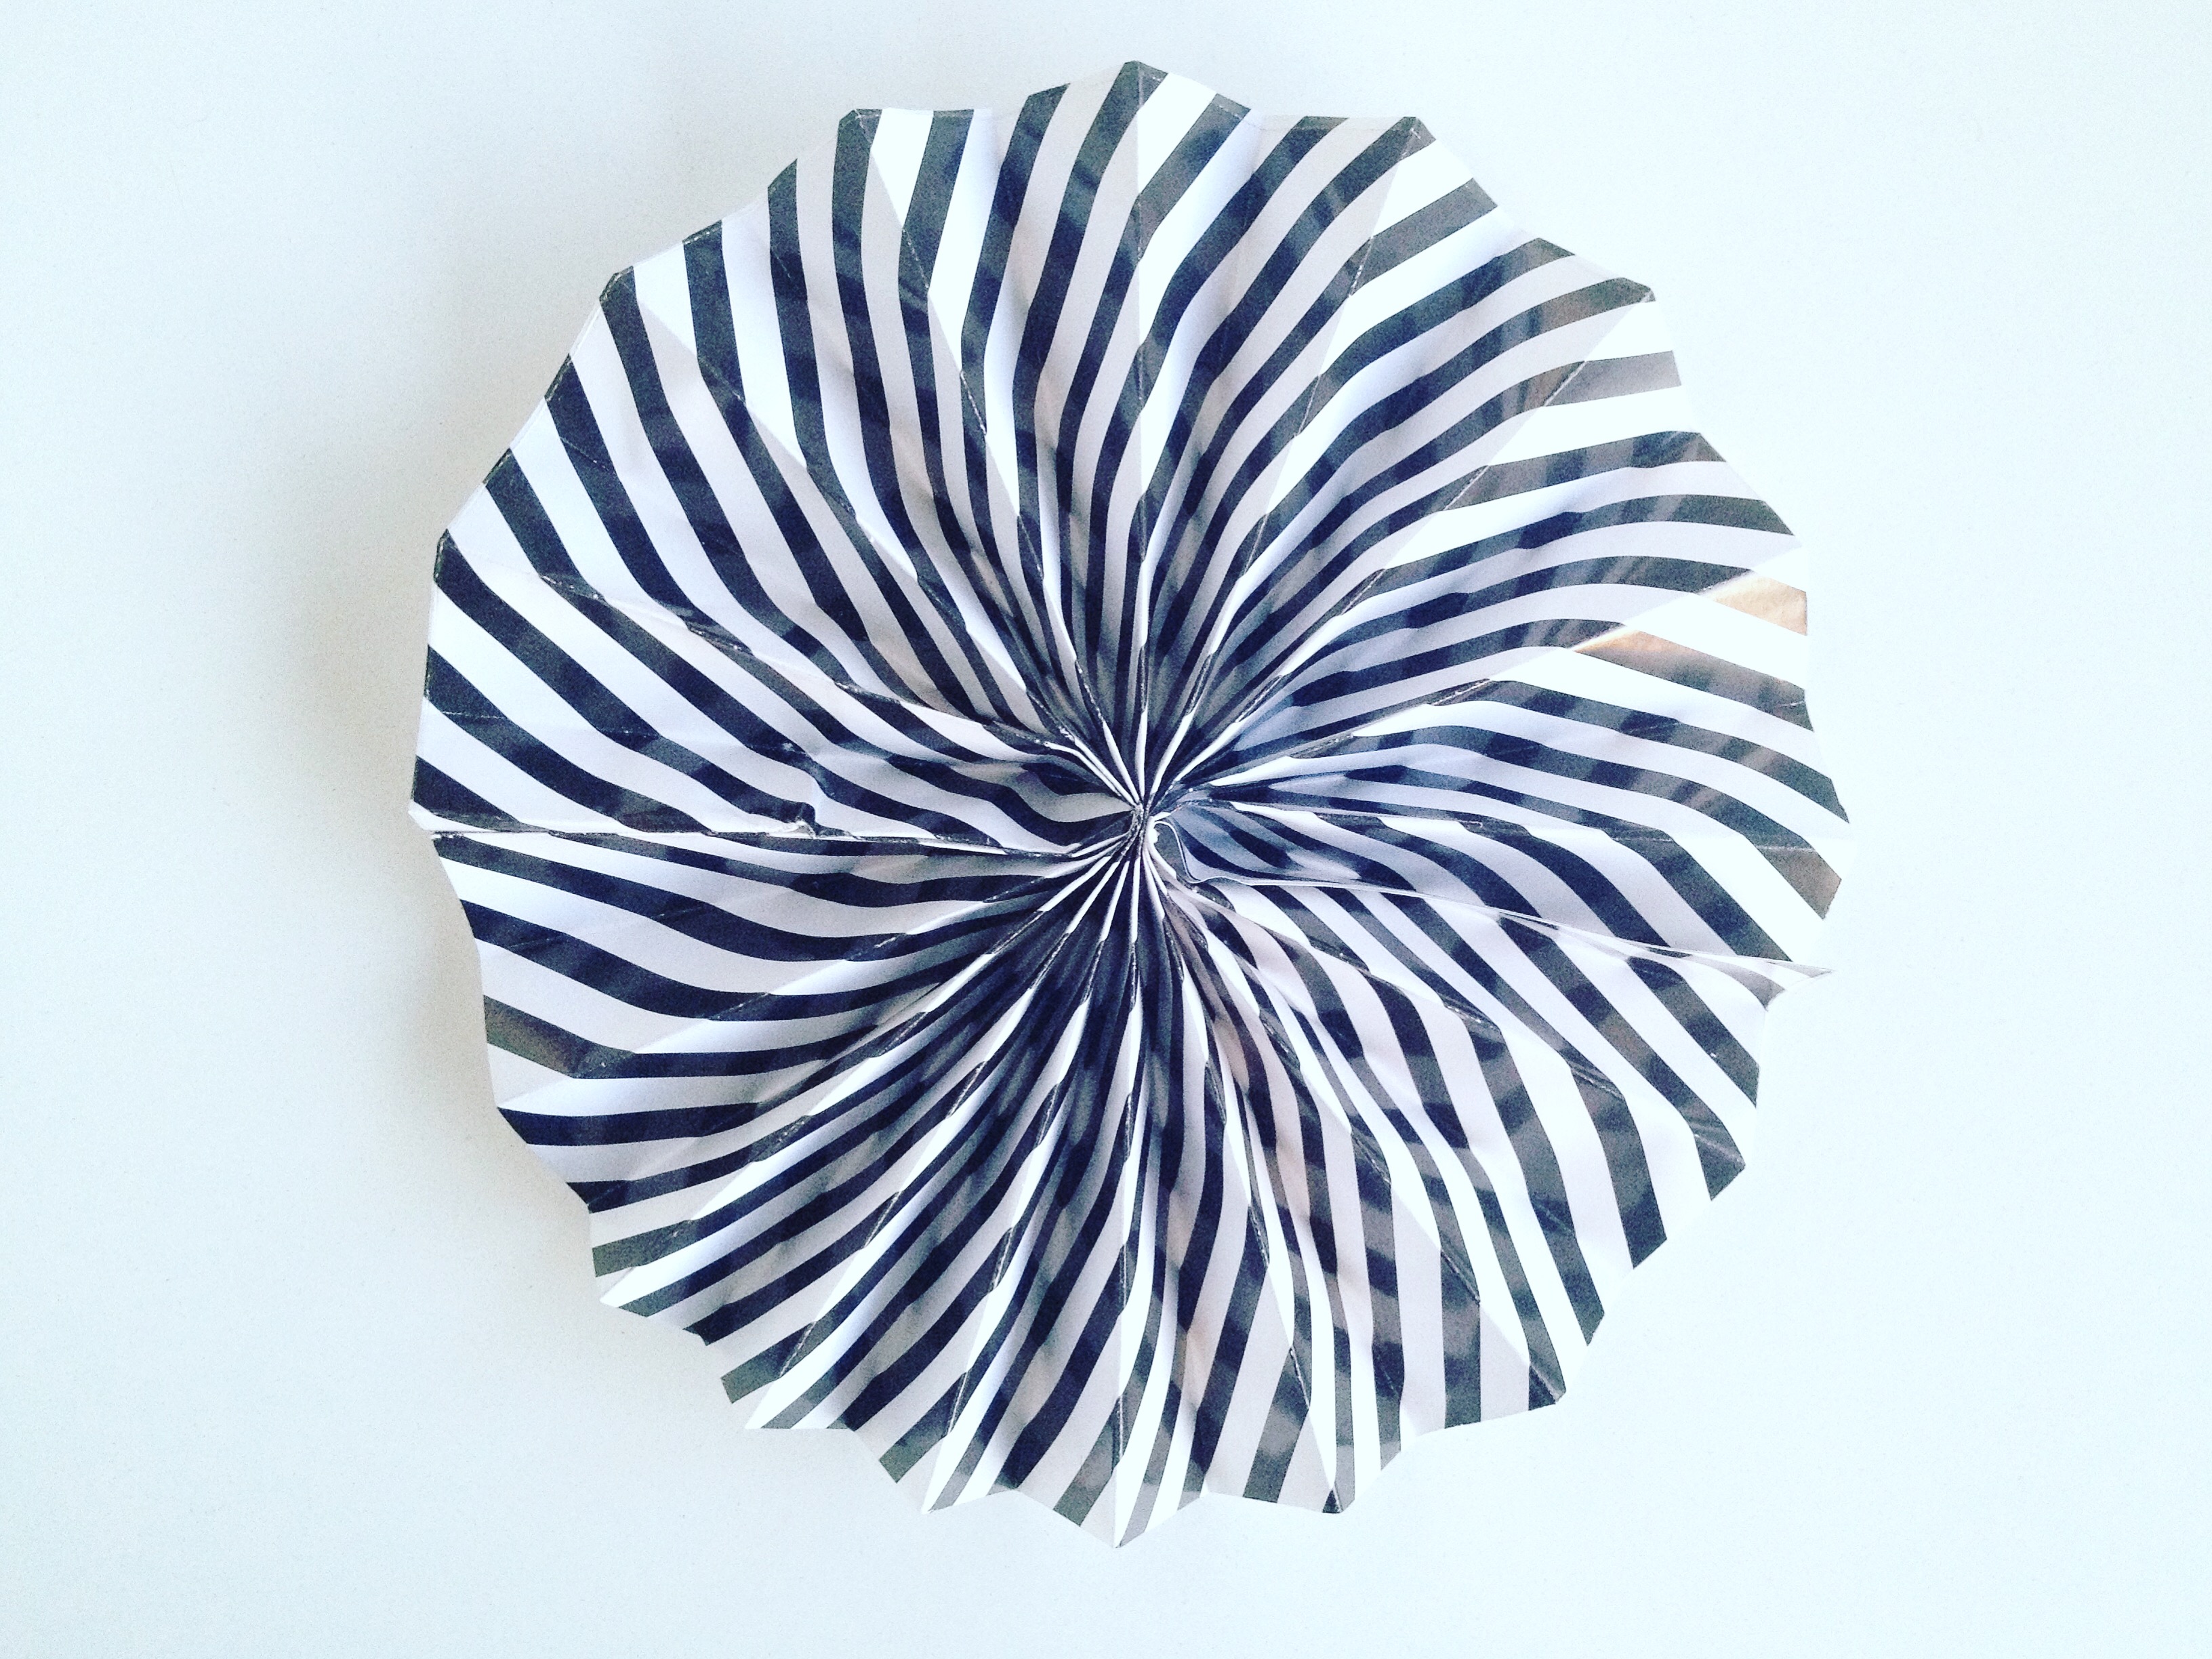
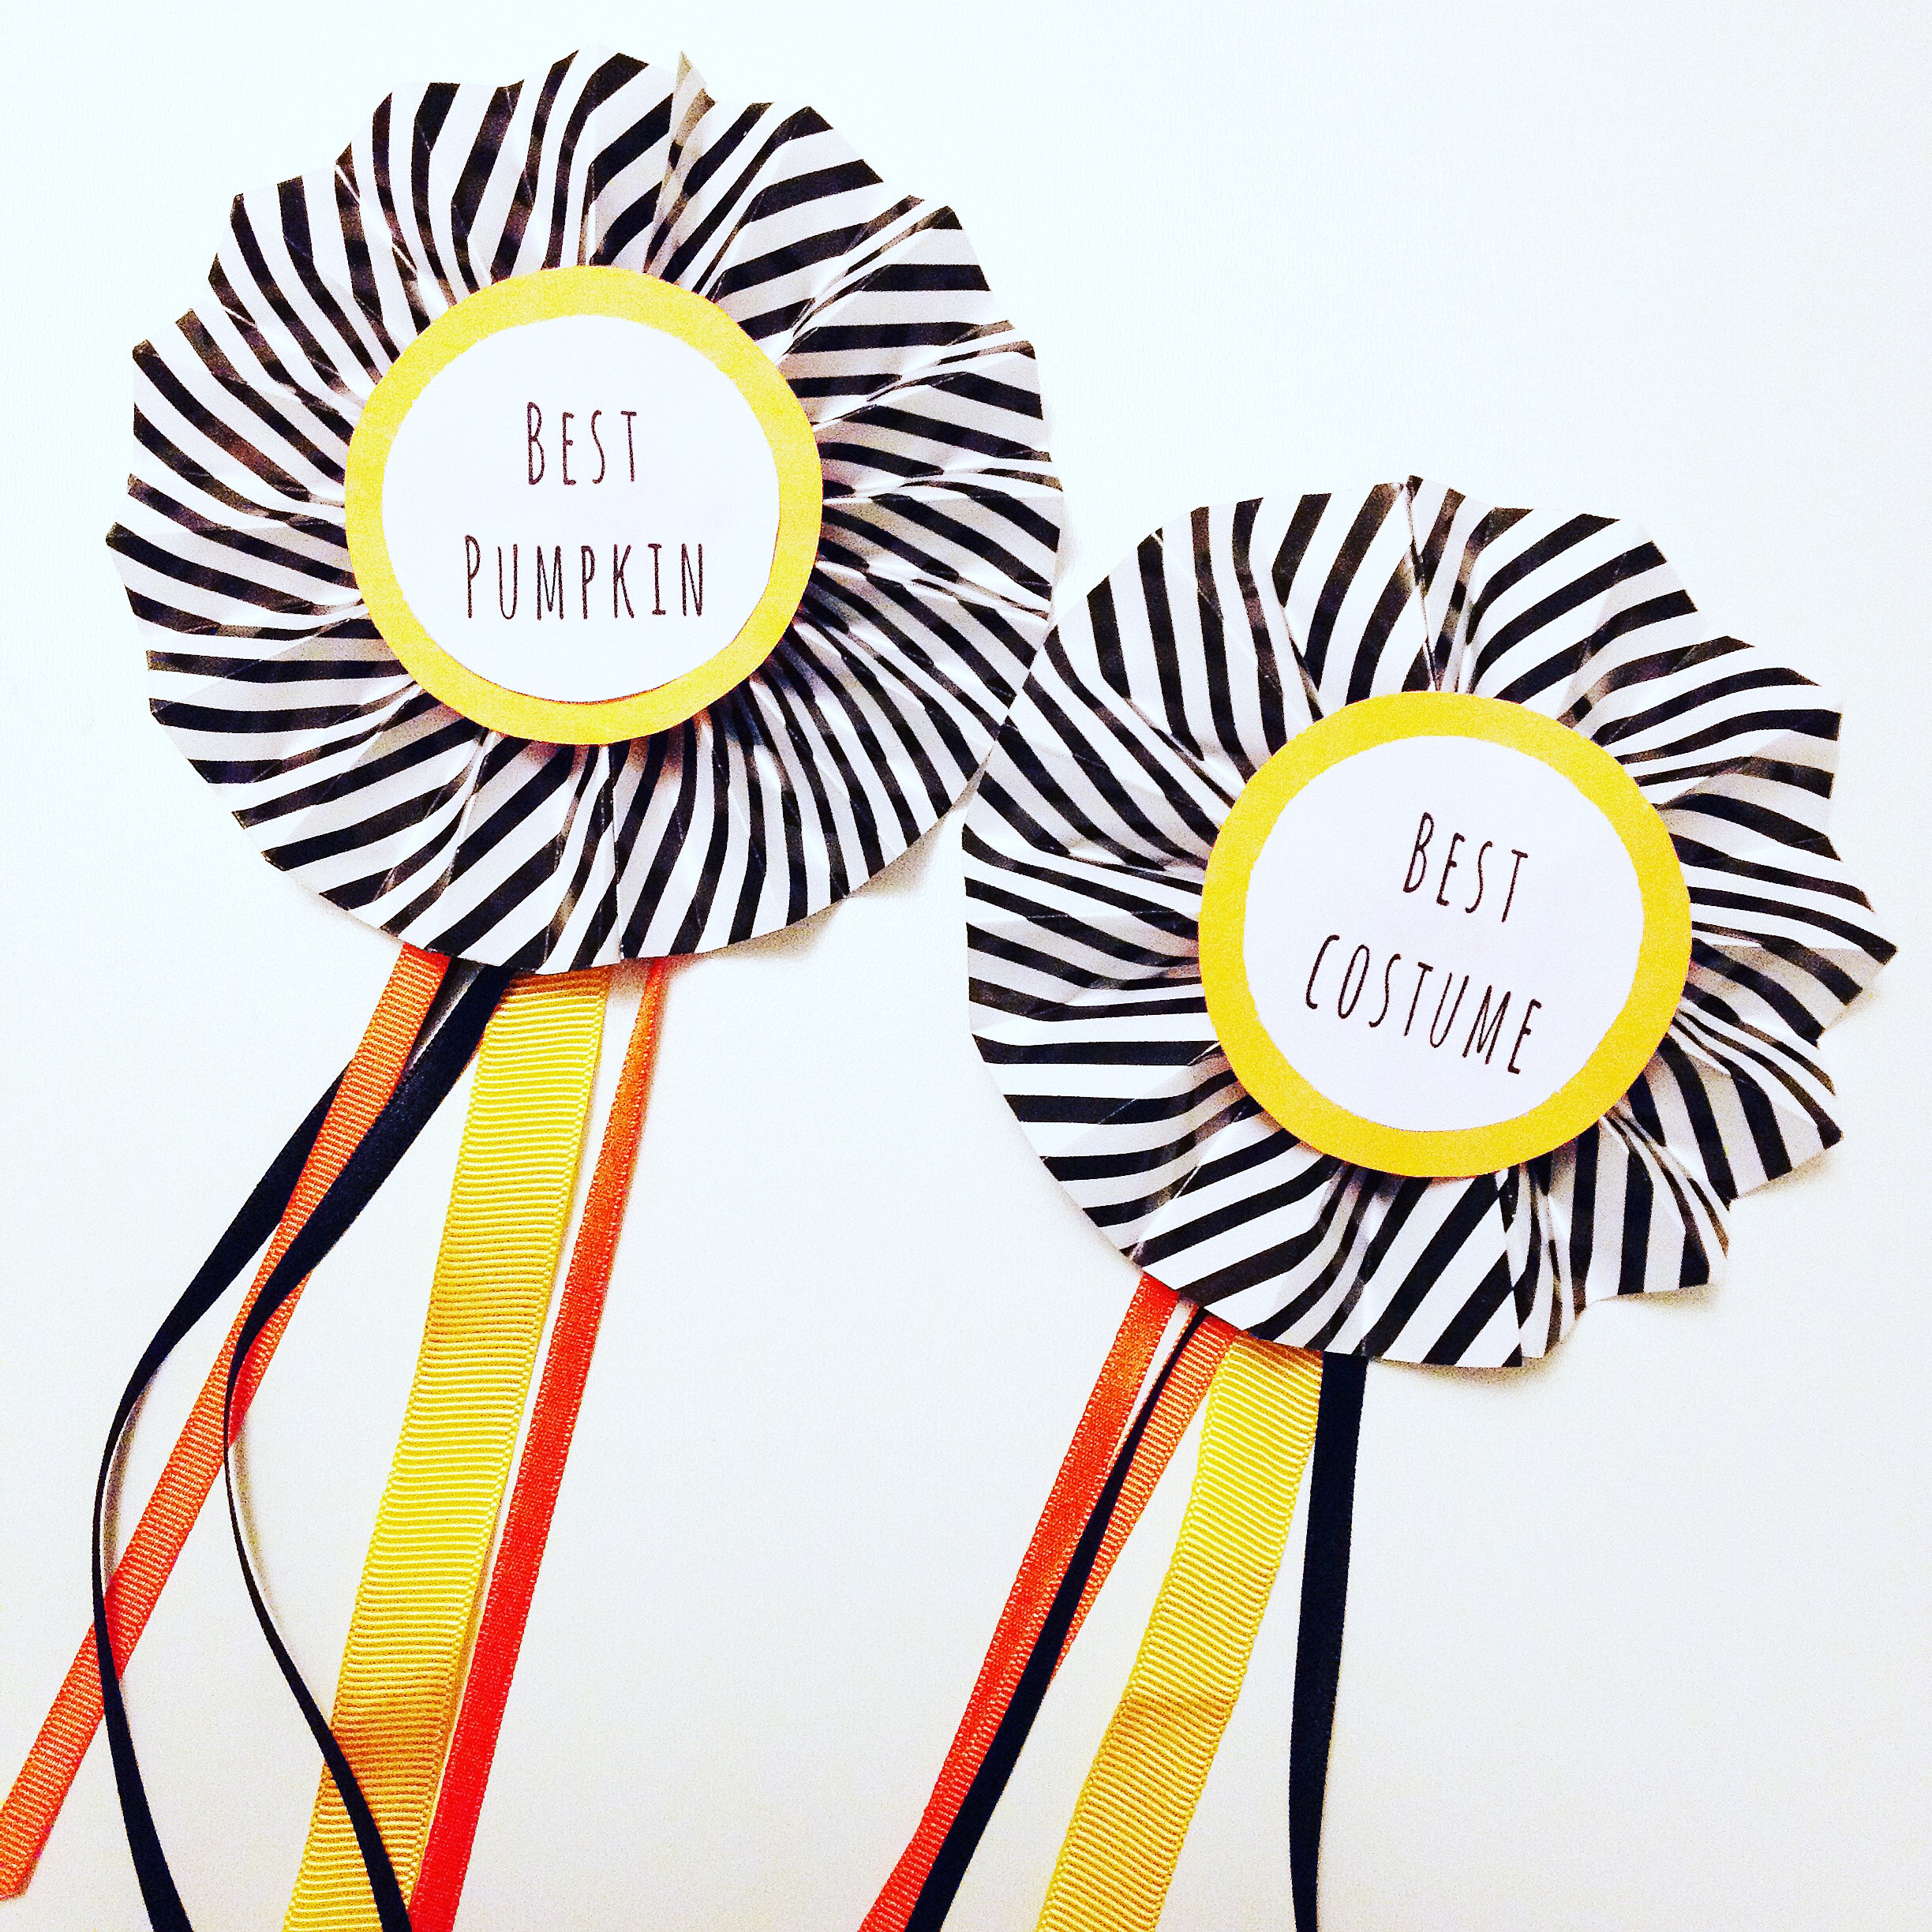
We love Hallowe’en at our house, and usually have some kind of Hallowe’en party or gathering. A few years ago, we went all out and had a costume competition and a pumpkin carving contest, and I created some prize rosettes for the winners. These are really easy to make, and you could get the kids involved in designing the front of the rosettes. You can also adapt these for other occasions – just switch up the colours! I used black and orange for the Hallowe’en ones.
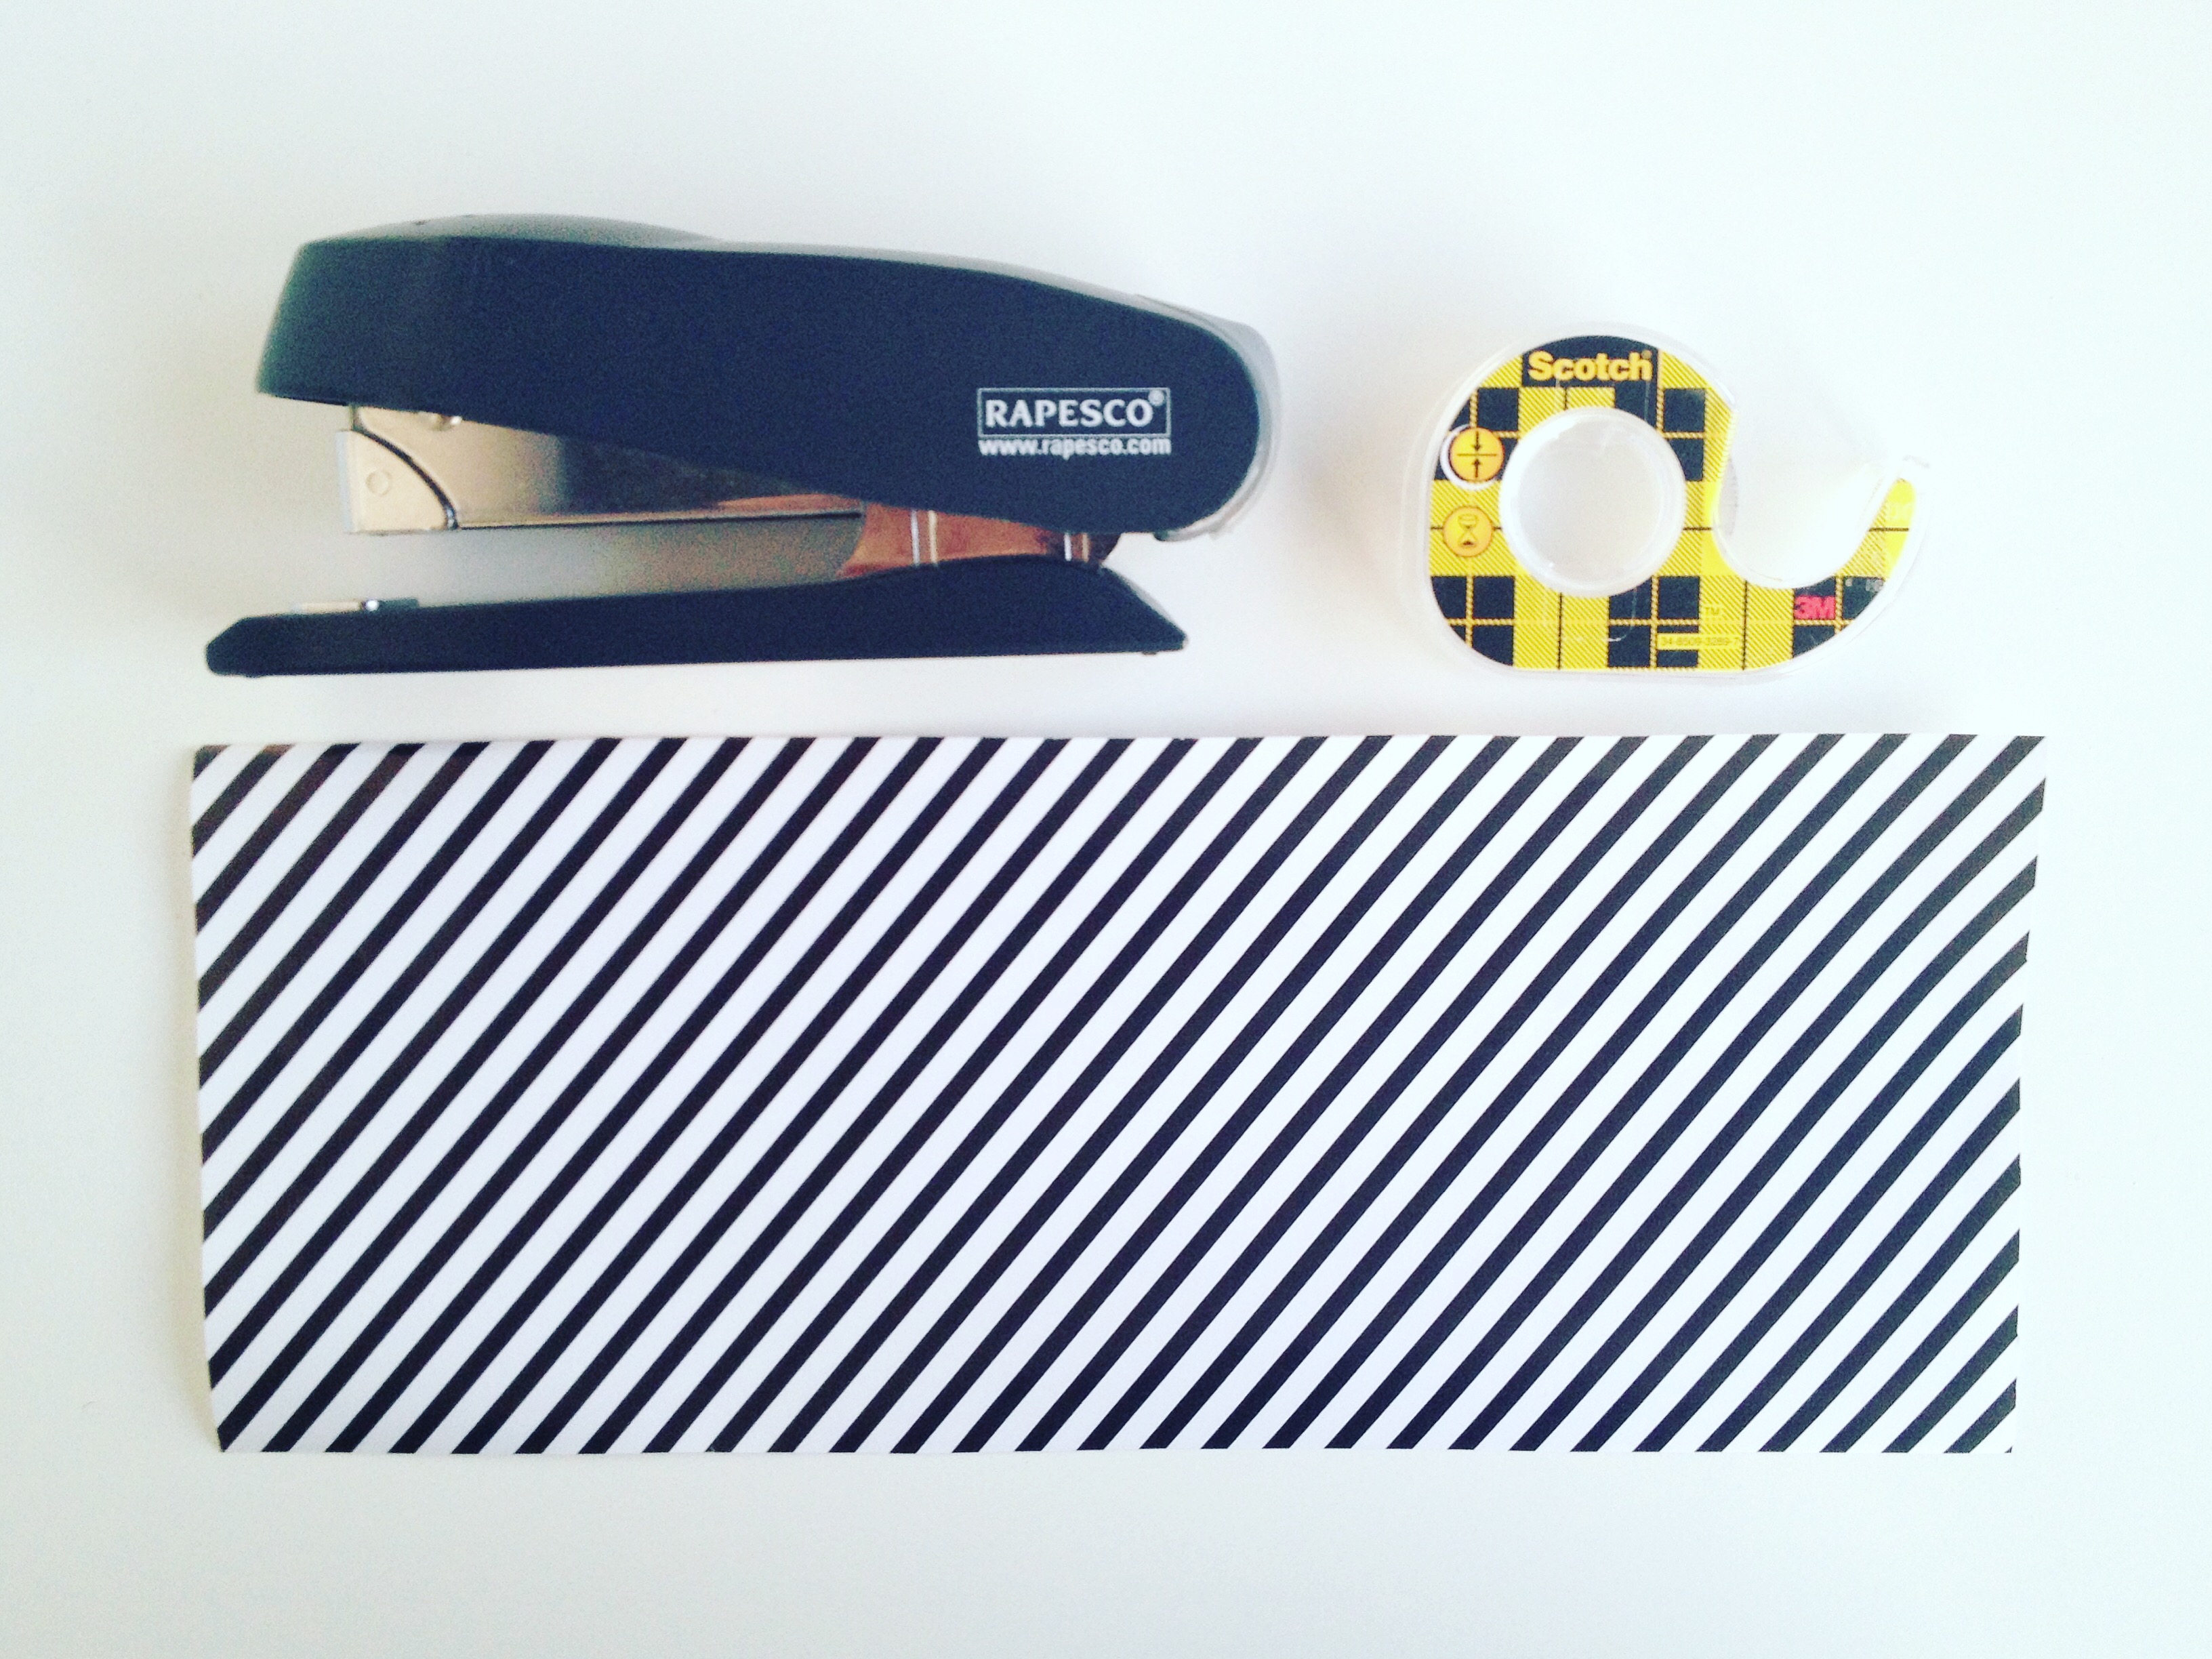
To make the basic paper rosette, you will need:
- a strip of paper ca. 12cm x 28cm. I use some high quality wrapping paper, which was a bit thicker than regular printer paper and was nice and glossy
- a stapler
- double-sided sticky tape
- a selection of ribbons
- some plain thick paper or card
- a pair of scissors
- ideally a glue gun, or other thick and quick drying glue
- a brooch pin or alternatively a safety pin
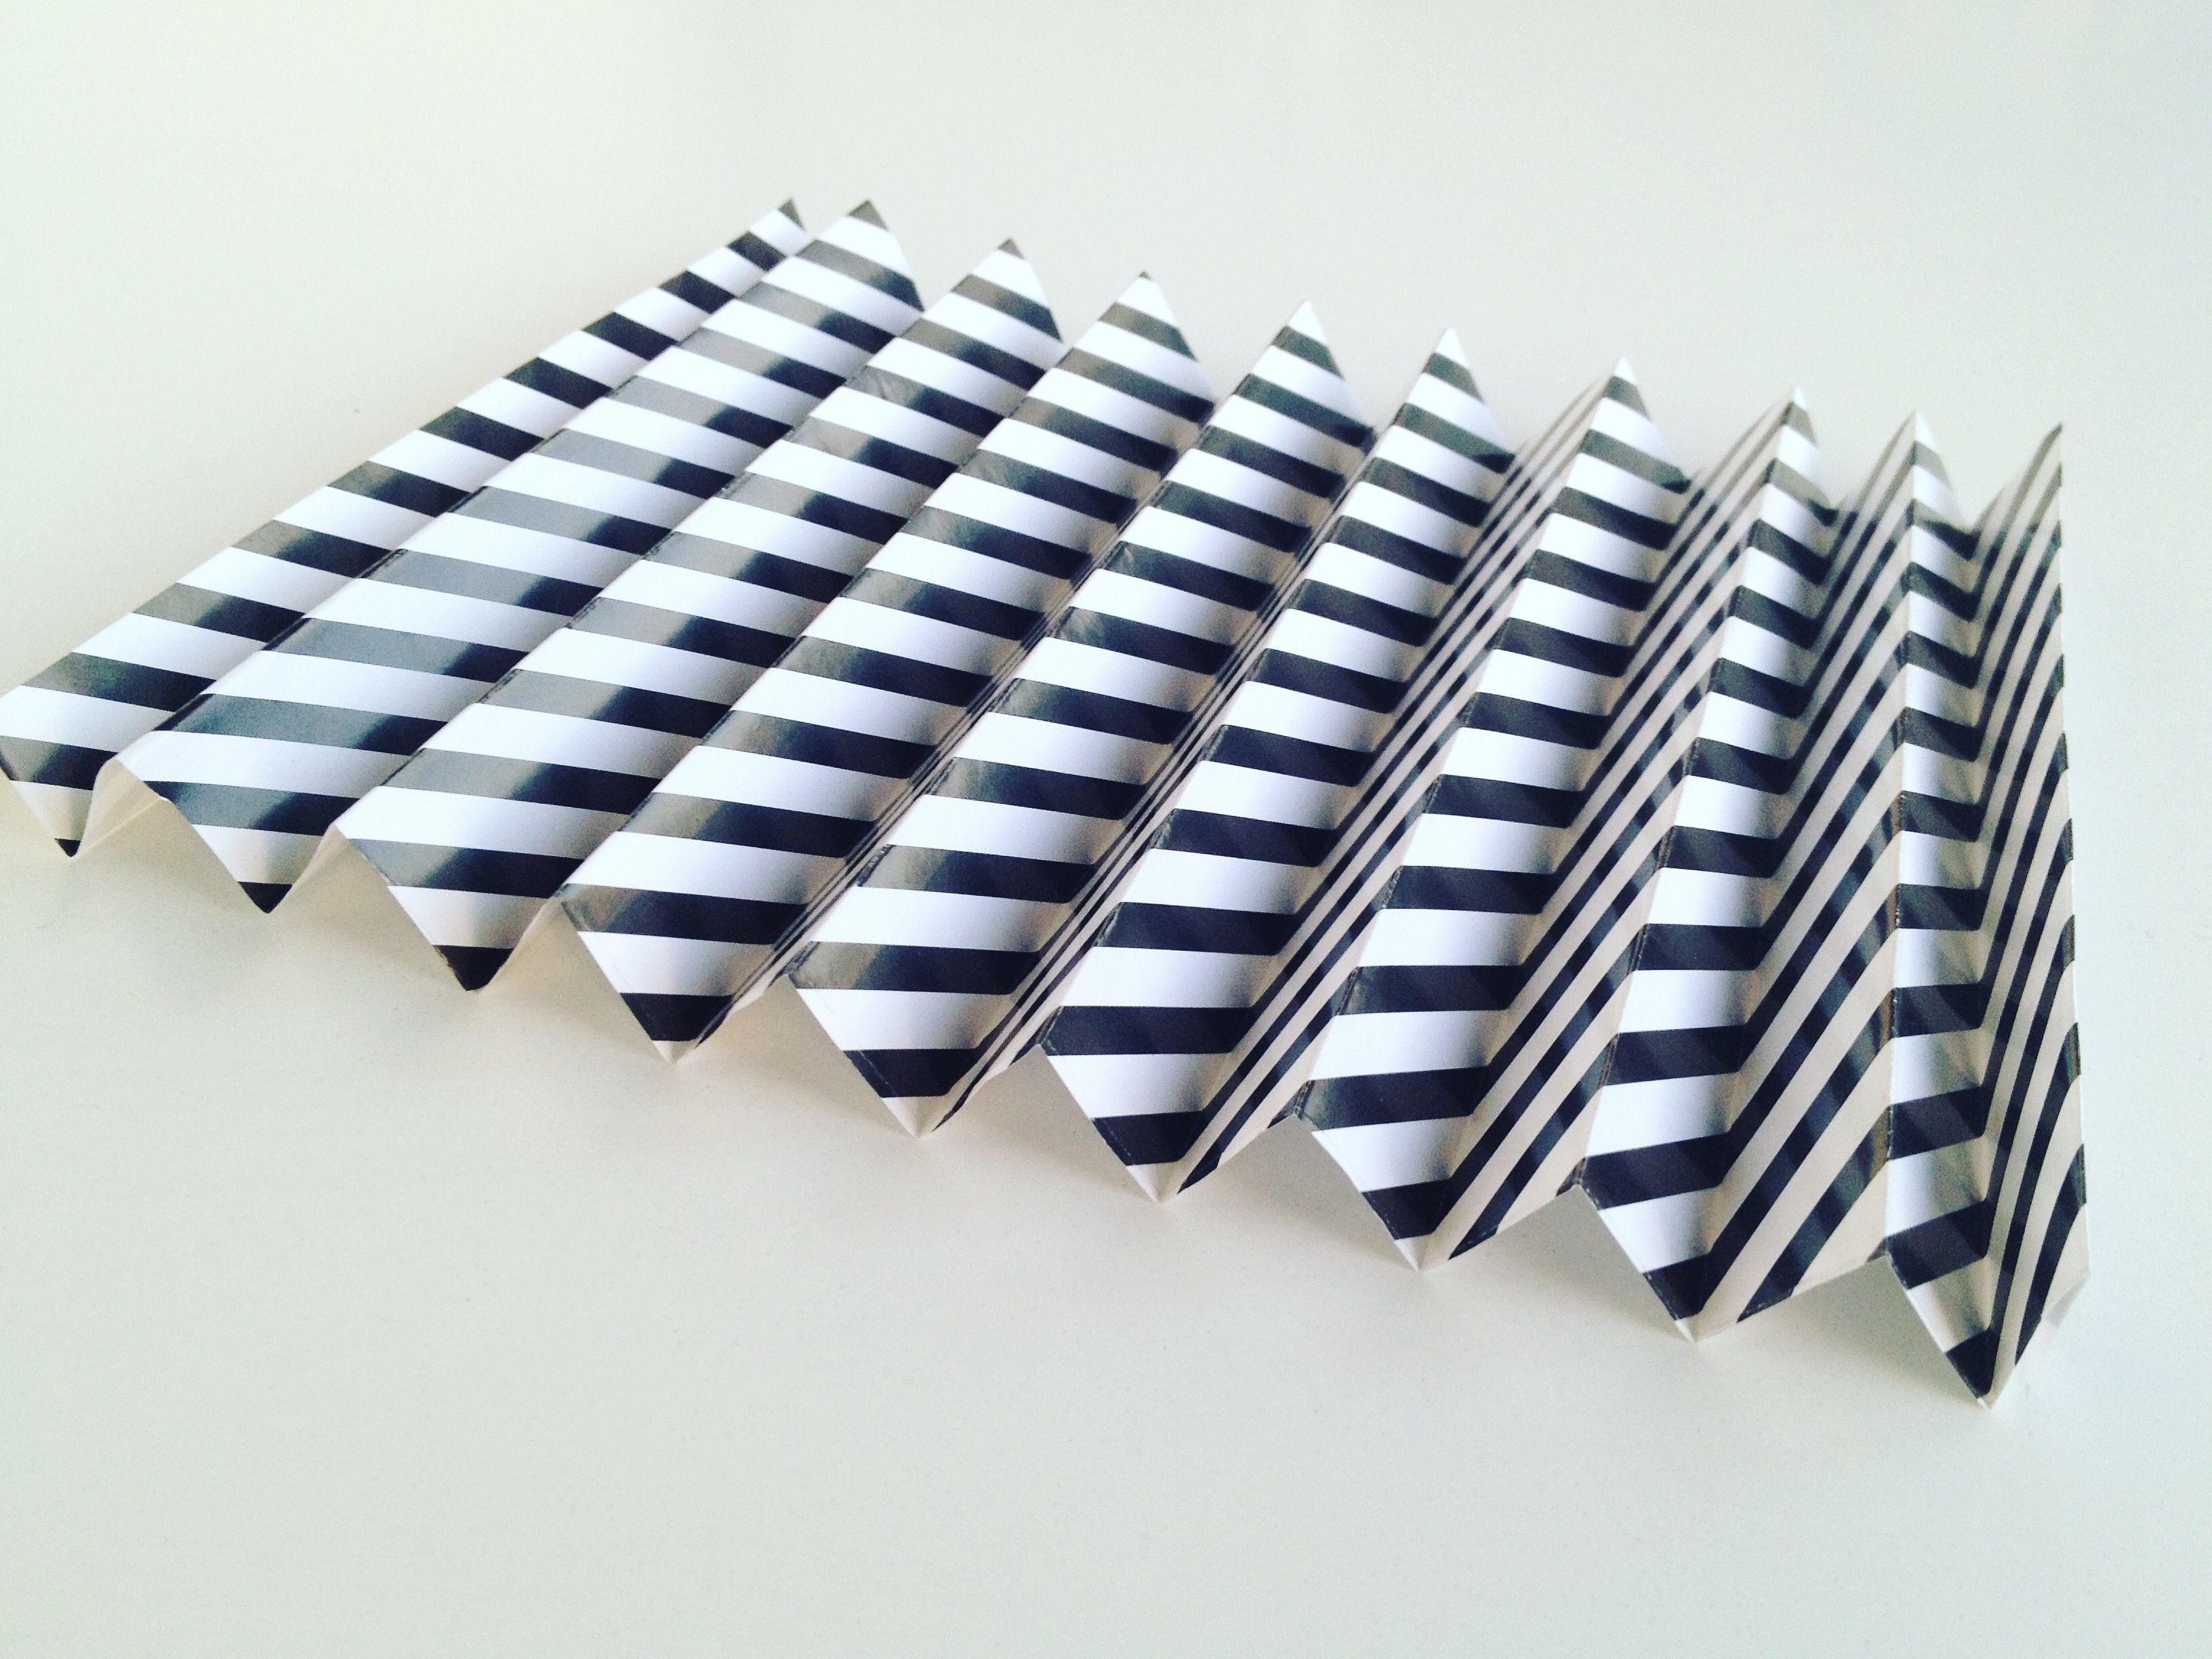
Step 1: Fold the paper back and forth, starting from the narrow end, to create a concertina shape. I made my folds aprox. 1.5cm wide.
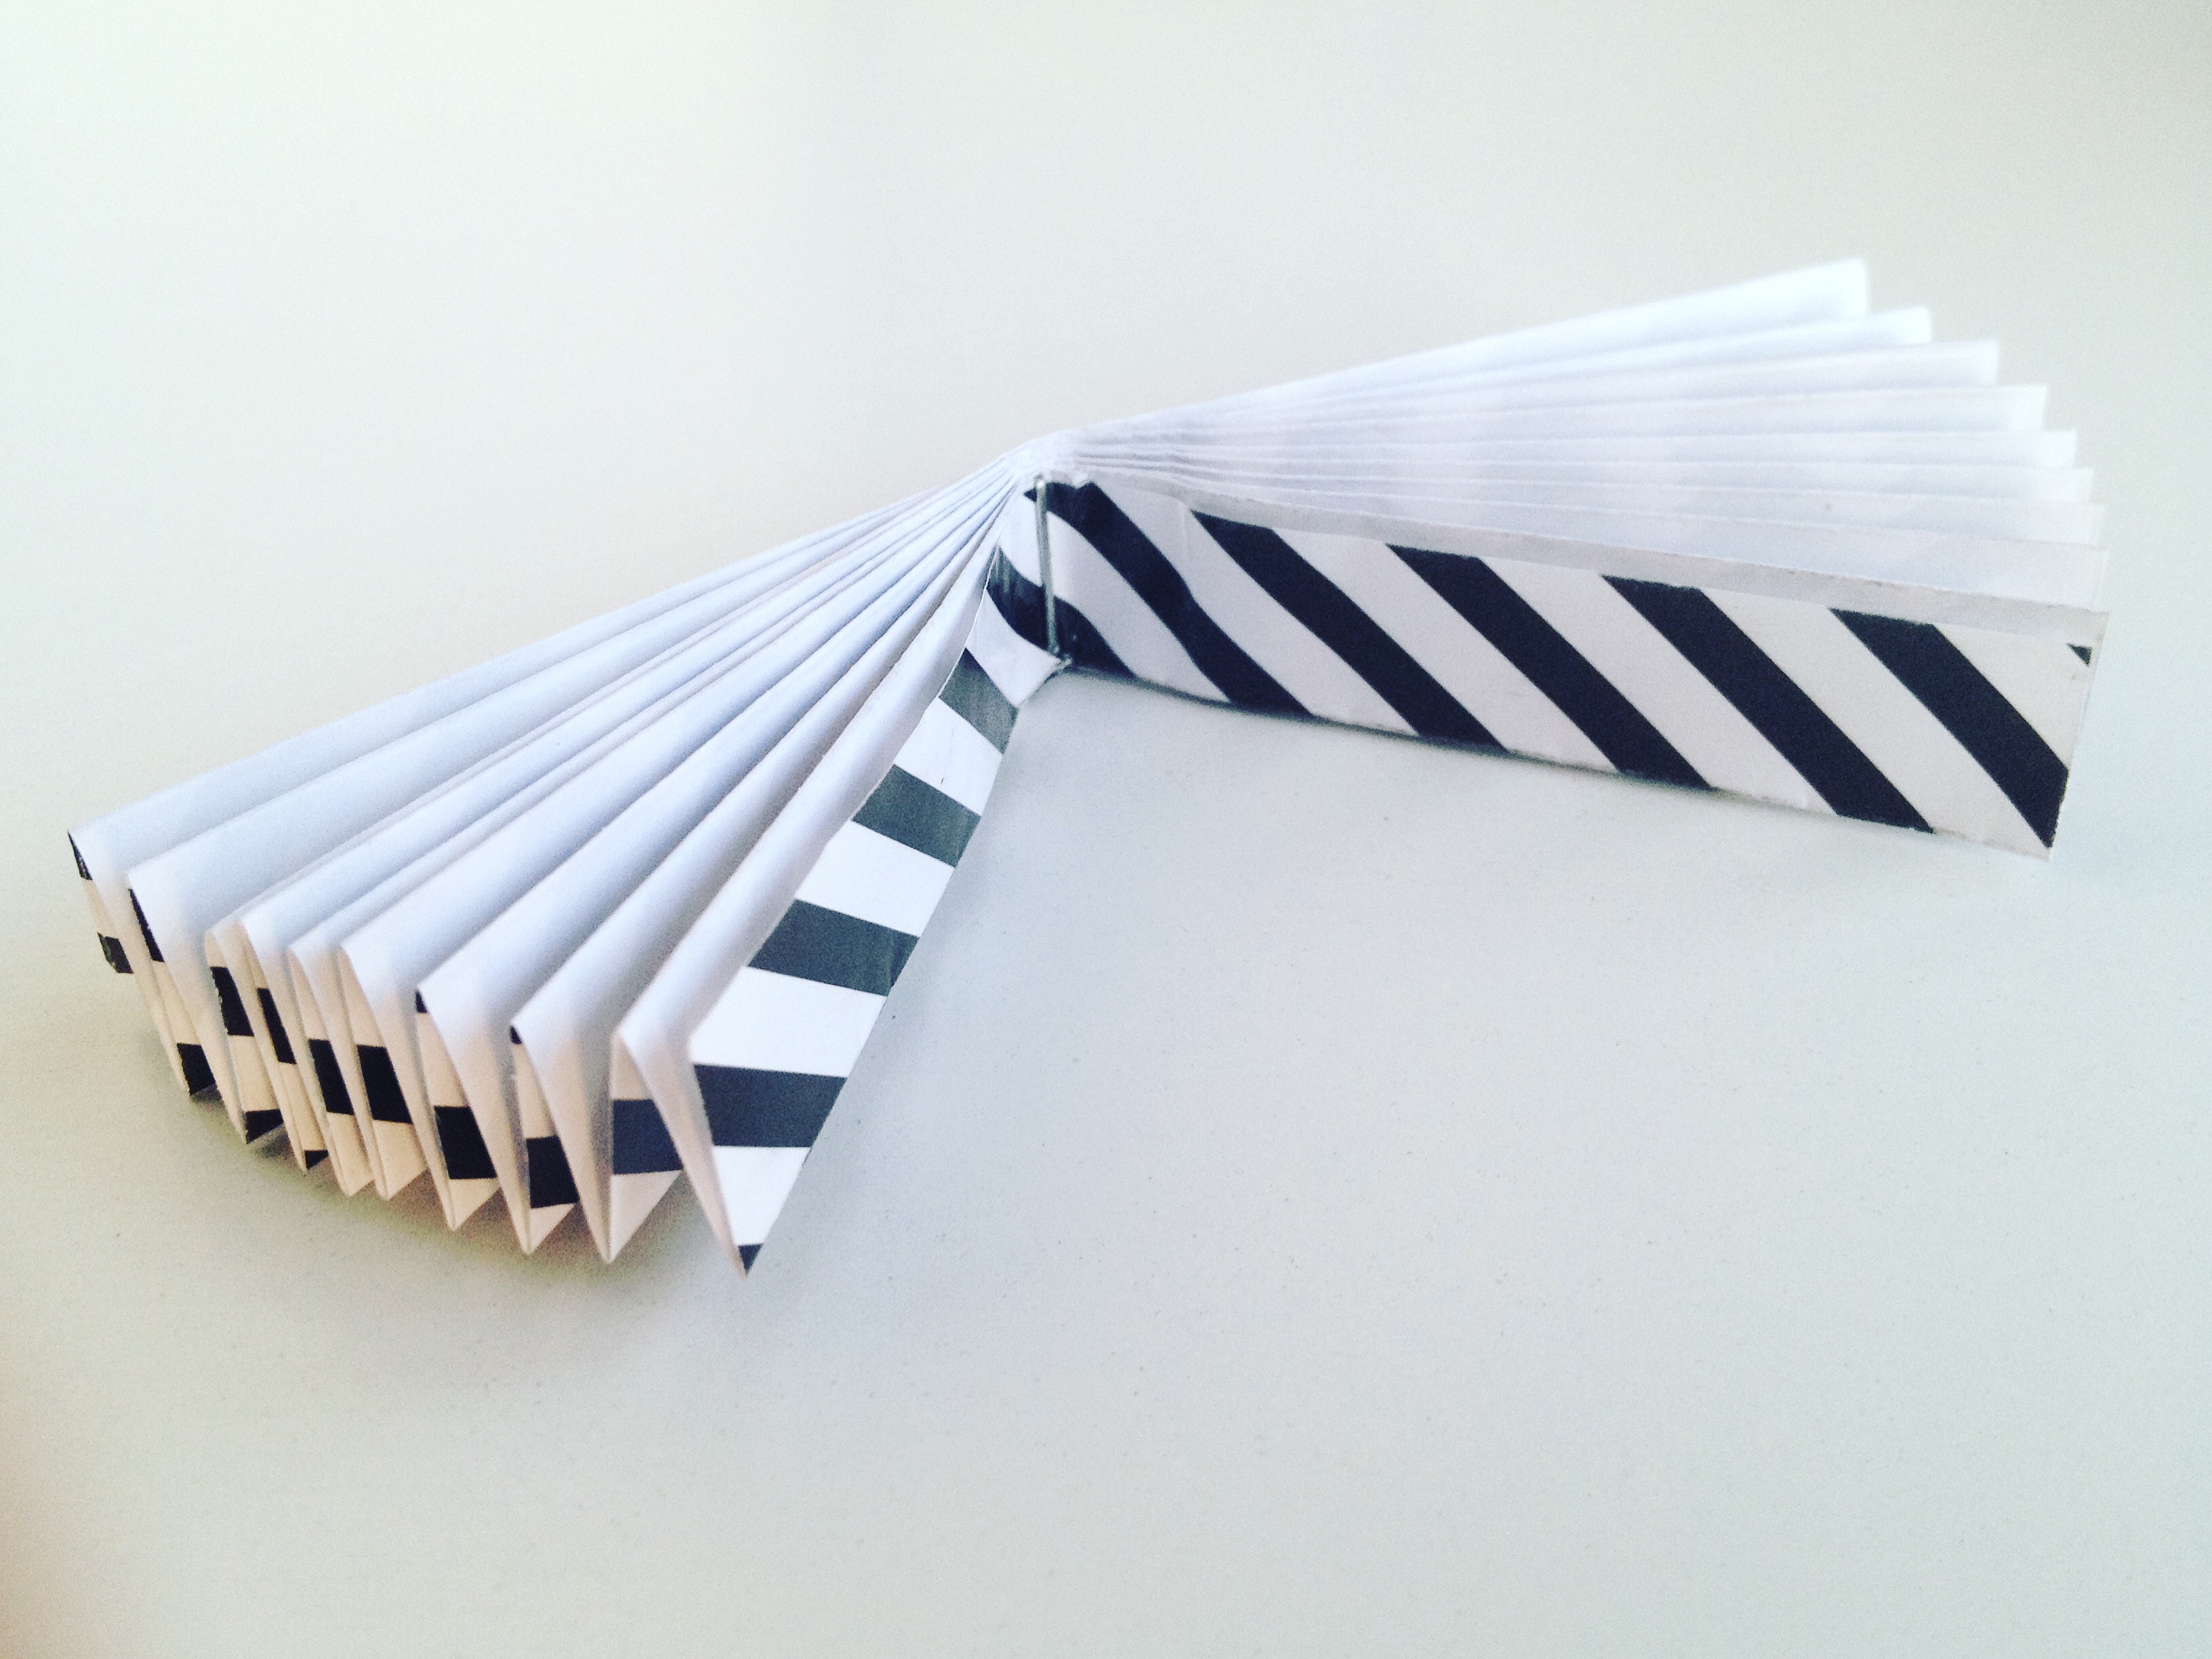
Step 2: Gather up the strip of concertina paper and fold it in half, then staple it once in the middle of the fold.
Step 3: On one side of your concertina, stick a piece of double-sided sticky tape on the top half of the outer most fold, then bring the two halves together.
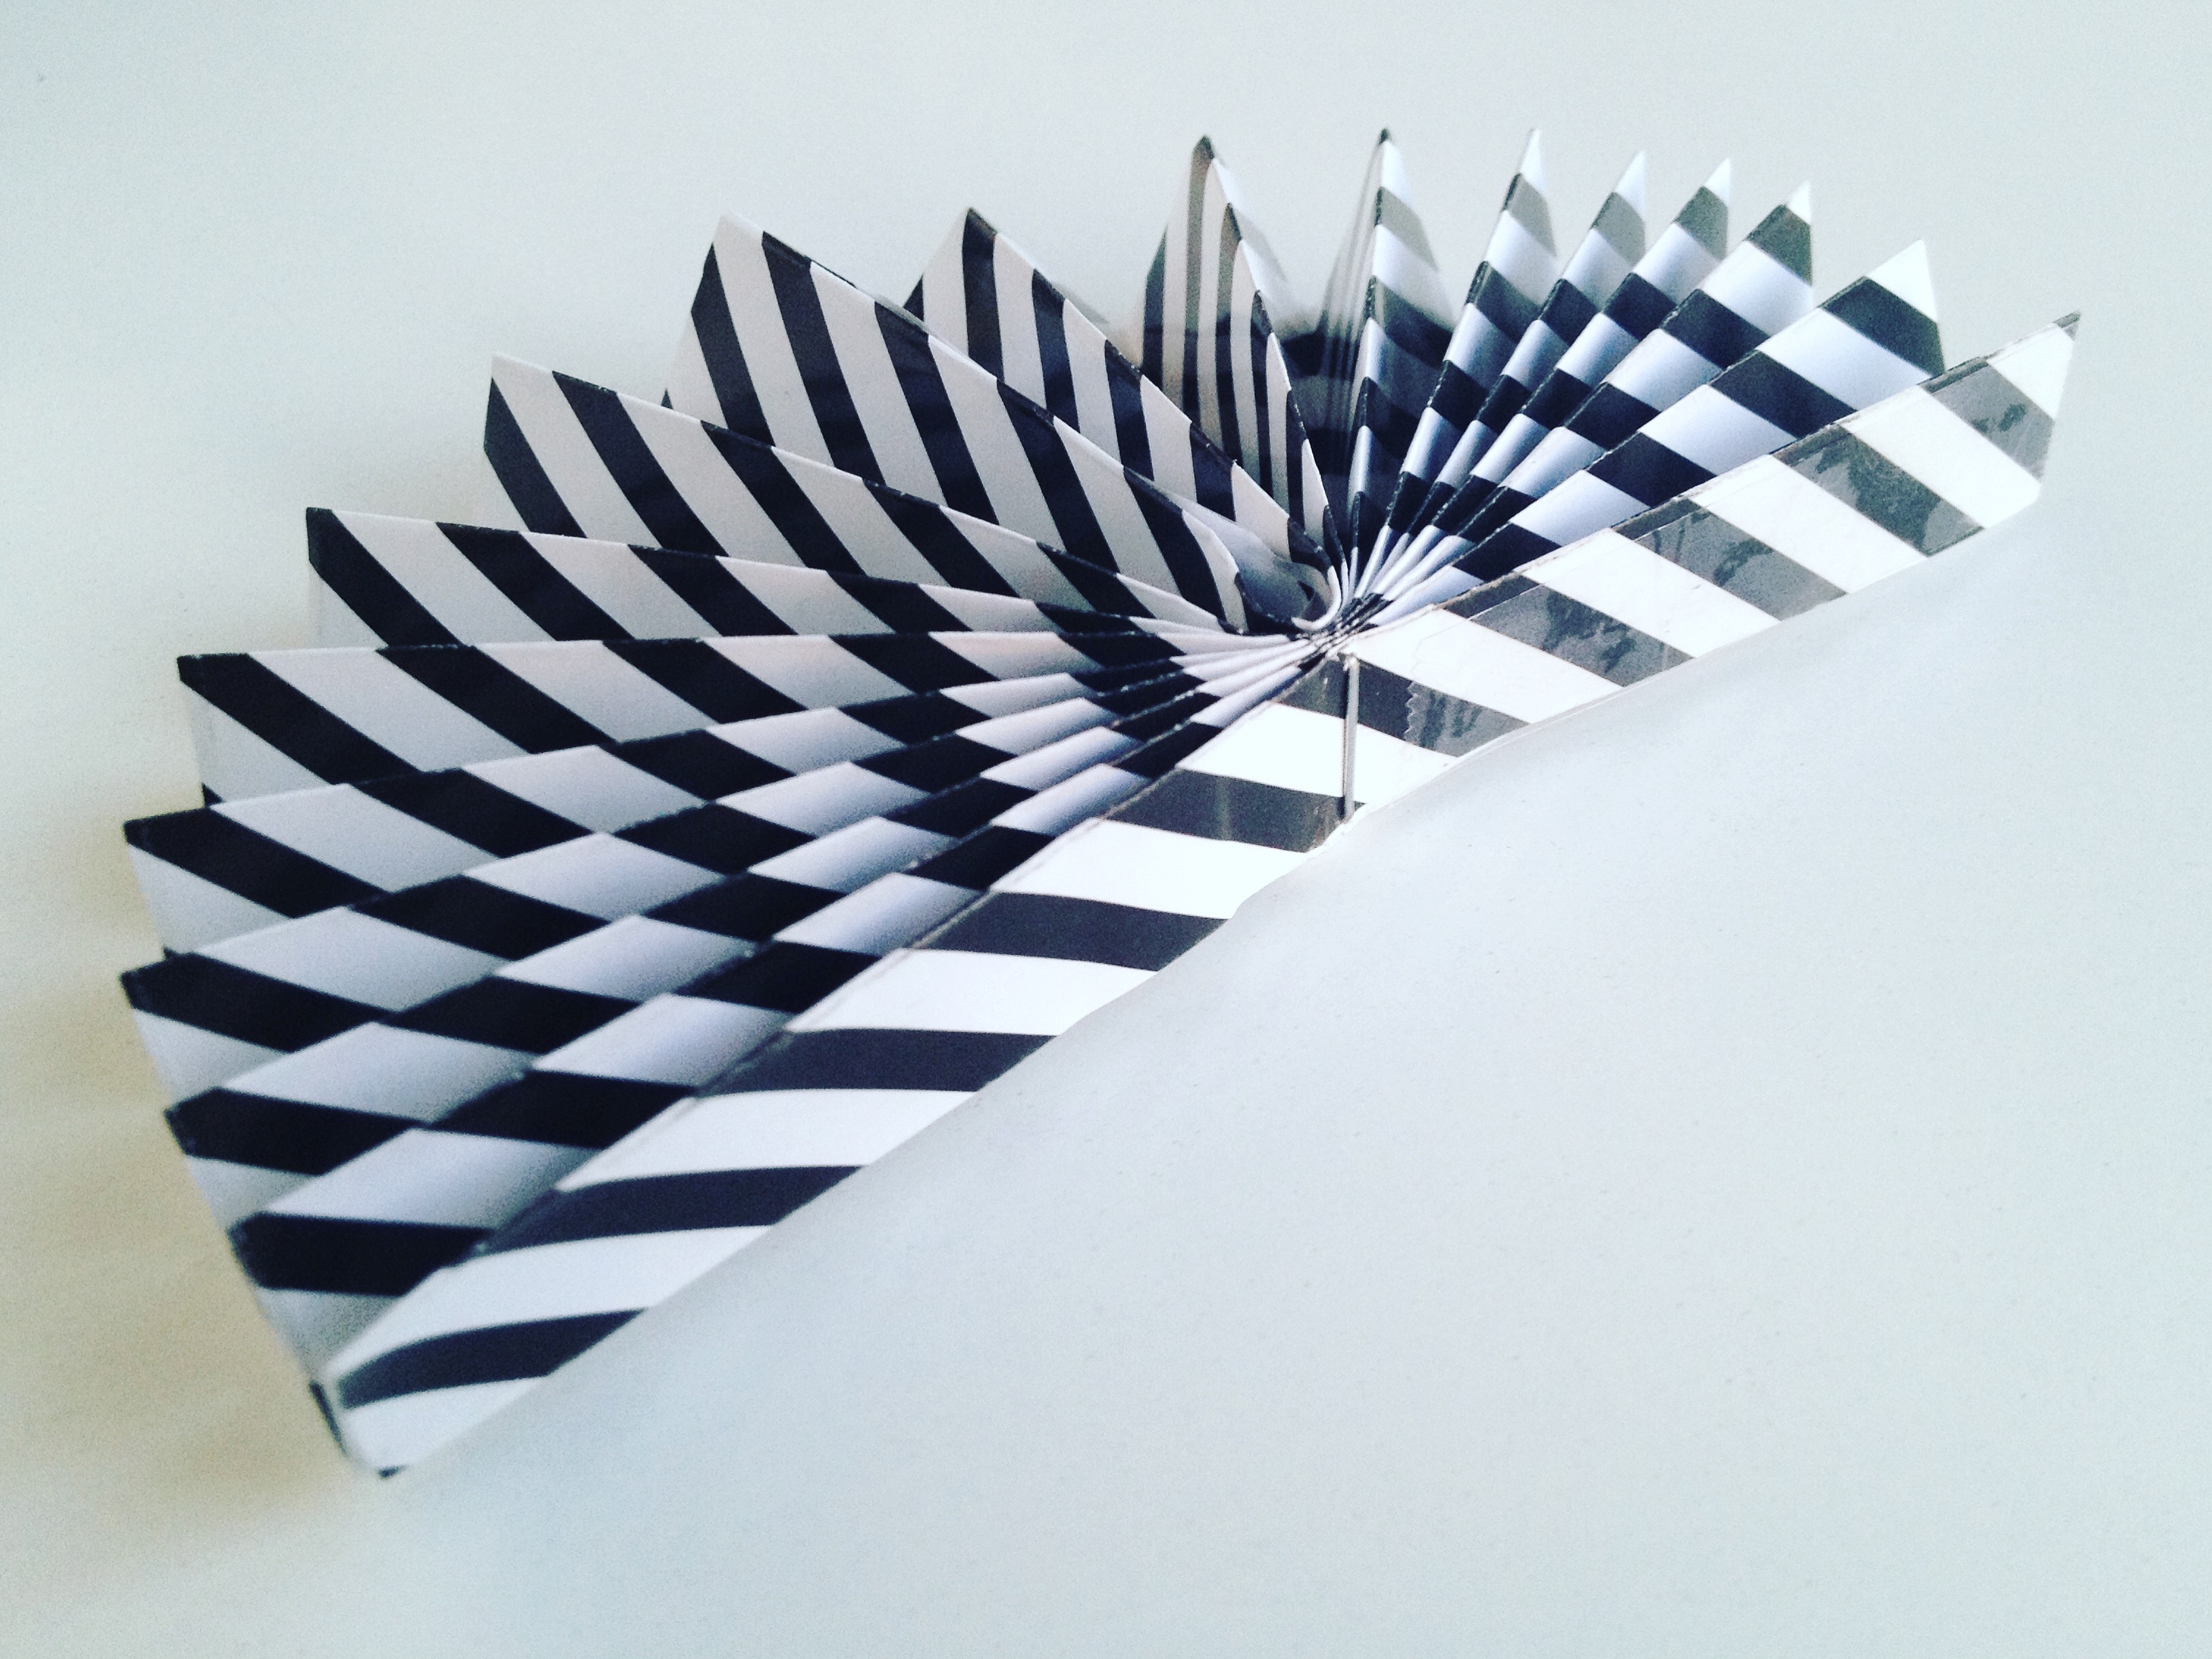
Step 4: Repeat on the other side of your concertina to make a full rosette.
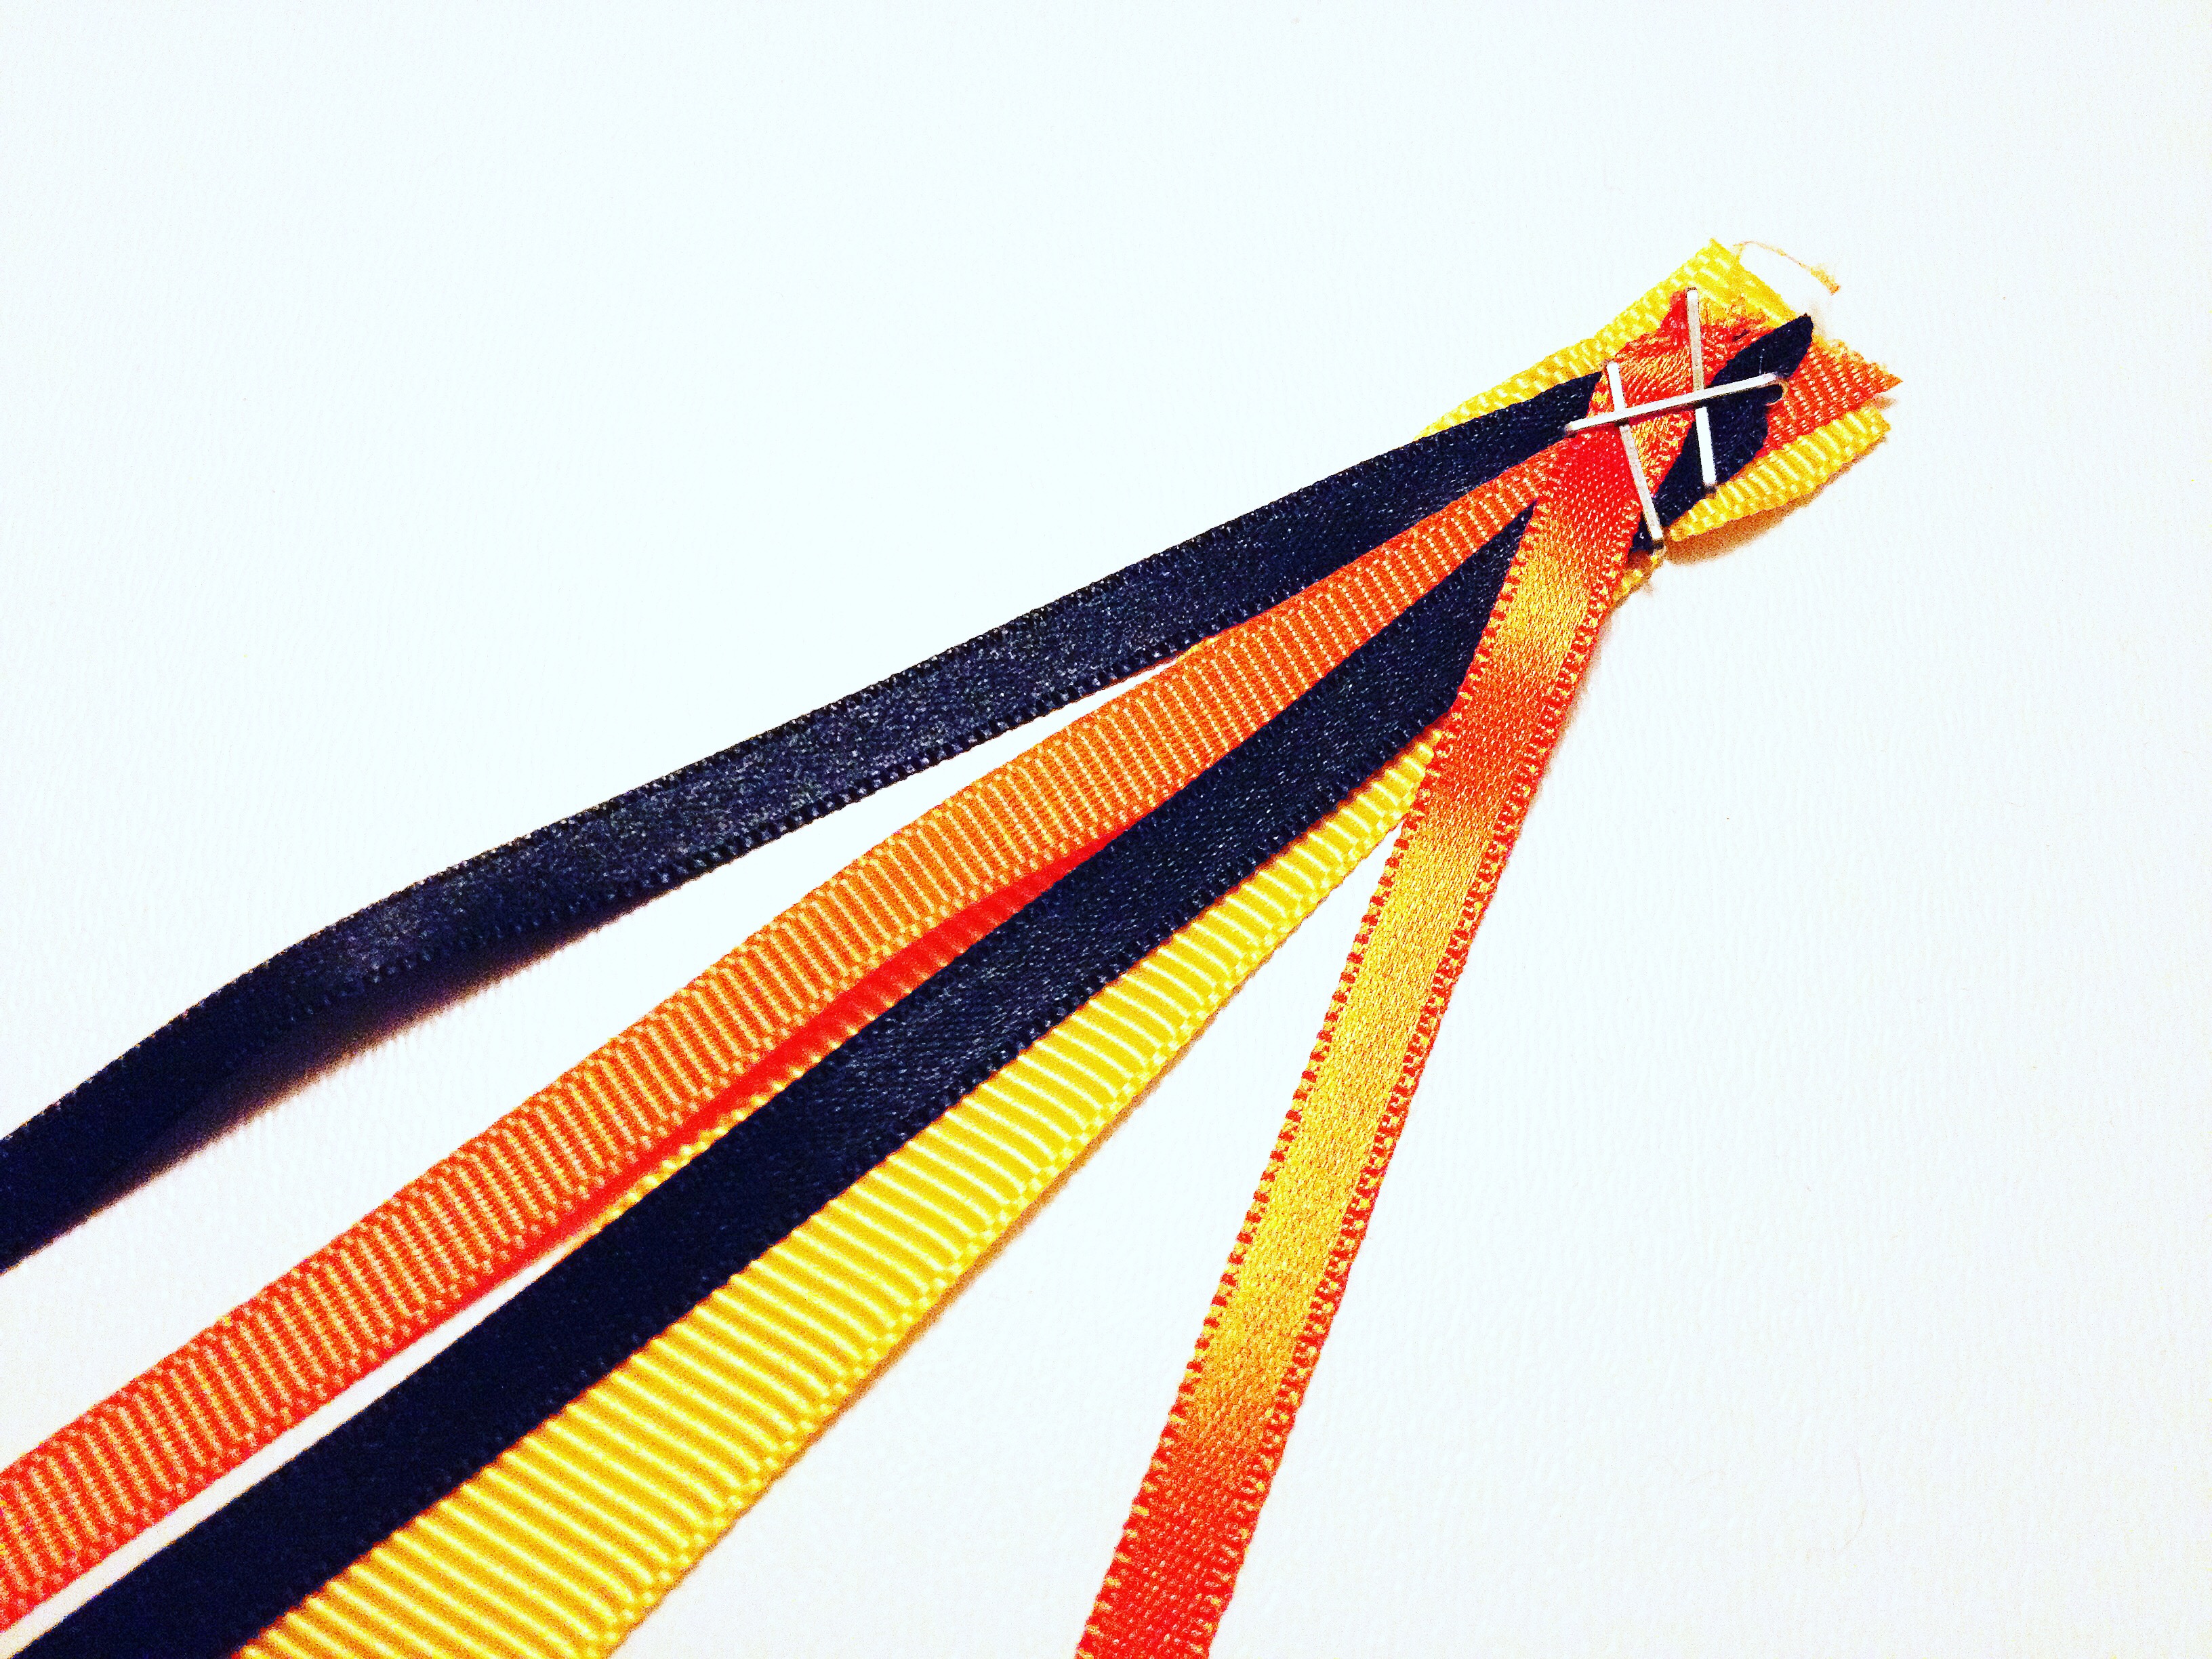
Step 5: Gather different length of ribbons and staple them together. I used one broad piece of ribbon to staple the narrower pieces to.
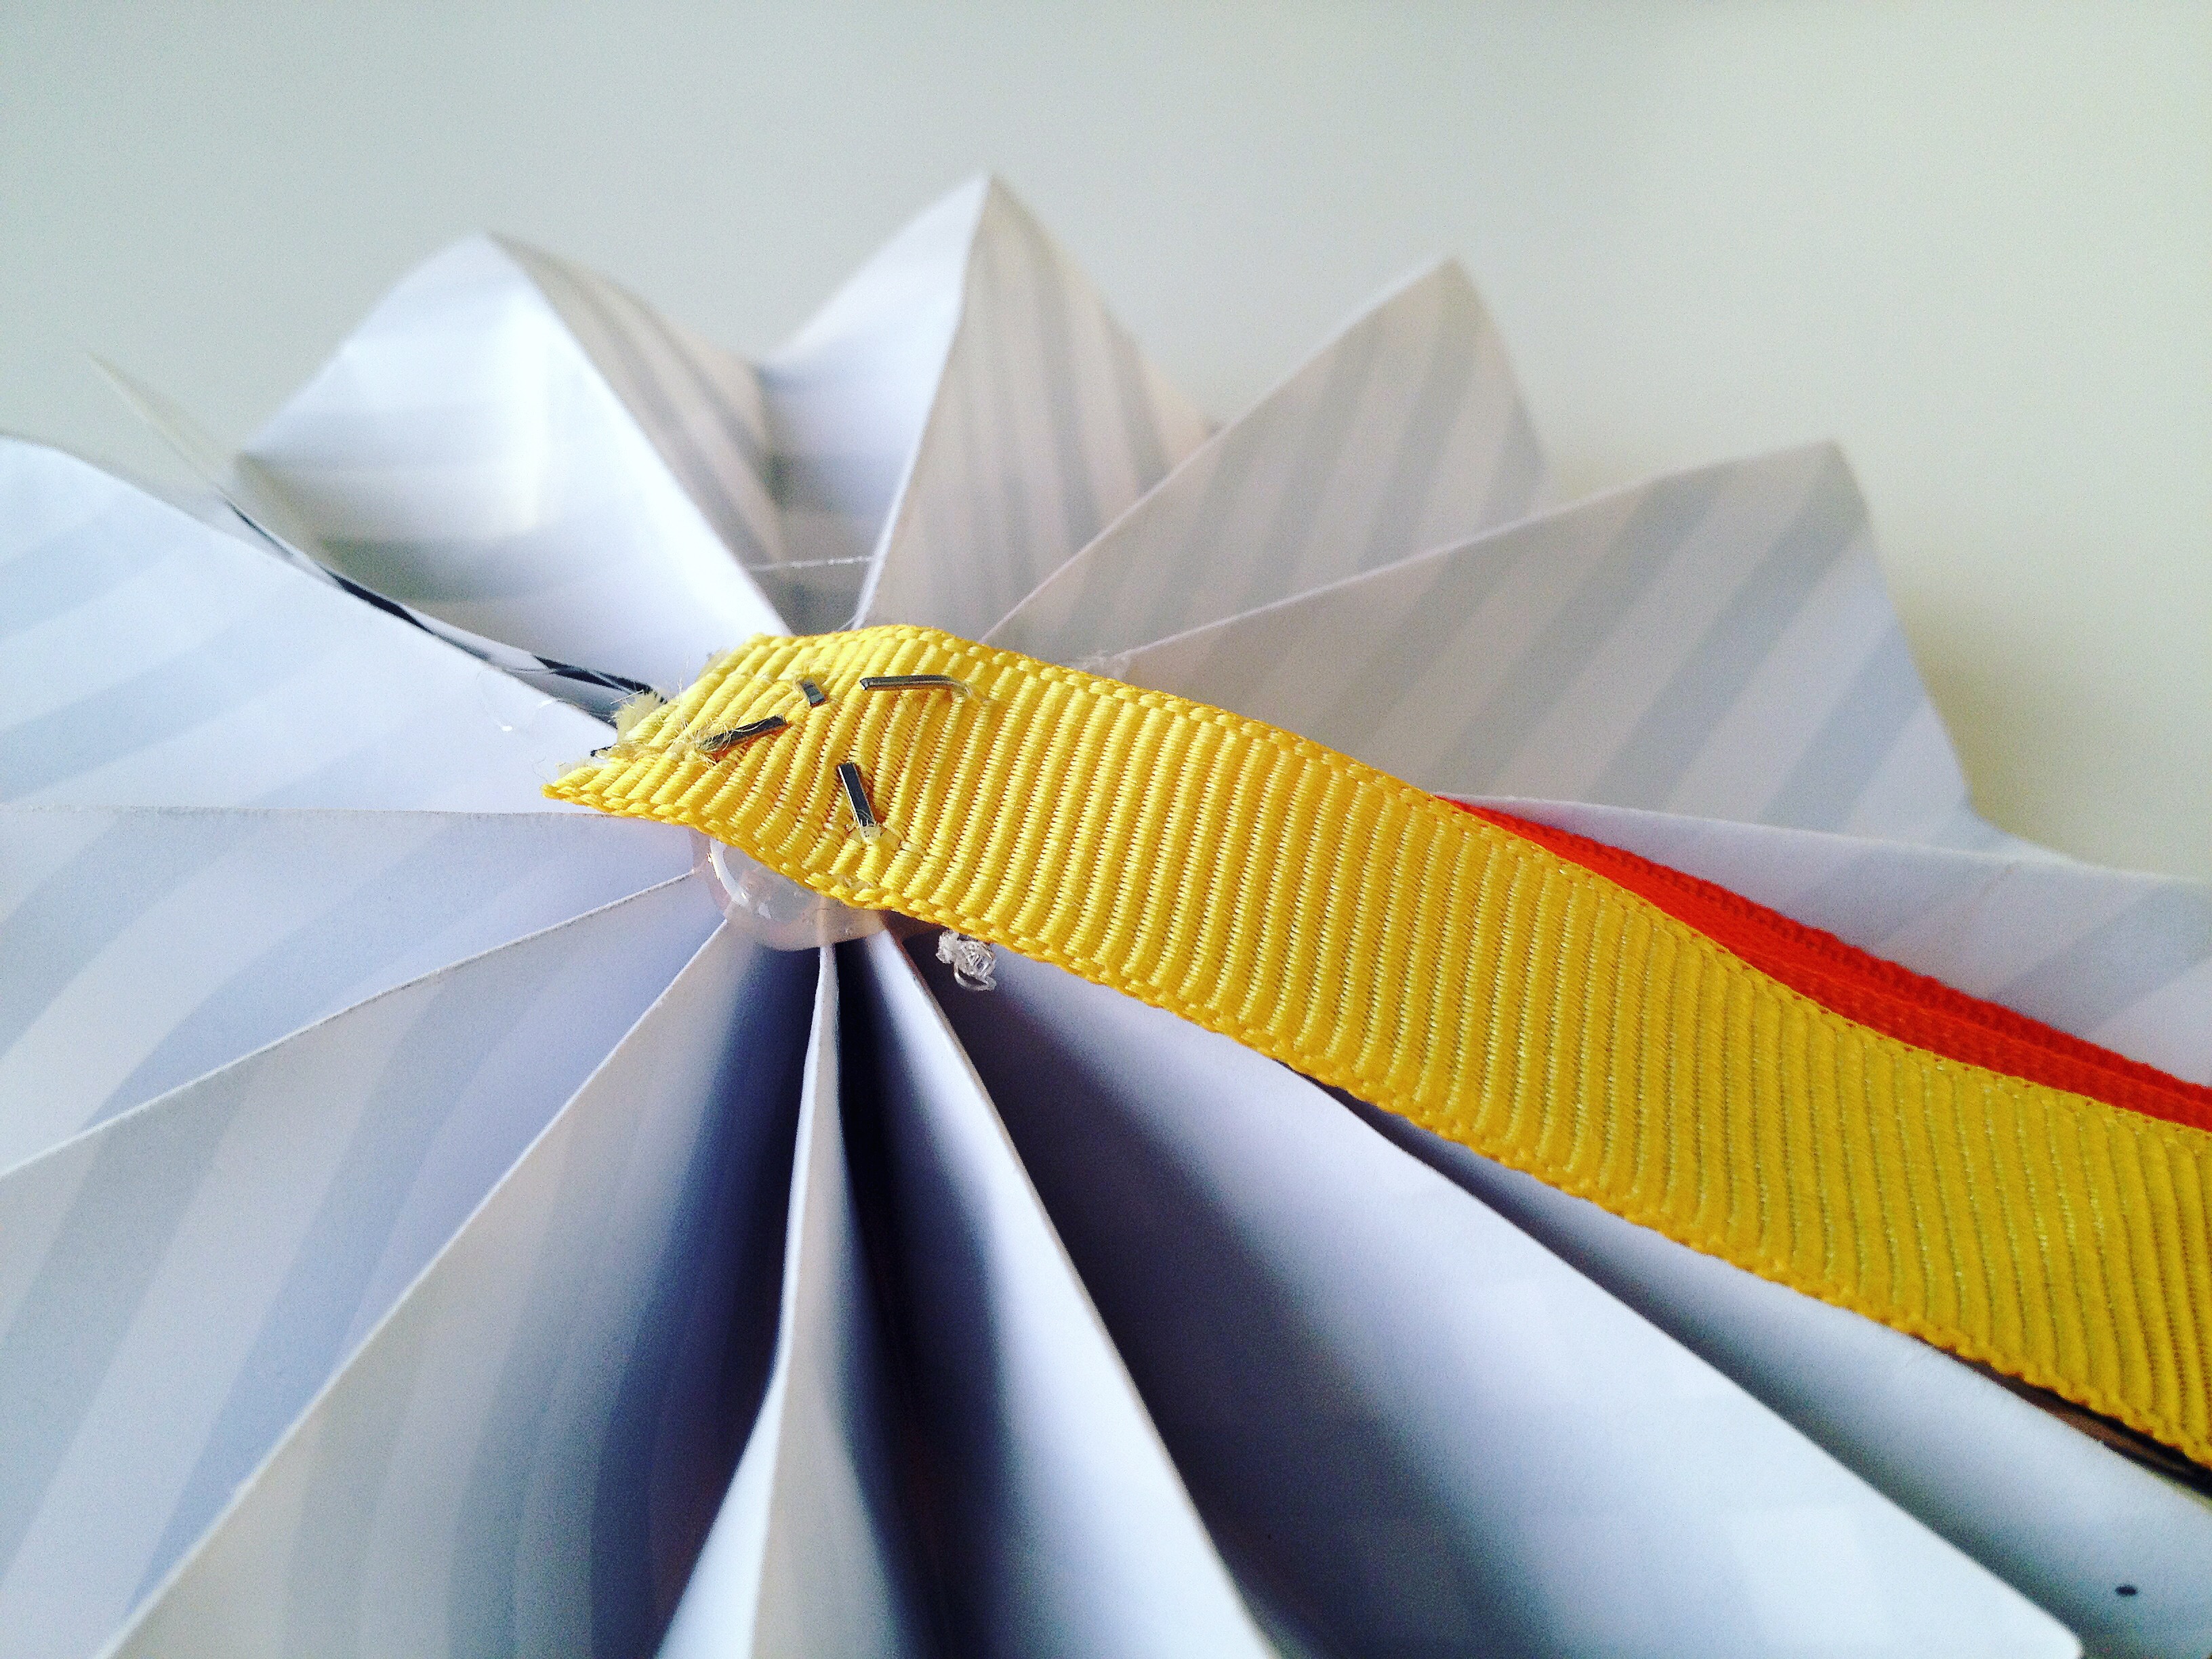
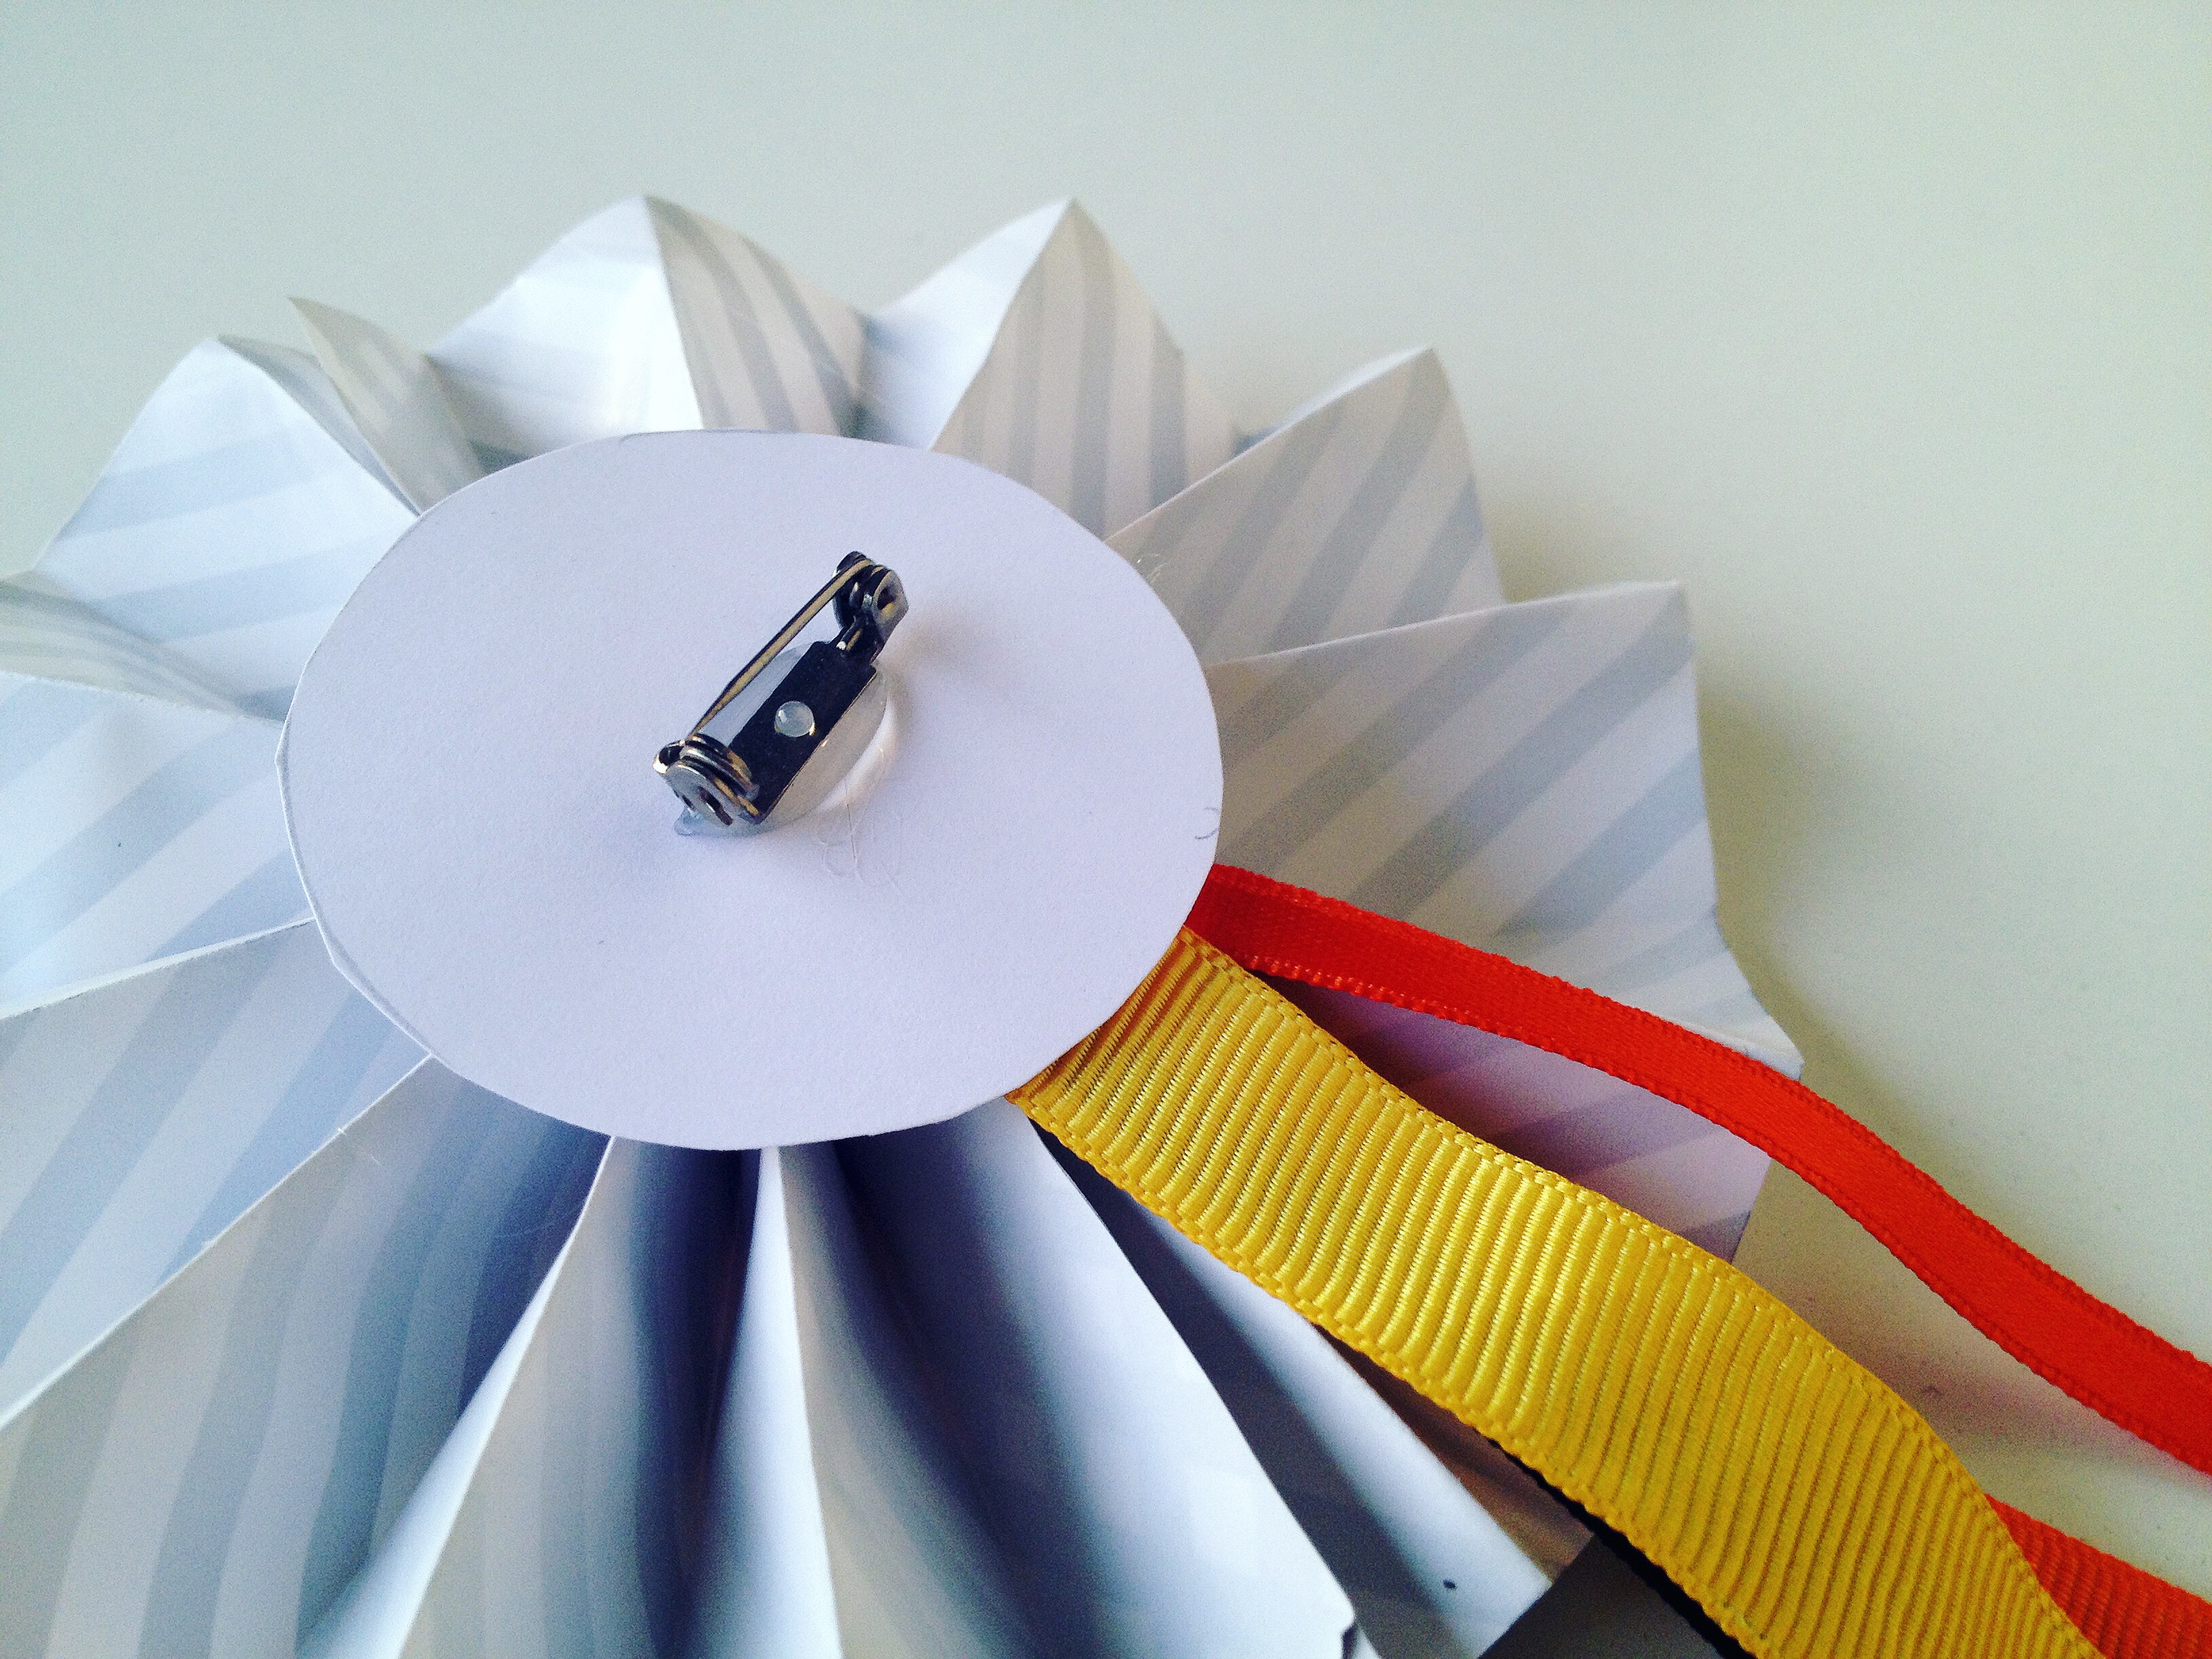
Step 6: Glue the stapled end of the ribbons to the middle of the back of the paper rosette. I found that the glue in a glue gun works best, as it doesn’t drip and dries really fast.
Step 7: Cut out a circle of plain card and glue it on top of the ribbons to cover up the ends, then glue your brooch pin or safety pin on top of that.
Step 8: Cut out circles from plain or coloured paper or card and print out or write what the rosettes are for. Then just glue them on to the middle of the front of your rosettes. And you’re done!


Lyndsey O'Halloran
These are such a lovely idea. They’d be good for a party!
Claire
These are brilliant! What a cute idea, Halloween but not scary, love that x
Rosie Preston Cook
These are fabulous – what a great prize. You could use them for anything not just Halloween.
Talya Stone
Ahh these are so sweet – perfect for a Halloween party and best costume competition!
Sarah Howe
What a fab idea for parties or gatherings. Really lovely prize idea and seem easy to make x
Clare Minall
So perfect for Halloween party awarding ceremony! Great and simple idea. Very good job of yours! Thanks for sharing this awesome idea!
Melanie williams
Oh wow these are amazing. What a talent you have…this is a fab craft and looks really good quality too xx
Kelly-Anne
Oh this has to be the sweetest idea to make for a Halloween party! I’m kinda obsessed with the colours on them.
Playdays and Runways
I think I will make some of these for my sons halloween party thank you