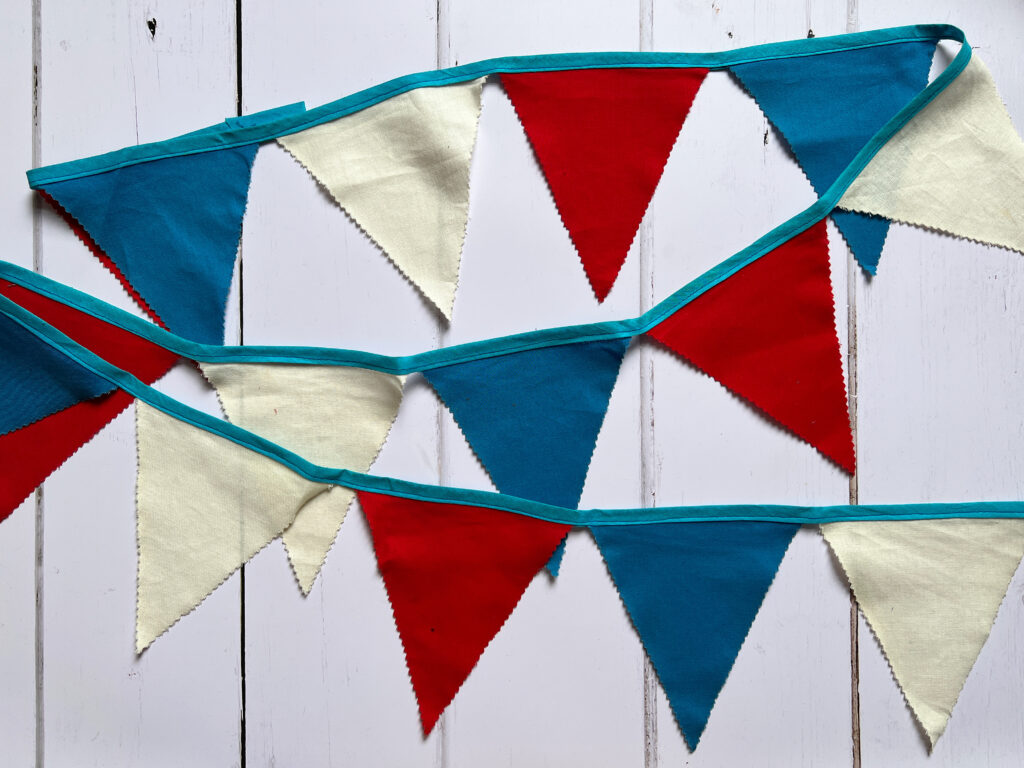
Easy-Peasy DIY Jubilee Bunting
What’s a party without some bunting! Whether you’re celebrating the jubilee this weekend, or want to pretty up another occasion, making your own bunting in whatever colours or patterns you choose is a handy skill to have. And the great thing about hand sewn bunting, is that you can use it time and time again so it will save you money in the long run and is better for the environment too, than buying single use bunting. This bunting here I made ten years ago for our Queen’s Diamond Jubilee celebrations, and it’s still going strong today.
This project does require some sewing skills, but it’s a very simple type of bunting to make so it’s manageable for a beginner.
Here’s what you’ll need:
- Some fabric of your choice (For the jubilee bunting I used red, white and blue. I did briefly consider embellishing them with ribbons to make Union Flags, but I thought keeping them plain would make them more versatile to reuse in future).
- Some bias binding (mine was 2.5 metres, but just use a length to suit your space)
- Thread and pins
- Pinking shears (for cutting fabric with a zigzag edge)
- Paper scissors (never use your fabric scissors to cut paper as it will blunten them!)
- Some cardboard, a sheet of paper, a pencil and a ruler
You’ll also need a sewing machine and an iron.
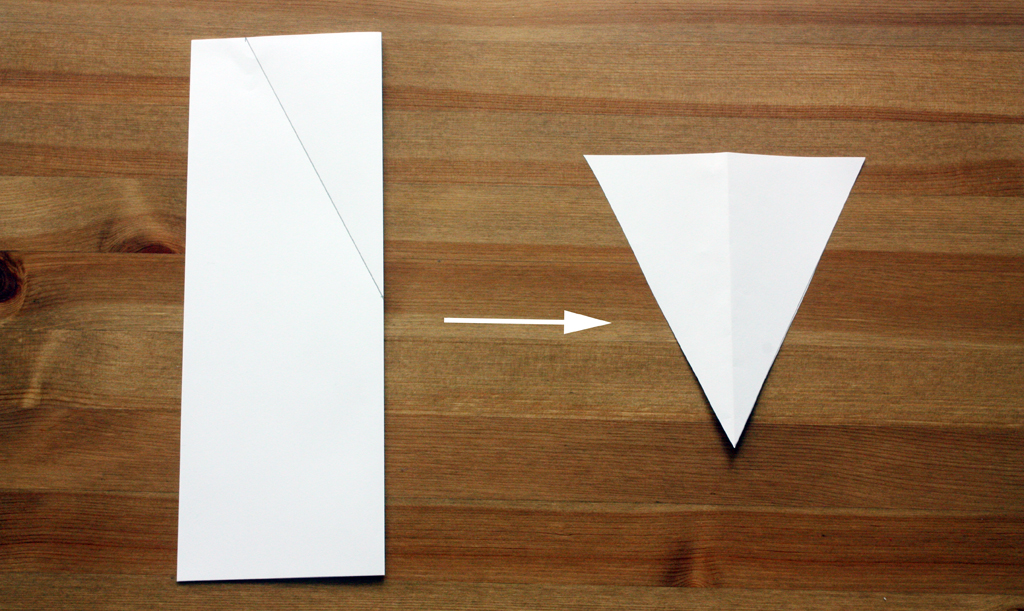
First of all you need to make your bunting template. Fold your sheet of paper in half length ways. Mark out 18cm from the top down along the folded edge, and 8cm along the top edge. Use your ruler to draw a line connecting the two marks, cut out and unfold – voila! A perfect triangle.
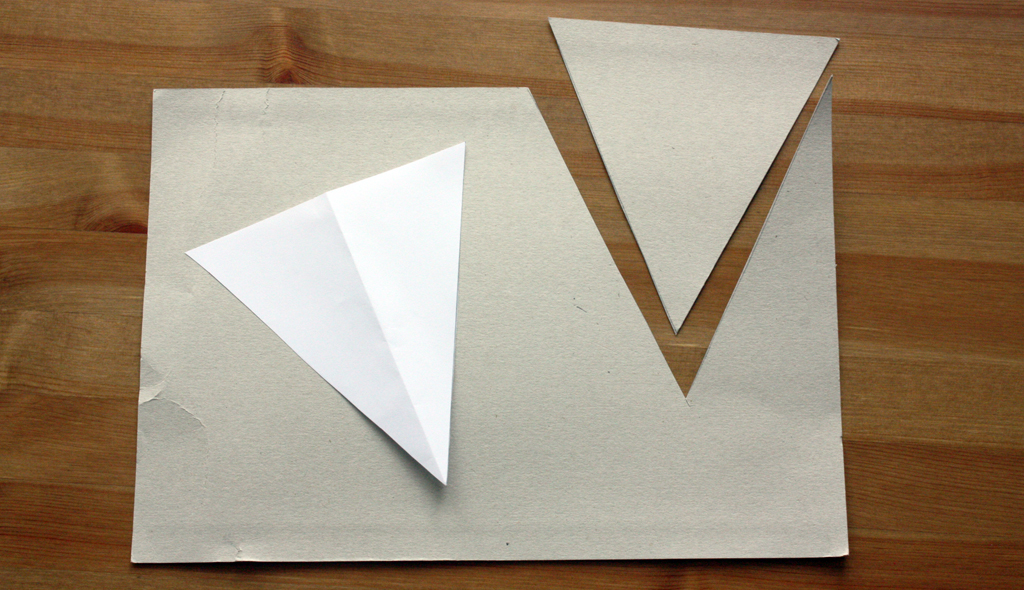
To transfer your template to your fabric, it’s better to have something more study to draw around, so trace around your paper template onto your cardboard and cut that out. You’re ready to go!
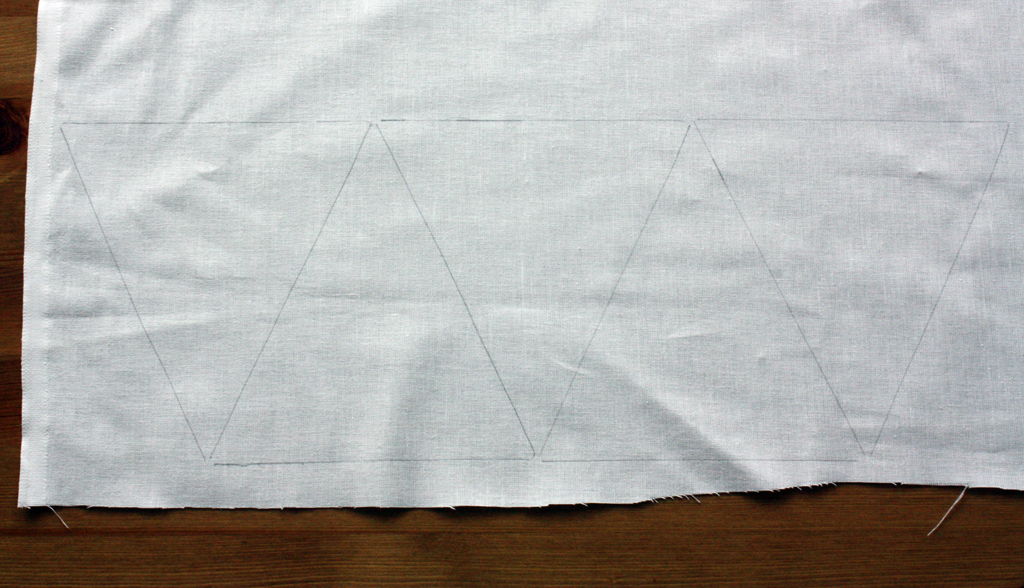
With your pencil, draw around the template on to your fabric. I made 6 triangles of each colour, i.e. 18 in total (though I only ended up using 17 to give myself more space at the ends for hanging the whole thing up).
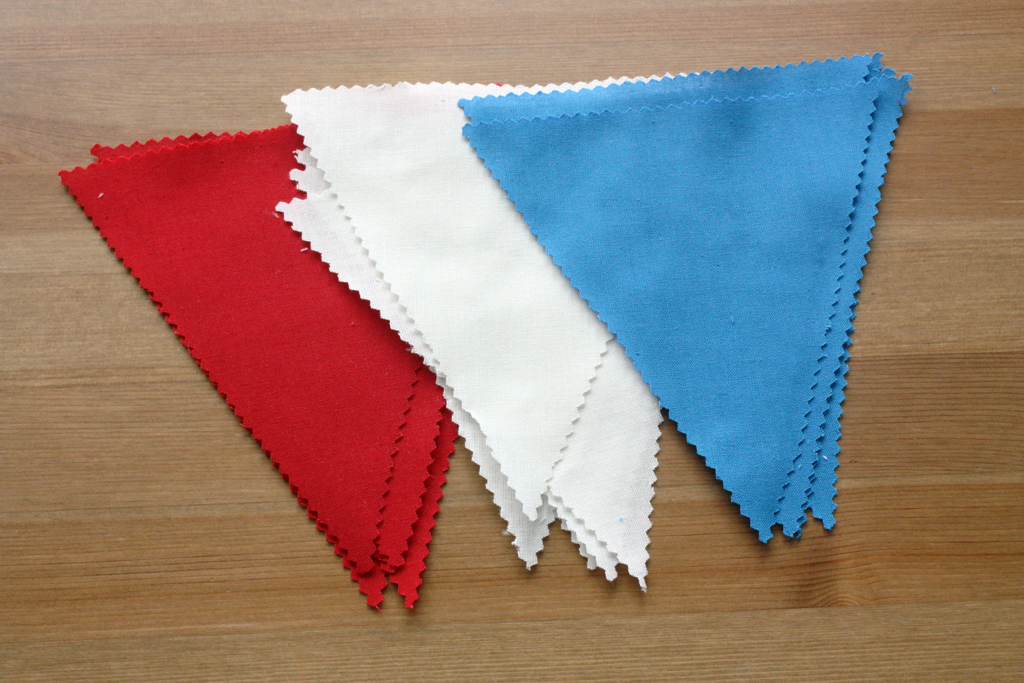
Cut out your triangle with the pinking shears and give them all a quick iron.
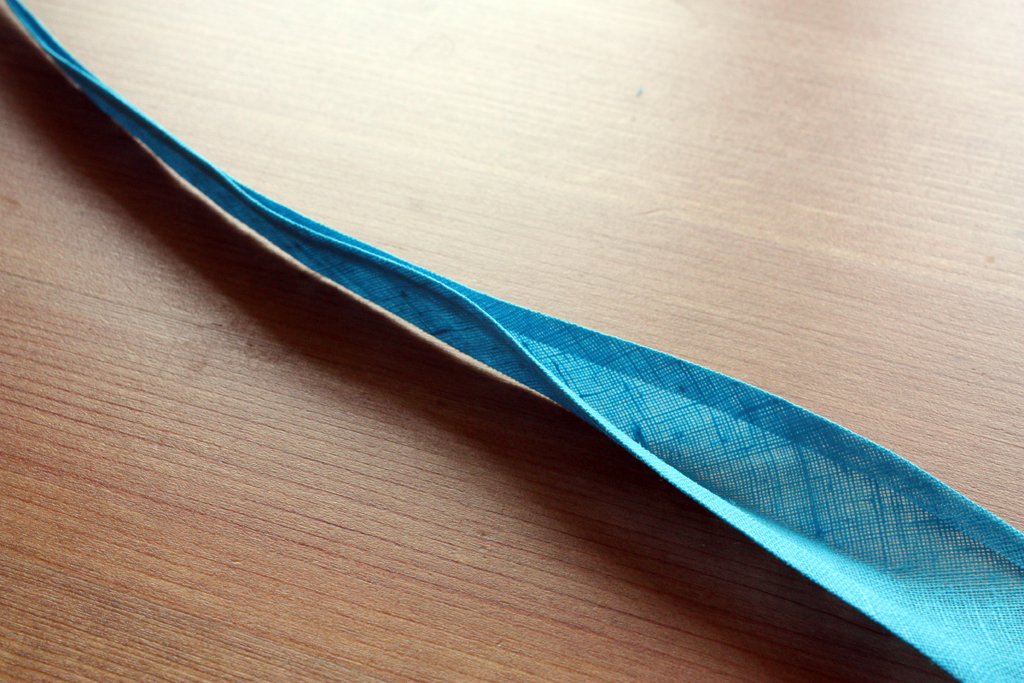
Don’t put away the iron yet – need to fold your bias binding in half and iron it to keep it in place.
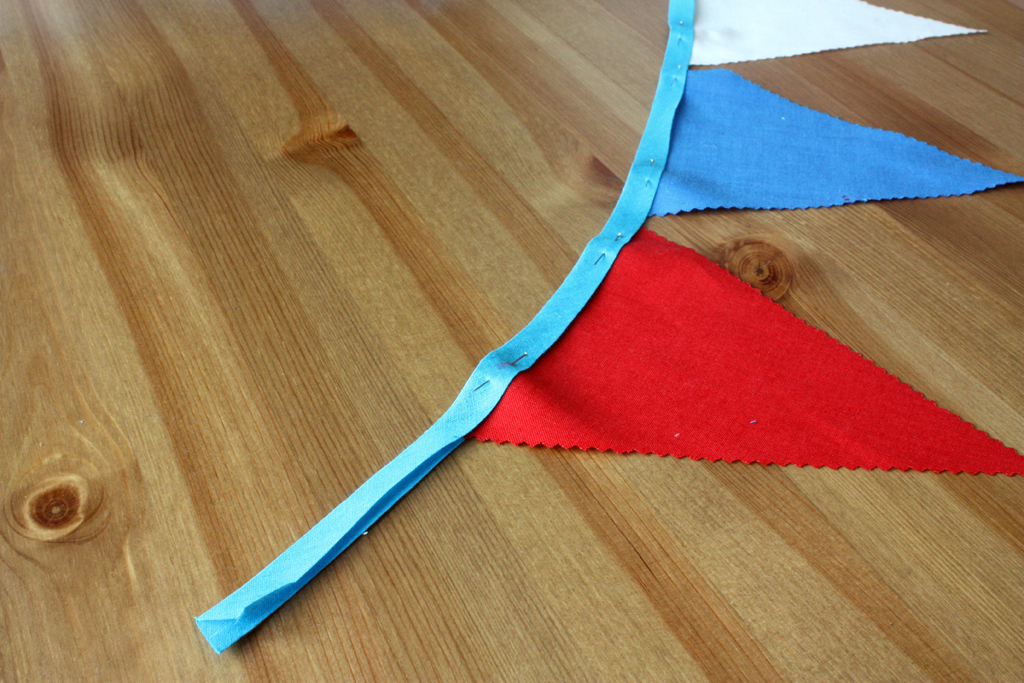
Next, pin your triangles in place, and remember to leave a bit of bias binding at each end for hanging up your bunting (I left about 10cm each).
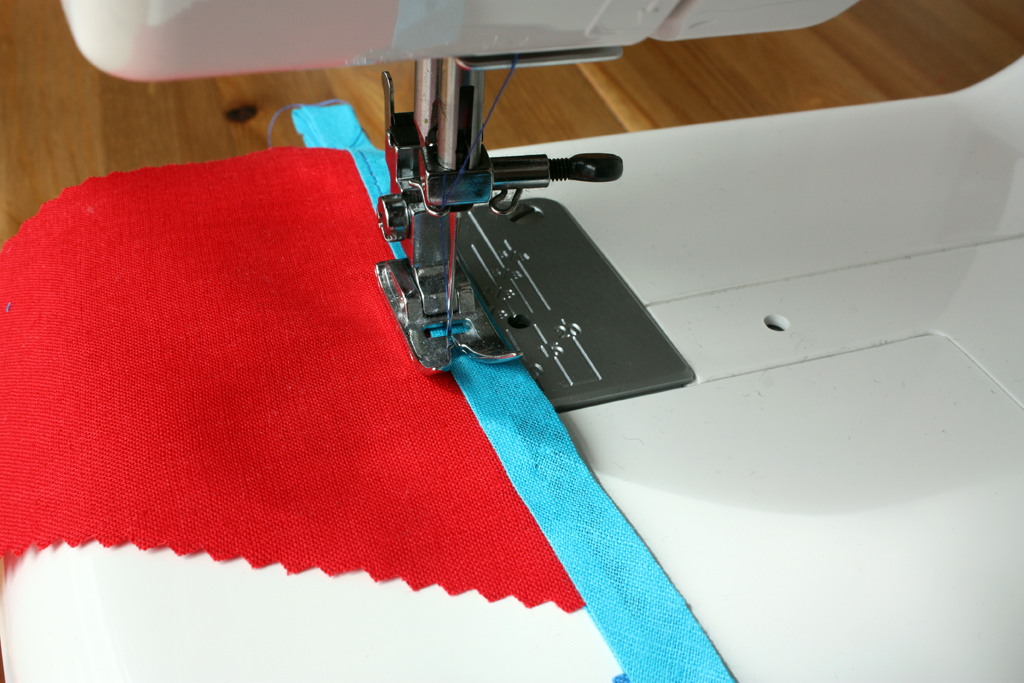
Sew along the bias binding to fix the triangles in place. I also folded over the end of the bias binding and sewed them in place to make a loop at each end.
Now hang up your bunting and get the party started!
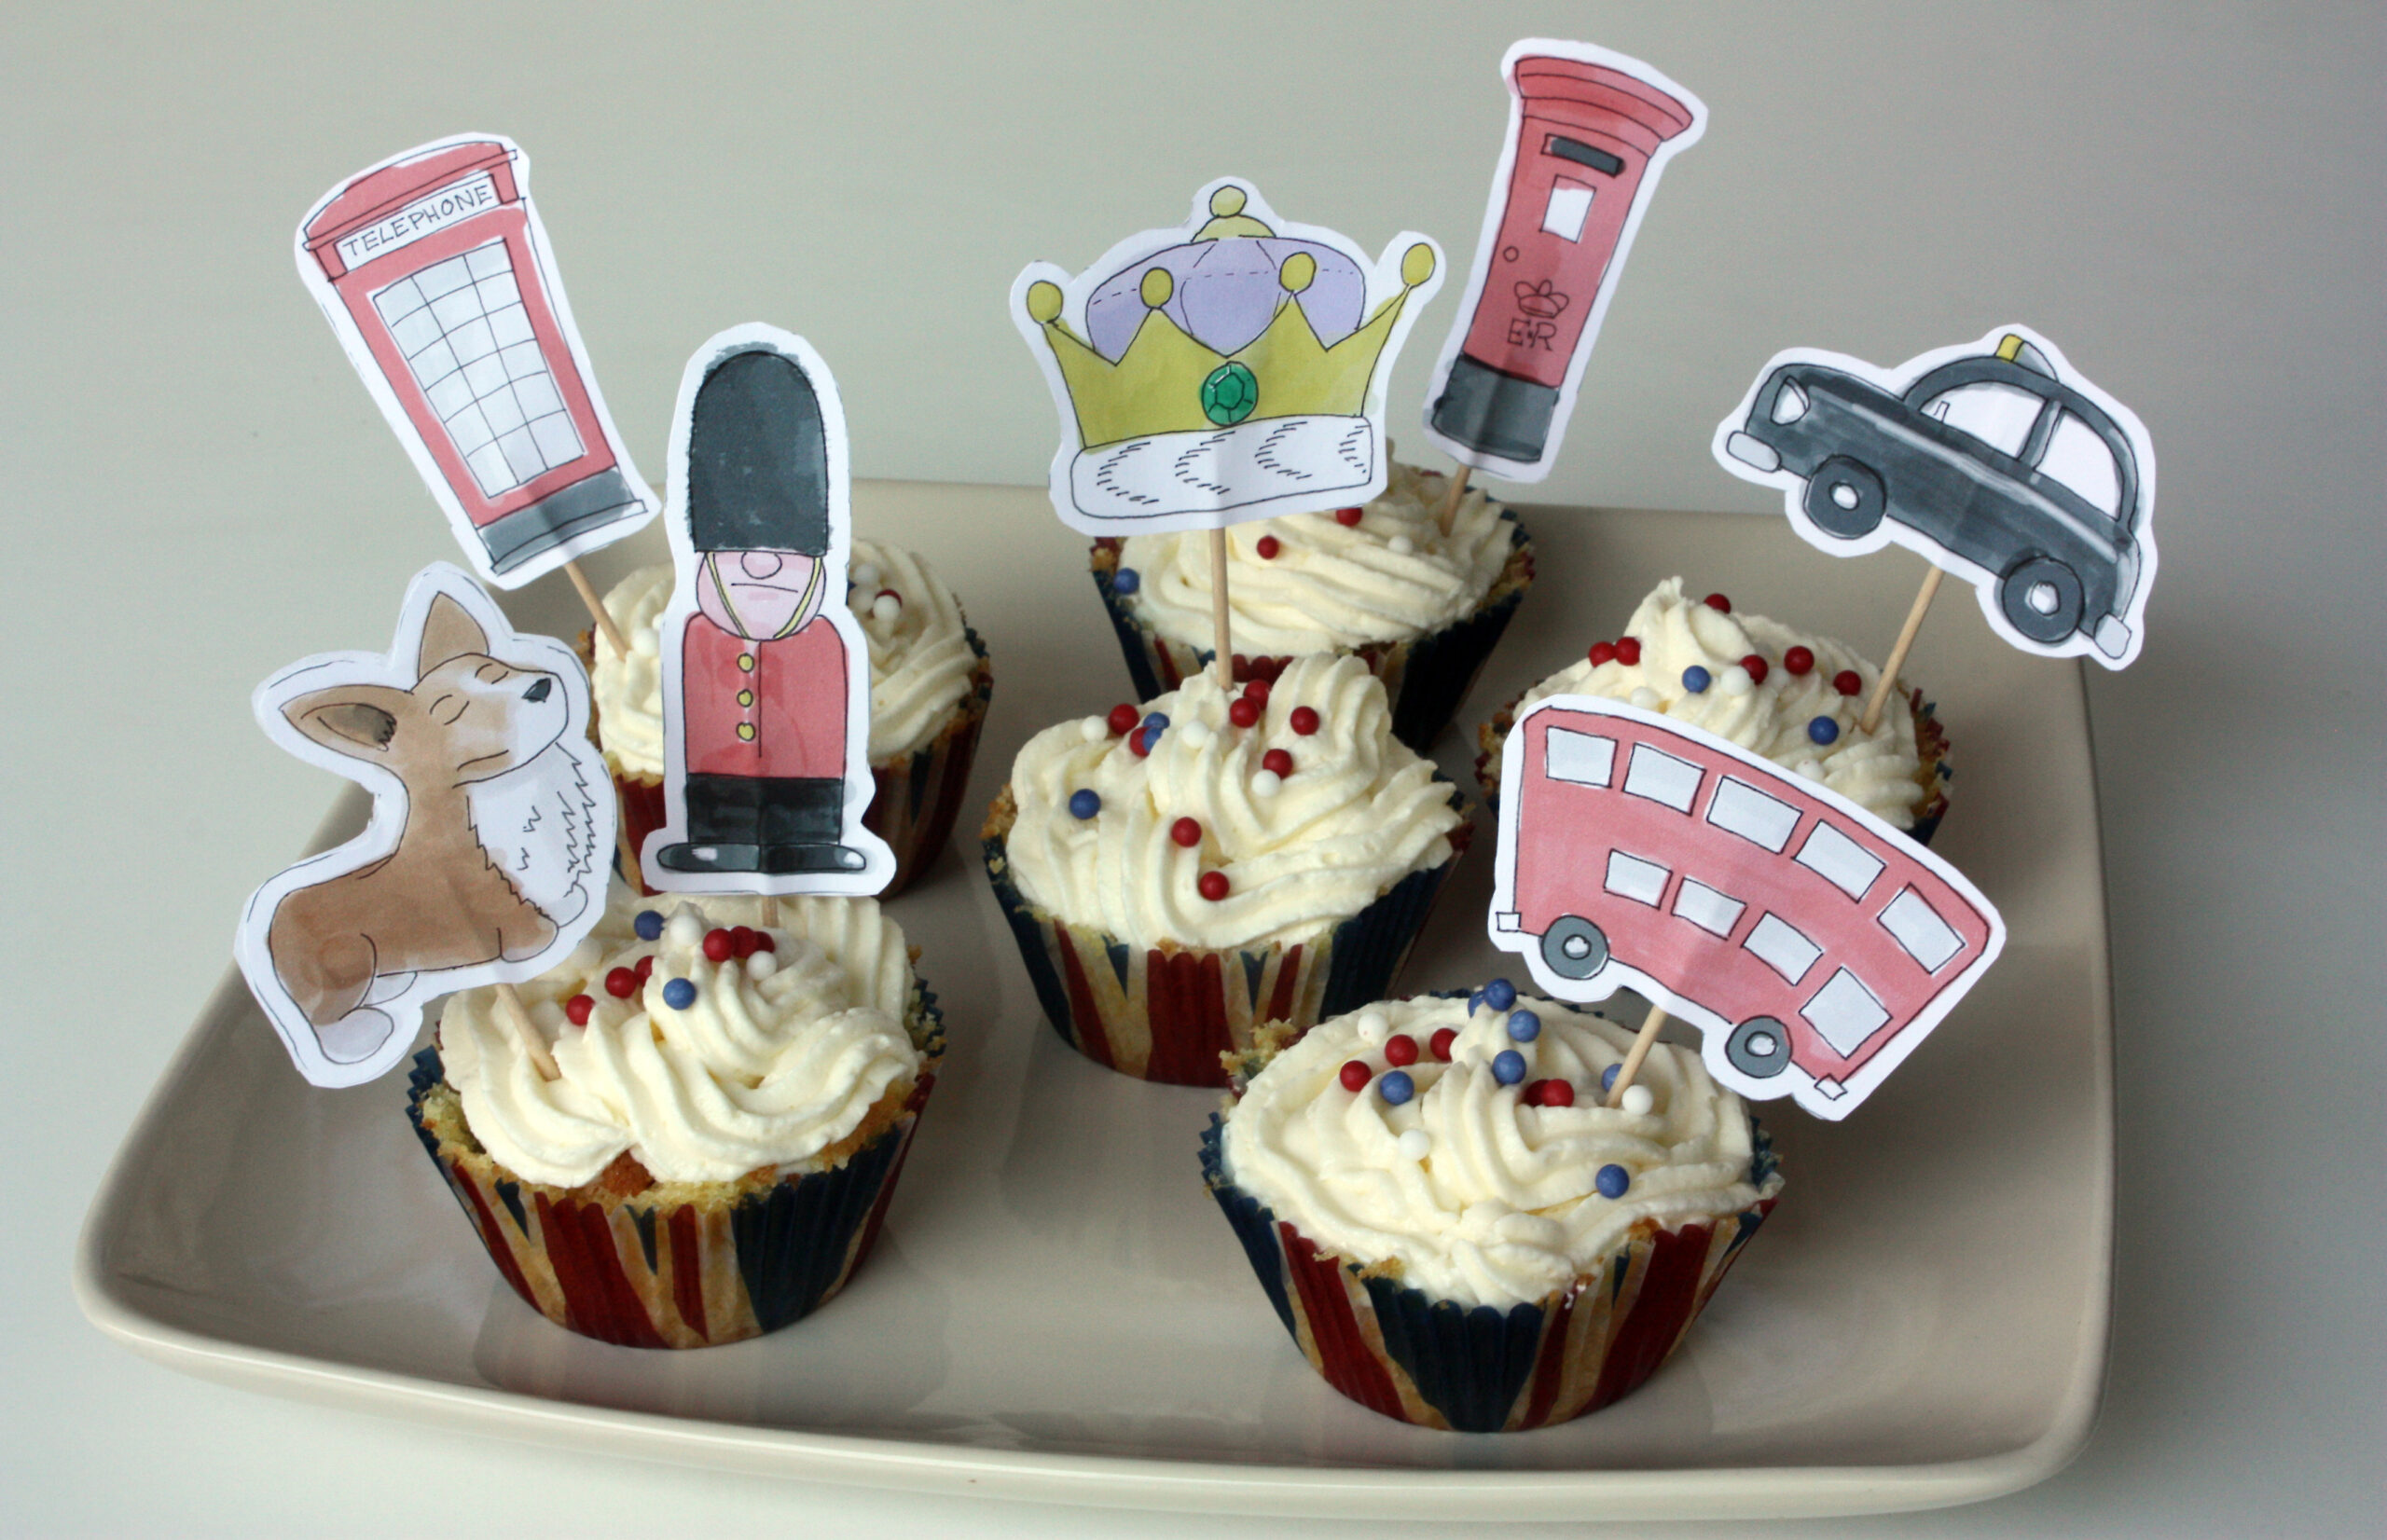
If you make your own jubilee bunting, I’d love to see some photos, so please feel free to tag me in on Instagram or Twitter. For more jubilee party fun, check out our free printable cupcake toppers. And if would like to support me with a small donation, which helps to keep this blog running, it would be much appreciated. Just hit the support button below. Thank you x