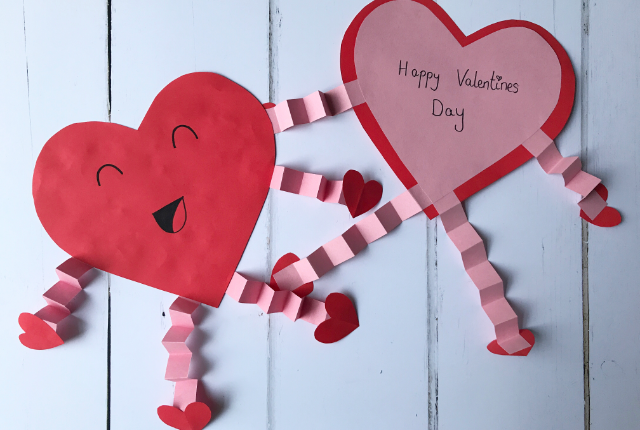
Heart Character Valentines Day Card
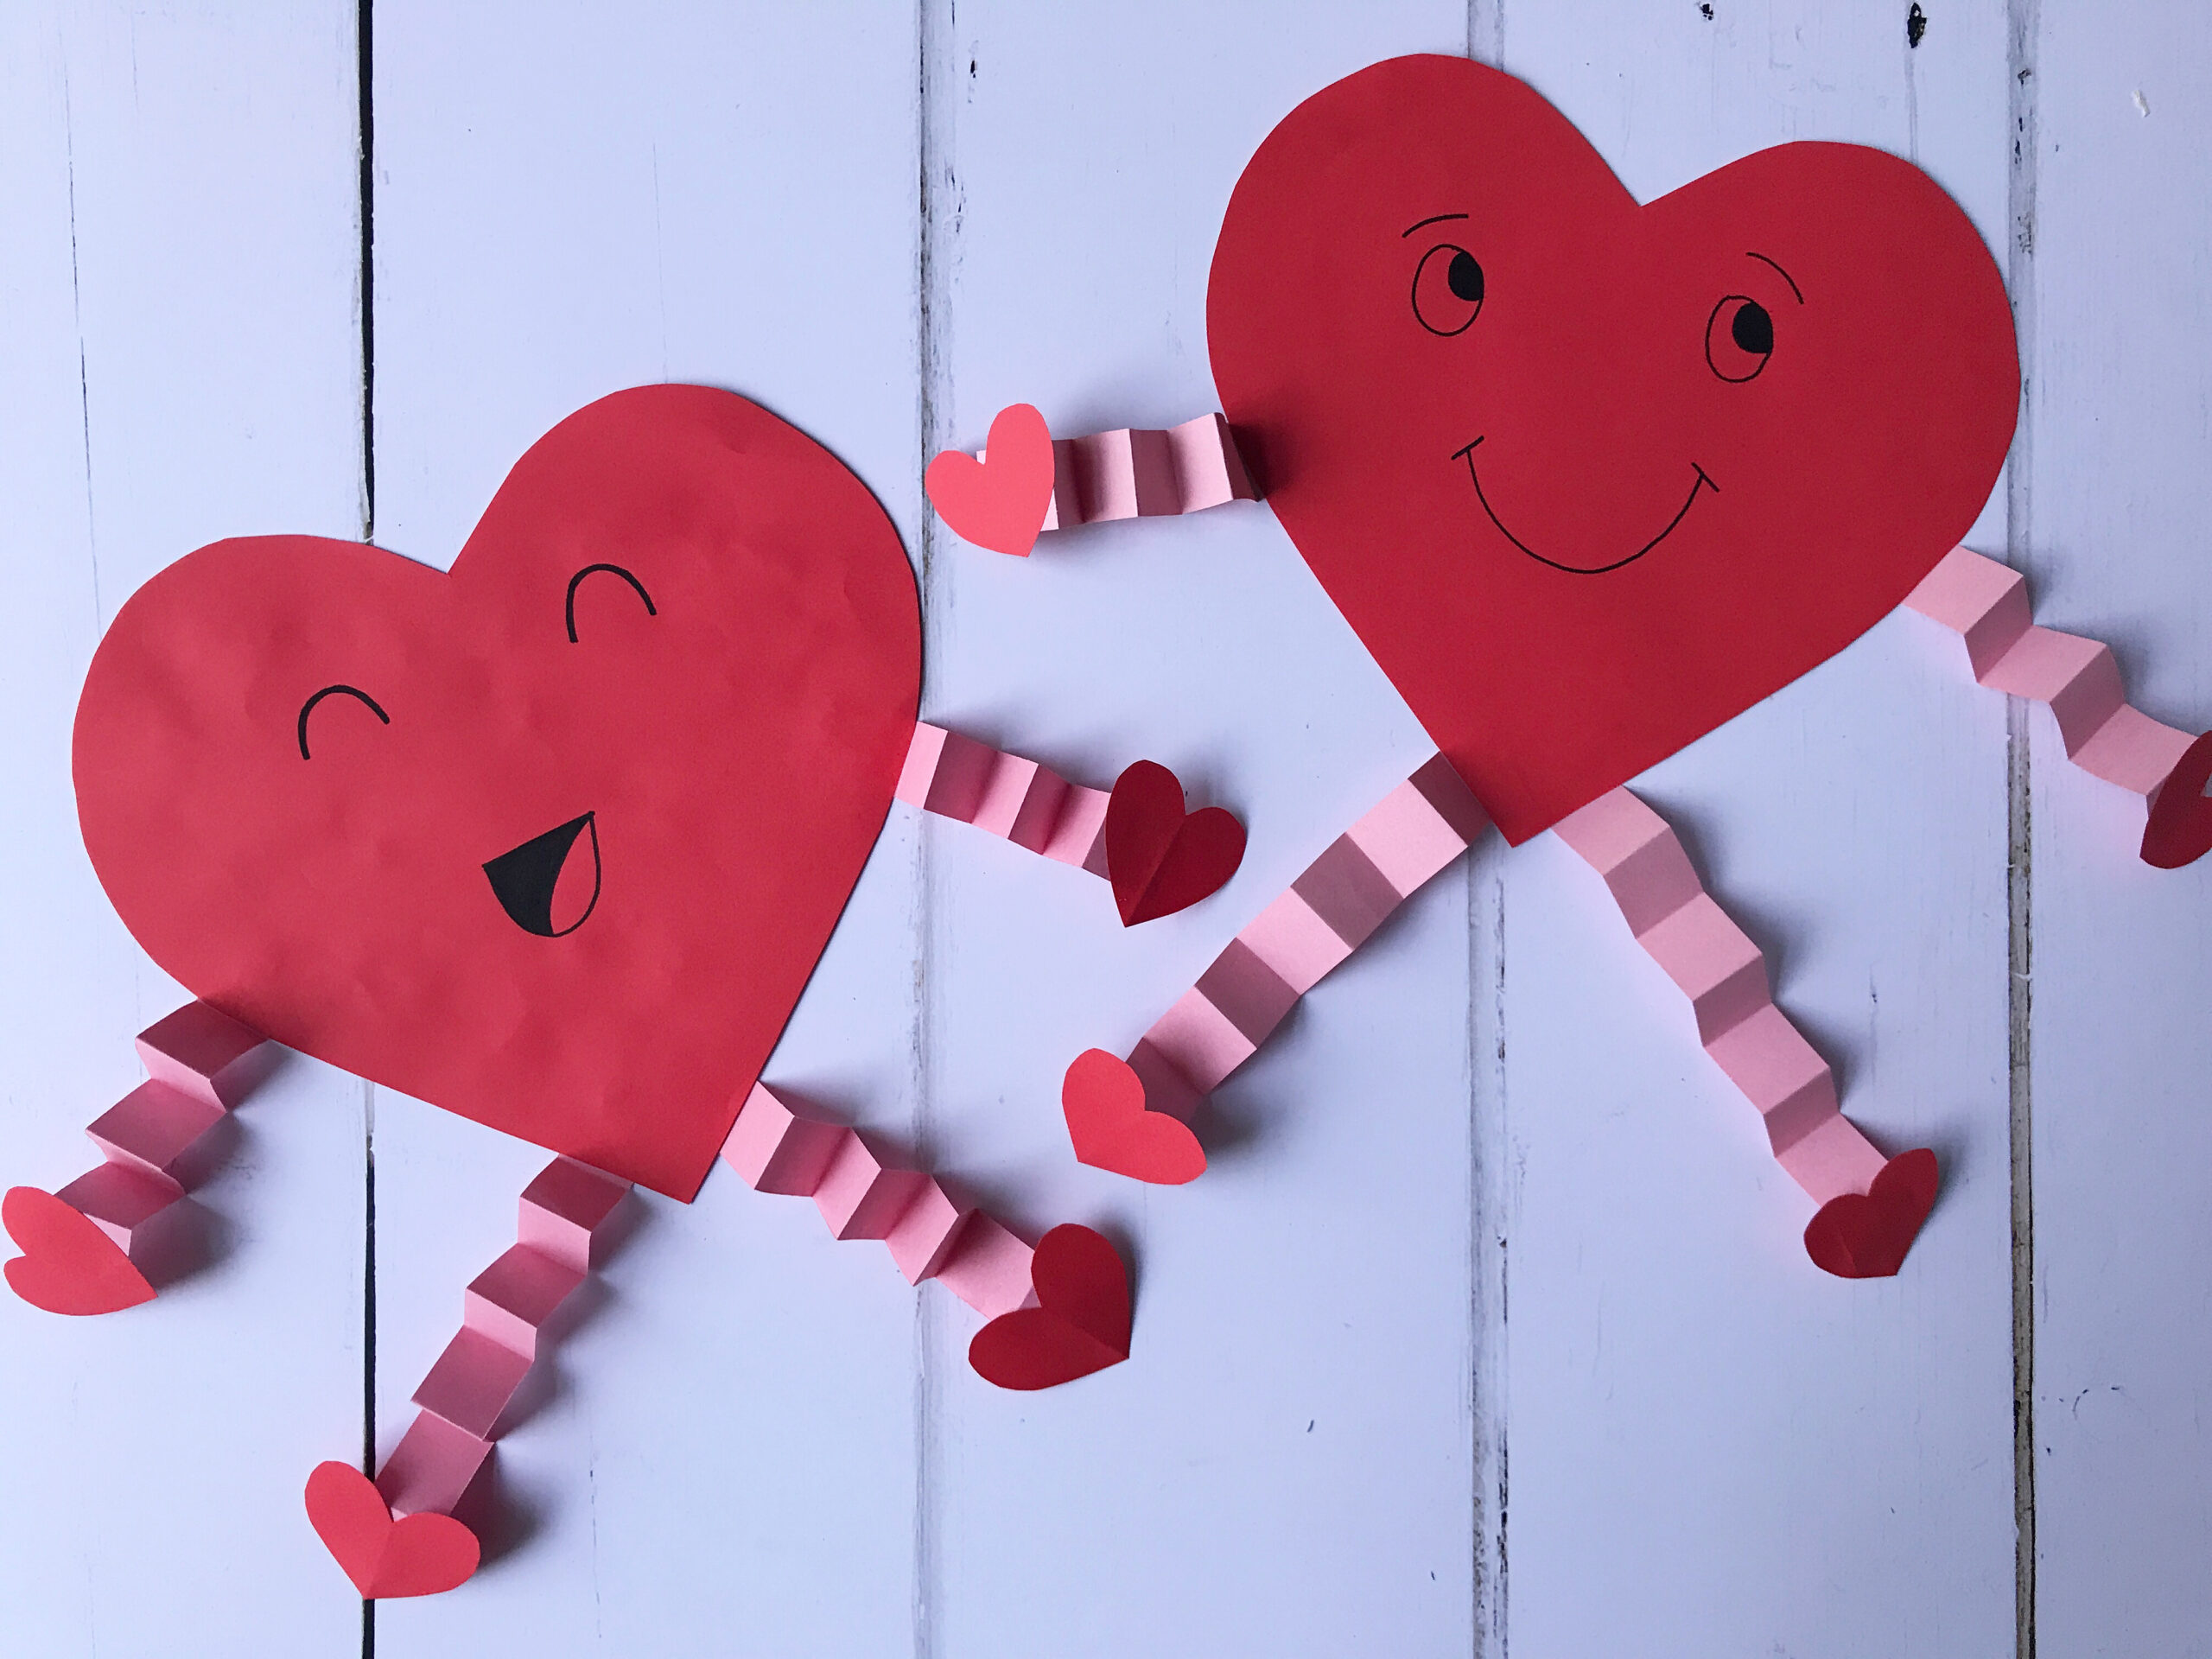
With Valentines Day less than a month away, we thought we’d be super prepared and share a fun activity with you to make a heart character or heart person, which you could use either as a card or as a decoration to hang up at home.
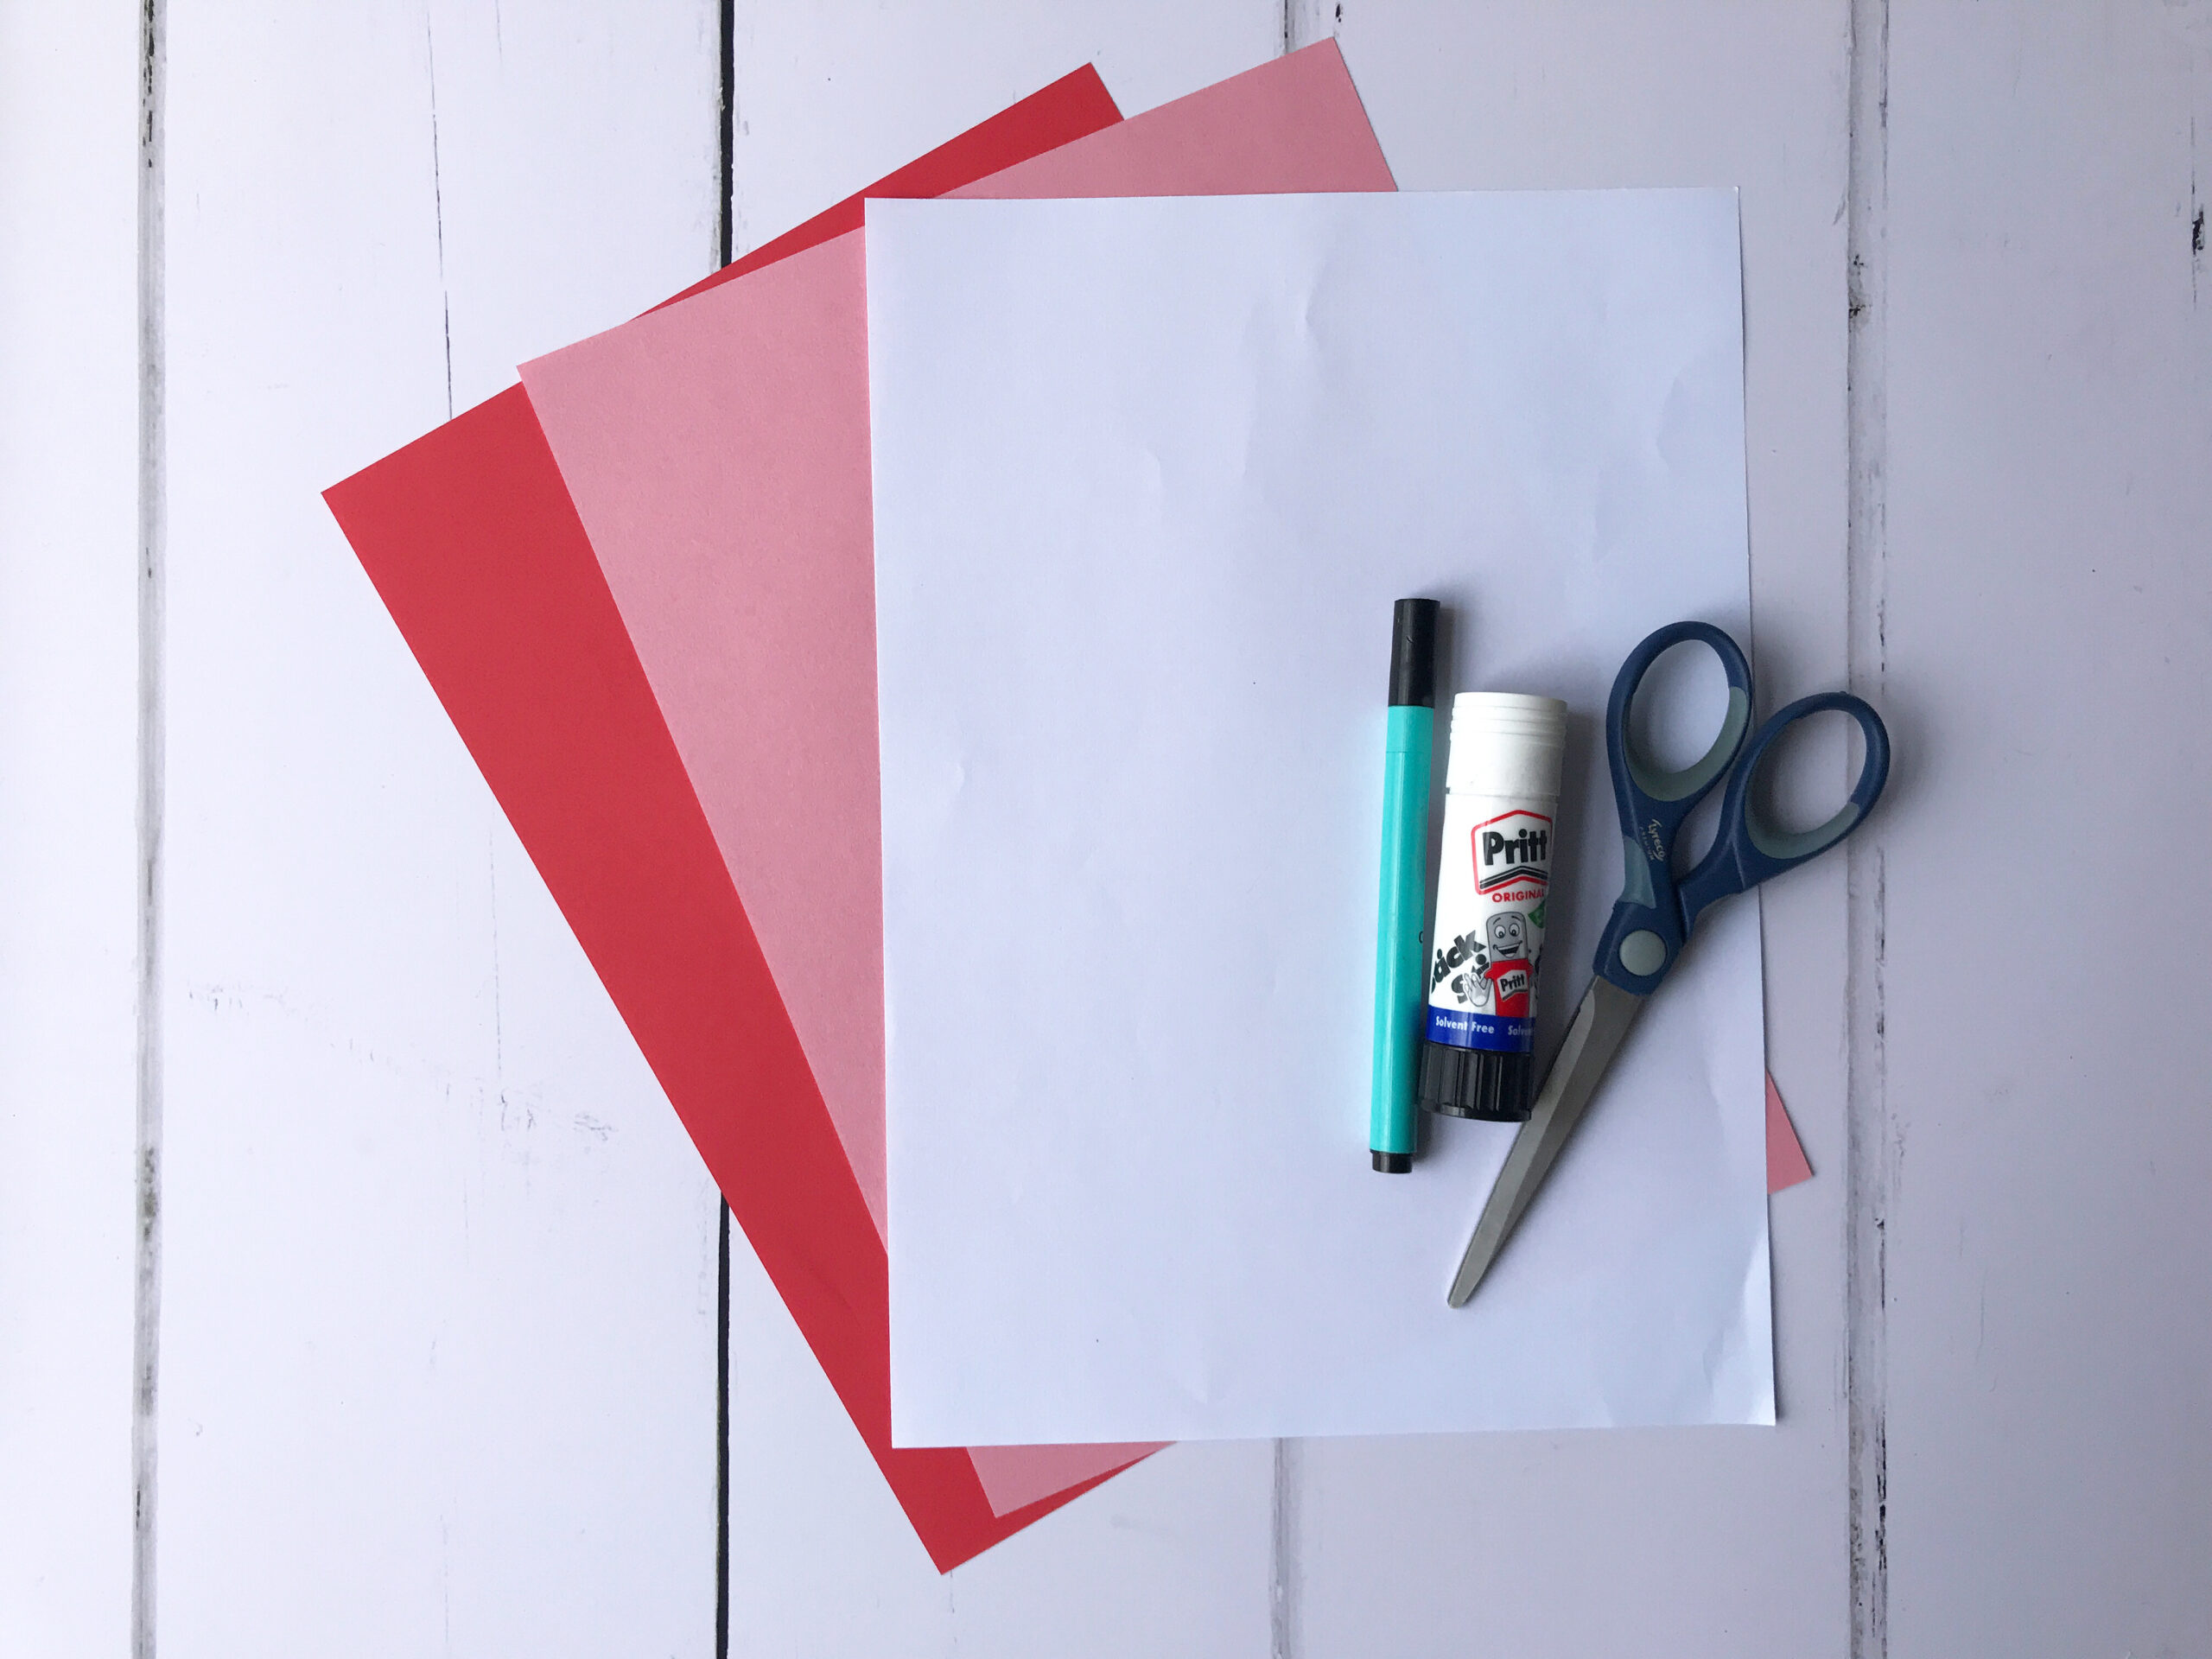
You will need:
- a red sheet of A4 paper
- a pink sheet of A4 paper – but see note under Step 4!
- a white sheet of A4 paper (or any A4 scrap paper)
- a pair of scissors
- a pen
- a gluestick
- a pencil (optional)
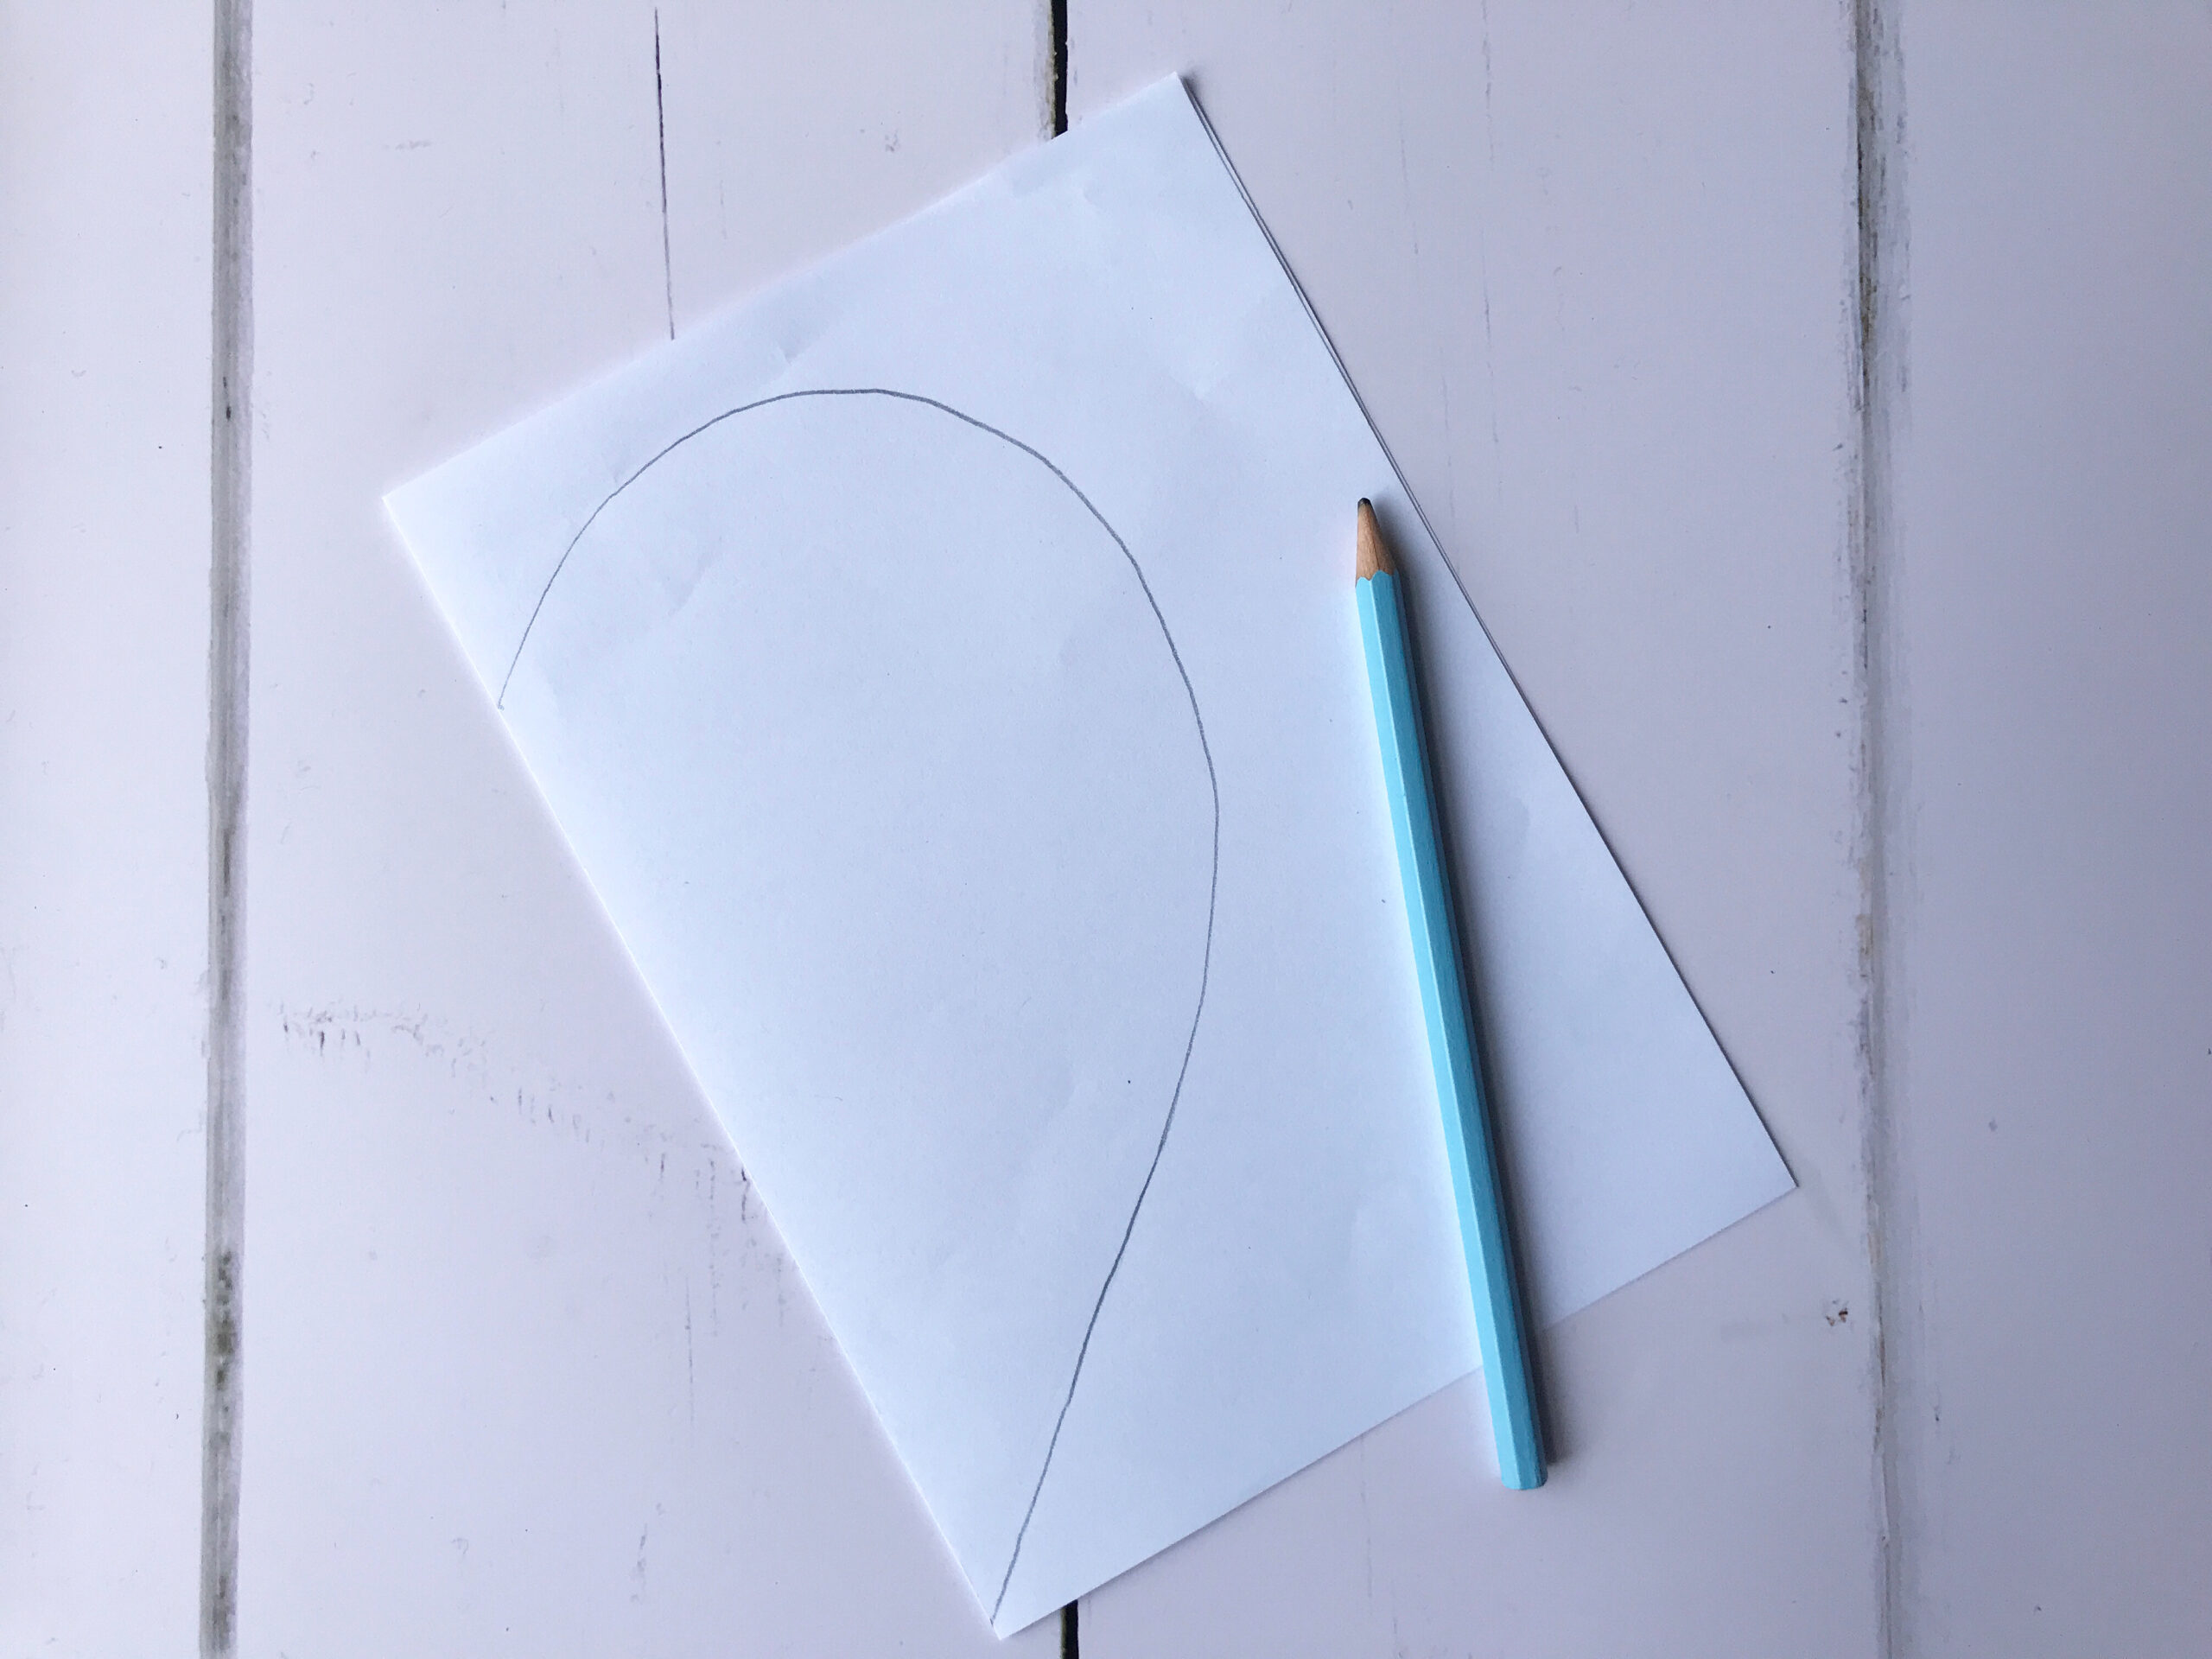
Step 1: First, take your sheet of white paper or scrap paper and cut out a heart template. You do this be folding the paper in half and cutting out half a heart shape, as shown below. If you don’t feel confident cutting it our freehand, you can draw it on first with a pencil.
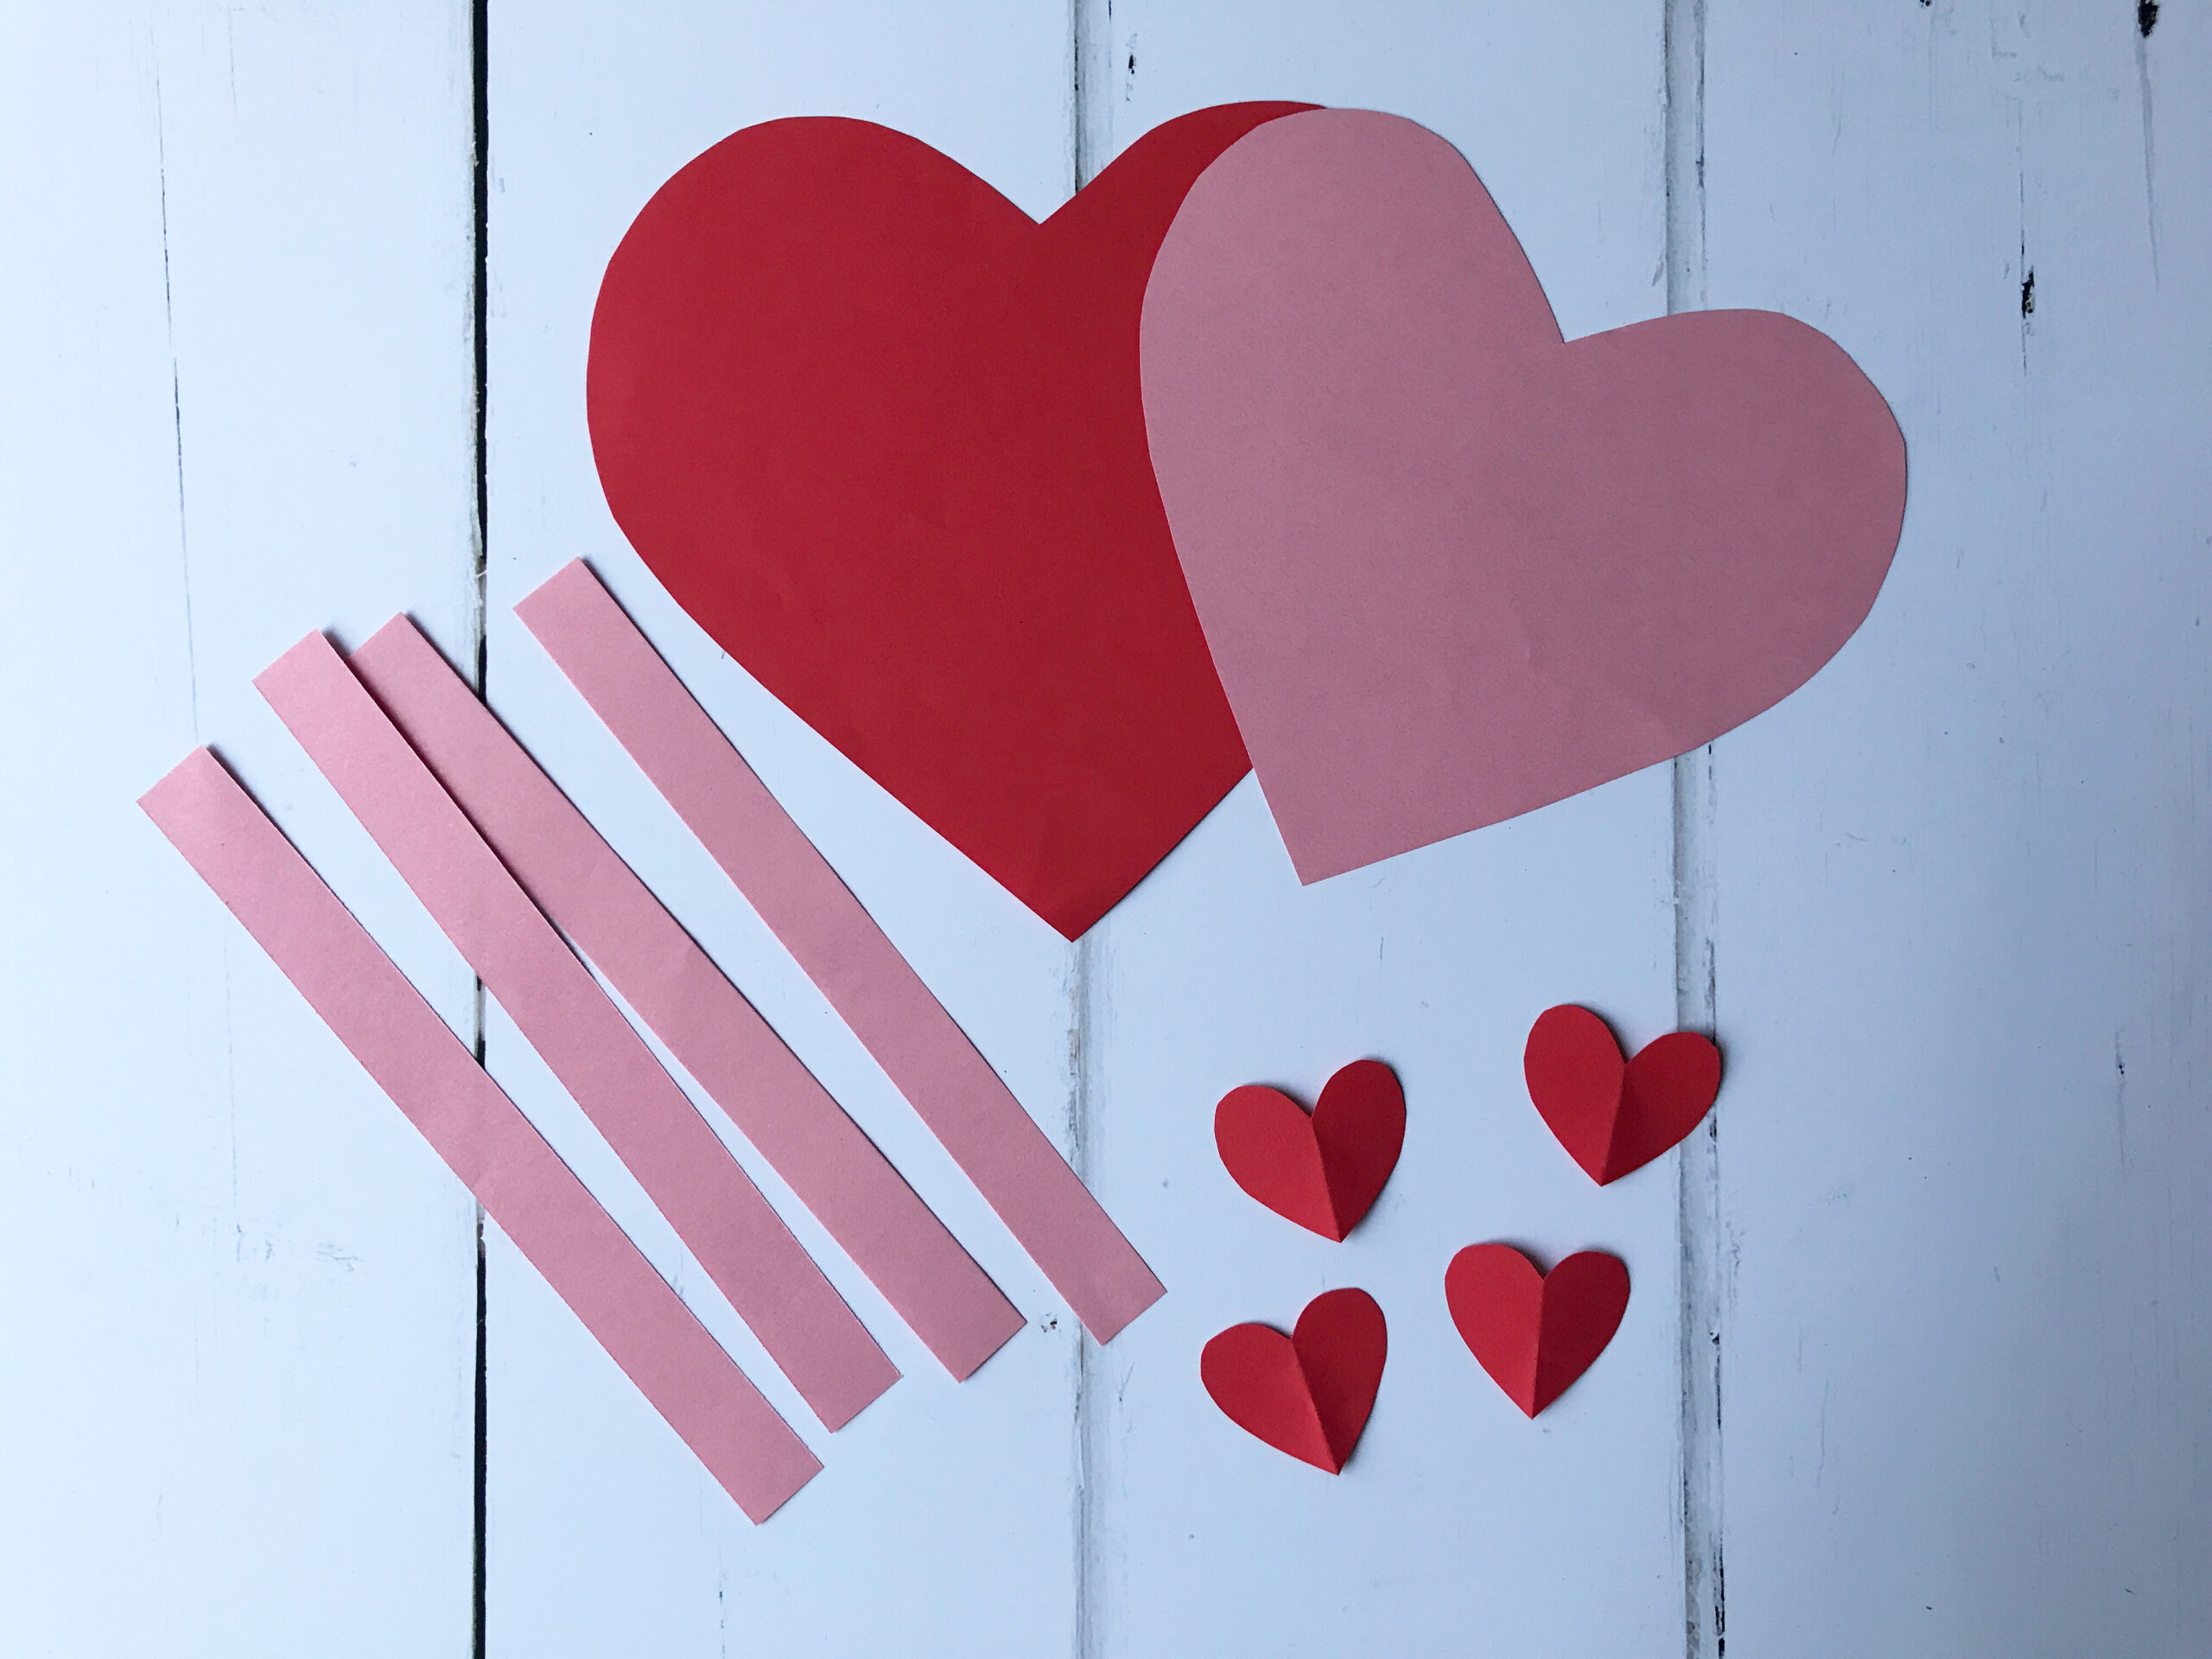
Step 2: Unfold the template, draw around it on your red sheet of paper, and cut it out. Try to do this to one side of the red paper, as you will need the extra on the end later on.

Step 3: Now fold your template up again, and cut about 1cm off around the outside. You will be left with slightly smaller heart template.
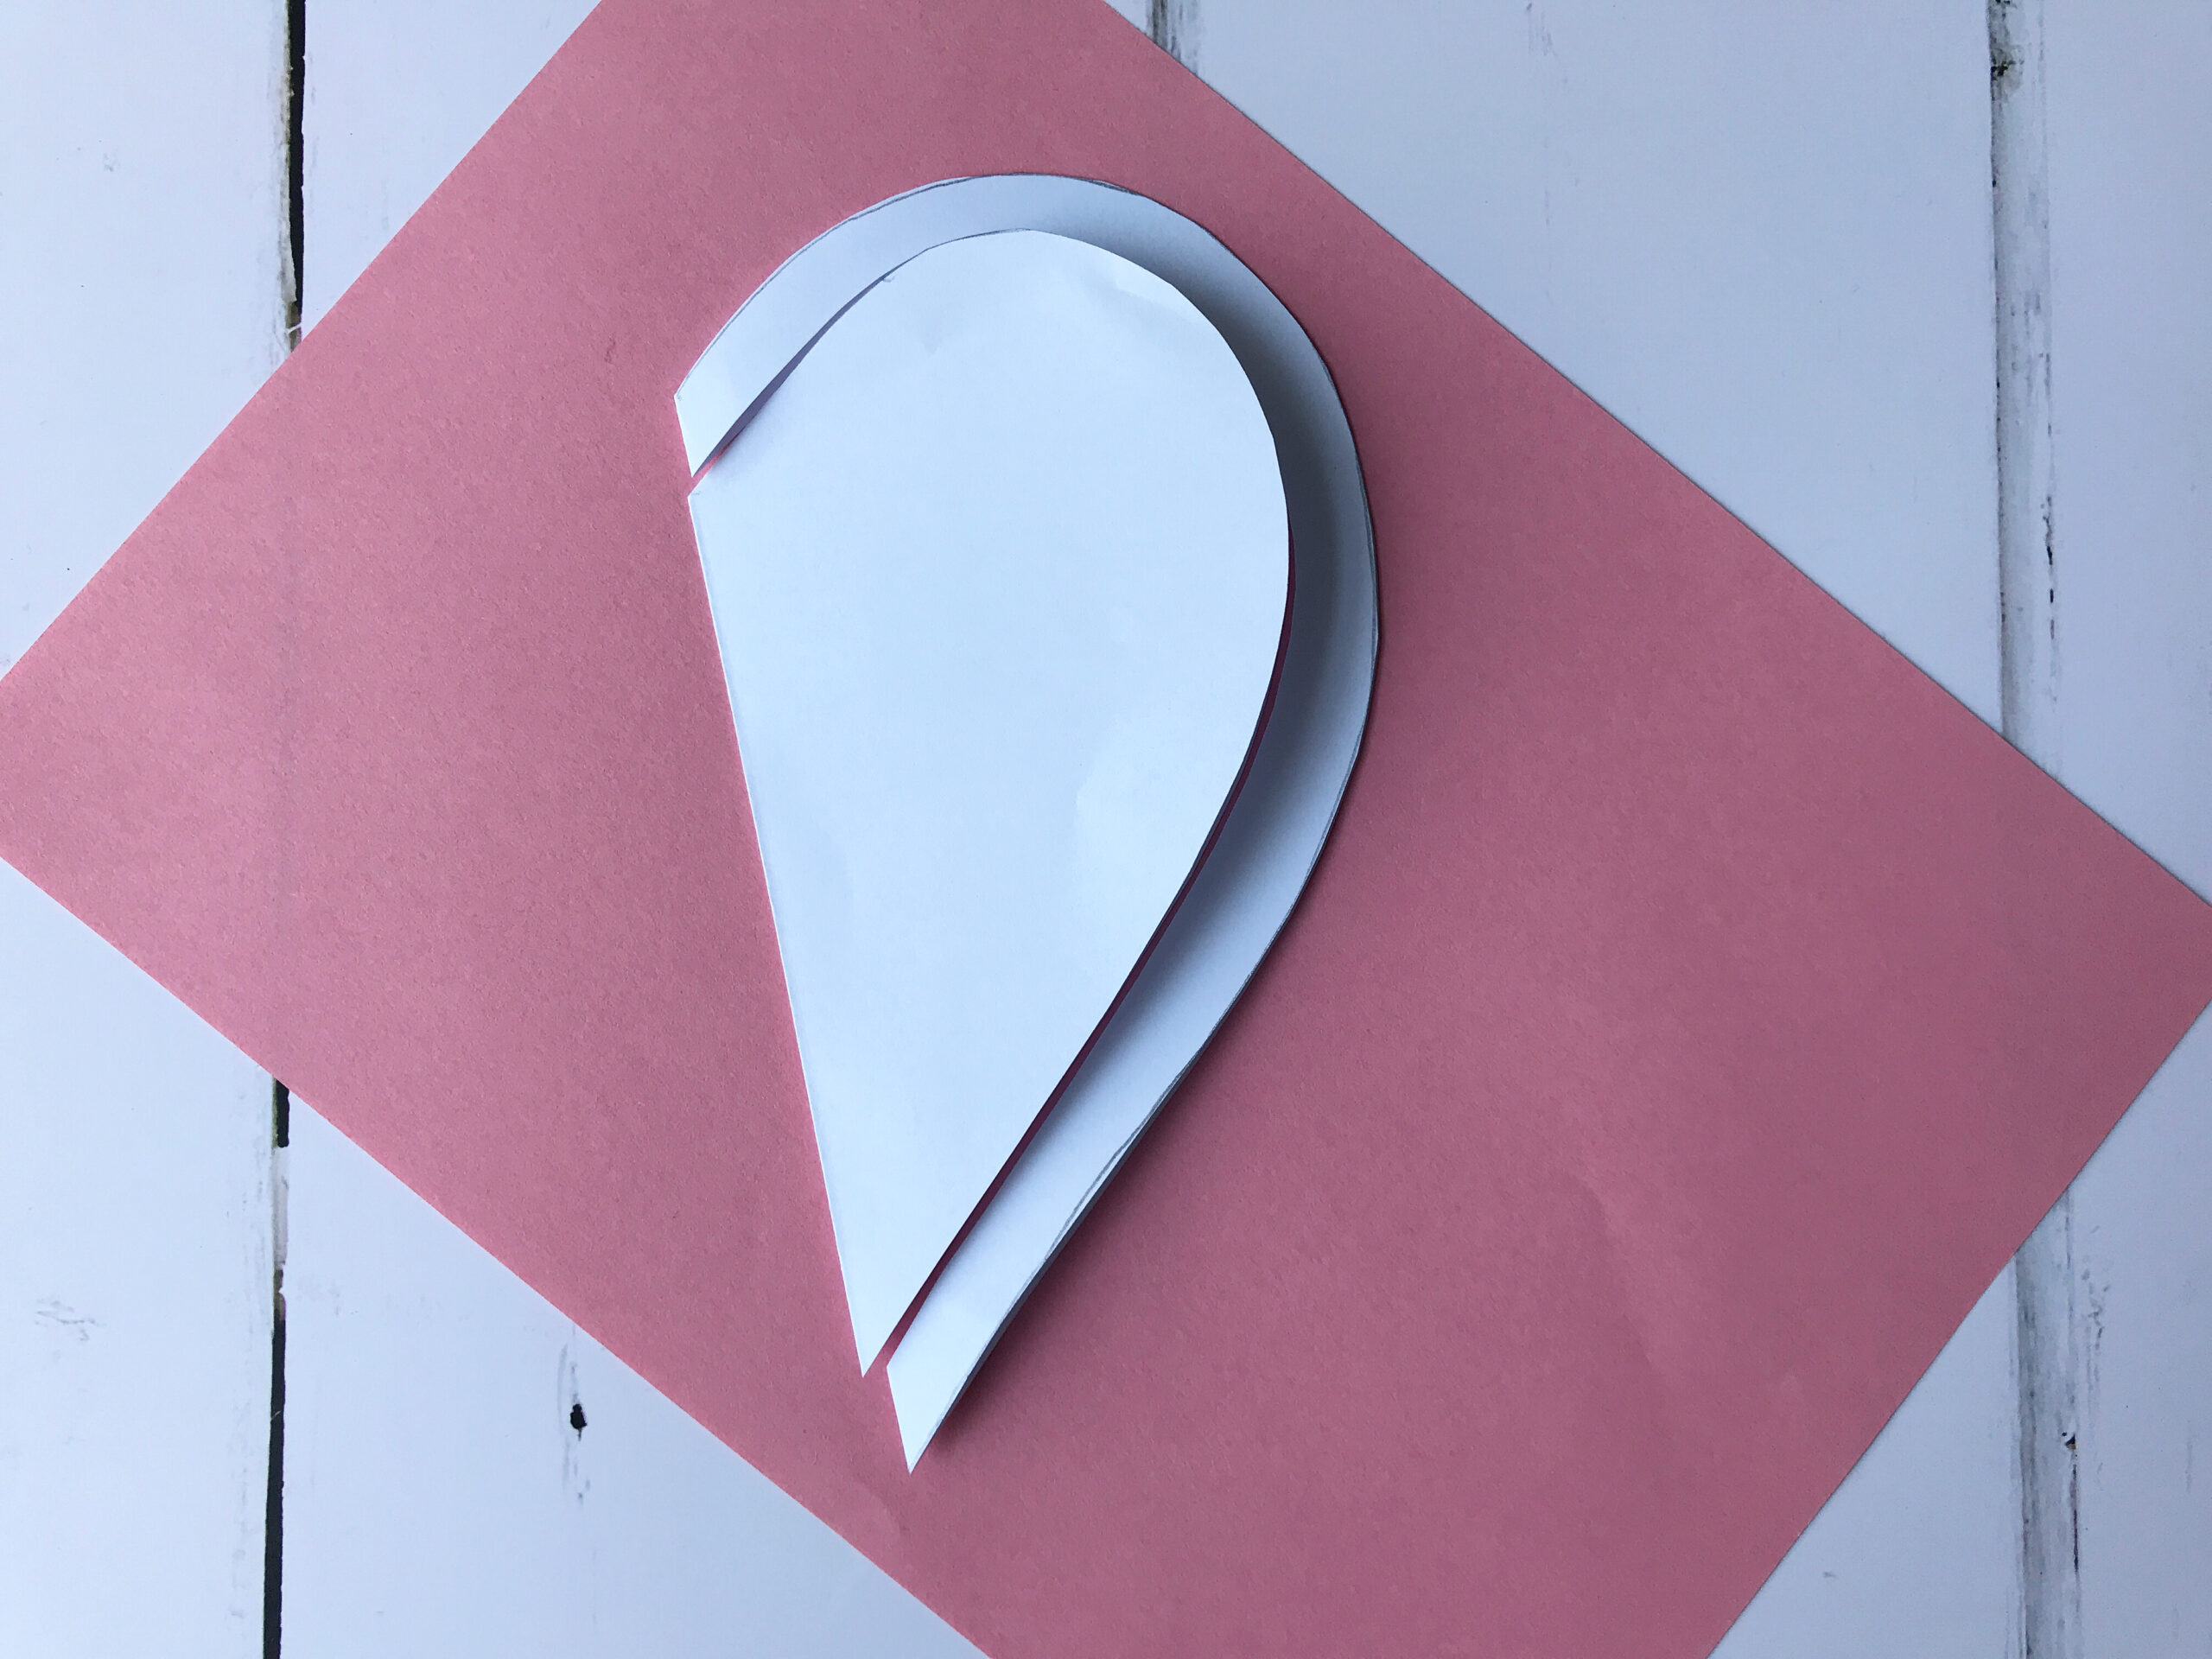
Step 4: Now use the smaller heart template to cut out a heart from the pink sheet of paper. Again, do this to one side of the paper so you can use the end for the later steps.
Note: If you are making these as a decoration to hang up, rather than as a card, you could skip the pink heart as it will be on the back.
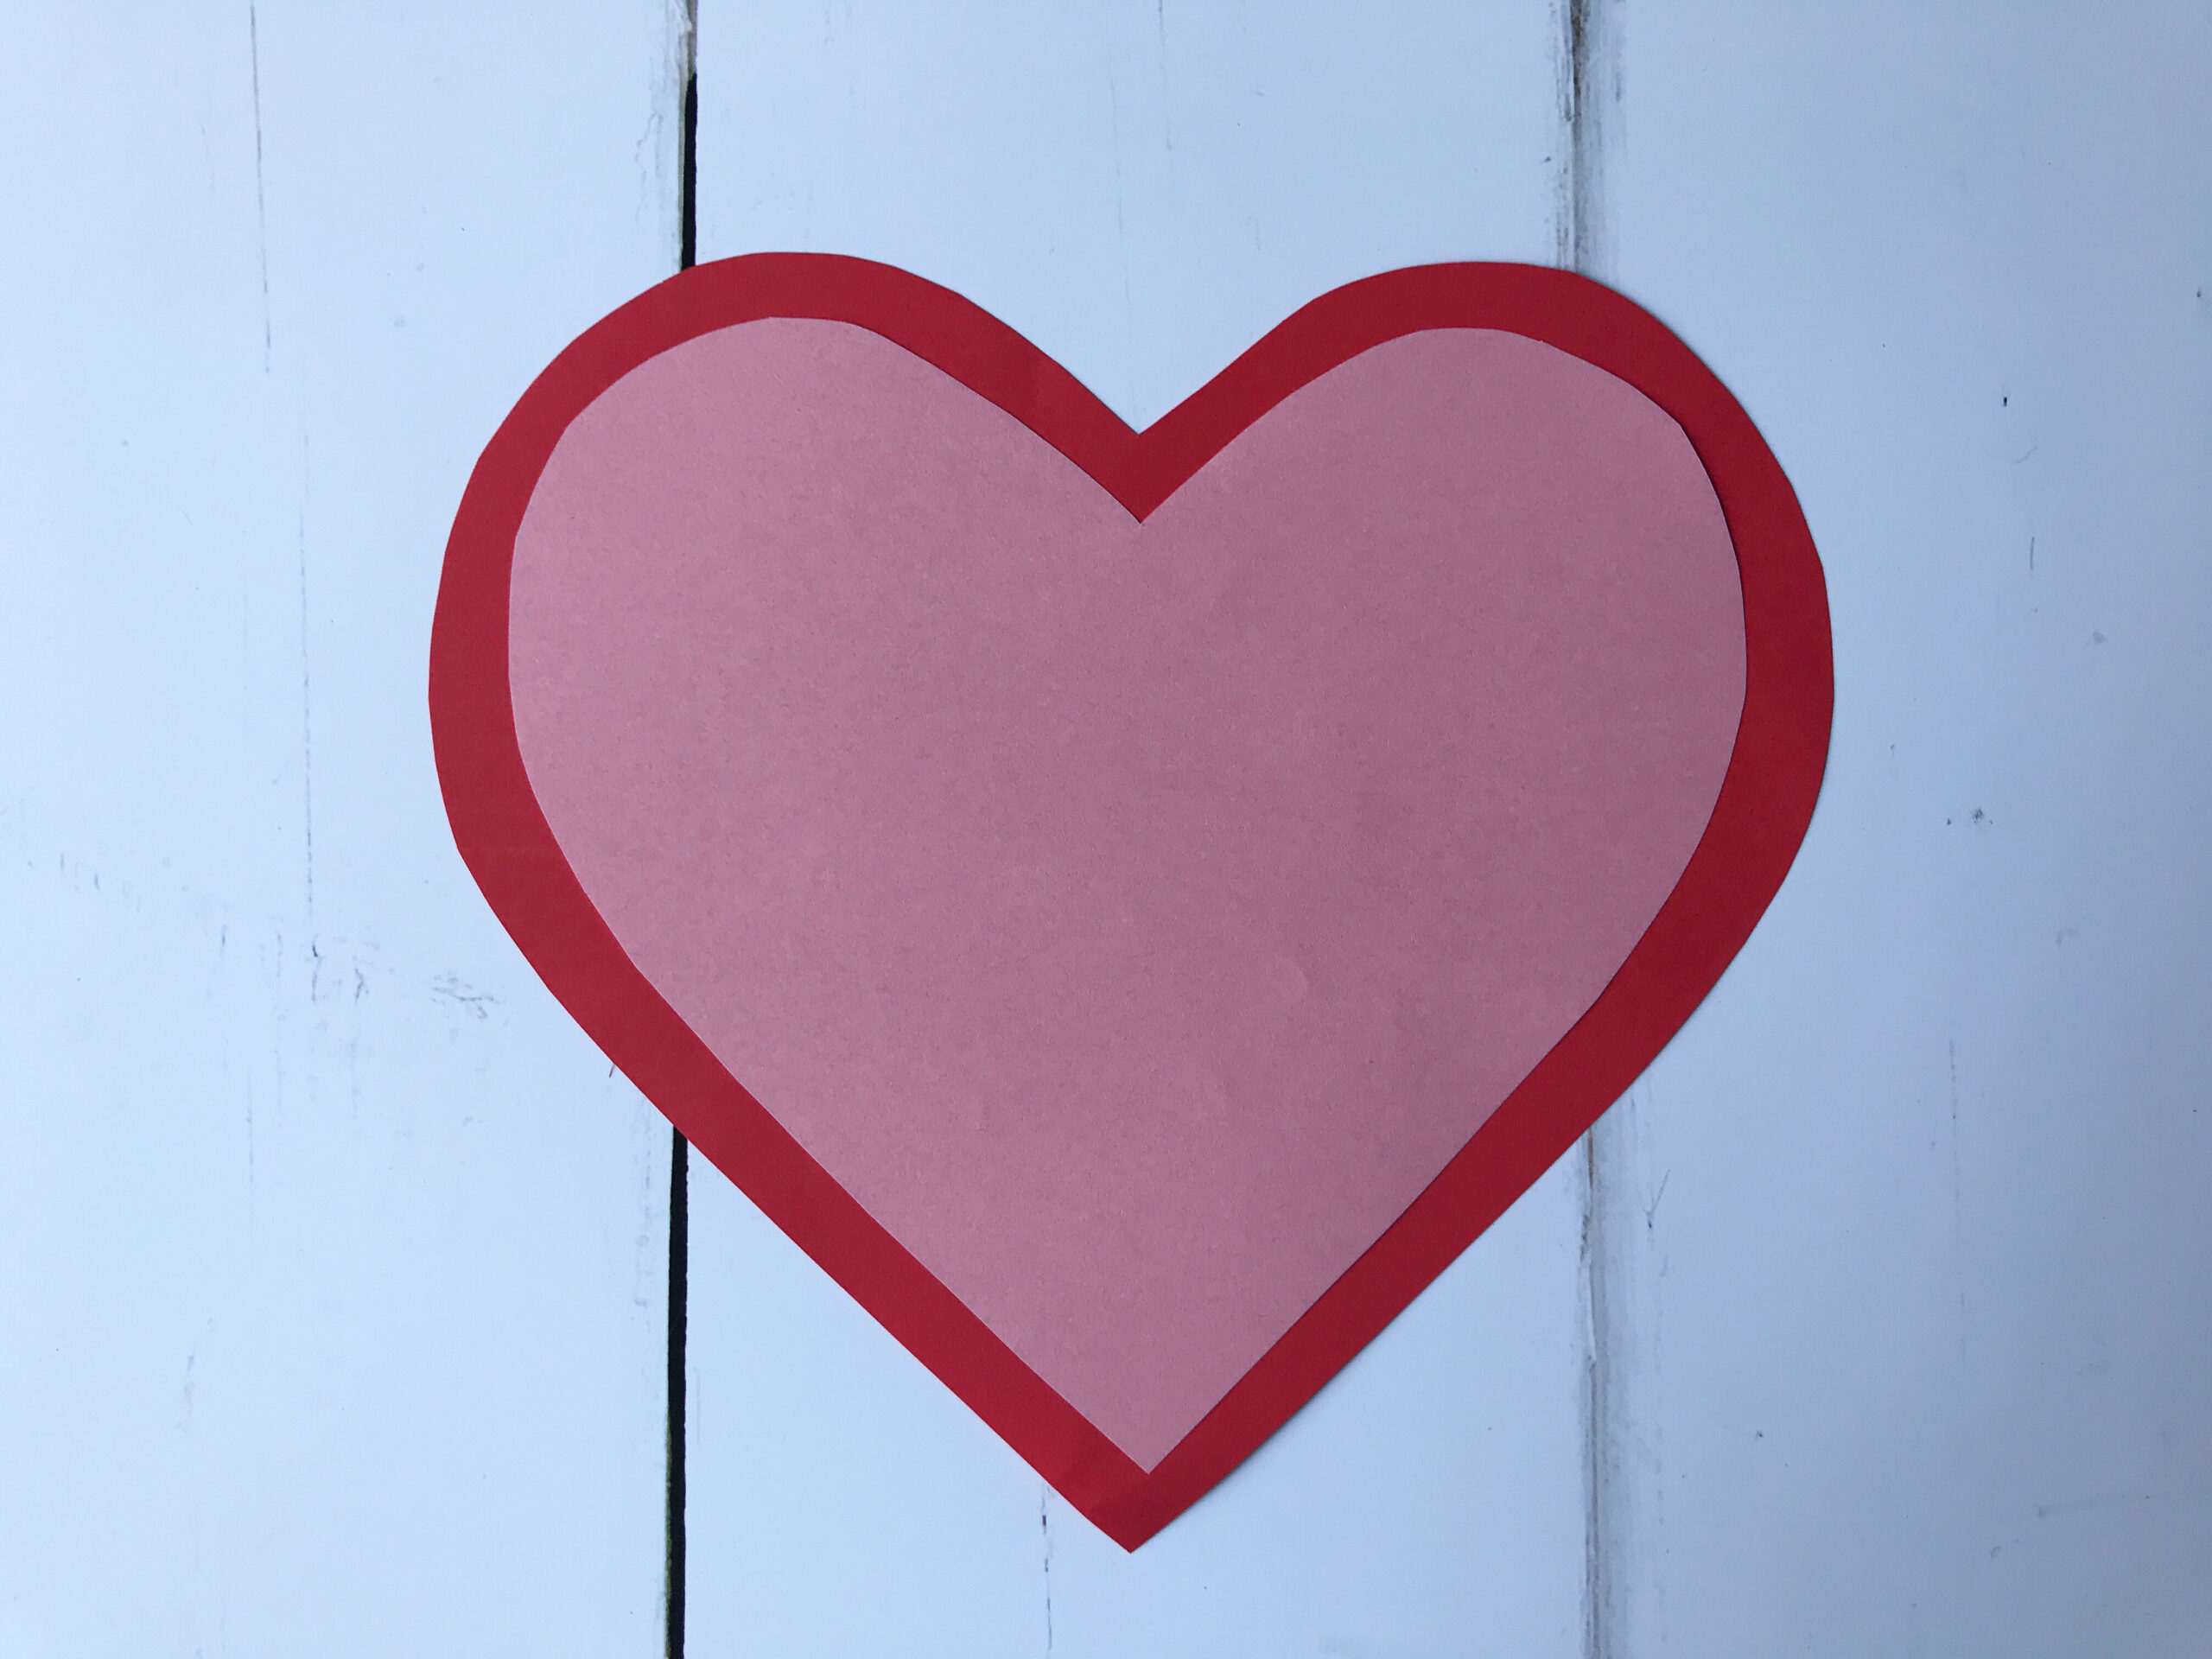
Step 5: Using the scraps from the red sheet of paper, cut out four square approx. 5cm x 5cm big. Take two squares at a time, fold them in half, and cut out small hearts just like you did for your big templates. The reason to do at a time is so they match. One pair of hearts will be for the hands, the other for the feet.

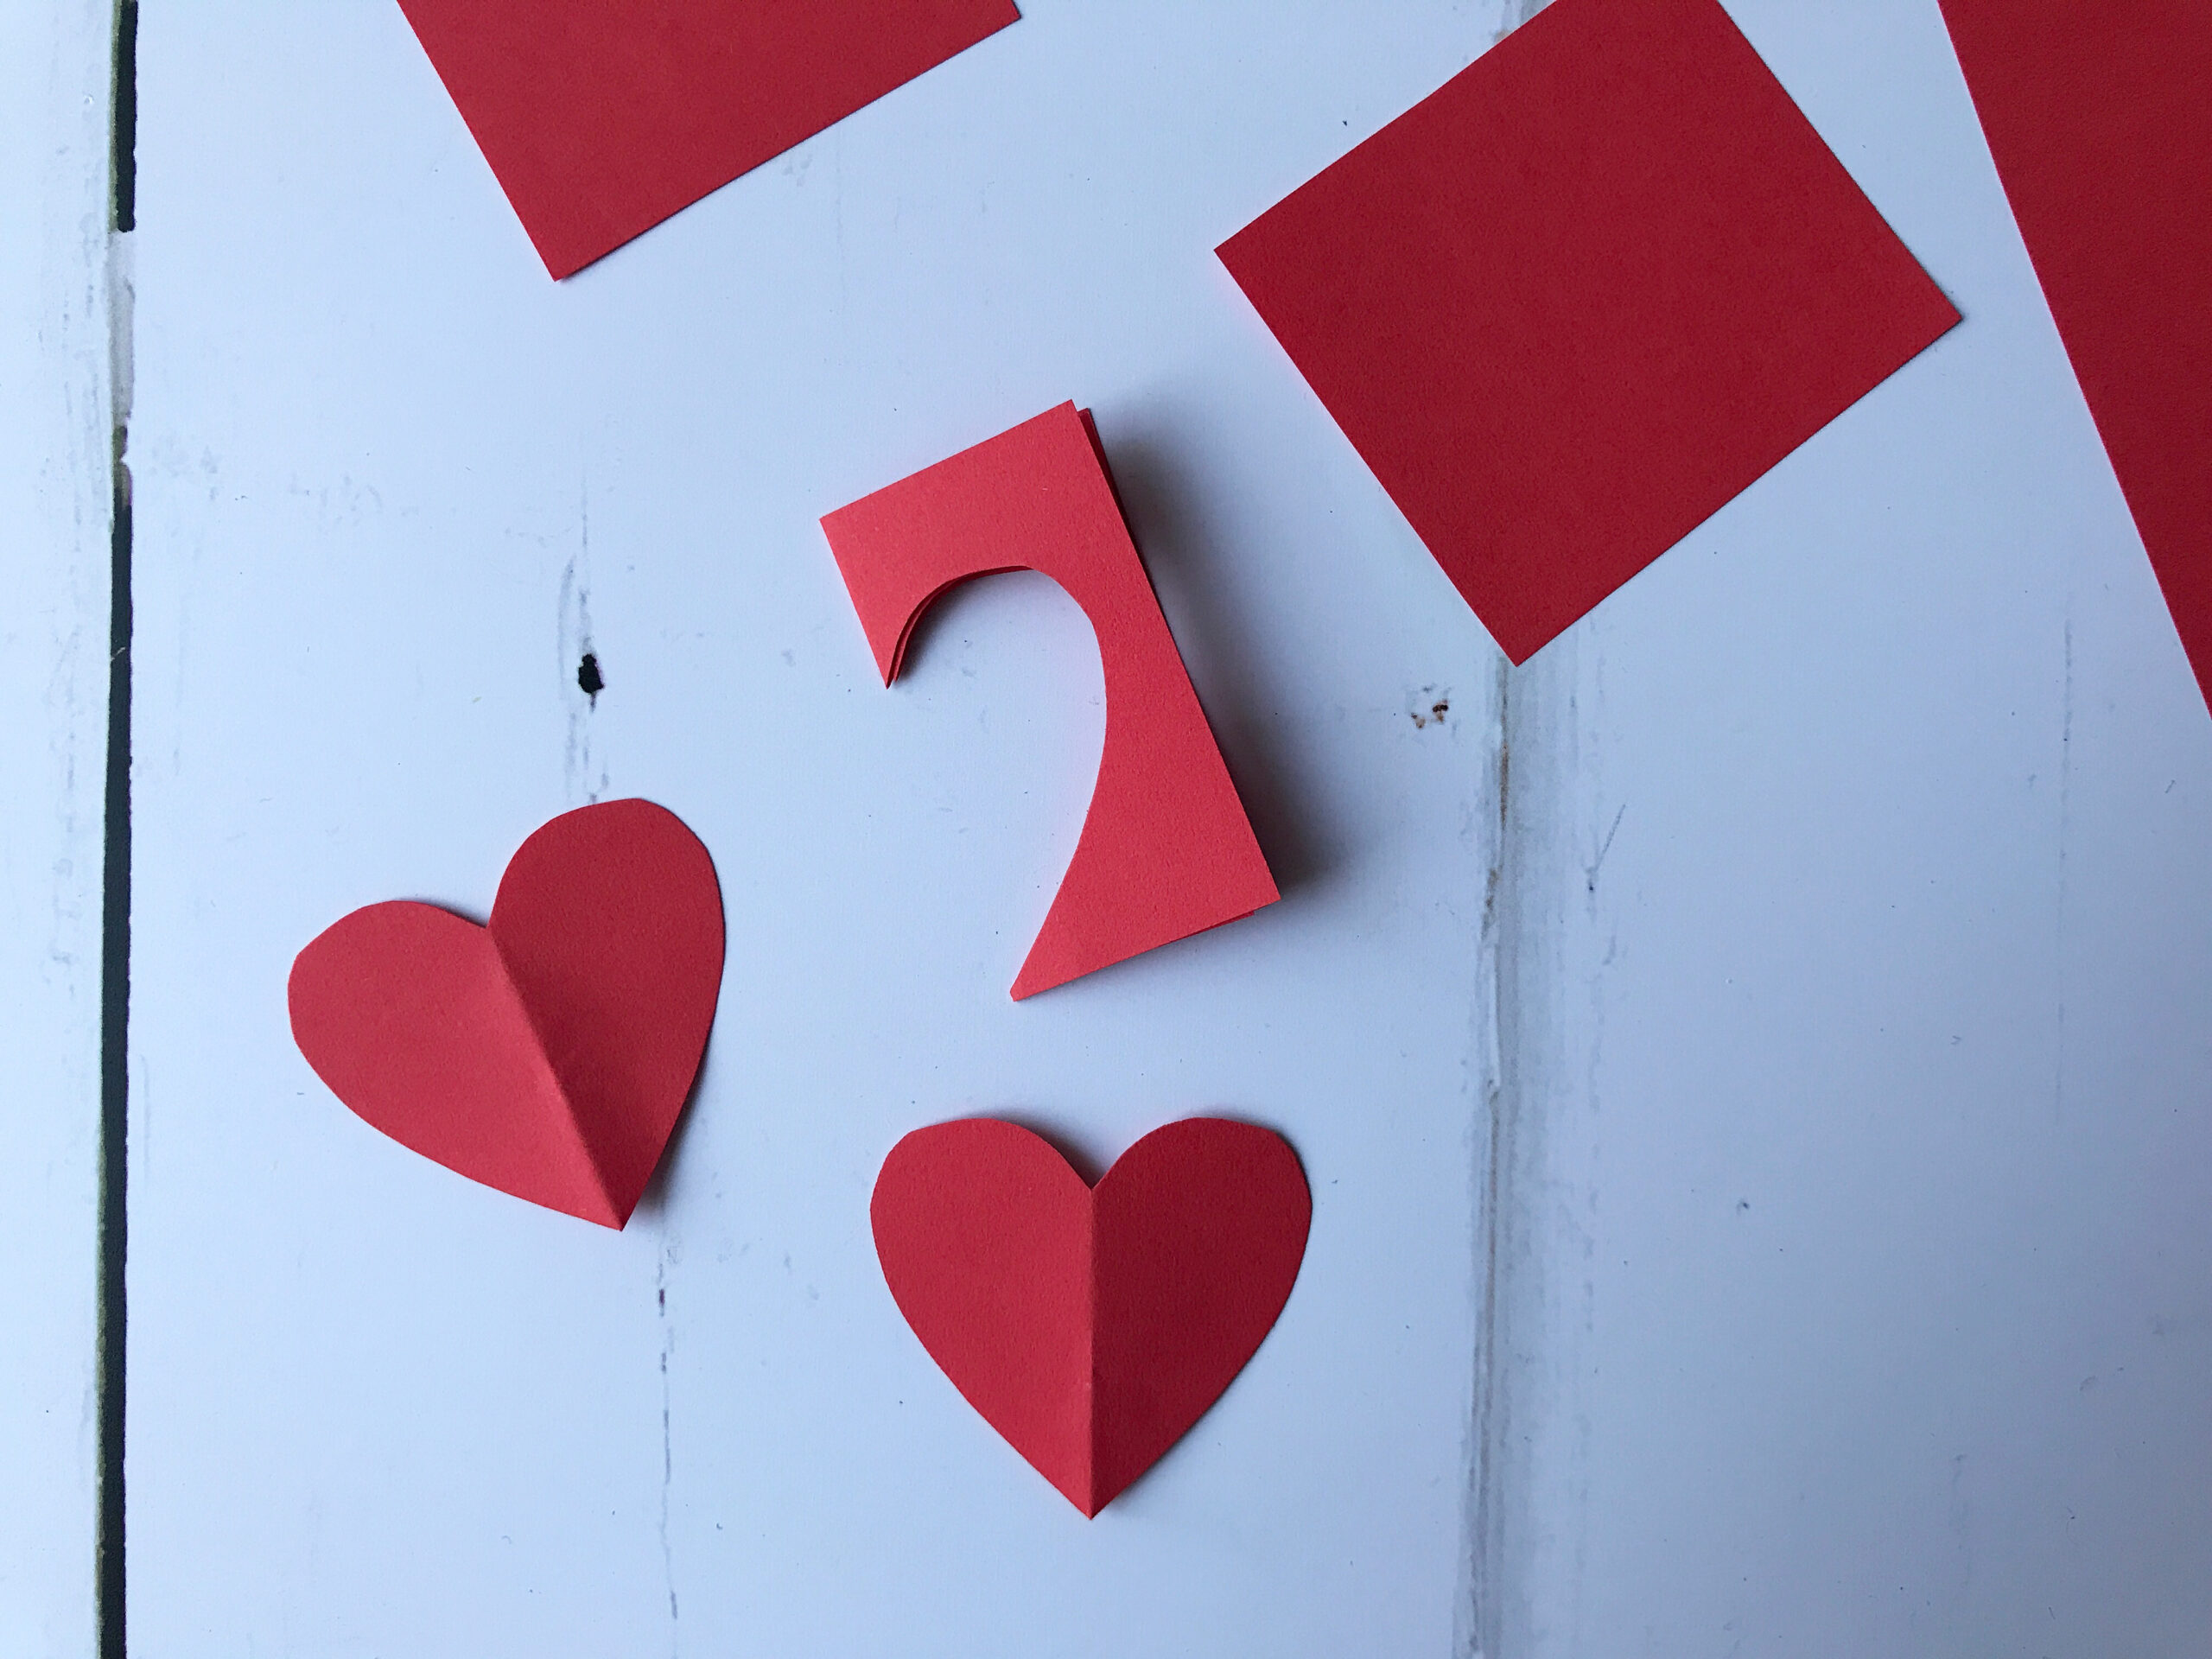
Step 6: Now take the scraps from the pink sheet of paper and cut four strips, approx. 2cm wide, as shown below.
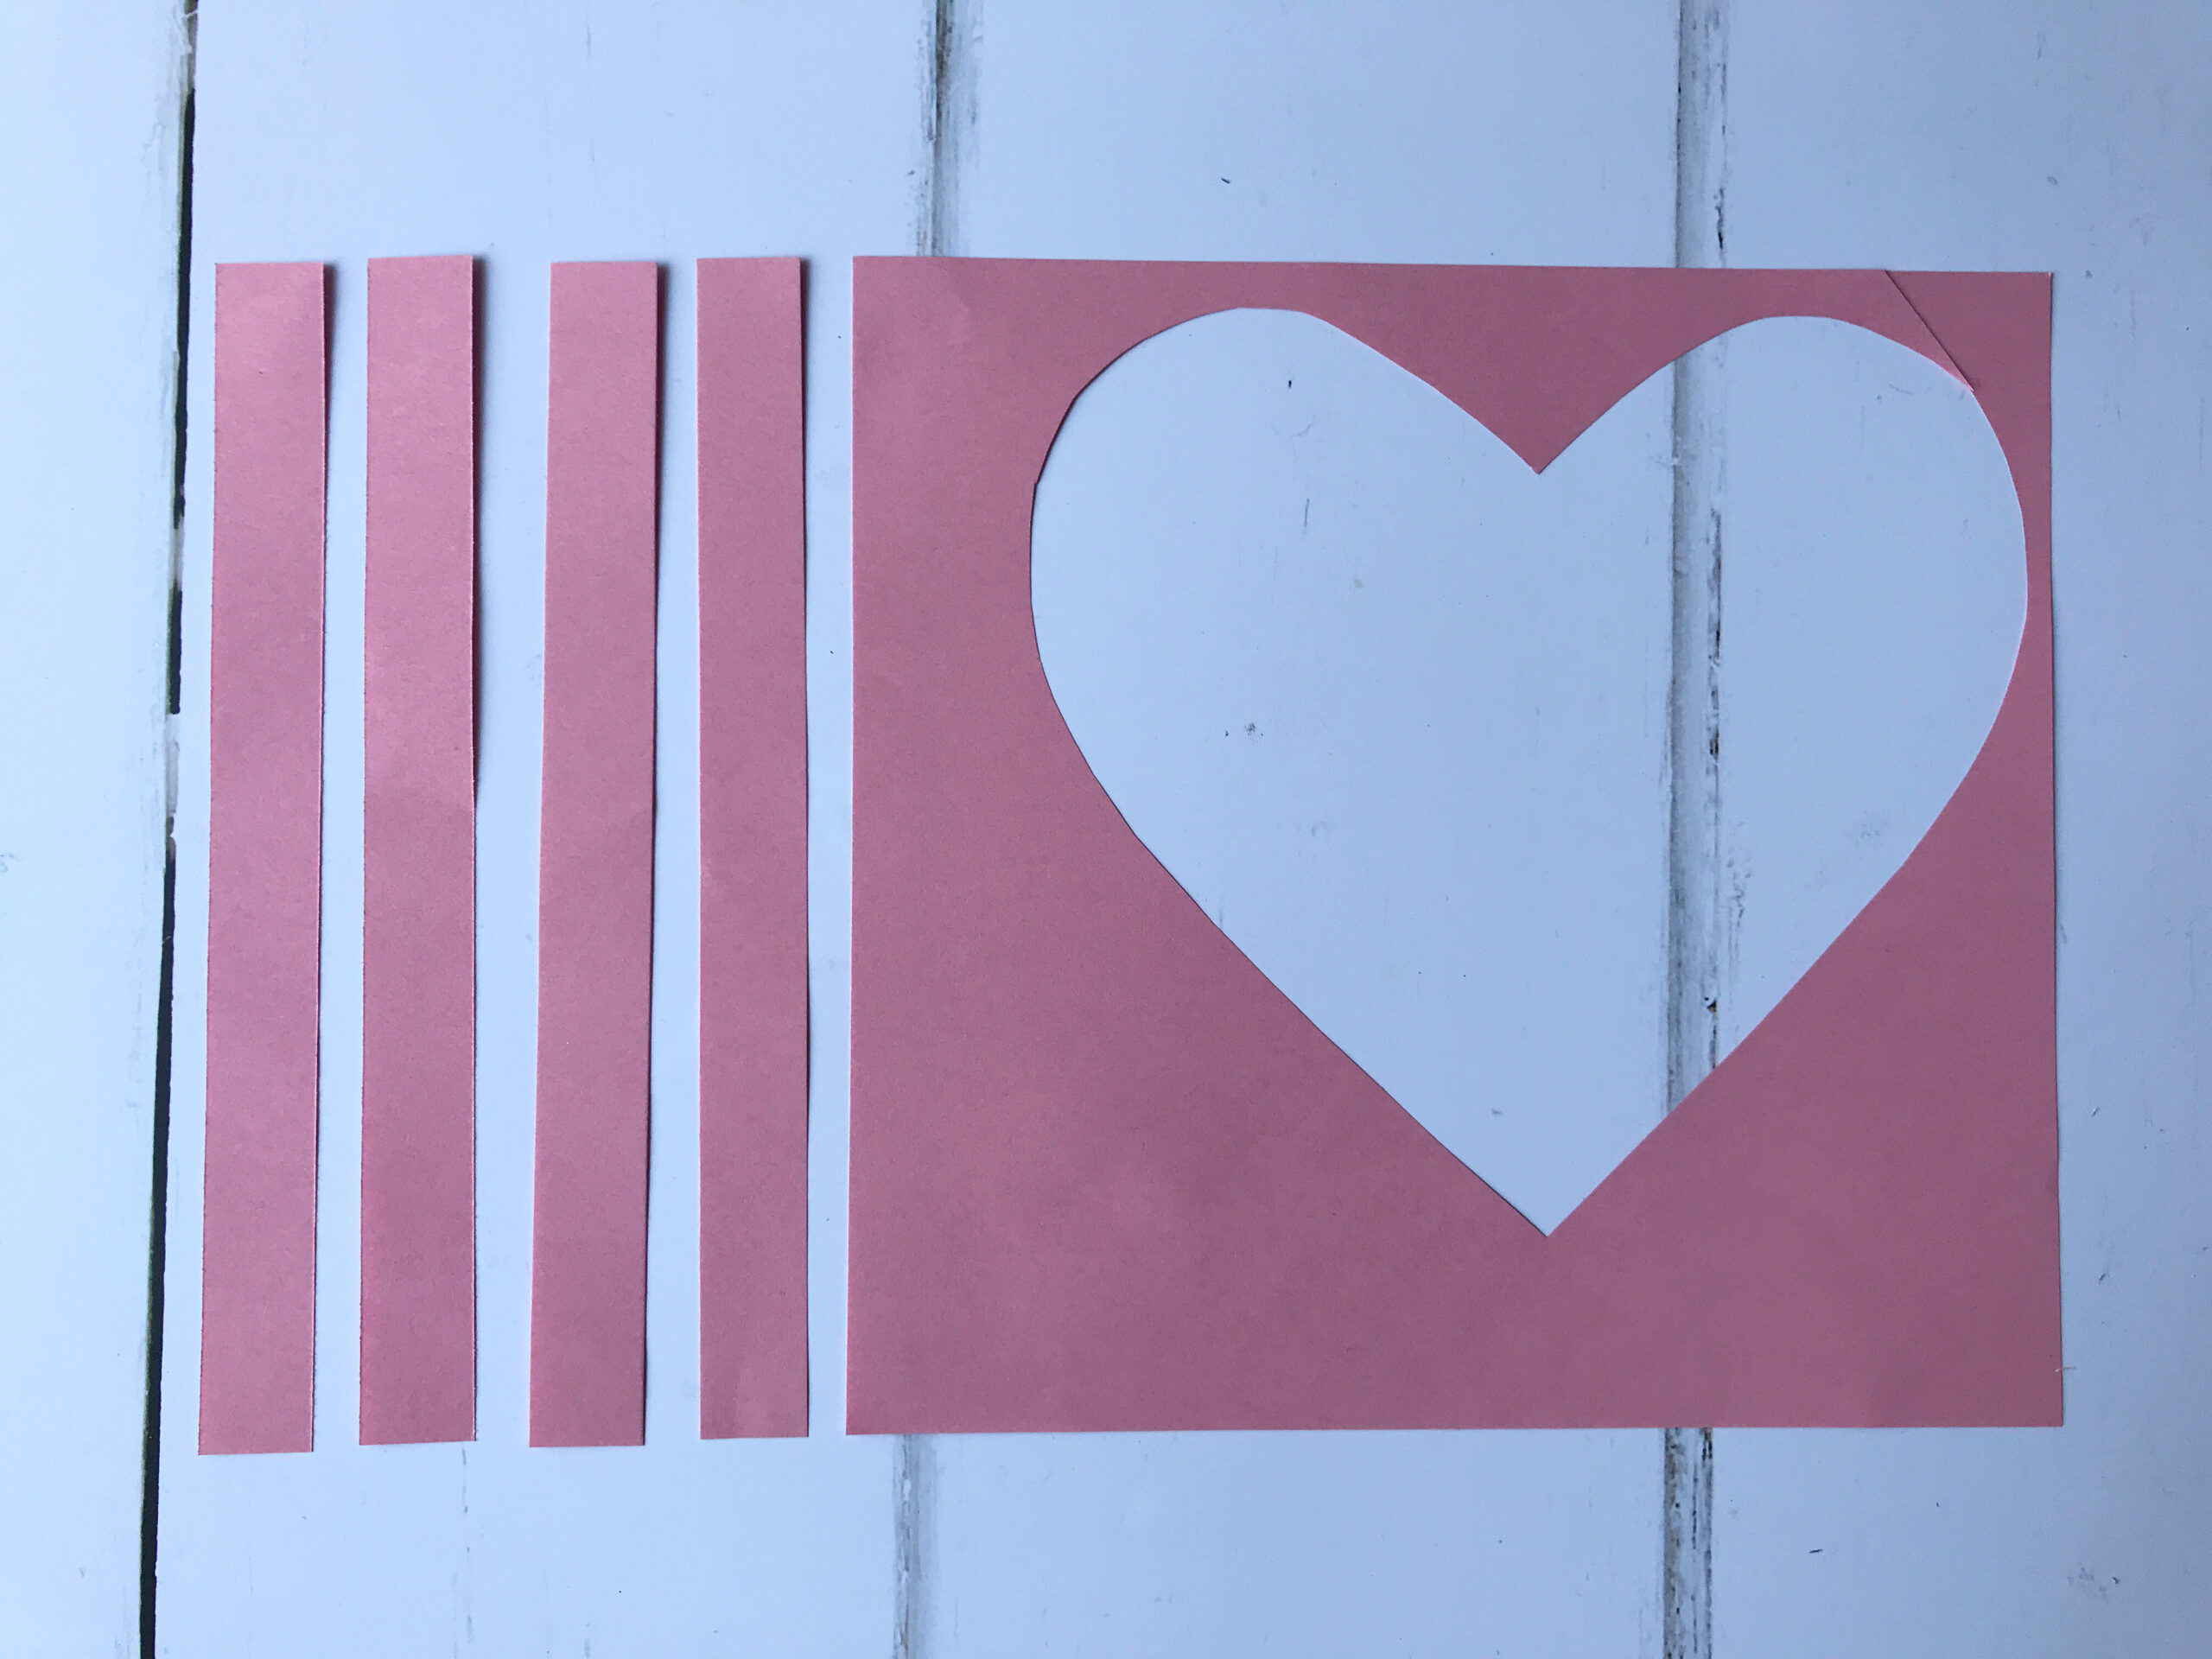
You should now have the following pieces, ready to assemble. For younger kids, you could prepare this, or some of this, in advance. Older kids can cut everything out themselves.
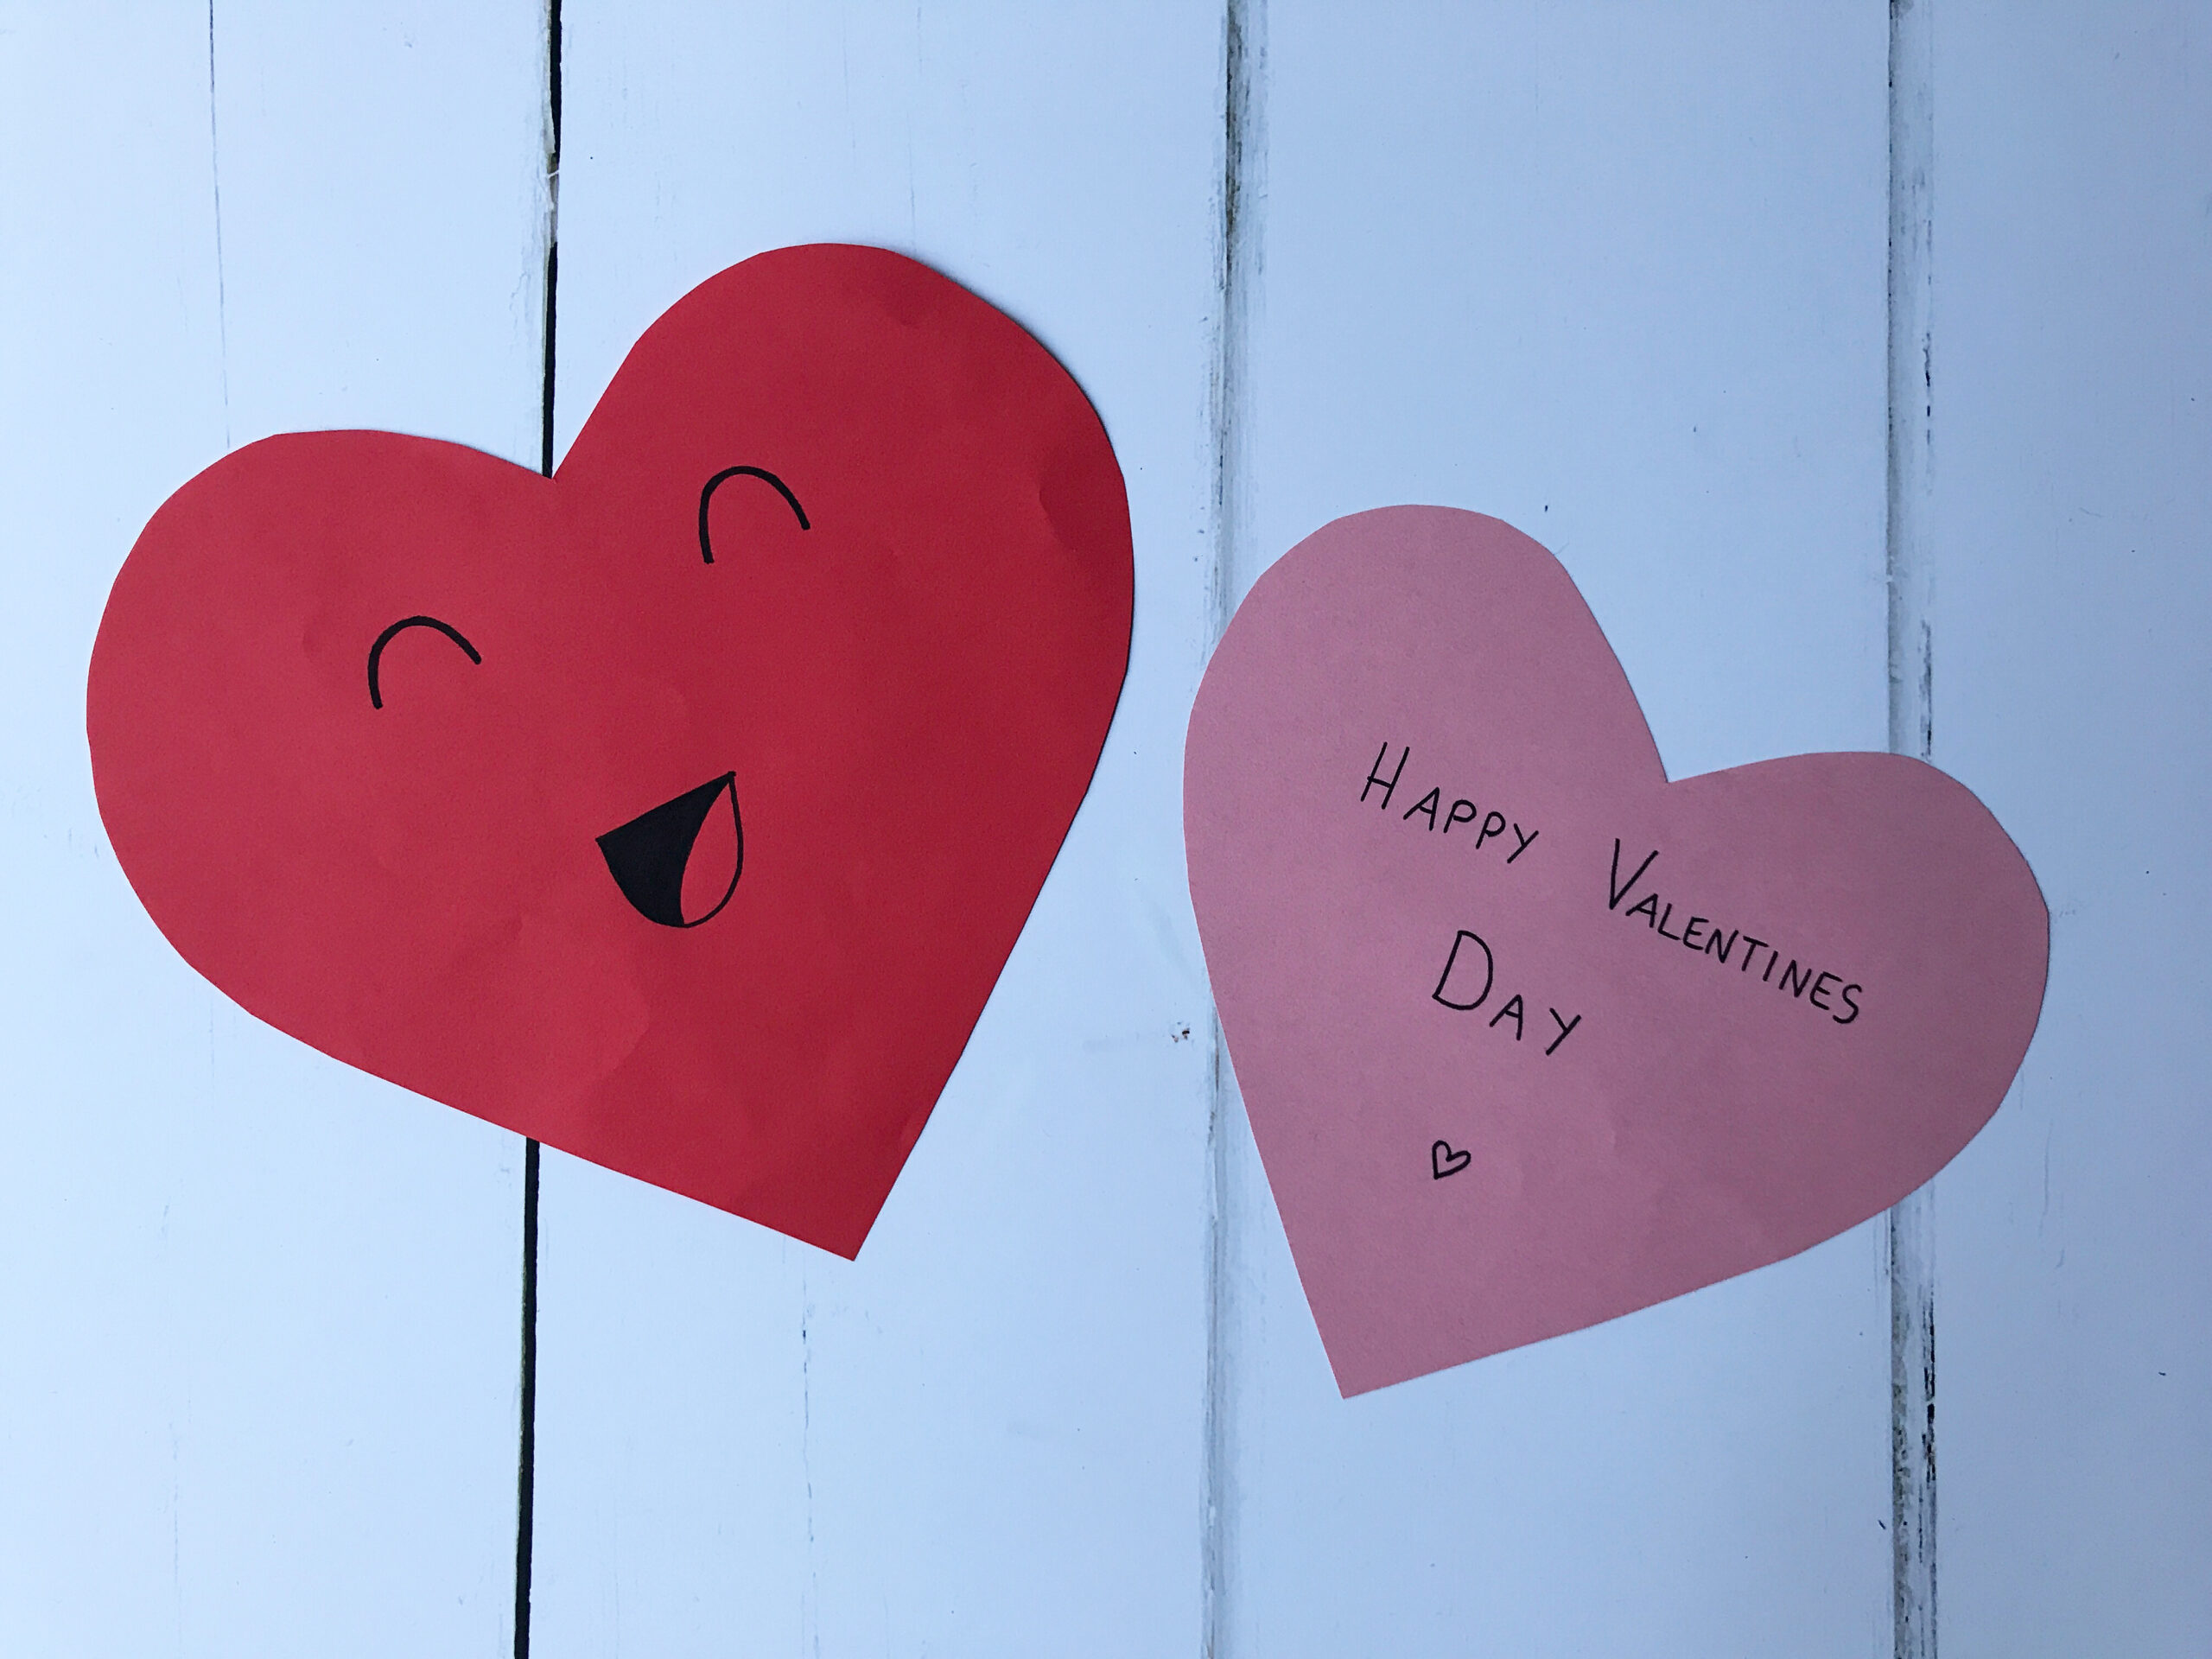
Step 7: Take your two large hearts. On the red one draw a face, and on the pink one write your Valentines message. The reason I do this first with the kids, before assembling, is that in case they make a mistake and have a little meltdown and want to start all over again (speaking from experience here…) it’s much easier to quickly cut out another heart, than to take apart and redo the whole thing!
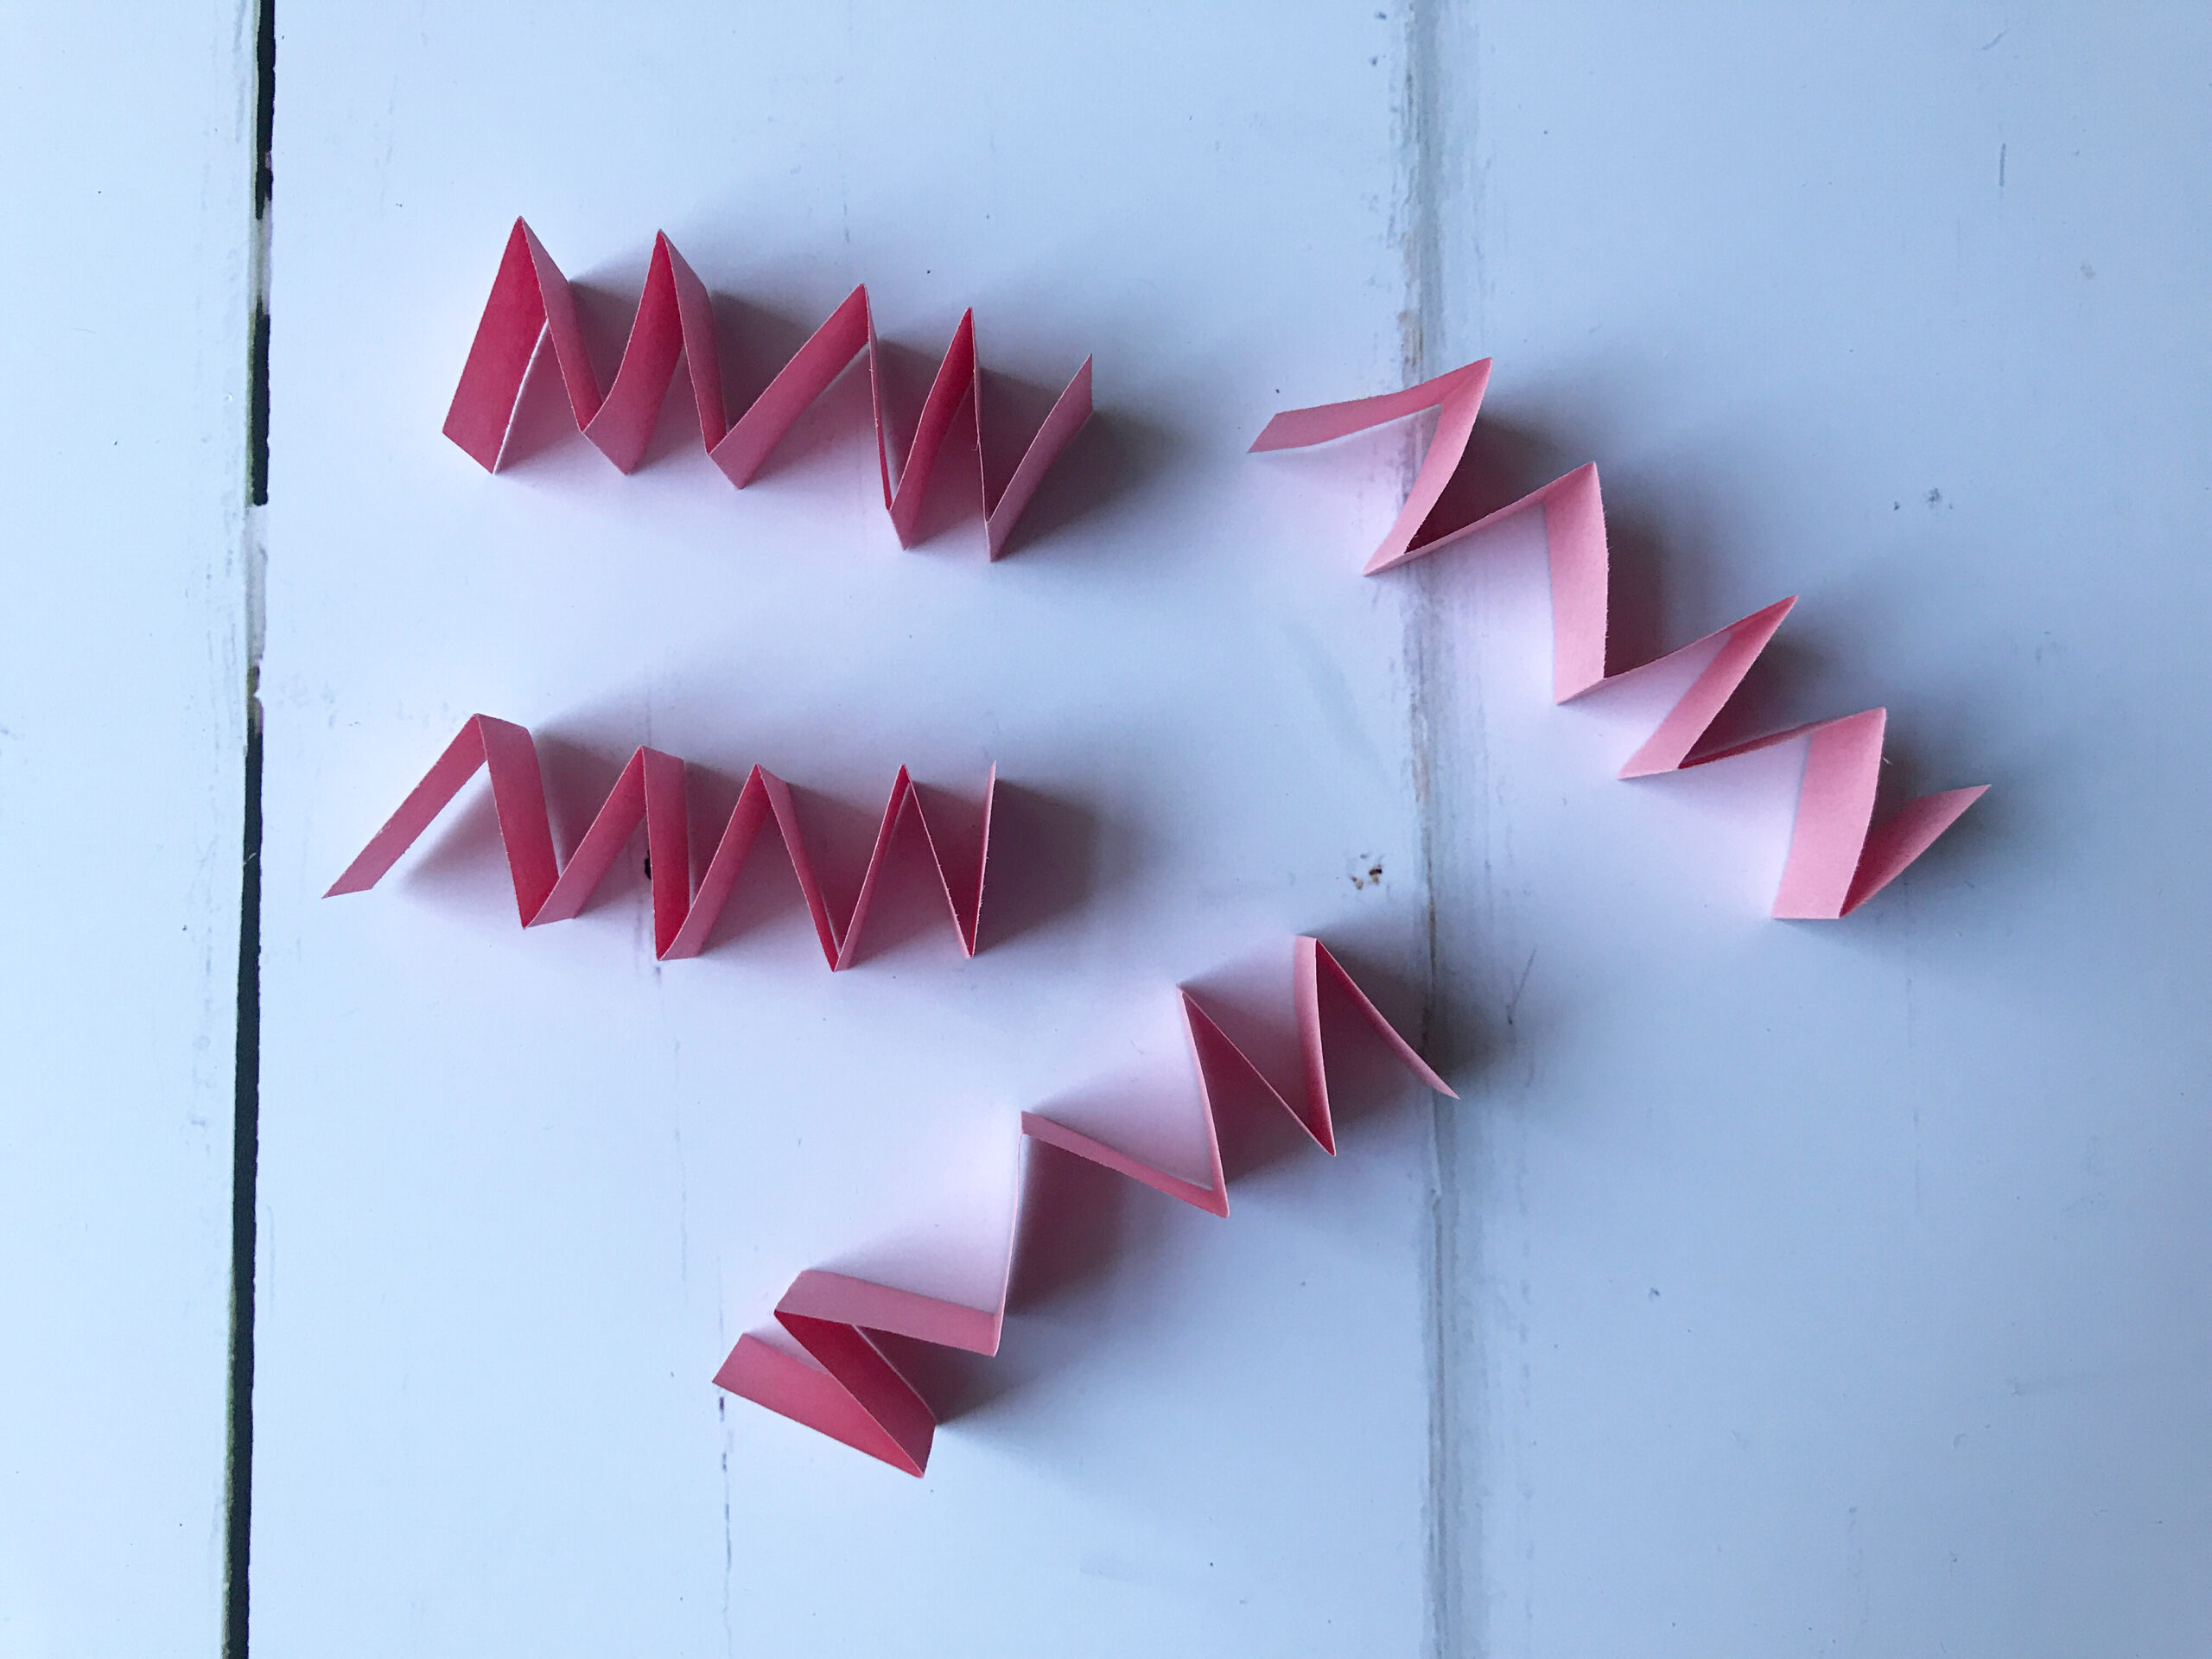
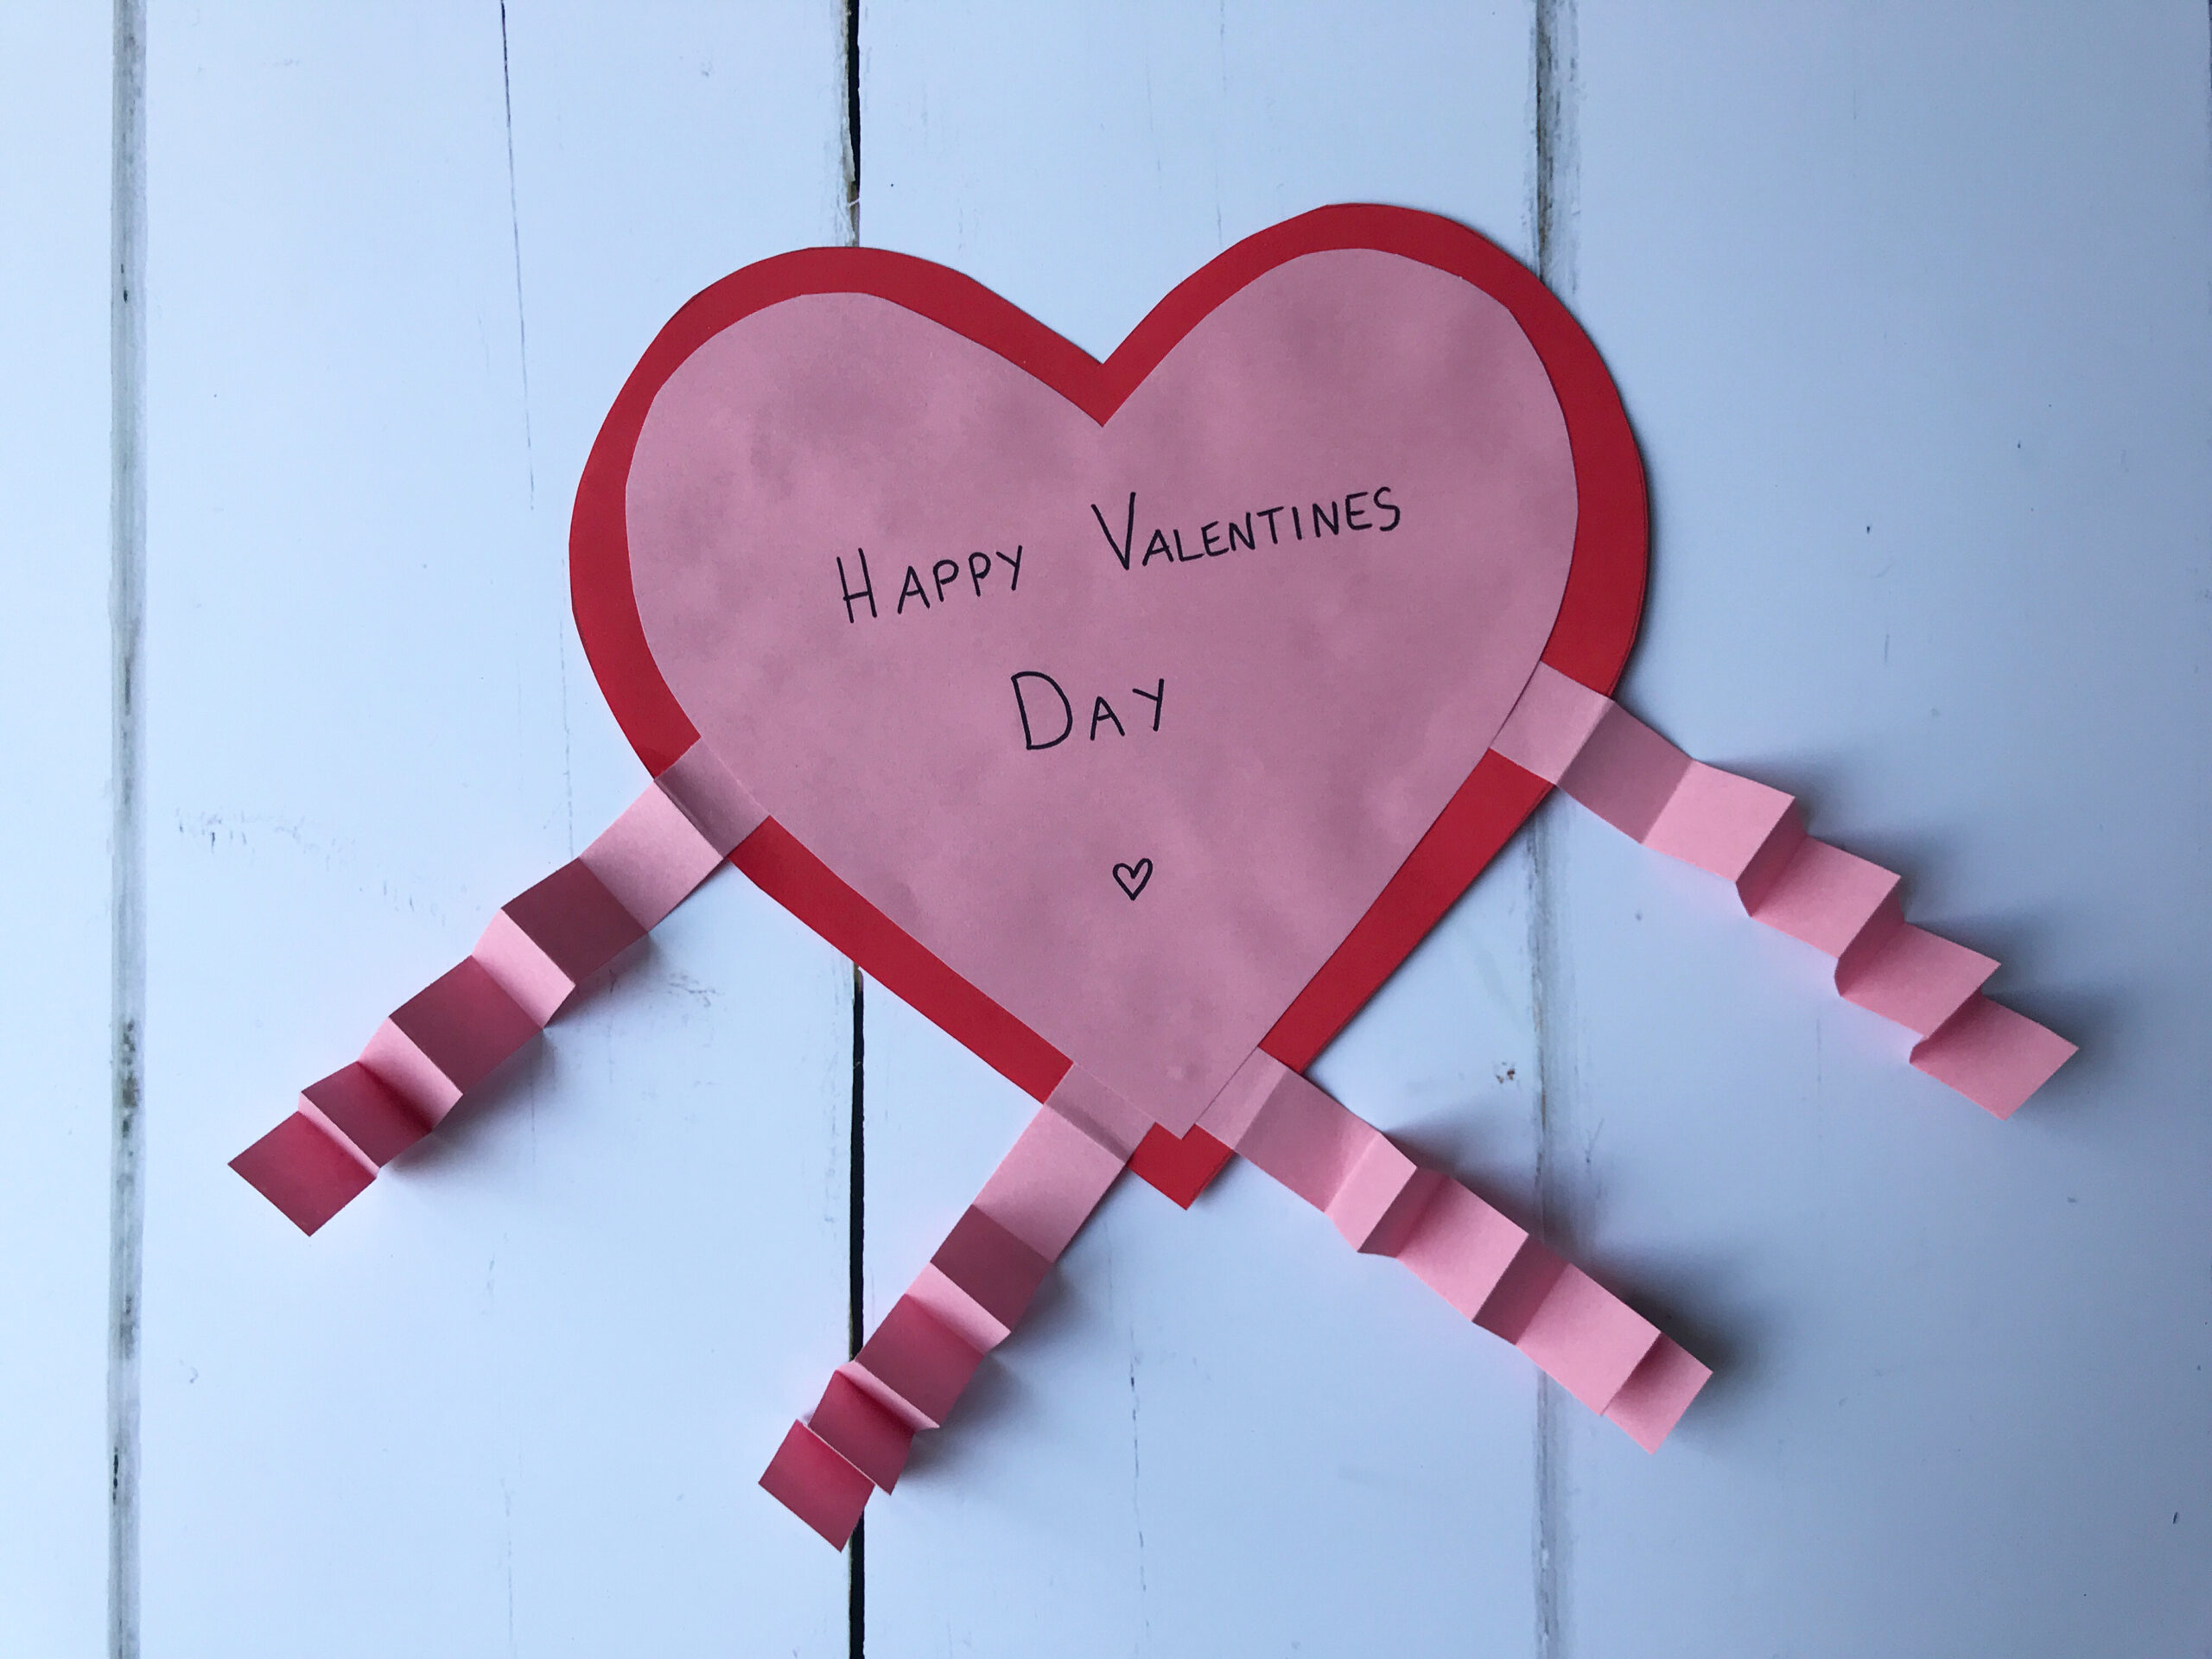
Step 8: Now take the four pink strips, and fold them up concertina style as shown below. The folds are approx. 2cm apart.
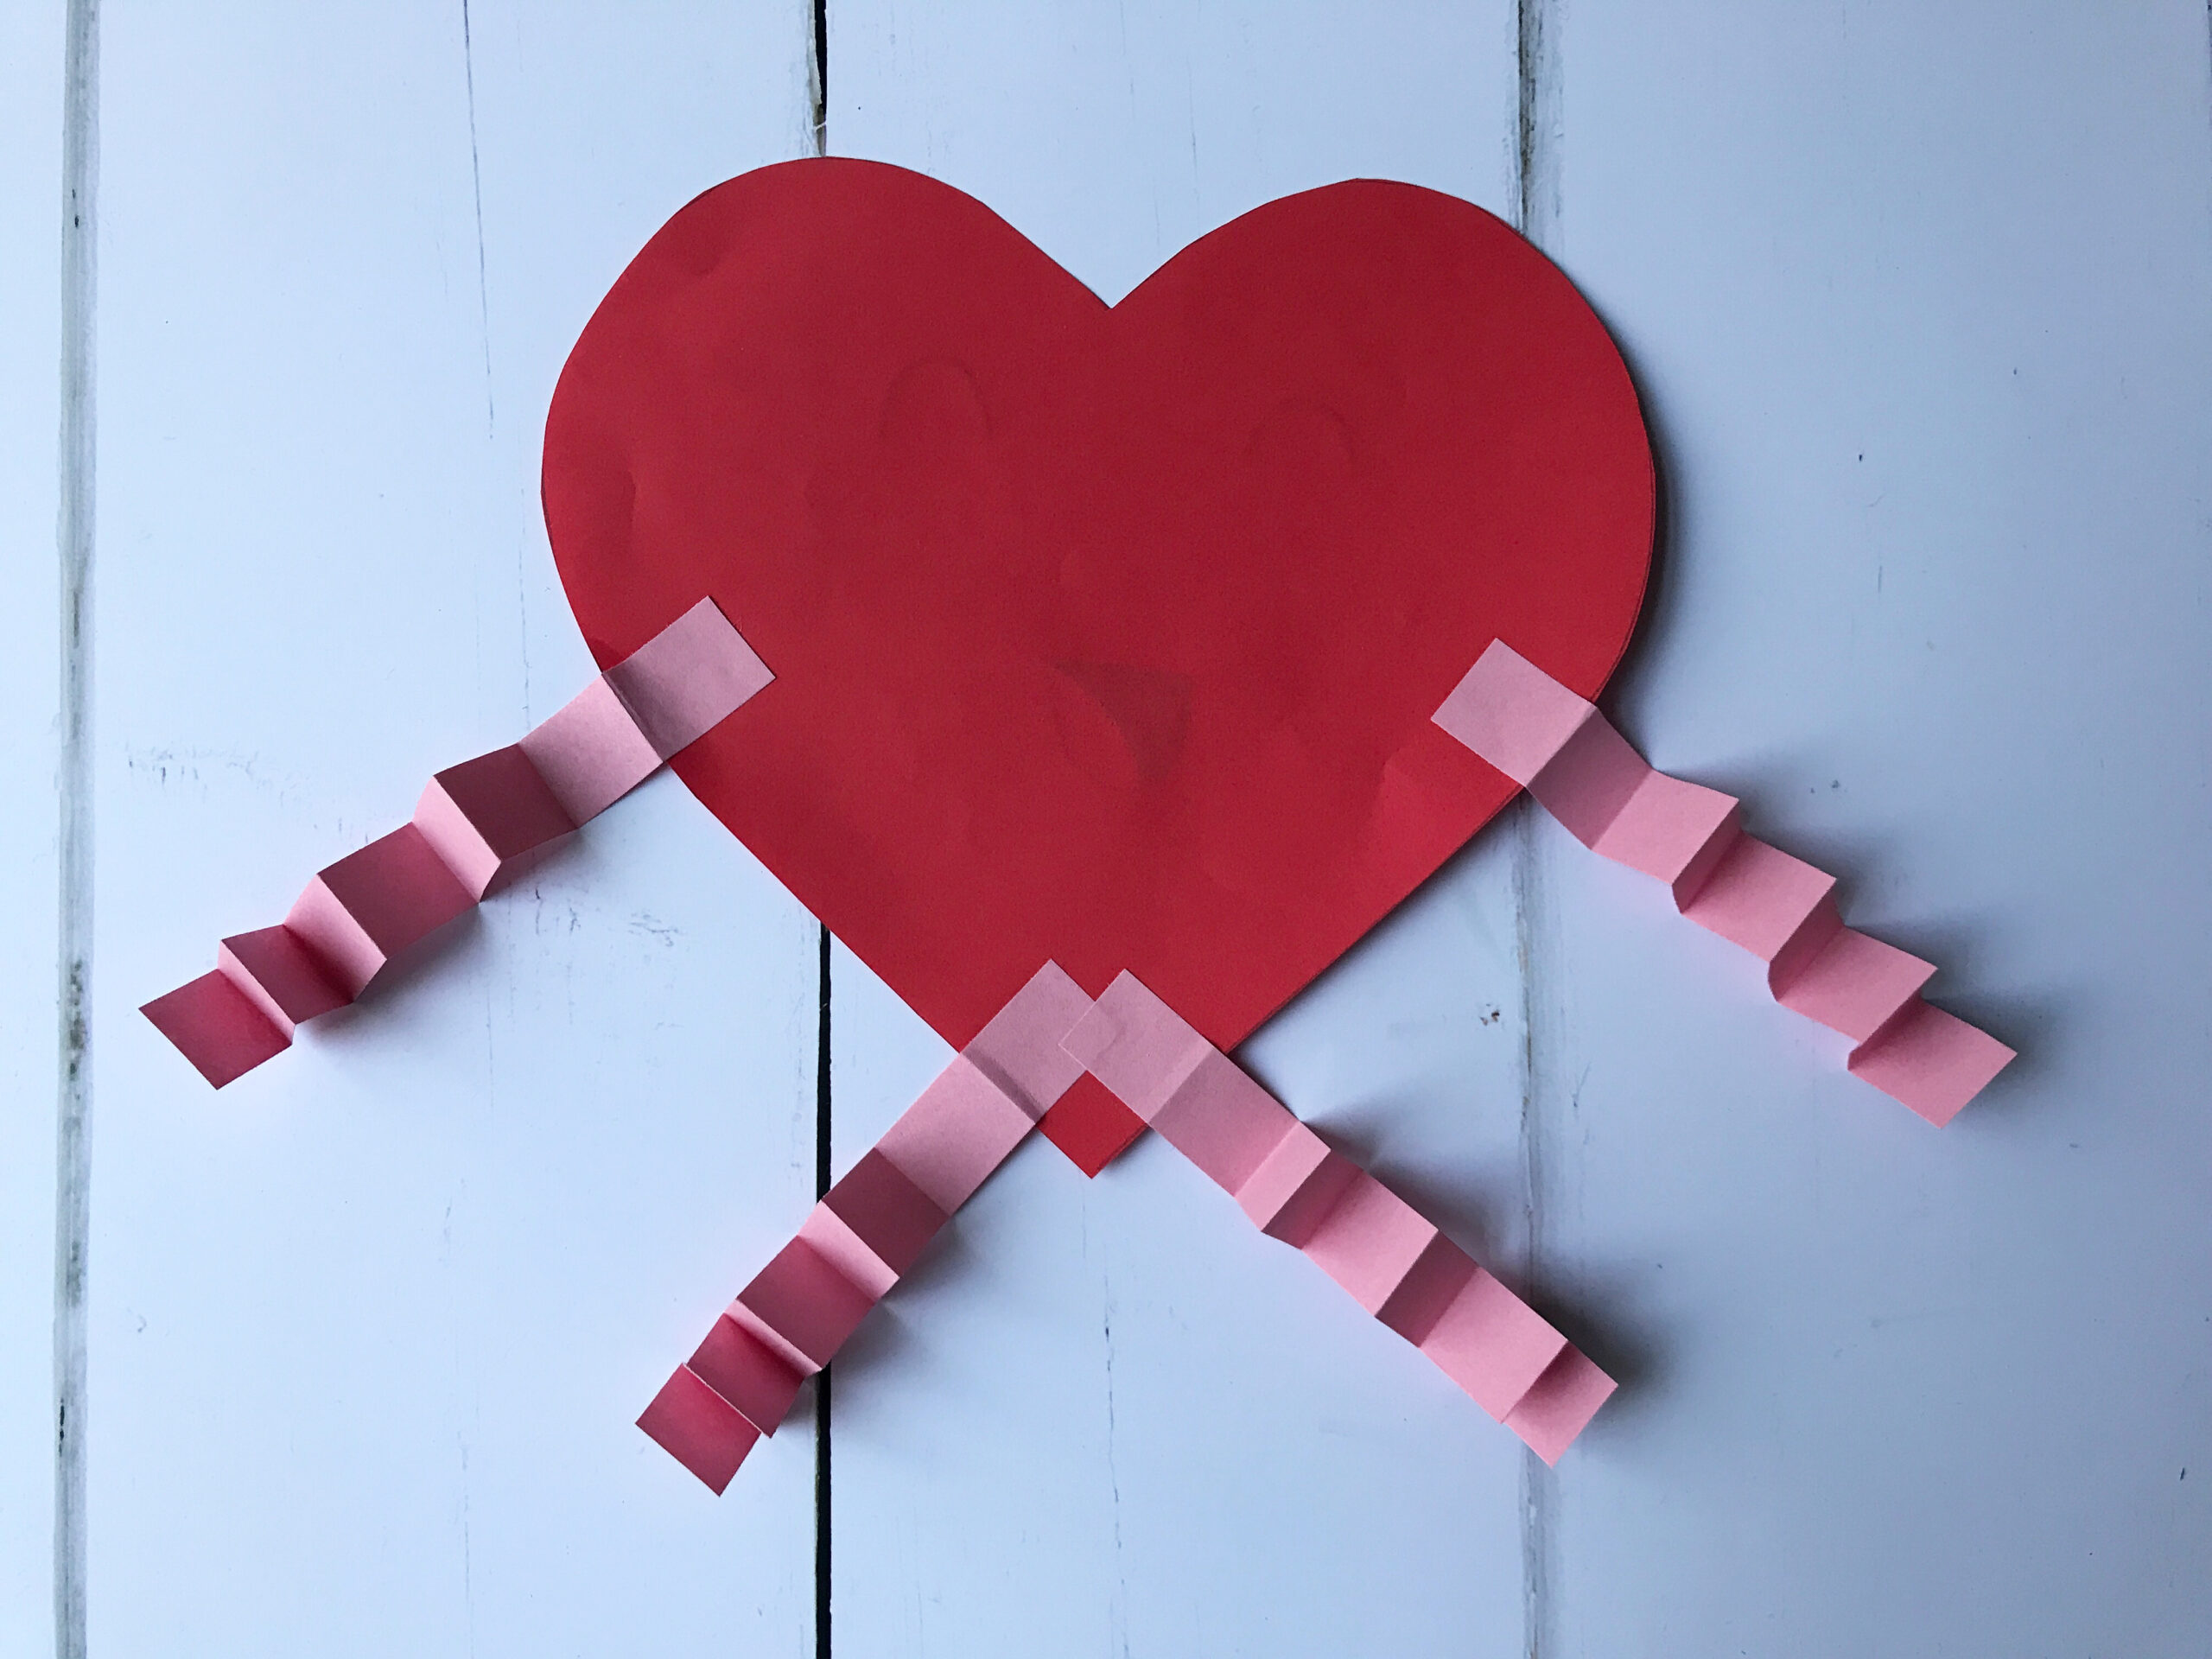
Step 9: Stick the concertina strips on to the back of the red heart (i.e. the side you have not drawn as face on) in roughly the positions shown below.
Step 10: Now stick the pink heart on top, to hide the ends. You could of course make this activity even simpler and leave out the second heart and just write your message straight on the back, but a) I think it looks neater this way, and b) it strengthens the card a little and makes it less floppy. If you are just making these to hang up at home though, you could definitely skip this step.
Step 11: The final step is to stick the small red hearts on to the end of the concertina strips for the hands and feet. You’ll might want to short the strips for the arms a little.
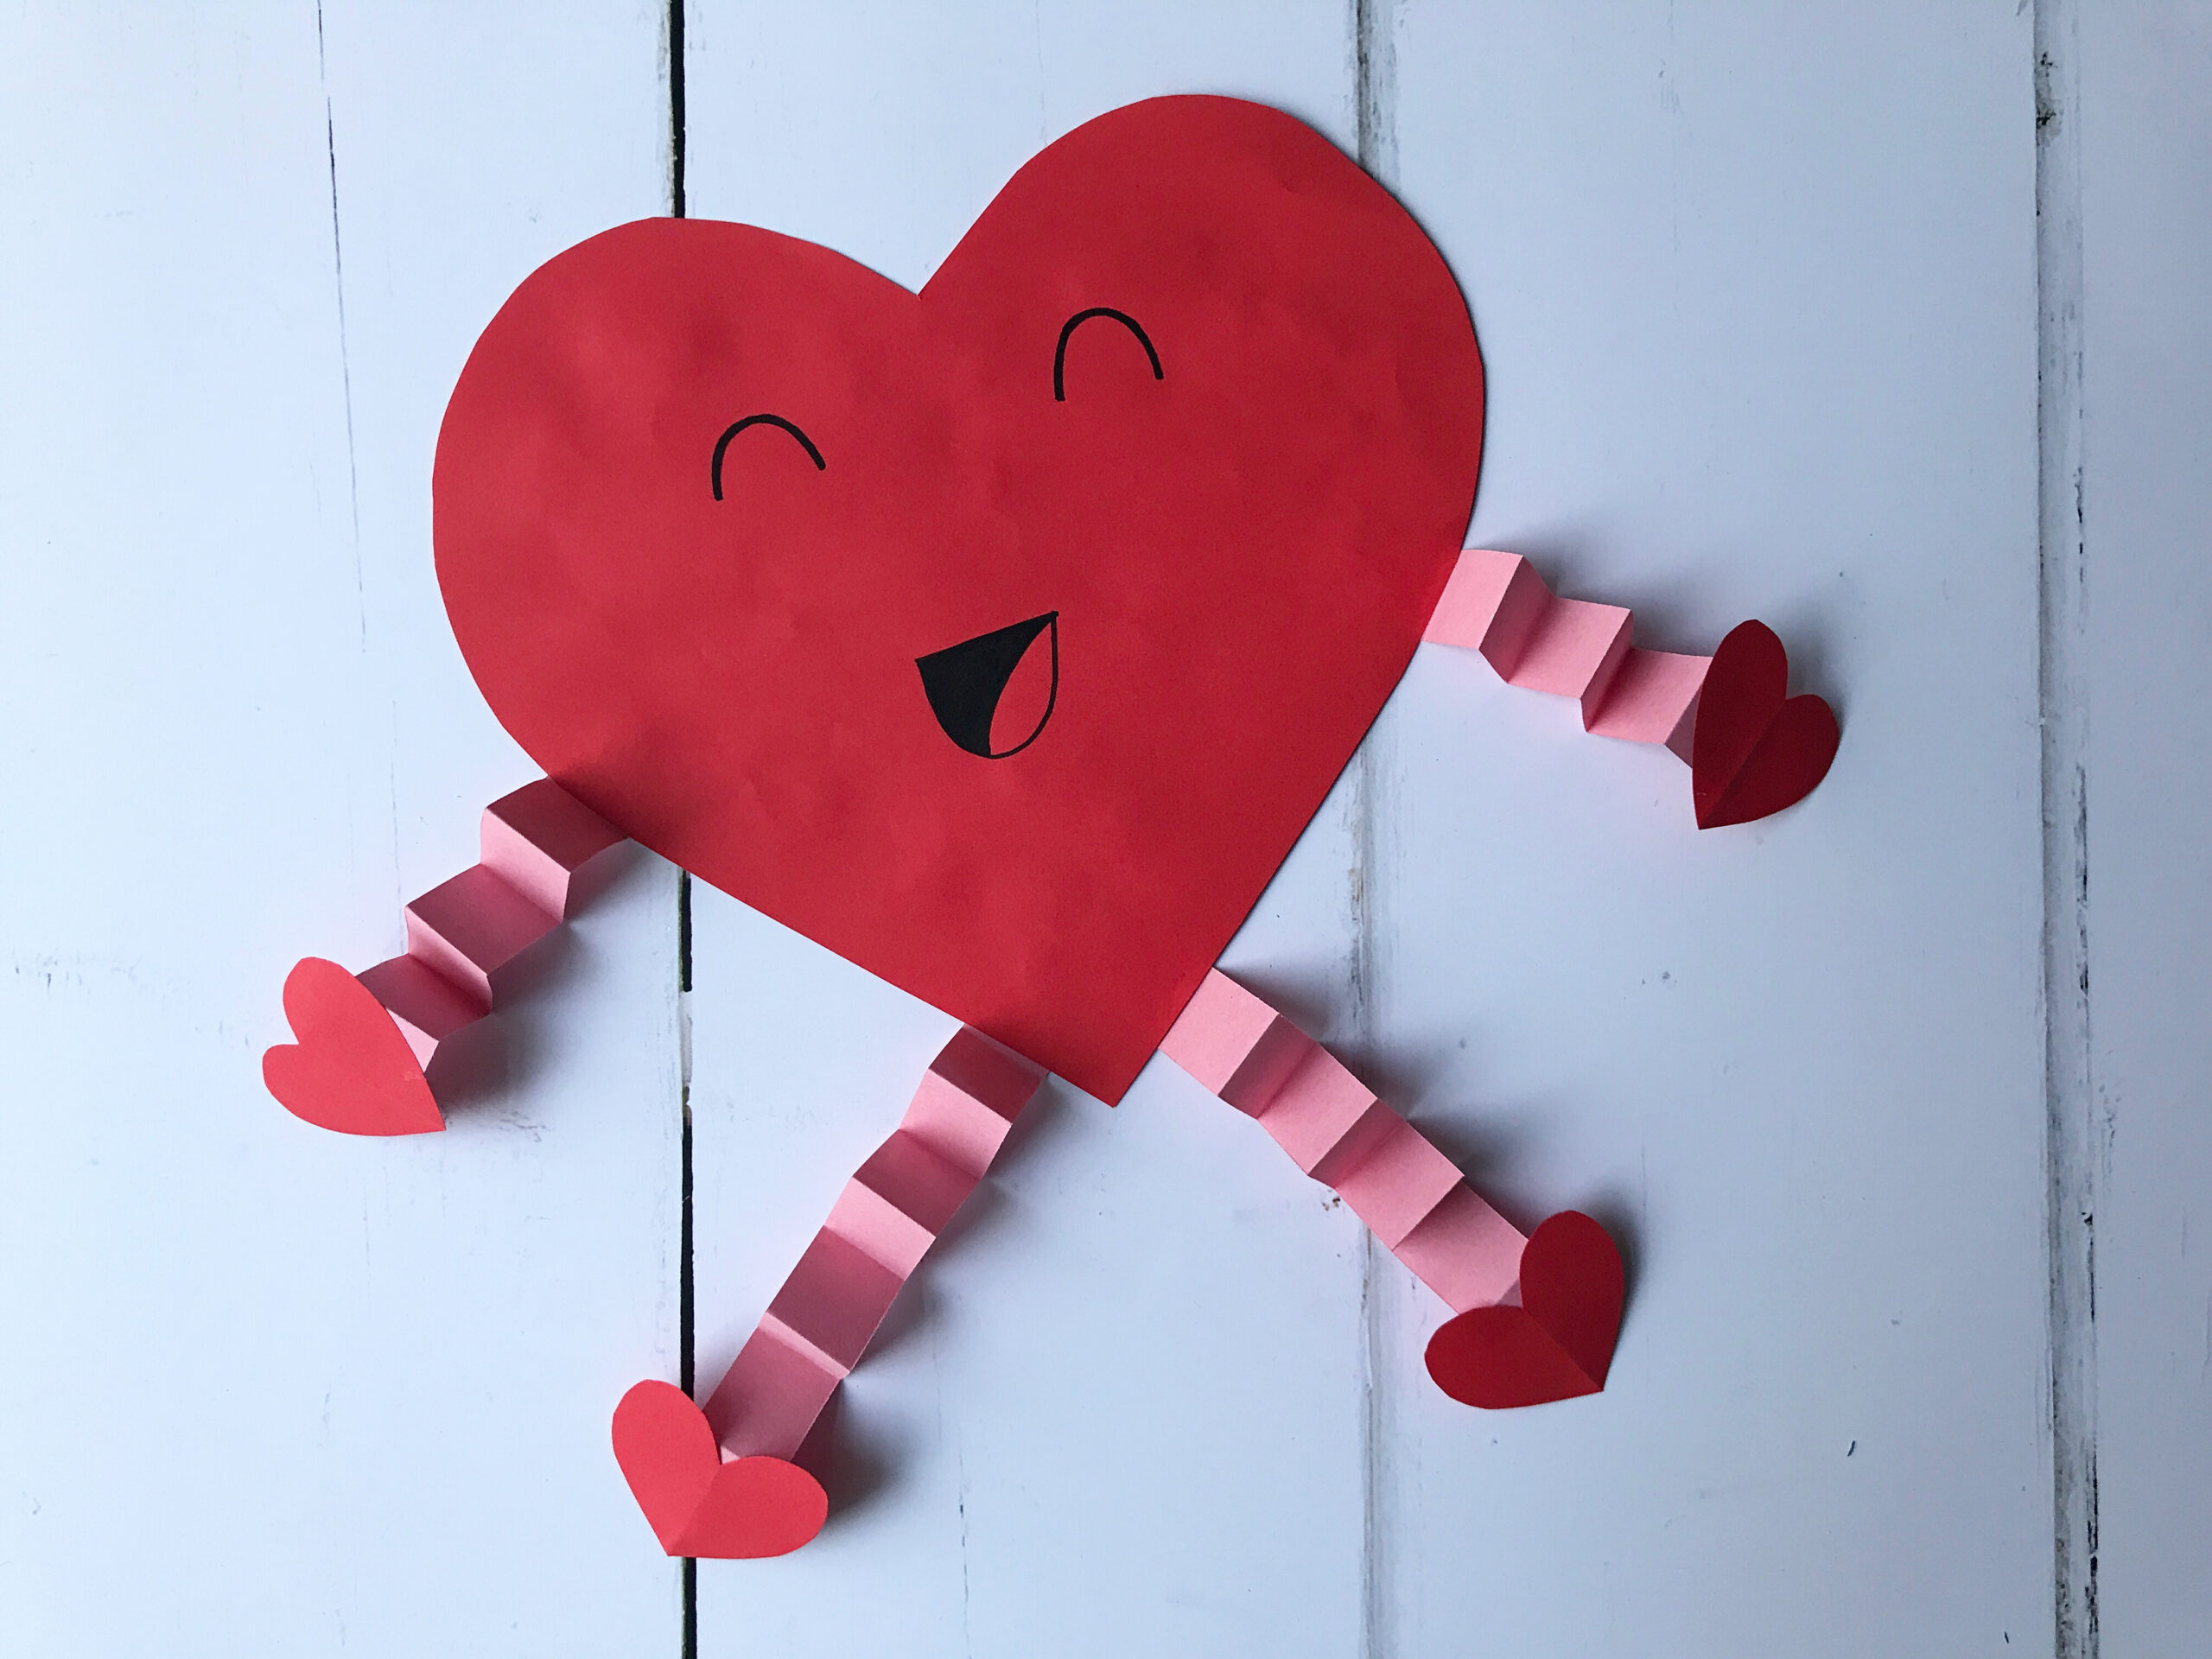
Voila! That’s it. Now you can make a whole group of little heart people to send out to loved ones, or to decorate your home with. If you want to make them smaller to send more easily in the post, just use half a sheet of paper for the big hearts and make the concertina strips and little hearts a bit smaller.
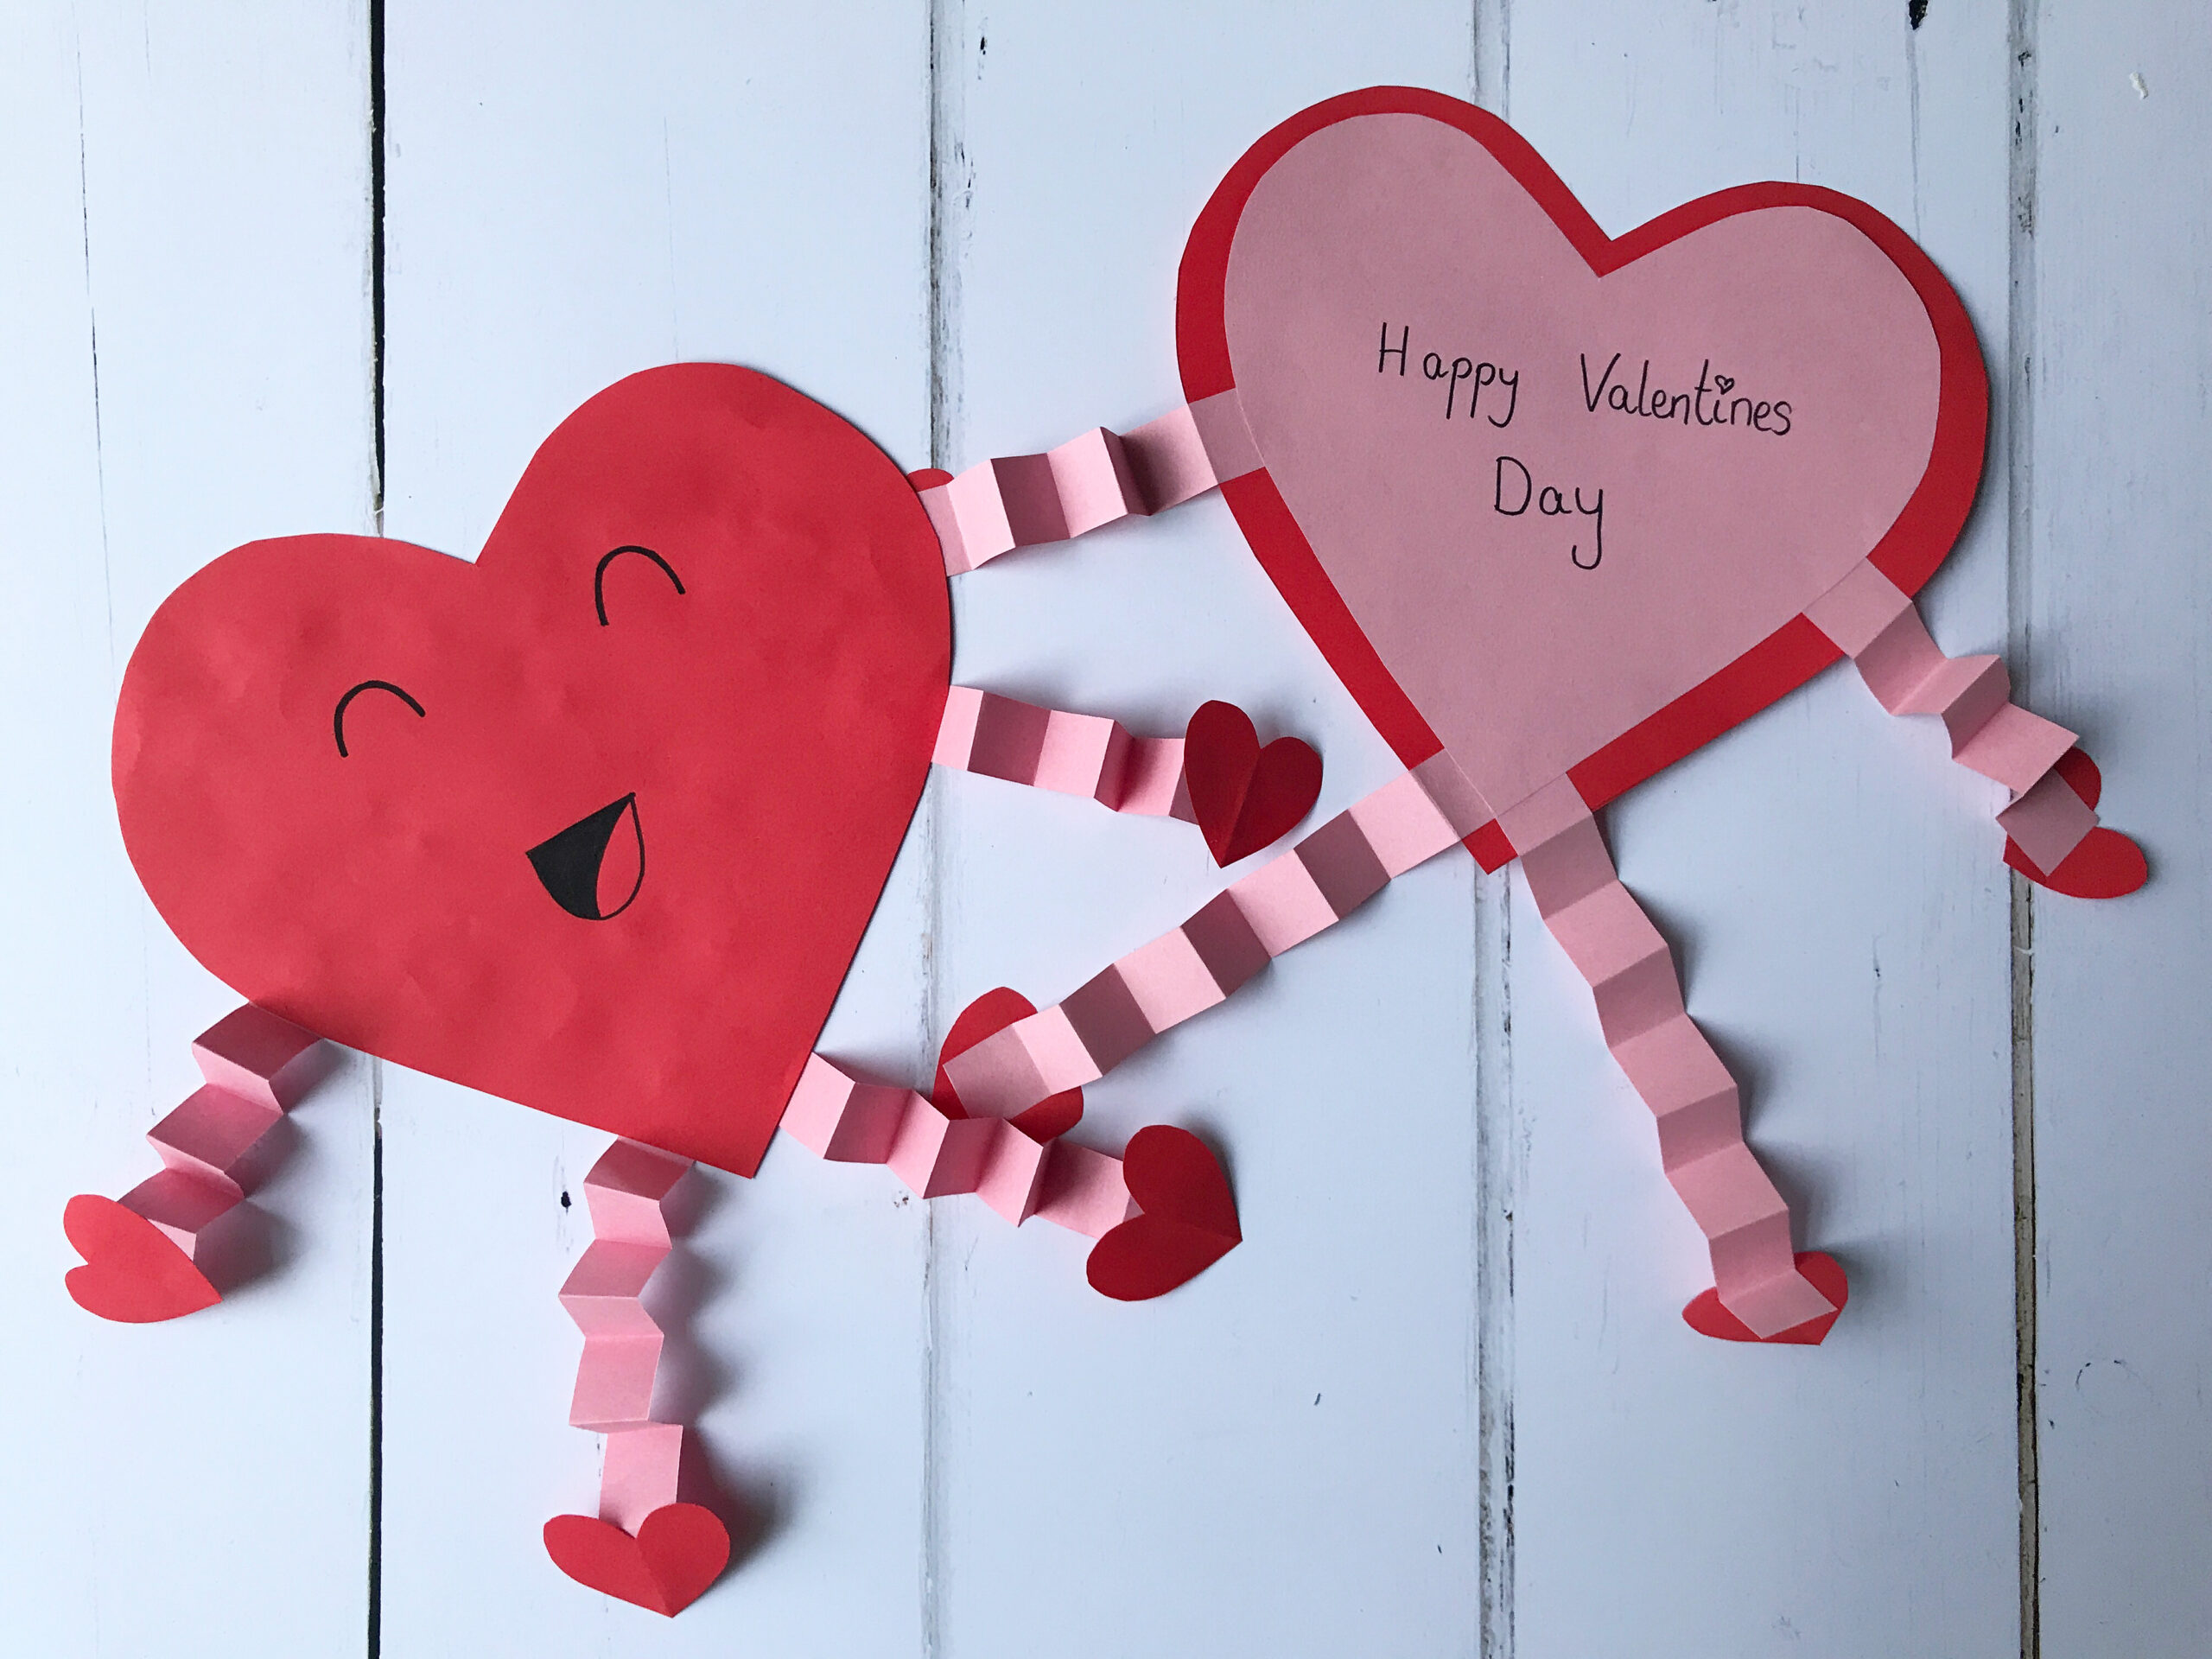
If you try out this craft activity, I’d love to see photos so please feel free to tag me in on Twitter or Instagram.
And check out our other Valentines Day posts too, for more heart filled fun.


Valentina
Such a cute idea! I love your blog, just discovered it. It has so many great ideas x
Jenni
Thank you so much xx
Pingback: Planning for February – The Bear & The Fox