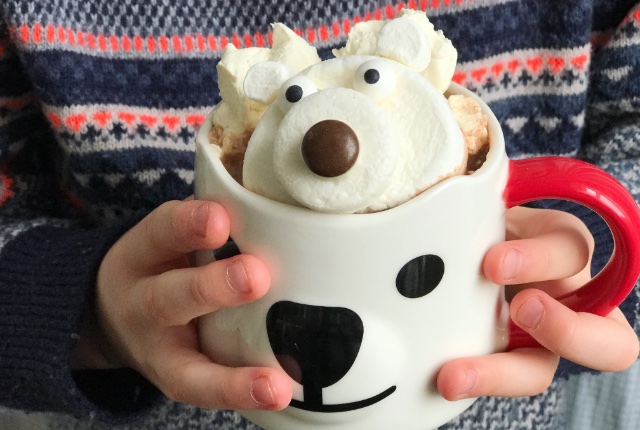
Polar Bear Marshmallow Hot Chocolate Toppers
My youngest has been studying the polar regions at school (he’s in P2), and this week’s focus was on the Arctic and polar bears, so as a wee home schooling treat we made some polar bear marshmallows that are perfect to top off a mug of hot chocolate. Or you could also have them on their own. And yes, we are that family that happens to have three different sizes of marshmallows in their pantry “just in case”, but you might have to go shopping instead.
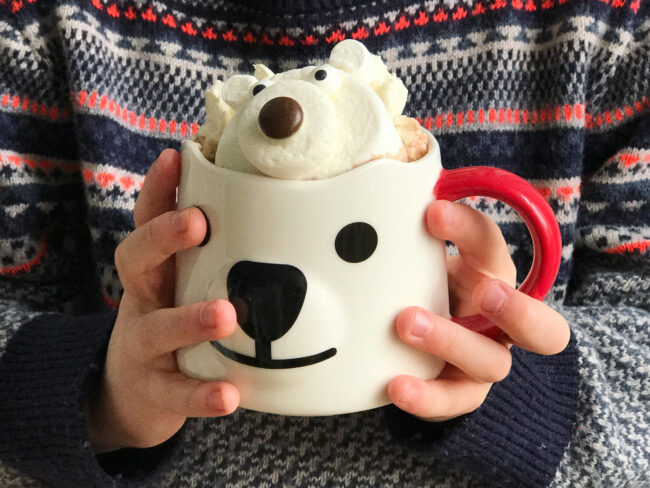
Ingredients
For each polar bear you will need:
- one jumbo sized white marshmallow (we found these on the ‘American’ shelf at our local supermarket)
- one regular sized marshmallow
- two mini marshmallows
- one brown chocolate sweet (e.g. M&Ms or similar)
- two edible eyes OR you could use e.g. a black icing pen which are easier to find
- some white chocolate
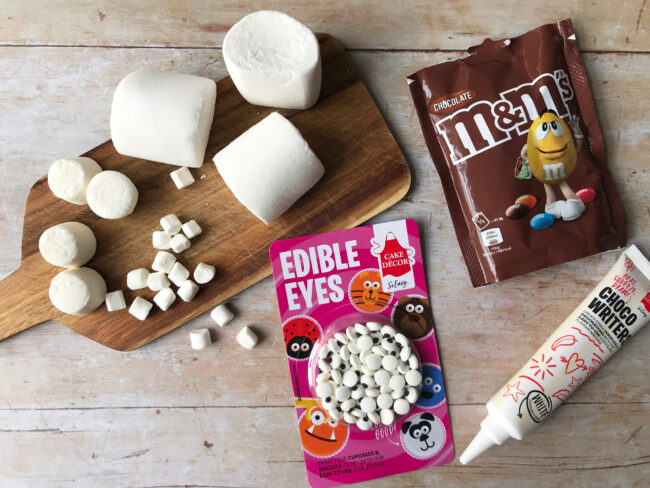
We used brown sweets for the nose, but you could of course choose to give your polar bears different coloured noses. And for the white chocolate we used a tube of white “choco writers” we already had, but you could just use regular white chocolate instead and melt it.
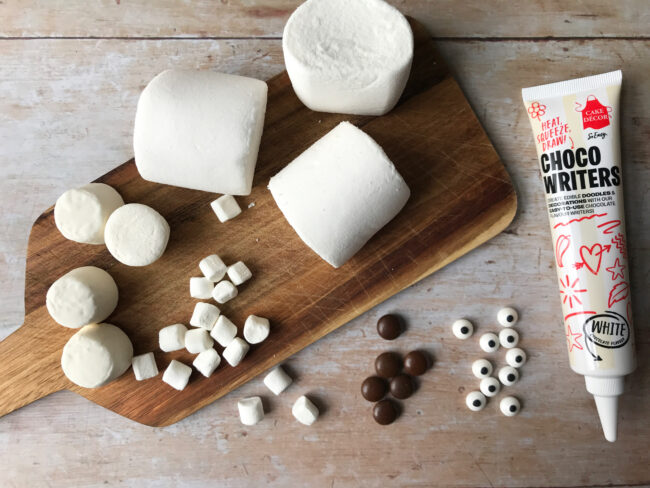
Step 1: Melt your white chocolate. If you are using a choco writer, they need to sit in a glass of hot water for a couple of minutes. If you are using regular hot chocolate, you can melt it in a bowl over a pan of simmer water.
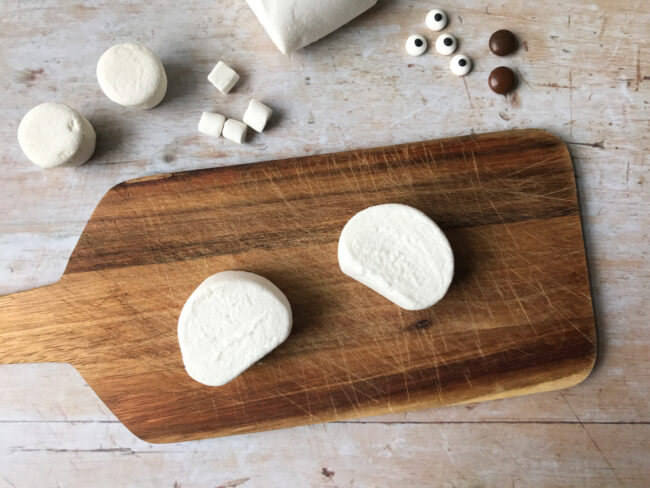
Step 2: You’ll need a jumbo marshmallow and a regular marshmallow to start with. The jumbo ones were so humungous I decided to cut them in half as they were going to sit on top of the hot chocolates, but if you are making them as stand along treats you can leave them whole.
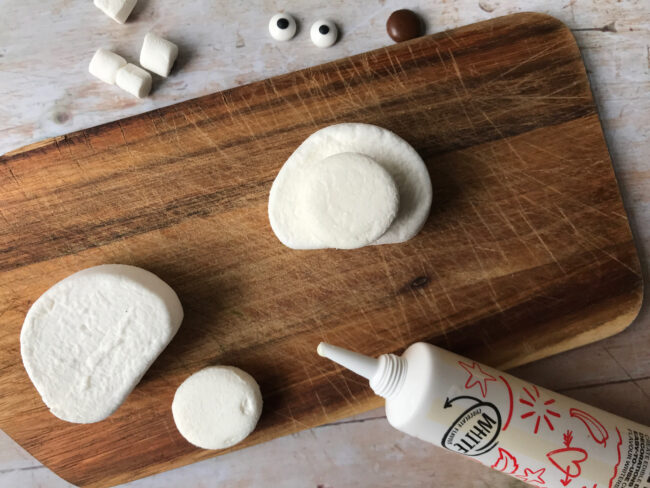
Step 3: Snip about a third off the end of a regular marshmallow and stick it on to the front of the jumbo marshmallow as shown in the photo above, using the melted chocolate. We piped some white chocolate on with with choco writer, but if you’ve melted chocolate in a bowl just dip the back of the regular marshmallow in the bowl.
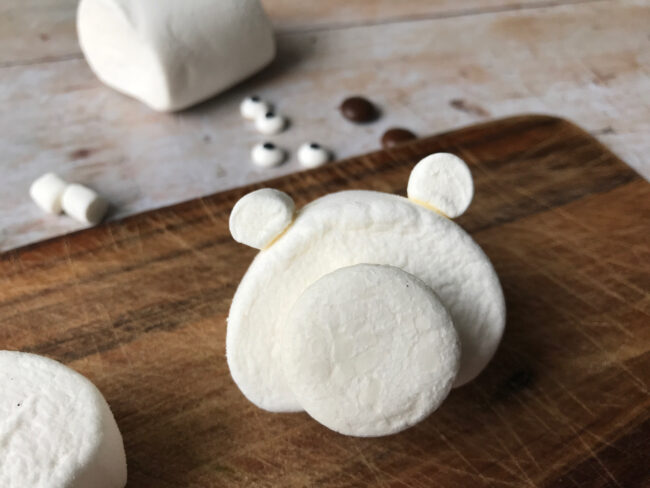
Step 4: Stick on two mini marshmallows with the melted chocolate, to make the ears. Again, see the photo above for reference. You will probably need to hold the ears in place for a few seconds until the chocolate starts to set, so that the ears don’t slip.
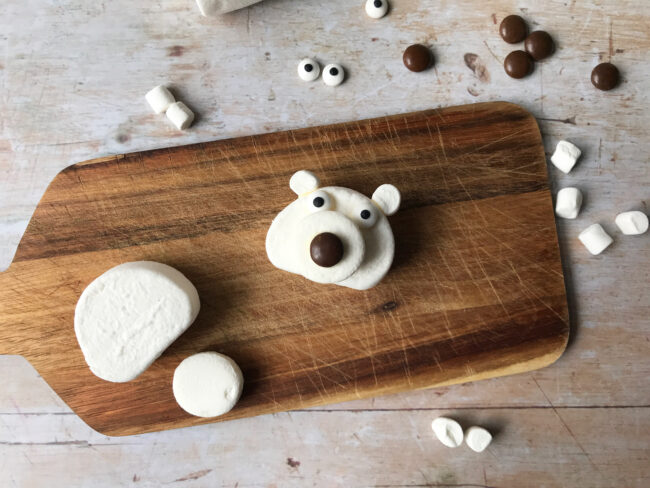
Step 5: Stick on the eyes and nose with melted chocolate. If you don’t have edible eyes, use an icing pen to draw on some eyes.
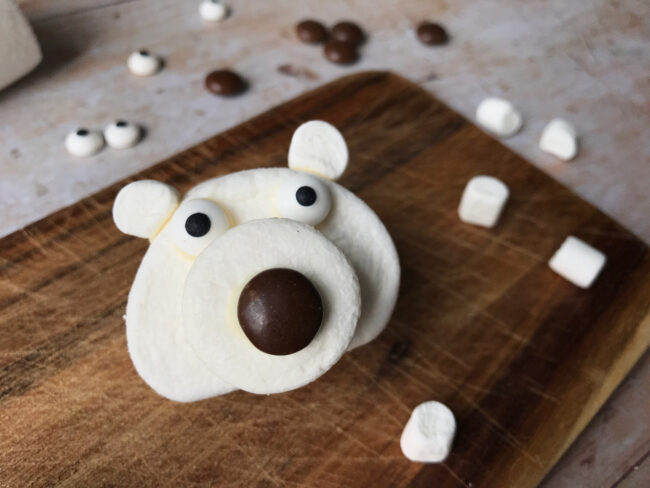
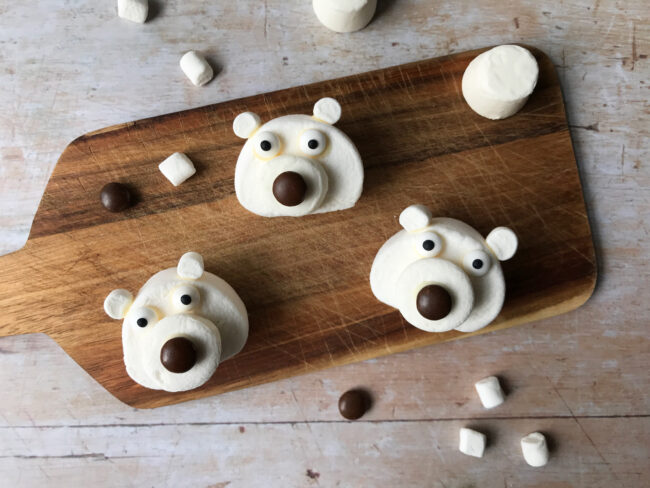
These went down so well with the boys. Yes, they are a massive sugar shock, but it’s not like we eat these every day and it was a fun treat to sweeten up home schooling.
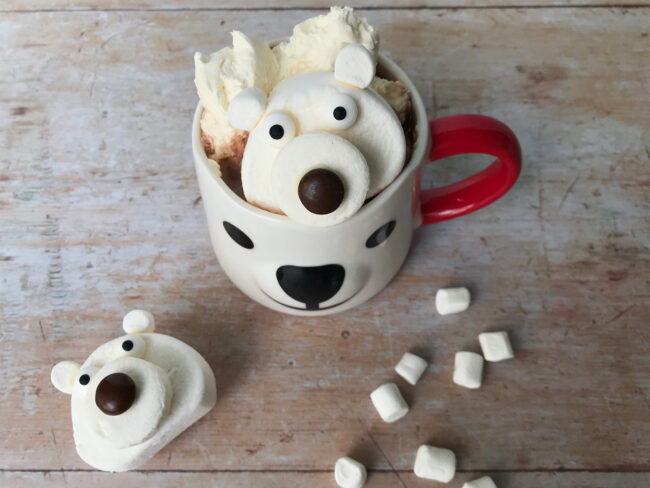
I’d love to see pictures if you make your own polar bear marshmallows, so please feel free to tag me on Twitter or Instagram.
Check out some of our other Winter posts from the archives – including our favourite Winter picture books and movie for families.
Pin for Later
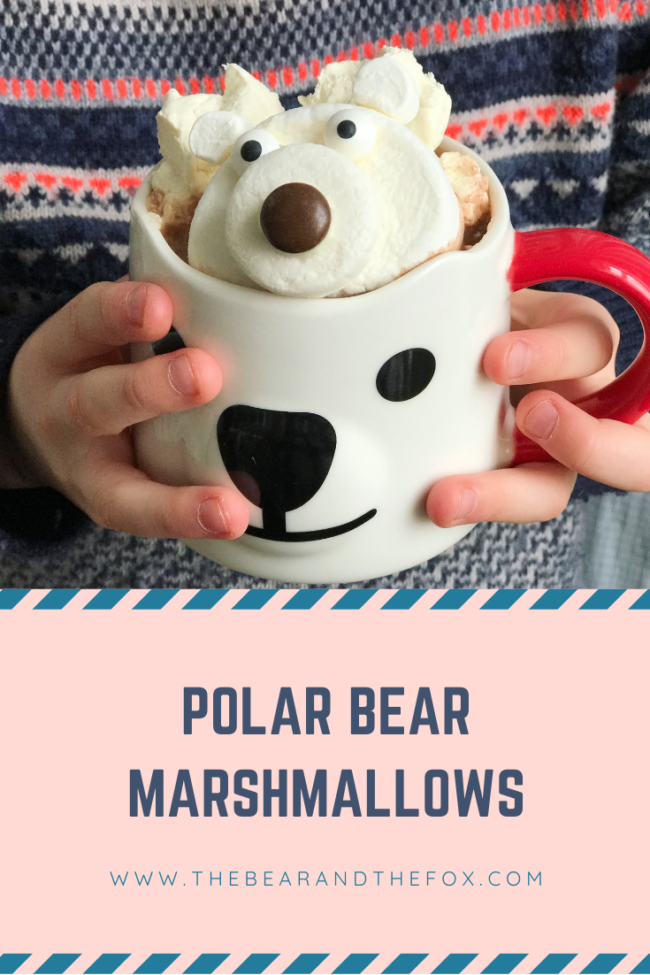
Polar Bear Marshmallows
Prep Time: 5 Minutes
Total time: 5 Minutes
Servings: 1

Ingredients
- 1 Jumbo sized marshmallow
- 1 regular sized marshmallow
- 2 mini marshmallows
- 1 brown chocolate sweet (M&Ms or similar)
- 2 edible eyes (or you could use a black icing pen)
- Some white chocolate
