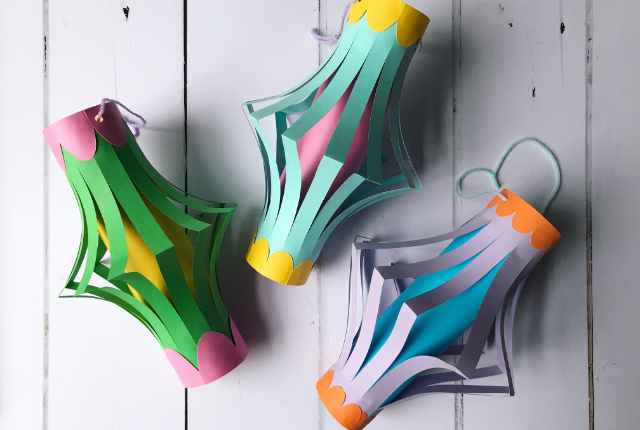
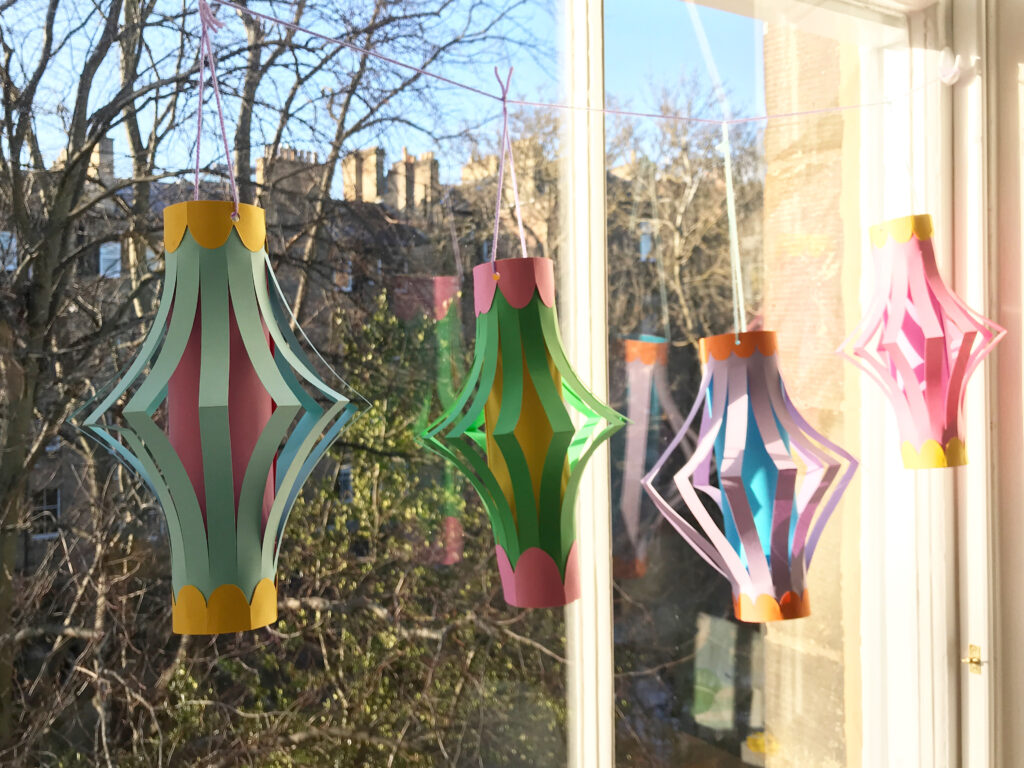
Easy DIY Paper Lanterns
With the Lunar New Year coming up, we decided to craft some paper lanterns to decorate our house with.

They’re really easy to make, but a little bit more advanced that the really basic ones you might have seen, as I wanted to give them some added structure.
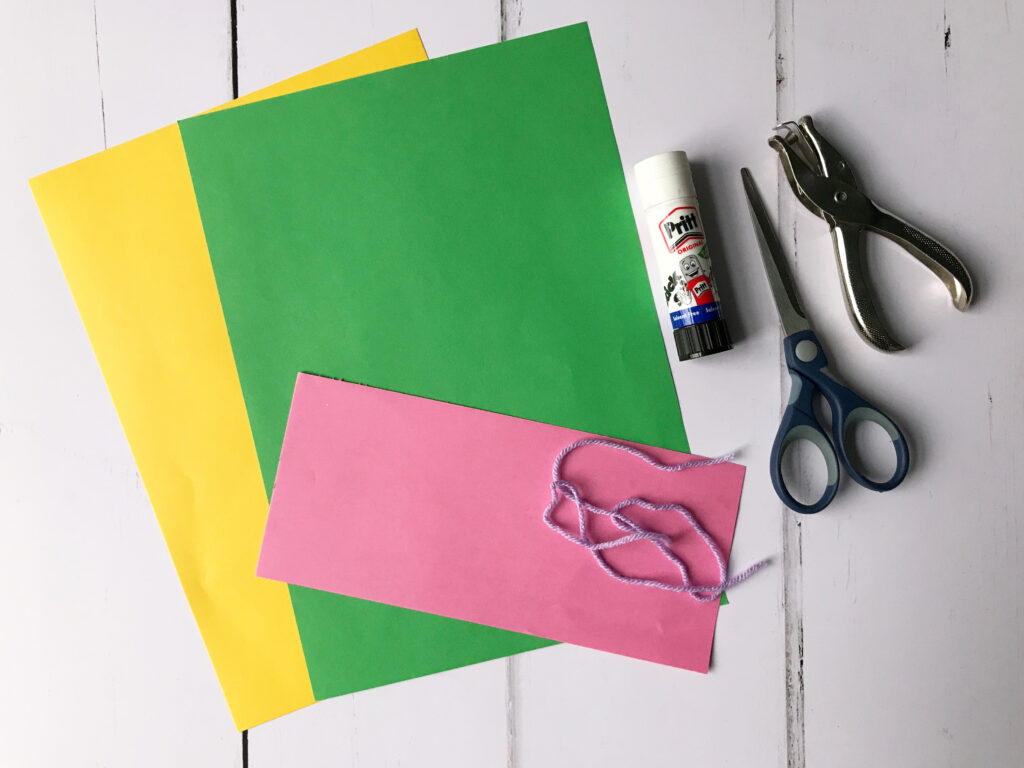
Here’s what you’ll need:
- 2 sheets of A4 papers in different colours
- some coloured scrap paper for decorating (ideally the same width as A4)
- scissors
- glue
- some wool or string
- a hole punch (if you don’t have one you can use your scissors to carefully make holes)
- optional: pencil and ruler
Here’s a short video we made to show you how it’s done, or if you prefer you can scroll down for step-by-step instructions with photos:
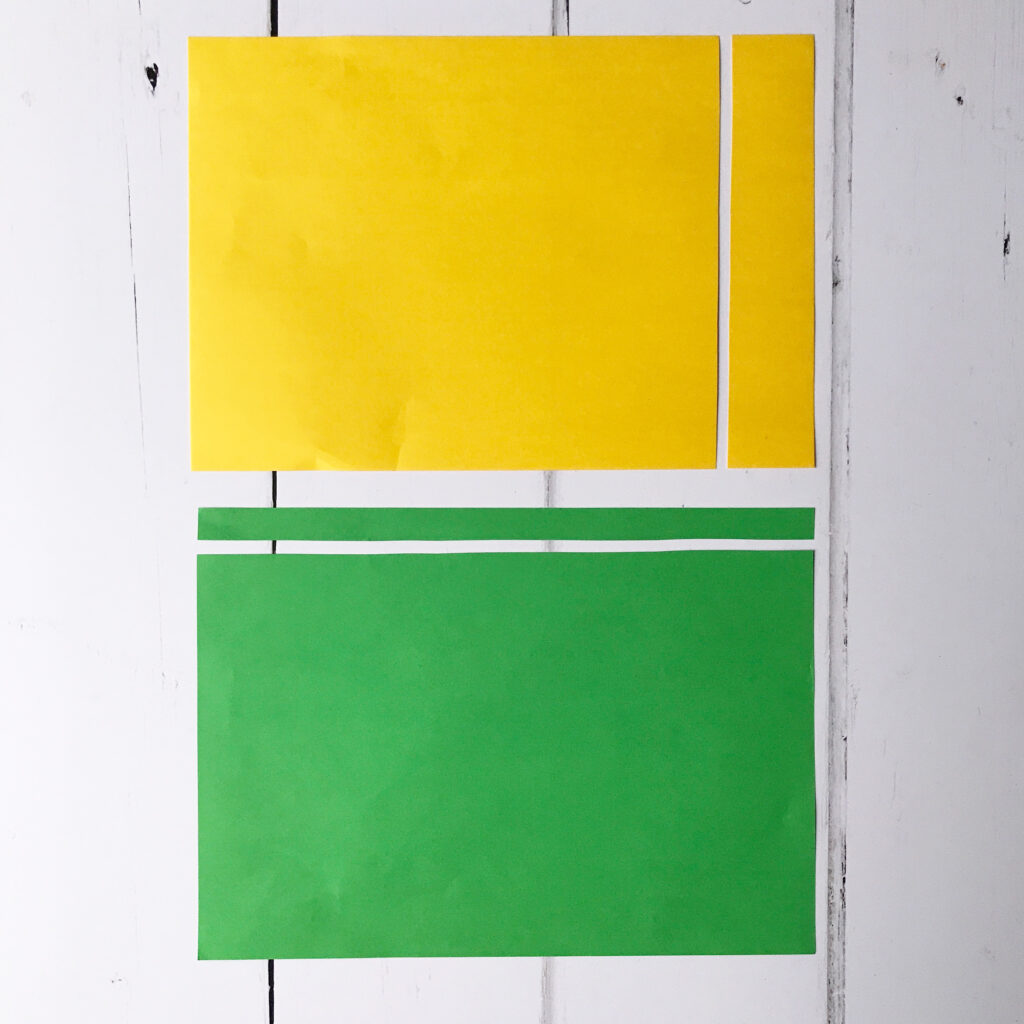
Step 1: First, you need to decide which colour you want on the outside of your lantern, and which colour you can for the inside structure. For the inner colour, cut 4cm off the short end of your paper. For the outer colour, cut 1.5cm off the long side of your paper. I marked it out in pencil first, to make it easier for the kids to cut.
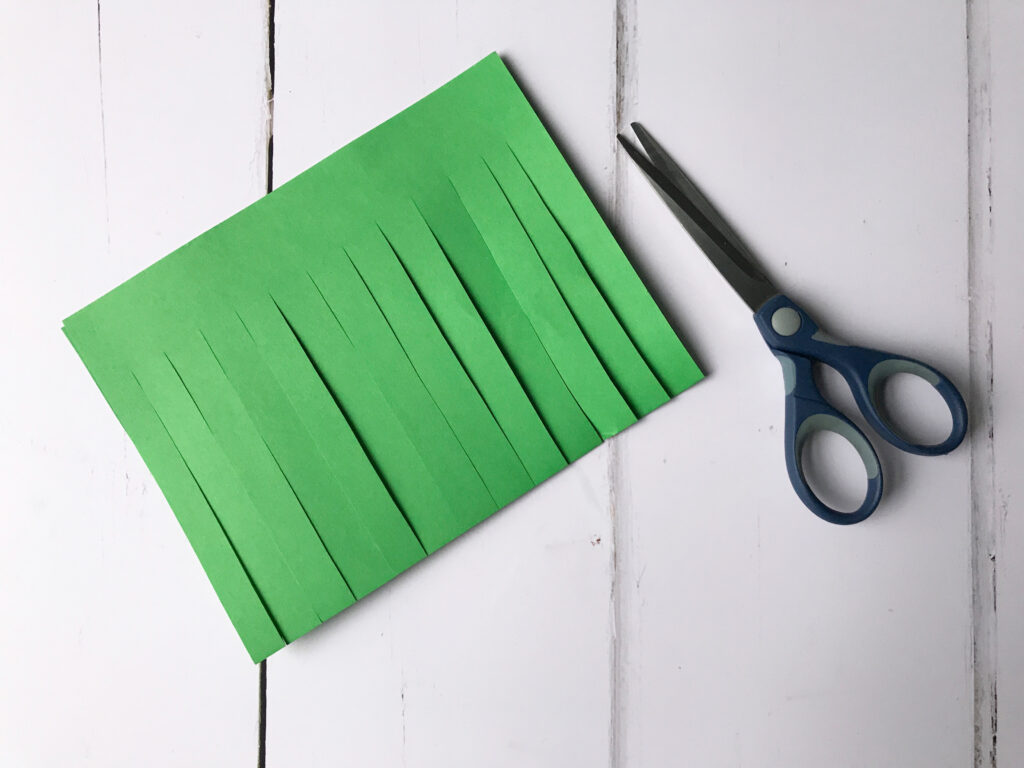
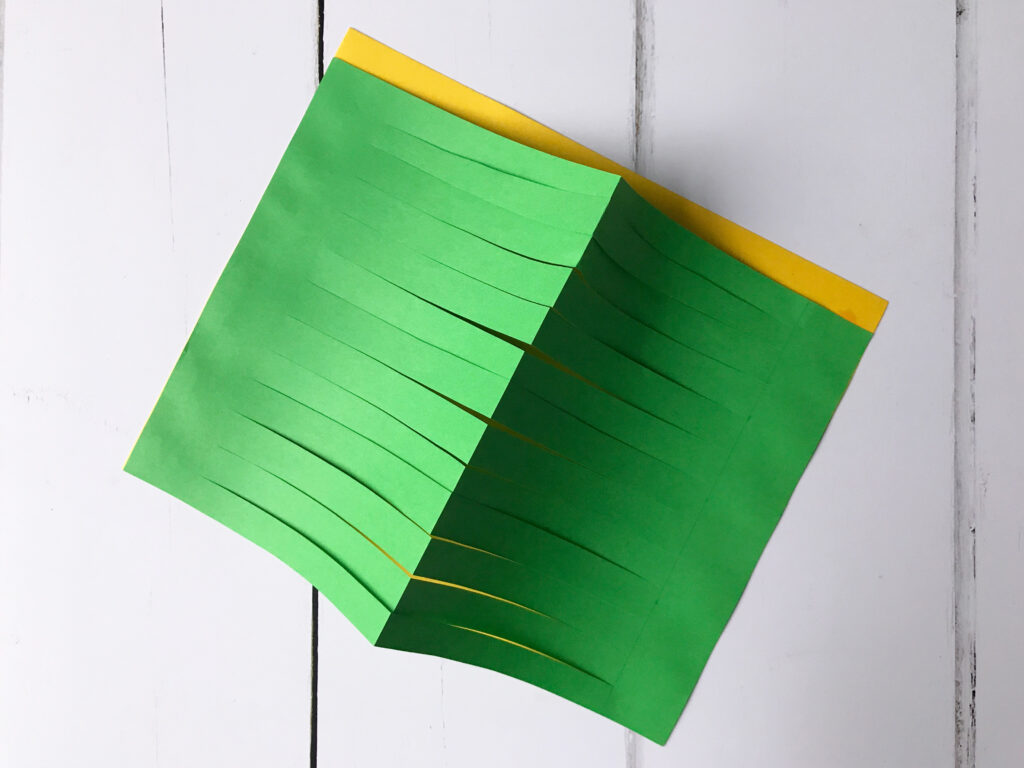
Step 2: Now fold the outer paper in half. From the folded edge, cut strips about 1cm apart, stopping 3cm from the other edge, as shown in the photo below. Again, I marked this out in pencil so the kids knew how far to cut.
Step 3: Unfold the outer paper, and glue the uncut edges to the edges of the inner paper, as shown in the photo below. Since you shortened the inner paper, the outer paper should stick up a bit.
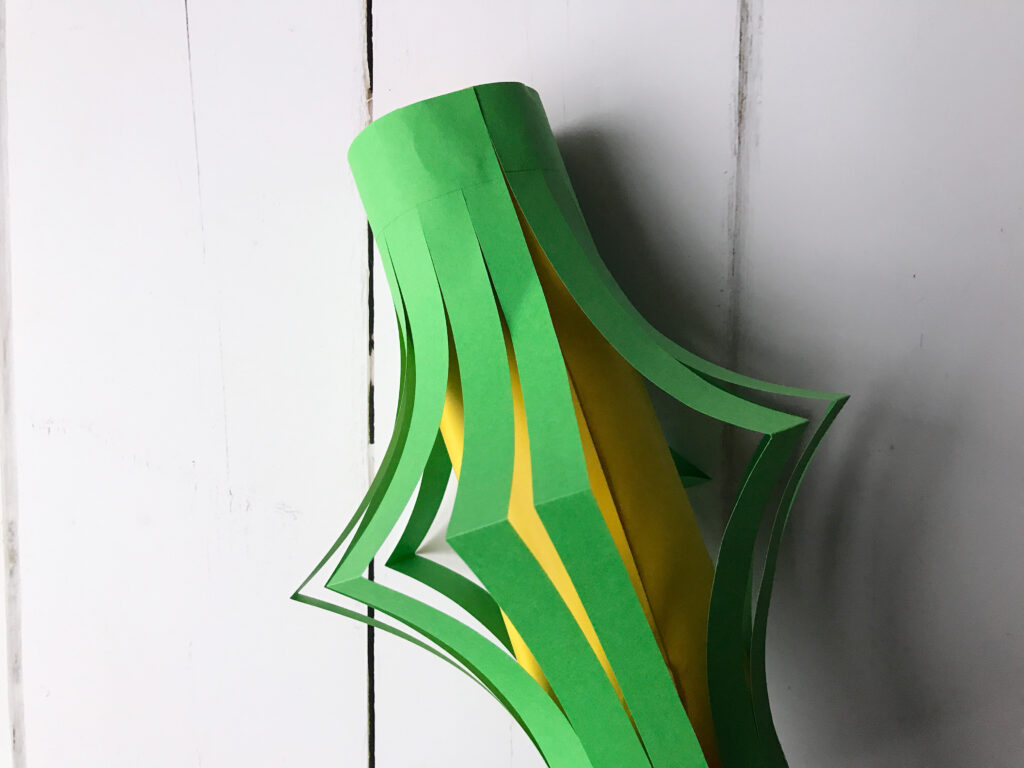
Step 4: Now add some glue along the exposed edge of the inner paper, then roll the paper in to a tube, pressing the glued edge together. The outer paper should fan out.
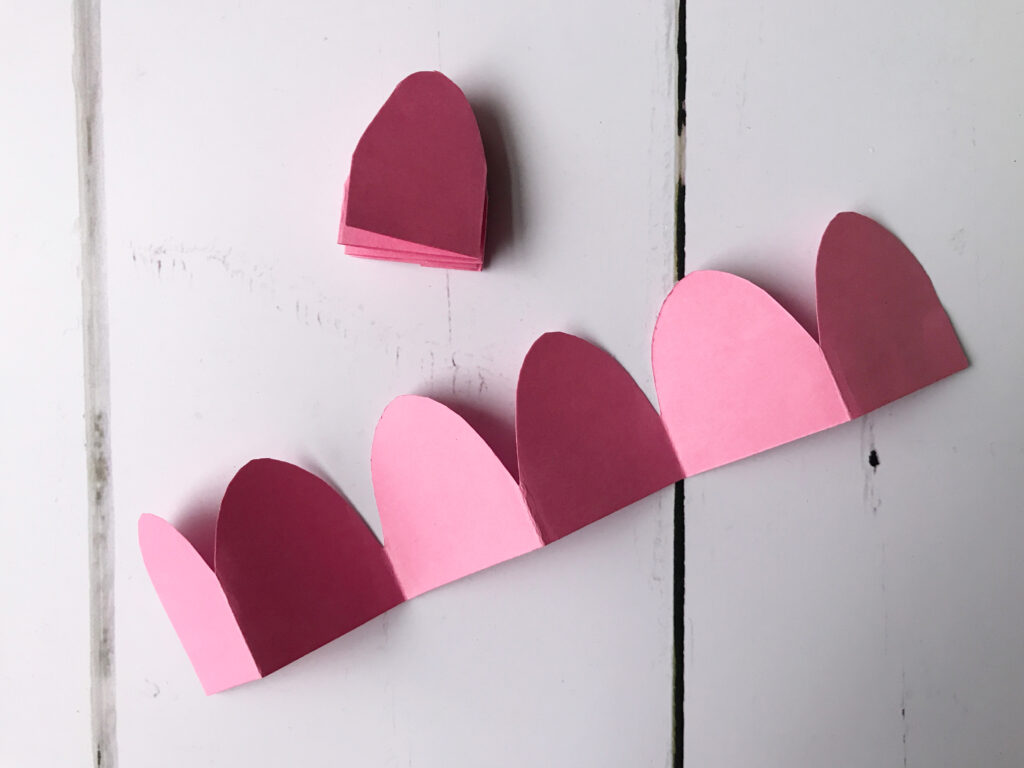
Step 5: To make the embellishments, cut strips about 3 cm wide and fold them concertina style, as shown in the photo below. If your scrap paper is the same width as A4 you’ll just need to cut one strip for each end, if it’s shorter you will need to cut a couple to string together.

Step 6: Once you’ve folded the strips, round off one end as shown in the photo. Be careful not to cut all the way round, otherwise the concertina will fall apart.
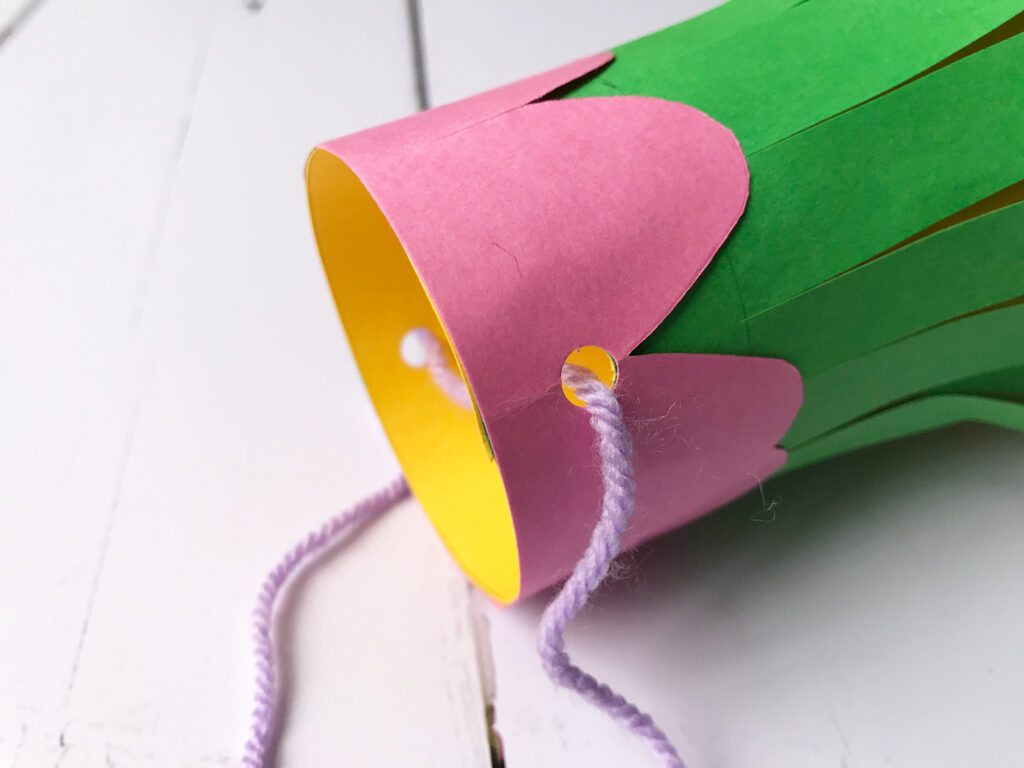
Step 7: Now glue the decorative strips around each end of your lantern. If there’s a little gap where you rolled the lantern together, these end embellishments will nicely cover this up too.

Step 8: All that’s left is to punch two holes in to one end of your lantern (or use your scissors to carefully poke holes) and thread some wool or string through.
Voila! One paper lantern ready to hang up. Now go make some more.
If you try out this craft activity, I’d love to see photos so please feel free to tag me in on Twitter or Instagram.
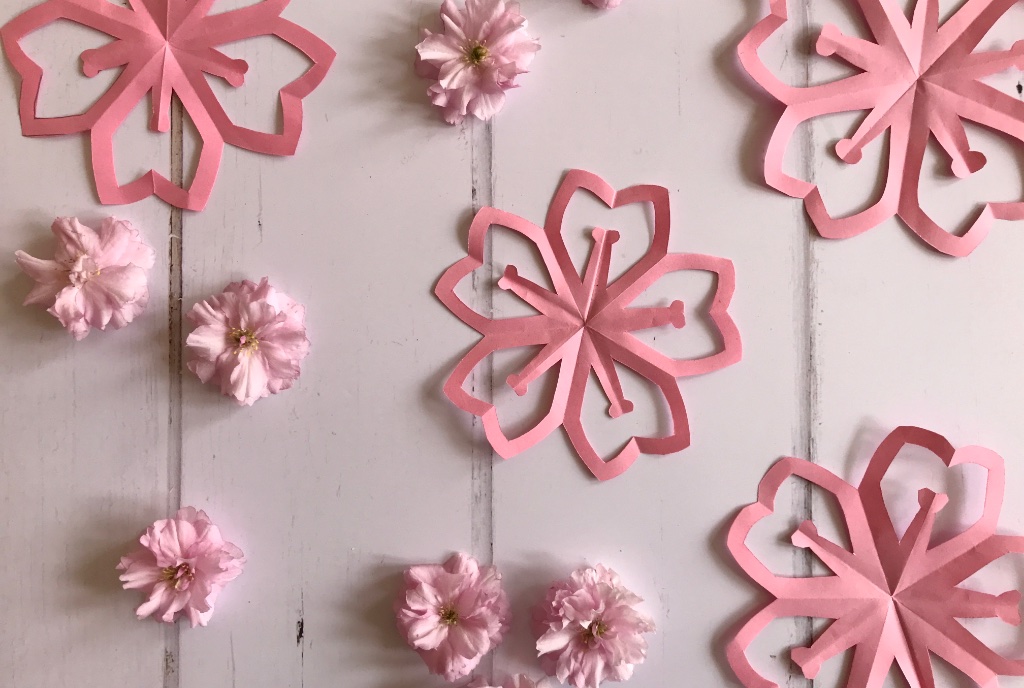
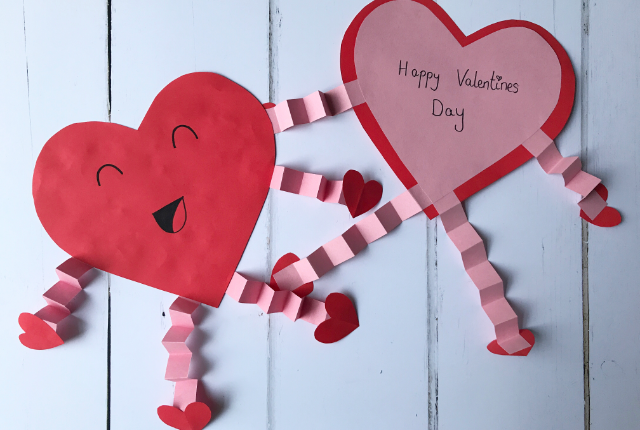
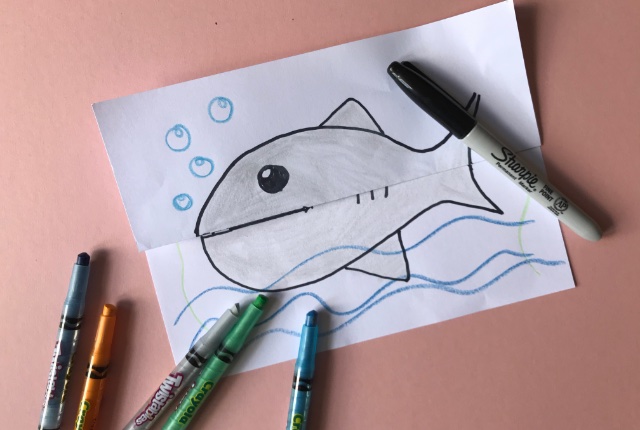
And check out our other crafts posts too, for fun ideas to keep the kids busy.
Pingback: Planning for February – The Bear & The Fox
Pingback: Planning for January – The Bear & The Fox