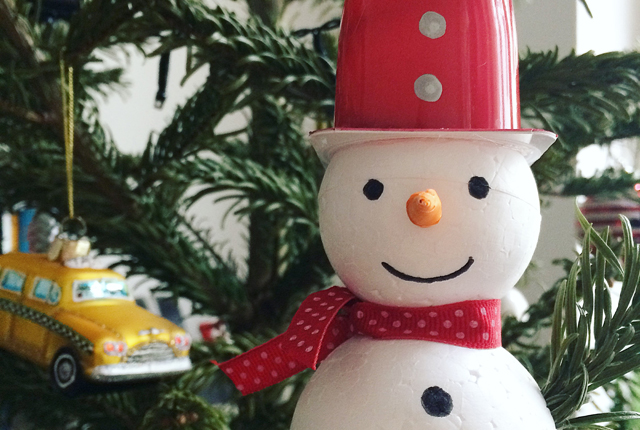
Snowman Decoration
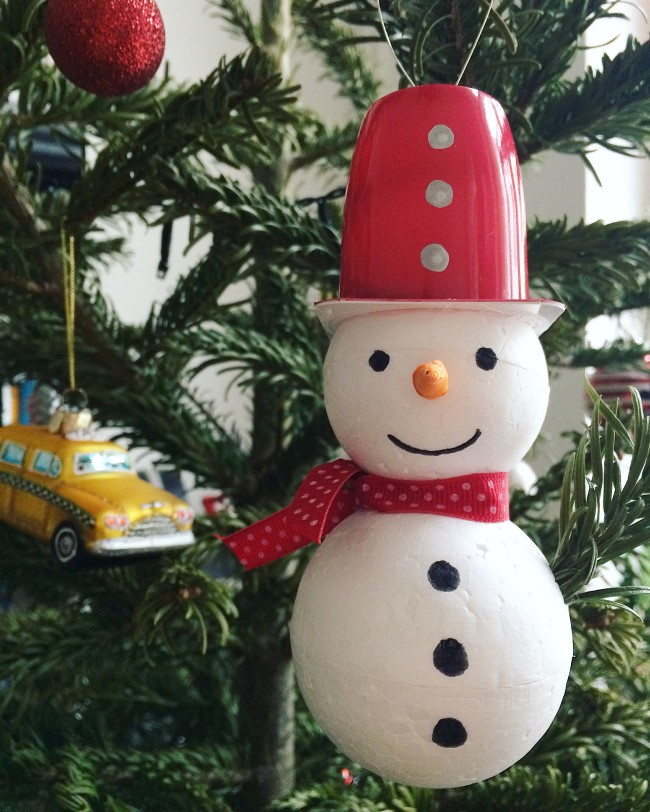
If you’re looking for some last minute Christmas decorations to make with the kids, we spent this afternoon making an army of little snowmen after school.
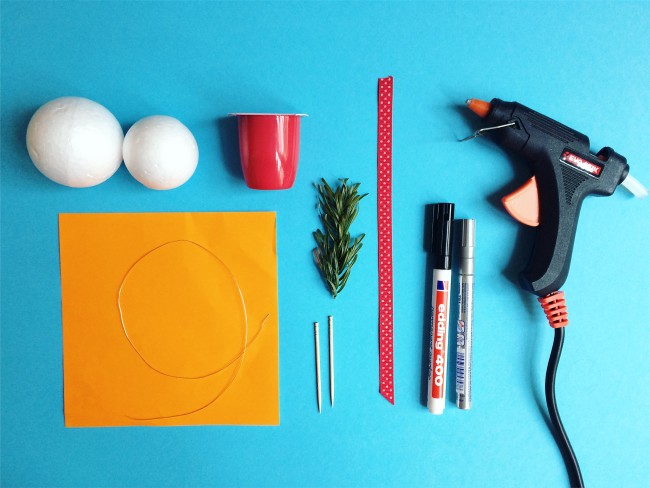
For each snowman you will need:
- one 5cm styrofoam ball
- one 6cm styrofoam ball
- one empty (and clean!) carton from a mini yoghurt or fromage frais (here in Berlin I used ‘Fruchtzwerge’)
- a piece of orange paper
- some wire
- two toothpicks
- a small piece of pine branch (I just snipped off a bit from the back of our Christmas tree)
- a piece or ribbon
- a black permanent marker
- a silver permanent marker (optional)
- a glue gun
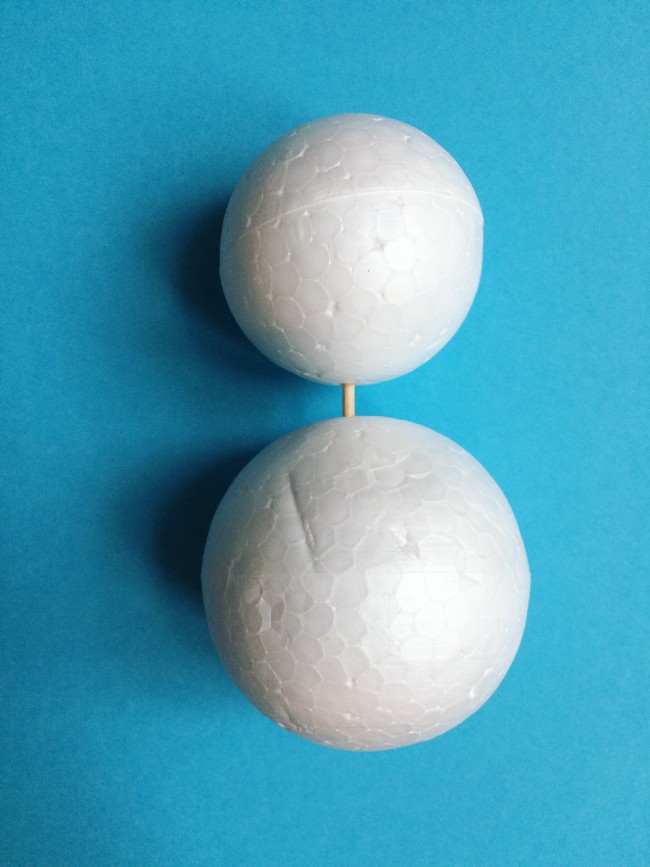
Step 1: Join the two styrofoam balls together with one of the toothpicks. Dab a bit of glue in between them to keep them firmly in place.
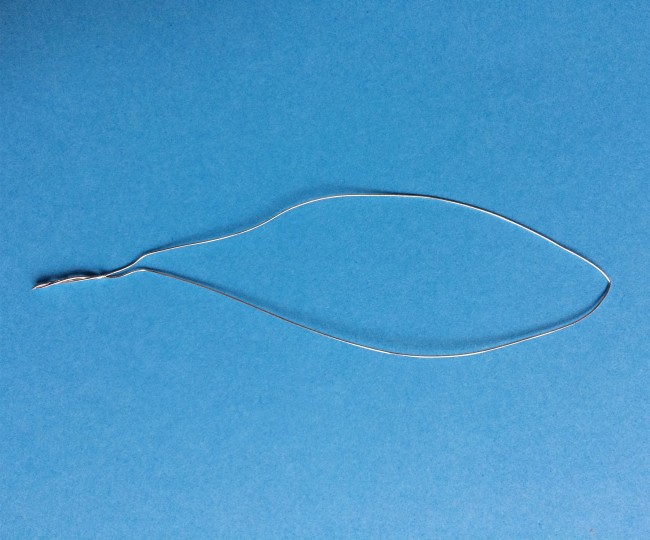
Step 2: Fold the wire in half and twirl together at one end to make a loop.
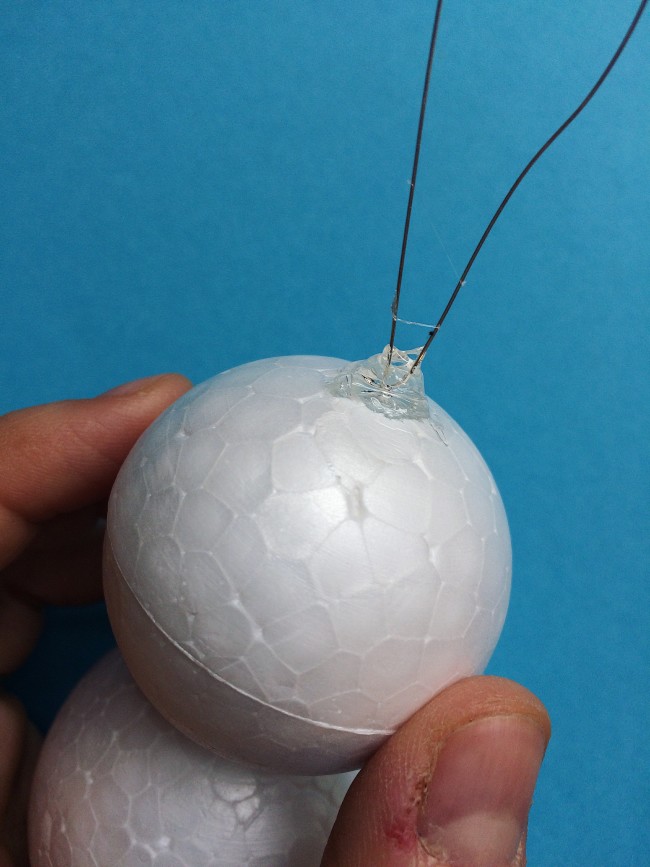
Step 3: With the other toothpick, make a hole in the top of the ‘head’, insert the twirled together end of your wire hoop, then generously dab glue around it to keep it firmly in place.
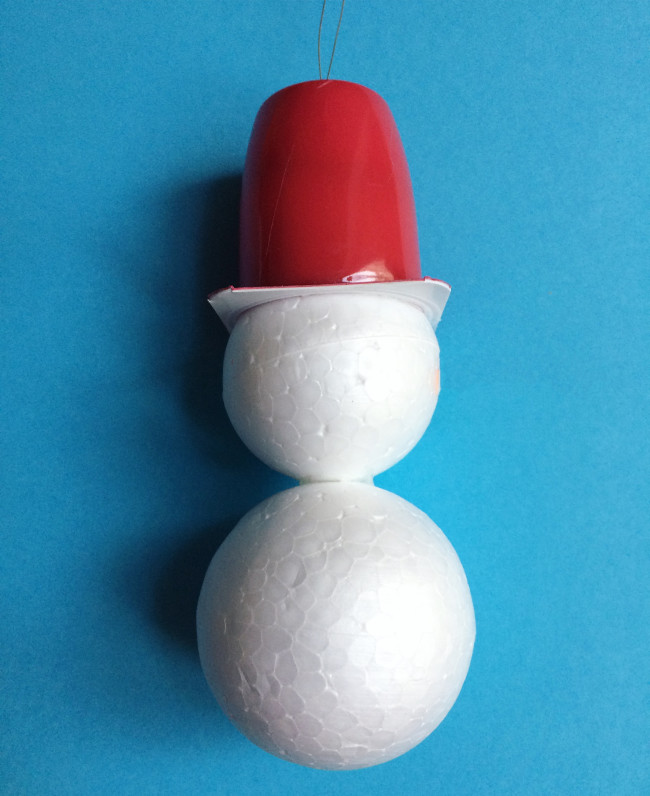
Step 4: Poke a hole in the top of the yoghurt carton. Thread the other end of the wire loop through from the inside. Dab a tiny amount of glue around the inside rim of the yoghurt carton and glue the ‘hat’ in place. Don’t put on too much glue or the heat of the glue will melt the yoghurt! Yup, we found out the hard way.
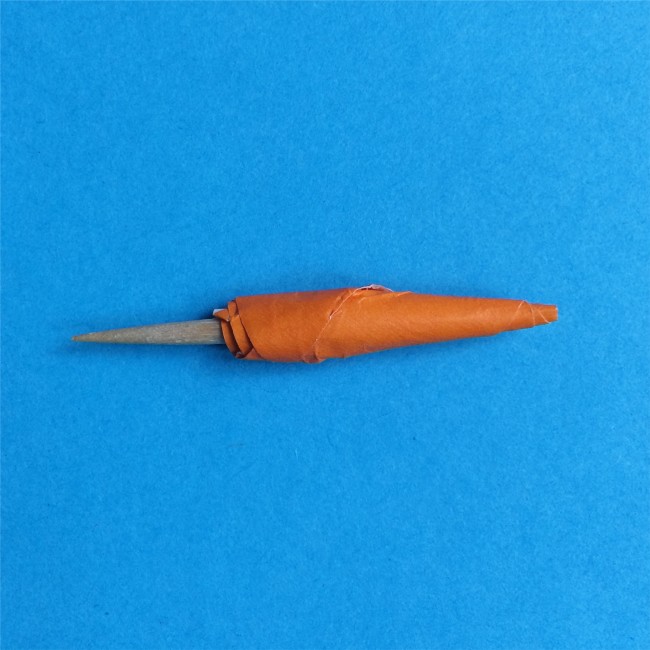
Step 5: Break the other toothpick in half. Cut a strip of orange paper and wind it around the toothpick, fixing it in place with a tiny dab of glue.
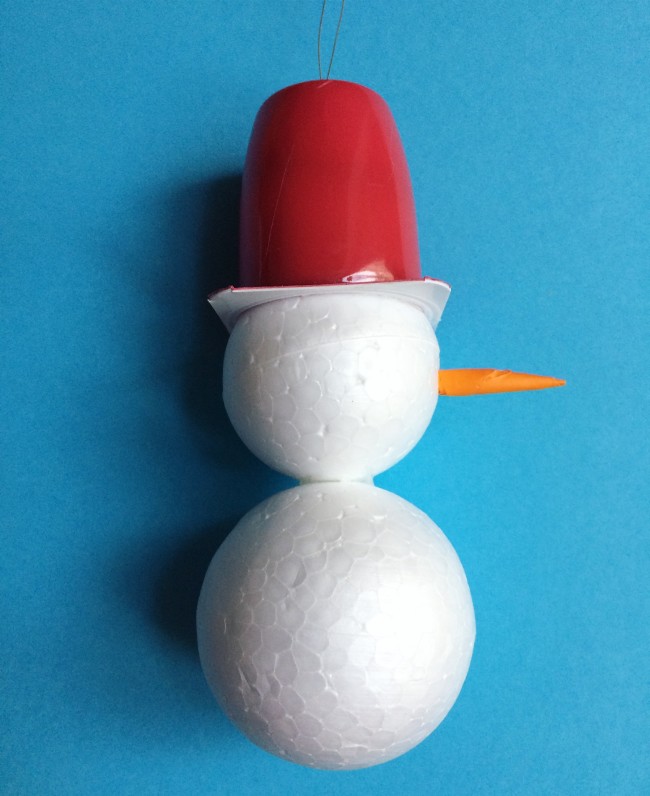
Step 6: Poke a hole in the snowman’s ‘face’ where the nose is going to go, add a dab of glue, then glue the nose in place.
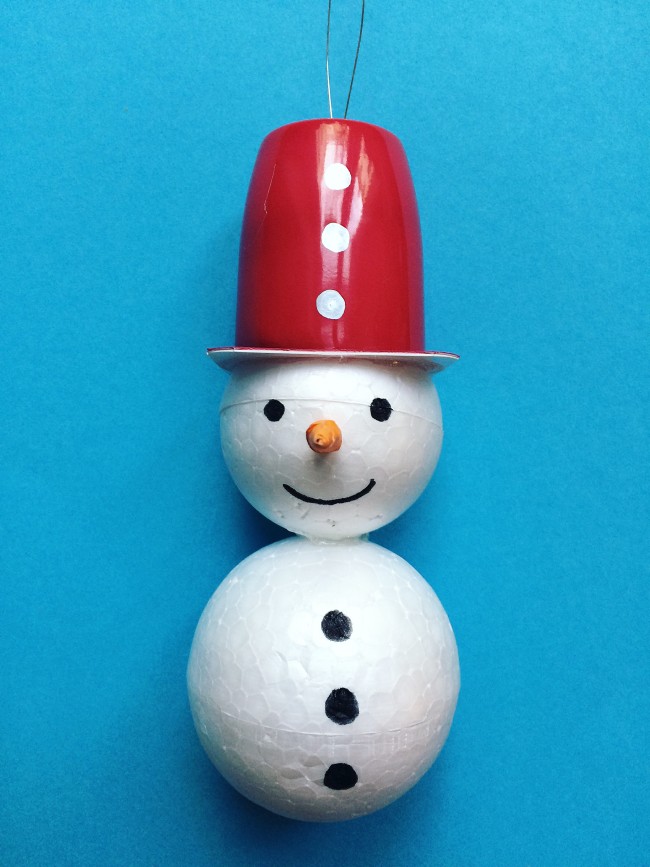
Step 7: With the pens, add eyes, a mouth and buttons.
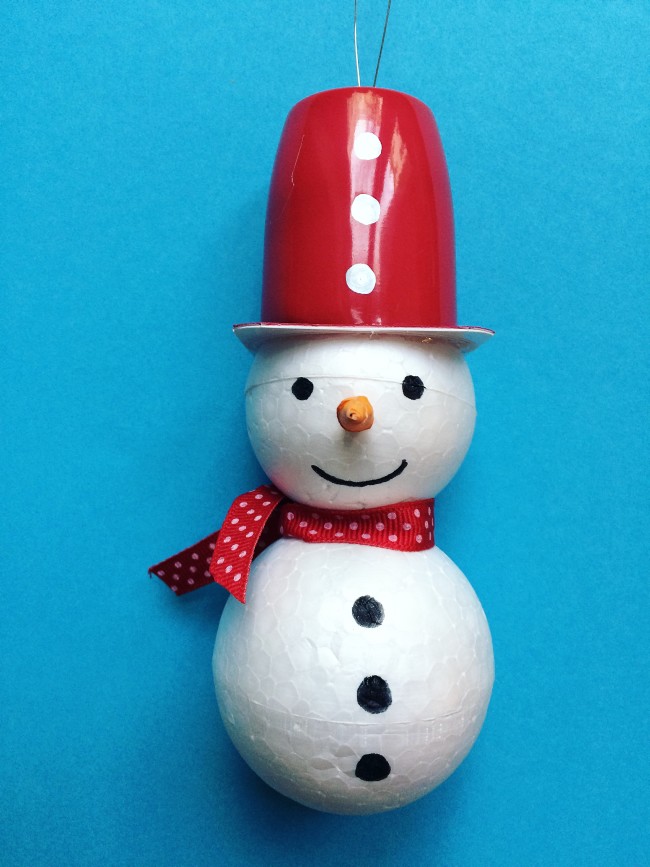
Step 8: Tie the ribbon around the neck as a scarf – this also hides the join between the two styrofoam balls.
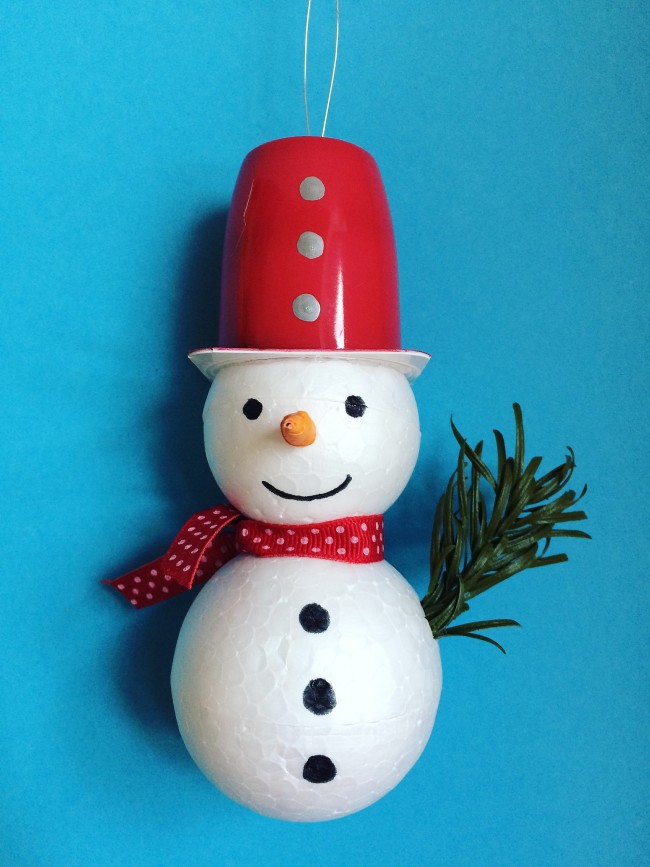
Step 9: Poke the pine twig in to one side of the snowman. Add a dab of glue to keep it in place if necessary.
And that’s it – all ready to hang on your tree!




Pingback: Christmas Crafts Round-up – The Bear & The Fox