Rising Water Experiment
Today is the fourth science session of our virtual summer camp. If you missed the introduction I recommend you go back and read it as it includes some general tips for all our science sessions.
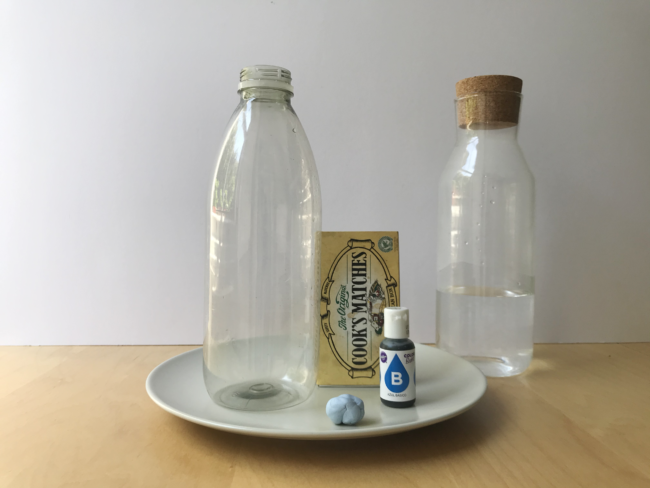
This week we are going to do a simple experiment which made my boys go “wow” and they wanted to do it several times in a row. Here’s what you will need:
- a plate
- tap water
- food colouring
- blu-tack
- matches
- a wide necked bottle
The food colouring is optional, but you can see better what happens. I’ve also seen this experiment done with a glass, but we didn’t have one that is tall enough so we used a bottle.

If you want to record your experiment – including your predictions, observations and findings – you can also download a copy of my free ‘Science Experiment Report’ sheet and either print it off or, if you don’t have a printer, use it as a template to create your own. Depending on age, kids can either write and/ or draw their observations.
>>Download Science Experiment Report Sheet
I’ve recorded a video of the experiment, which you will find further down the page. However, I recommend you try the experiment out yourselves first before watching the video, and then you can compare your results with ours.
Safety Tips: This experiment involves lighting matches – adult supervision required! I took charge on this one, and my boys stood back and observed.
Rising Water Experiment
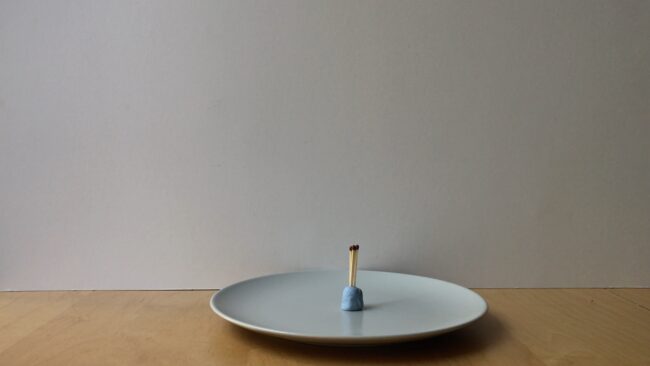
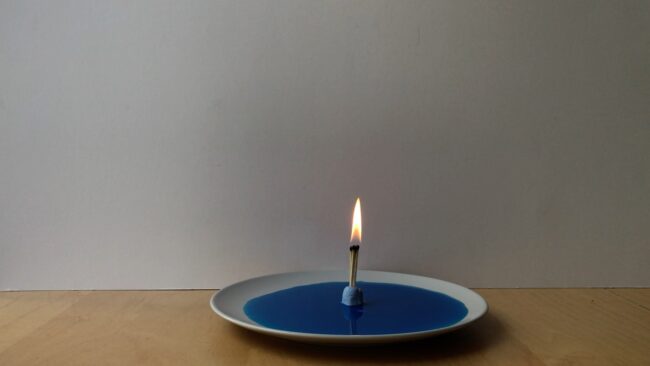
Step 1: Stick a generous wad of blu-tack in the middle of your plate, and stick three matches firmly in to the middle of the blu-tack.
Step 2: Mix a few drops of food colouring in to half a cup of water and pour it on the plate, being careful not to get the matches wet.
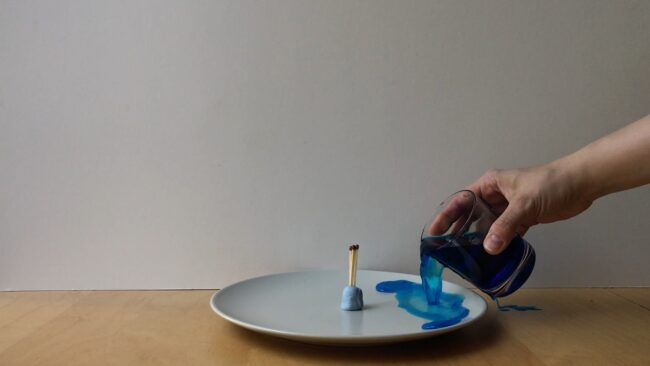
QUESTION: What do you think is going to happen, if we light the matches and place a bottle (or glass) on top? Record your predictions.
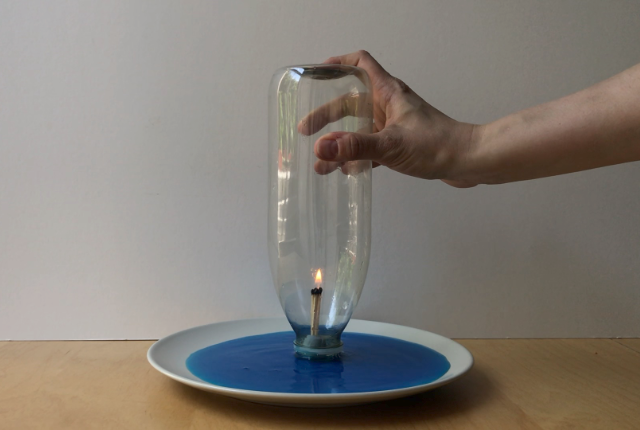
Step 3: Have your bottle or glass ready. Light the matches, and as soon as the flame is stable, place the bottle or glass on top.
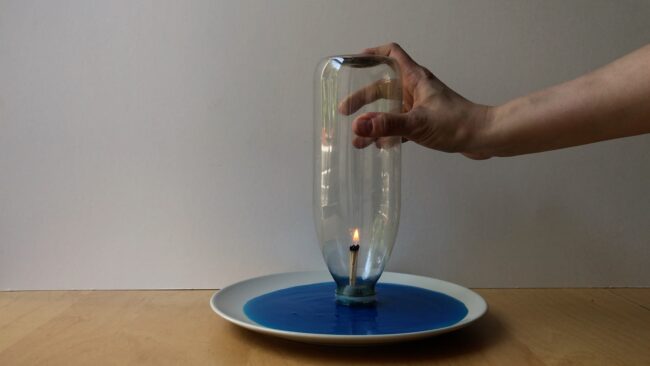
Here’s what you should see happening:
- You may see some bubbles at the rim of the bottle or glass.
- At first the flame keeps on burning, then it goes out.
- The flame goes out and the water rises quickly inside the bottle or glass.
And here’s a short video from when we did this experiment at home:
Variations: You could try using fewer or more matches, and see if that makes a difference to the experiment. Or you could try using different sizes of container. Always remember – safety first! Only adults should be handing matches or fire.
Explanation
A common misconception is, that the consumption of oxygen by the flame, inside the bottle, is the key factor in the water rising. There are however several different processes happening at once. Steve Spangler explains it very well on his science website:
At first, the flame heats the air inside the container and this hot air expands quickly. Some of the expanding air escapes from under the [container] where you might have seen some bubbles. When the flame fades and goes out, the air in the container cools and cooler air contracts or takes up less space. That contraction creates a weak vacuum – or lower pressure – in the container. Where’s the higher pressure? Right! It’s outside the container pressing down on the water in the dish. The outside air pushes water into the container until the pressure is equalized inside and outside the container. The water stops rising when that pressure equalization is reached.
(Source: Steve Spangler Science)
If you prefer, you can also read this scientific Harvard paper, which explains both the chemical and physicals aspects at work in this experiment in more detail. While your child may not completely understand all the science behind this experiment, it is still a great science activity to do to and may spark their interest in doing more science.
If you enjoyed today’s activity, please feel free to leave a comment or tag me in on Twitter and Instagram. Remember to use the hashtag #BearAndFoxSummerCamp if you are sharing any photos.
[line]
All Summer Camp activities are free to make them accessible to as many people as possible. However, if you enjoy the activities and are able to, you can support me with a donation on Ko-fi. Just hit the button below. Every little helps and is much appreciated. Thank you.
Sarah-Marie
I know what we’re going to be doing this afternoon now! I haven’t seen this experiment before. I know my boys will love it.
Claire
Oh I’d be interested in trying this out, I did avoid watching your video.
Better dig out some matches x
Laura Schwormstedt
Ooh thanks so much for sharing this, I’m always looking for new things to do with my kids that are science based but also fun
Laura x