How to Weave Your Own Autumn Wreath from Scratch
Something I’ve been wanting to do for ages, is weave my own Autumn wreath from scratch. It’s easier than you might think, all you need is some pliable slender tree branches or twigs that are long enough to go round in a circle once plus a bit extra. The length depends how big you want to make your wreath.
I read up a lot on wreath making before starting out, and the consensus seems to be that willow is hands down the best natural material for weaving wreaths, both standard willow rods but also branches from willow trees. However, other trees with pliable branches that apparently work well include birch, hazel, and even ivy vines or bramble stems (though beware of thorns with the latter!)
If you are foraging for your wreath materials, the best hunting grounds are parks, woodlands, hedgerows and river banks, or here in Edinburgh we also have the Union Canal which has a lot of trees growing along stretches of it. Remember though, that you should always have the permission of the landowner before you start chopping off bits of trees! A great way to gather materials without getting in to any trouble, is to head out for a foraging walk after a storm or blustery day as strong winds always bring a lot of useful branches and twigs to the ground. I really lucked out when I was out for a walk by the canal after one of the recent storms, and discovered a big branch that had come down off one of the weeping willow trees, so I was able to trim some of the longer twigs off that.
If you have your own garden, you can of course scout around there for any suitably pliable materials, or maybe you have a neighbour who would appreciate some help with pruning for the coming winter season in exchange for a few branches.
If all else fails, you can also get willow rods from florist shops. It’s not as satisfying as using foraged materials you have gathered, but you still get the satisfaction of making the wreath itself from scratch.
But enough of the preamble, let’s get down to the wreath making.
EDIT (21/10/23): I’ve finally managed to edit the video footage I took to accompany this post. Here’s the final video! More detailed instructions can be found, as before, if you scroll down below.
What you’ll need to weave a wreath…
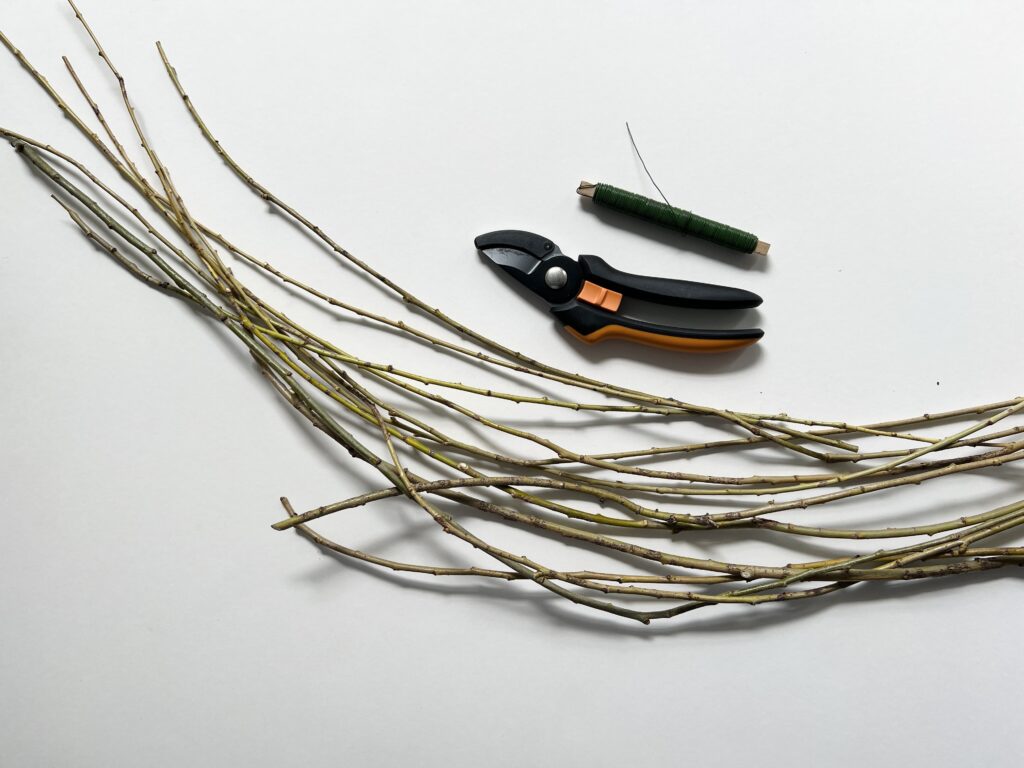
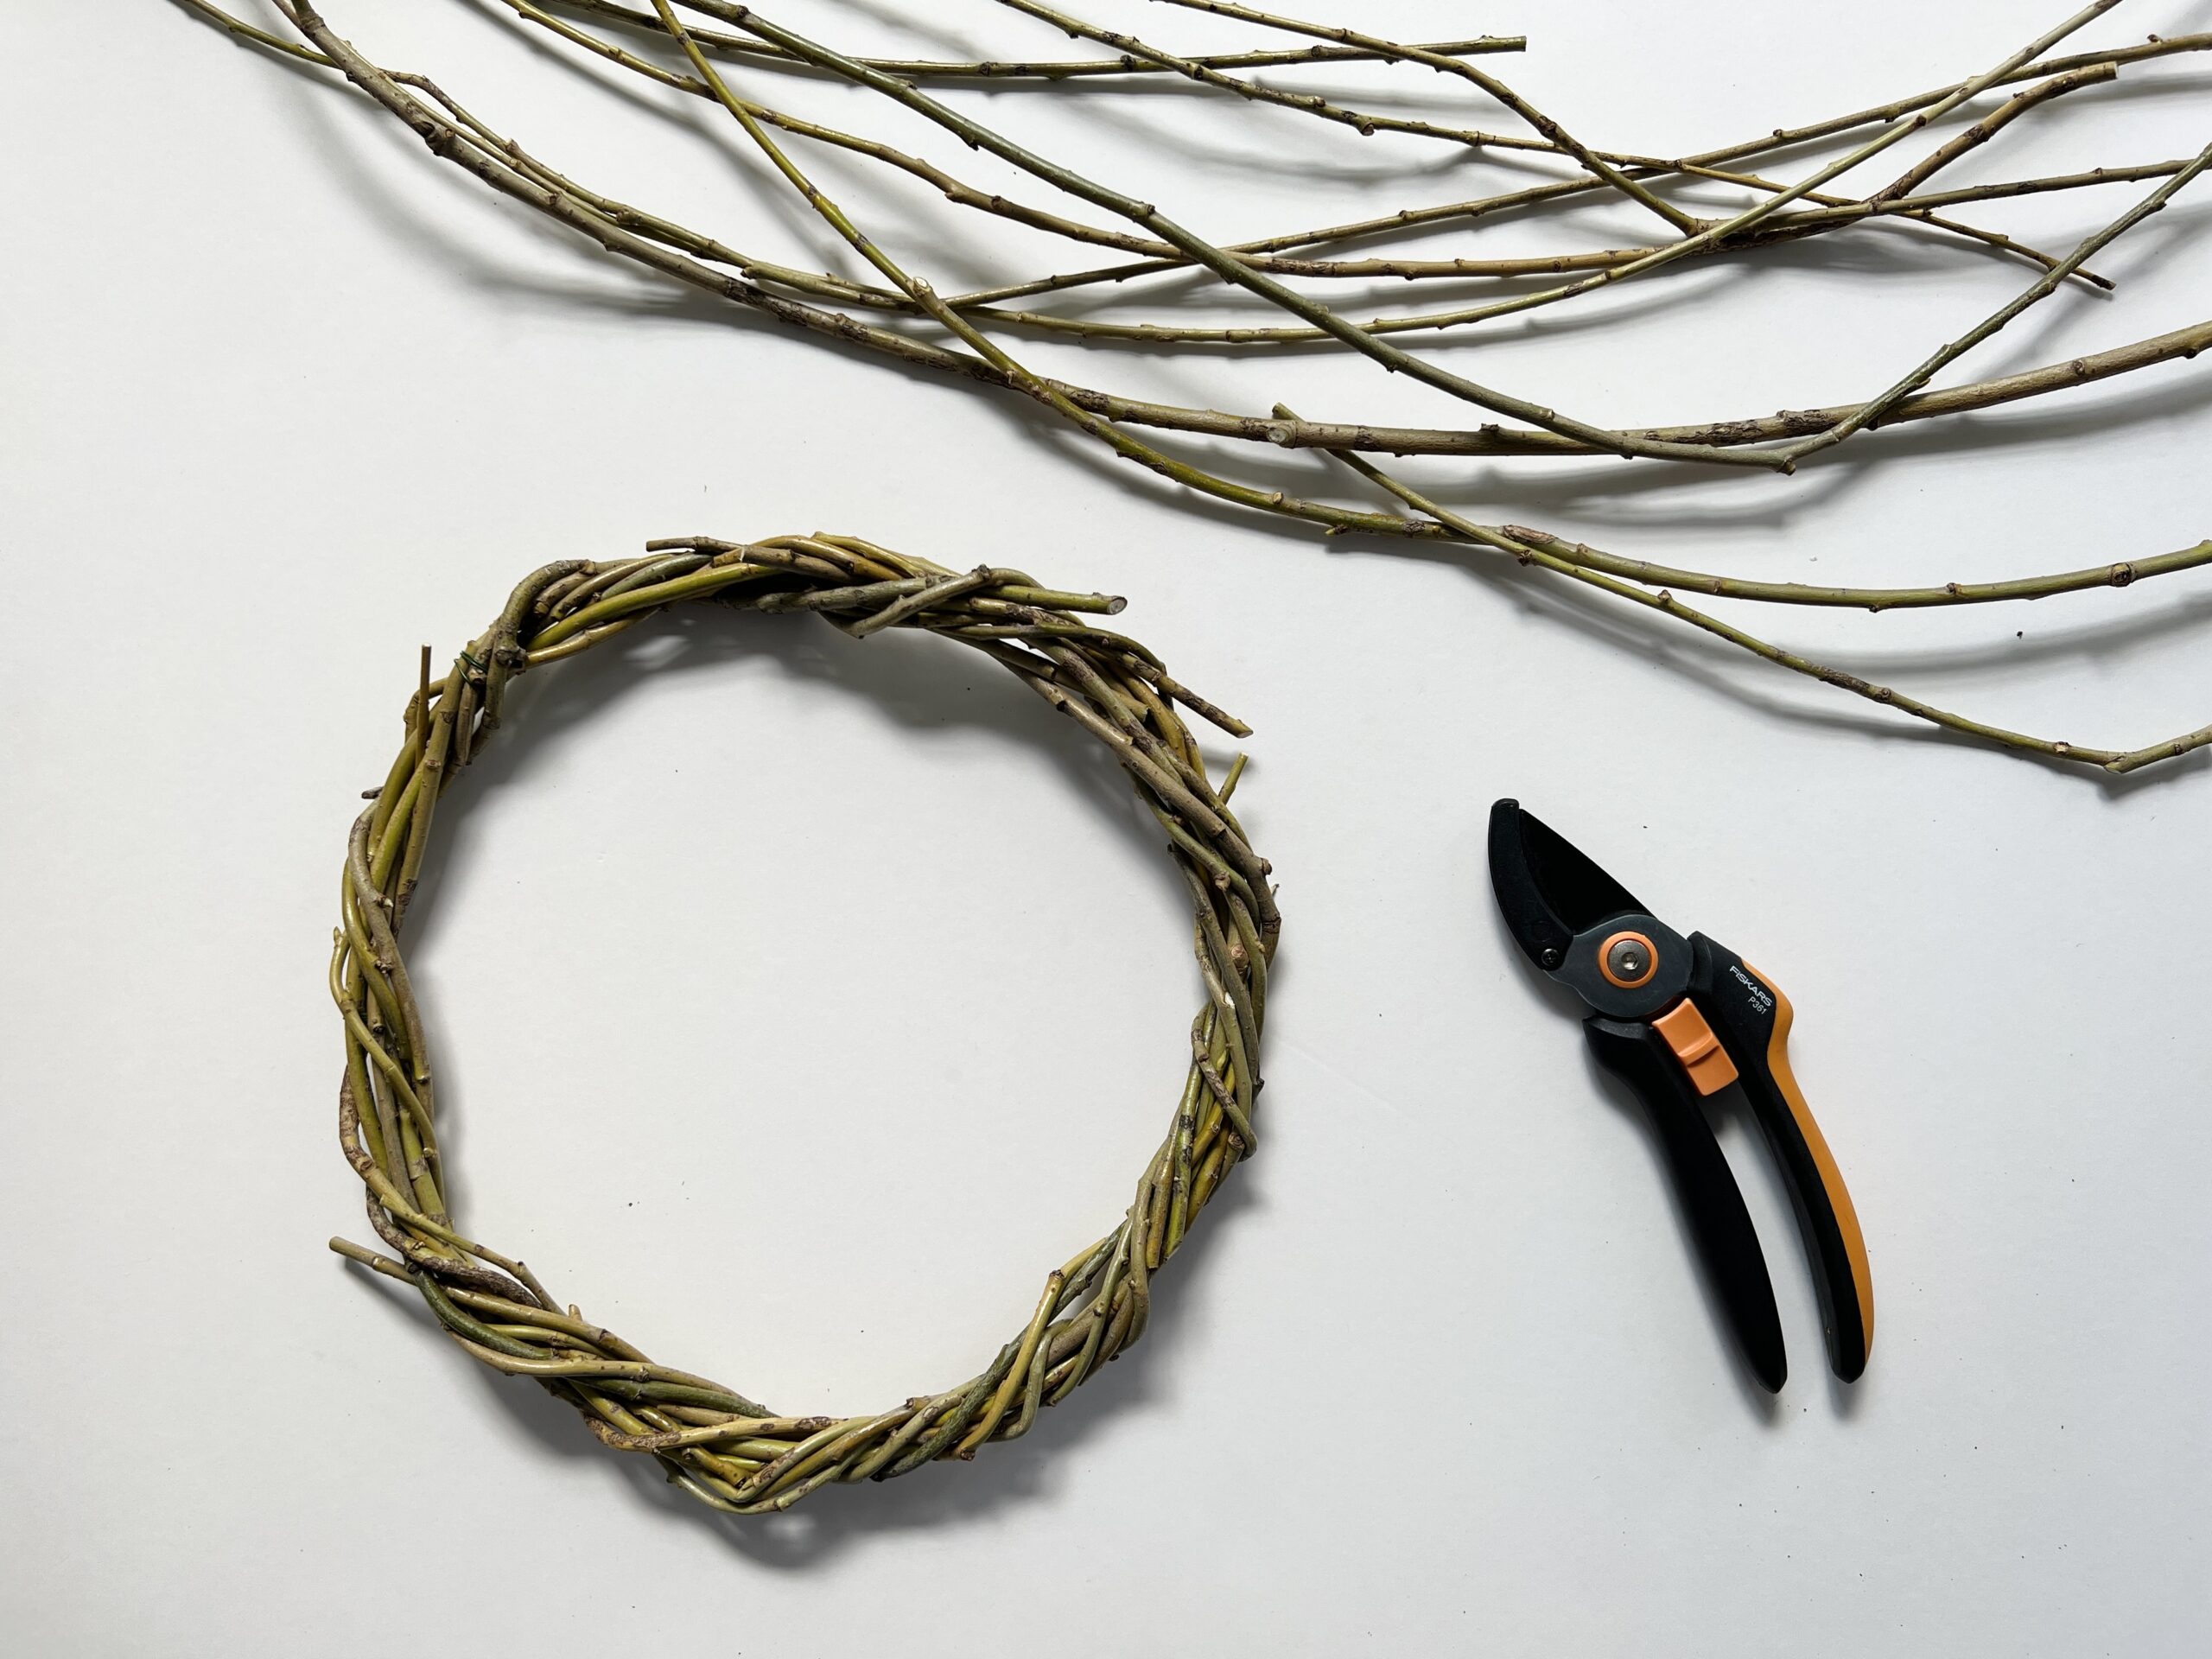
To make a wreath approx. 30cm in diameter, you’ll need a dozen or so slender branches, twigs or vines, about 1 – 1.5 metres long. You’ll also need secateurs, and optionally some florist wire.
If the branches or twigs are freshly cut or gathered, they should be pliable enough. If they have dried, make sure you soak any branches or twigs first or they may break or split when you try to weave them. Vines shouldn’t need soaked. For brevity’s sake, I’m just going say branches from now on.
Prepping your wreath materials…
Before you start, prep your branches by cutting off any broken ends and trimming off any leaves. If you are using vines, trim the leaves of those two for making the wreath base, though you may want to use some vines with leaves to decorate the finished wreath later.
I also found it helpful to sort my branches by size and thickness, just to make it easier to select the next piece as I went along.
How to weave the wreath…
Weaving a wreath is fairly simple. You’ll want to use any thicker branches first, and finish with the thinner ones. If you are using vines too, these go last.
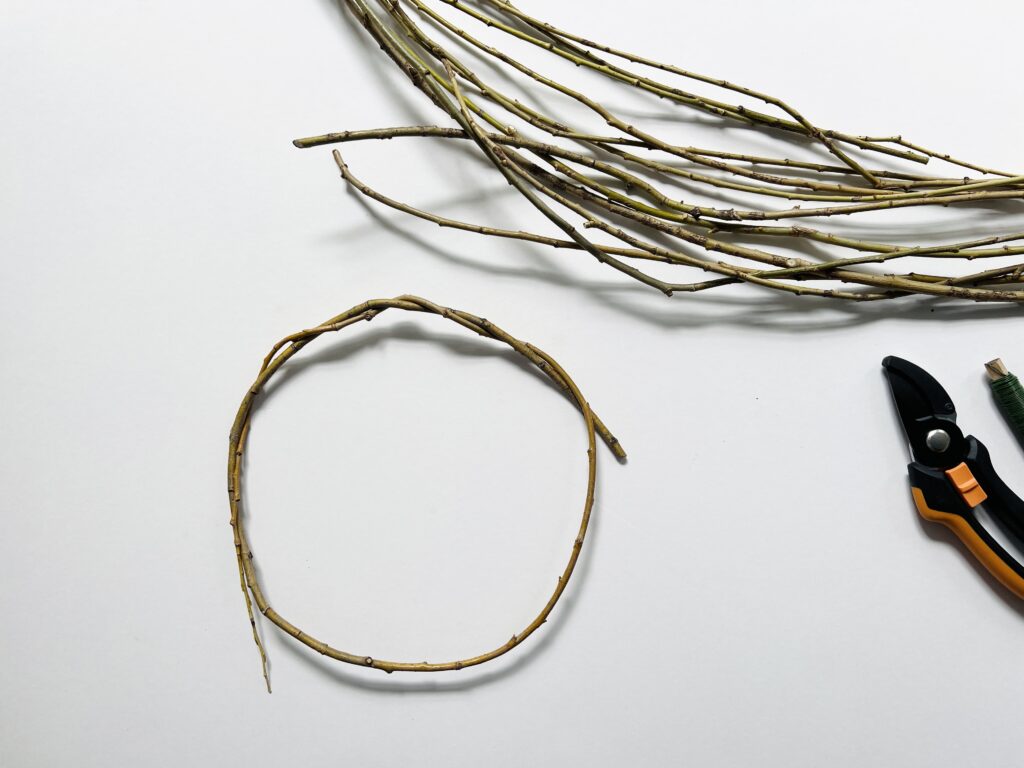
Start by taking one branch and bend it into a hoop the diameter you want your wreath to be. Hold the thicker end in place with one hand, and with the other hand weave the thinner end tightly around the hoop. It’s fine to leave the ends sticking out.
The tension should make the woven hoop stay in place, but for some added security you can cut a piece of florist wire and tie it rightly around your starting point. You don’t need to do this with every branch, just the first one.
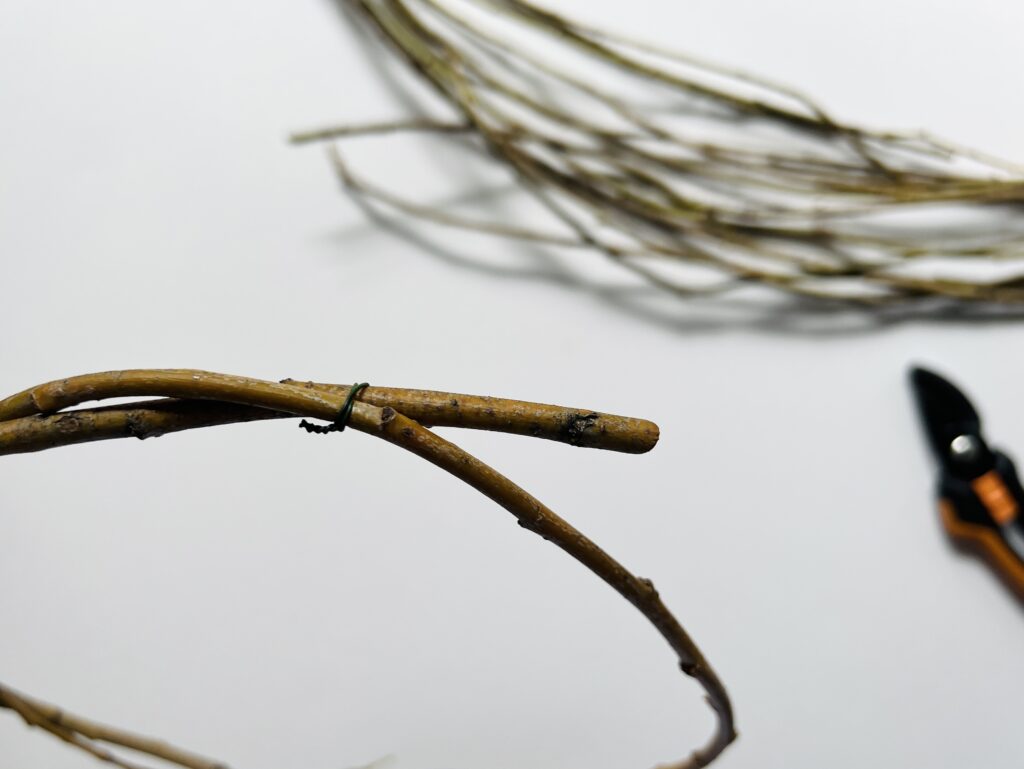
Now take the next branch and weave it around the hoop in the same way. Start about a quarter turn around the hoop from where you started the last time, so that the ends aren’t all in the same place.
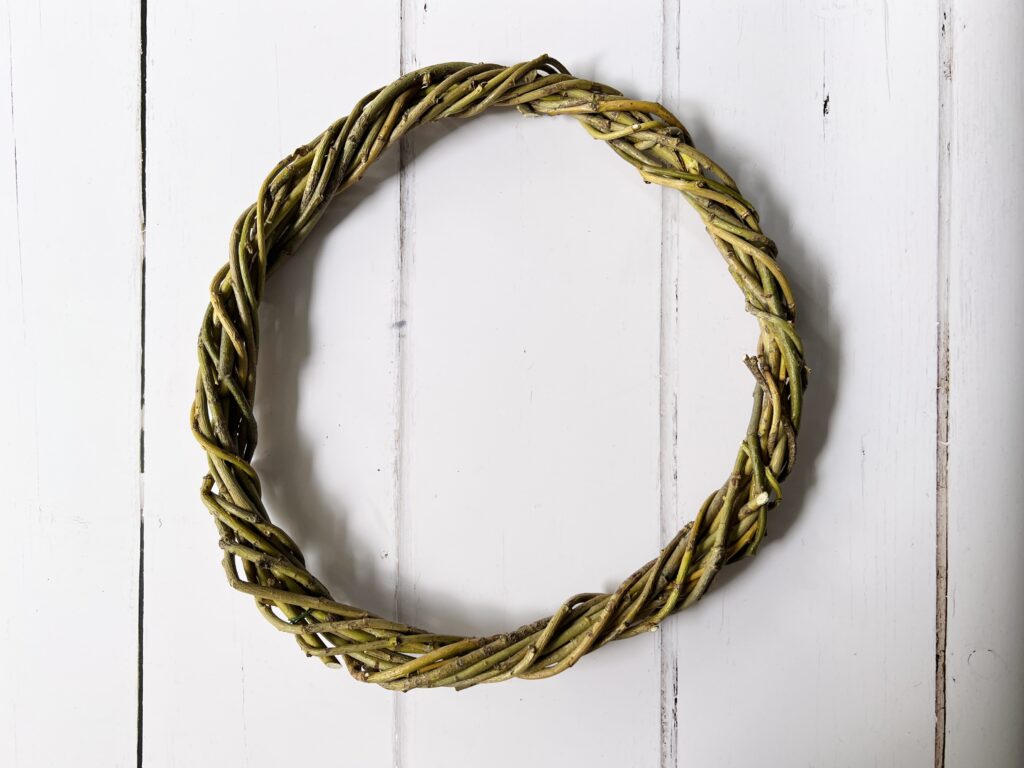
Continue turning your hoop and adding more branches. You will find that the wreath starts to become rigid fairly quickly. You can also keep shaping it a bit as you work, to keep the shape as nice and round as possible.
The sticking out ends will start to lie flat as you add more rounds and new branches are wound over them. You can also tuck the thinner ends in as you weave. If a branch breaks, just snip off the end with the secateurs and keep going. Don’t worry about any ends that continue to stick out, we will trim those later.
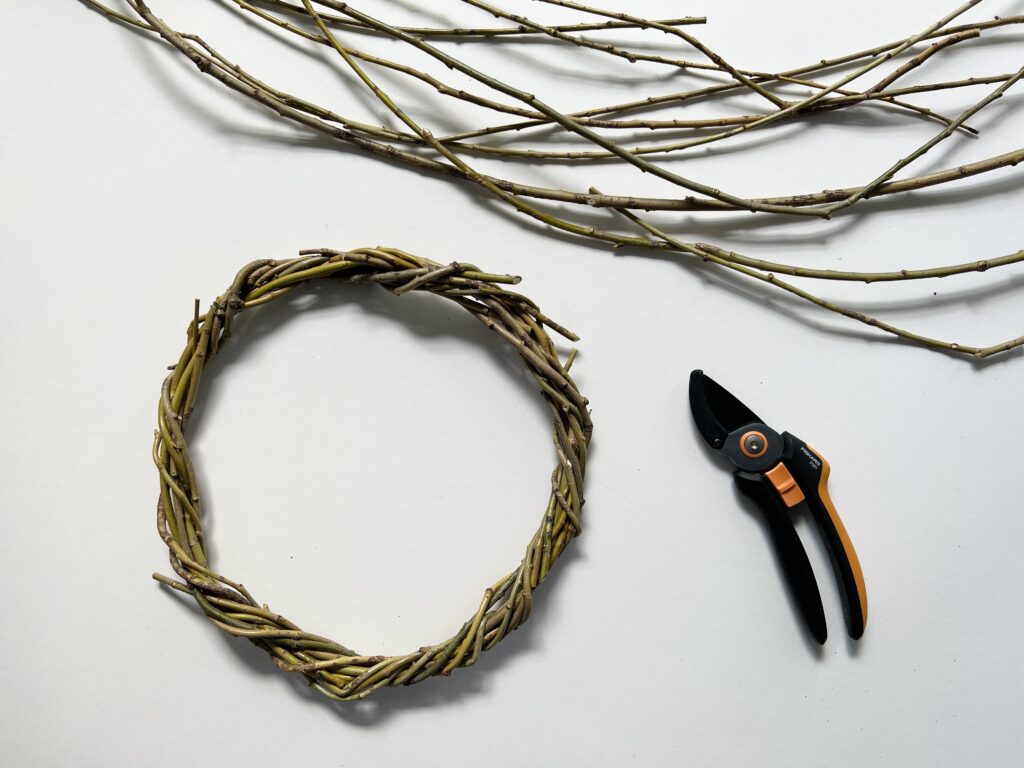
When your wreath has reached the thickness you want it to be, the final step is to snip off any sticking out ends with the secateurs. Don’t cut them off too close, so that they don’t pop out of the weave again.
And there you have your finished wreath!
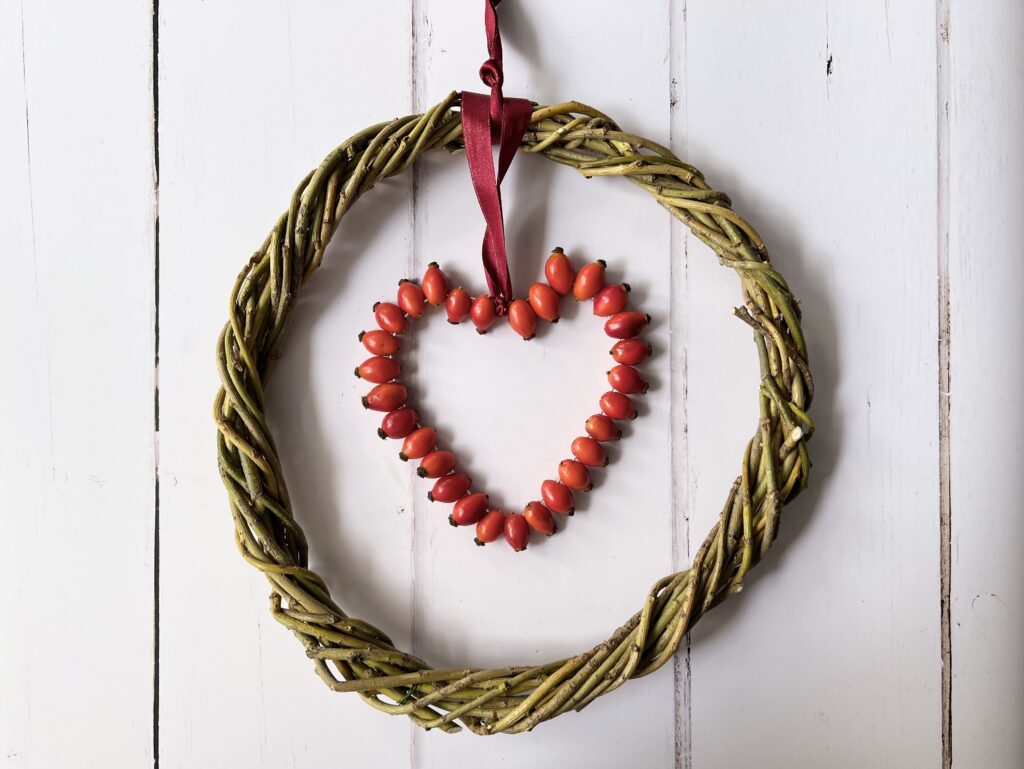
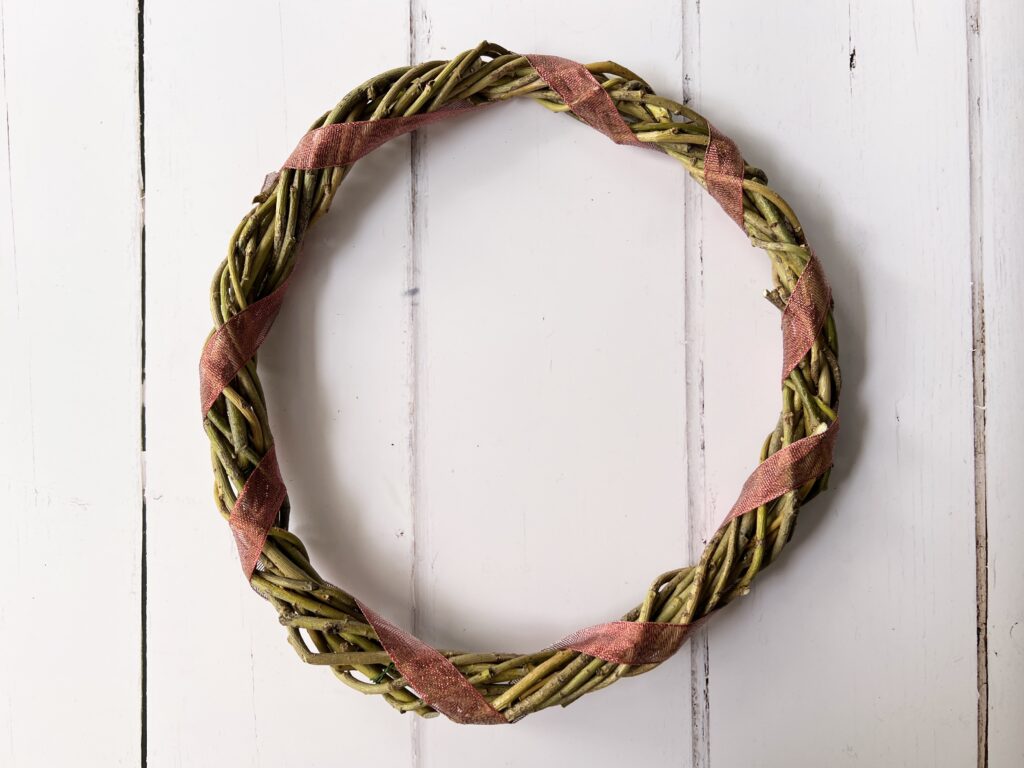
I haven’t decided yet how to decorate my wreath. I might pair it up with a rose hip heart or some other Autumn foliage. Or maybe I’ll keep it simple and just tie some ribbon around it.
Can kids do this craft?
As simple as it is on the one hand to make a wreath, it also requires a bit of dexterity to hold the branches in place at the same time as weaving them round. And you also need to be able to weave the branches round tightly enough for them to hold the tension, which requires a bit of strength in the hands. So while older kids or teenagers may rise to the challenge, younger kids may struggle a bit.
However, what is quite fun to do for smaller hands, is to simply let kids weave some mini wreaths out of twigs or branch ends. Twigs and shorter branches are easier to manage, and smaller hoops easier to weave around. If they are finding it really tricky, you could start them off with the first round, and then let them add the next few themselves.
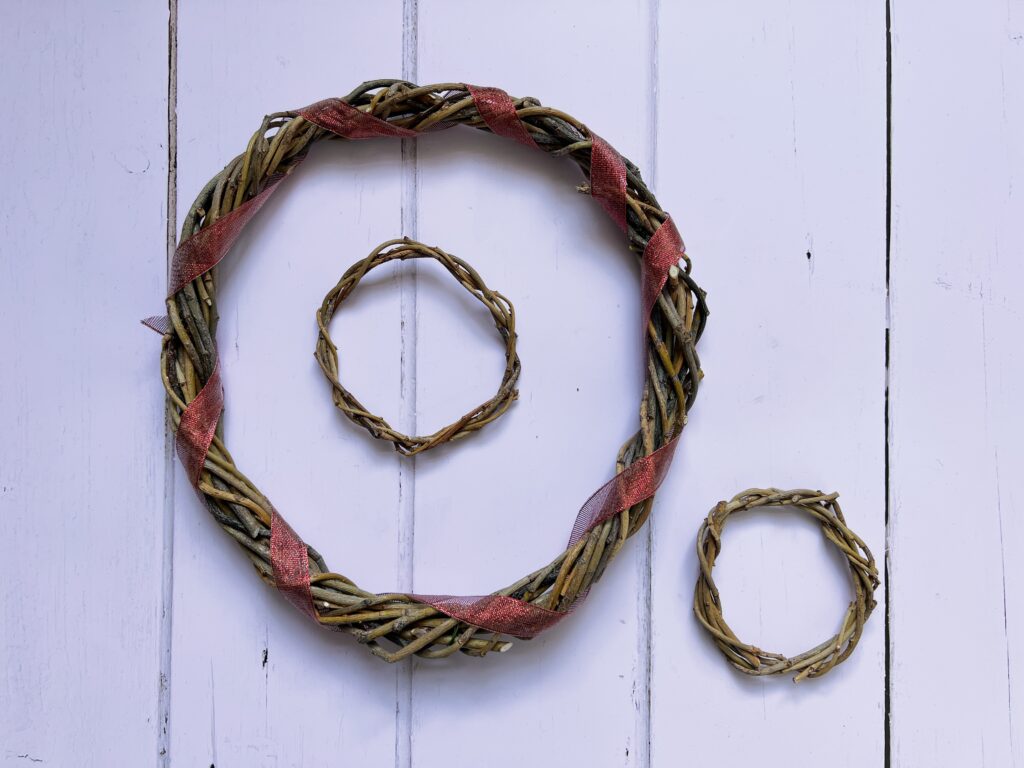
Here are some mini twigs the kids helped to make, which are approx. 10cm – 12cm in diameter. One of them had three rounds and other four rounds. We didn’t even require any wire to hold these in place.