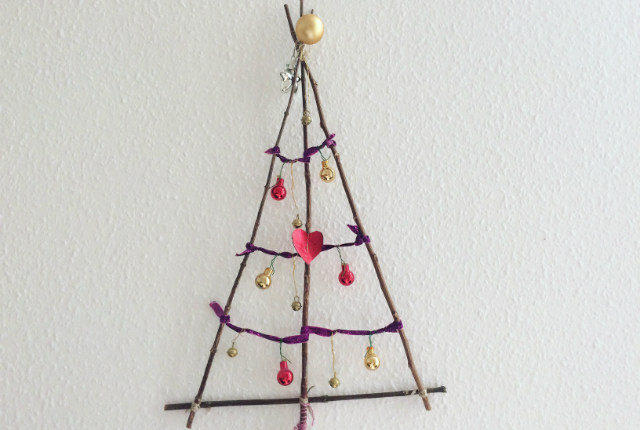
A Christmas Stick Tree
Last year, Oskar’s school had a big craft afternoon at the beginning of Advent, to decorate the school, and on the last day before the holidays they were then able to take home anything they had made. At the end of the Christmas season, I did what any self respecting blogger would do, and deconstructed all the crafts to make them in to tutorials (actually, I did it some time in Spring, once we knew we were moving house and wouldn’t be taking any of that stuff with us). My favourite craft, were these Christmas Stick Trees – perfect for combining with a brisk winter walk in the morning to gather appropriate twigs or small sticks, then follow up with some crafting in the afternoon.
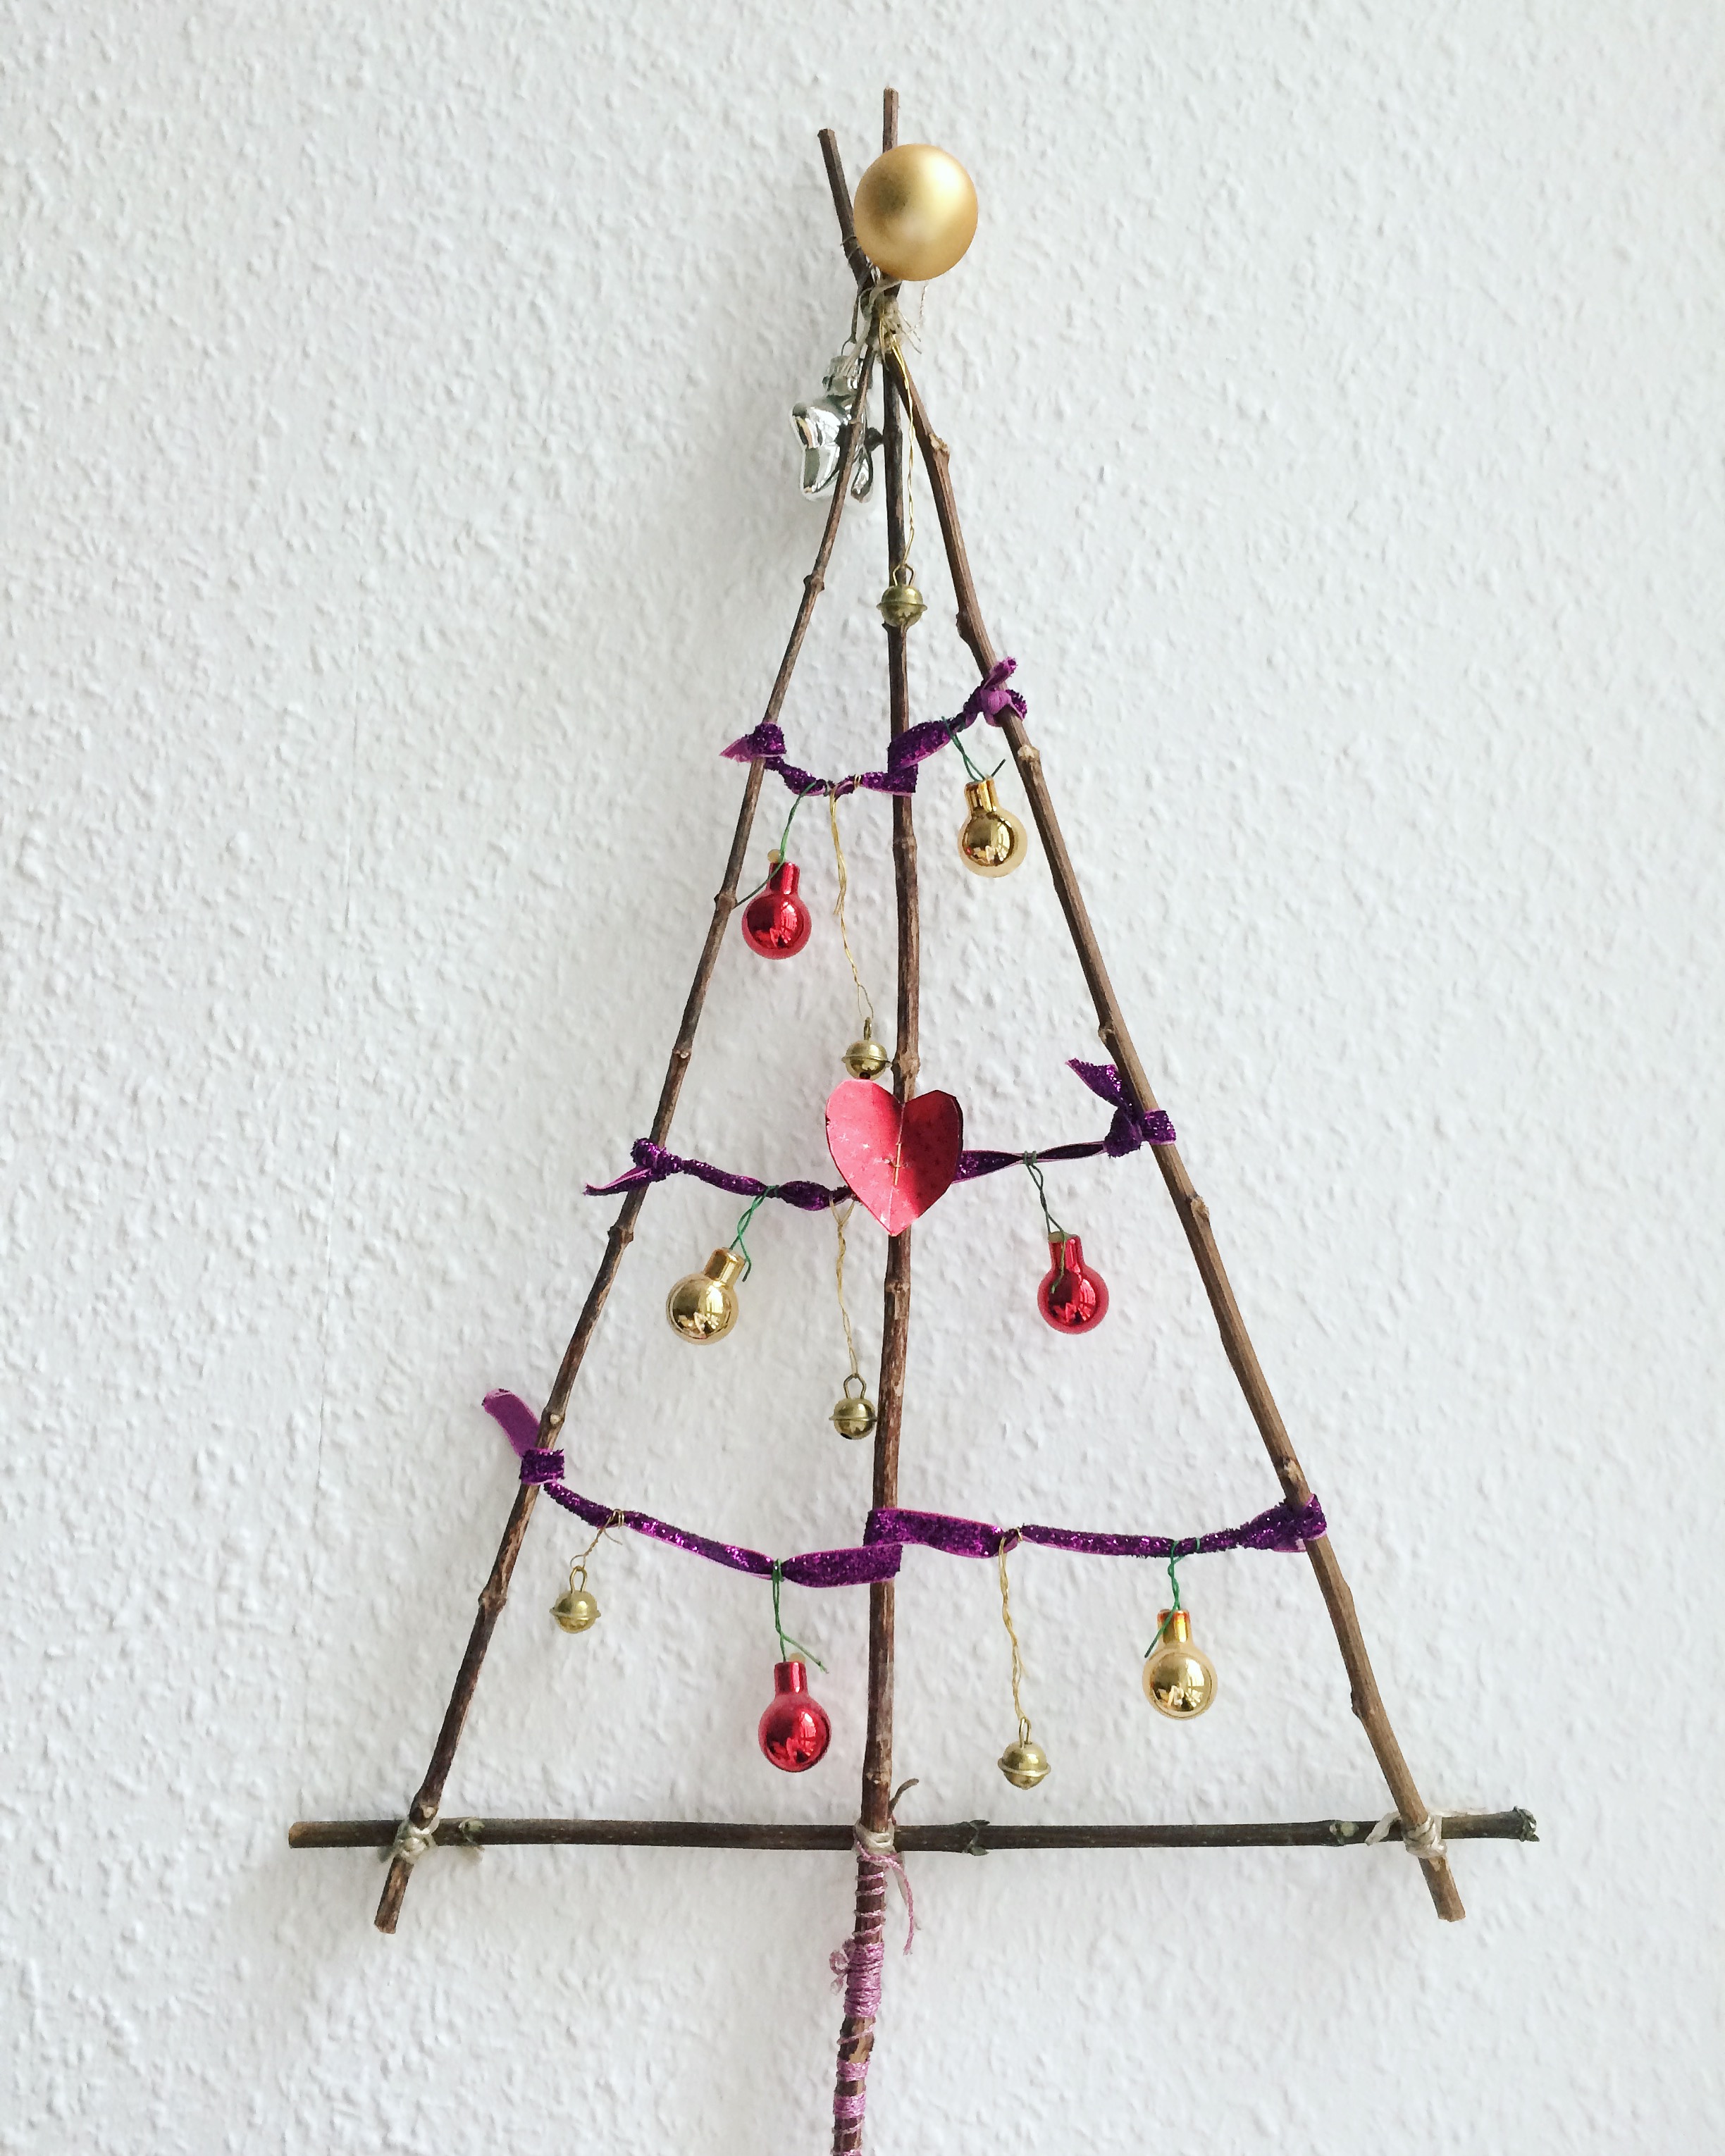
Here’s what you will need:
- 4 small sticks, on slightly shorter and one slightly longer than the others
- some twine
- some sparkly or colour string
- some nice ribbon
- around half a dozen little bells
- around half a dozen miniature baubles
- a couple of slightly bigger baubles or other ornaments
- some red, shiny paper
- some thin wire
You will also need a pair of scissors and, ideally, a glue gun.
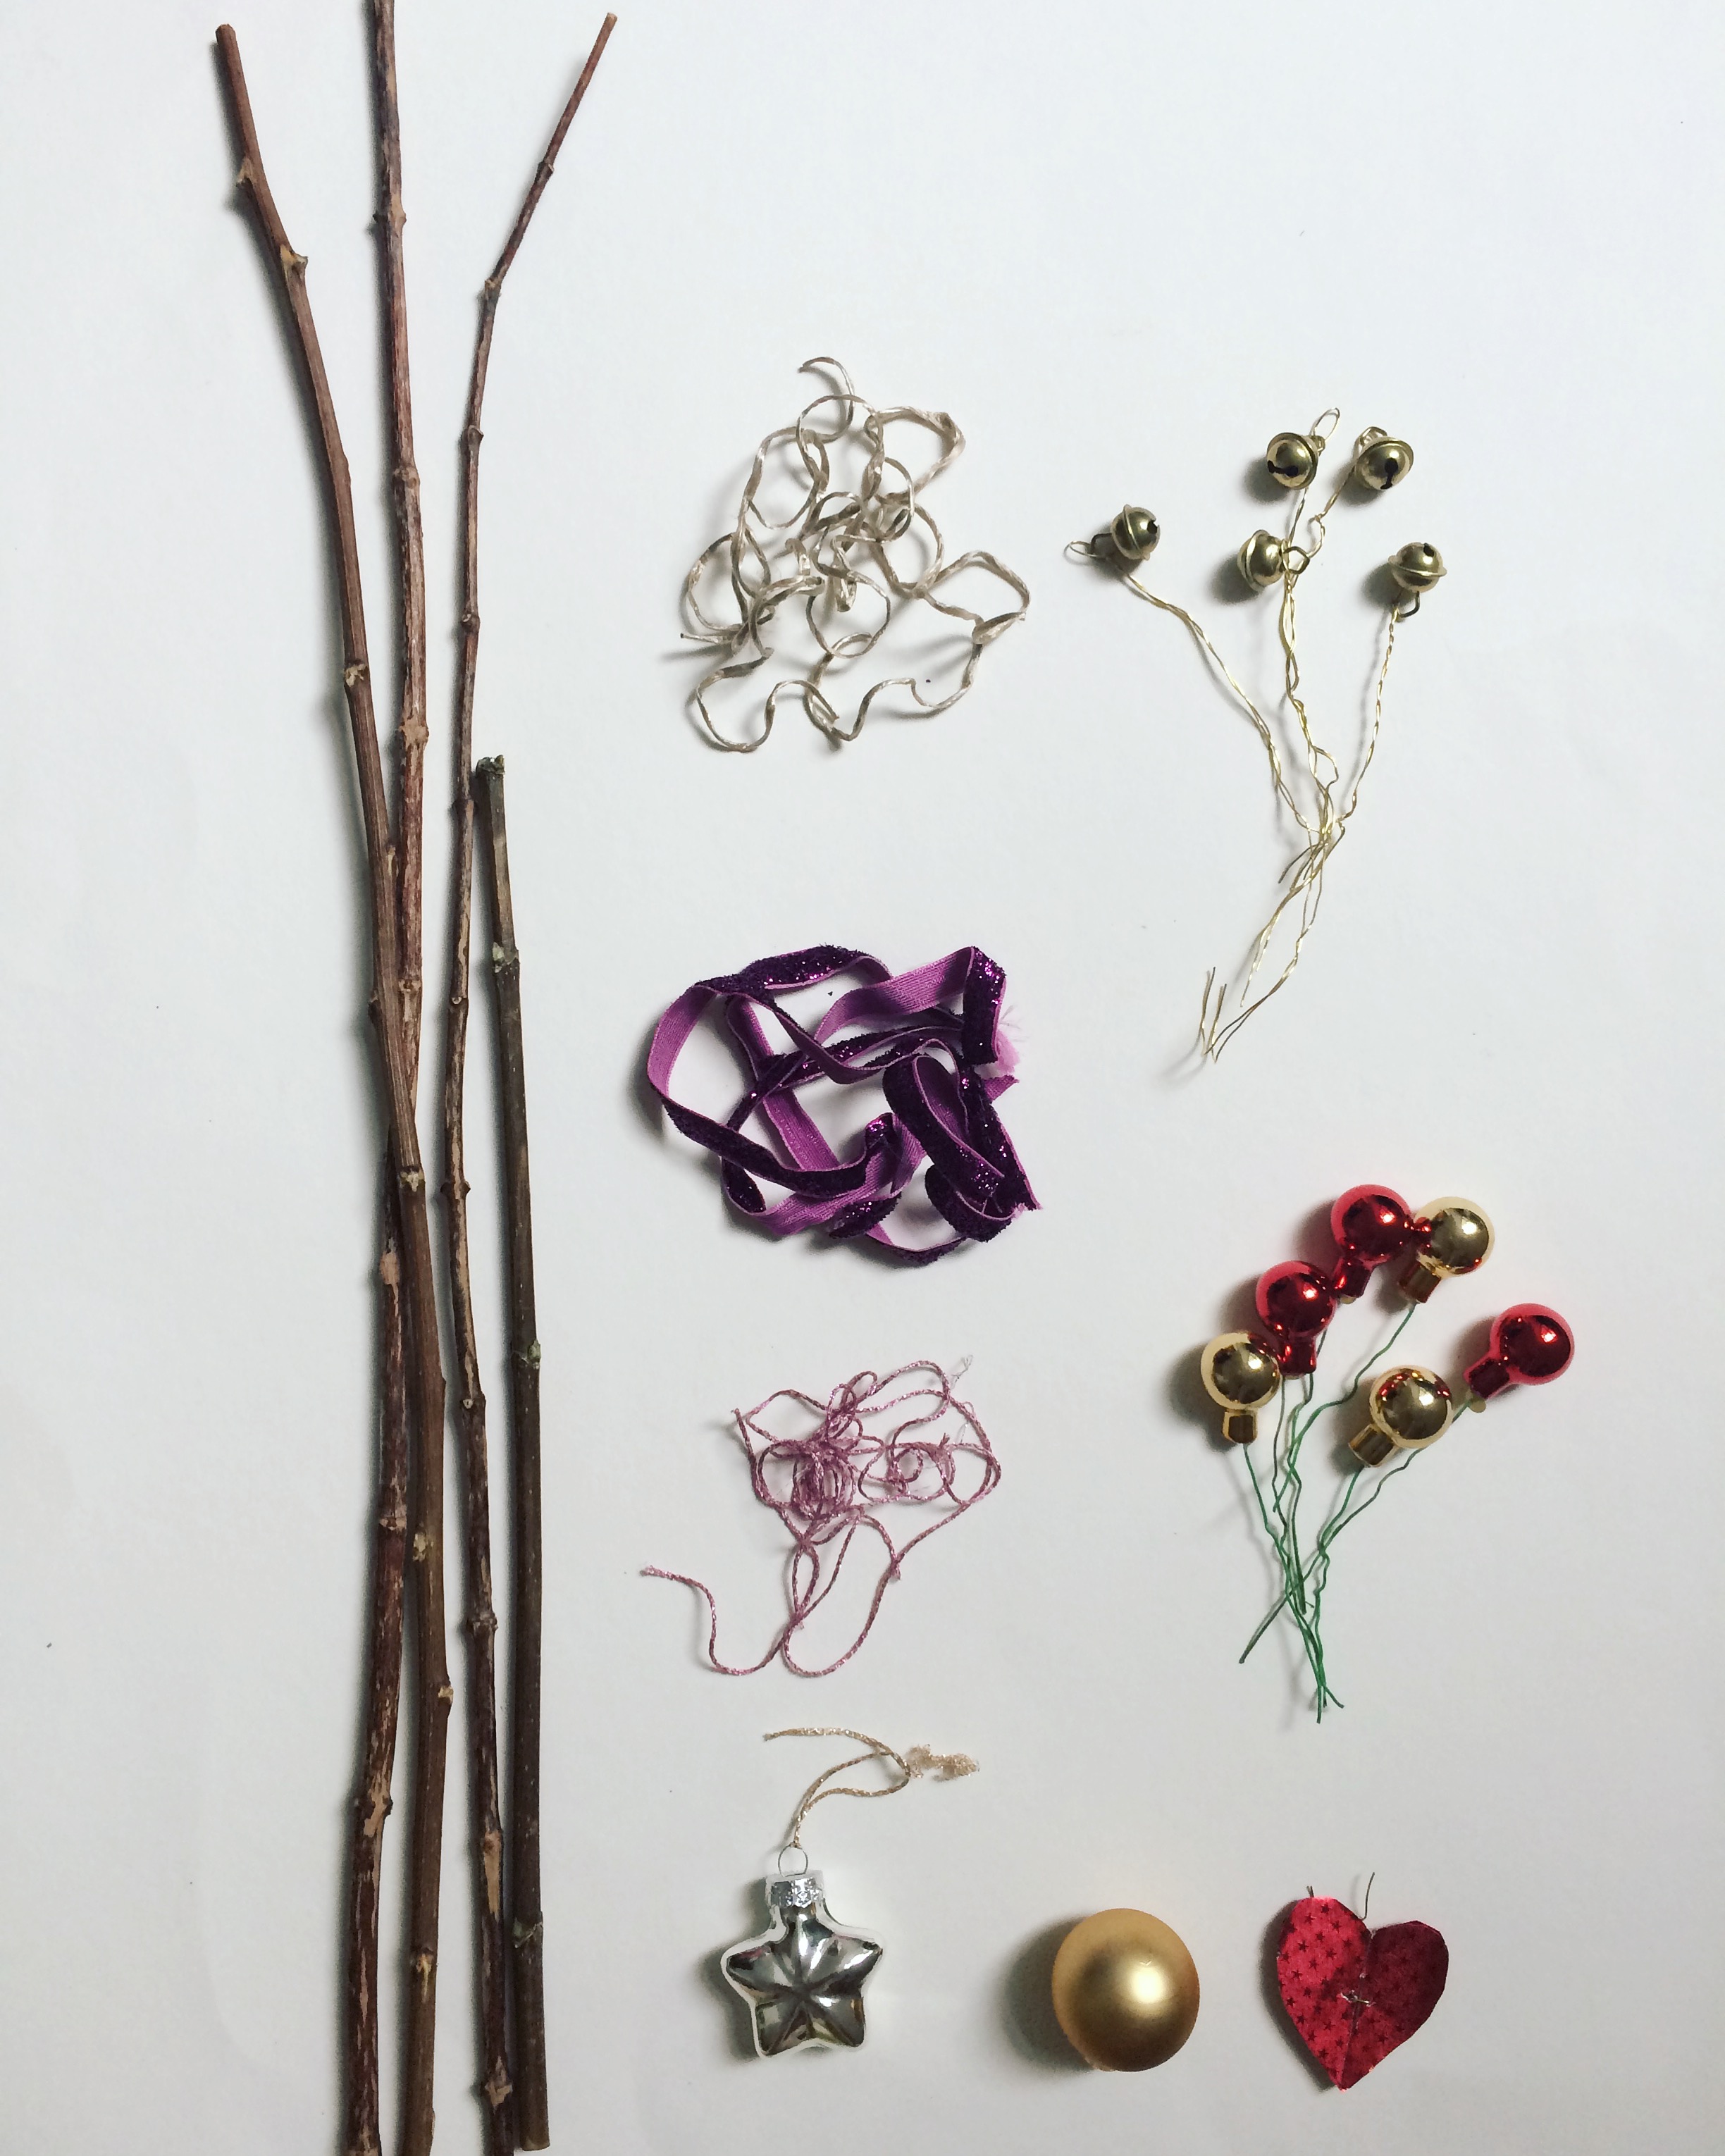
Step 1: Using the twine, tie together the sticks in to a tree shape. You want the three long pieces tied together at one end, with the slightly longer one in the middle, like so:
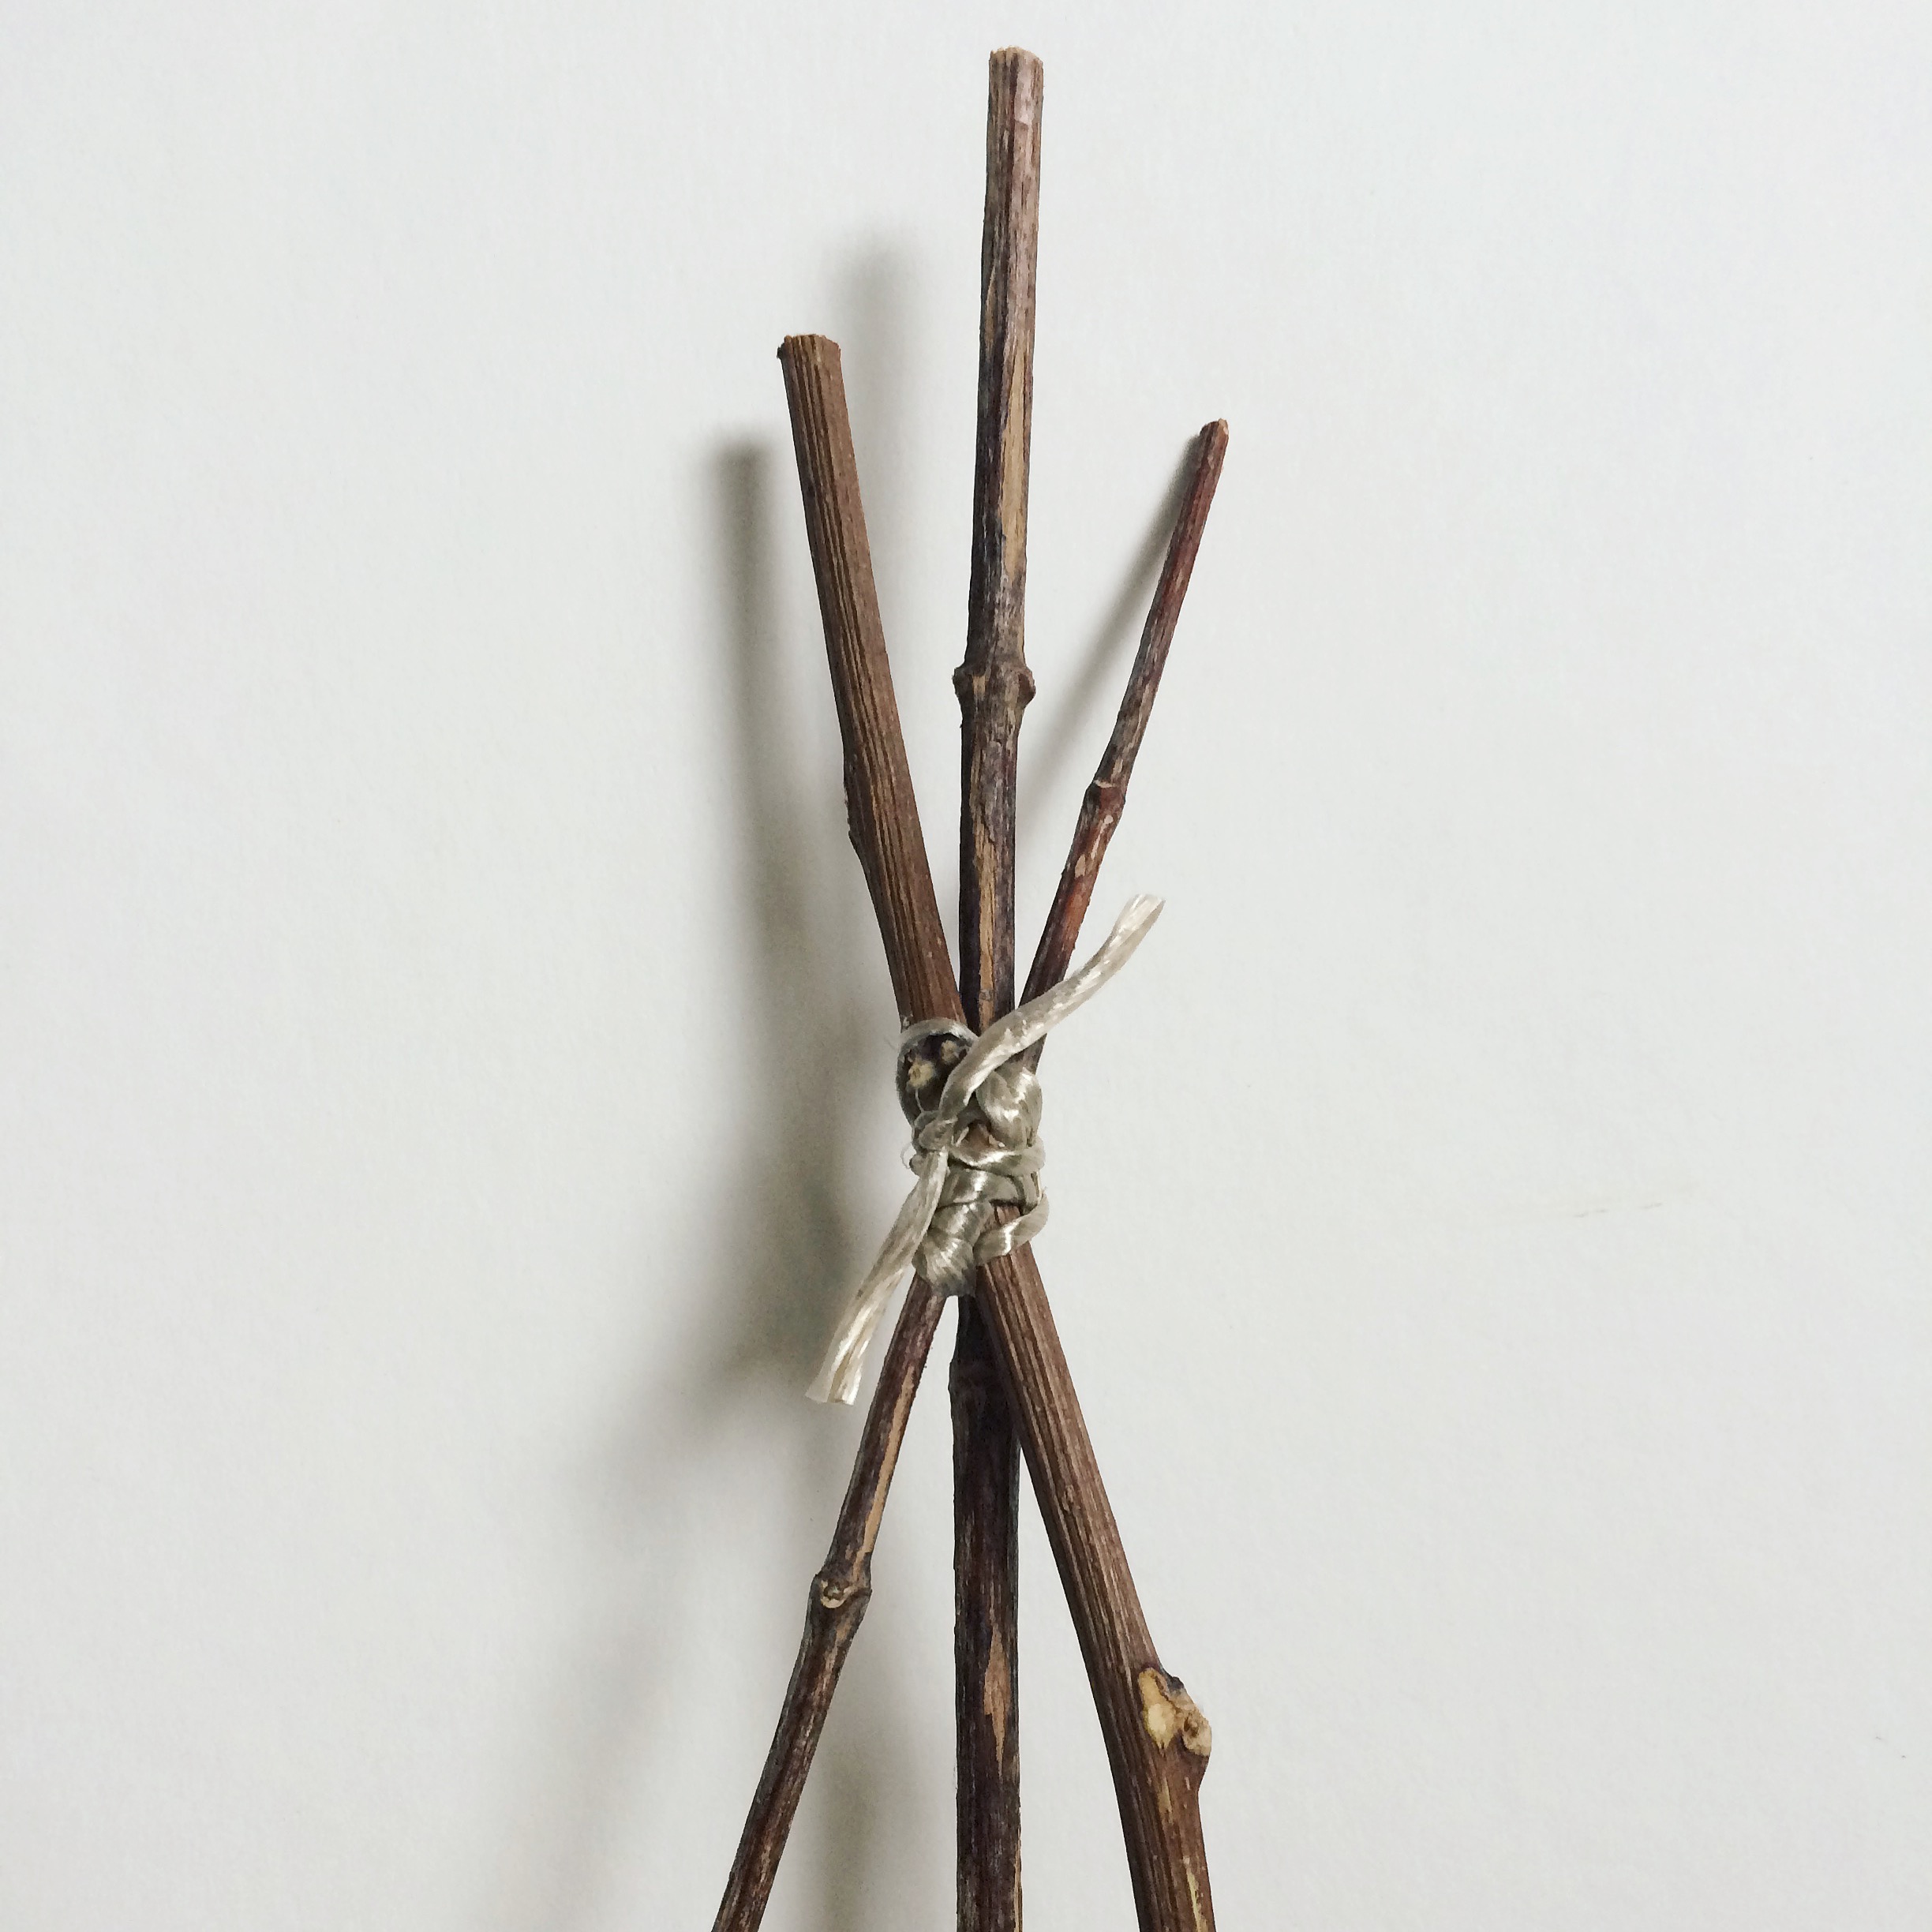
Then you pull them apart in to a triangle shape, and tie the shorter piece across the bottom, leaving the longer middle piece sticking out at the bottom to make the tree ‘trunk’, like so:

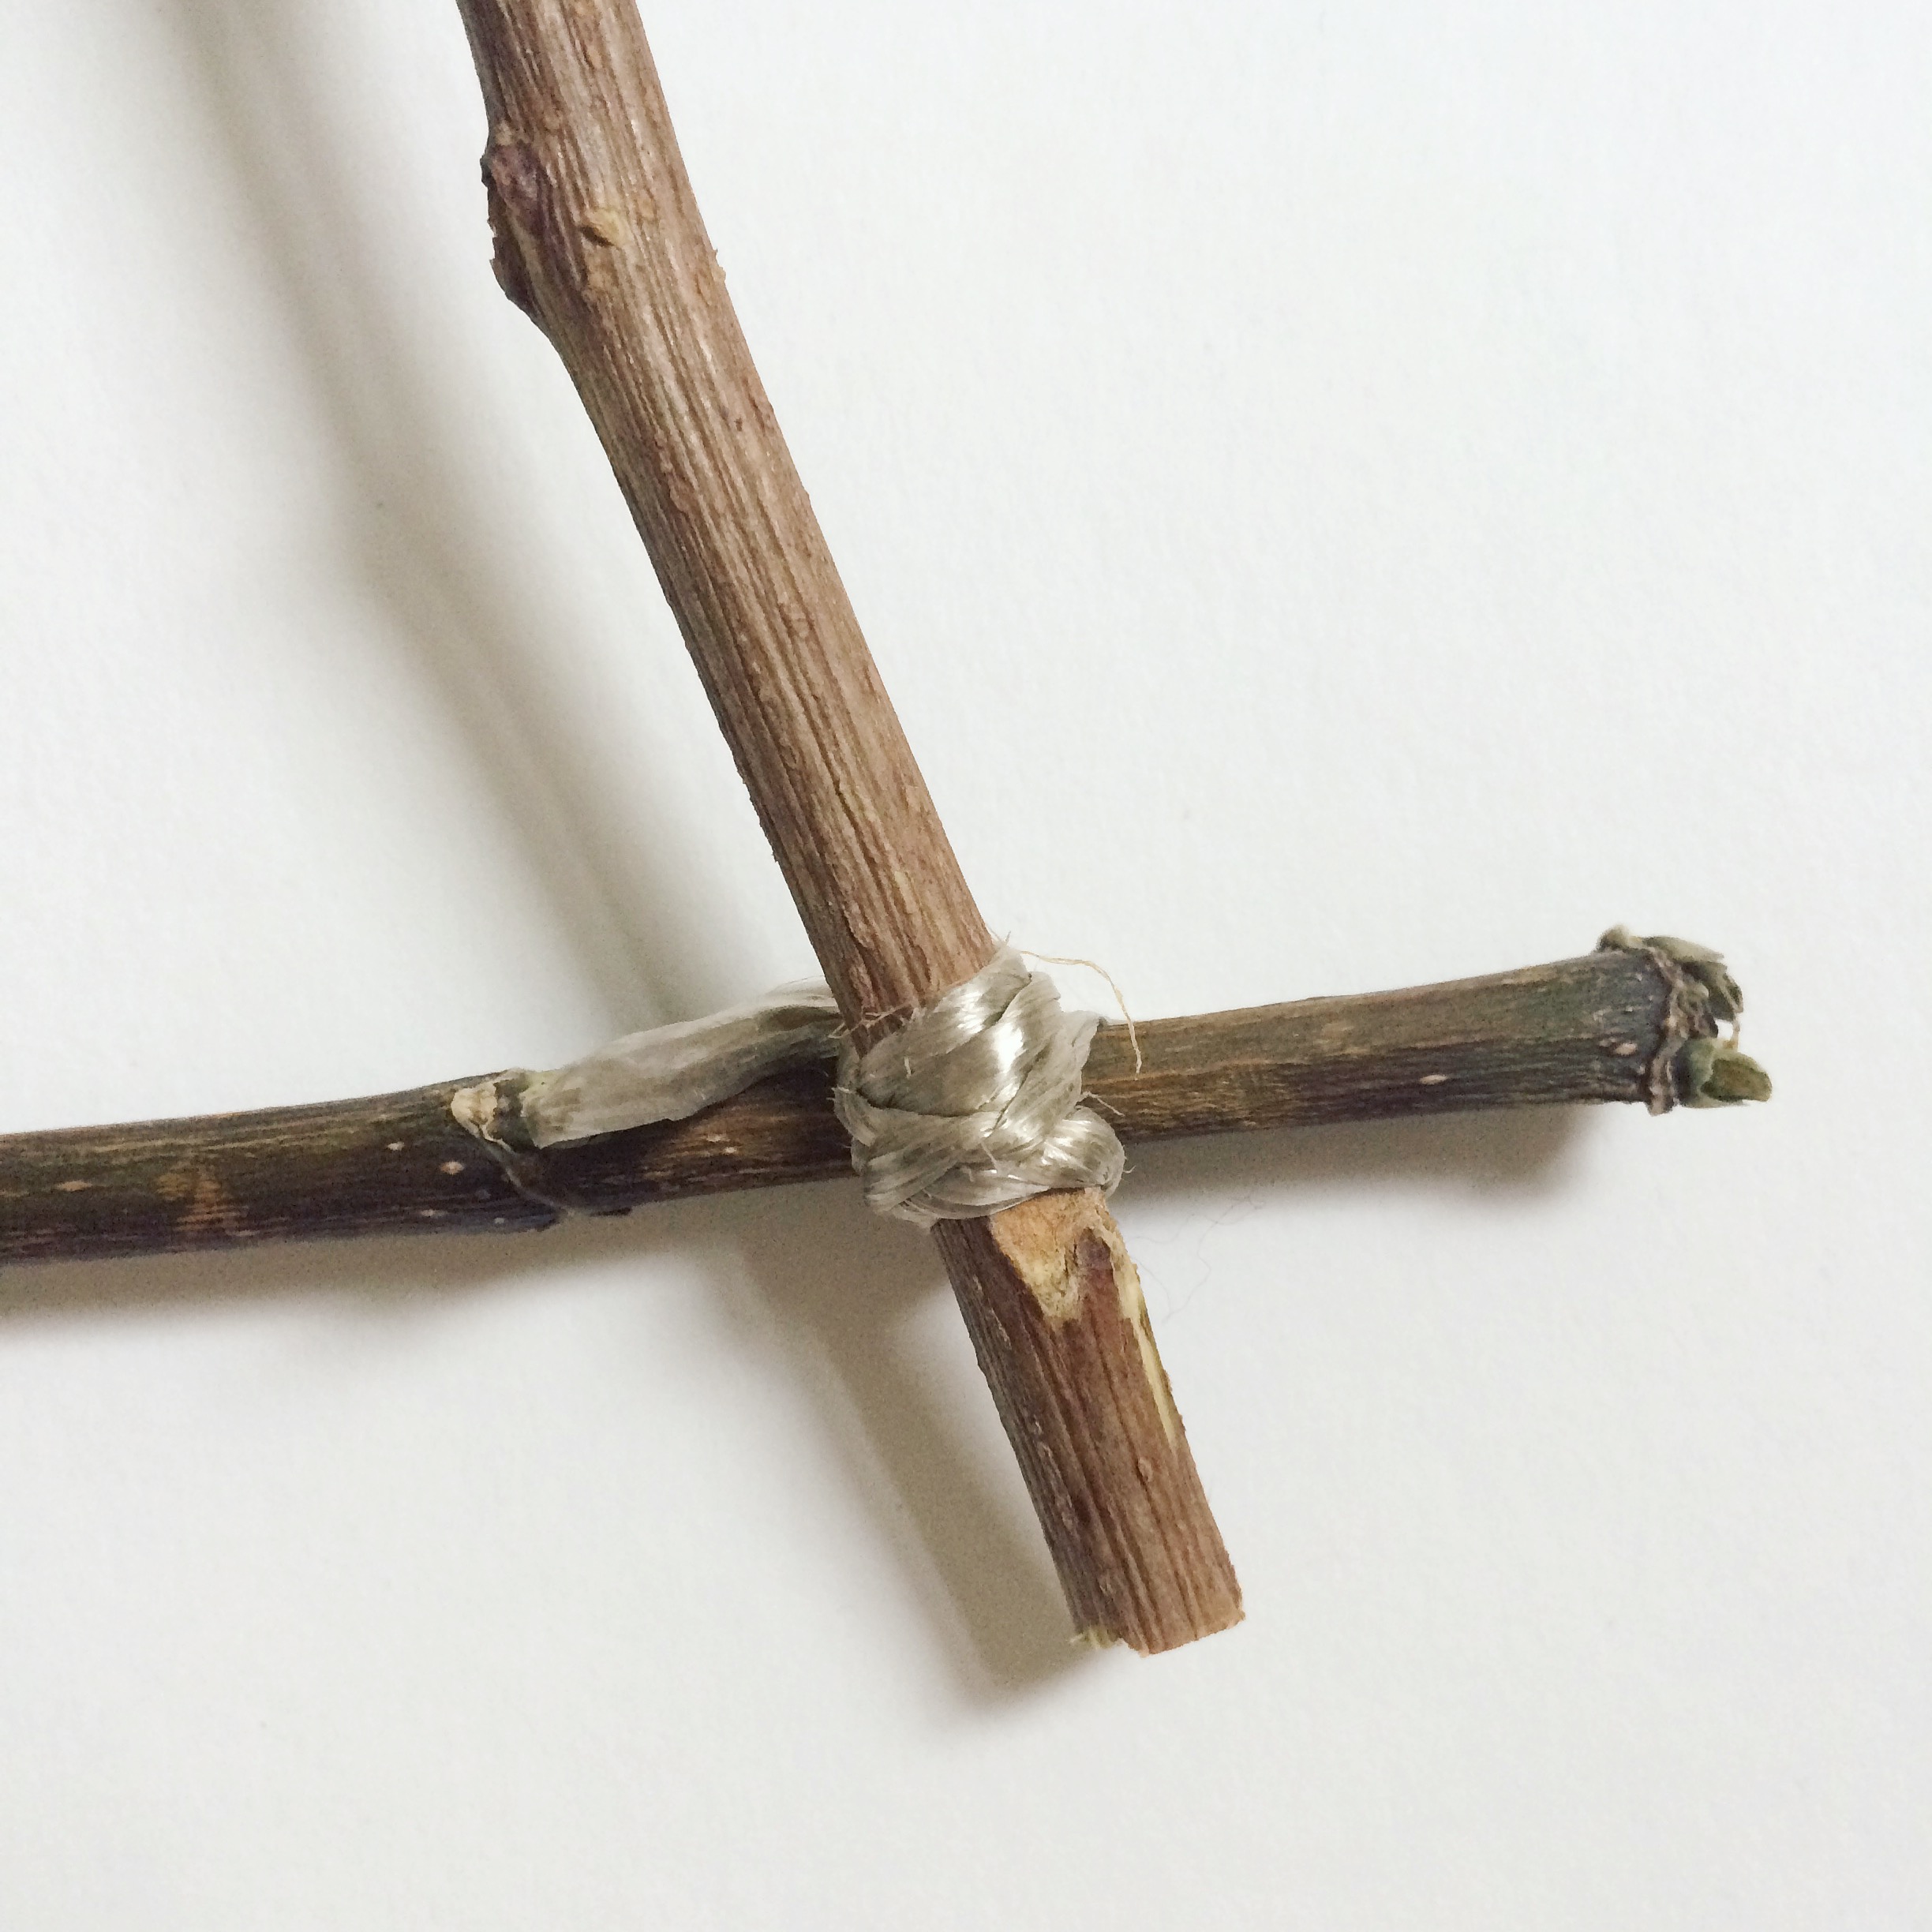
Here’s a close up to show you the binding on the joints:
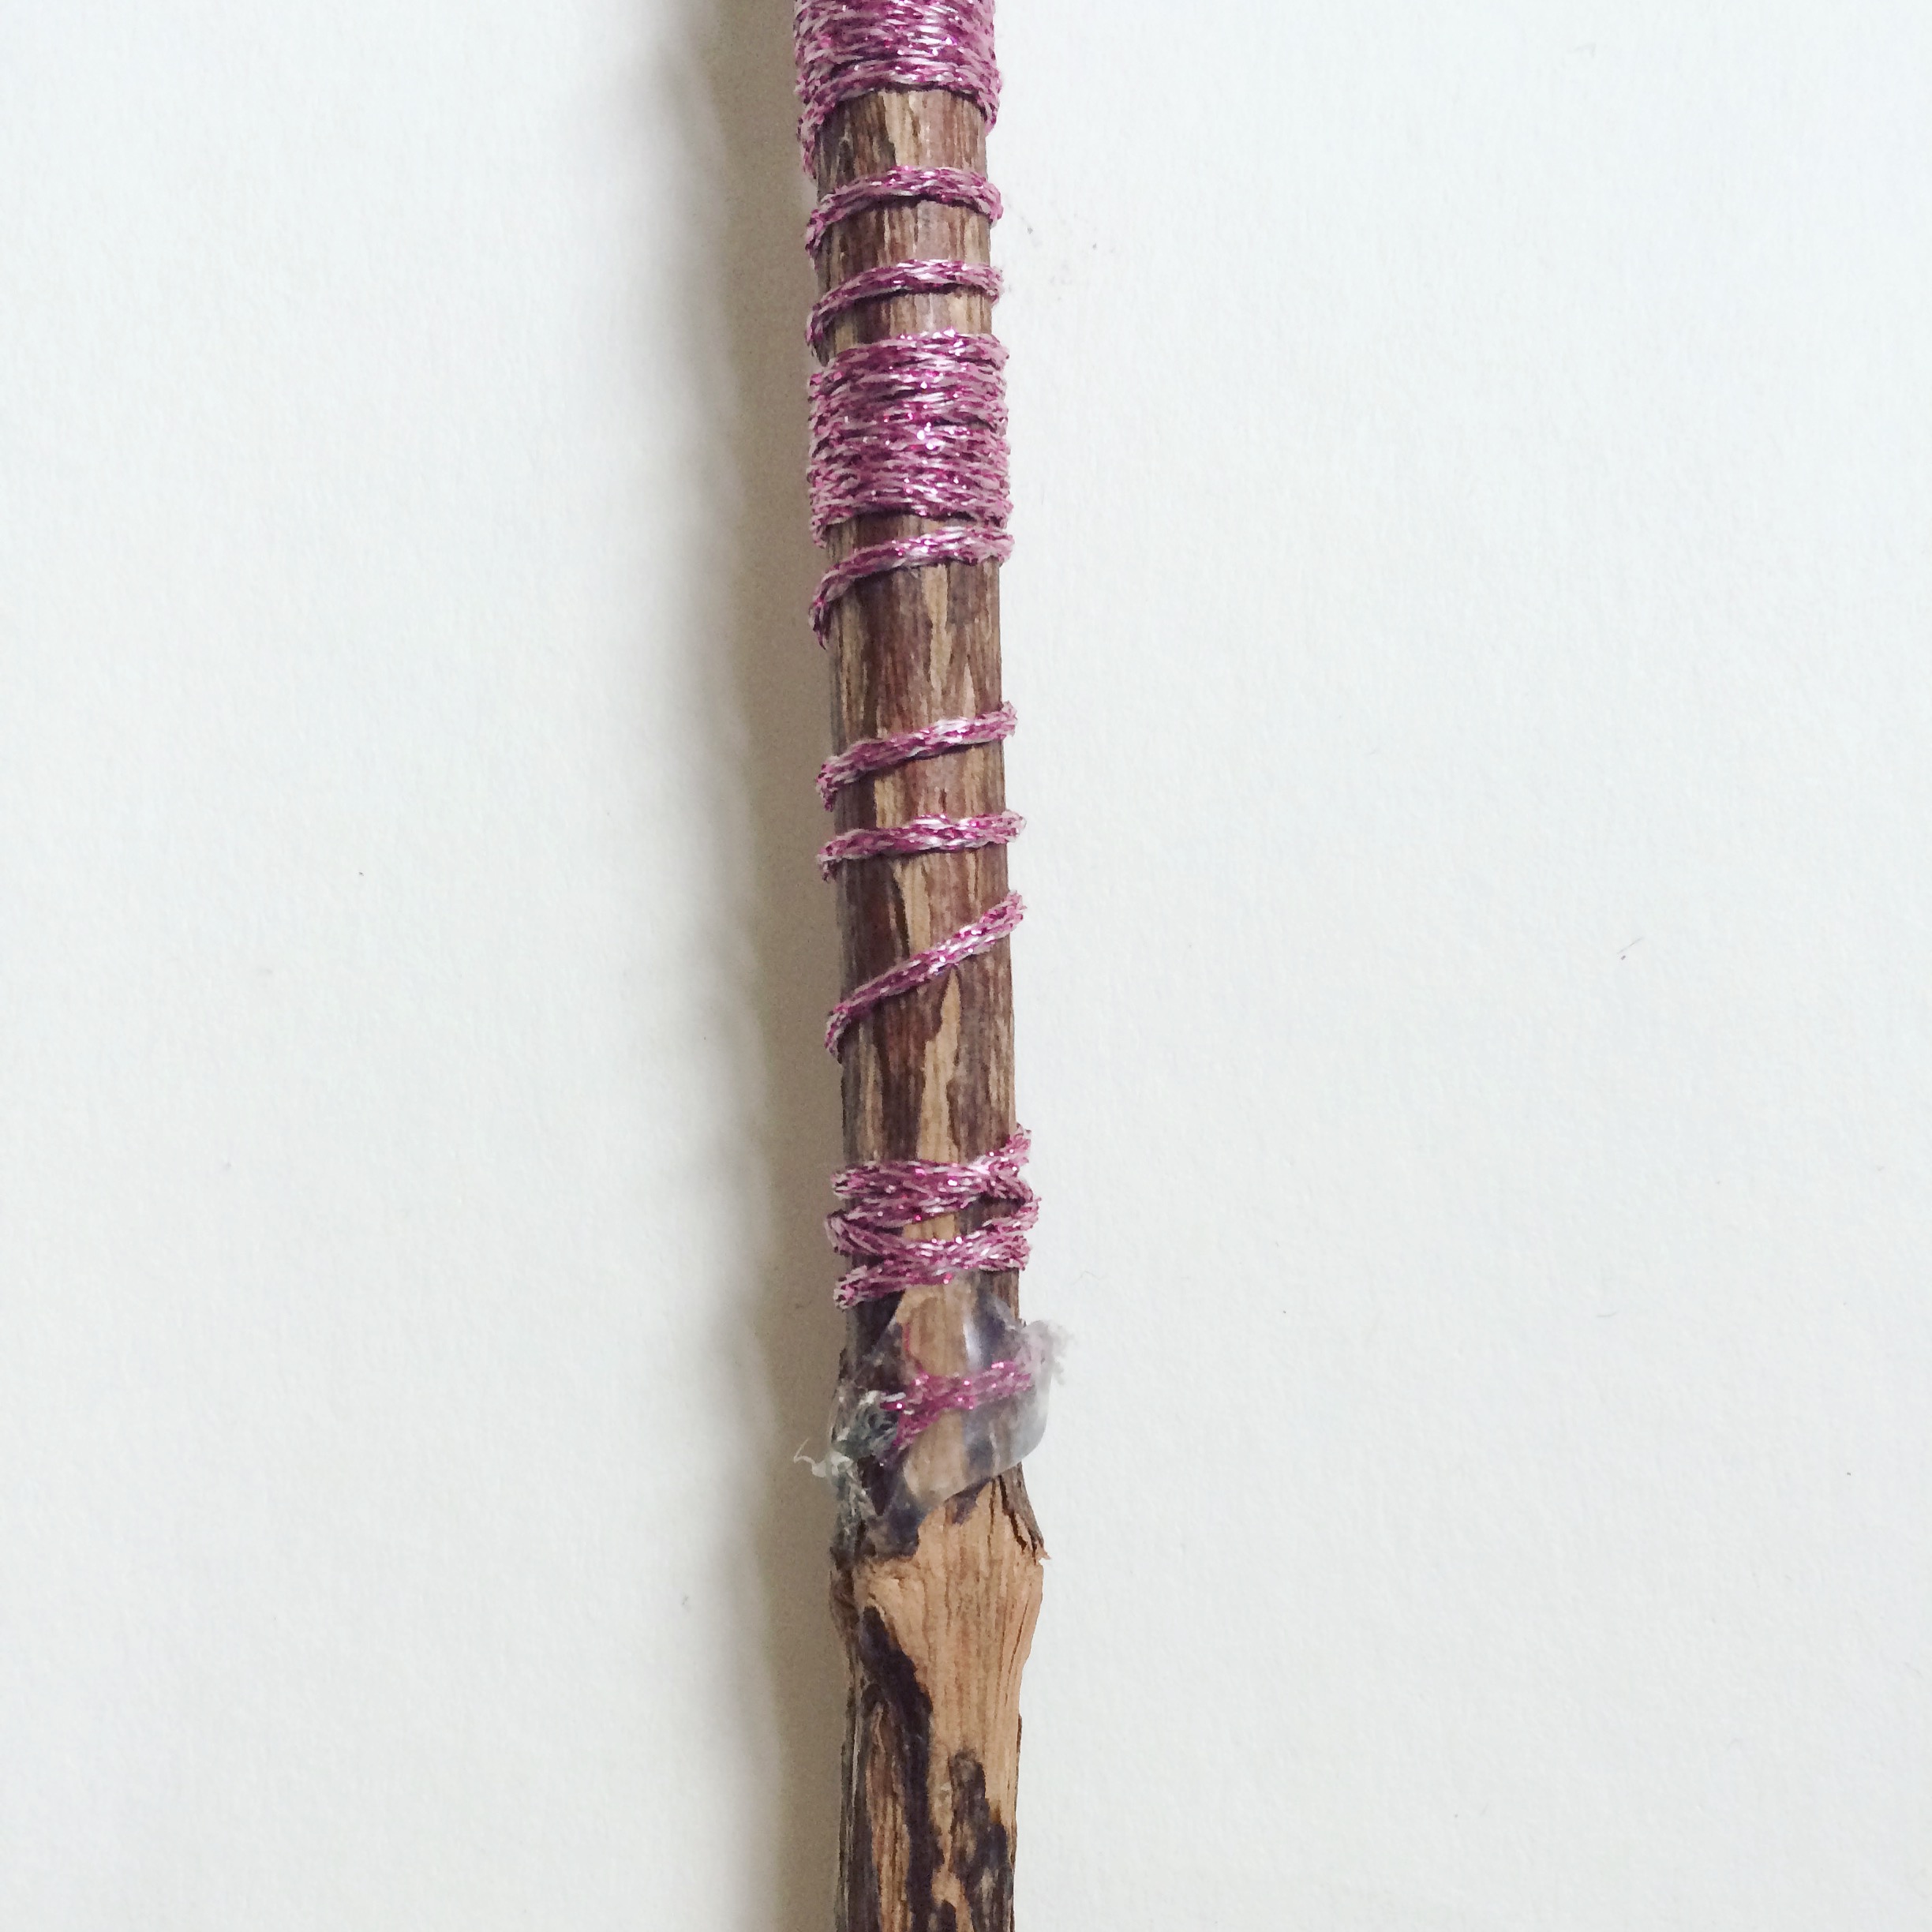
Step 2: Wind some sparkly string around the ‘trunk’ and secure at either end with a dab of glue.
Step 3: Tie lengths of ribbons to the tree frame across the way, like so:
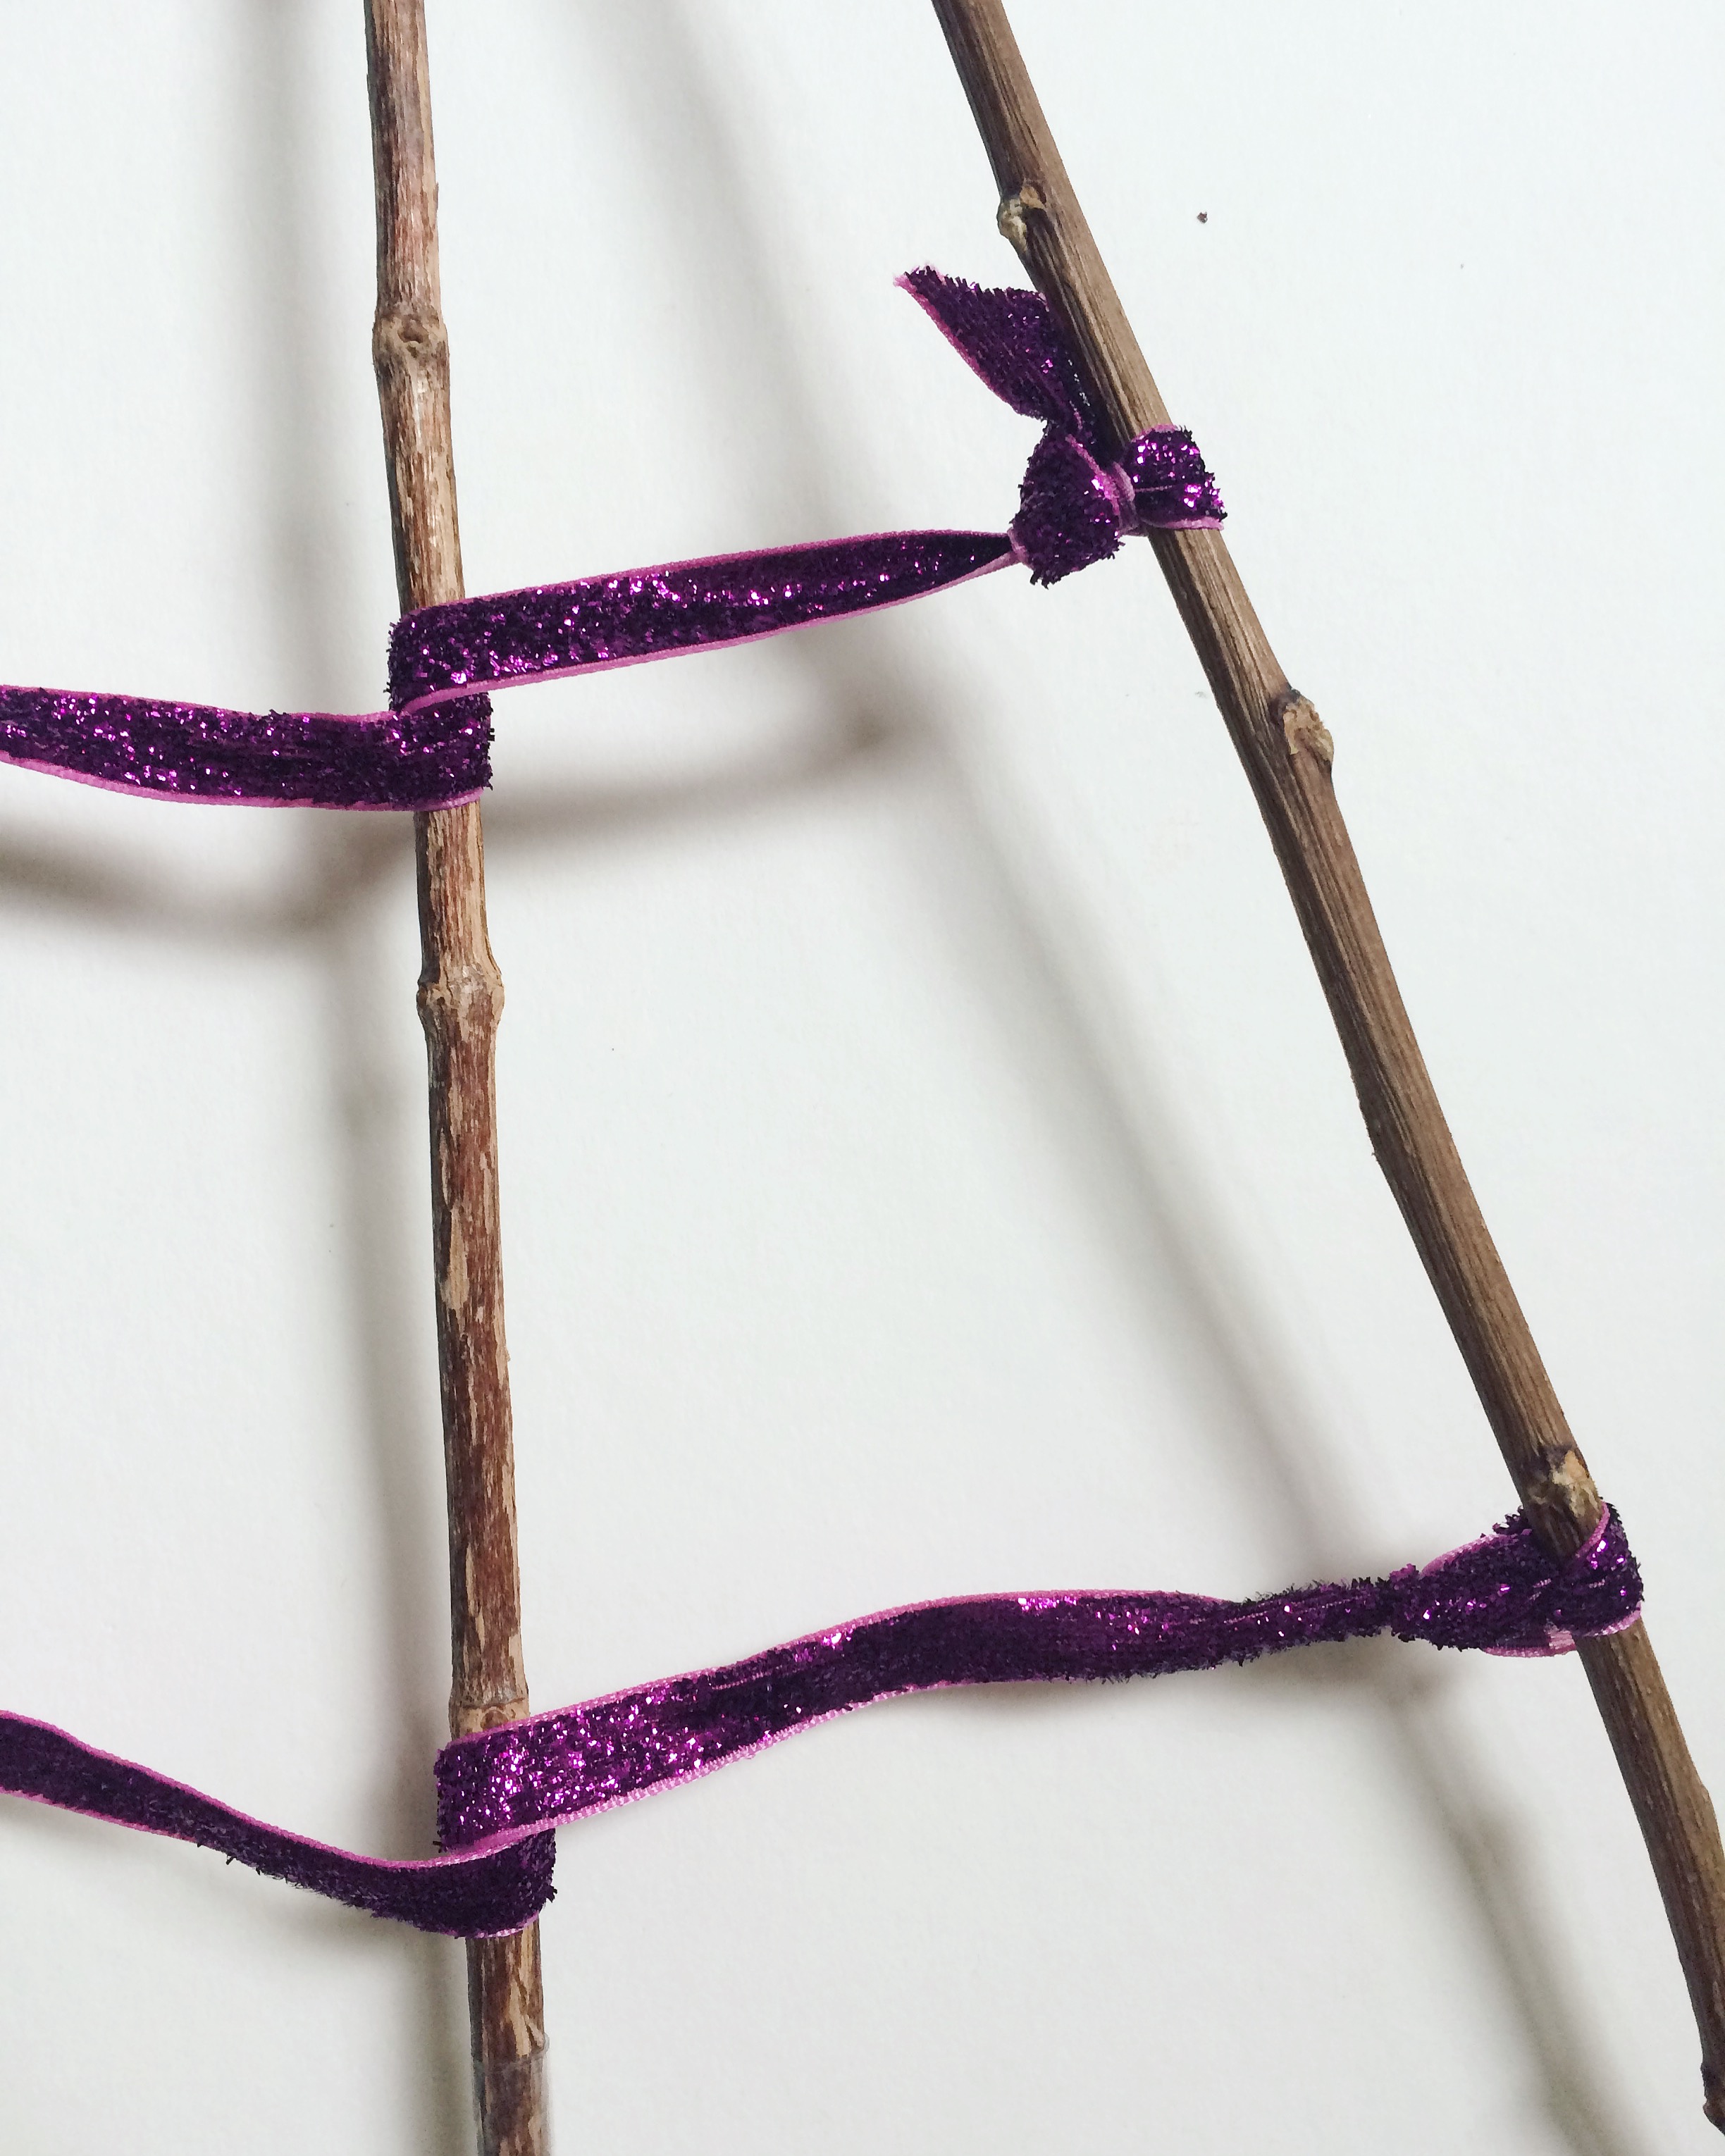
It’s up to you how many to do, Oskar decided to go for three:

Step 4: Loop pieces of wire through the bells and twist together. Either do the same for the mini baubles, or if they don’t have loops at the end, just glue on the wire with a few dabs of glue.


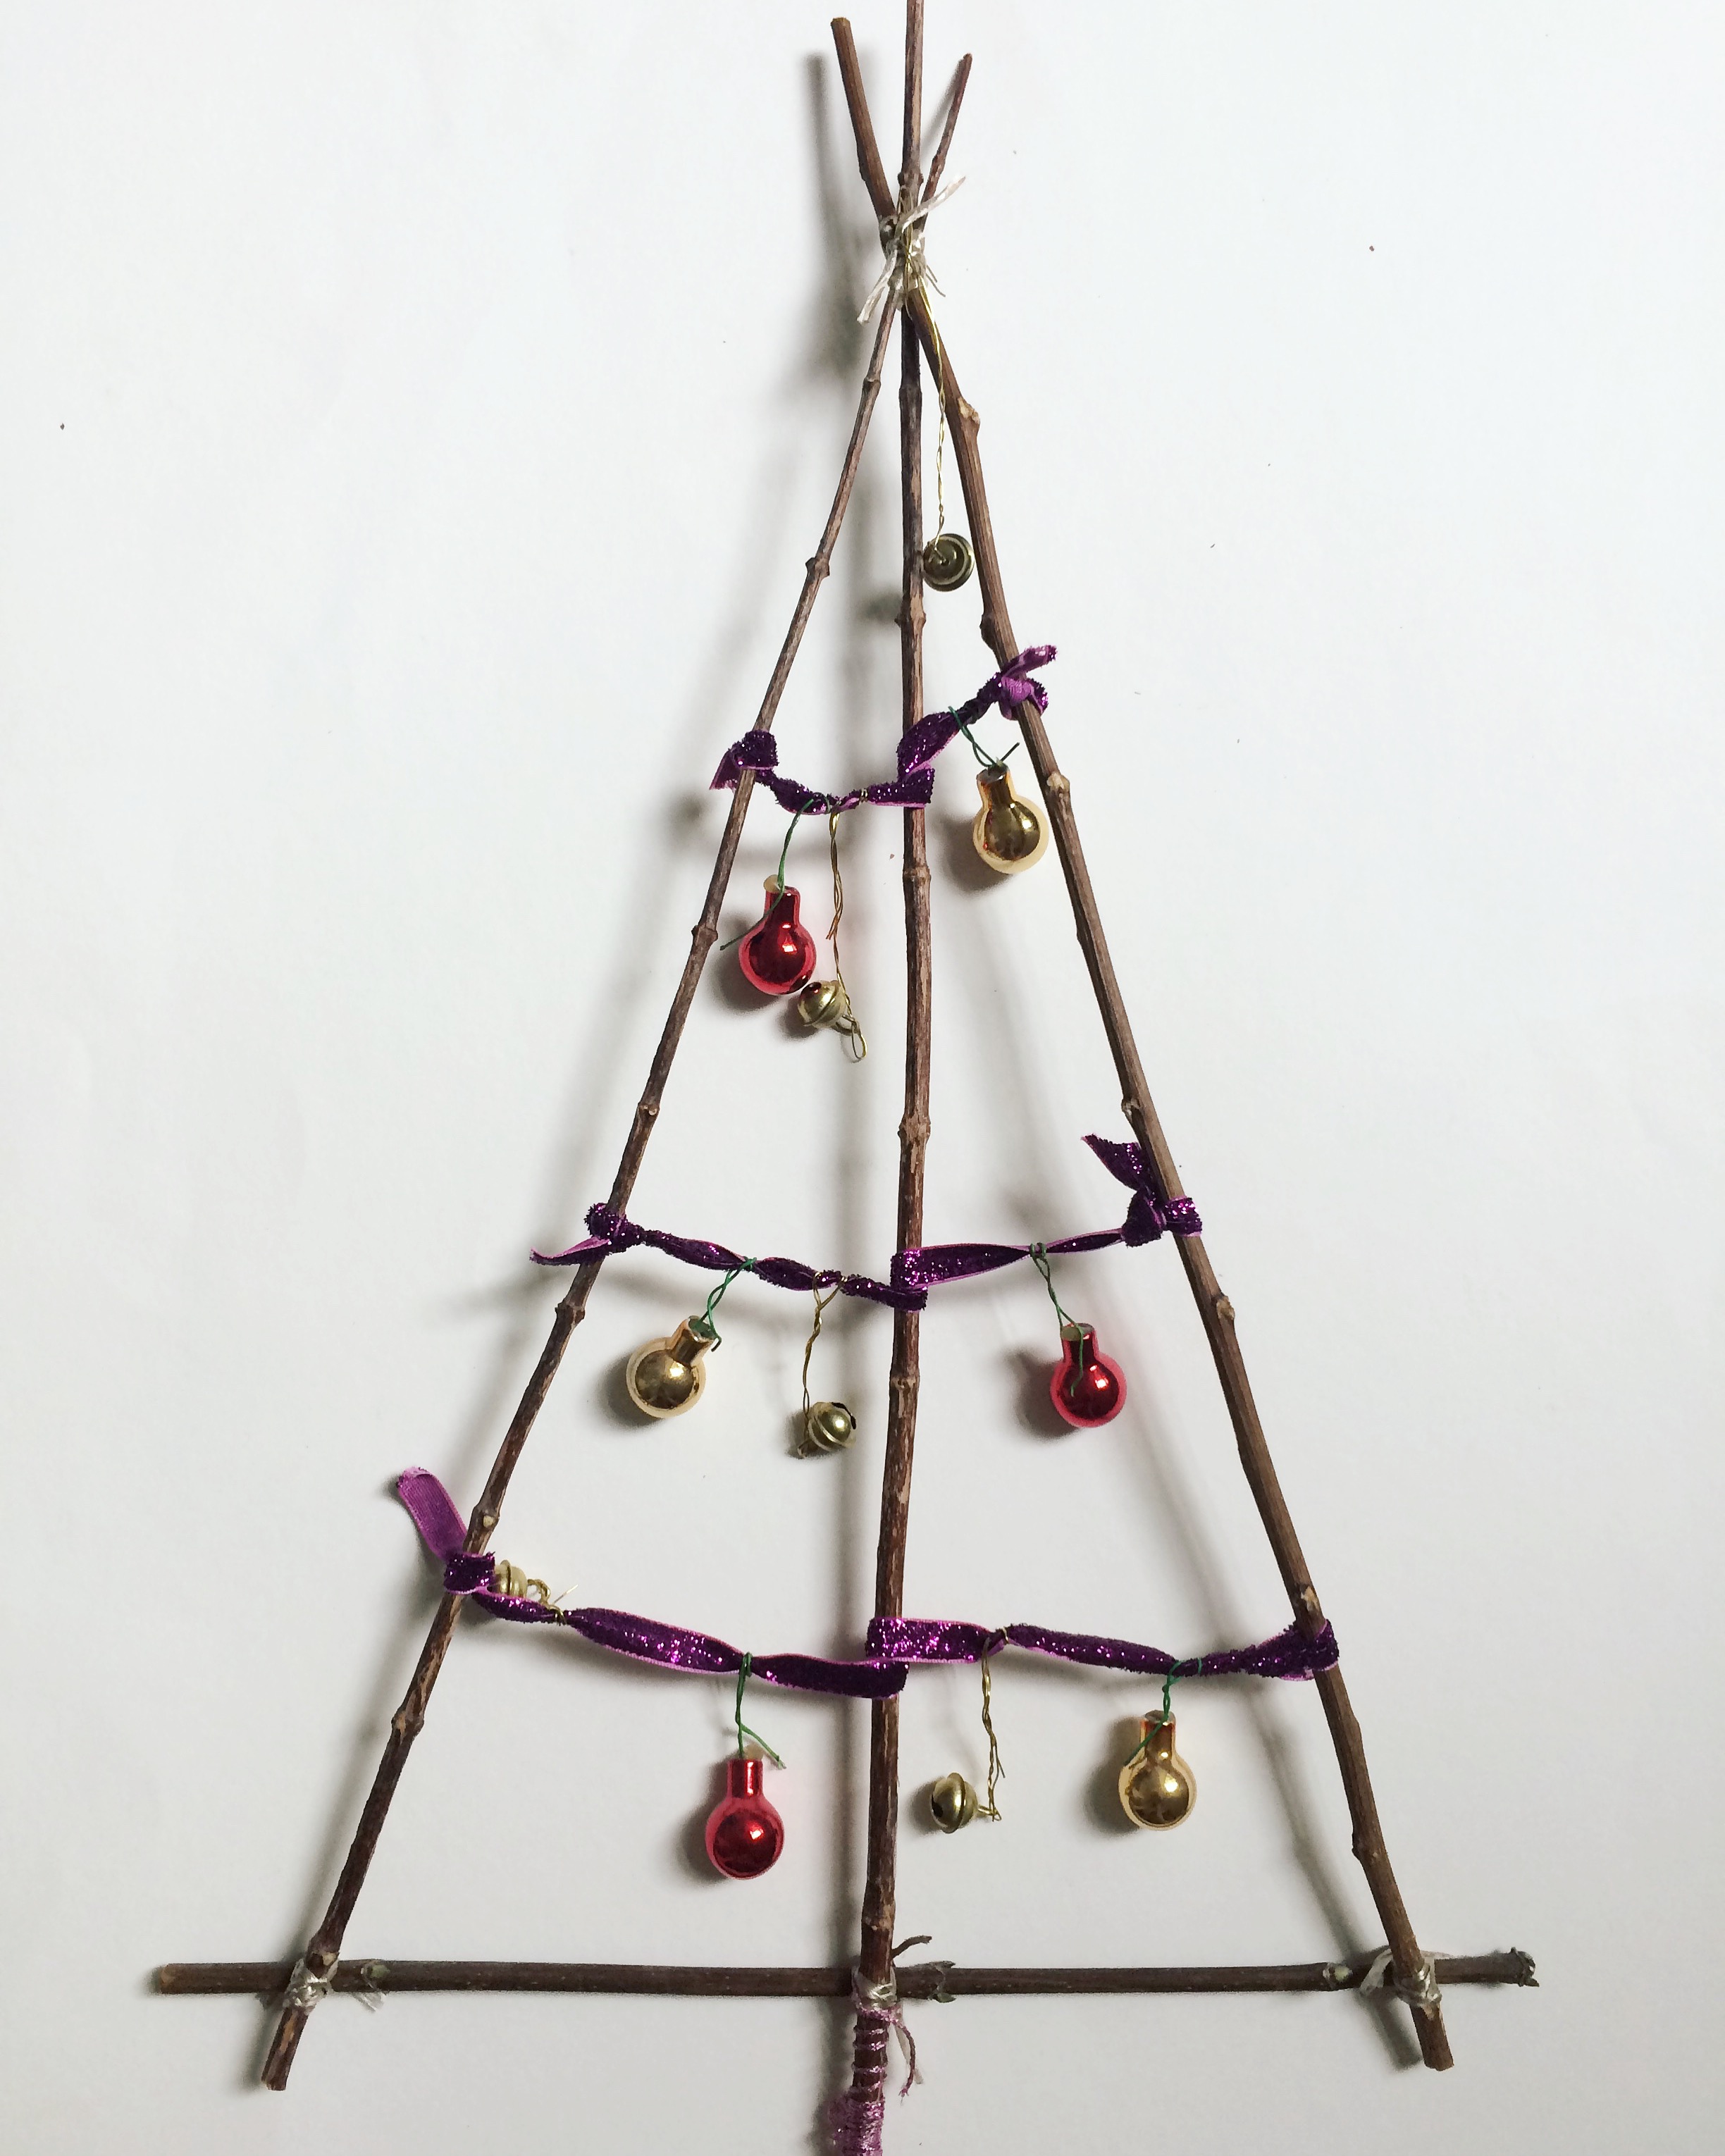
Step 5: Hang the little bells and mini baubles from the ribbon and the top of the frame, and secure by twisting the wire around them.

It should look something like this now:
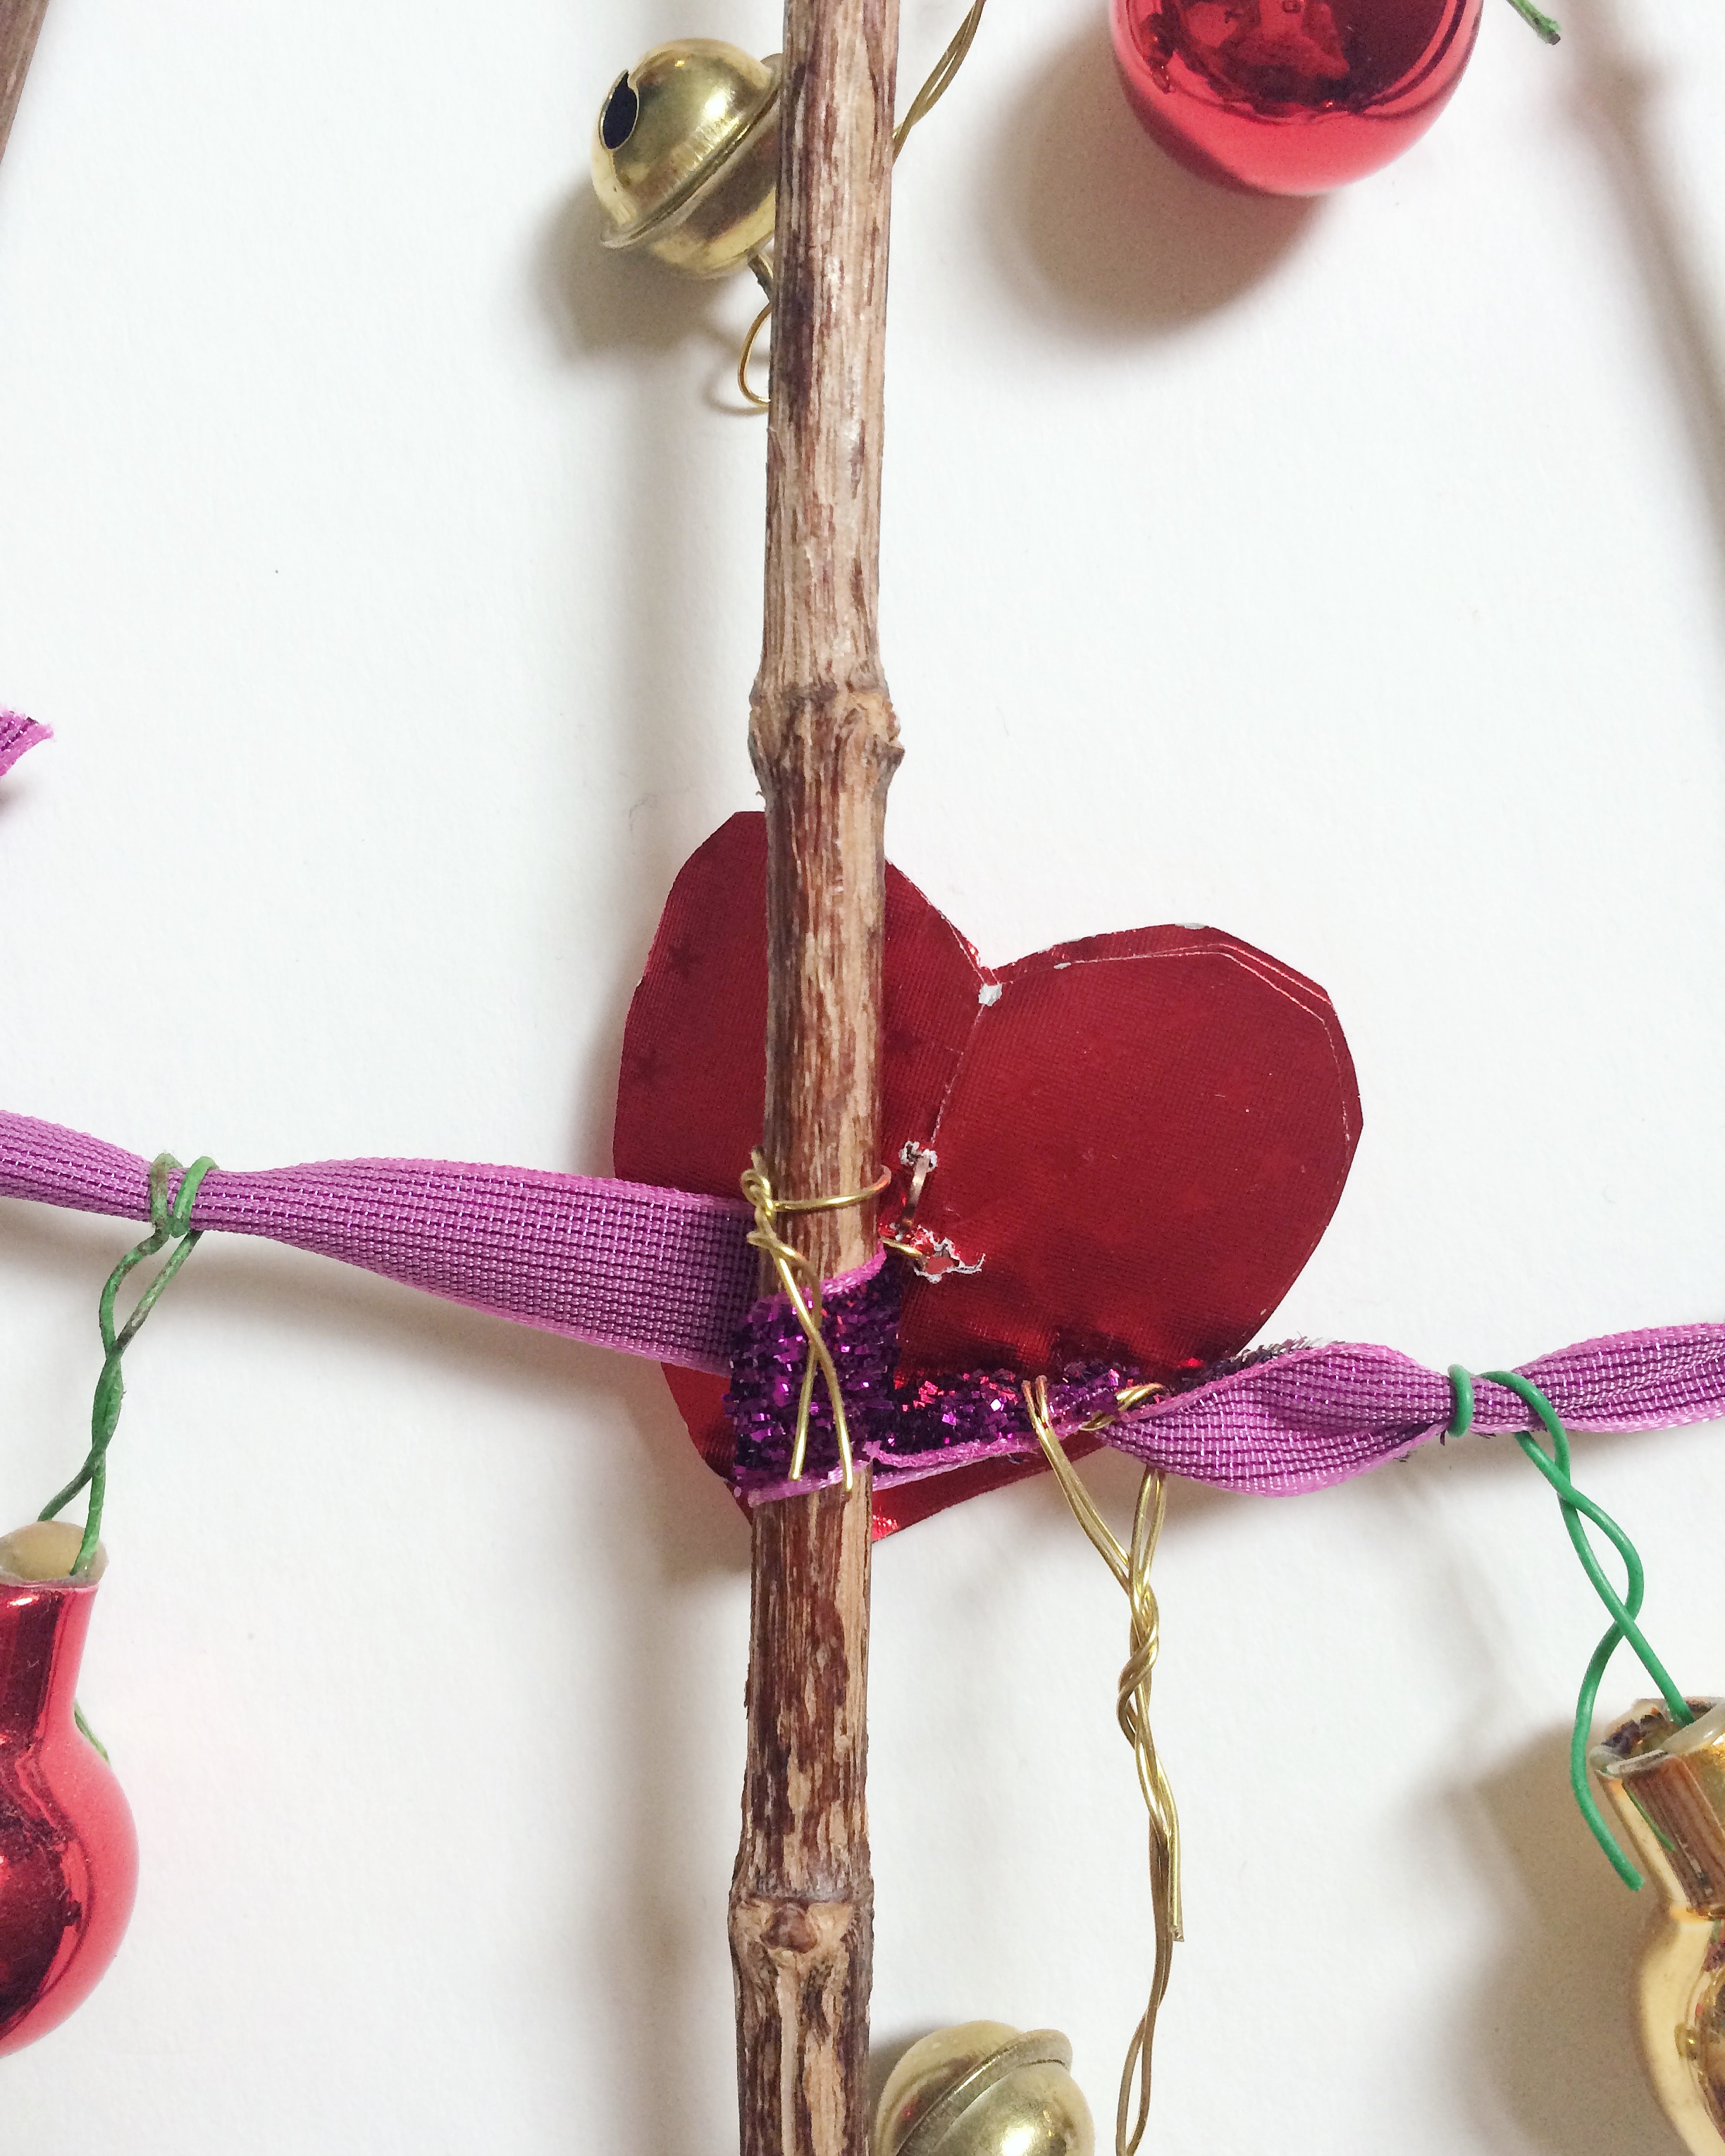
Step 6: Cut out a hear shape from red shiny paper, stick a piece of wire through it from front to back, and secure it on to the frame by twisting the wire around the middle twig/stick. You can do several layers, and then fan them out, to create some more volume and texture.

Step 7: Hand a couple of bigger statement baubles or ornaments from the top of your tree, like so:

Your finished tree should look something like this:

You can customise it according to the materials you have available. If you make any of these trees, I would love to see them – you can tag me on Instagram or Twitter!



candice
Oh this looks brilliant. I may have to do something similar for my son, he would love to this! If i do, ill tag you :-) great ideas.
Starlight and Stories
What a beautiful, yet simple craft. It would make a lovely gift too.
All about a Mummy
What a cute tree. It looks lovely. A great activity to do with little ones at this time of the year.
rach
This is such a great idea! I would never have thought about collecting sticks and actually making a christmas tree with them!
Fashion and Style Police
What a cute Christmas tree. So very creative. We will try making ours.
Anosa
Such a lovely craft idea, I have not made a stick tree in forever.
Pingback: Christmas Crafts Round-up – The Bear & The Fox