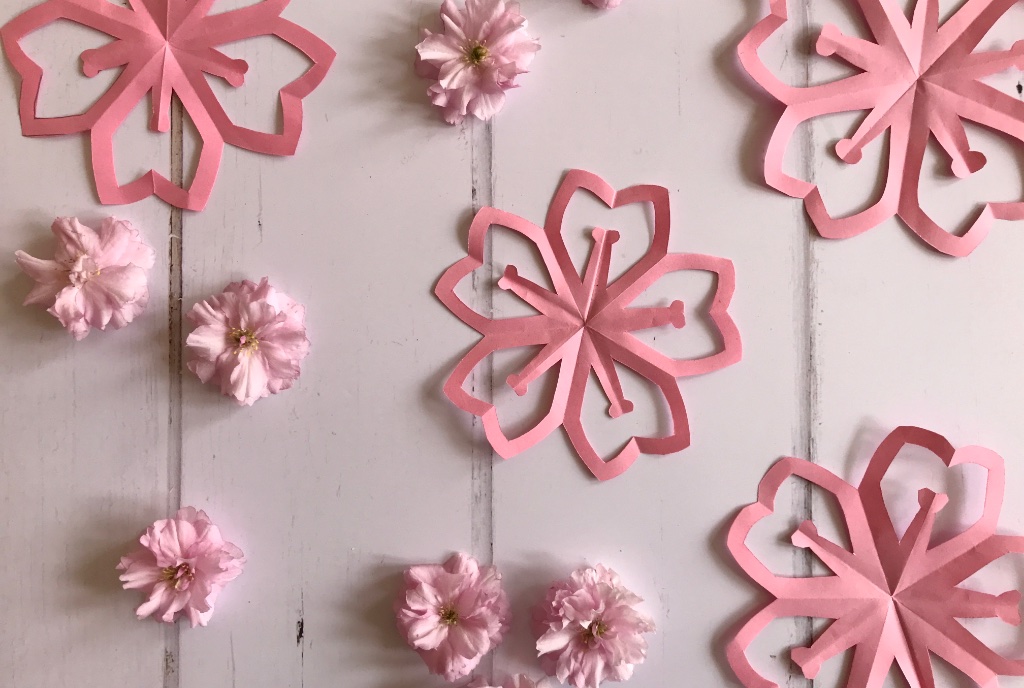
Kirigami Paper Cherry Blossoms
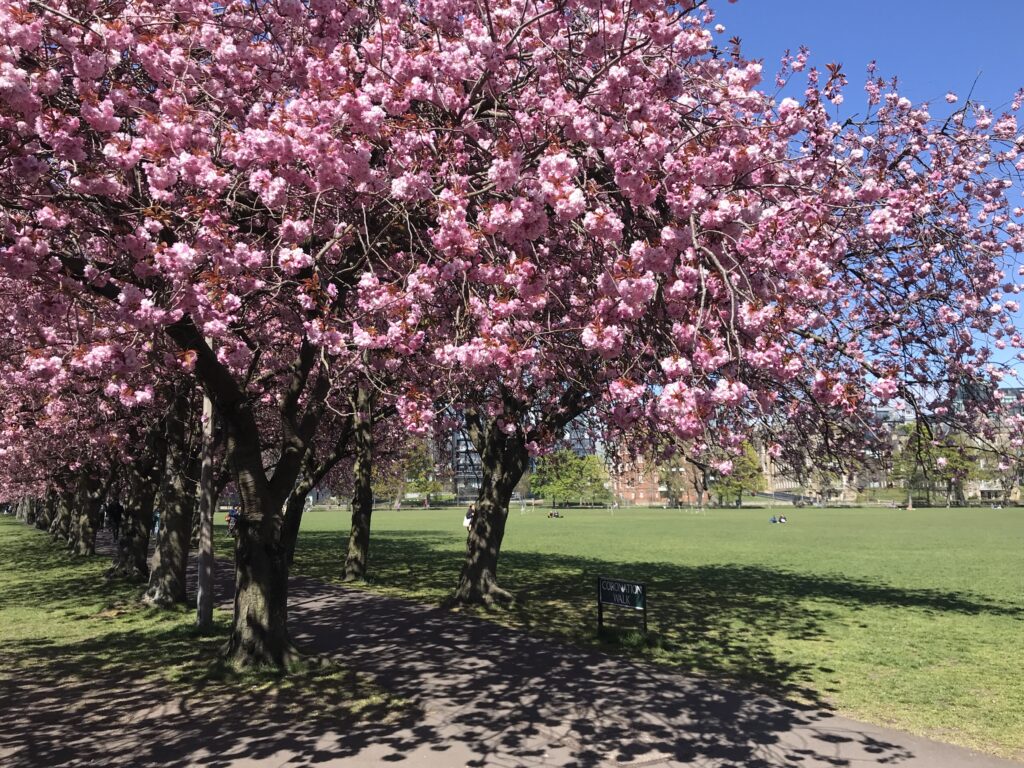
The cherry blossoms are out in Edinburgh. One of my favourite times of year – the city looks so pretty!
It reminded me of a craft tutorial I once share on my old blog almost ten years ago, for crafting paper cherry blossoms. The tutorial didn’t make the cut when I launched my current blog because the photos were not great quality and it all looked a bit dated, but inspired by the pink beauty all around the city just now I’ve finally taken new photos and I even recorded a short video to better show you what to do. The cherry blossoms are created using a technique called ‘kirigami’, which is similar to origami but includes cutting. It’s from the Japanese for “kiru” (to cut) + “kami” (paper). If you’ve ever cut out paper snowflakes, you’ve actually already done some kirigami!
All you need is a sheet of square paper, a pencil, and some scissors. Children can help with the folding, and depending on age can also help with sketching and/or cutting out the cherry blossom template. The most exciting bit is the reveal at the end when you unfold it. To make blossoms of different sizes, just adjust the size of paper or the size of the template.
The following short video will guide you through the folding and cutting techniques to make your own kirigami paper cherry blossoms. Or, if you prefer, you can scroll further down the paper for a full step-by-step guide with photos.
Kirigami Paper Cherry Blossoms – Step by Step Guide
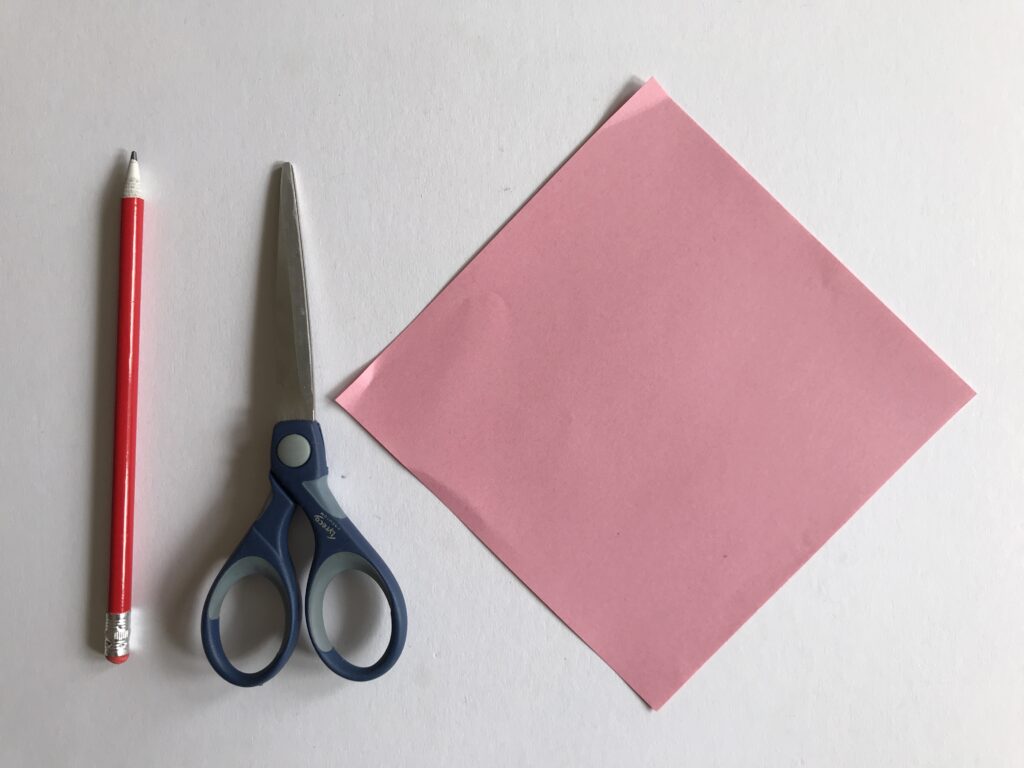
All you will need is a square piece of paper (15cm is a good size), a pencil, and a pair of scissors. Origami paper is great, because it’s already square and it’s thinner than regular paper, but any paper will do.
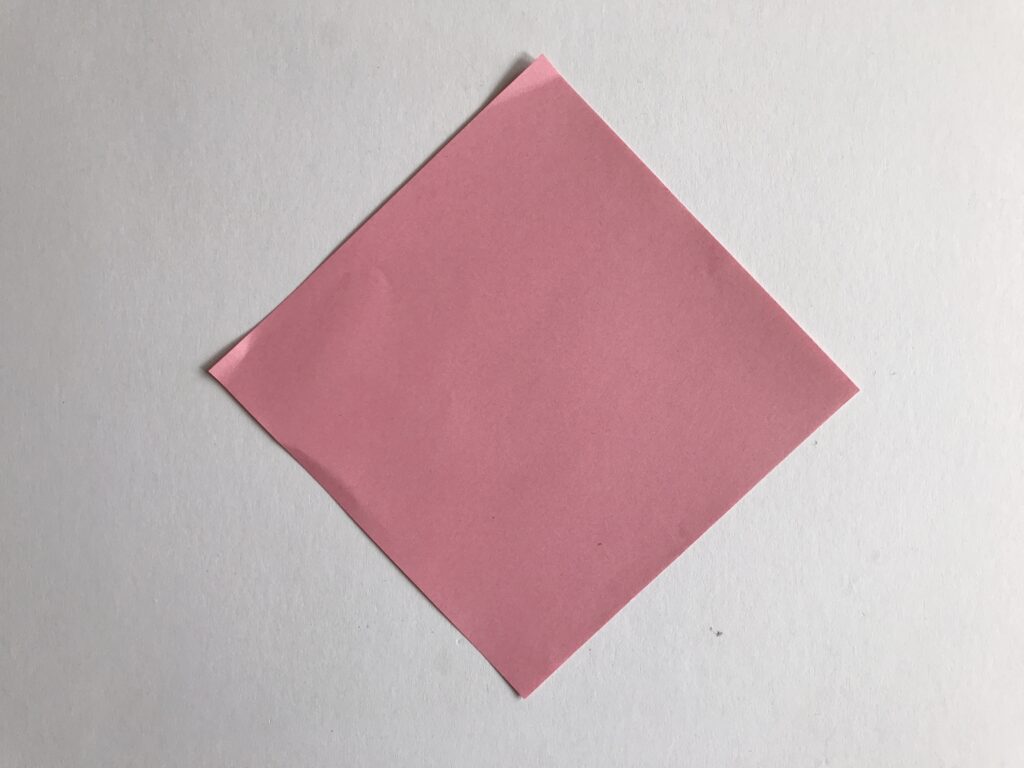
First of all, you need to make your folded base. The cherry blossoms use a five point fold (so you will end up with five petals). Start by laying your origami sheet like this in front of you. If you are using origami paper that is only coloured on one side, it doesn’t really matter which side is up as you will be unfolding it at the end.
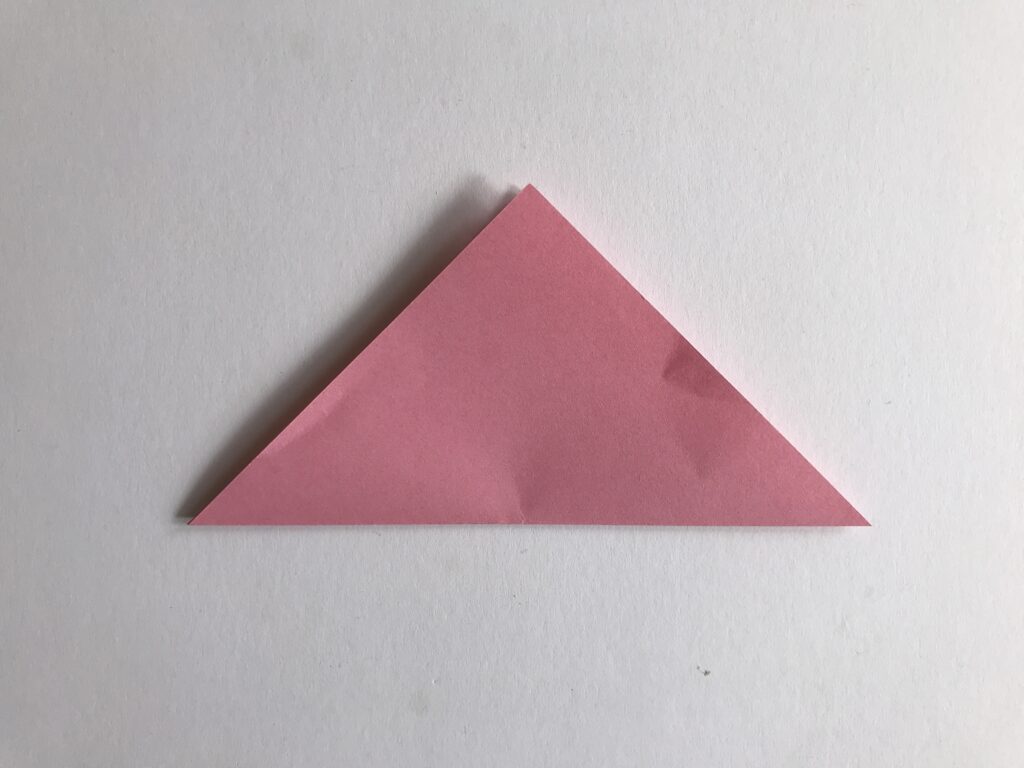
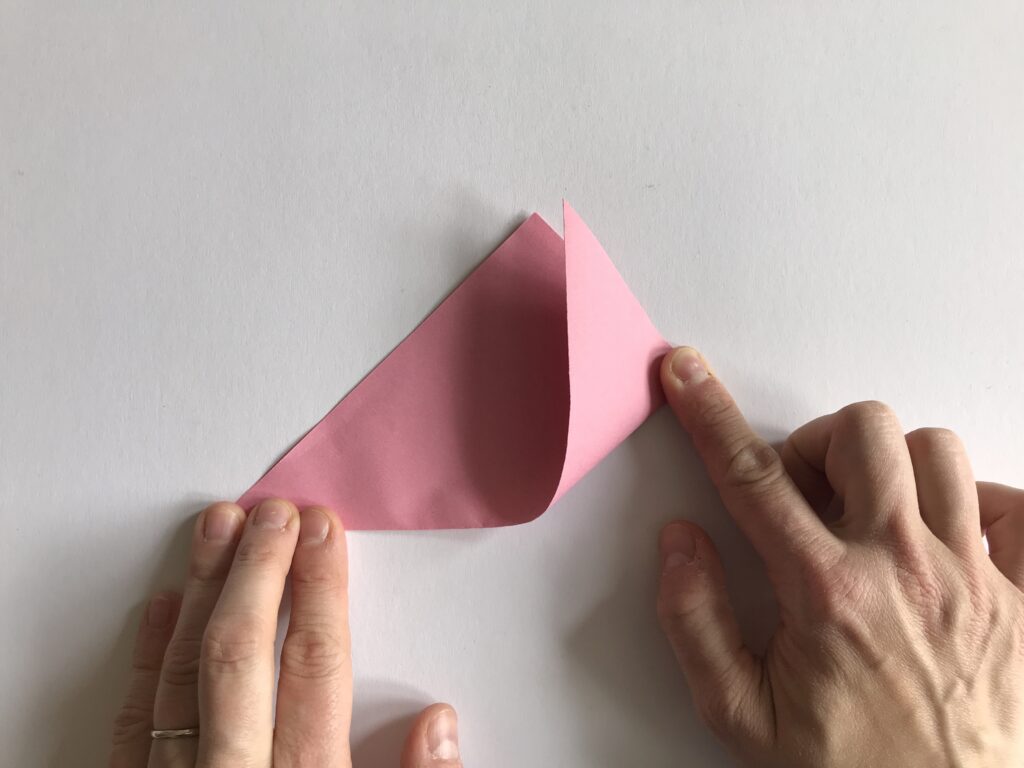
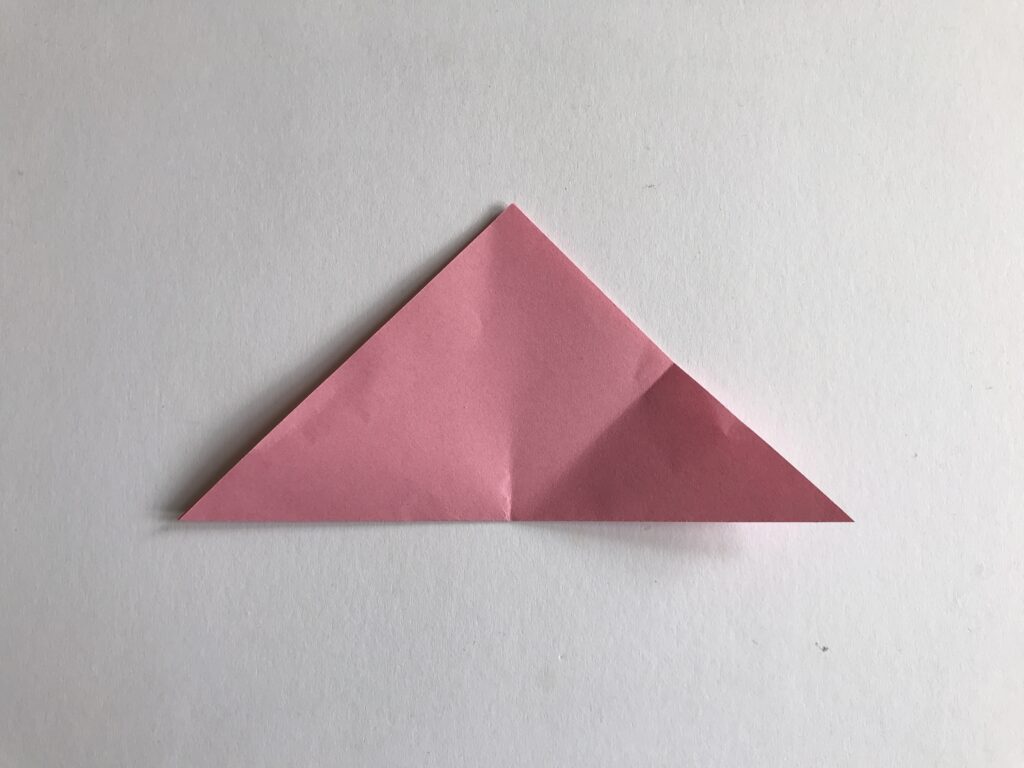
Fold your piece of paper in half, taking the bottom corner to meet the top corner, to make a triangle. Give it a good crease all the way along the folded edge.
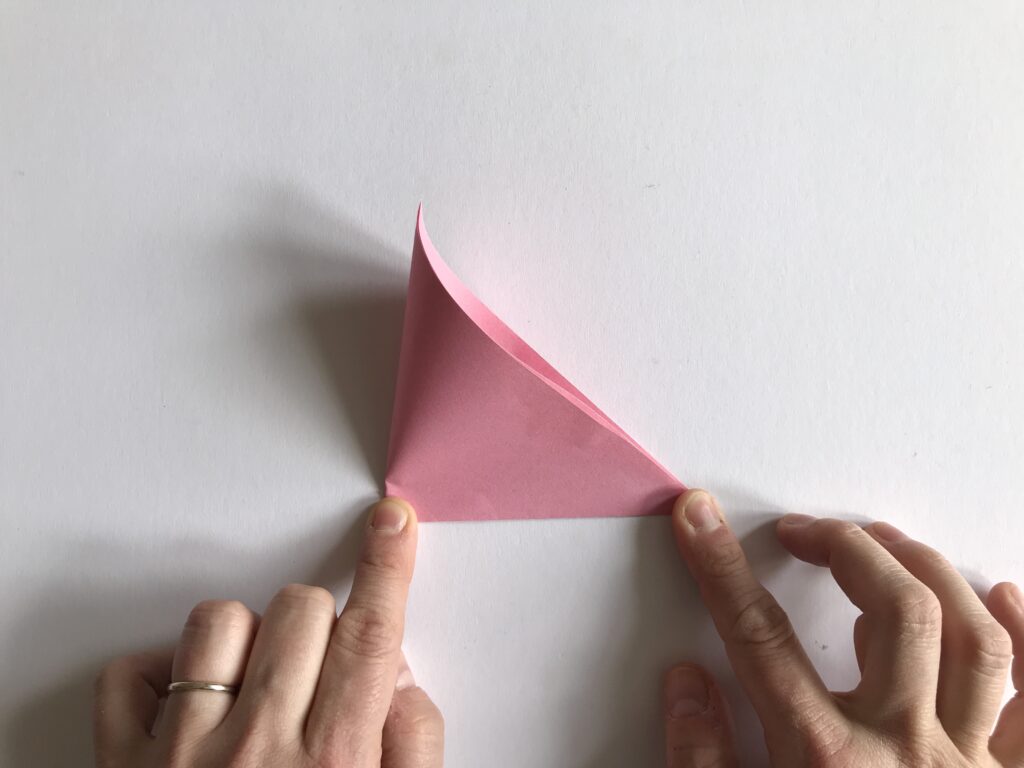
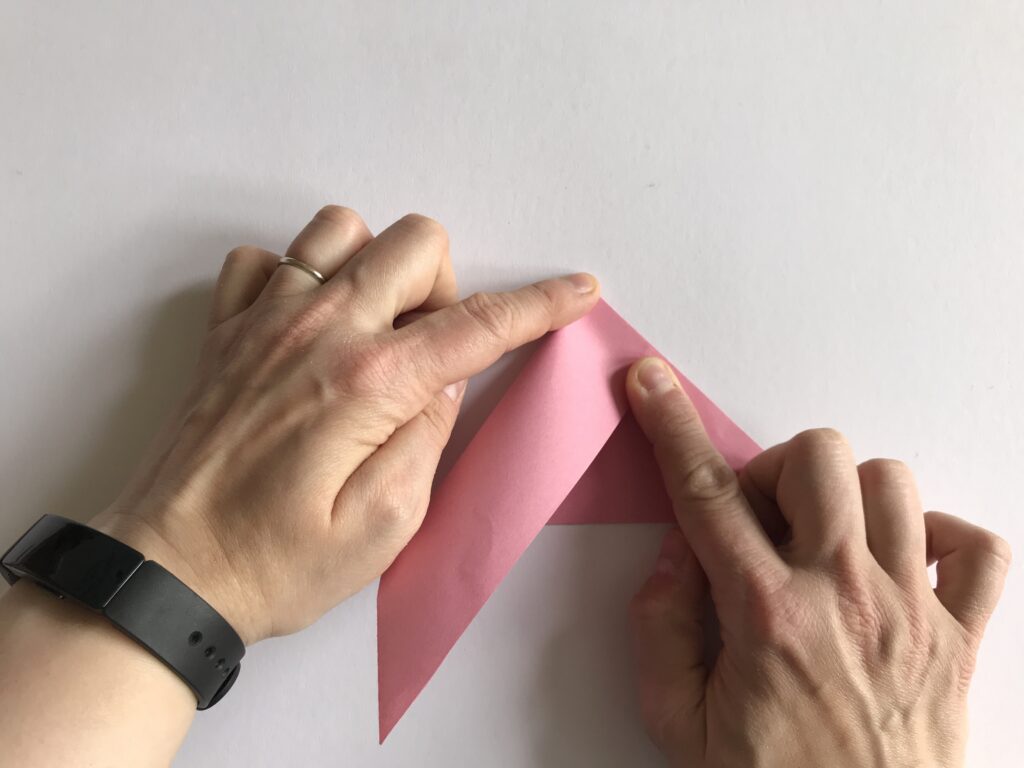
Next, we are going to do a half fold. Take the bottom left corner of your triangle and bring it over to the bottom right corner, but this time don’t crease all the way along the edge! Just give it a small ‘dent’ to mark the middle, as shown above.
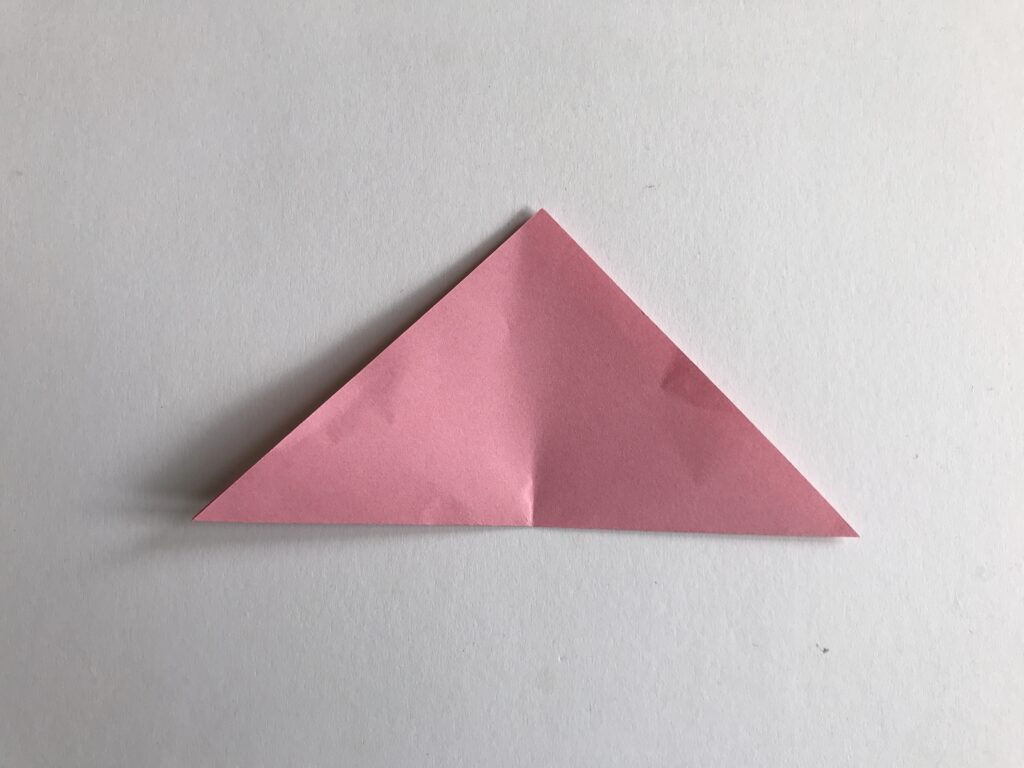
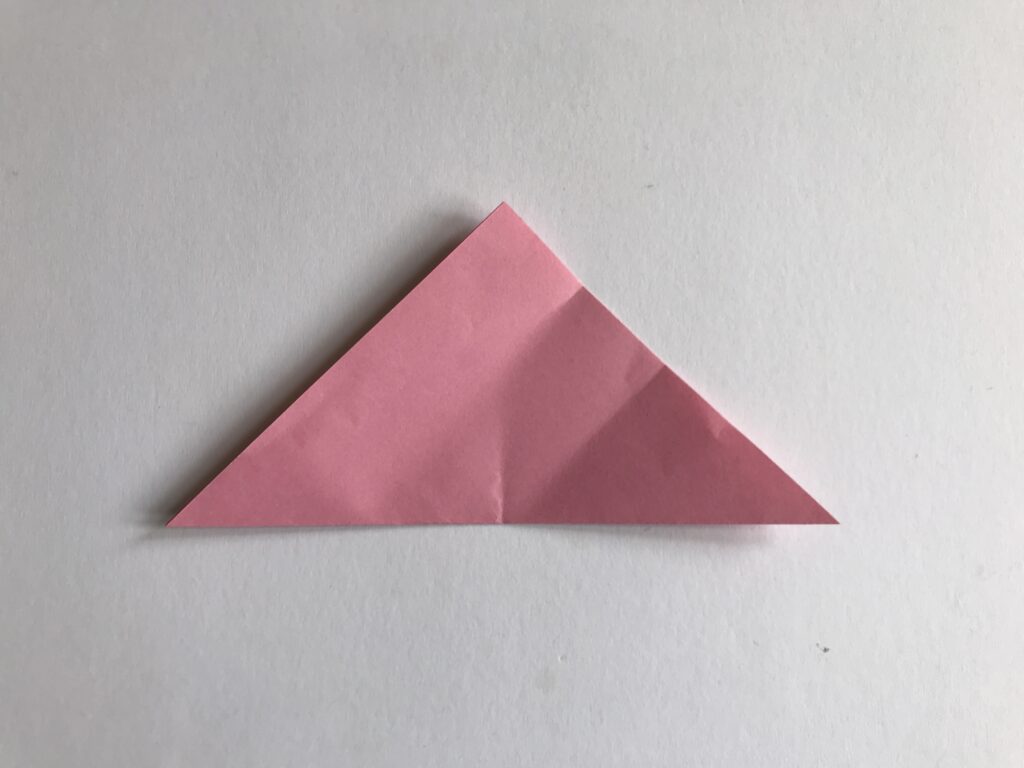
Open your triangle out again. You will see that you have created a guidance mark in the middle of the bottom triangle edge, which you will need for some of the later folding steps.
We’re going to create another guidance mark. This time take the bottom right corner of your triangle and bring it up to meet the the top corner. Again, don’t crease all the way along, just make a small dent where it folds over.
Open your triangle out again. You should now have a guidance mark half way along the right edge of the triangle.
For the final guidance mark, take the top corner and bring it down to meet the guidance mark you just made in the previous step. As before, just make a small dent.
Open your triangle out again – you should now have one guidance mark along the bottom edge of your triangle, and two guidance marks along the right edge of your triangle.
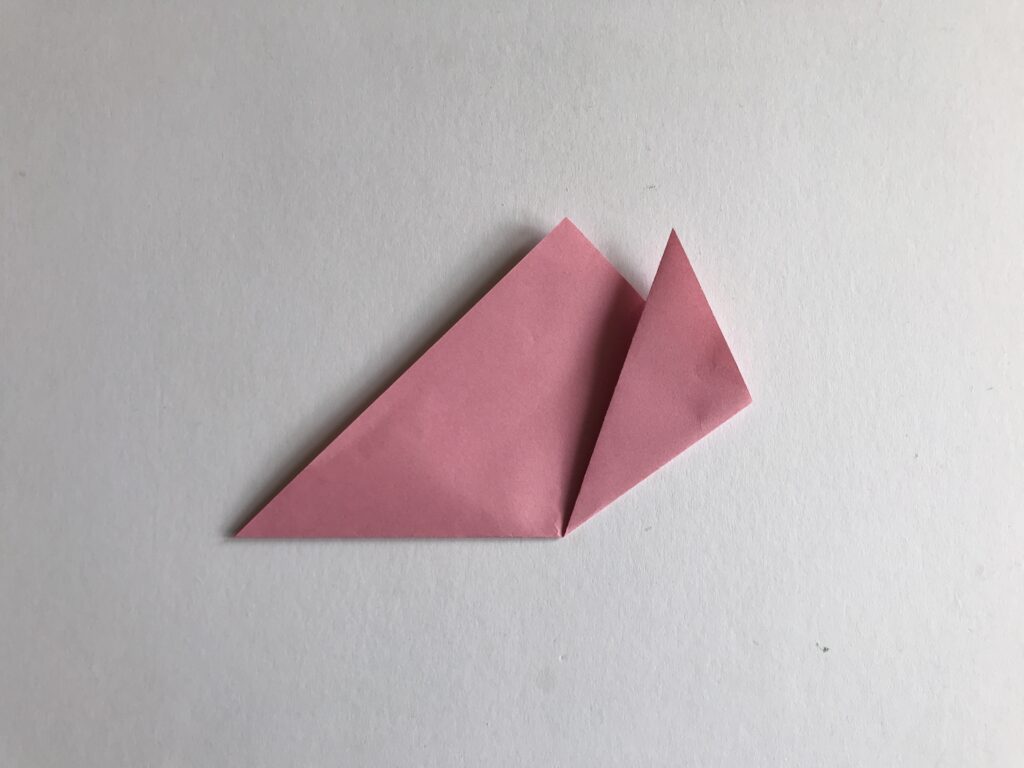
The next couple of steps may look more complicated than they are. We’re going to use the guidance marks to help us make the final folds. If you get stuck, I recommend watching the short tutorial video at the start of this post, as it’s easier to show than to explain. First, take the bottom right corner and fold it up so that the edge aligns with the guidance marks along the bottom of the triangle and the one next to the top corner. This time, you want to give it a good crease all the way along.
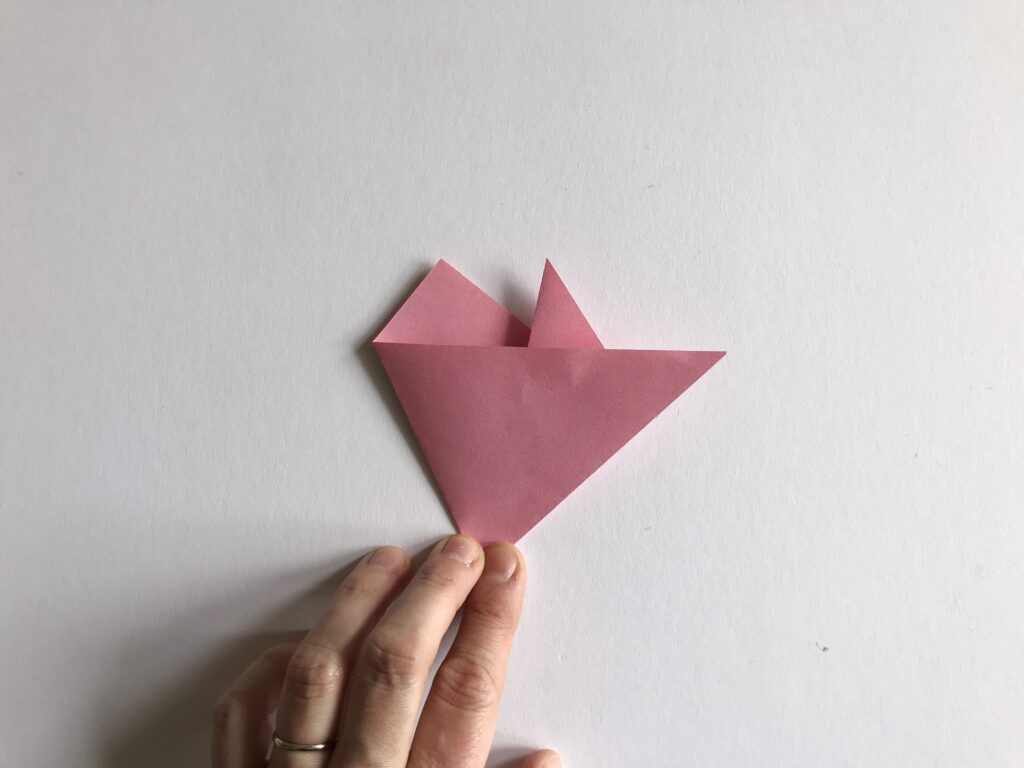
Next, take the left hand corner and fold it over so that the left half of the bottom edge of your triangle aligns with the opposite side, as shown in the picture above.
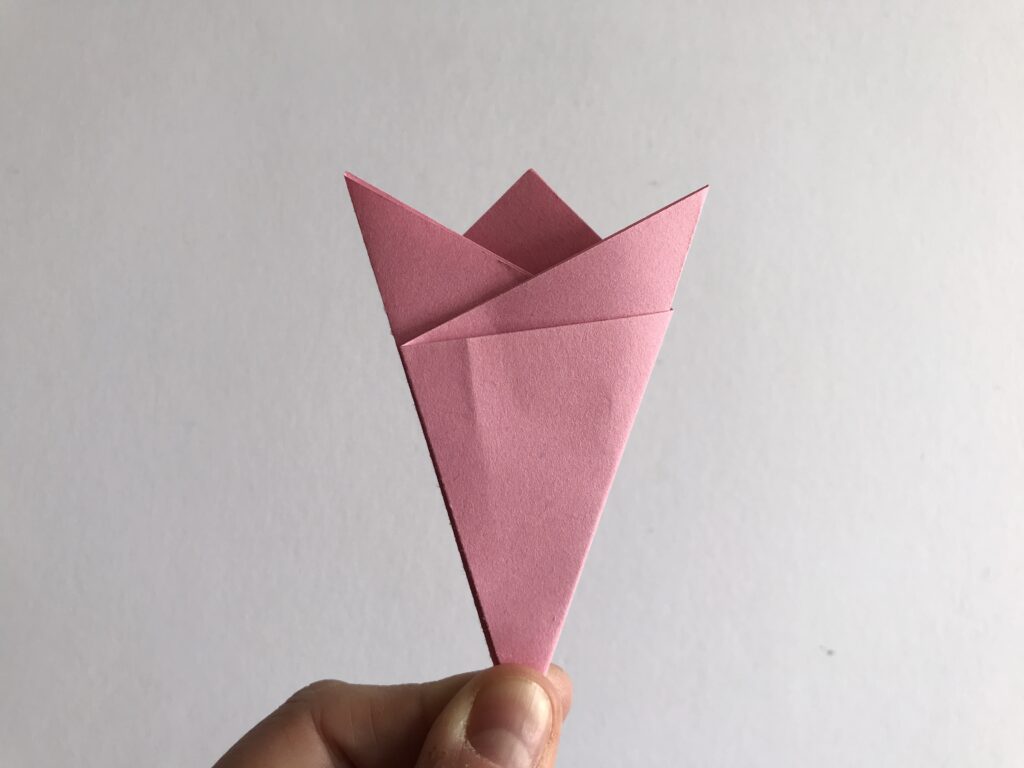
Finally, fold the right side of the triangle back over to the left, again aligning the edges. If you are little confused, don’t forget the video!
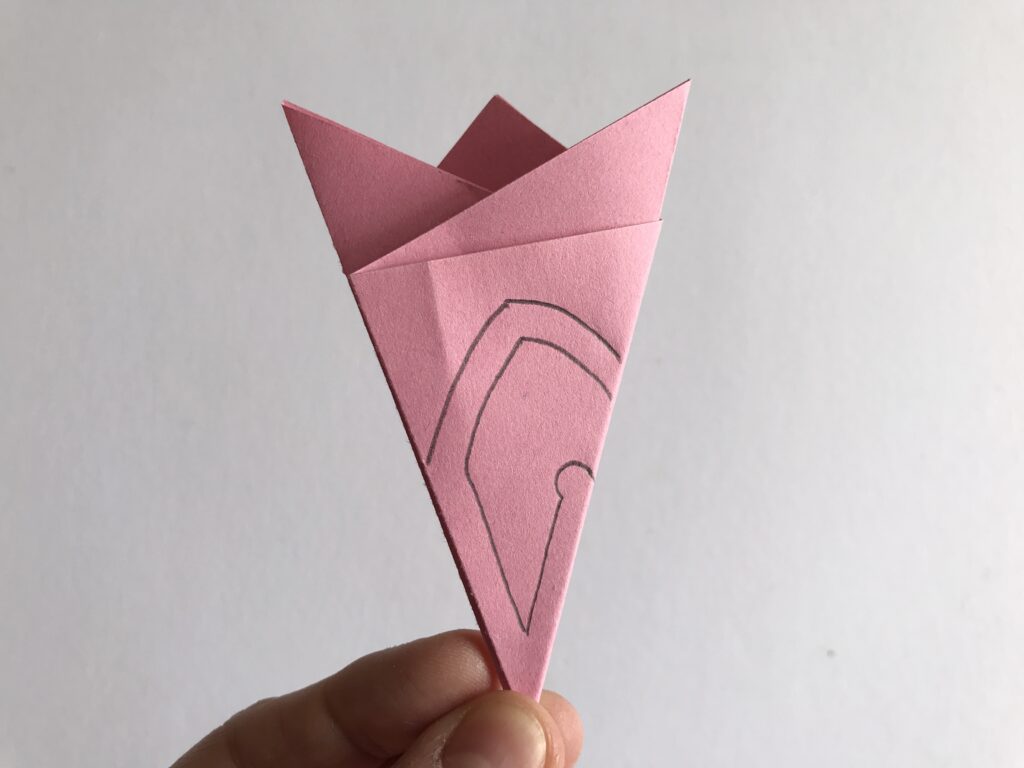
You are now ready to draw on your cherry blossom template. Just copy the one in the picture above. Once you are confident about making paper cherry blossoms you can experiment a bit with the template, e.g. by giving it more rounded corners or making the stems in the middle different shapes.
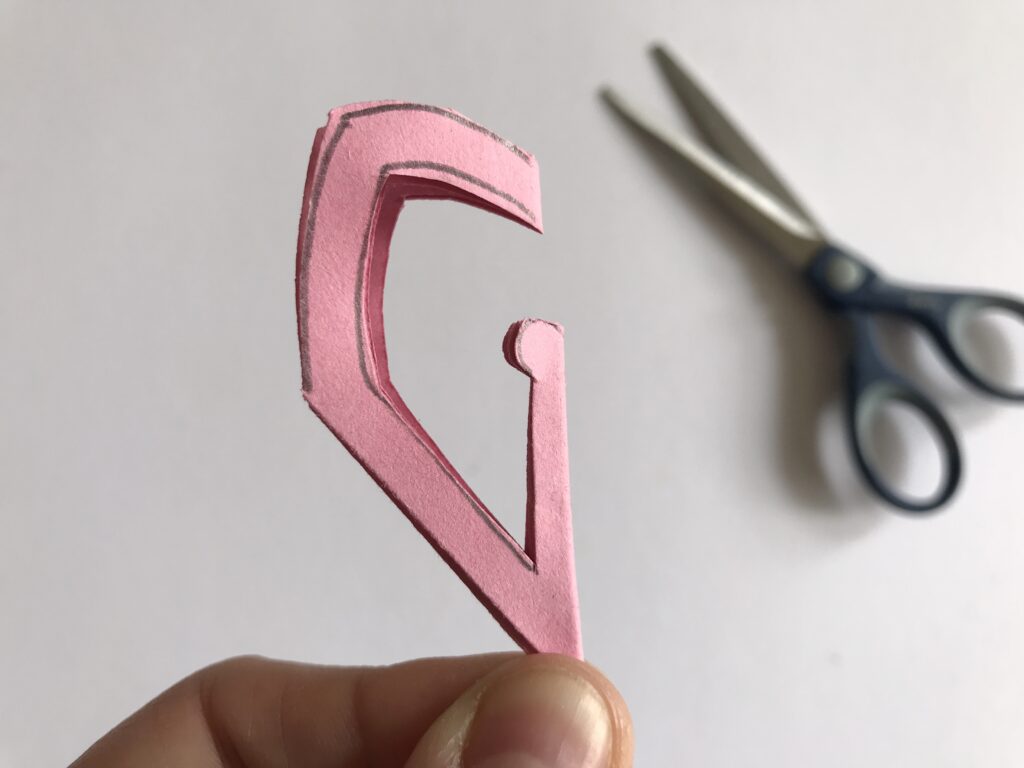
Cut out your template.
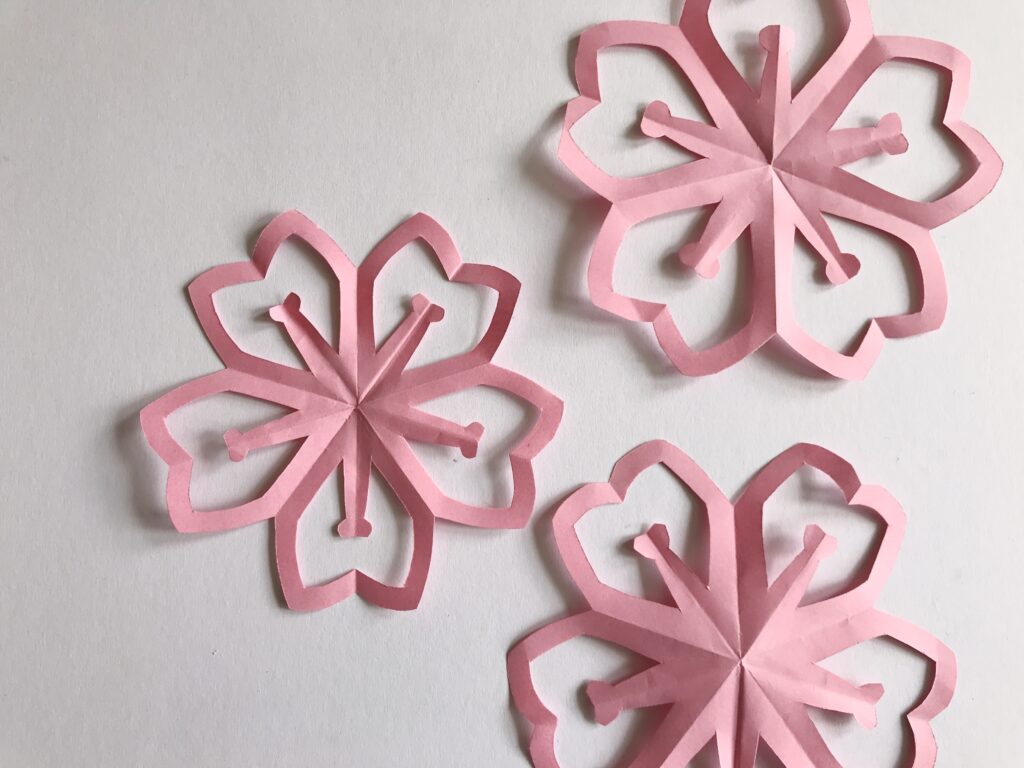
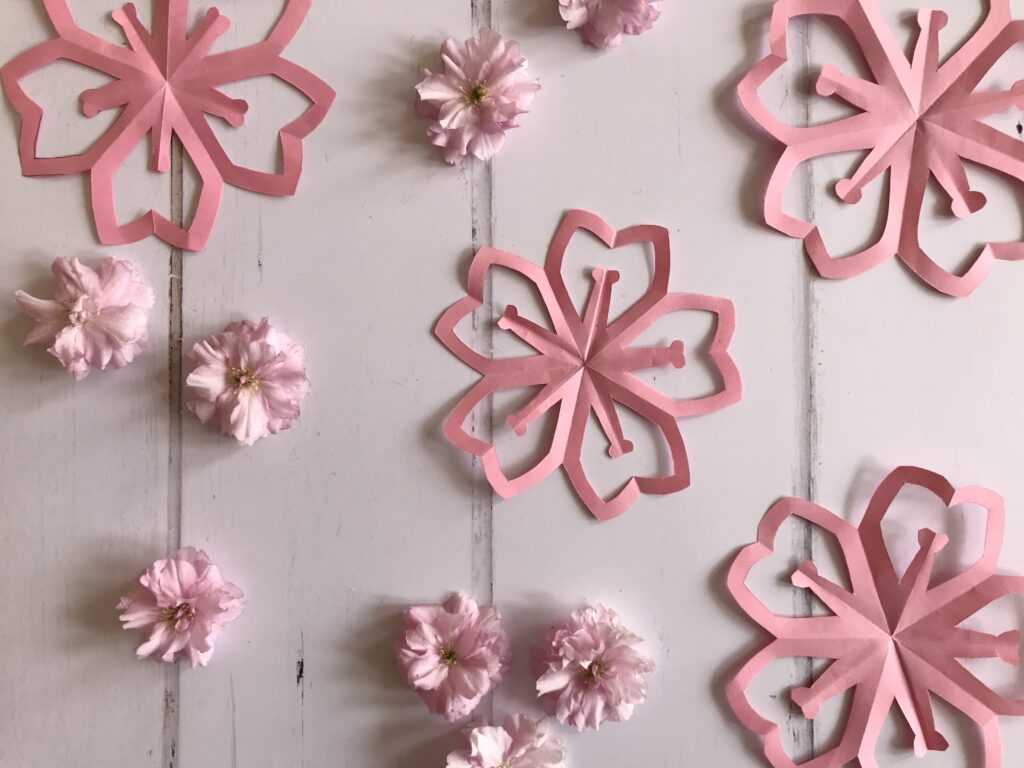
Carefully unfold and…voila! Your very own cherry blossom. Why not make a couple in different sizes or colours!
If you make your own cherry blossoms, we would love to see them, so please feel free to tag us on Facebook or Instagram. And for more fun craft projects, check out our DIY Archive.
MELANIE EDJOURIAN
These are so pretty. My kids love to get crafty and would probably enjoy making loads of these.
Sabina Green
Oh wow! These are gorgeous, what a lovely Spring craft to do and they make beautiful decorations too. Well done.
Mudpie Fridays
These are so pretty! I do love the blossoms only this year locally to us the wind was not kind! I often look back on old blog posts and cringe. The photos in this one are lovely.