DIY Recycled Toilet Roll Castle
Today we have an easy craft to share with use that uses recycled materials. My 5 year old was studying castle at school and had to draw or create a castle, and he decided he wanted to make one from cardboard.
We raided our recycling bin to see what we could find, and came out with a selection of cardboard boxes, and empty toilet and kitchen rolls. There’s no one way to do this craft, as it depends on what materials you have to hand, how big you want to make your castle, and so on, but we hope taking you through how we made ours will give you some inspiration.
This is what we used:
- 1 small cardboard box
- 4 empty toilet rolls
- 2 empty kitchen rolls
- a spare strip of cardboard
- grey acrylic paint
- red craft paper
- a black pen
- a wooden skewer
- 2 green pipe cleaners
- some string
- a pencil
- a glue stick
- a hot glue gun
- a craft knife
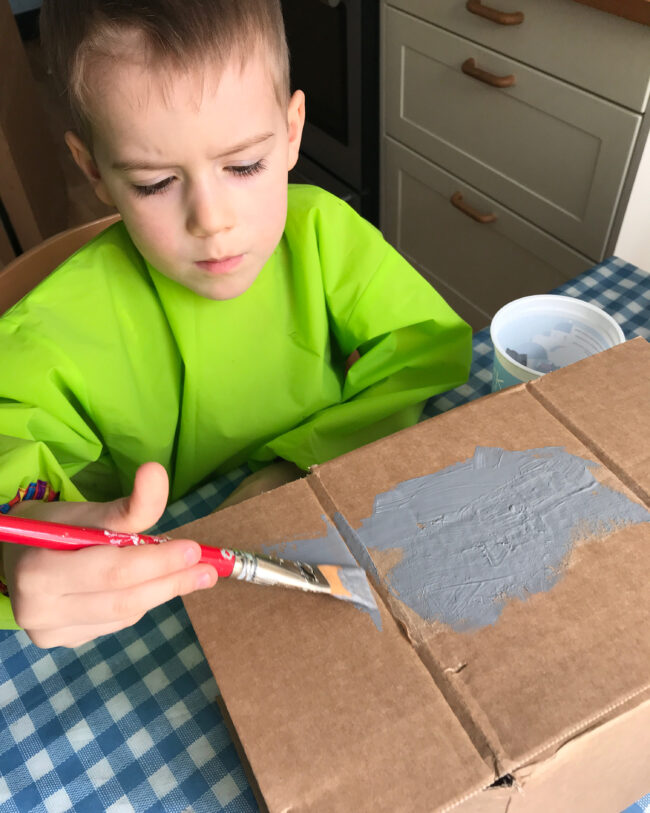
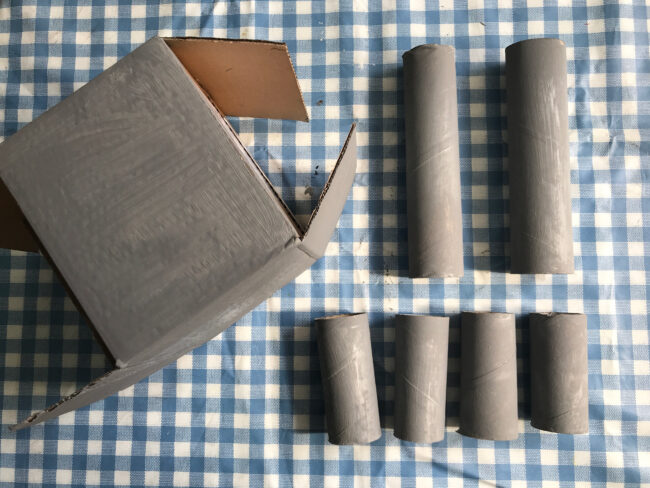
Step 1: First of all, my son played around with all the boxes and cardboard tolls we had to test out how he wanted his castle to look. He chose a small box, two empty kitchen rolls and four empty toilet rolls. Once he was happy with it, he painted everything with grey acrylic paint (everyone else in the family helped a little with the painting too…)
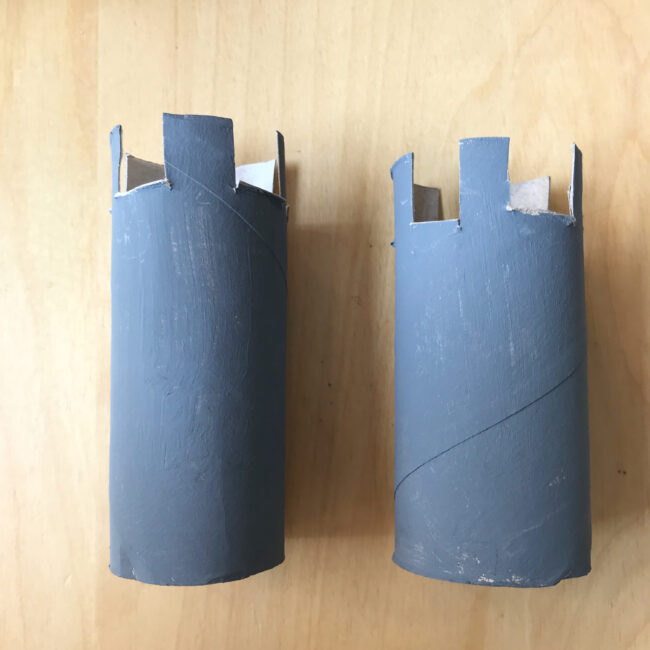
Step 2: Next, my son wanted to cut “zig zag shapes like castle towers have” in to the tops of two of the toilet rolls. I gave him a but of guidance, but he did all the cutting himself. We also cut arches for doorways in to all of the toilet and kitchen rolls. These were a little trickier to cut out, so he drew them on and did some of the cutting, and I did the rest of the cutting (“the curvy bits”) for him.
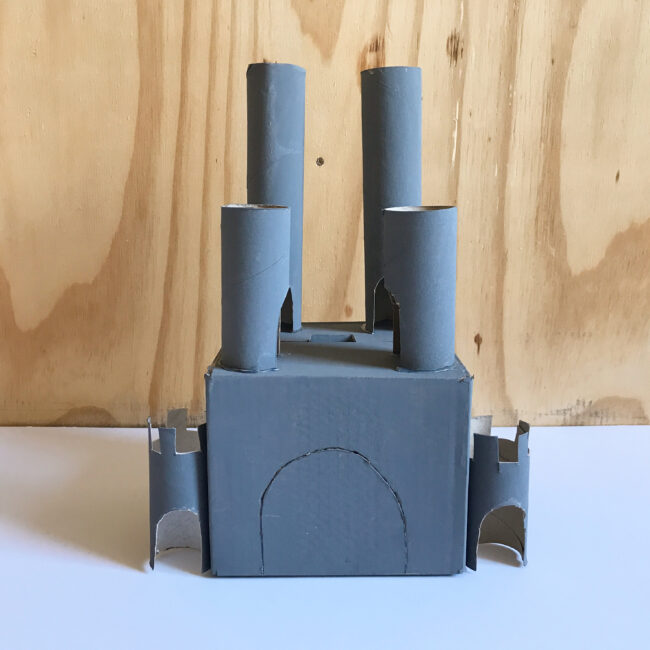
Step 3: After we had cut all the pieces the way he wanted them, it was time to stick everything together. The hot glue gun is strictly adults only, so I had my son position everything where he wanted it, then I applied the glue, and we stuck the pieces on together, making sure he didn’t burn himself.
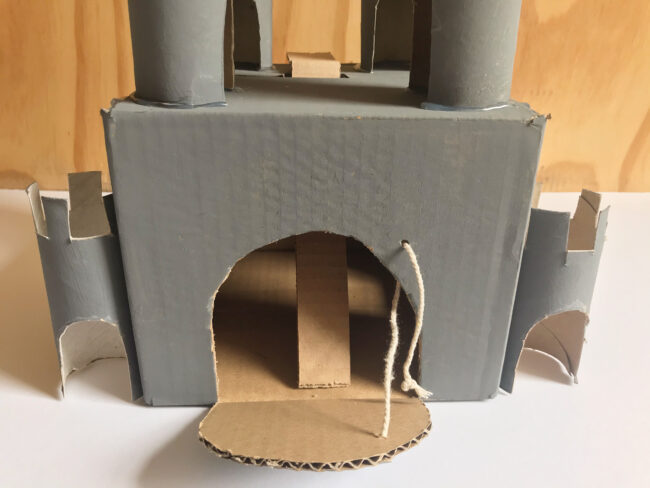
Step 4: There were a few more things to cut out, namely the door and the windows on the main box. This was a job for the craft knife, which is also strictly adults only, so I got my son to draw on the door and the windows, then I cut them out with the craft knife exactly the way he had drawn them. That way it still felt like it was his creation.
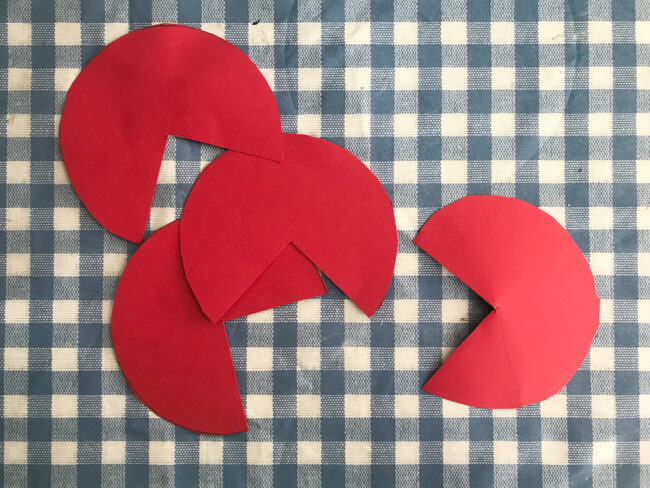
Step 5: For the other ‘towers’ that he hadn’t cut out the top edge, my son wanted to add roofs. He chose red. I had him draw around a small bowl and cut out the circles, then helped him to glue them in to cones. After that it was another joint effort to glue them in to place with the hot glue gun.
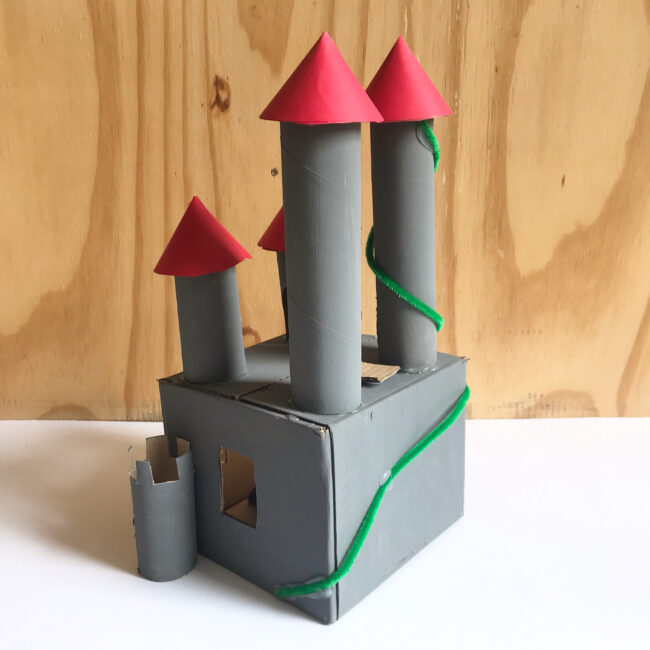
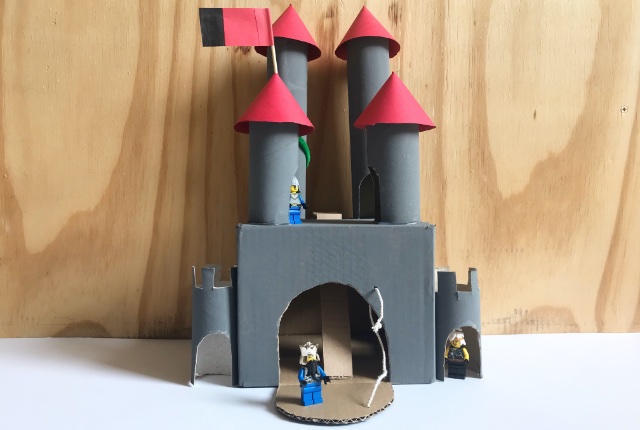
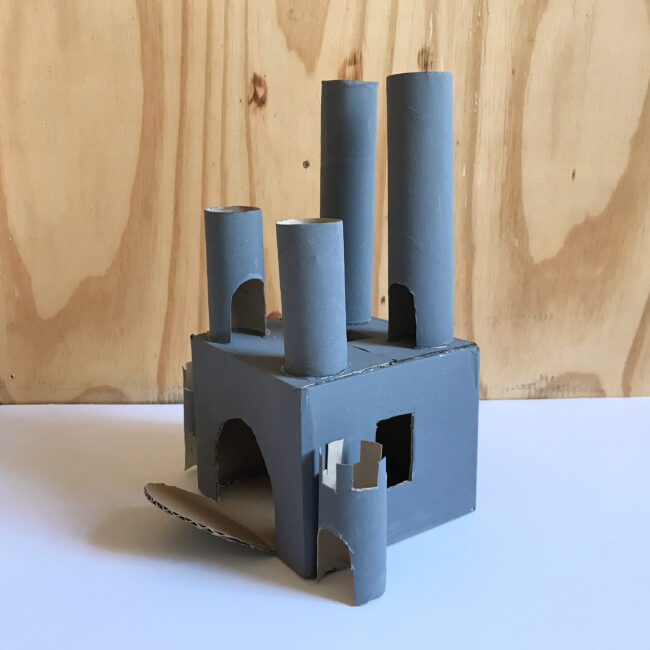
Step 6: Finally, we added a couple of finishing touches. My son wanted to glue on some green pipe cleaners he had found in our craft supplies “as plants going up the castle”. He drew on a line in pencil where he wanted them to go, and I glued them in place with the hot glue gun. We also added a ramp leading up from the inside to the top level – again, he drew the lines for the ramp and for the hole where it should come out, and I cut everything with the craft knife. I also added some string to make the door in to a draw bridge at his request (it was a bit too fiddly for him), and the very last thing was that he made a flag out of scraps of the red craft paper we had used for the roofs, and a wooden skewer from our kitchen supplies.
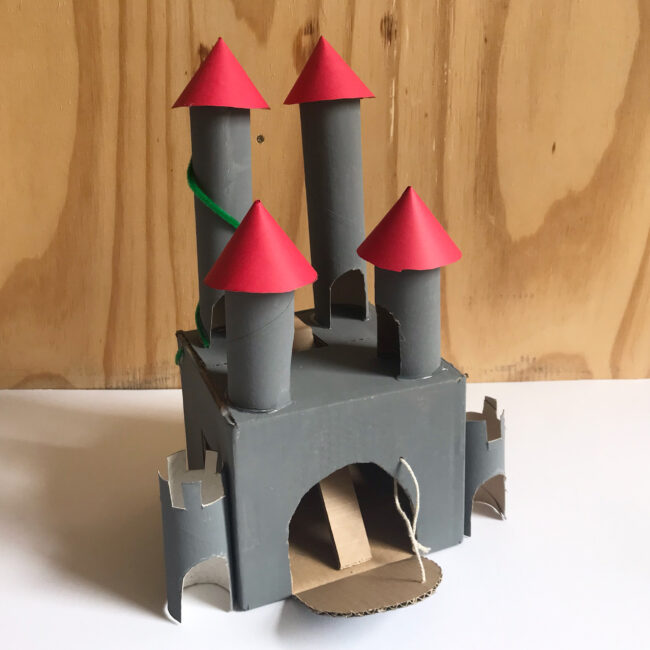
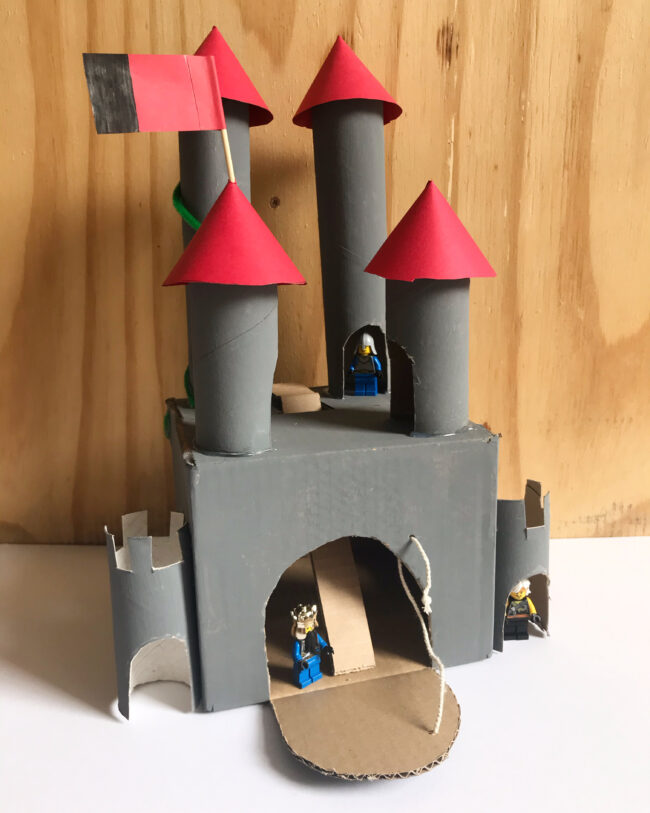
Voila! One finished castle out of recycled materials. It’s the perfect size for his Medieval Lego figures. Of course, you can adapt this to make your castle any size you want.
Since this was an assignment he had been given from school, I wanted to be as hands off as possible. I did help him with the painting, as there was a lot of it and he was getting a bit discouraged, but he did the majority of it. And I did any parts that involved using the craft knife or hot glue gun, as they are strictly adult only. Safety first! But he chose the materials, he designed the castle and decided what was going where and positioned everything. He cut out himself what he could manage with normal scissors, and he drew in all the parts that he wanted me to cut out with the craft knife and directed me where to put the glue from the hot glue gun. So although he didn’t do 100% of it by himself, I still feel that it was very much his project. He obviously had a very clear picture in his mind how he wanted to make it, and I think it turned out great.
PS: Word of advice – don’t use rolls from scented toilet paper (it’s all they had at the store during the panic buying…) I still keep wondering what that strange fake floral smell is every time the boys play with the castle!
Oolofi-83
Wonderful! I’ve been building castles like that too.