Rain Cloud Mobile
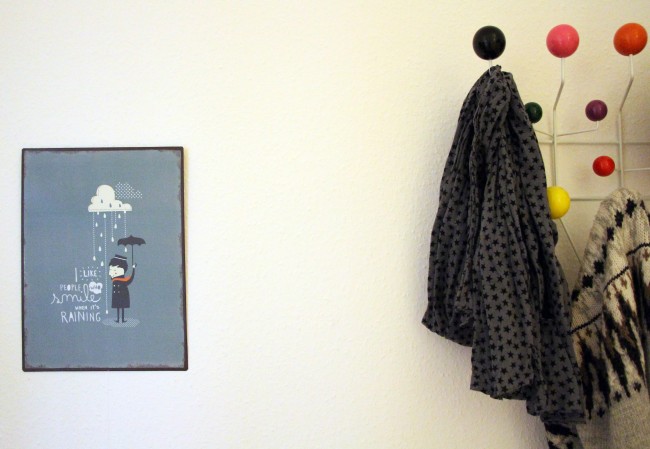
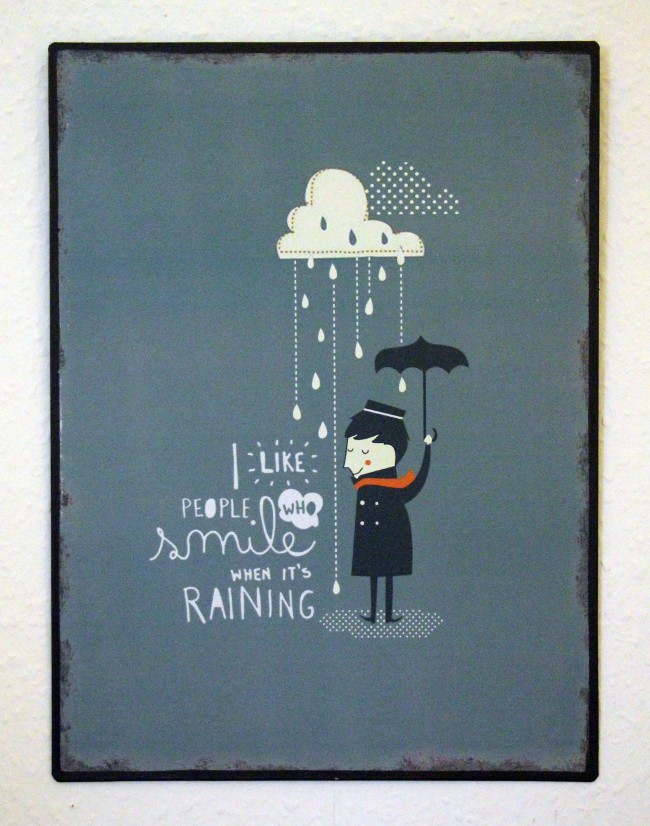
Ever since I discovered they sell bags of felt balls, sorted by colour, at our local crafts store, I knew I had to do something with them! I had no idea what at the time, but after hovering over them on several craft store trips, I finally purchased several bags of felt balls in different shades of blue. Then they sat in my craft box for a couple of months, until our apartment was featured on Design Mom back earlier this year, and everyone was asking about the rain cloud print in our hall (which had been a gift from friends, so unfortunately I was unable to give much information on it): “I like people who smile when it’s raining”
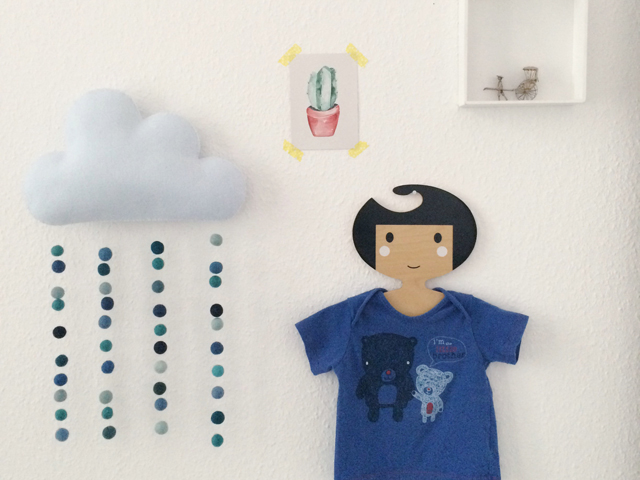
And then it hit me! Blue felt balls = rain drops! We all love rain, so a rain cloud mobile for the boys’ bedroom was the obvious choice. The only question being why I hadn’t thought of it sooner!

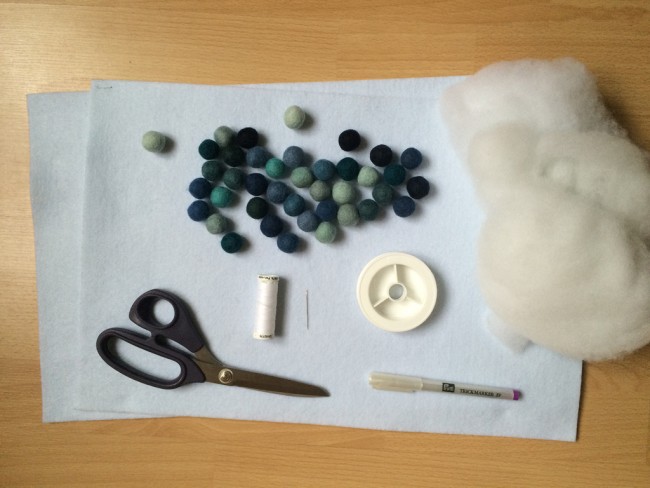
So off to the craft store I went again, to gather the remaining materials. And here’s what you’ll need:
- two A3 sheets of white felt
- around 40 felt balls in different shades of blue
- toy stuffing
- a fabric marker pen
- needle and thread
- nylon thread
- scissors
- a sheet of A3 paper and a pencil (not shown)
Step 1: Draw your cloud template on the sheet of paper and cut it out. Unfortunately I couldn’t upload my template for you as it was too big for our scanner, but for guidance, the cloud is 34cm across at its widest, and 22cm tall at its highest point.
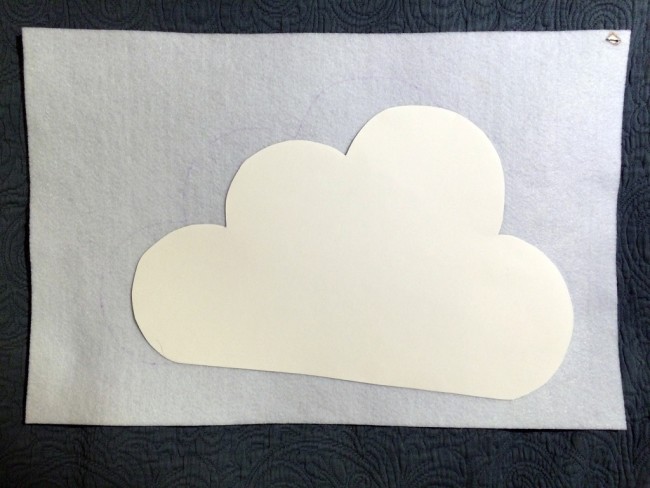
Step 2: Using your fabric marker pen, draw around your template on each sheet of felt and cut out two clouds. Technically, you could use any pen that will draw on felt, but I used a special pen that fades on fabric after a while. If you use a regular pen, make sure to draw round the template first one way and then in reverse on the other sheet of felt, so that you can lay the two pieces of felt together with the pen markings facing inwards.
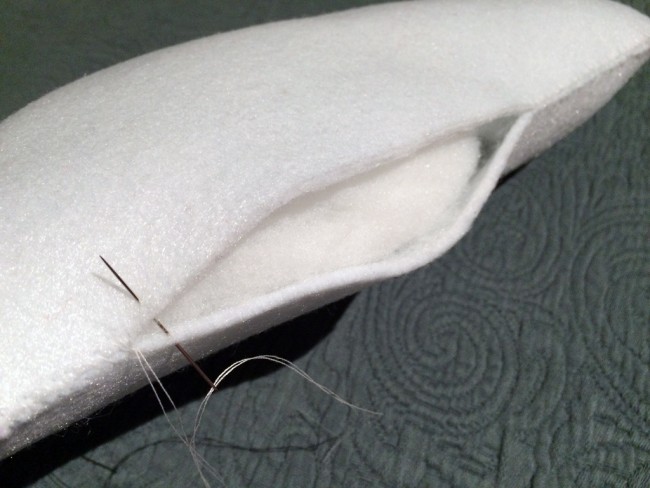
Step 3: Lay the two cloud pieces together, making sure and pen markings face inwards, and hand stitch them together around the edge. When you have about a hand width of an opening left, fill the cloud with the toy stuffing, then stitch it shut. How much stuffing you use depends on how of a 3D effect you want and where you are going to hang it. Ours was going to hang against a wall, so I made it a little flatter, but if you are going to hang it e.g. from the ceiling (our ceilings are almost 4 metres high so not really an option) you could make your cloud a little ‘fatter’.
Step 4: Thread your felt balls on to four strands of nylon thread. I tied the nylon thread in a knot around the bottom ball in each strand, and found that if I used as thin a needle as possible to pierce through the other felt balls I didn’t need to tie them on or secure them any further, they just stayed in place without slipping down (this also meant I could slide them up and down once the mobile was hanging up, until I was happy with the position of the balls).
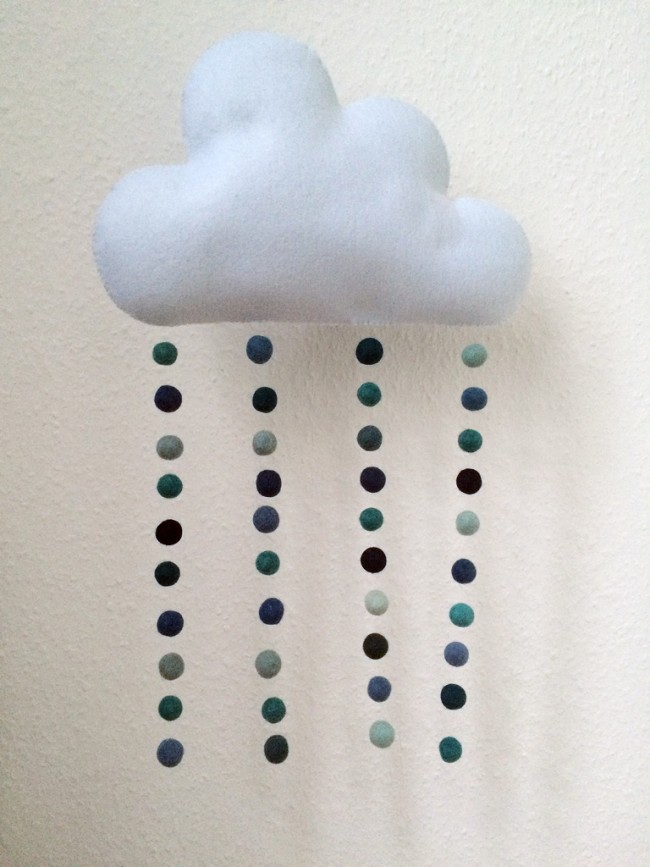
Step 5: Sew each strand of felt balls, evenly spaced, securely to the bottom of the cloud. Attach another piece of nylon thread to the middle of the top of your cloud and you’re ready to hang it up! Enjoy your rain!

Claire
What a gorgeous mobile, I love all the different coloured felt balls.
Jenni
Thank you!!