Slotted Cardboard Dinohouse (or Dollhouse)
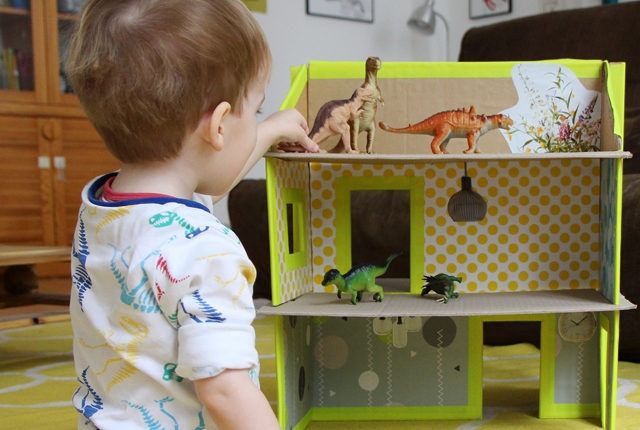
When my elder son said to me a while ago, we needed to build a house for our dinosaurs, what was I going to do? Of course, I had to rise to the challenge! We still had a couple of empty moving boxes kicking about that would be perfect for this. But I didn’t want yet another bulky thing to clutter up our apartment, so I decided to make a house that slots together, and can easily be tidied away flat after play.

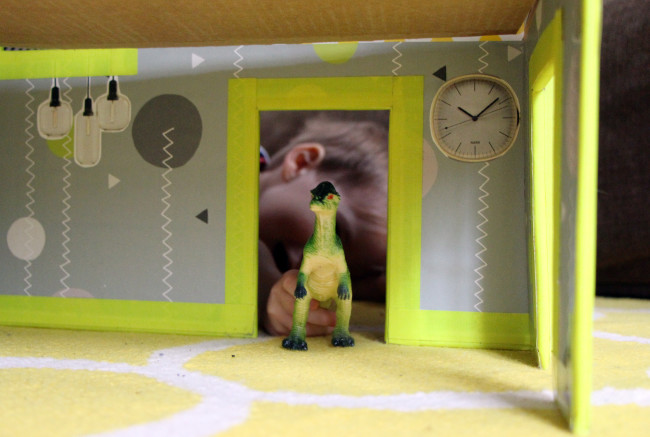
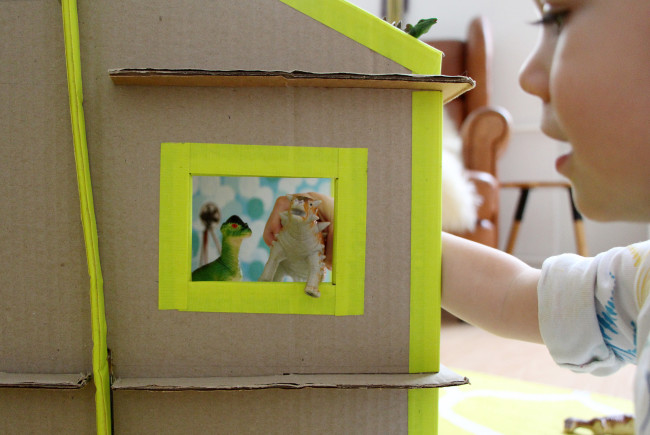
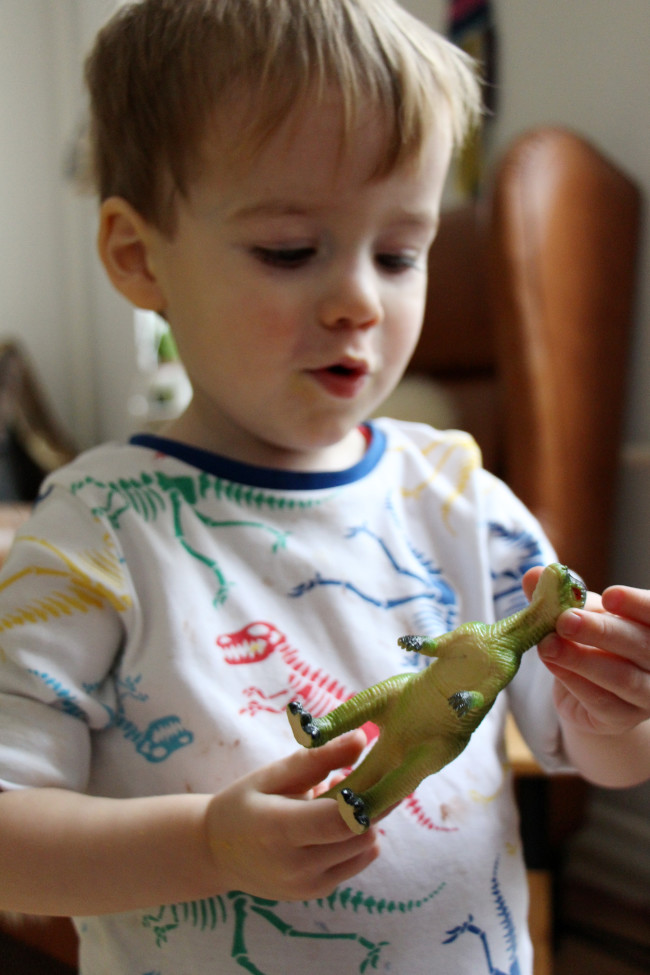
This past weekend, his little brother rediscovered it for himself, which reminded me I’d been meaning to blog about it. I’d had a tutorial sitting in my drafts folder for a while, but still had to write down the measurements to create a template. So while I got out my measuring tape, Mr Fox had some fun resettling the dinosaurs in to their snazzy designer home. I also took the opportunity to shoot a couple more photos of the house in use – I swear it was a complete coincidence that he was wearing dinosaur pyjamas!
To recreate this fun DIY house – for dinosaurs or other occupants – you will need:
- 2 sturdy moving boxes
- a sharp craft knife
- a cutting mat (or something else to put underneath so you don’t cut you floor!)
- a tape measure
- a pen, to sketch out your measurements
- wrapping paper or other colour paper
- old magazines or brochures, ideally interior living ones
- scissors and a glue stick
- coloured duct tape
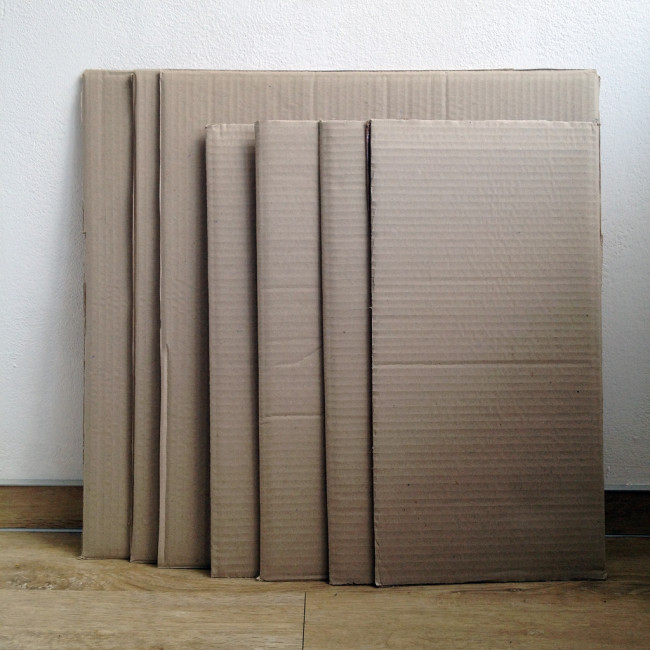
First, I cut the boxes apart – I needed three pieces that were aprox. 44 x 51 cm (see below for exact measurements), and four pieces that were 23 x 46cm. I wanted to make a two-storey house with a roof garden, so I used one of the dinosaurs as a measurement of how tall each storey had to be. Adding an extra floor also makes the house sturdier.
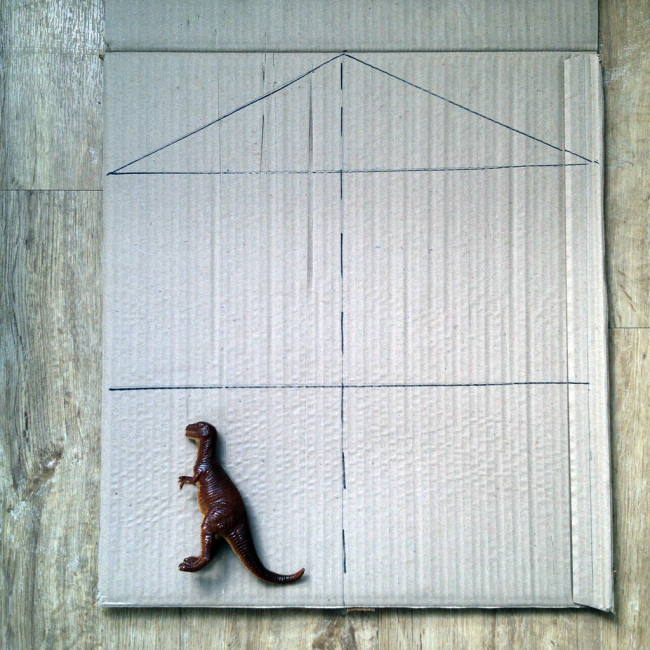
If you want to follow my exact measurements, I’ve created a template for you. But if you are feeling confident, you can also just use it as a guideline to make your own, depending on how big your box/card is and who is going to live in the house.
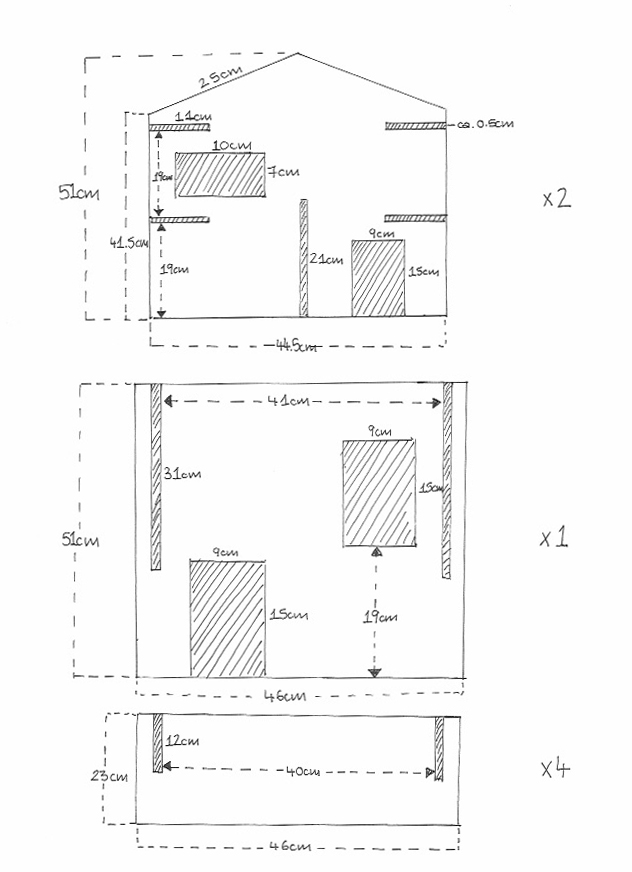
The shaded areas are the bits you need to cut out. The slits are all aprox. 0.5cm wide. I haven’t given the exact placement of the doors and windows, they just need to be roughly within the four quadrants of each piece. The only one where you would need to measure it out exactly, is the doorway on the top half of the middle piece (the second diagram in the template), so that it aligns with the floor when you slot that in. I only drew one diagram for the first piece, which you need to cut out twice, but on one of the pieces I actually replaced the doorway on the bottom with another window, as you can see in the pictures below.
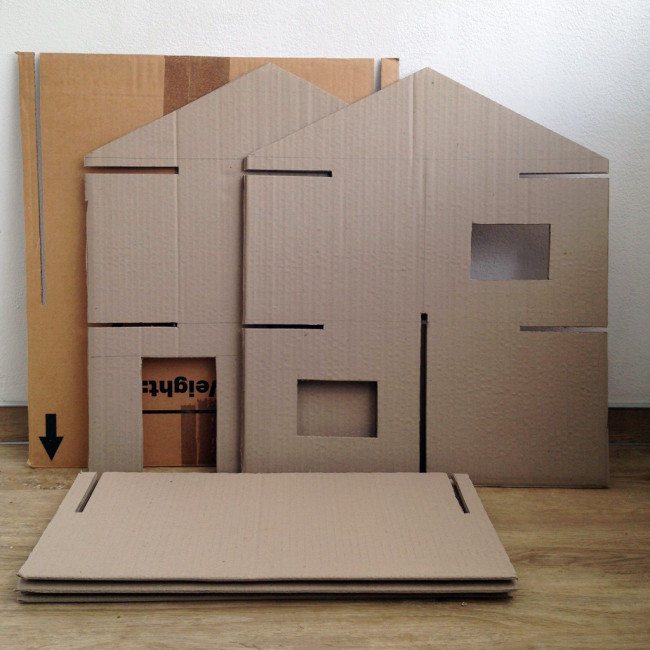
So, here is what all the pieces looked like once I had cut them out:
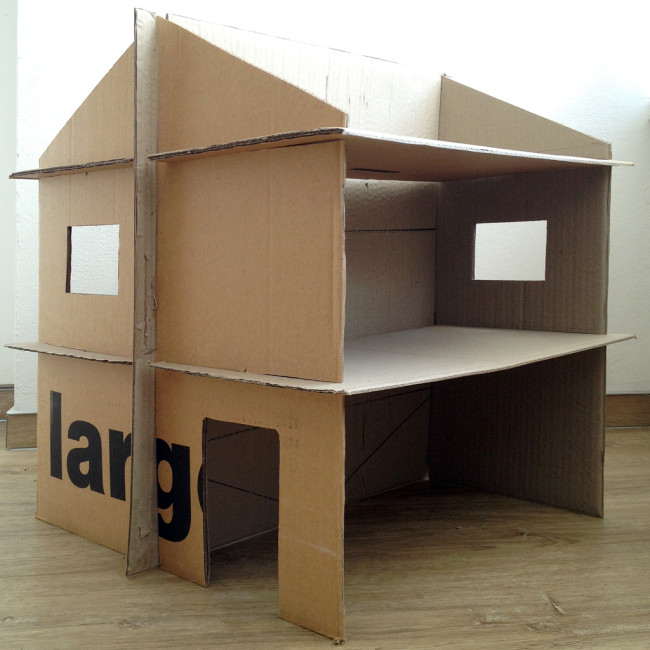
And here is what it all looks like slotted together – I hope you can figure out what goes where. Basically, the piece that there’s only one of is the middle piece, and the two pieces with the roof shape slot in either end of it. Then the four floors slide in to the remaining slots.
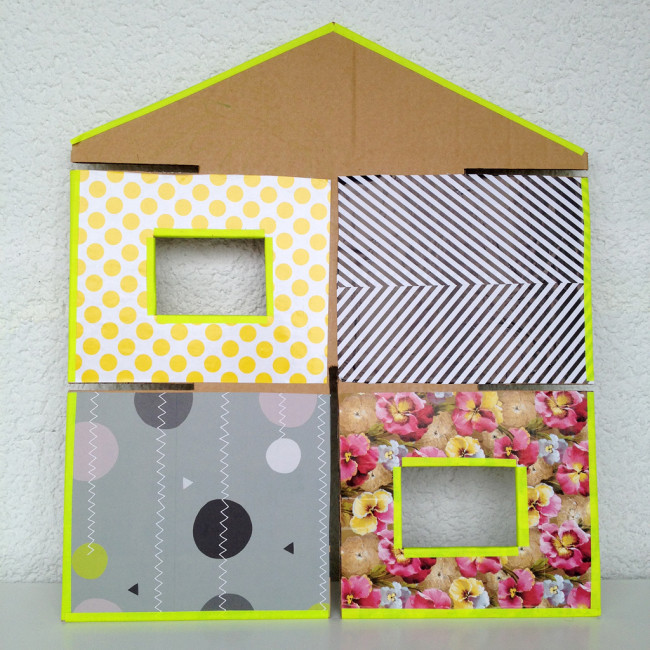
Now comes the fun part – decorating your house! While I’d recommend leaving the cutting up to an adult, the kids can totally join in with the decorating bit. I’ve pictured all the decorated sides for you below before they were slotted together, to give you an idea of what goes where. Unless you want to do all the walls of the rooms the same colour, in which case it doesn’t matter. We decided to go for different wall paper in each room, and we used wrapping paper and craft paper for this. My son helped to chose what went in which room.
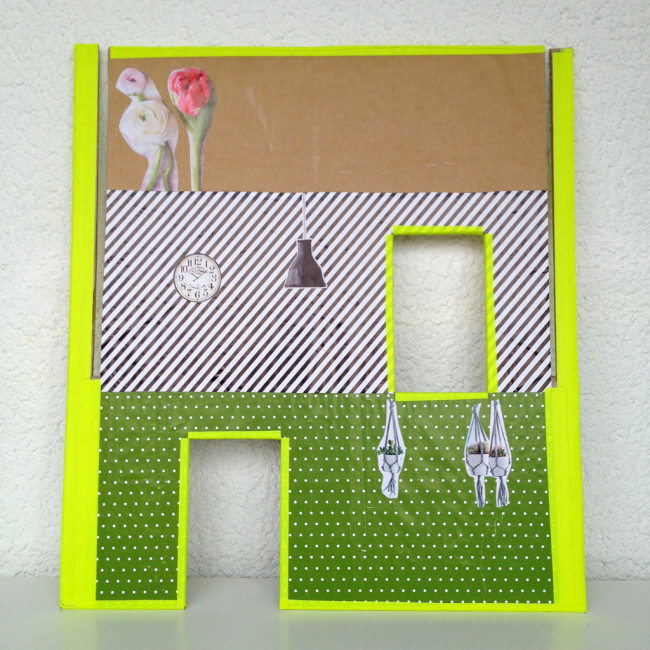
When decorating the two end pieces with the roof shape, lay them in front of you so that you have the window top left, and the door or window bottom right. Each quadrant is a different room, so if you want different wallpaper in each room, you’ll need to stick it in place like this:
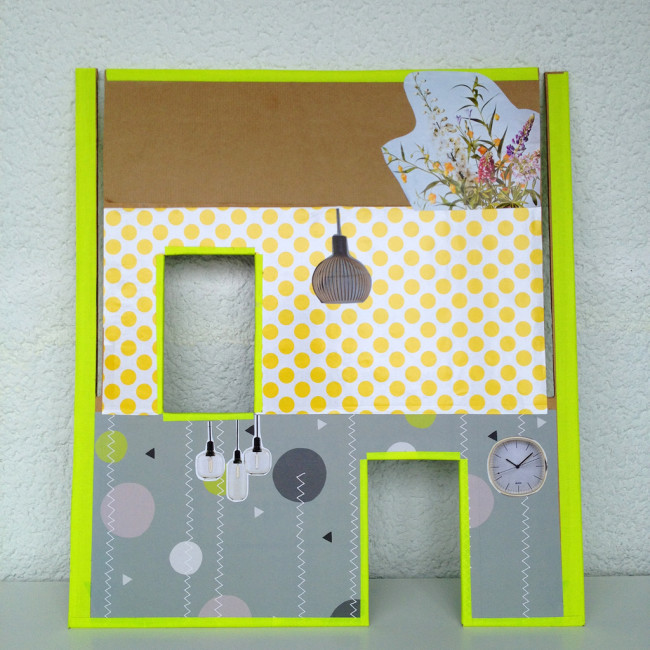
For the middle piece, you have three rows (instead of quadrants) – the downstairs, upstairs and the roof garden. We wallpapered the two ‘rooms’, and left the top row as it was. Once all the wallpaper was in place, we browsed through old magazines, and cut out things to ‘furnish’ the house – lamps, clocks, pot plants, even a fan. And flowers for the roof garden!
The final step was to add duct tape around all the edges, to stop them from fraying. I’d bought some coloured duct tape for this, as I thought it would look for colourful and fun, but you could use other tape too. (I’ve actually just noticed that a piece of tape on the roof is coming off, in the most recent photos I took, so I must fix that! This dinosaur house has had a lot of love!)
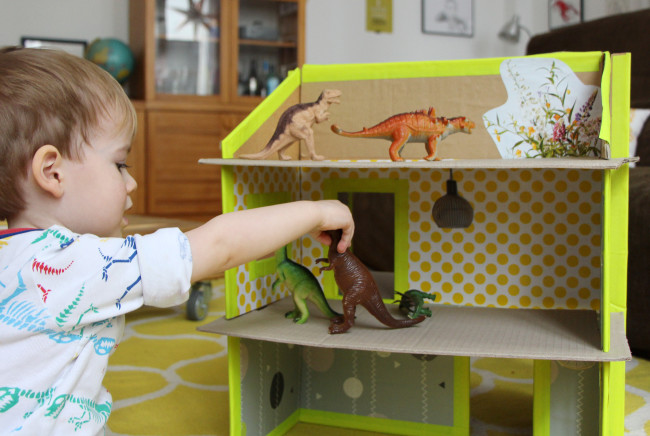
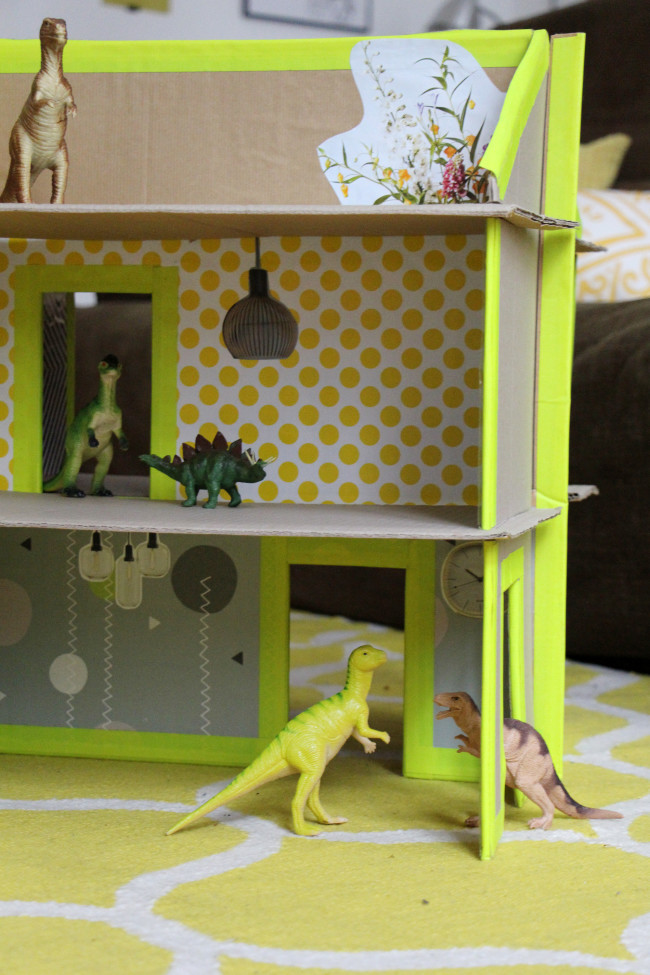
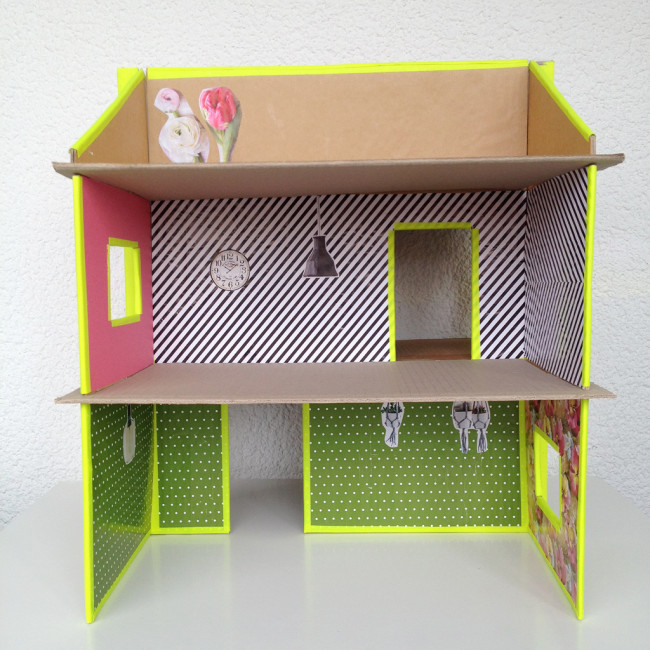
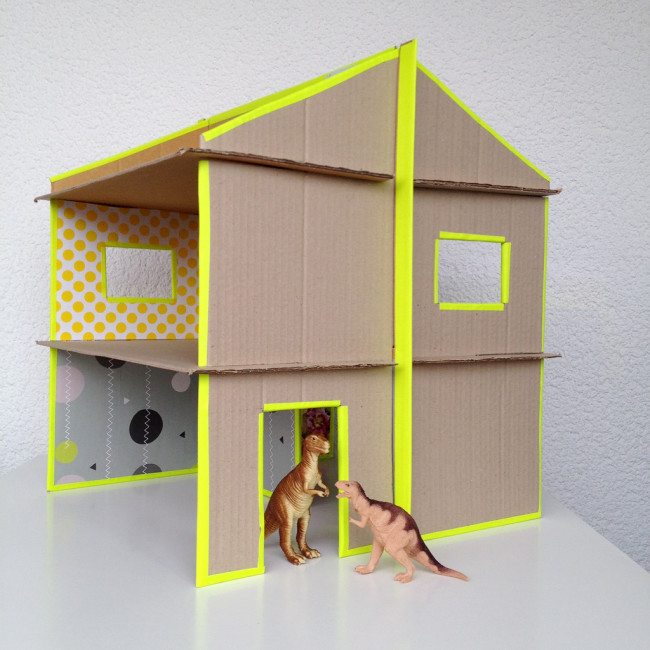
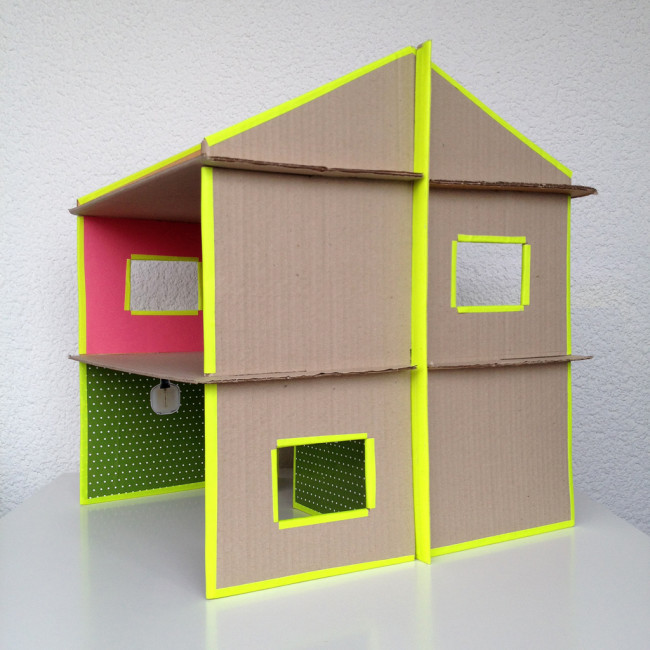
And here is the finished, fully decorated house slotted together:
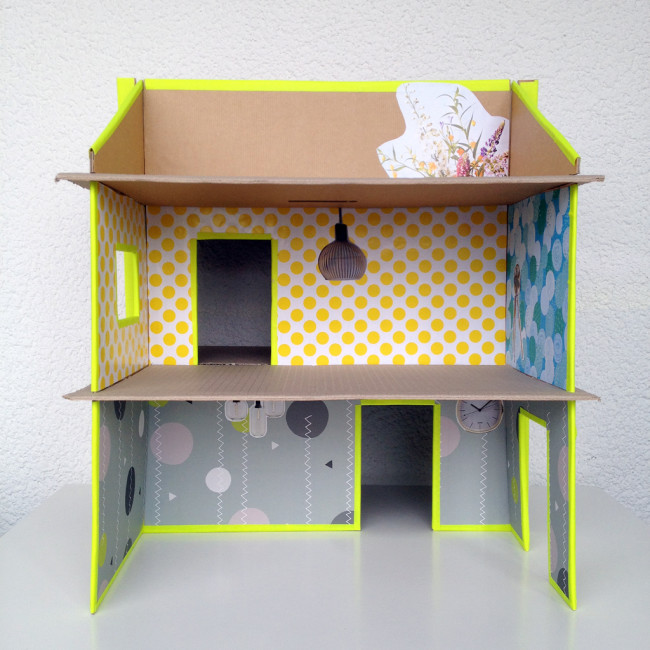
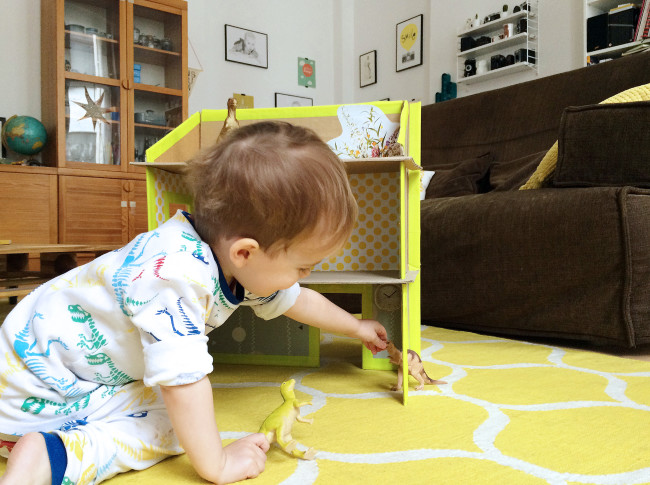
We keep the house in the living room, as their play room is already full with plenty of other toys to play with. So when we are hanging out in the living room as a family, we can just pull it out and slot it together, and they just need to bring their box of dinosaurs through. And when they are finished playing, it easily comes apart again and takes up next to no space.
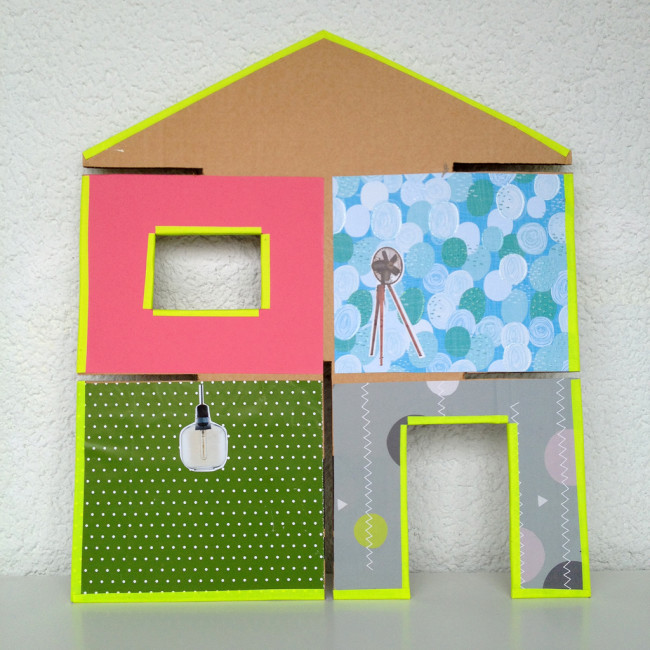
Here’s the finished house again, from the outside:
We had so much fun making this, and it’s been well used, so it was totally worth the effort. And, of course, you could use this as a dollhouse for other toys too, instead of a dinosaur house – My Little Ponys, Playmobil, Lego Duplo, the Octonauts, to name just a few, have all been known to stop by the ‘Dino Place Apartments’ (thanks for the name suggestion, Julia!) when the dinosaurs have been away. If you have a really tall box, you could add on an extra storey, or you could also scale it down to use with smaller toys and take up less space when set up. So, what house will you make? And who will stay there?

Janina * kleinSTYLE *
What a lovely idea! Especially the fact, that you can take it apart and store it without much space needed (a Mom’s point of view! ;-))
Well done!
Greets, Janina
Jenni
Thank you! Yes, the flat storage is definitely a bonus :)
Koby
Great idea,
I left it as is ant let the children decorate it.
I also built some small furnitures from the carton left over.
If you like,i can send some pictures.
Beki
Such a lovely idea, and I really appreciate your clear and easy to follow instructions.
All the best,
Beki
Lazy Daisy Jones
you are so clever! what a superb idea…..
Jess Princeton
Aww I love this!! What a wonderful project to do with children!
Jess x aka ROSITA LOLLIPOP x
Pingback: How To Make Mini Cardboard Houses: From Shoebox Rooms To Cardboard Mansions – Mini Model World
Koby
I made a house and let the children decorate it. Lovely.