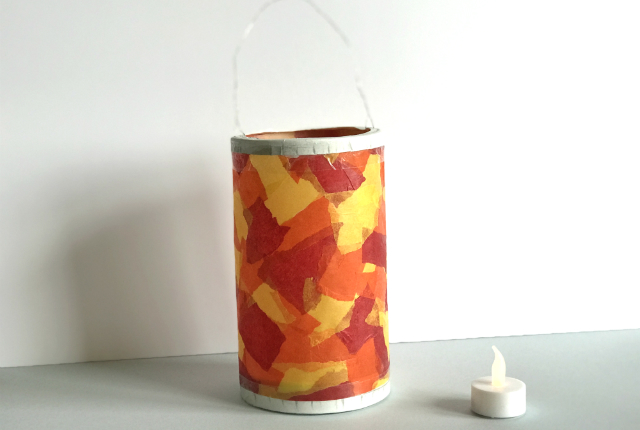
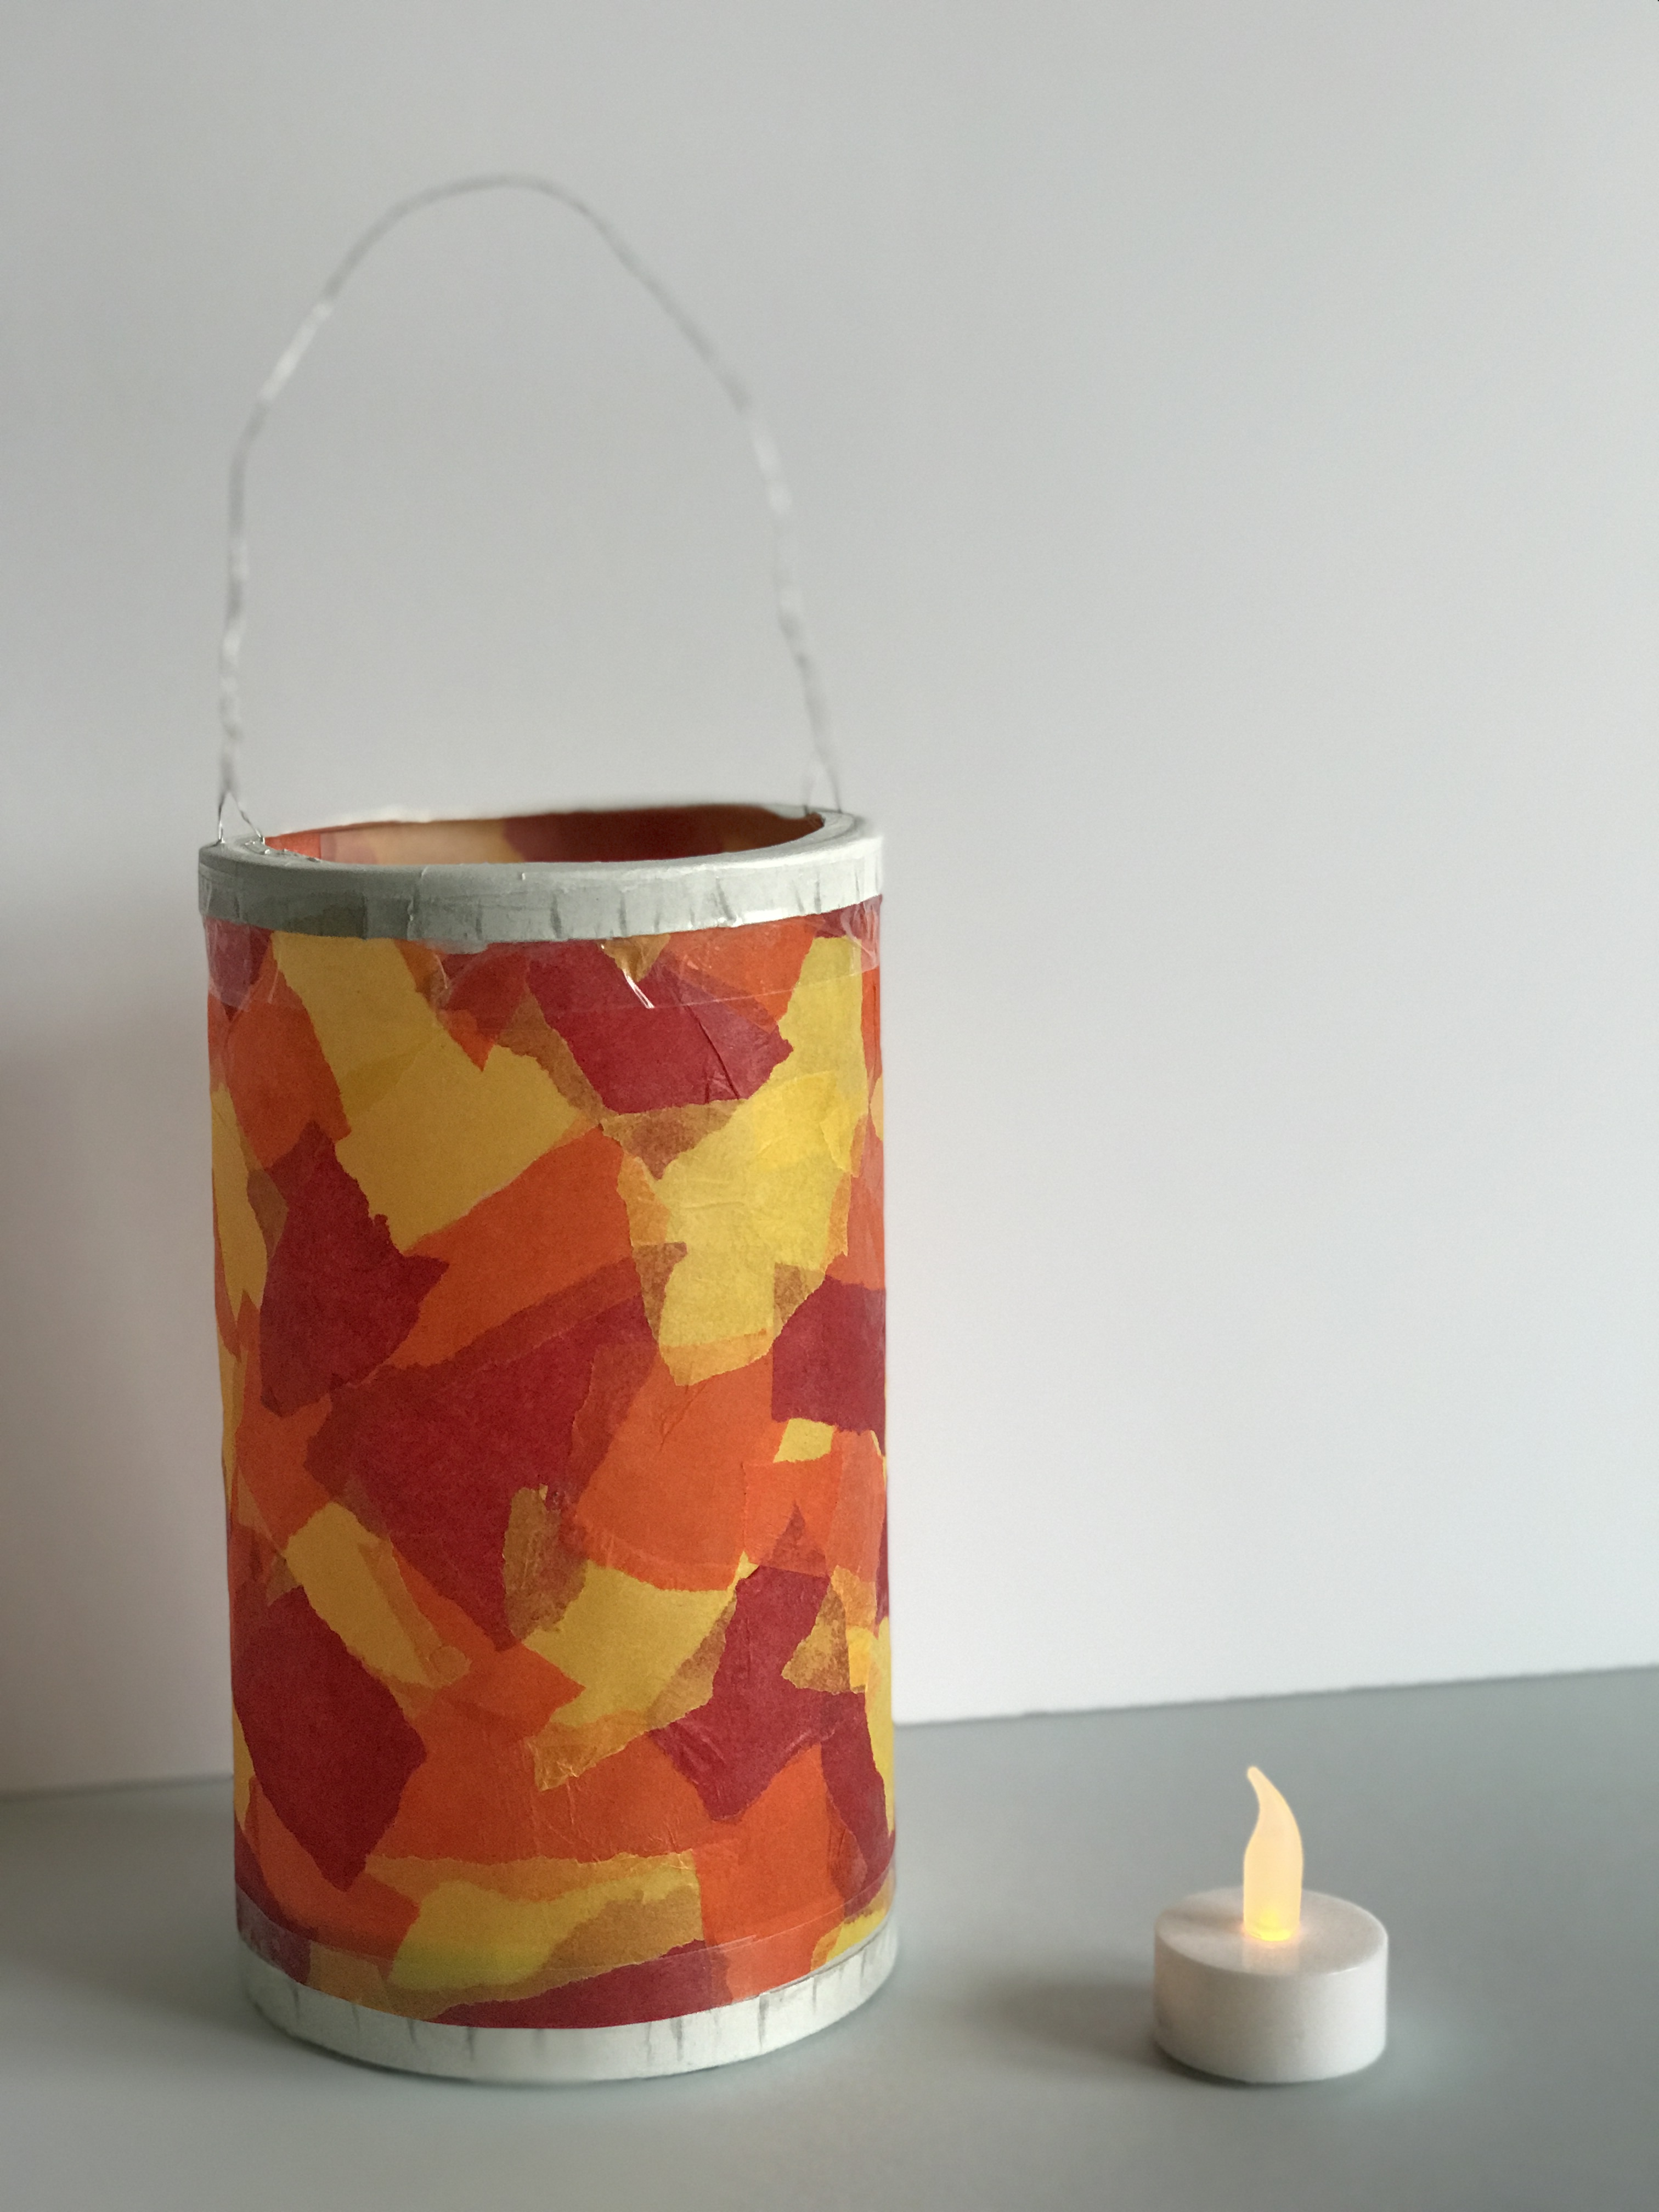
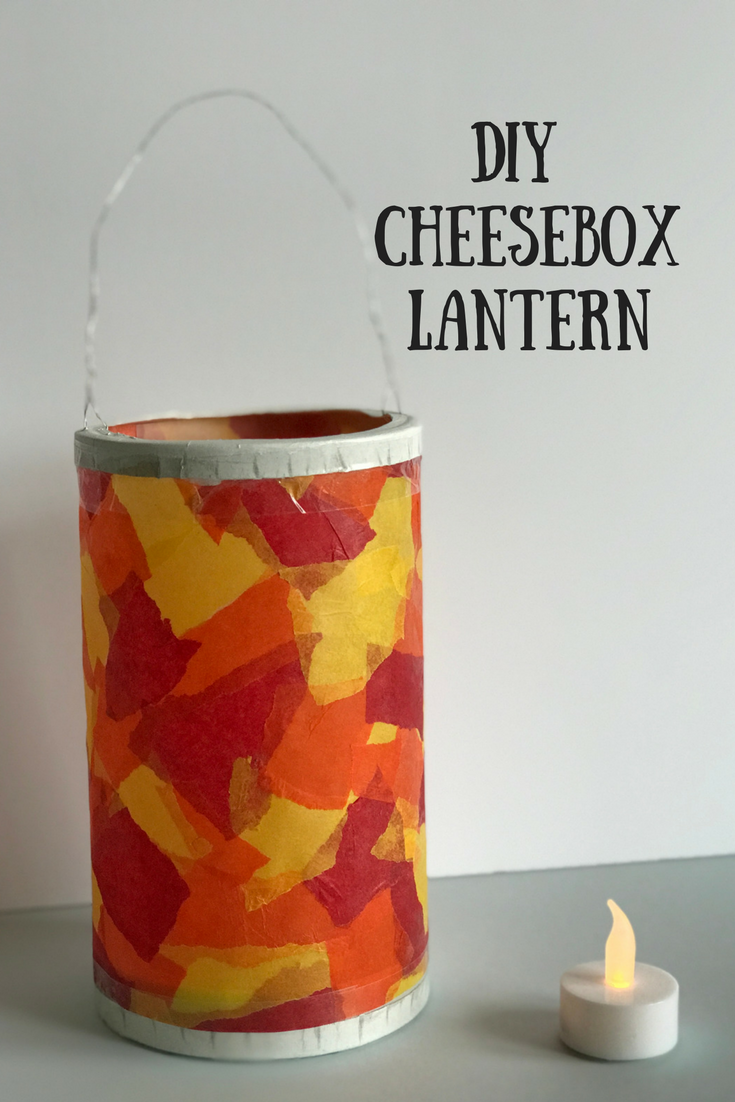
Easy-Peasy DIY Cheese Box Lantern
It’s only a few days to go until the festival of St Martin. Not a festival that is celebrated in Scotland, but it’s very popular in Germany and luckily the German Church in Edinburgh commemorates it every year, so the boys don’t need to miss out. The main highlight for the kids, is the lantern procession, which of course requires a lantern. So today, I’m going to show you how to make an easy-peasy lantern out of a cheese box. And, of course, these are not just suitable for St Martin, so even if you don’t celebrate this particular Saint, you can still have a go at making a lantern for those dark winter afternoons.
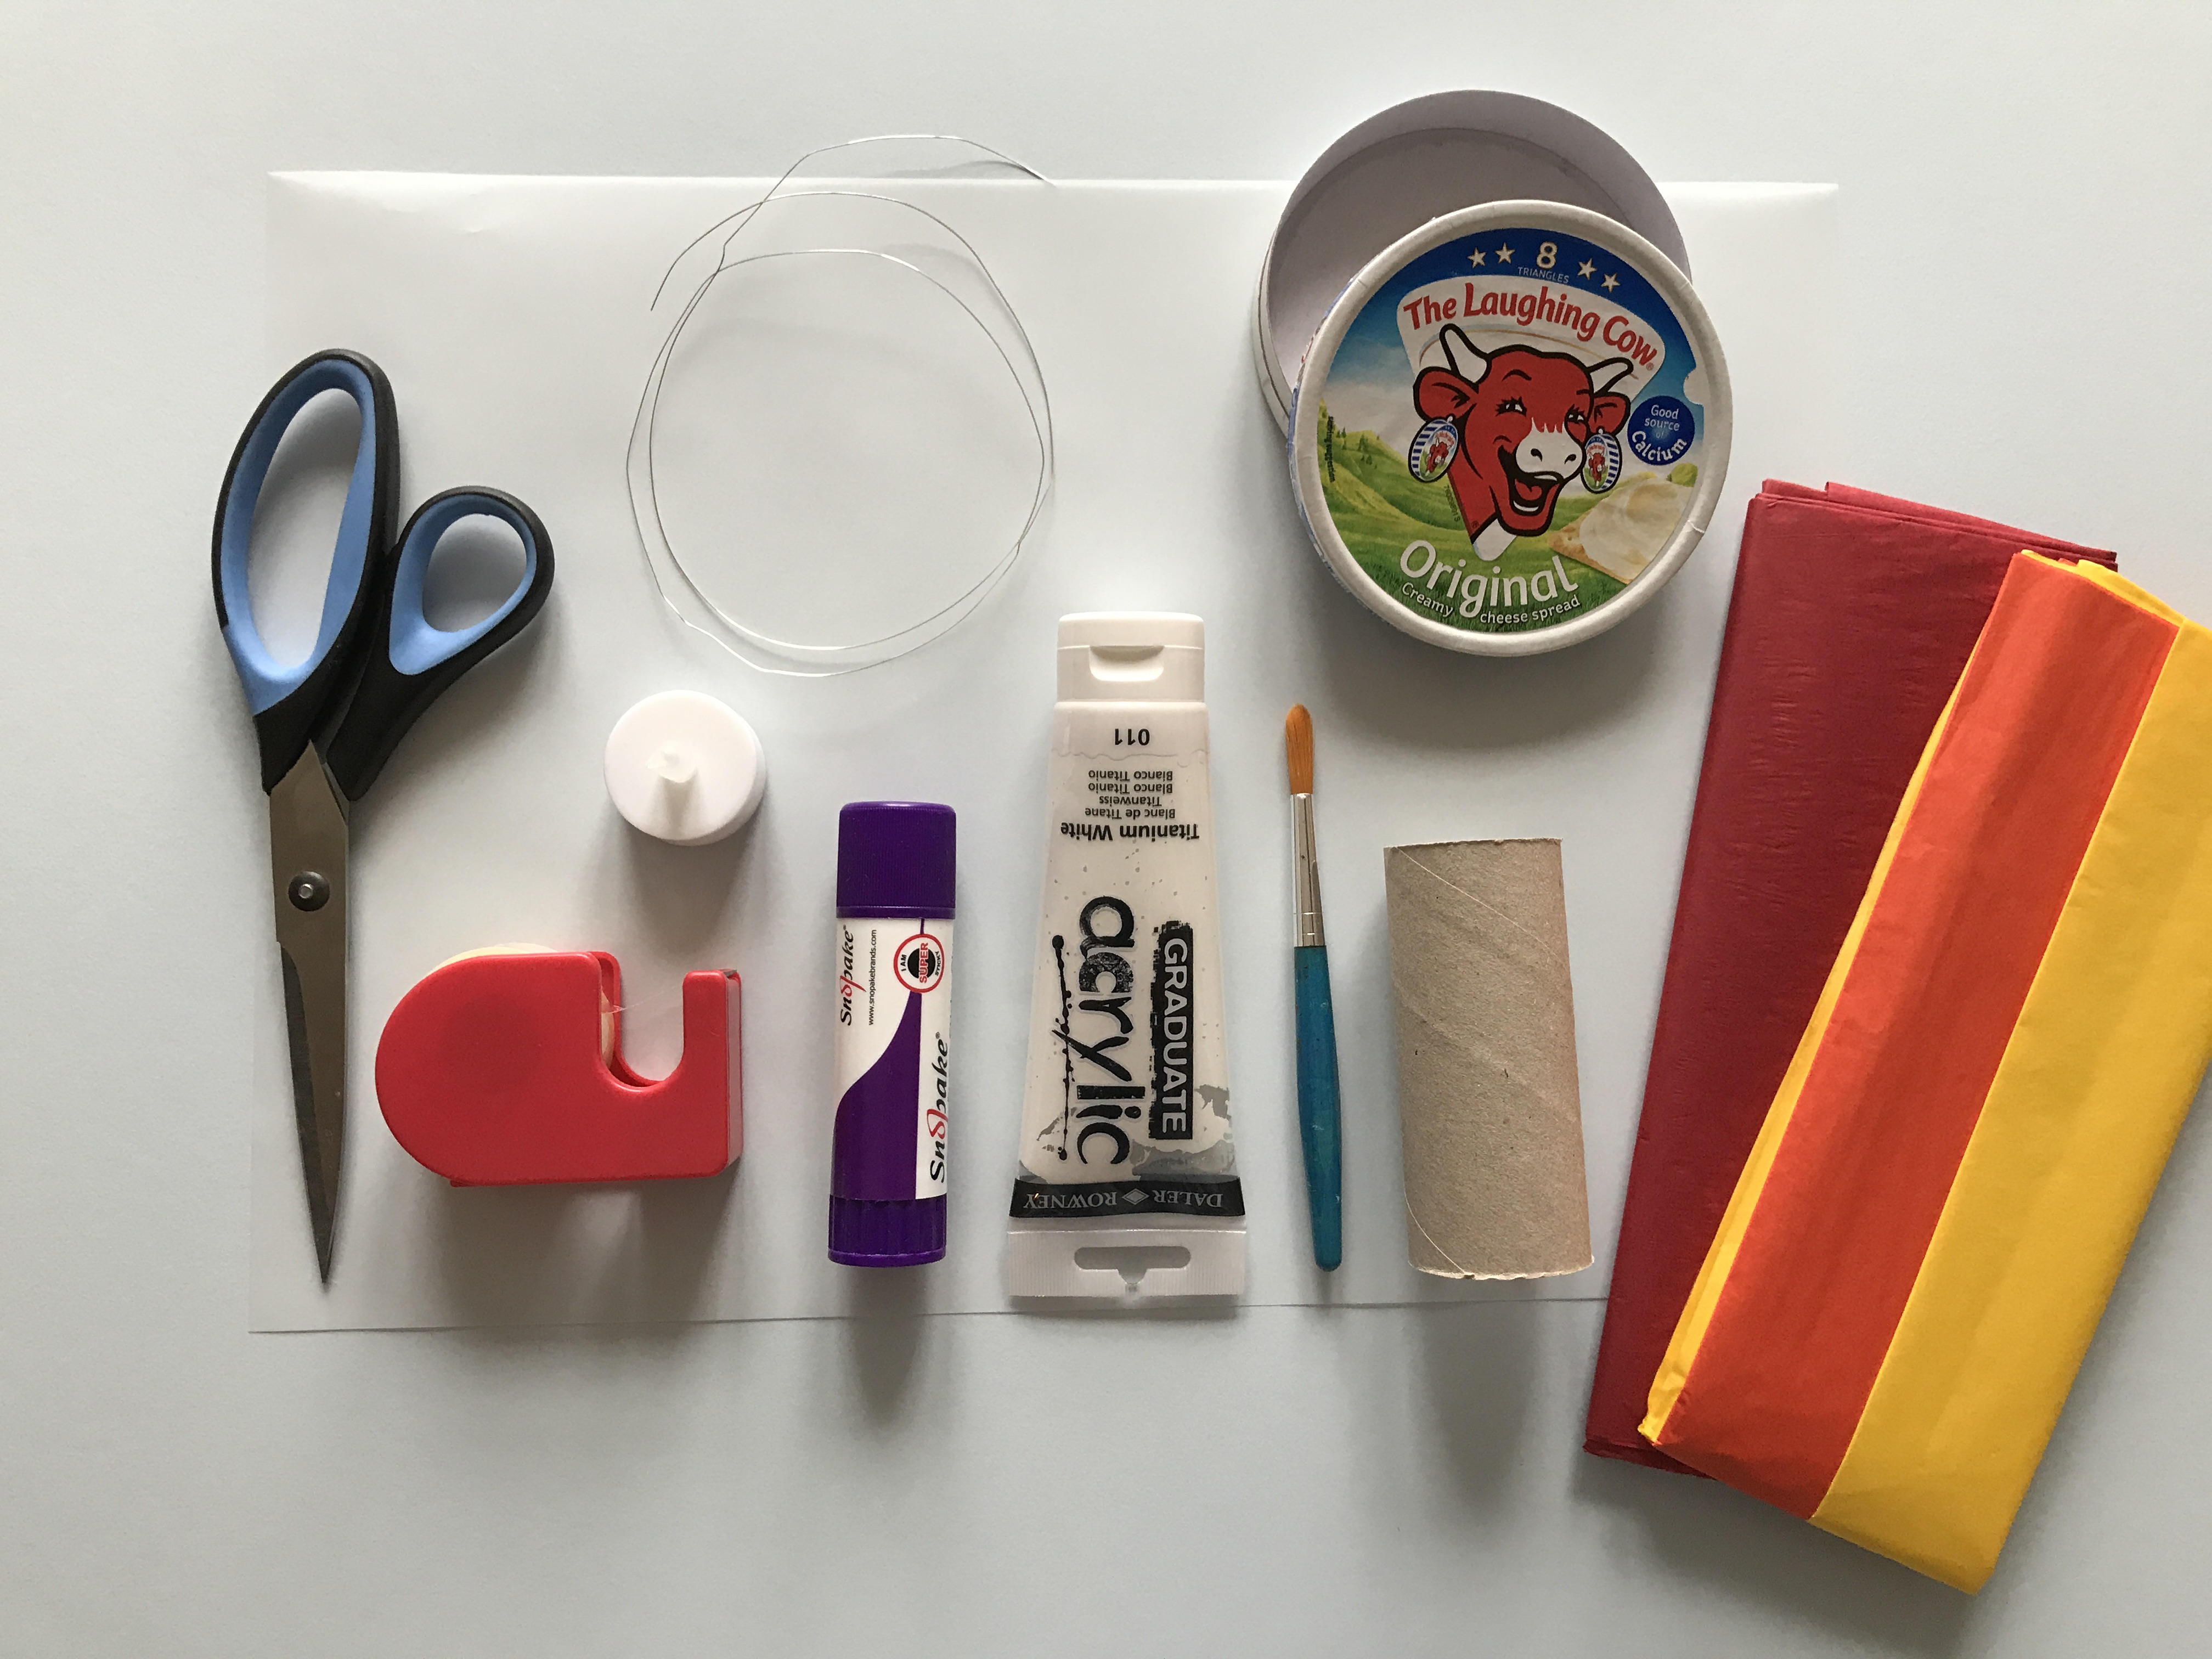
Here’s what you will need:
- 1 sheet of thick tracing paper (I used 112g), size A3
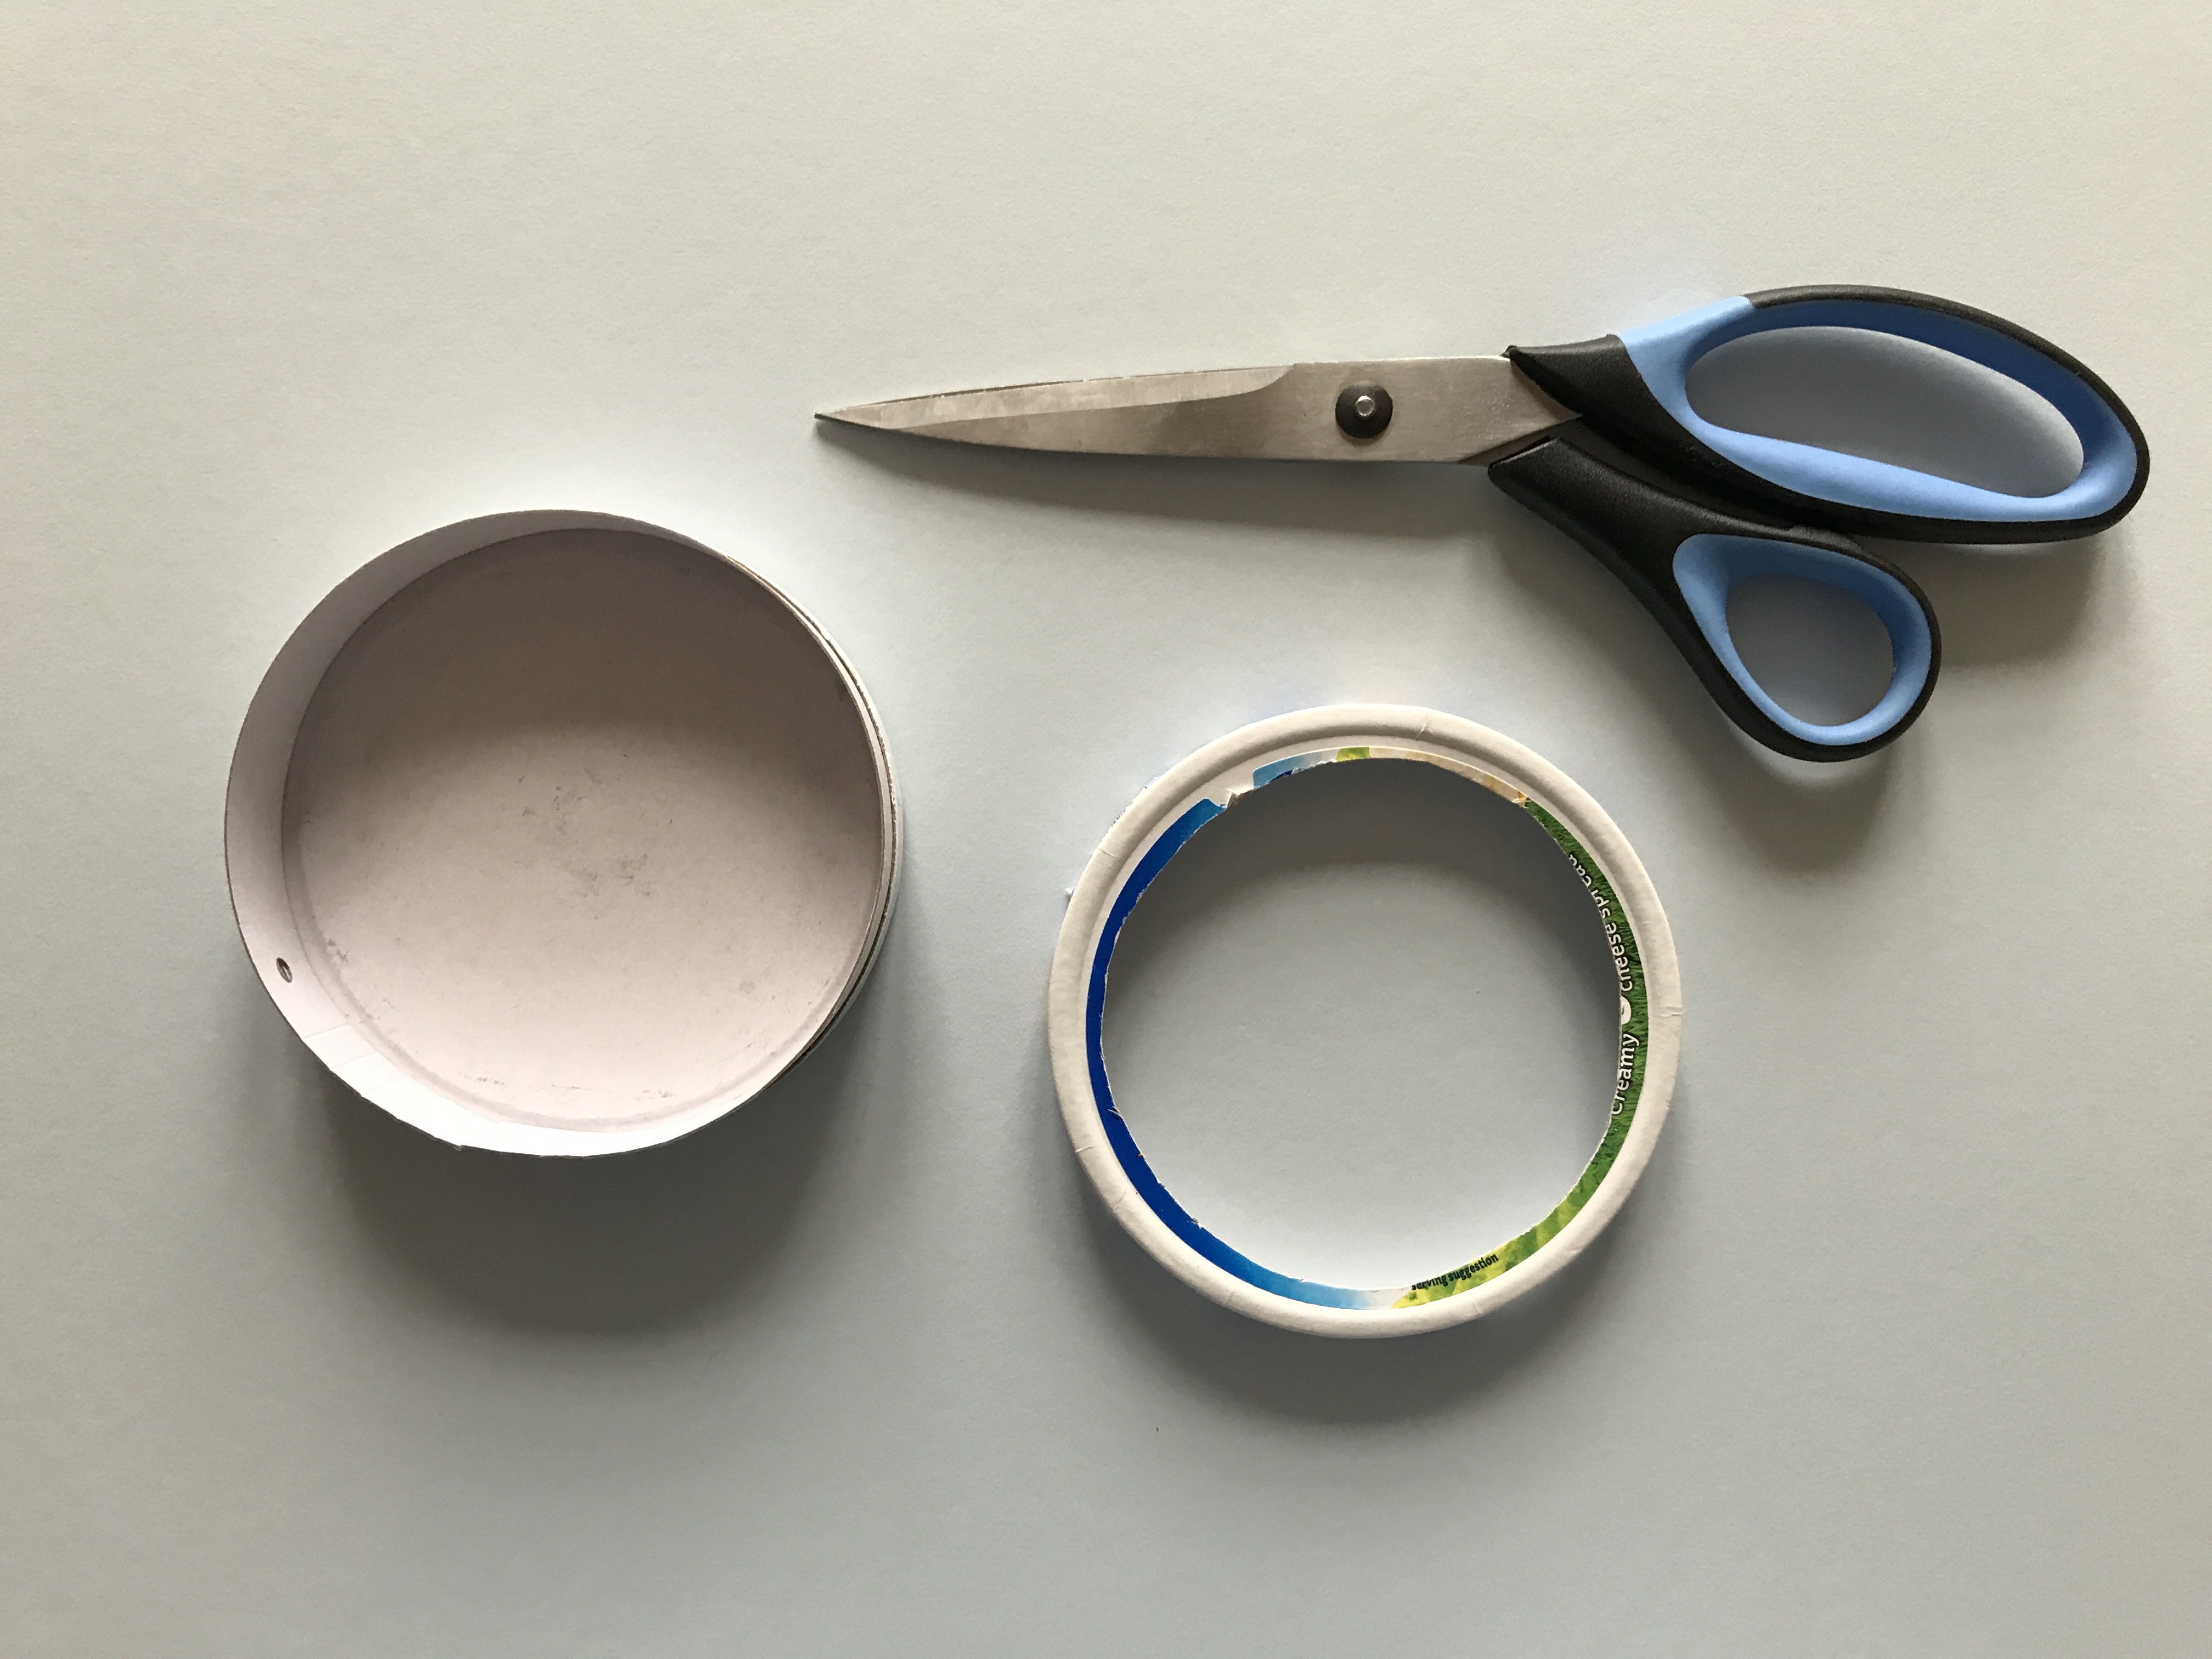
- 1 empty, round cheese box, about 10cm to 12cm in diameter, as pictured below. It can be a cardboard one, or also one of those thin wooden ones you sometimes get Camembert in. It just has to be round! You can use a bigger one, but then you will also need a bigger sheet of tracing paper or stick two sheets together
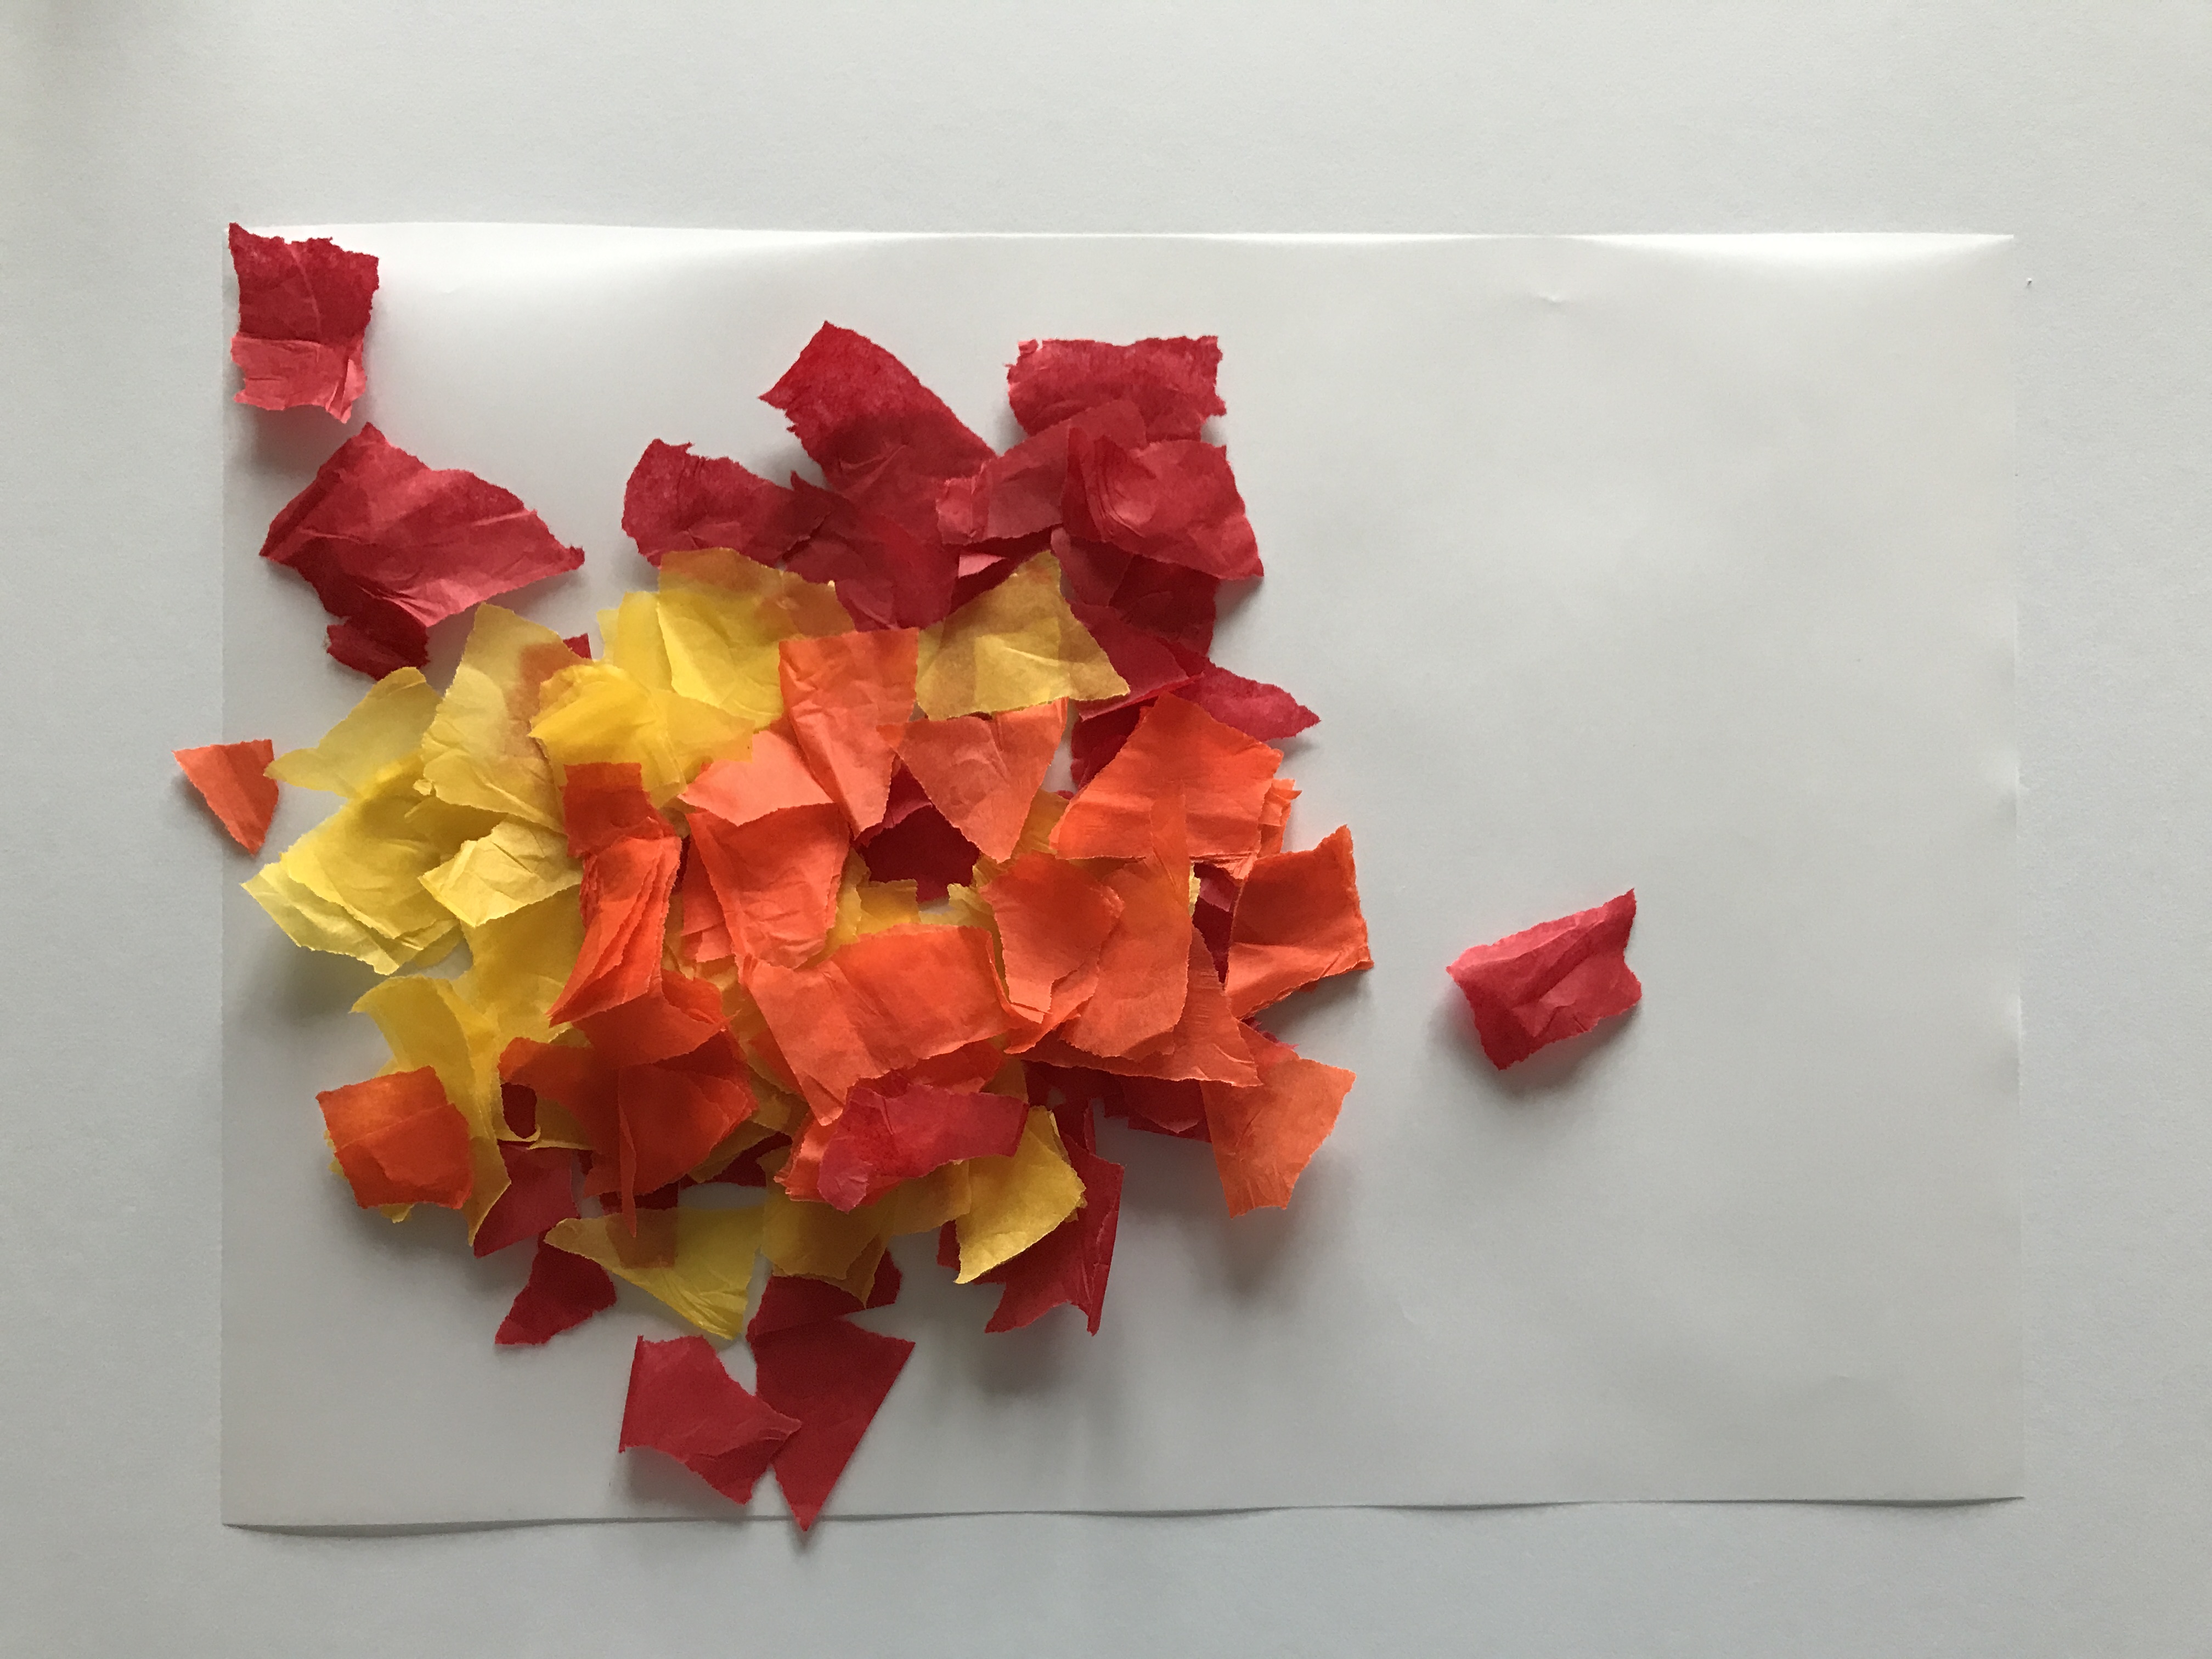
- Tissue paper in different colours. I went for flame colours here.
- A piece of wire, about 45cm long or twice that if it’s very thin.
- A glue stick.
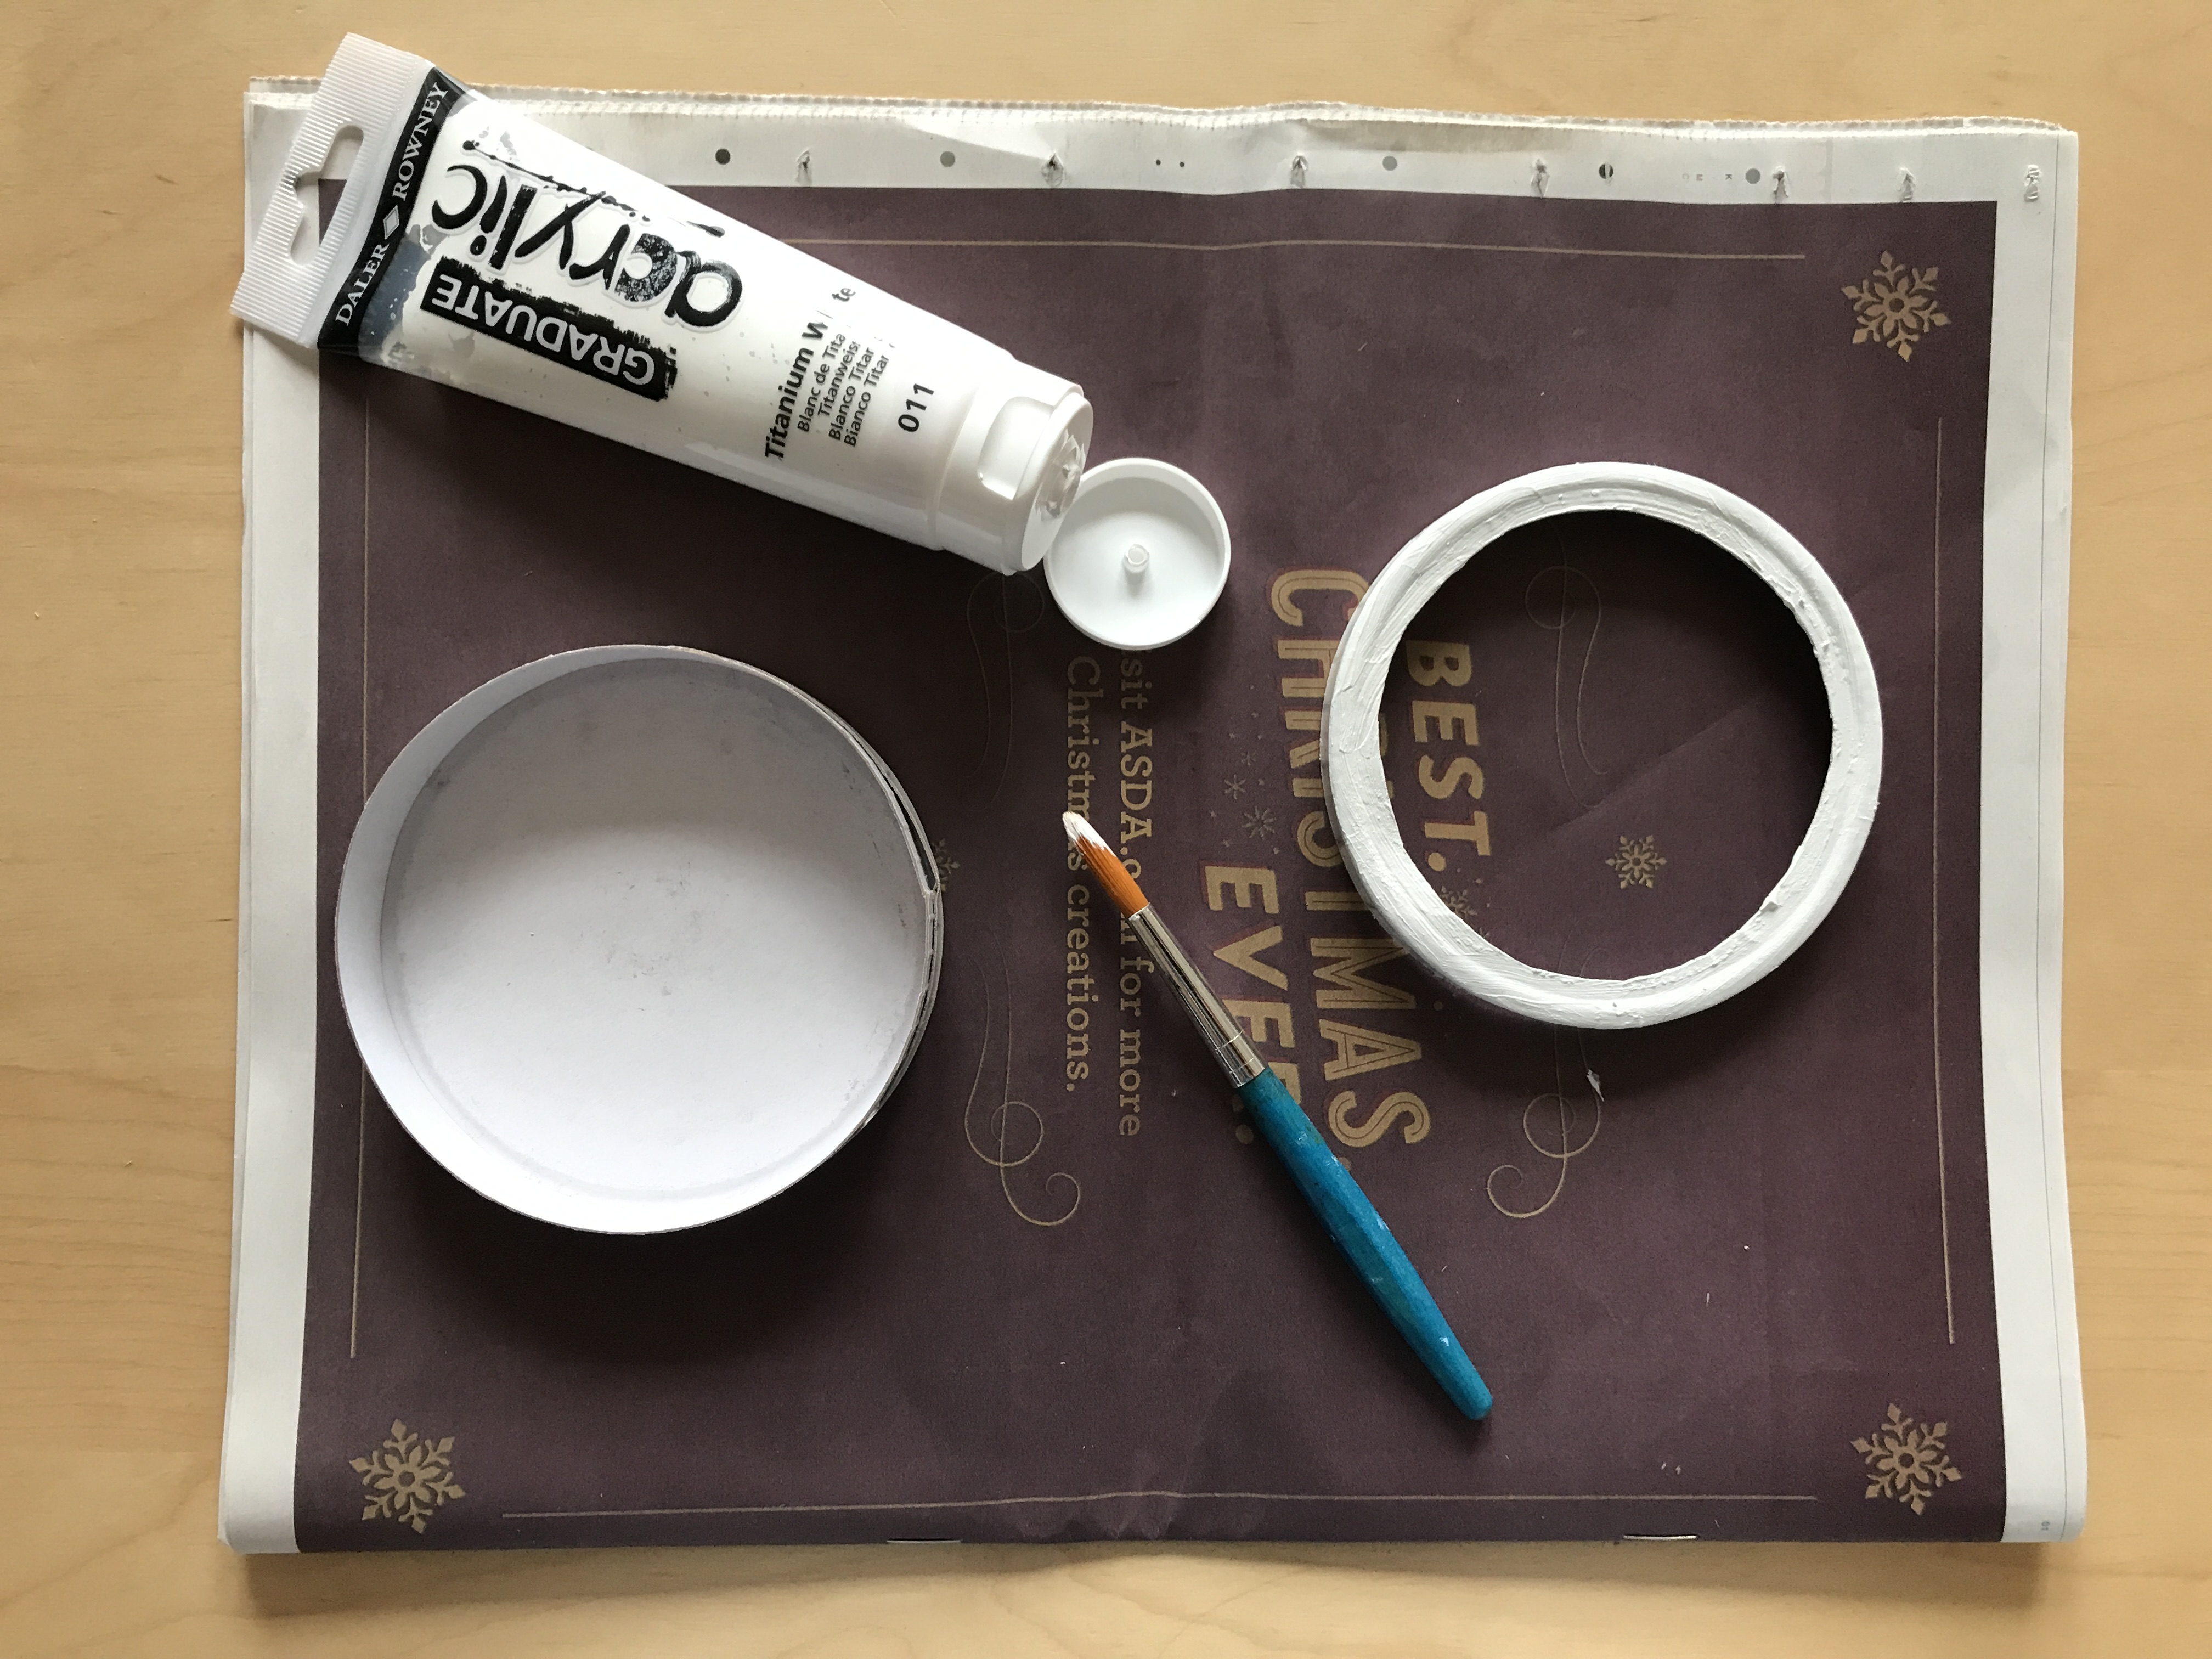
- White acrylic paint.
- A paintbrush.
- A pair of scissors.
- Some sticky tape.
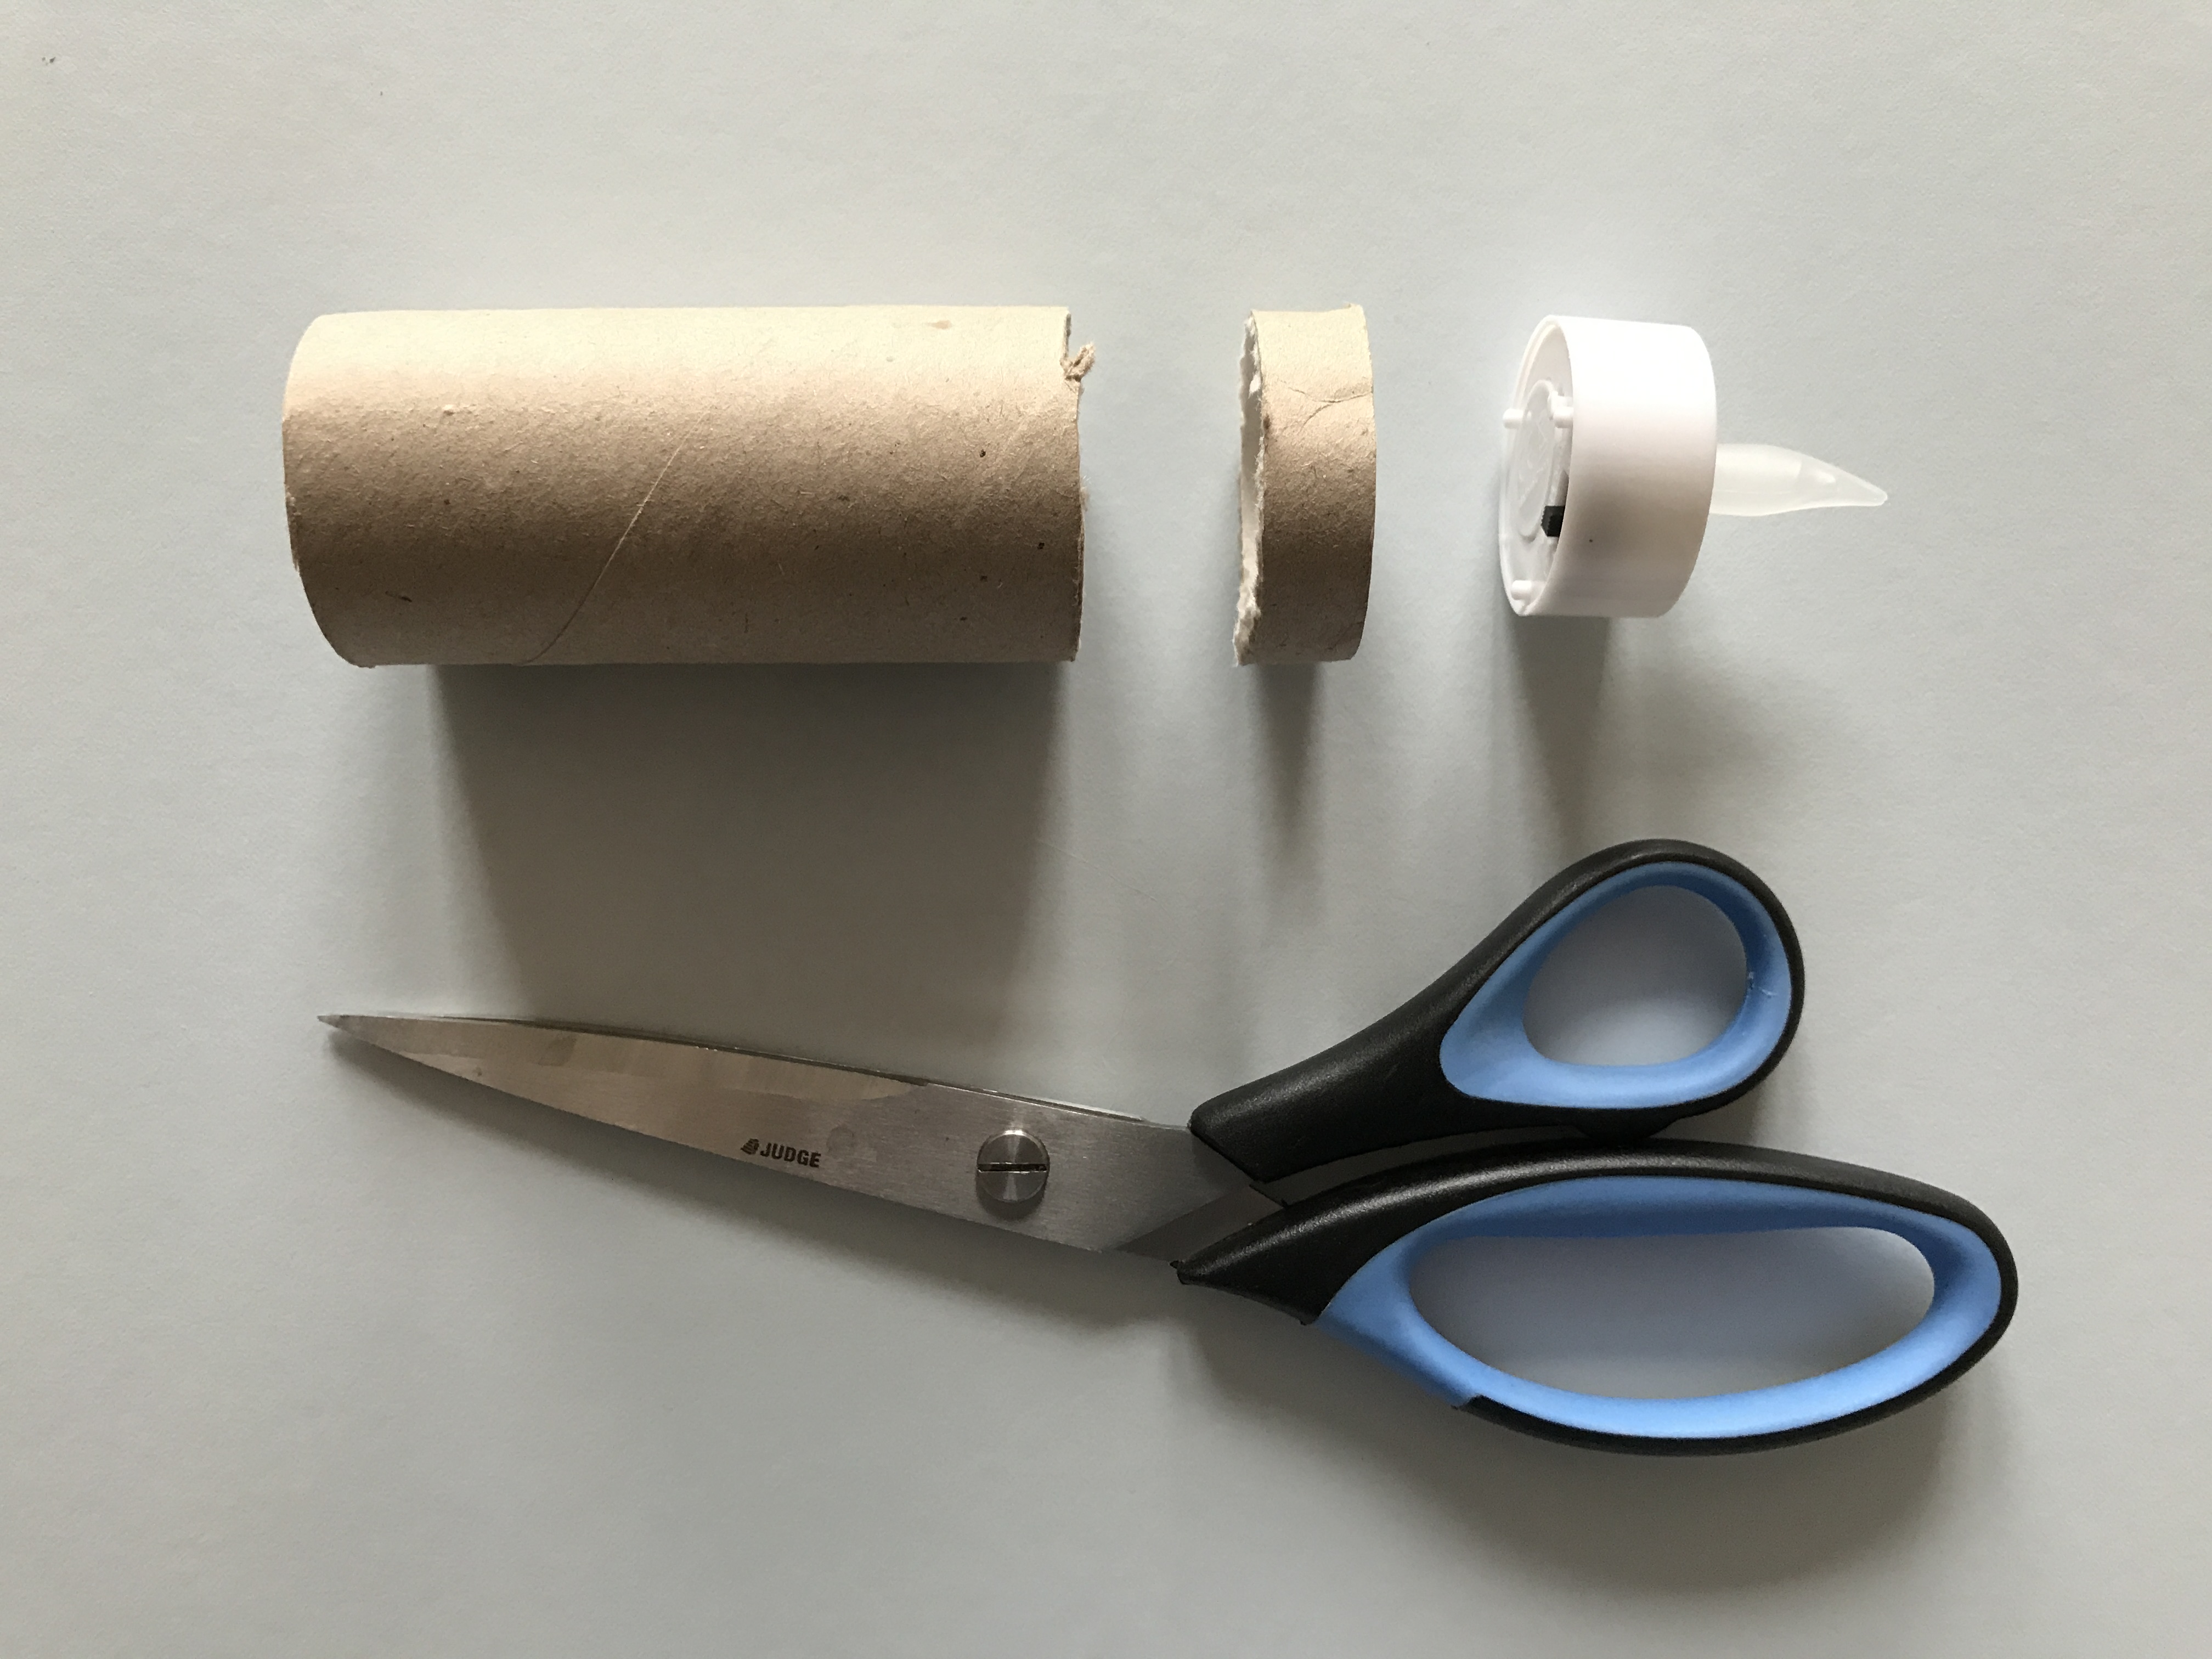
- An LED tea-light.
- An empty toilet roll, wider than your tea-light.
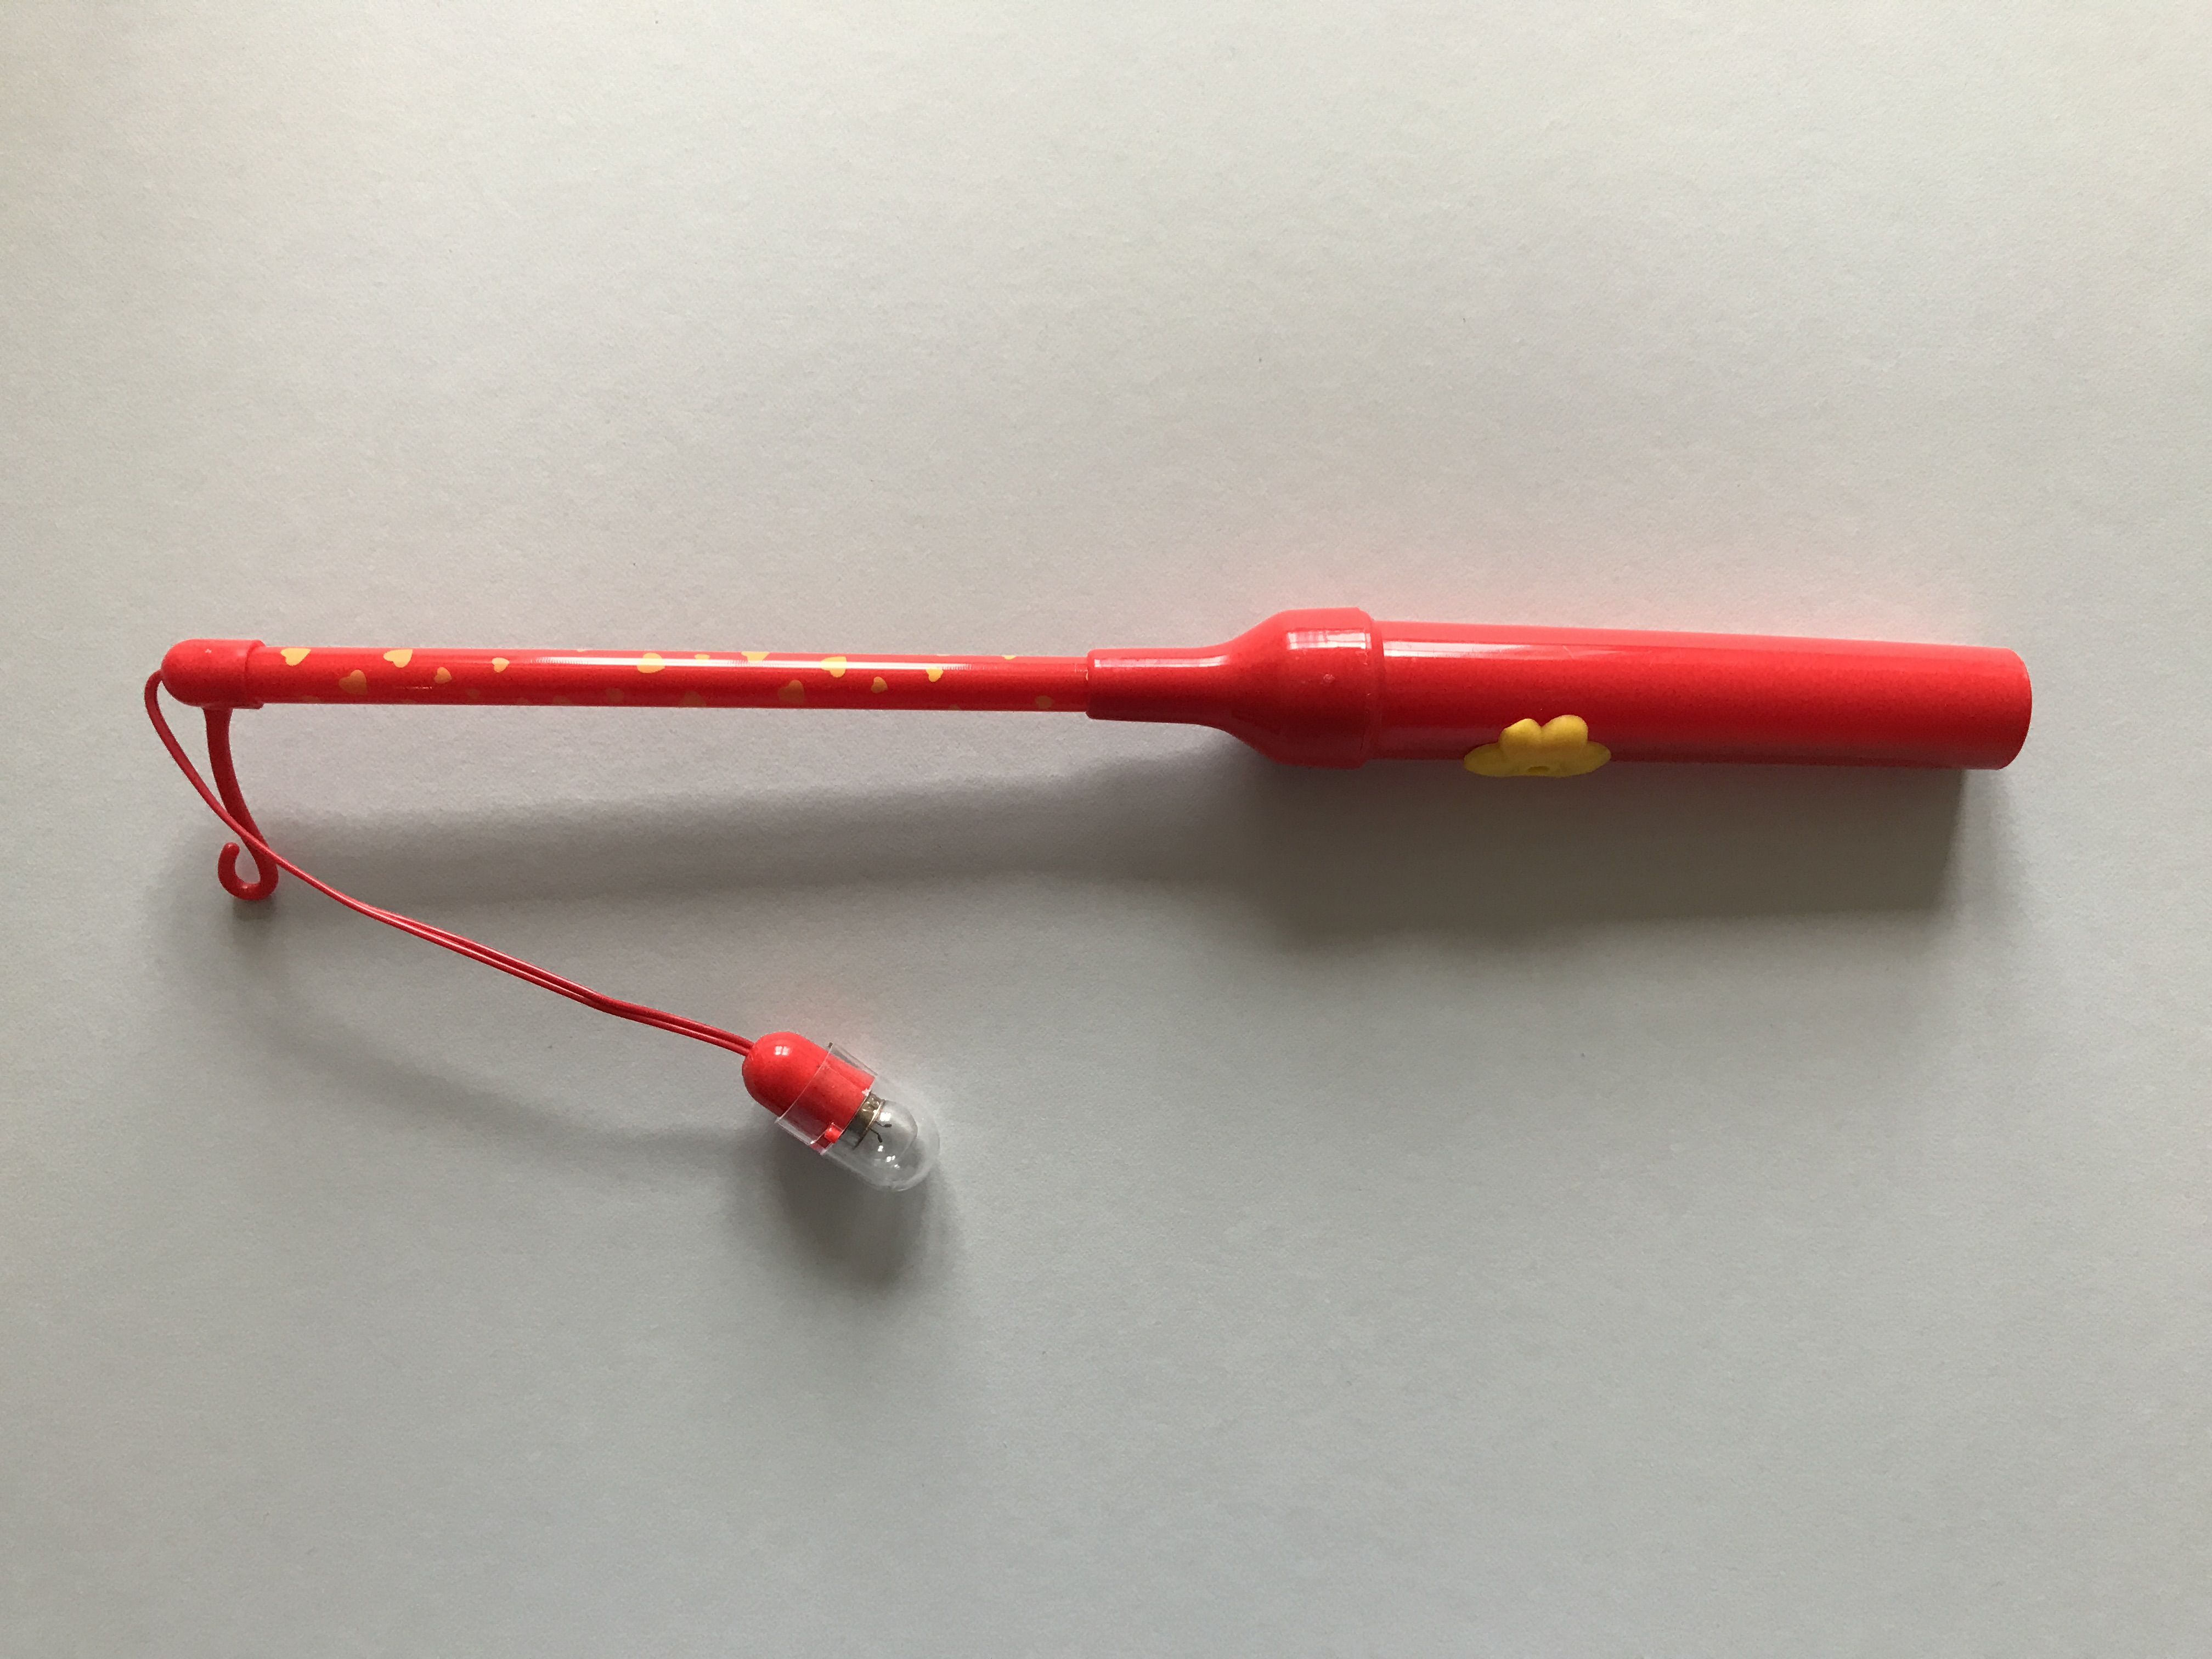
NOTE: If you live somewhere, where you can a find lantern light sticks (as pictured below), e.g. available anywhere in Germany in the run up to St Martin, then you can use this instead and *don’t* need the LED night-light and toilet roll!
Step 1: Cut a hole in the lid of your cheesebox, leaving a little rim for stability.
Step 2: Paint over any remaining label on the cheesebox. If you want to take the easy option and don’t mind your lantern having cheese label remants on it, you can also skip this step. I remember Oskar bringing home lanterns from nursery that still had ‘Camembert’ emblazoned across them. But I’m a bit of a perfectionist, so I decided to paint over the label.
Step 3: Cut a piece of the end of your toilet roll, that is no wider than than your tea-light. I cut mine a bit narrower than the tea-light.
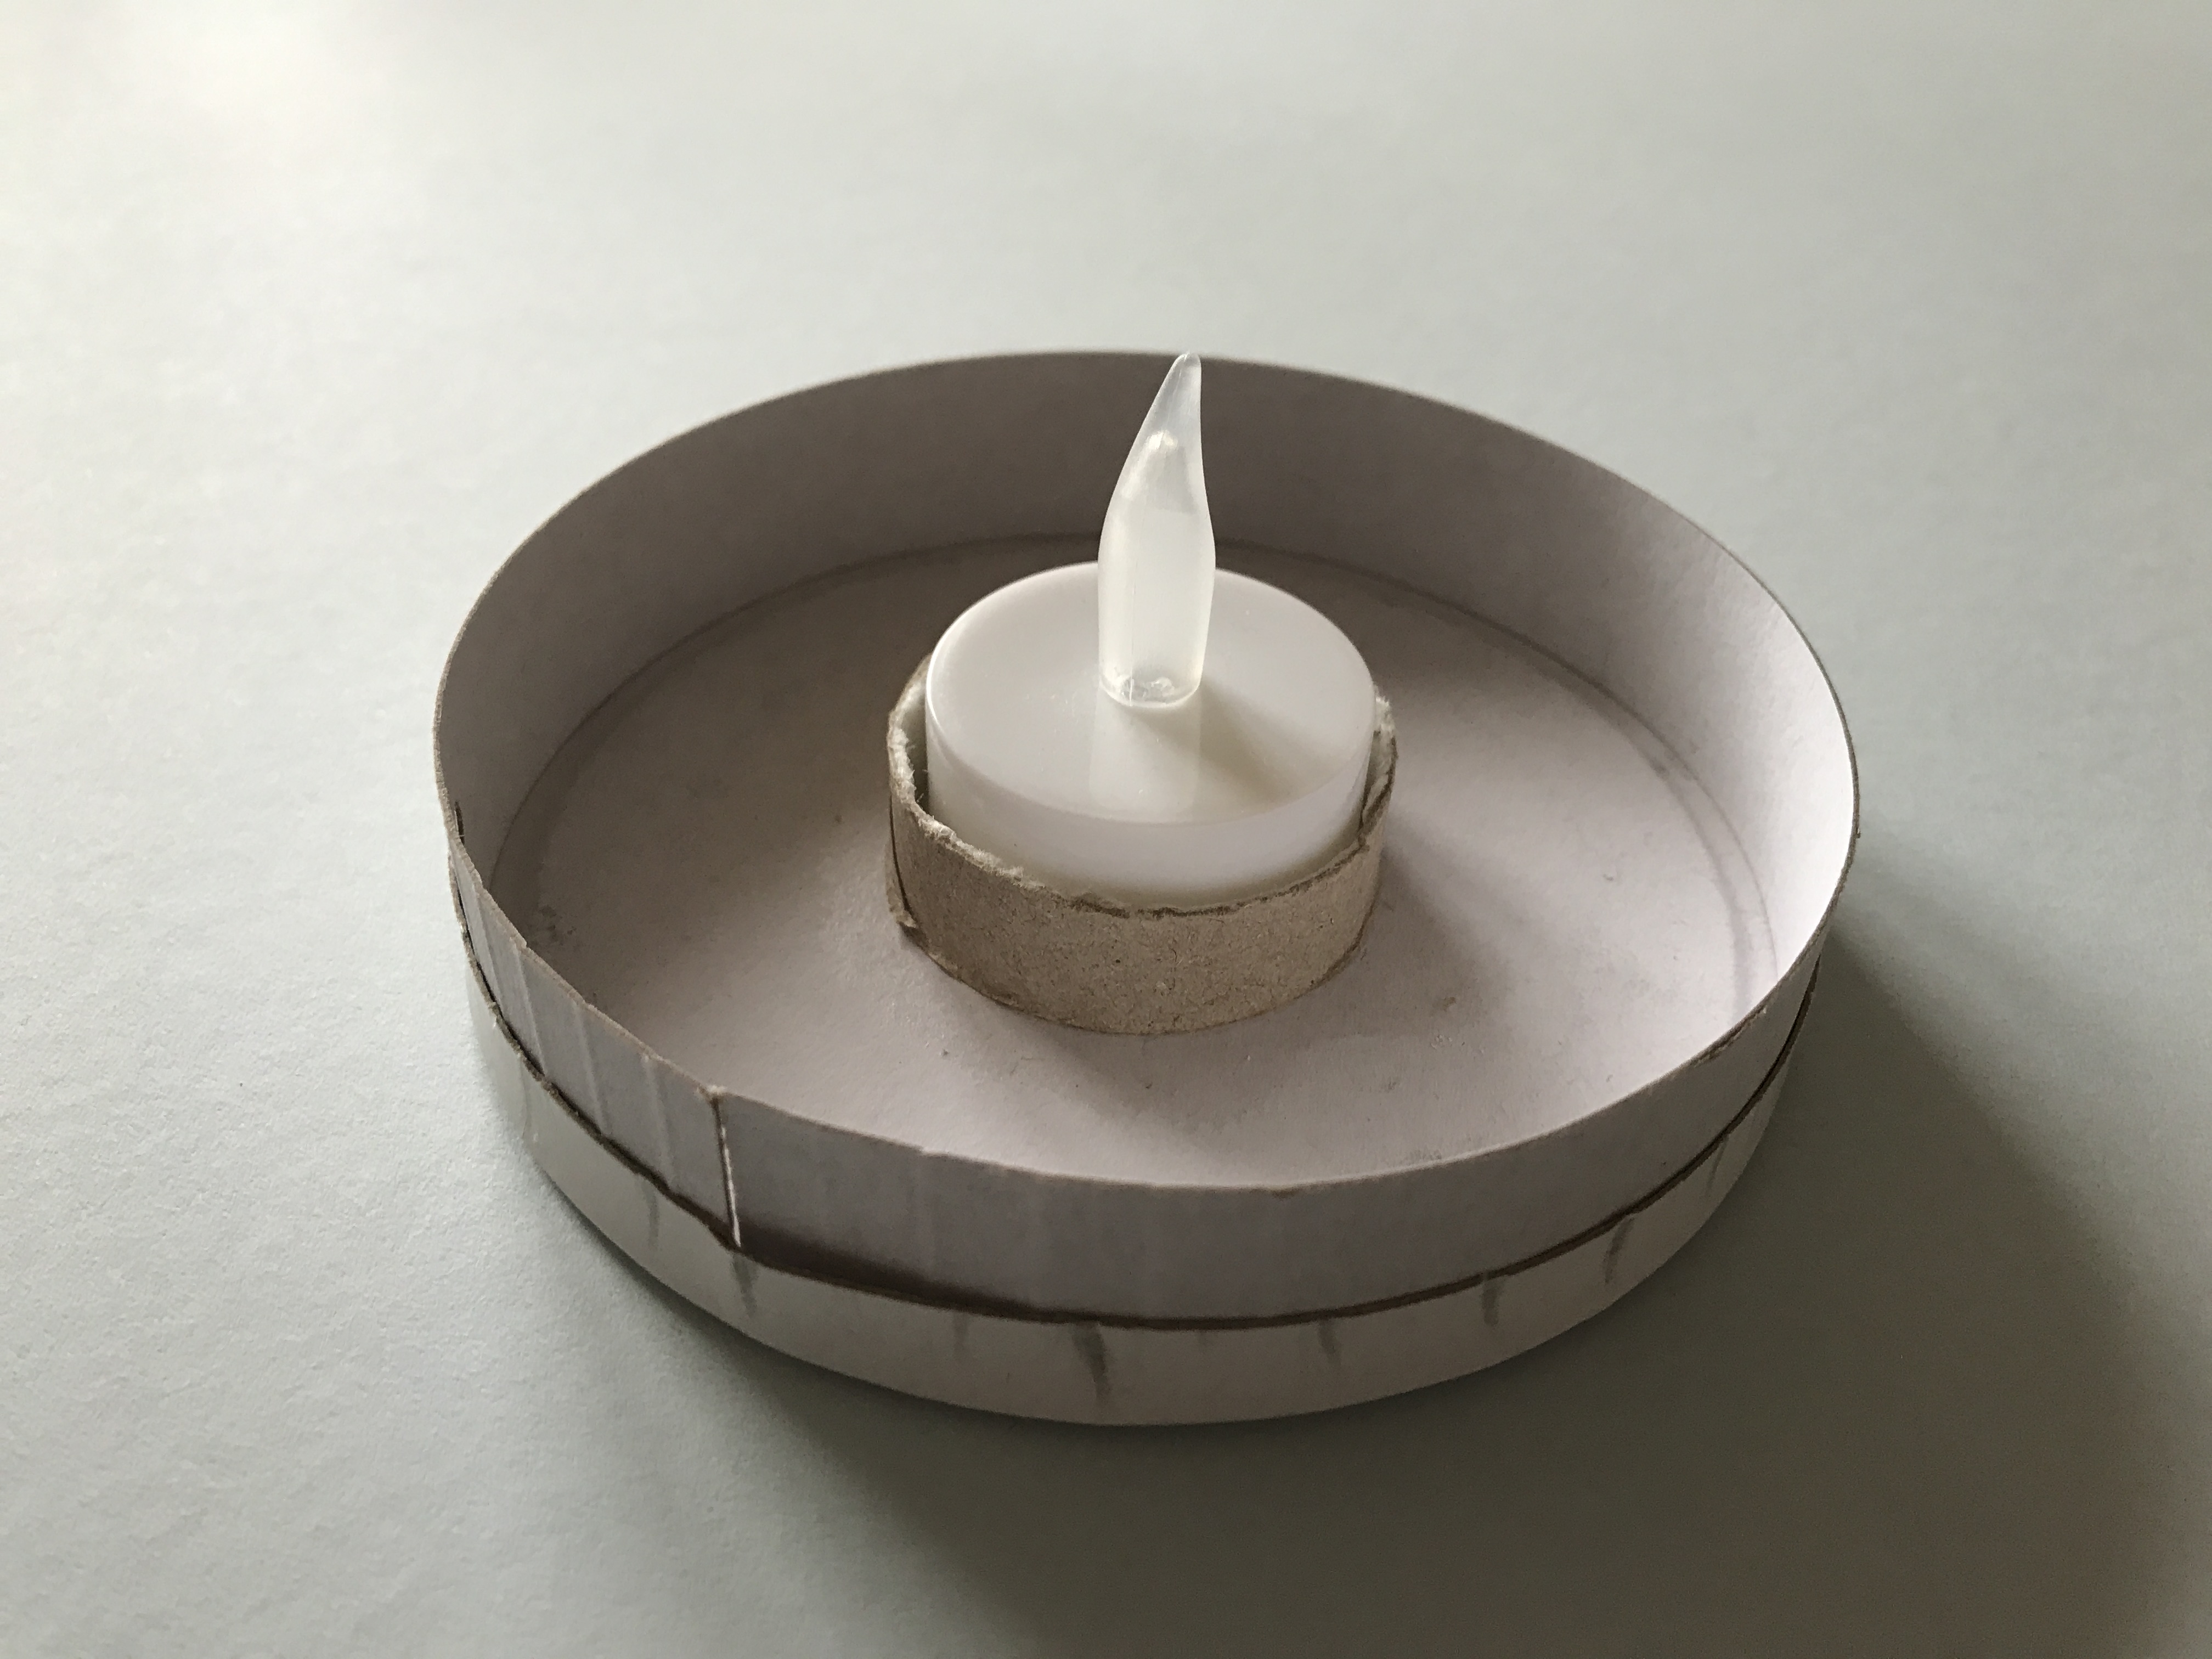
Step 4: Glue the piece of toilet roll on to the inside of the bottom half of the cheese box, roughly in the middle. You now have a tea-light holder, so that the light doesn’t slide around when you are carrying the lantern.

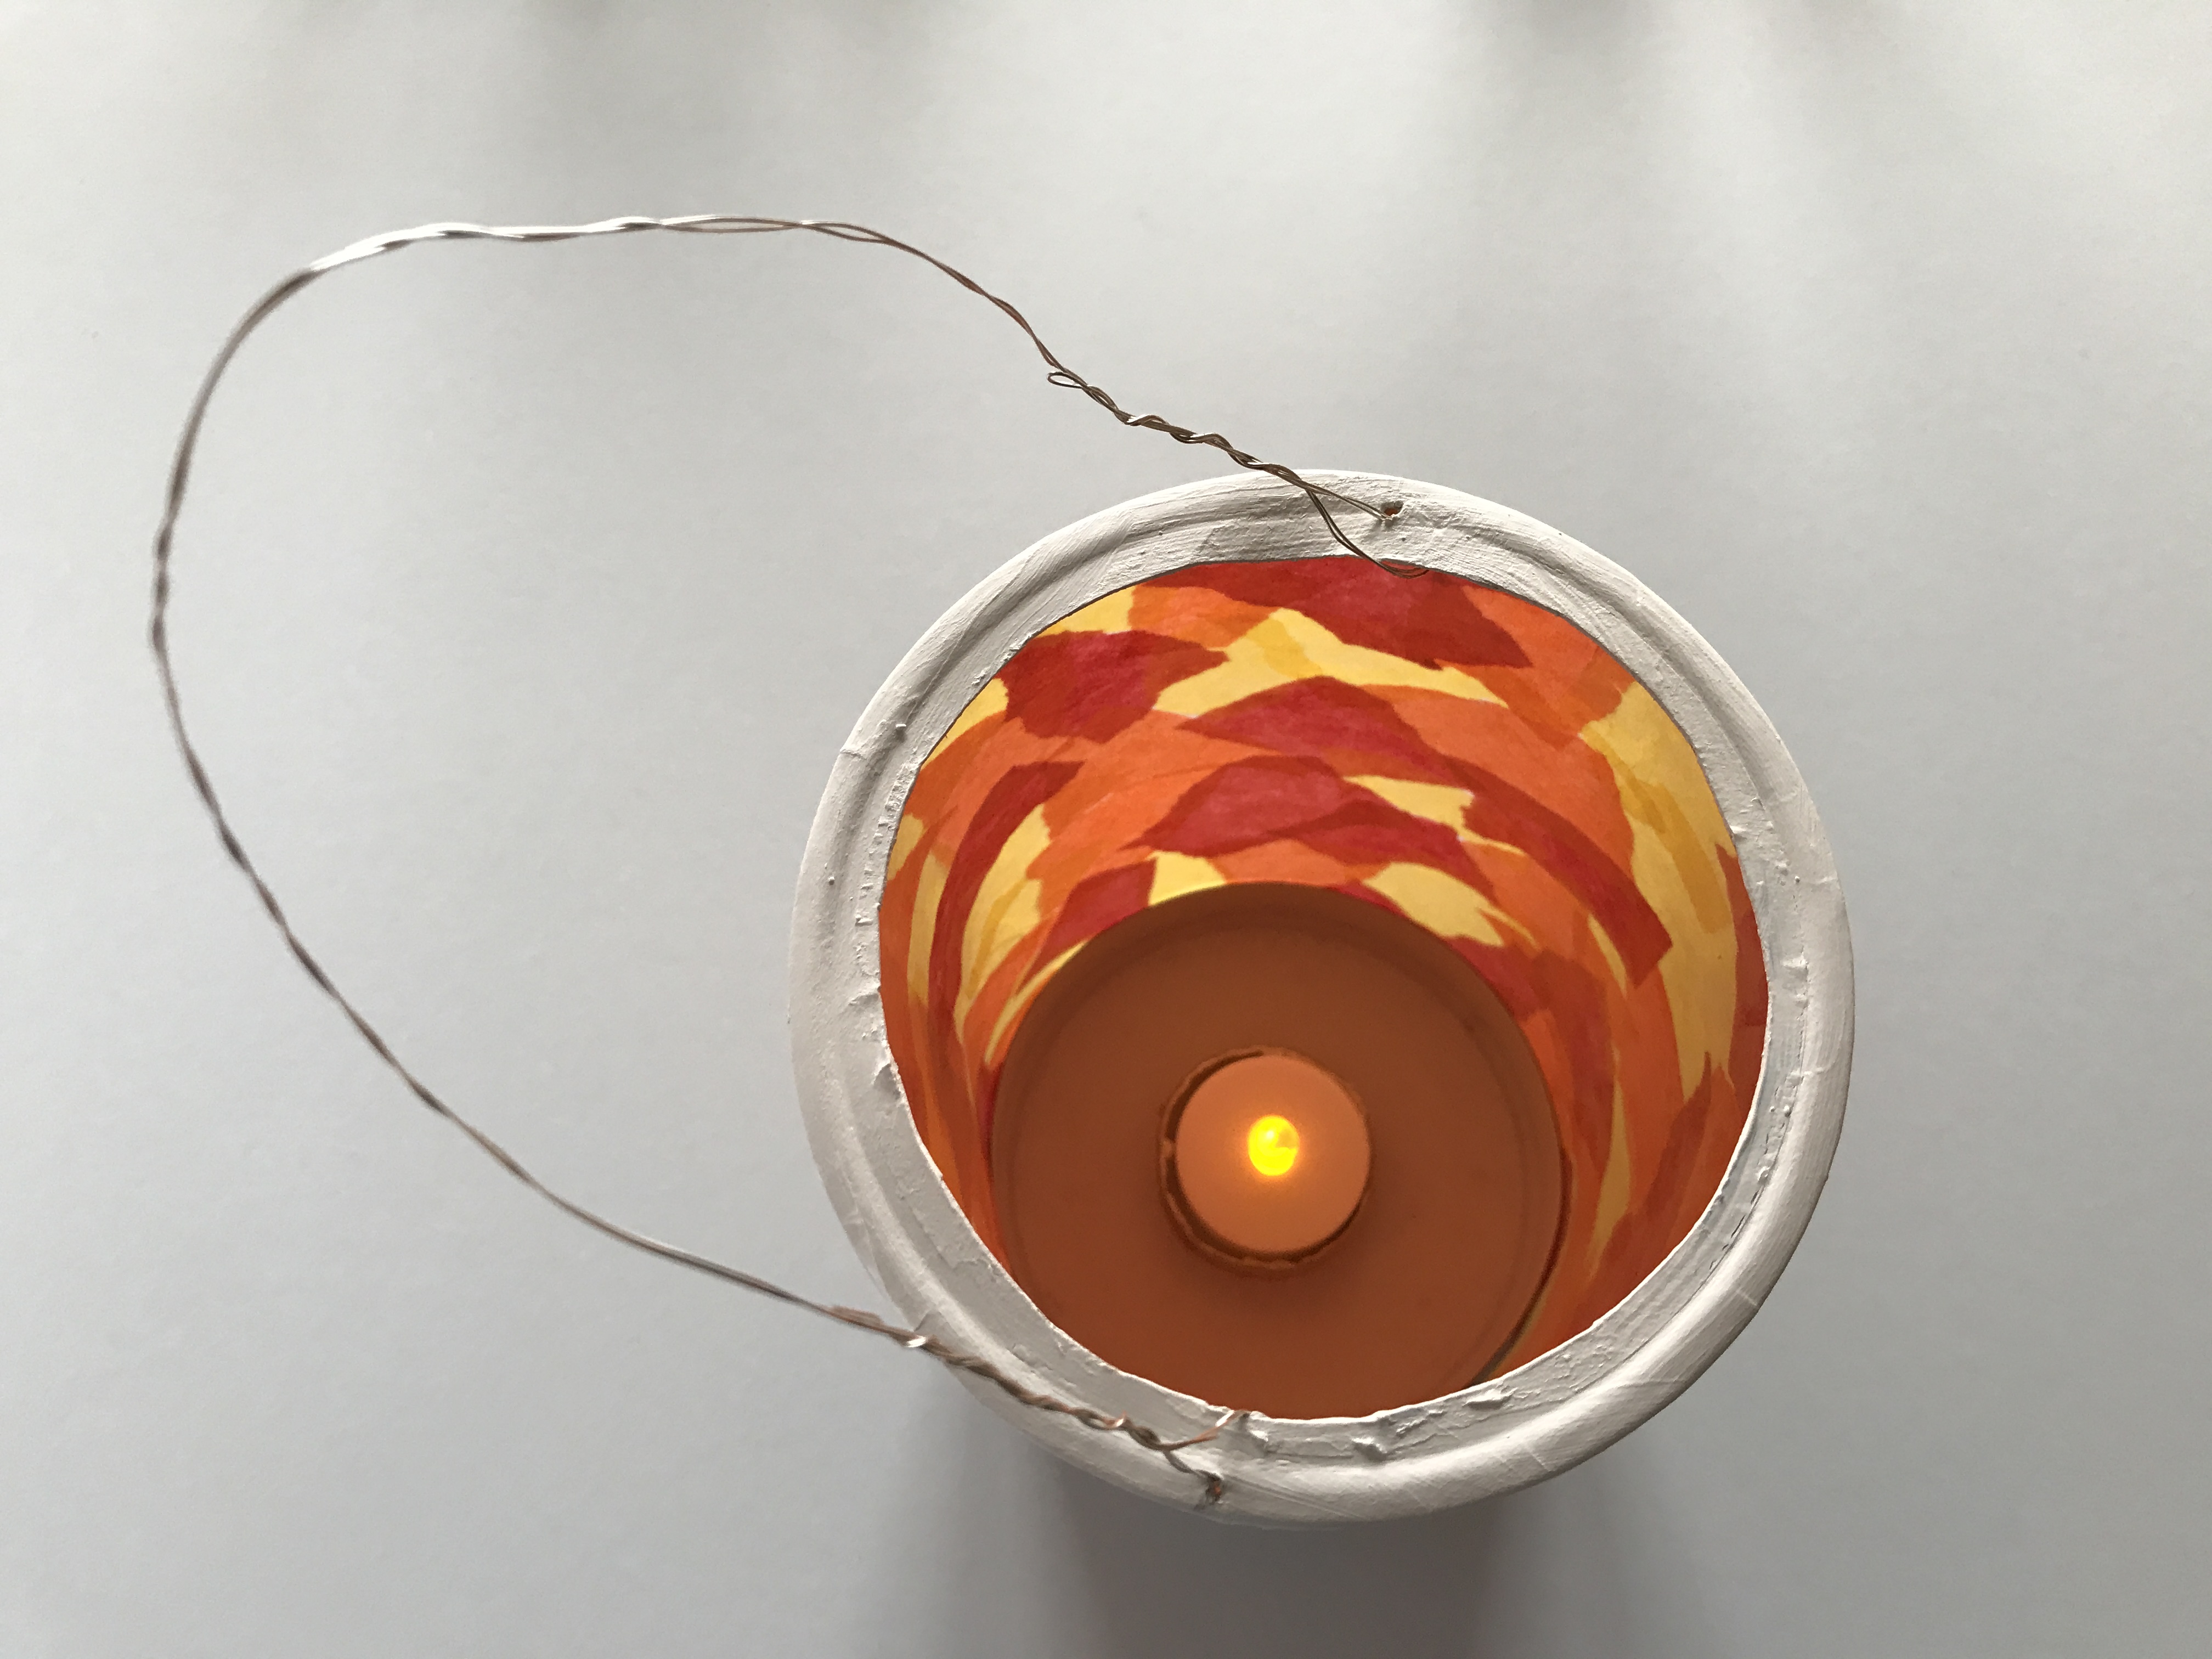
This is what it looks like with the tea-light in place.
Step 5: Tear your tissue paper in to lots of little pieces.
Step 6: Cover one side of your tracing paper in glue, and start sticking in the pieces of tissue paper. You probably want to do this bit by bit, or the glue will dry before you get all the tissue paper on it. Keep layering on tissue paper and glue until you have filled all the gaps, but don’t make the layers too thick or the light won’t shine through very well. Once you have everything covered in tissue paper, add another layer of glue on top to make sure everything stays in place.

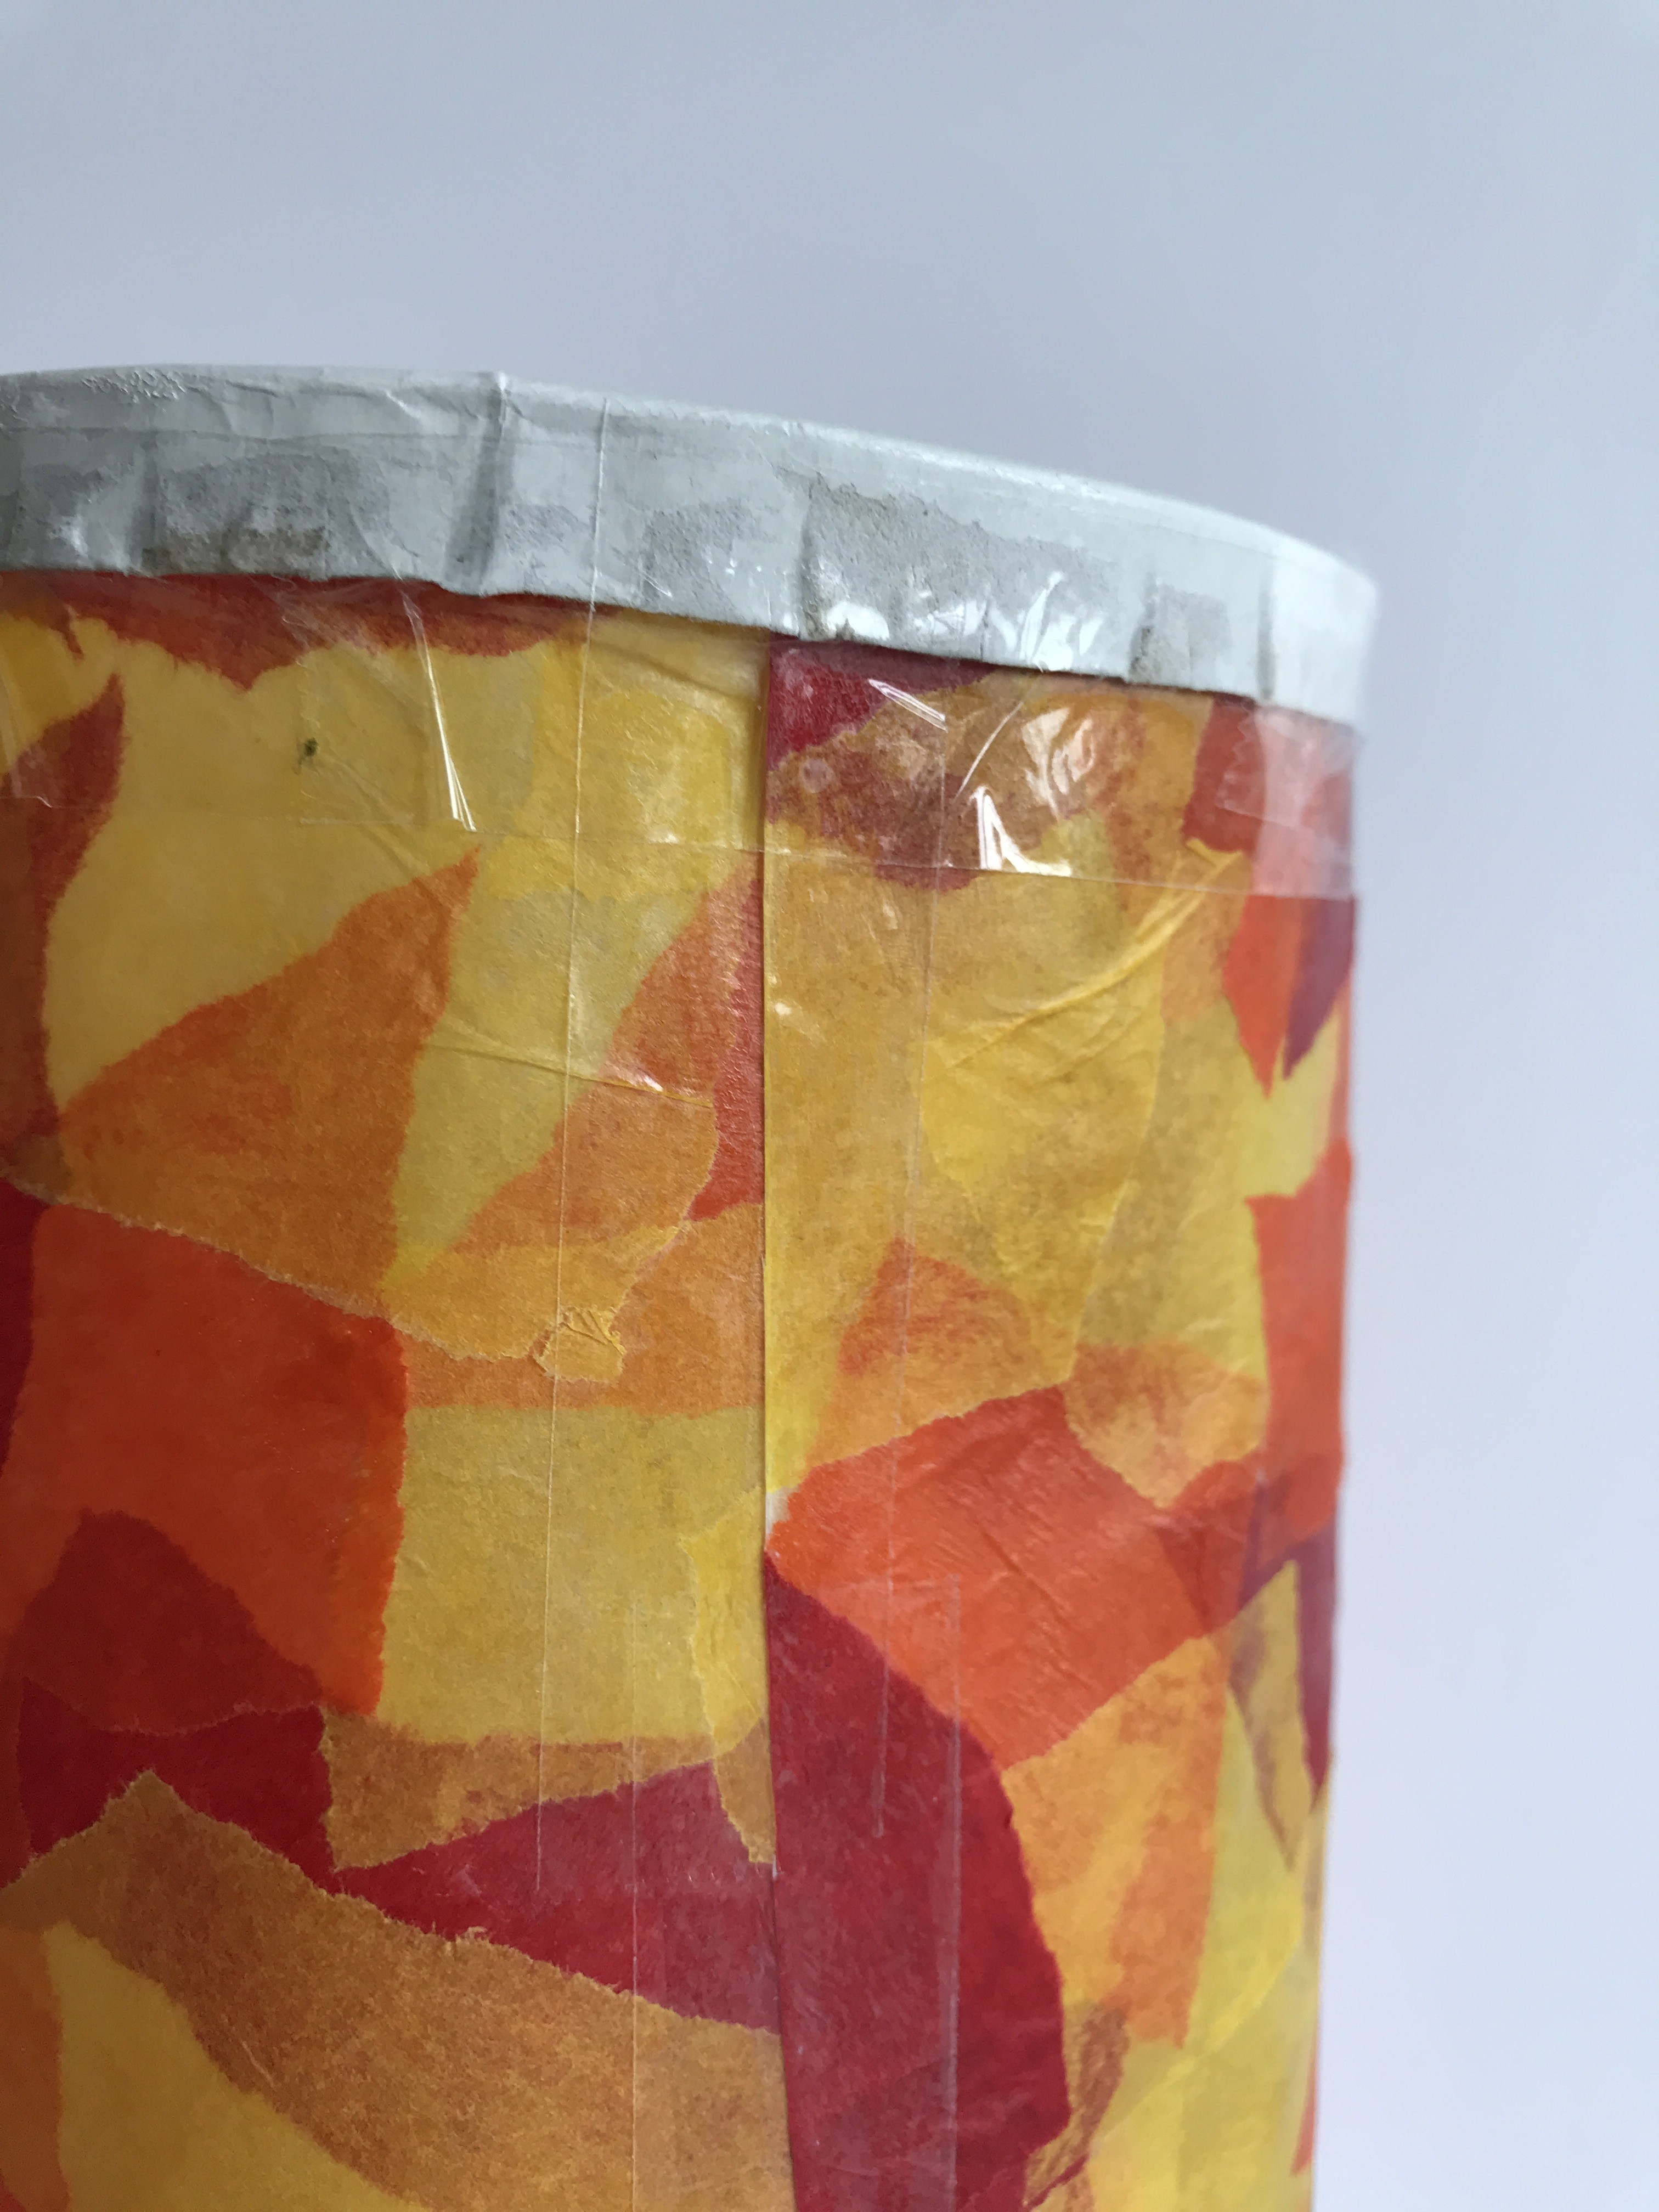
Step 7: This step can be a bit tricky, but stick with it (no pun intended)! Trim the sides of any over-hanging bits of tissue paper, then curl it in to a cylinder and tape one half of your cheese box in to each end, with the long side of the paper going around the rim of the cheese box. This is also your opportunity to trim your lantern down, if you don’t want it quite so tall, so I cut off a length so that my final lantern is about 20cm tall. When taping it all together, I taped the first, then the top, and the side last. I’ve included a close-up photo below, to show how I taped the tracing paper in to the cheese box lid.
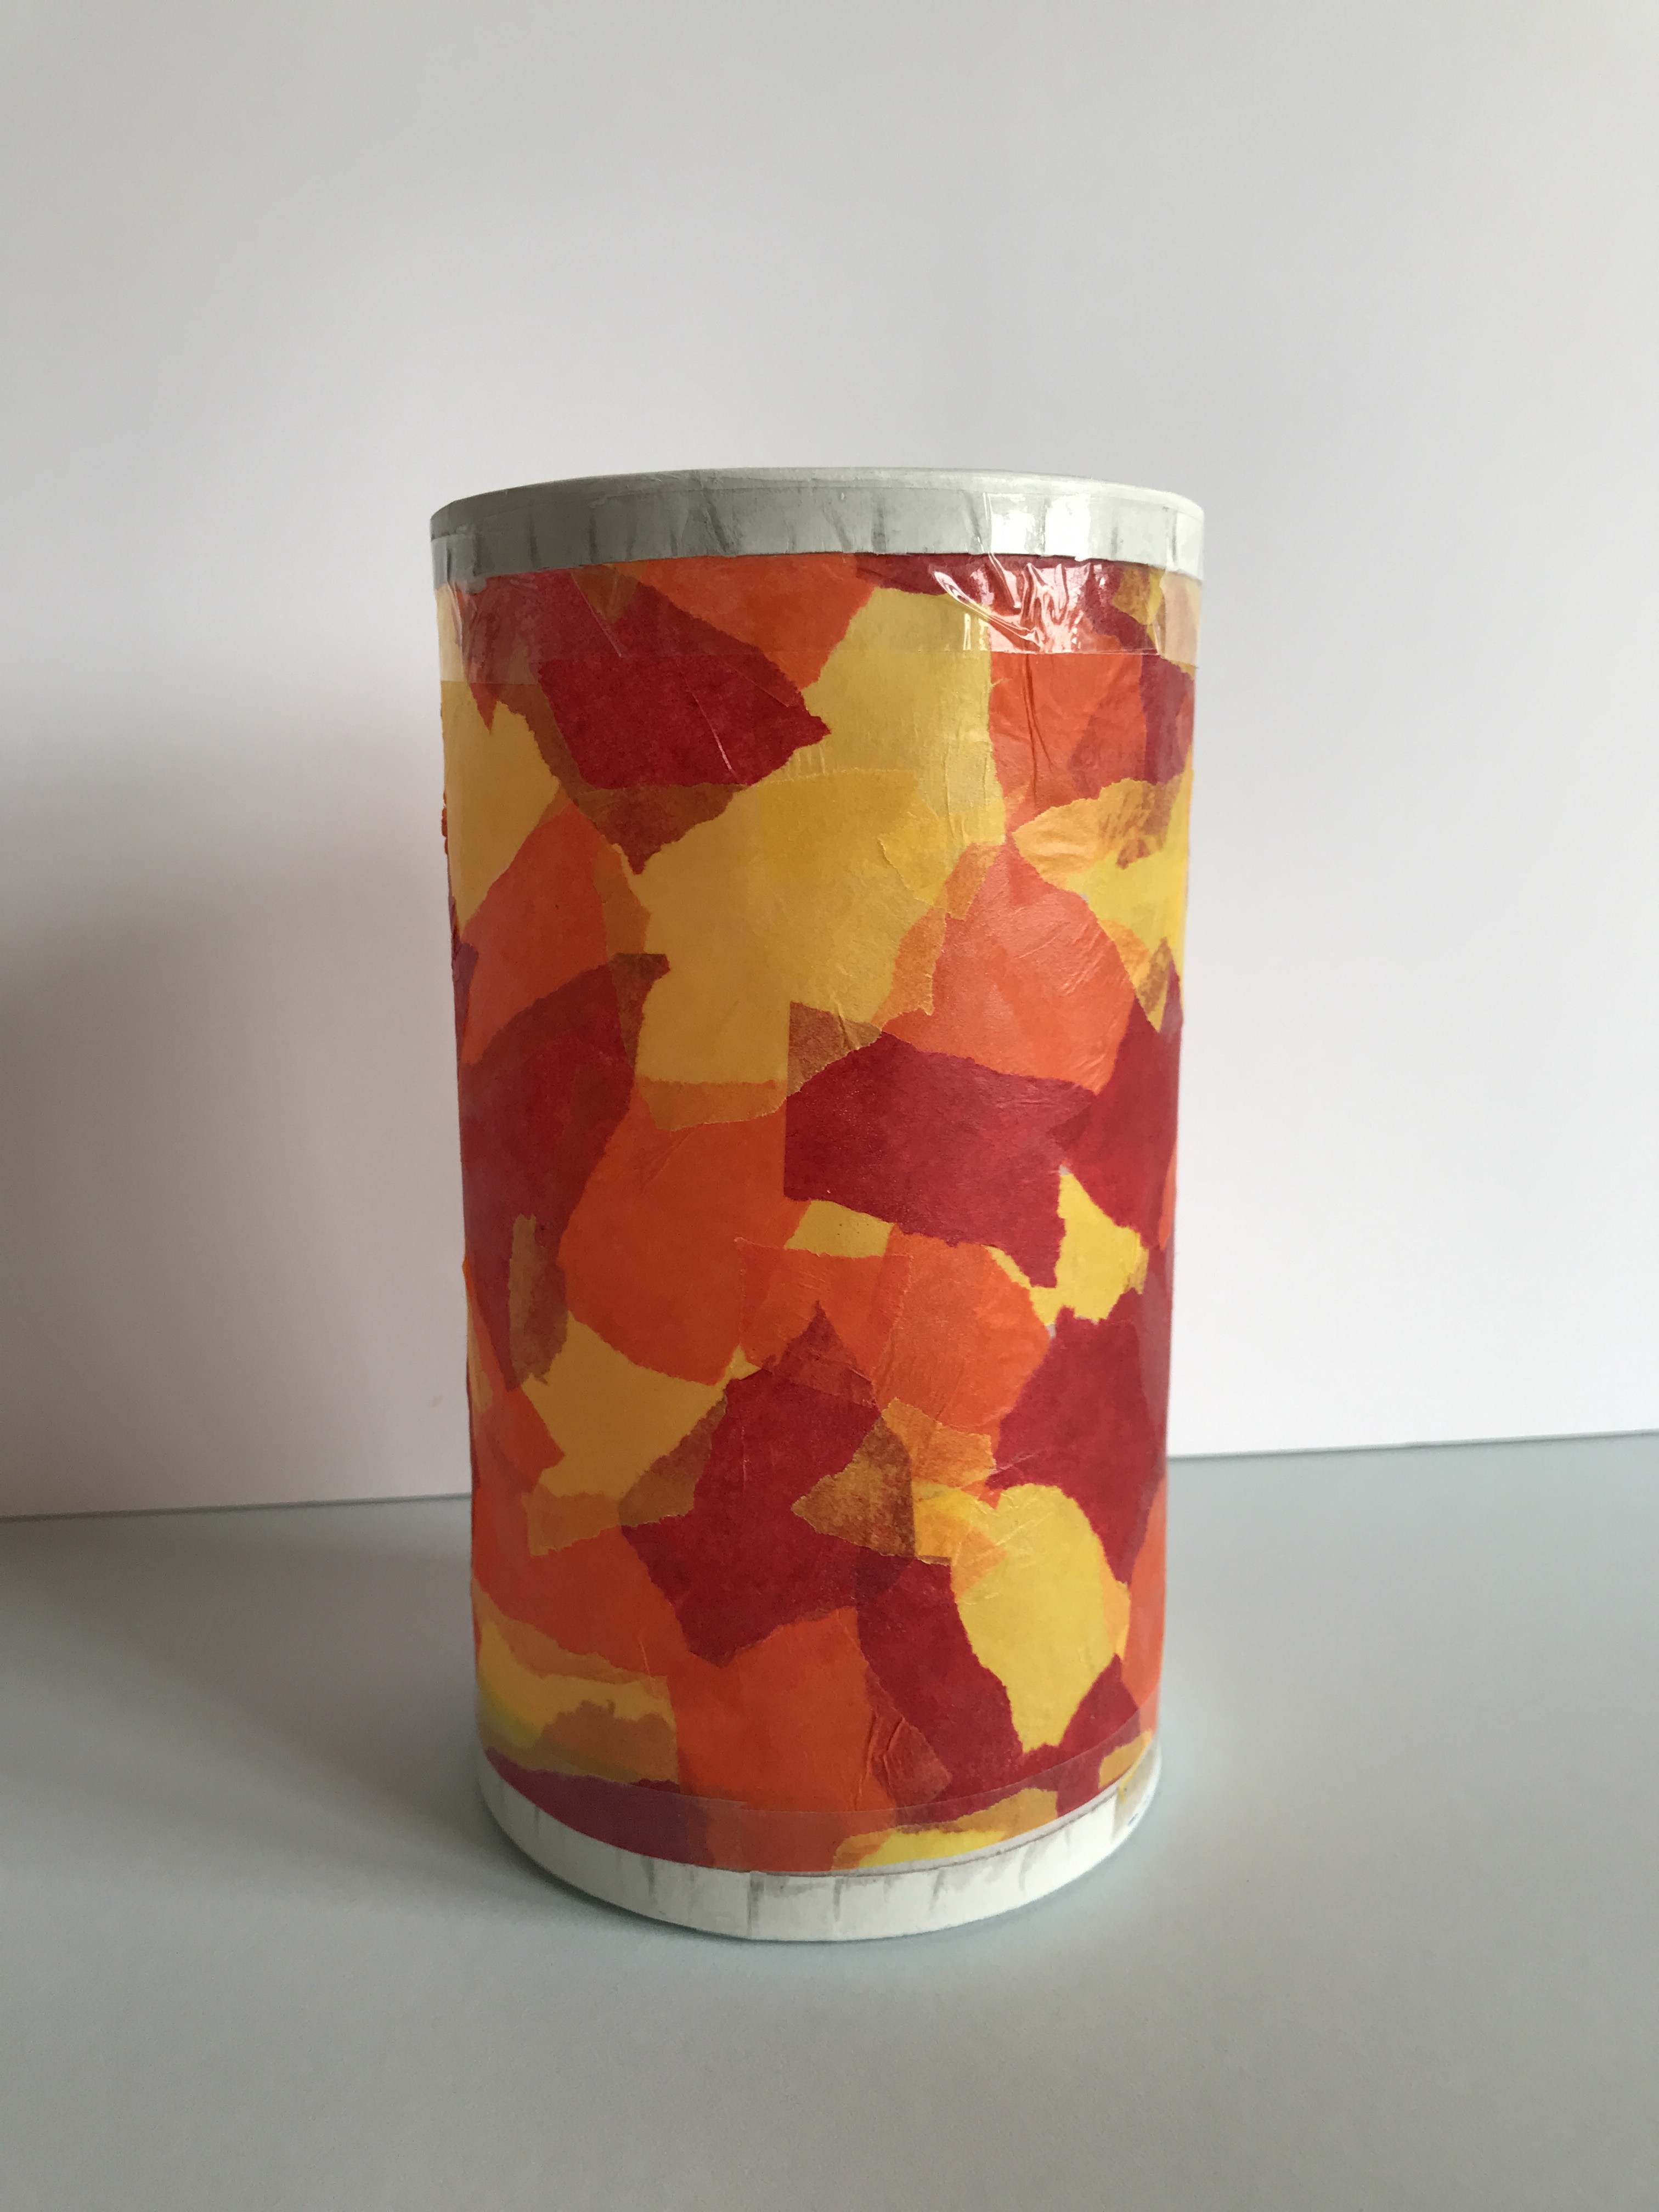
And here’s the finished cylinder, with both halves of the cheese box taped in place:
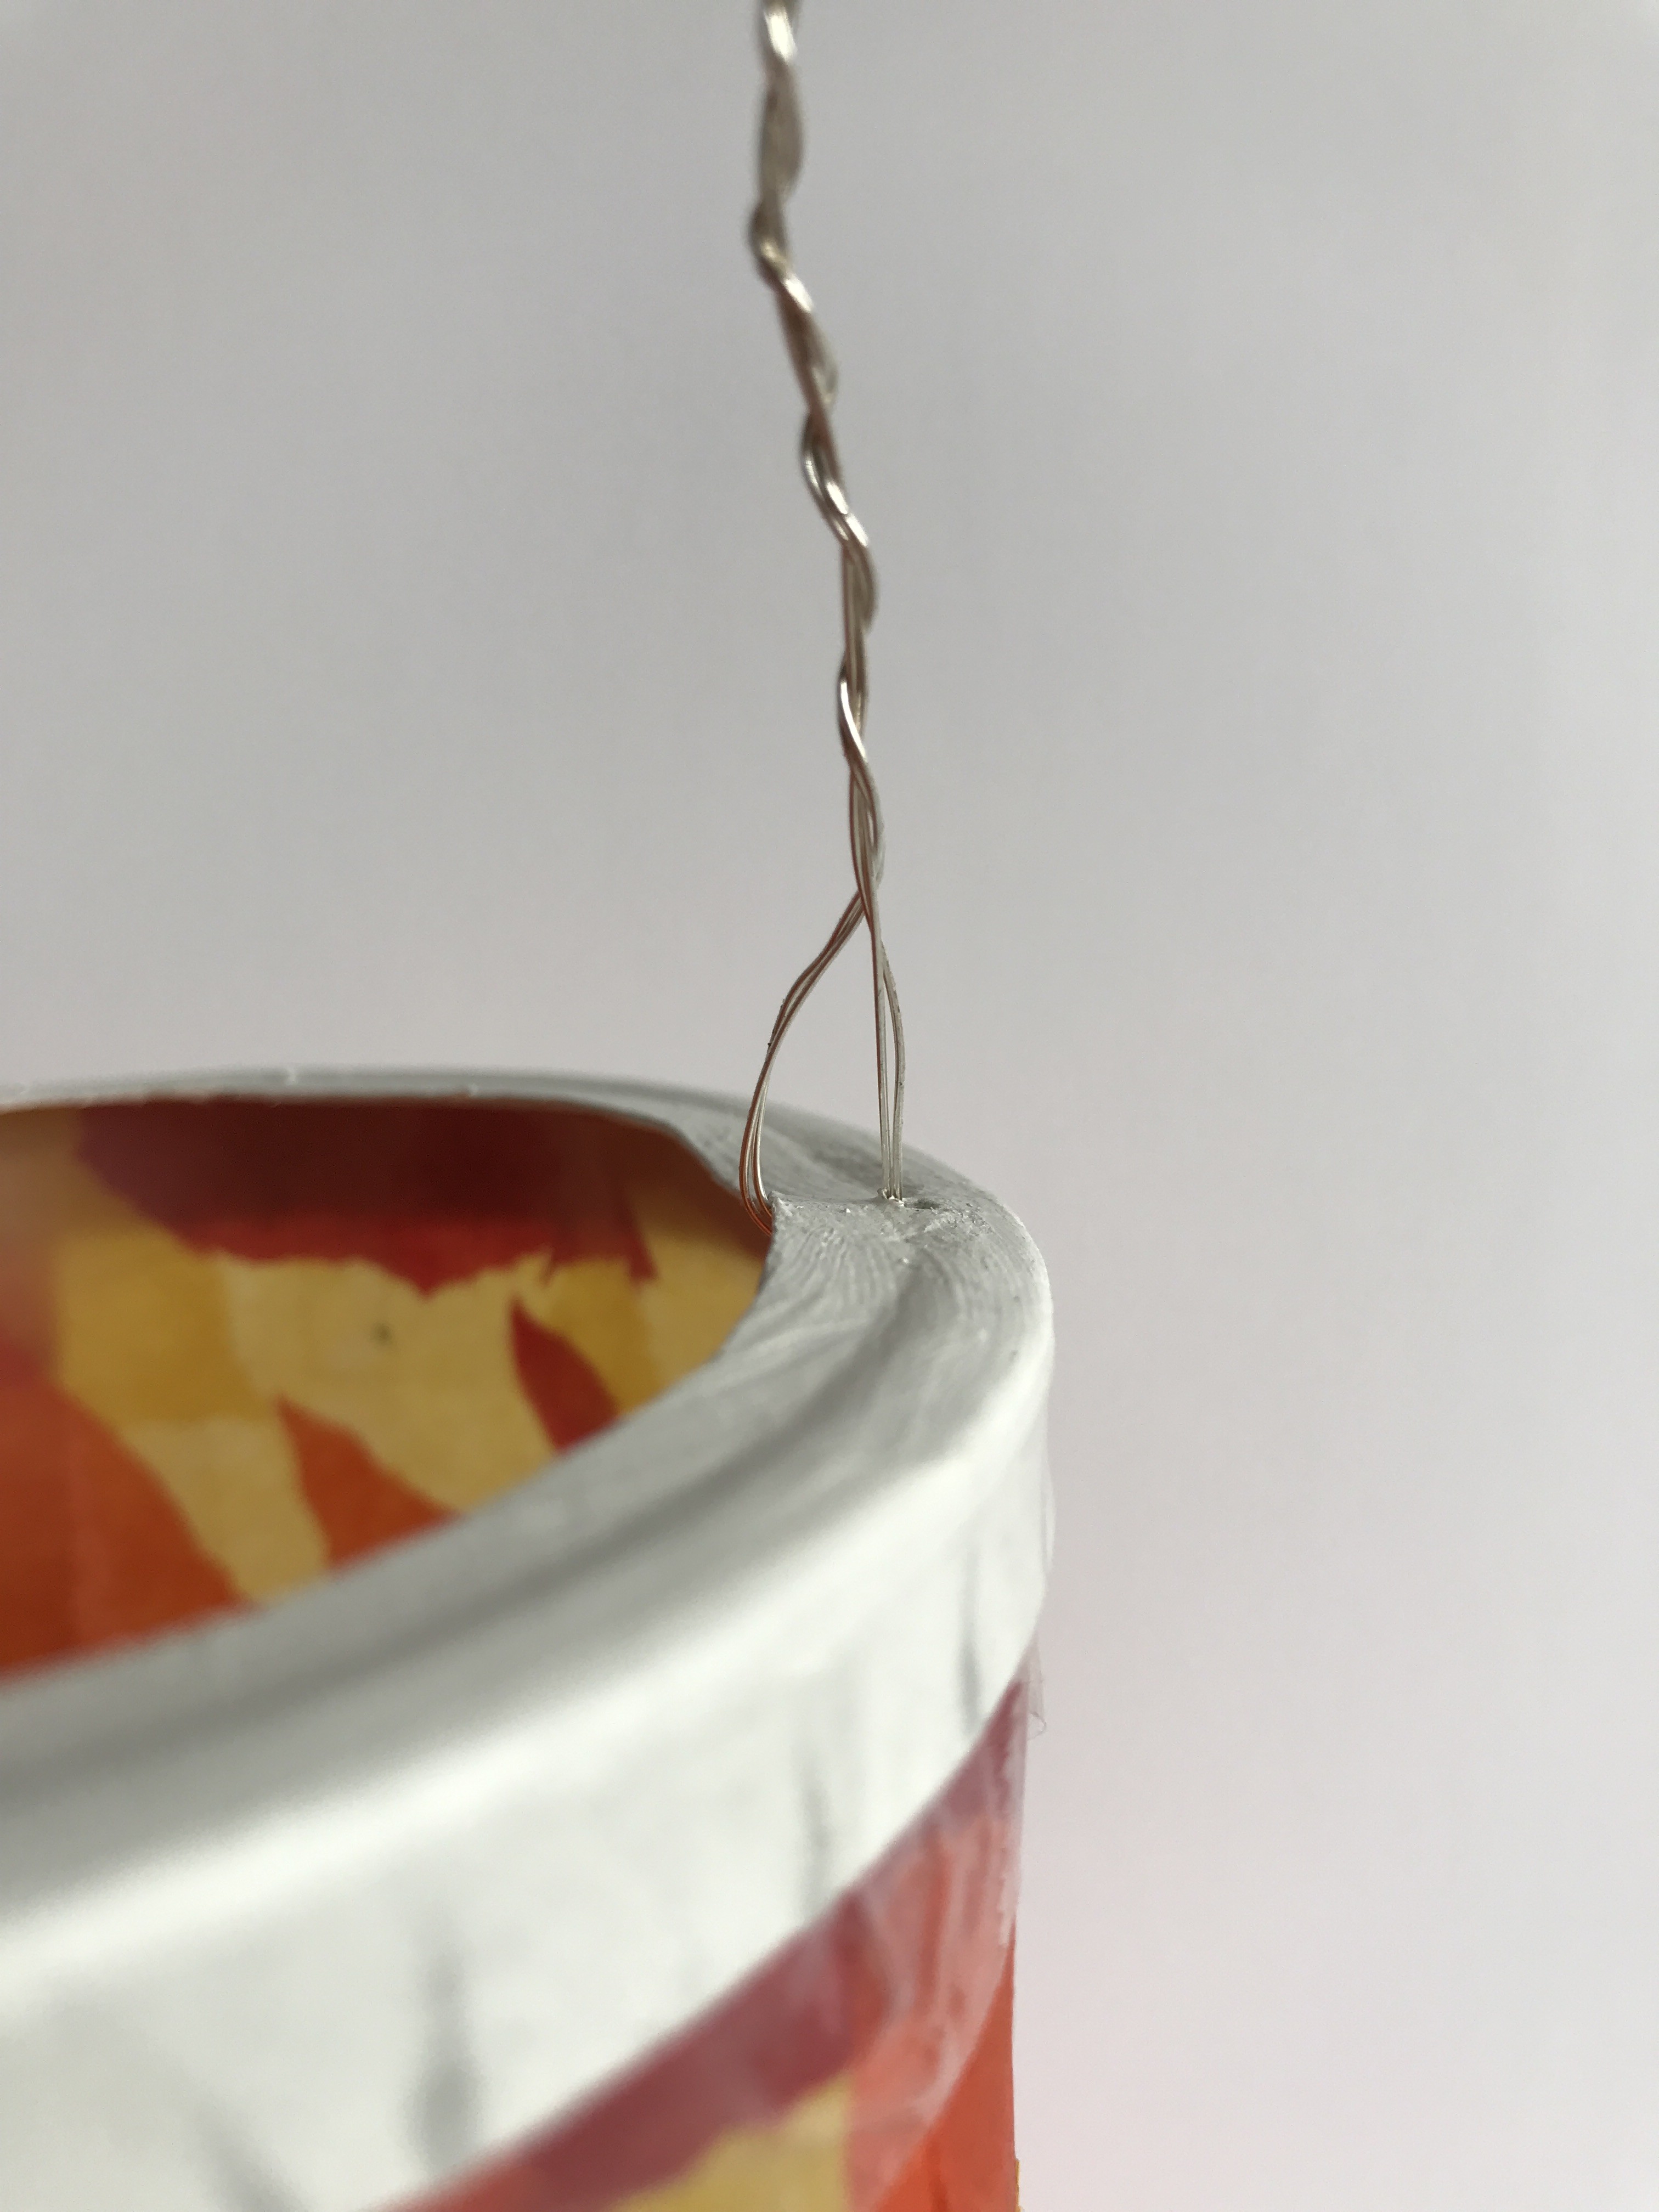
Step 8: To make a handle to carry your lantern, piece a small hole in the top of the lantern, either side of the rim. Hook one end of your wire through each hole (if your wire is very thin, like mine, then double it up first),bend it up the way and twist it a little with the rest of the wire to secure in place (see picture below). NOTE: If you plan to stand your lantern up somewhere, instead of carrying it, you can skip this step!
And that’s it, your lantern is finished! All that is left to do, is to switch on the LED tea-light and place it inside. You can either carry your lantern directly by its handle, or if you want to carry it like they do at the lantern processions in Germany, you can hand it on the end of a stick e.g. a wooden rod or just a nice stick from the park.
Why not pin this image below, to be able to refer back to this tutorial! You may also like our tutorial from last year, for making a train lantern our of a juice carton. Happy St Martin, and happy lantern making!

Kate | Five Little Stars
This looks to be such a simple crafty idea, I think my toddler and preschooler would enjoy doing this with me with my help. Thank you for sharing! Kate x
Sarah Jones
This looks lovely. Simple yet effective, I’ll definitely be giving it a go, thanks.
Rochelle - www.rhubarbandwren.co.uk
Love this – we have a Lantern Festival parade every winter, and while we make big willow lanterns for us and the big kids, I often use a cut-down drinks bottle to make one similar to yours for the younger kids. But I think I prefer your way, as it’s without the plastic!
Cath - BattleMum
I’ve only just learned about St Martin (or Sao Martinho) here in Portugal. I’ve been told I’m going to have my first ever roasted horse chestnut tomorrow which is part of the traditions here. Lovely lantern too, I must check if it’s used here too x
five little doves
Oh what a lovely craft idea! This is so simple but so effective, I will do this with the kids!
Sophie's Nursery
Aw this looks really lovely – simple & great fun to make with the kids :) I’ve not heard of this festival before x
Emma
This is brilliant and what a great idea. We don’t celebrate St. Martins but this a great idea for a Christmas craft!
Chloe Ciliberto
This is such a great craft to make at home. I love the colour! :D
anosa
I love the simplicity of this idea! because you can really make it your own and is also a fun activity to do with little ones.
Pingback: Autumn Wish List – The Bear & The Fox
Pingback: How to Celebrate St Martin's Day – The Bear & The Fox
Pingback: Planning for November – The Bear & The Fox