
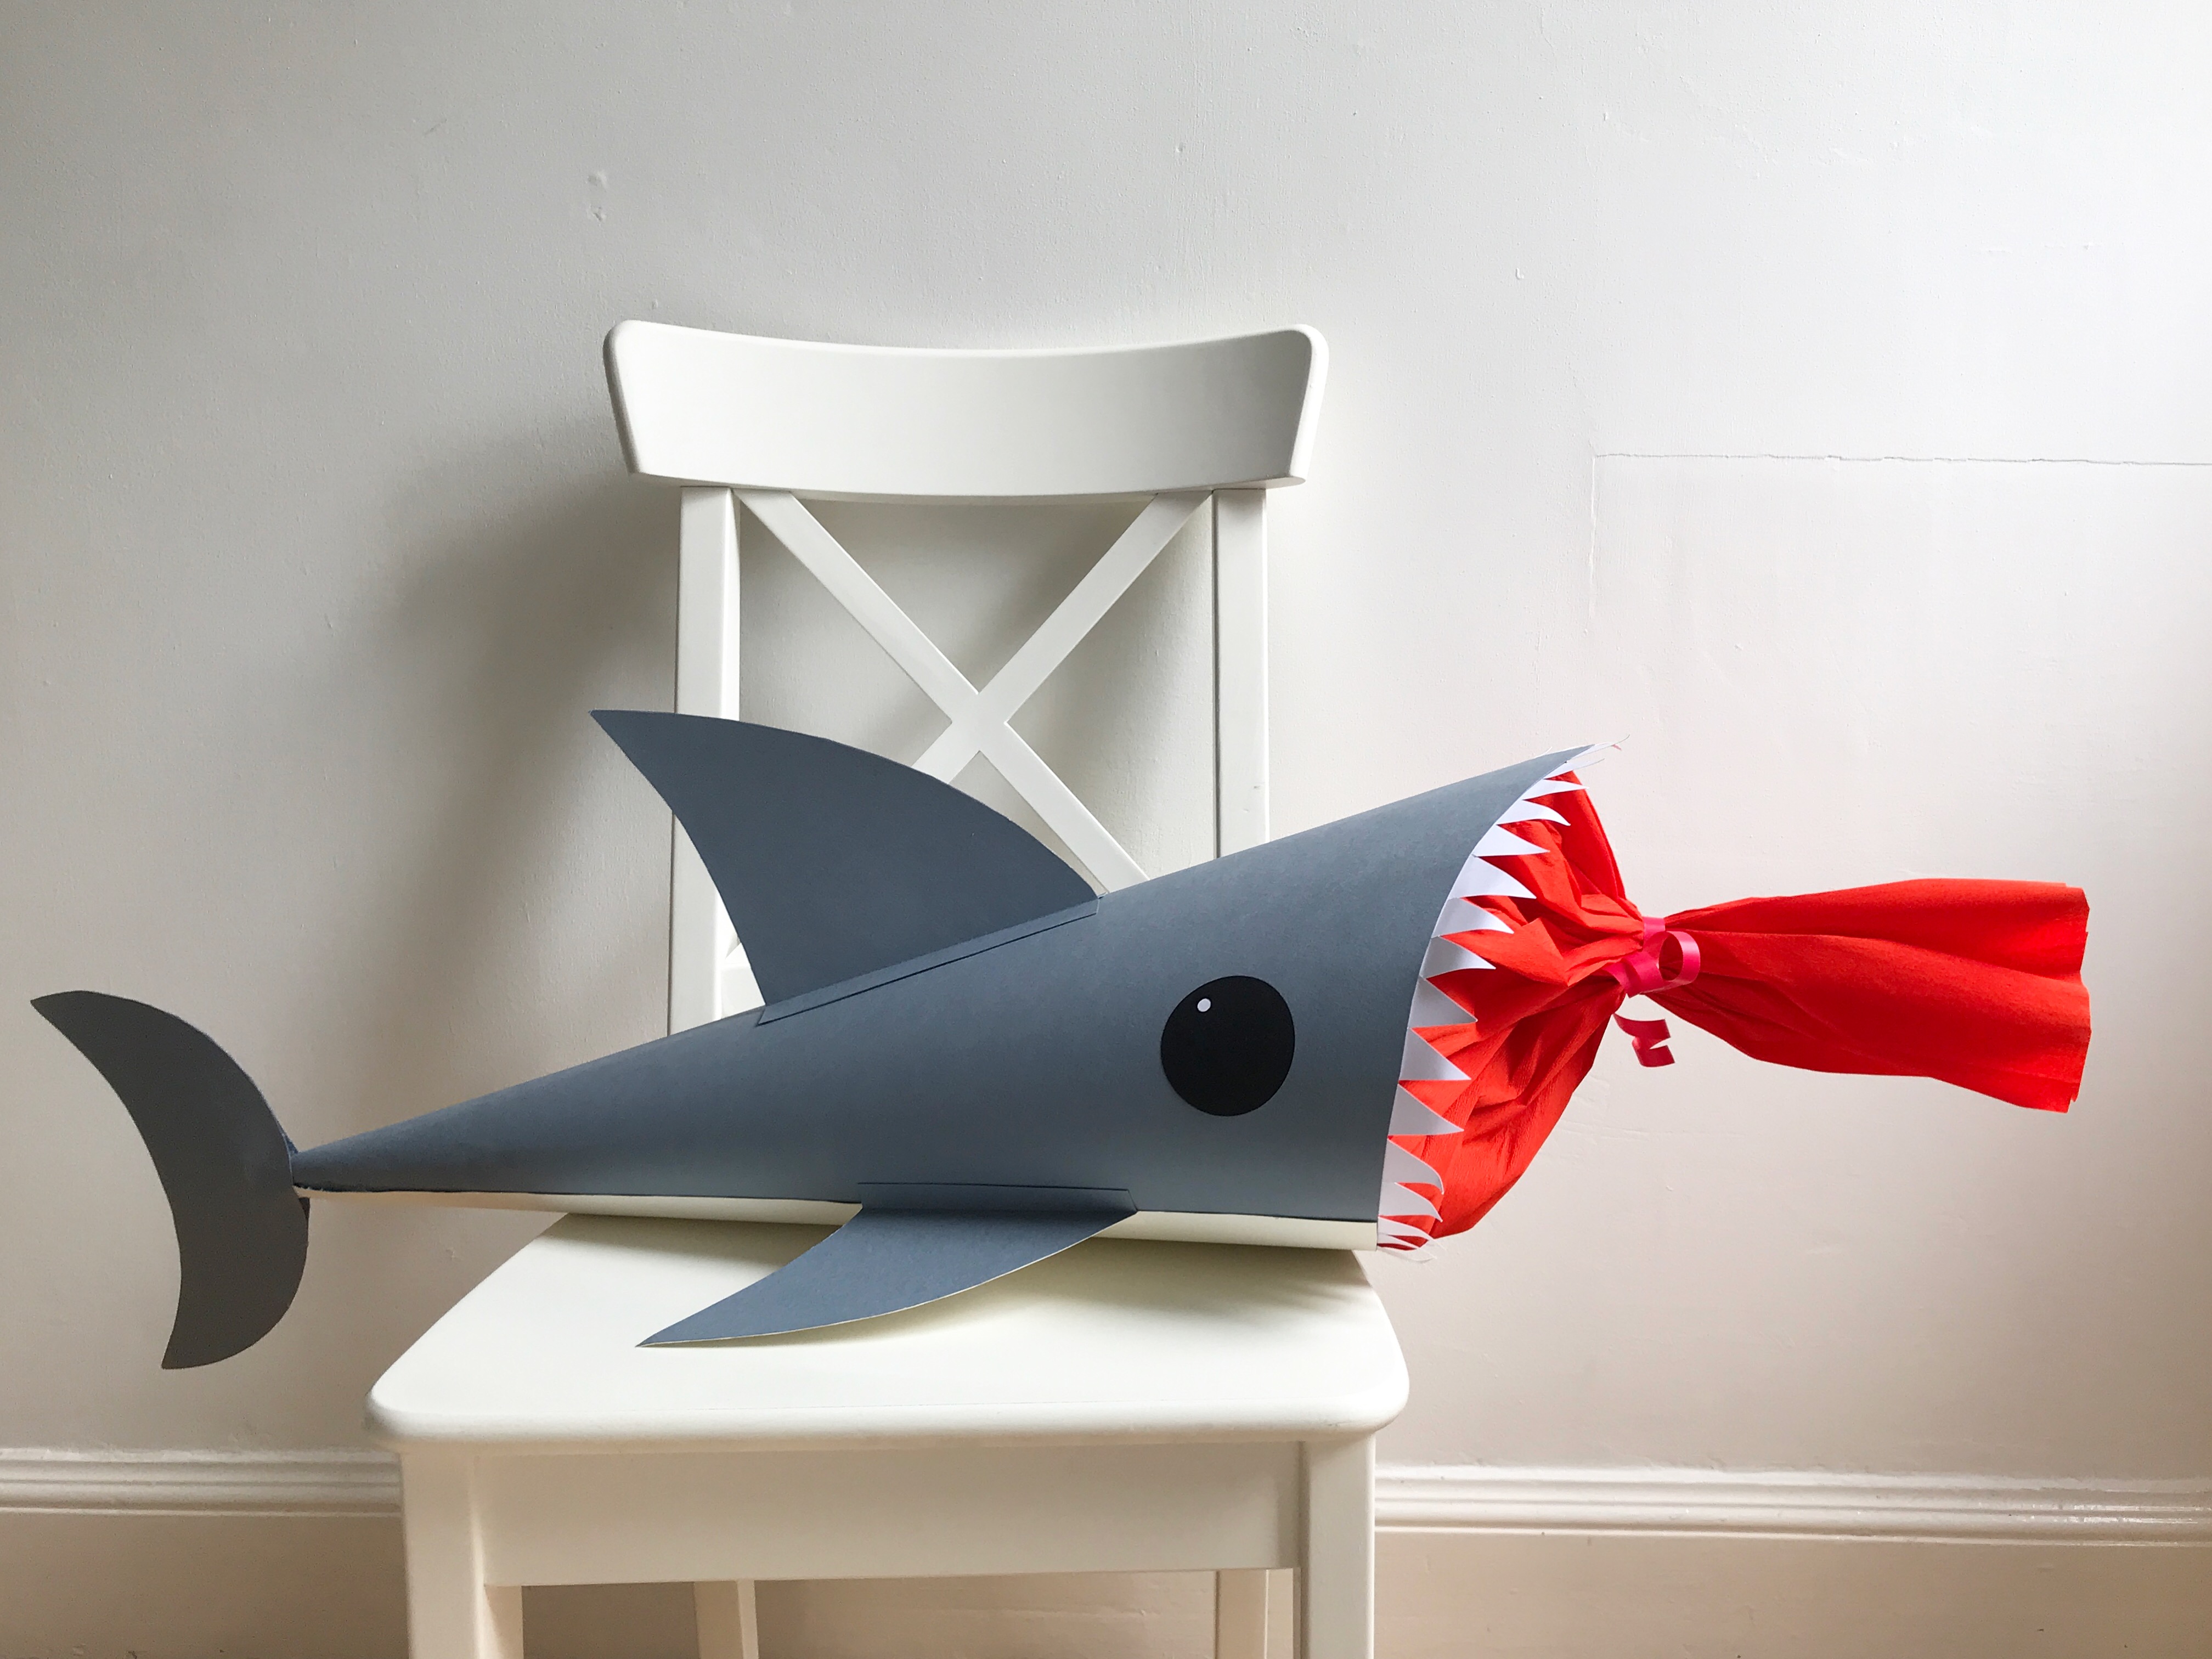
How to make a shark themed ‘Schultüte’
The countdown is on – there’s less than ten days to go until the new school term and year starts, and one of the final tasks I still had to do was make a ‘Schultüte’ for my little school starter. A ‘Schultüte’ is a large cardboard cone filled with treats, that all German children receive on their first day of school. In Germany, you can buy them ready made or you can buy blank cones to decorate yourself (which is exactly what I did for my eldest when he started school in Berlin three years ago!) but this time I had to start from scratch since there was nowhere I could buy a ready made one in Edinburgh. To make matters more difficult, a shark themed ‘Schultüte’ had been requested – but I rose to the challenge!
Here’s how to make your own. You will need:
- 1 large sheet of grey card (ca 60cm x 85cm) plus some extra – the shop I went to didn’t have smaller sheets so I just bought two large sheets and will use the rest for other crafting
- 1 large sheet of cream coloured card
- 1 A4 sheet of white card
- 1 A5 or A4 sheet of black paper
- Red crepe paper (ca 50cm wide)
- Red ribbon
- Glue (ideally a glue gun or other strong glue, and a glue stick)
- A stapler
- Scissors
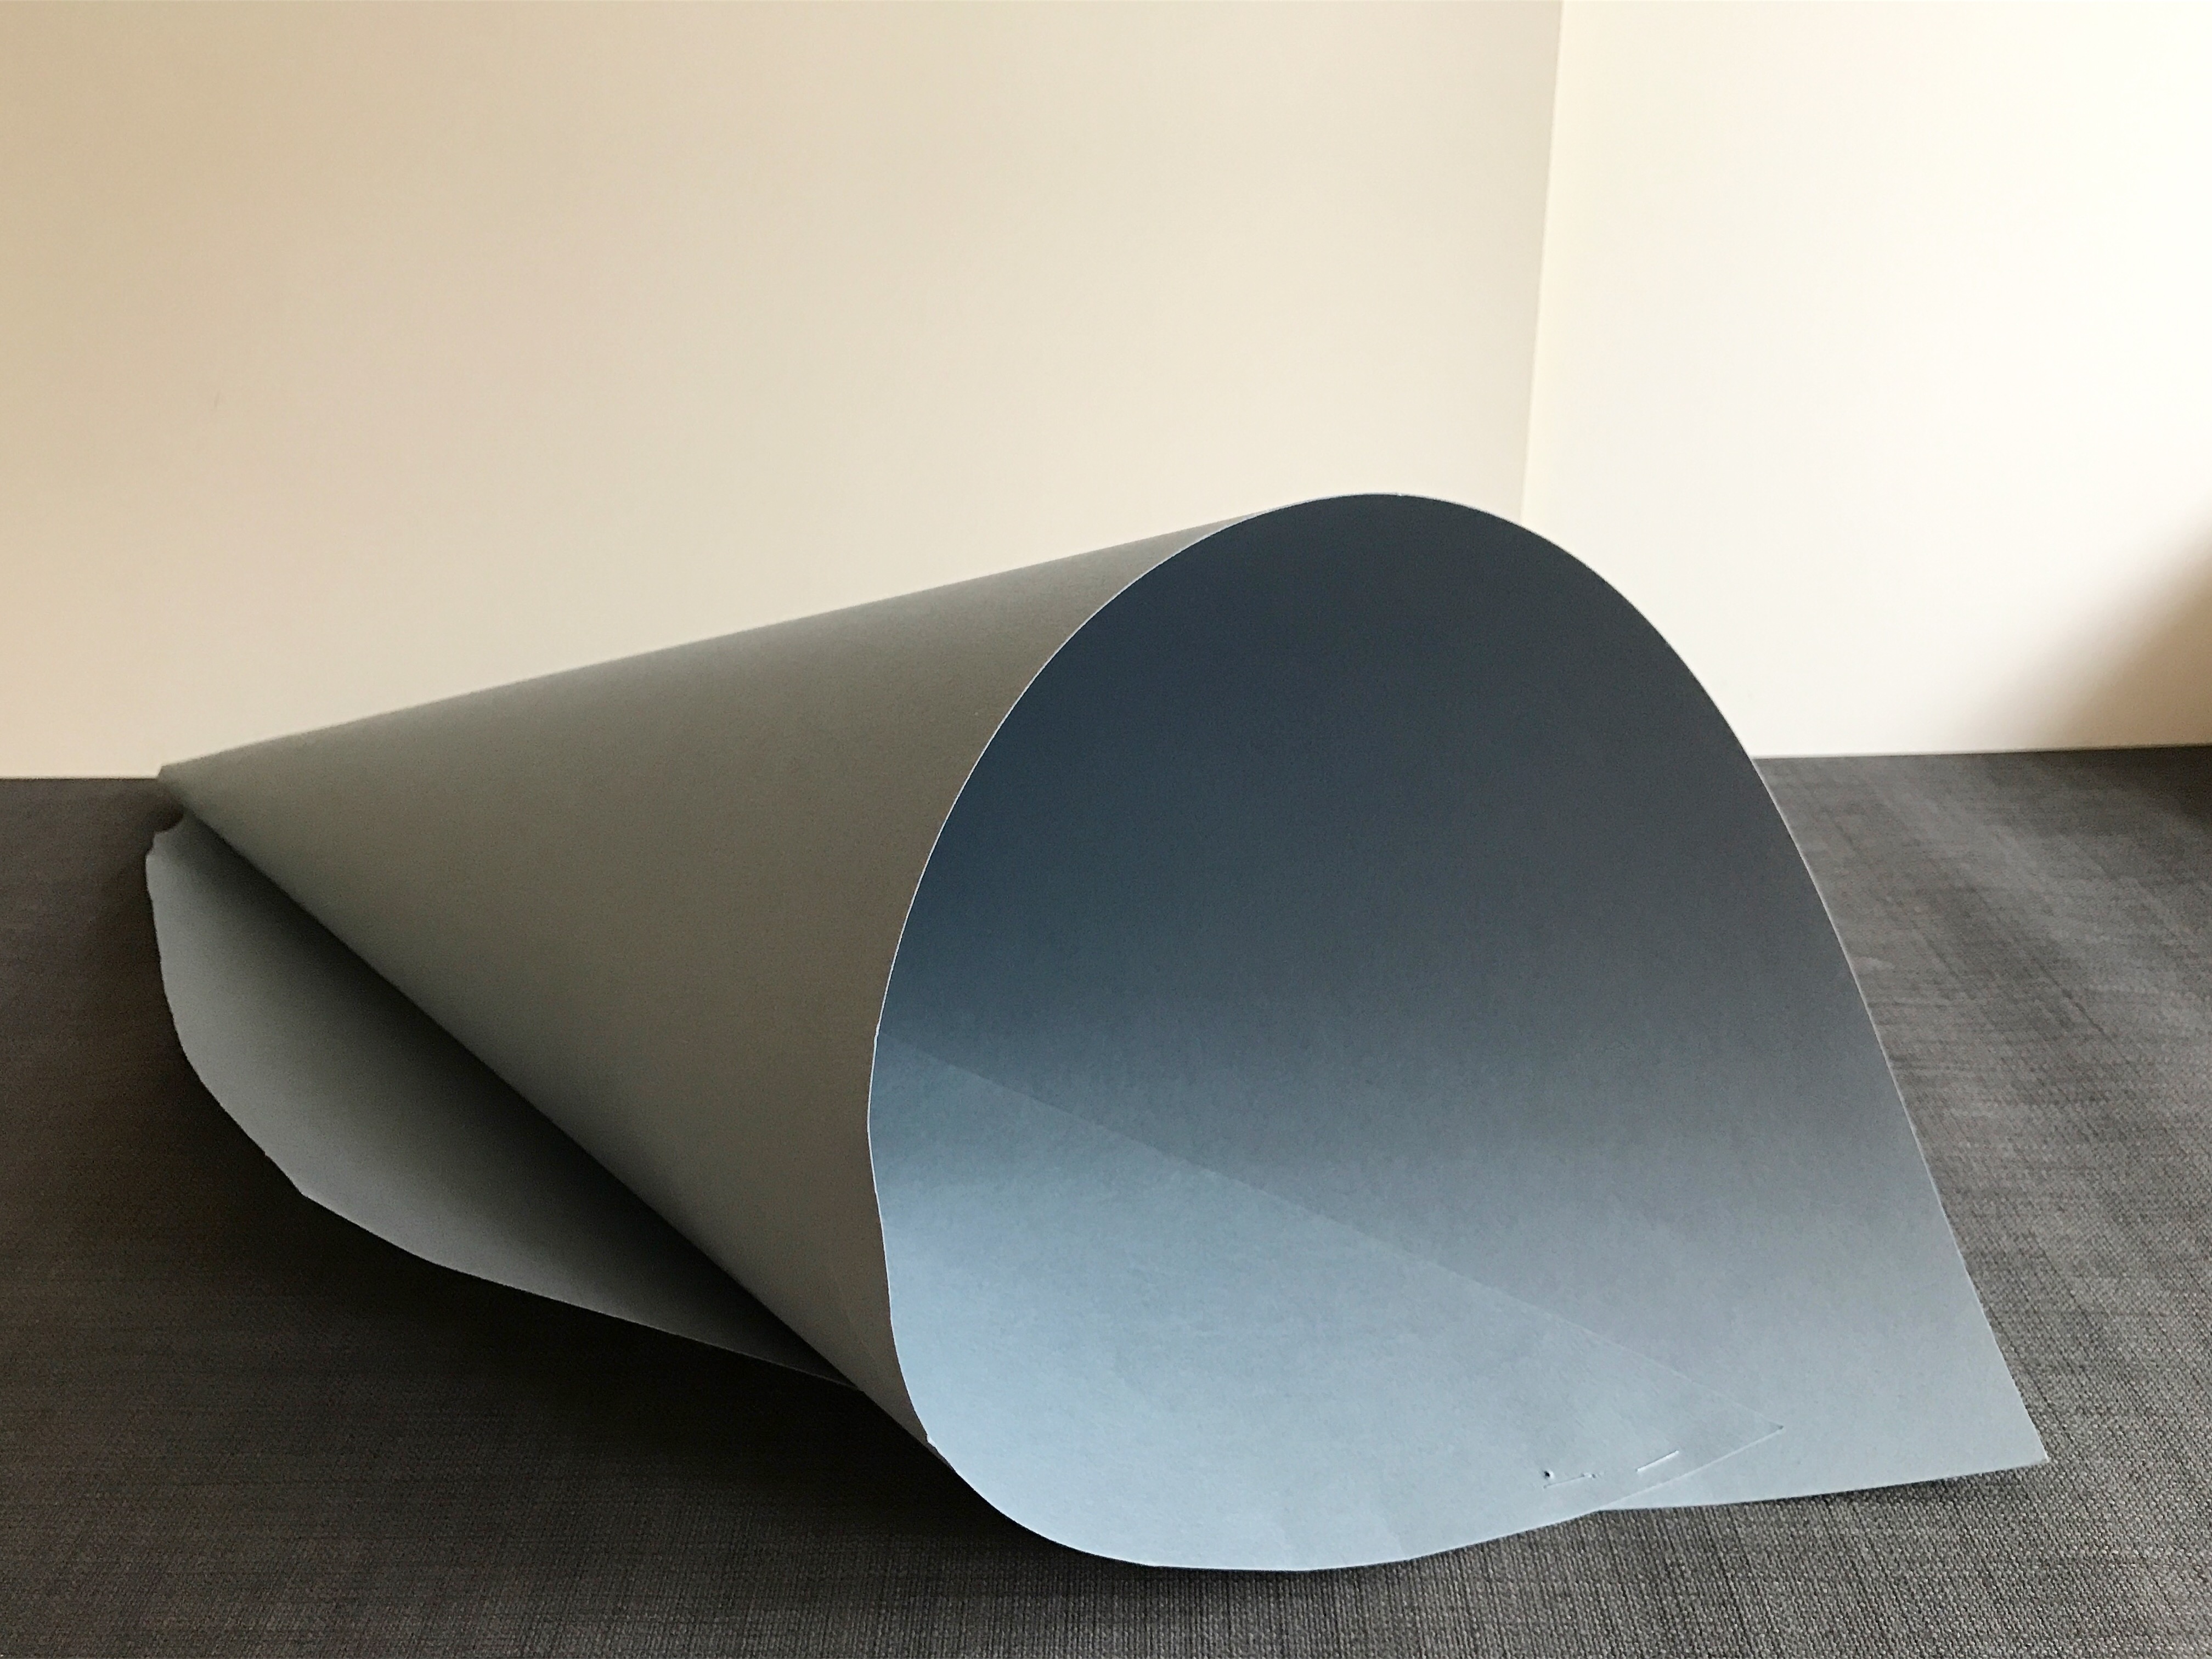
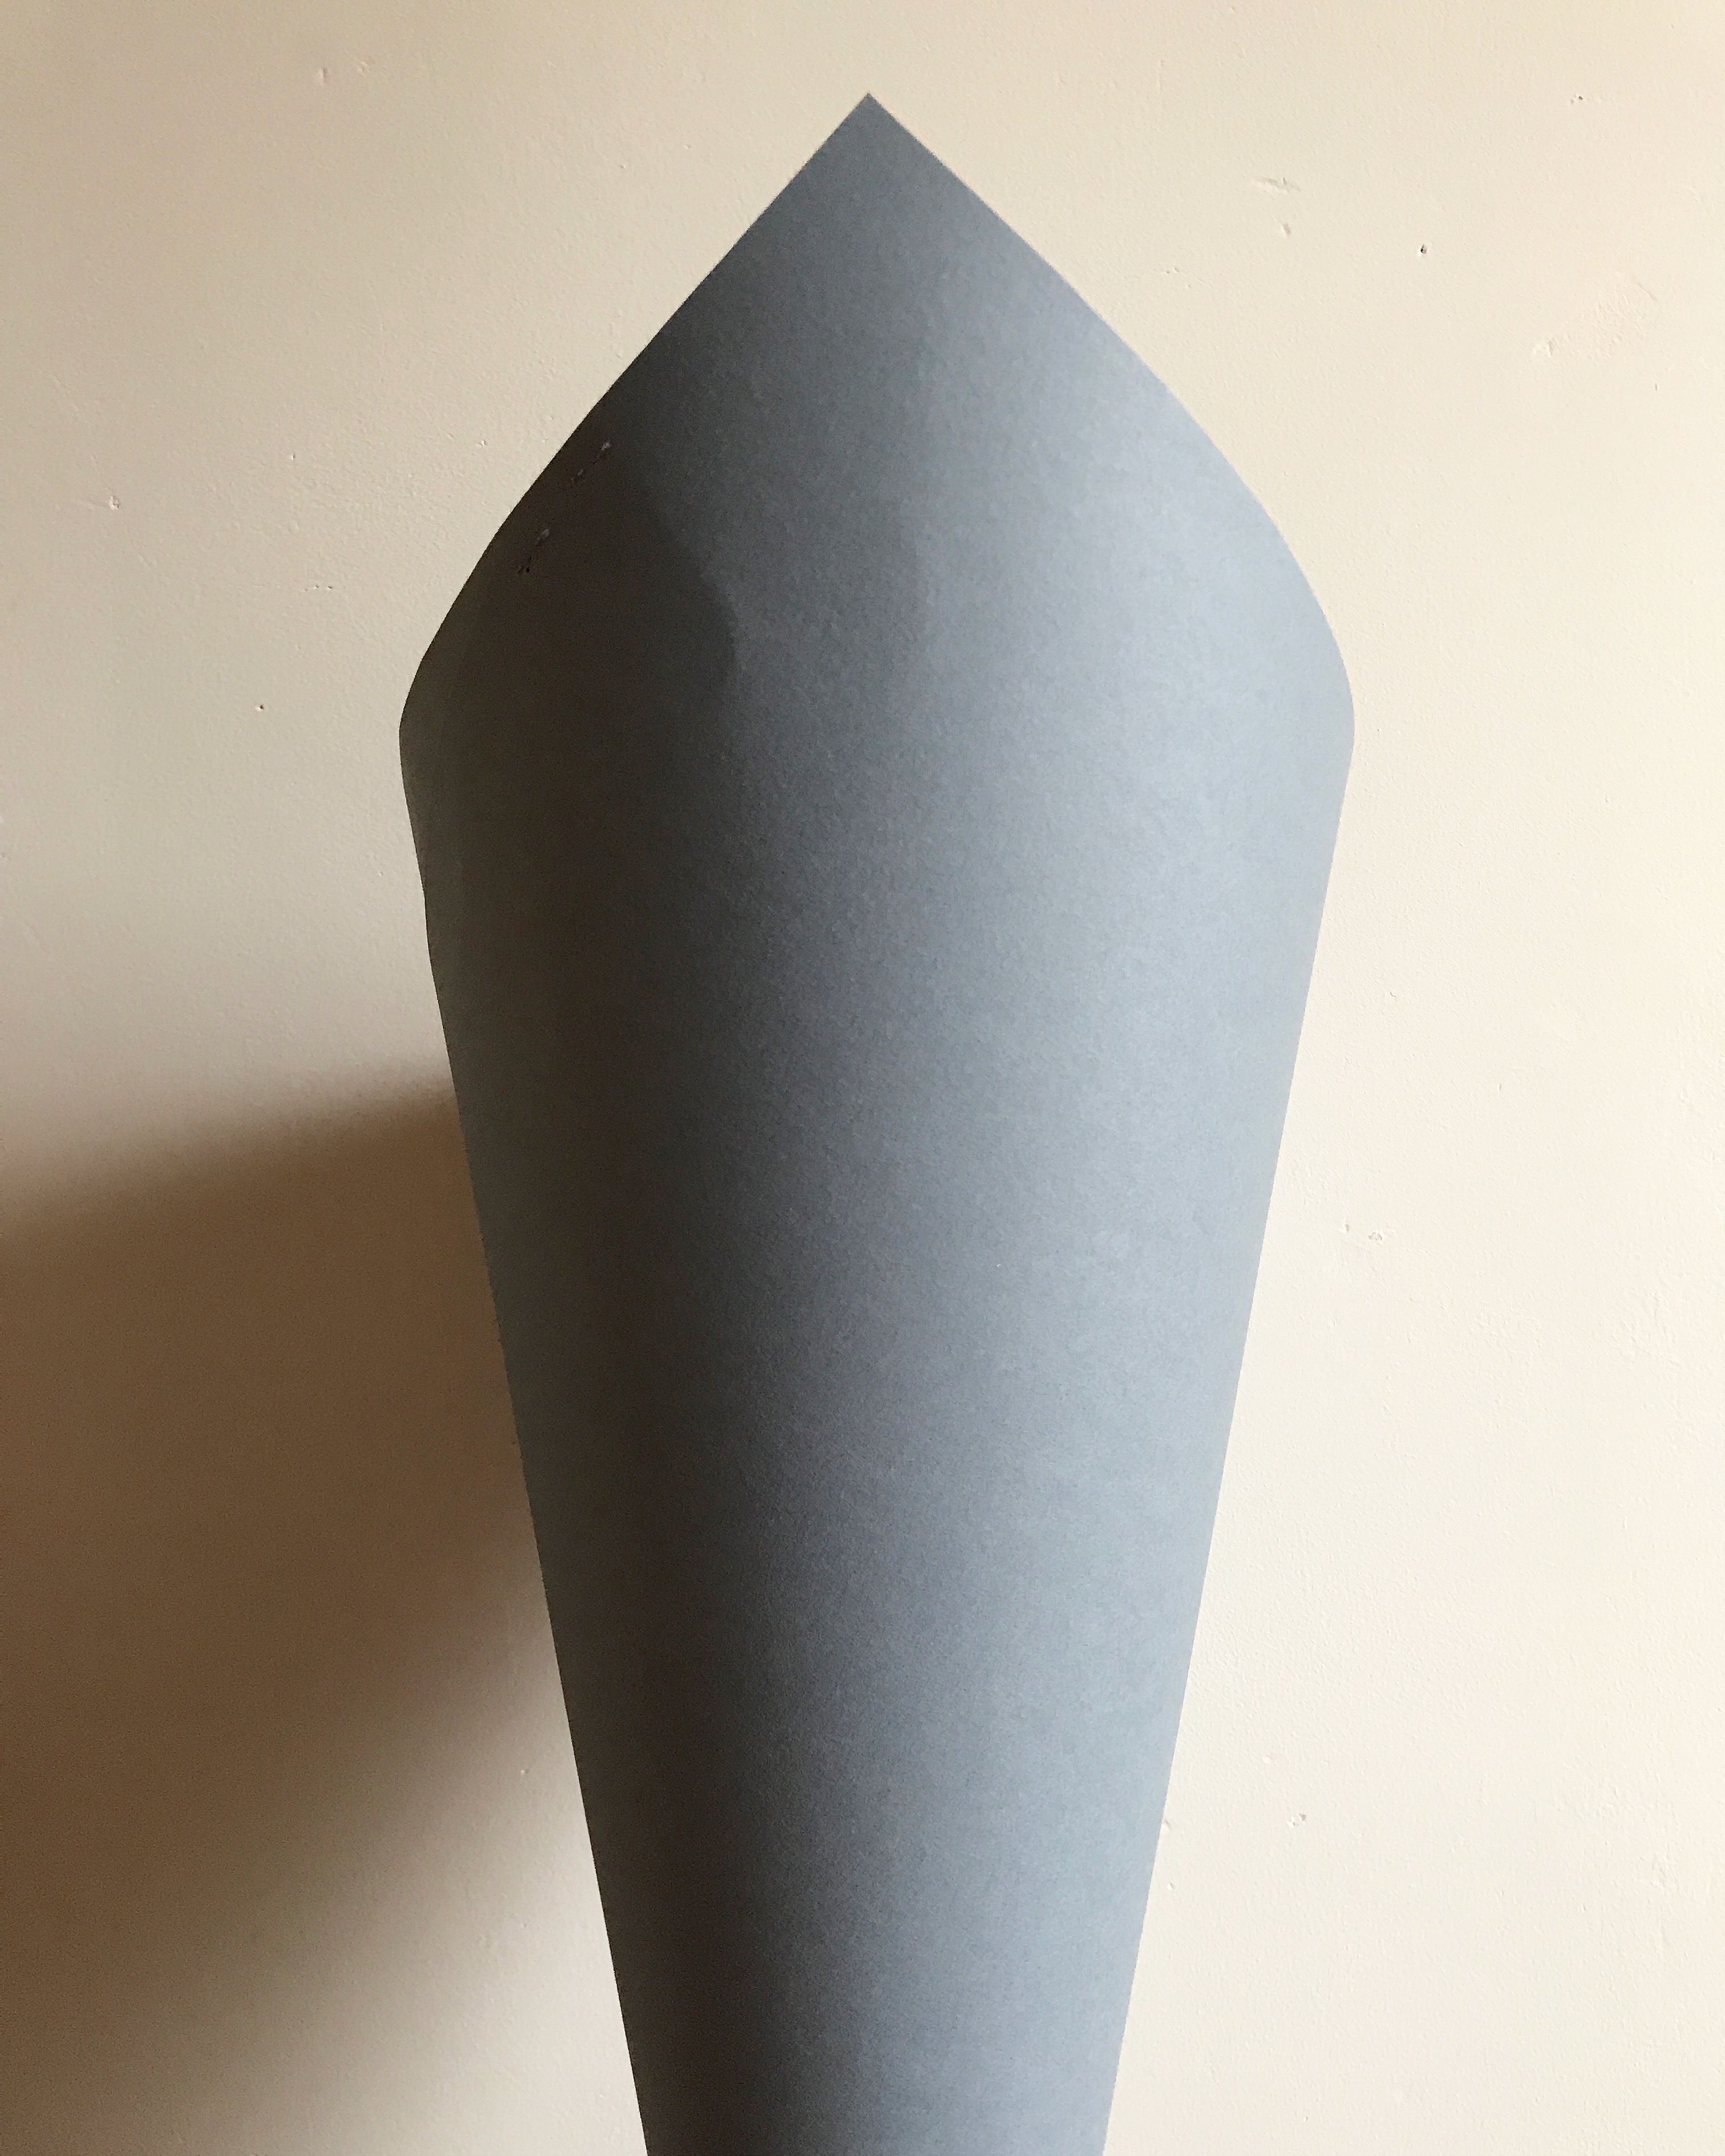
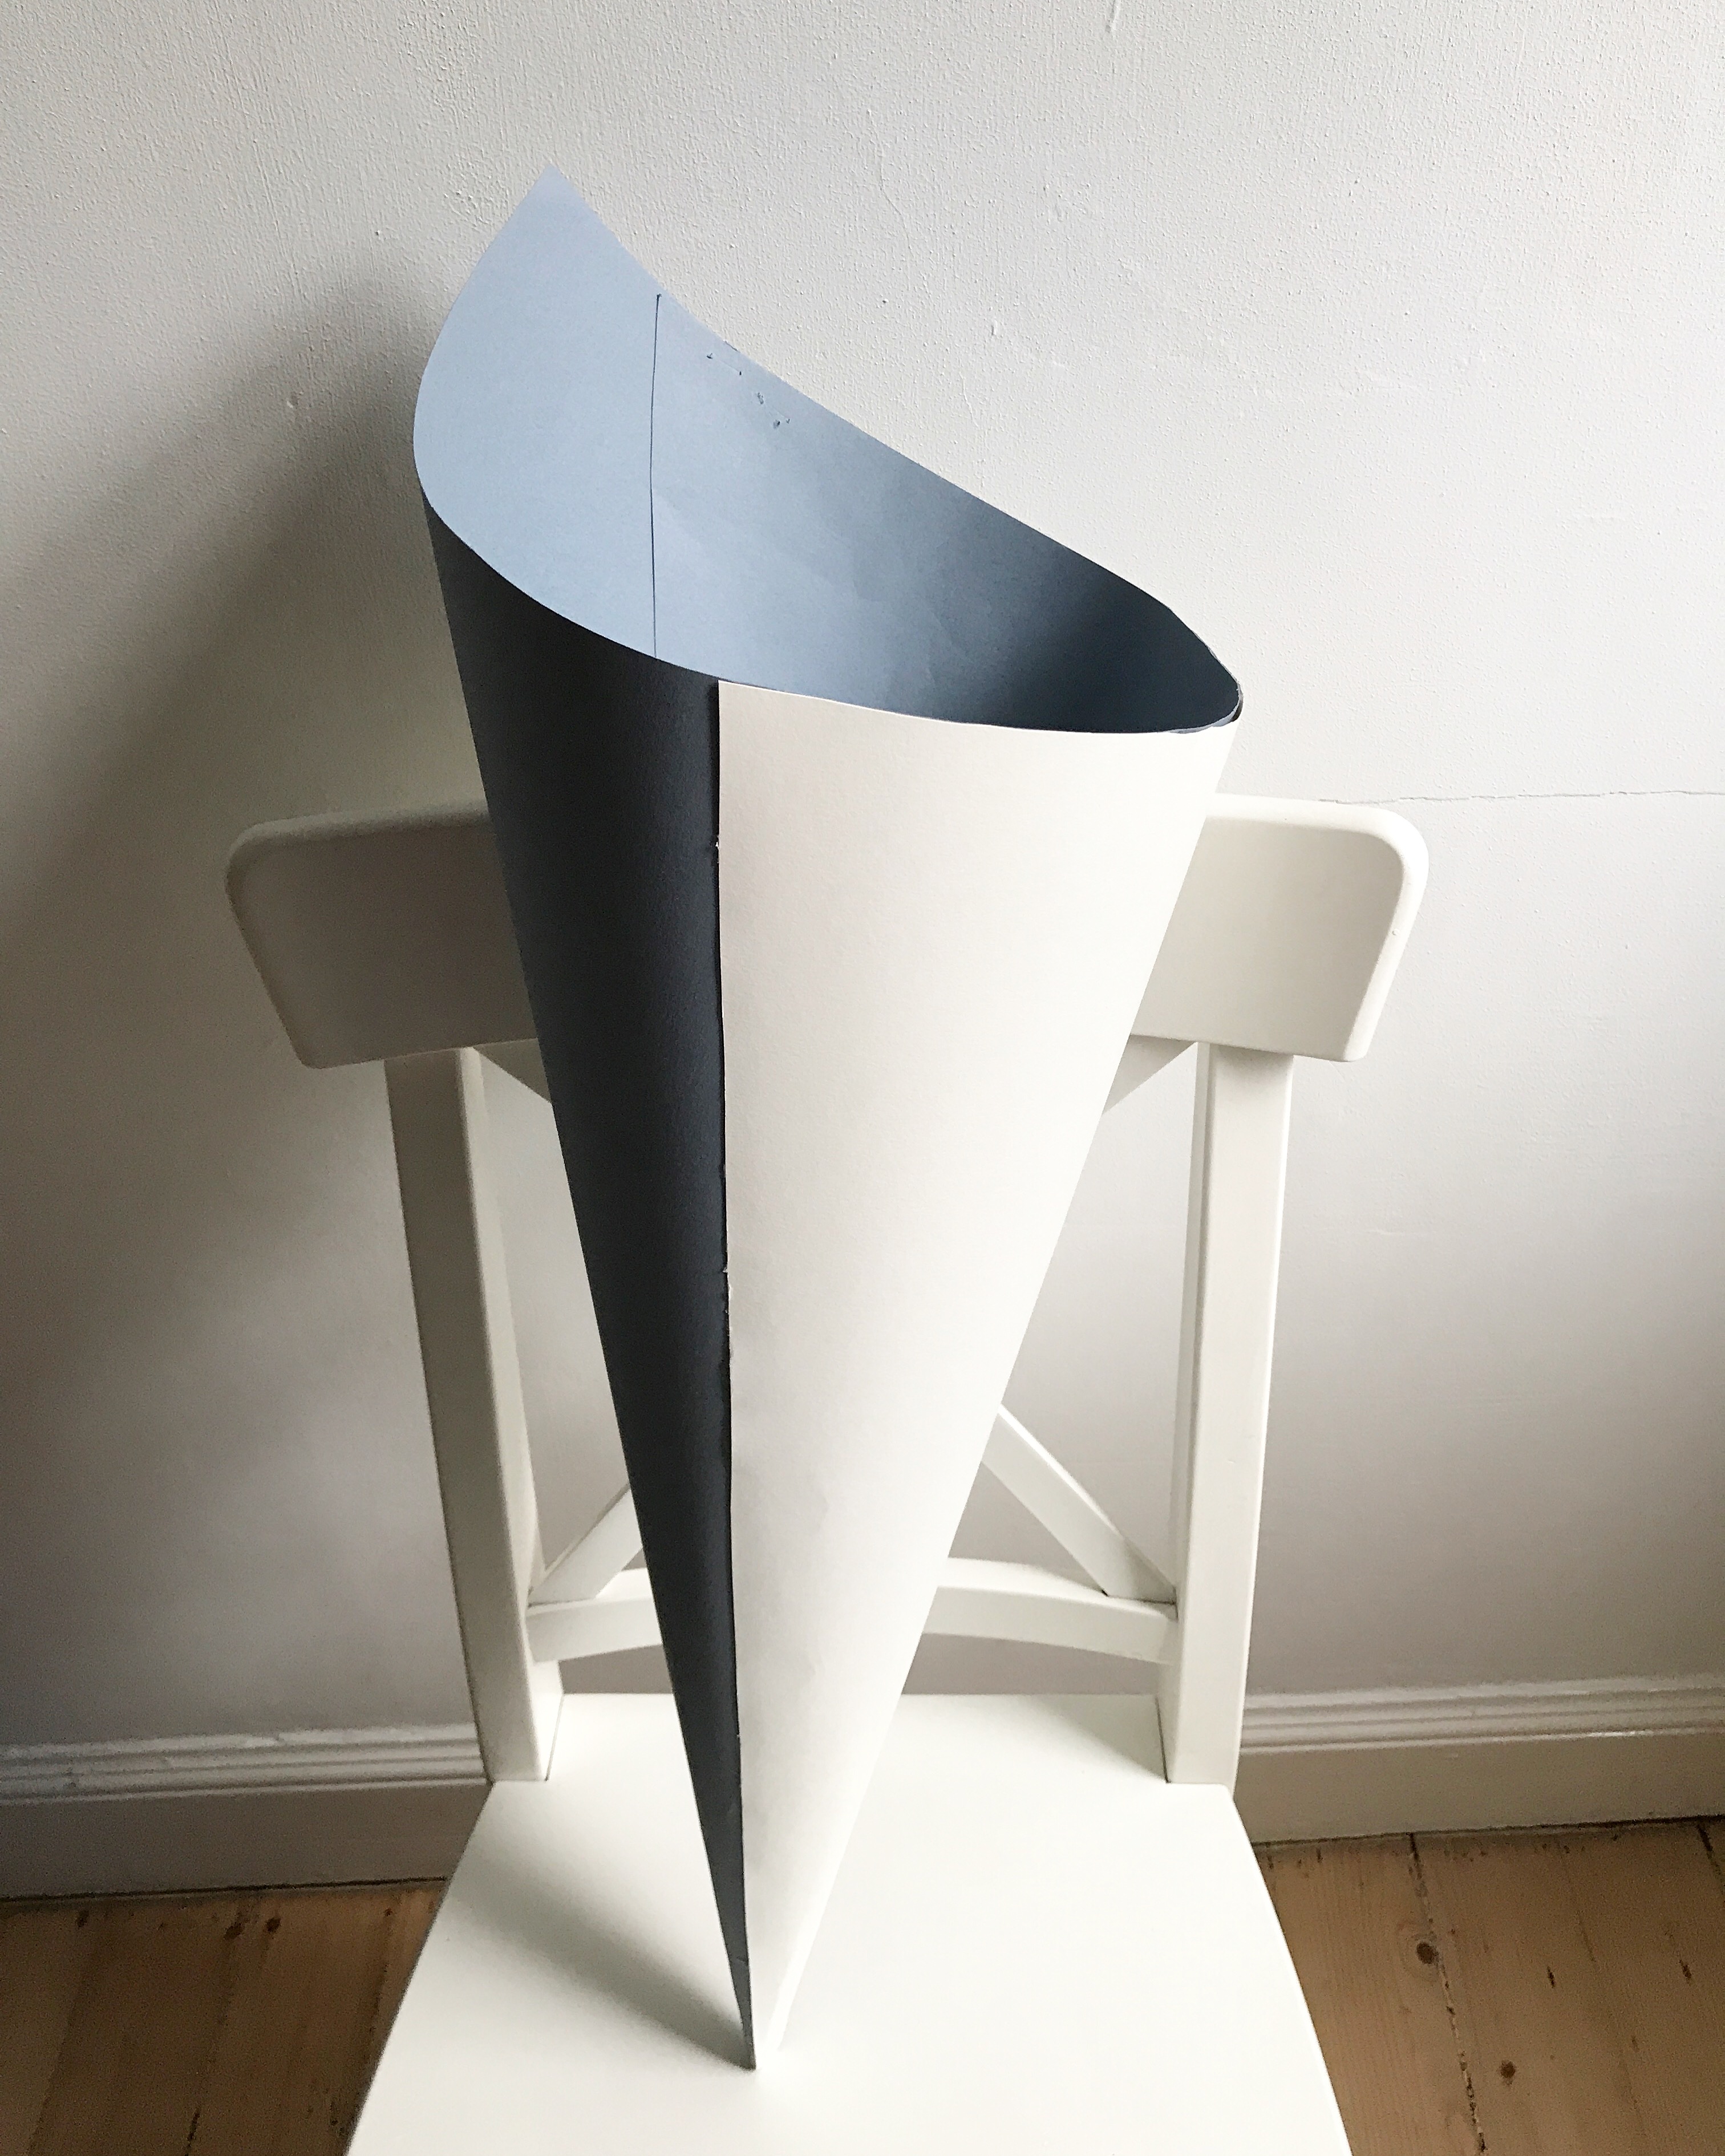
Step 1: Roll one large sheet of grey card in to a cone shape. I made my cone quite wide so that I can fit lots of goodies inside! I put in a couple of staples to keep it in place whilst I glued the edges down – you can see my ‘mid cone’ stage above. For a traditional ‘Schultüte’ cone, you would want the top of the cone to be even (see my tutorial from 3 years ago for comparison), but for the shark you want the top to be pointed, with one side longer than the other. Here’s the cone with the edges glued in to place:
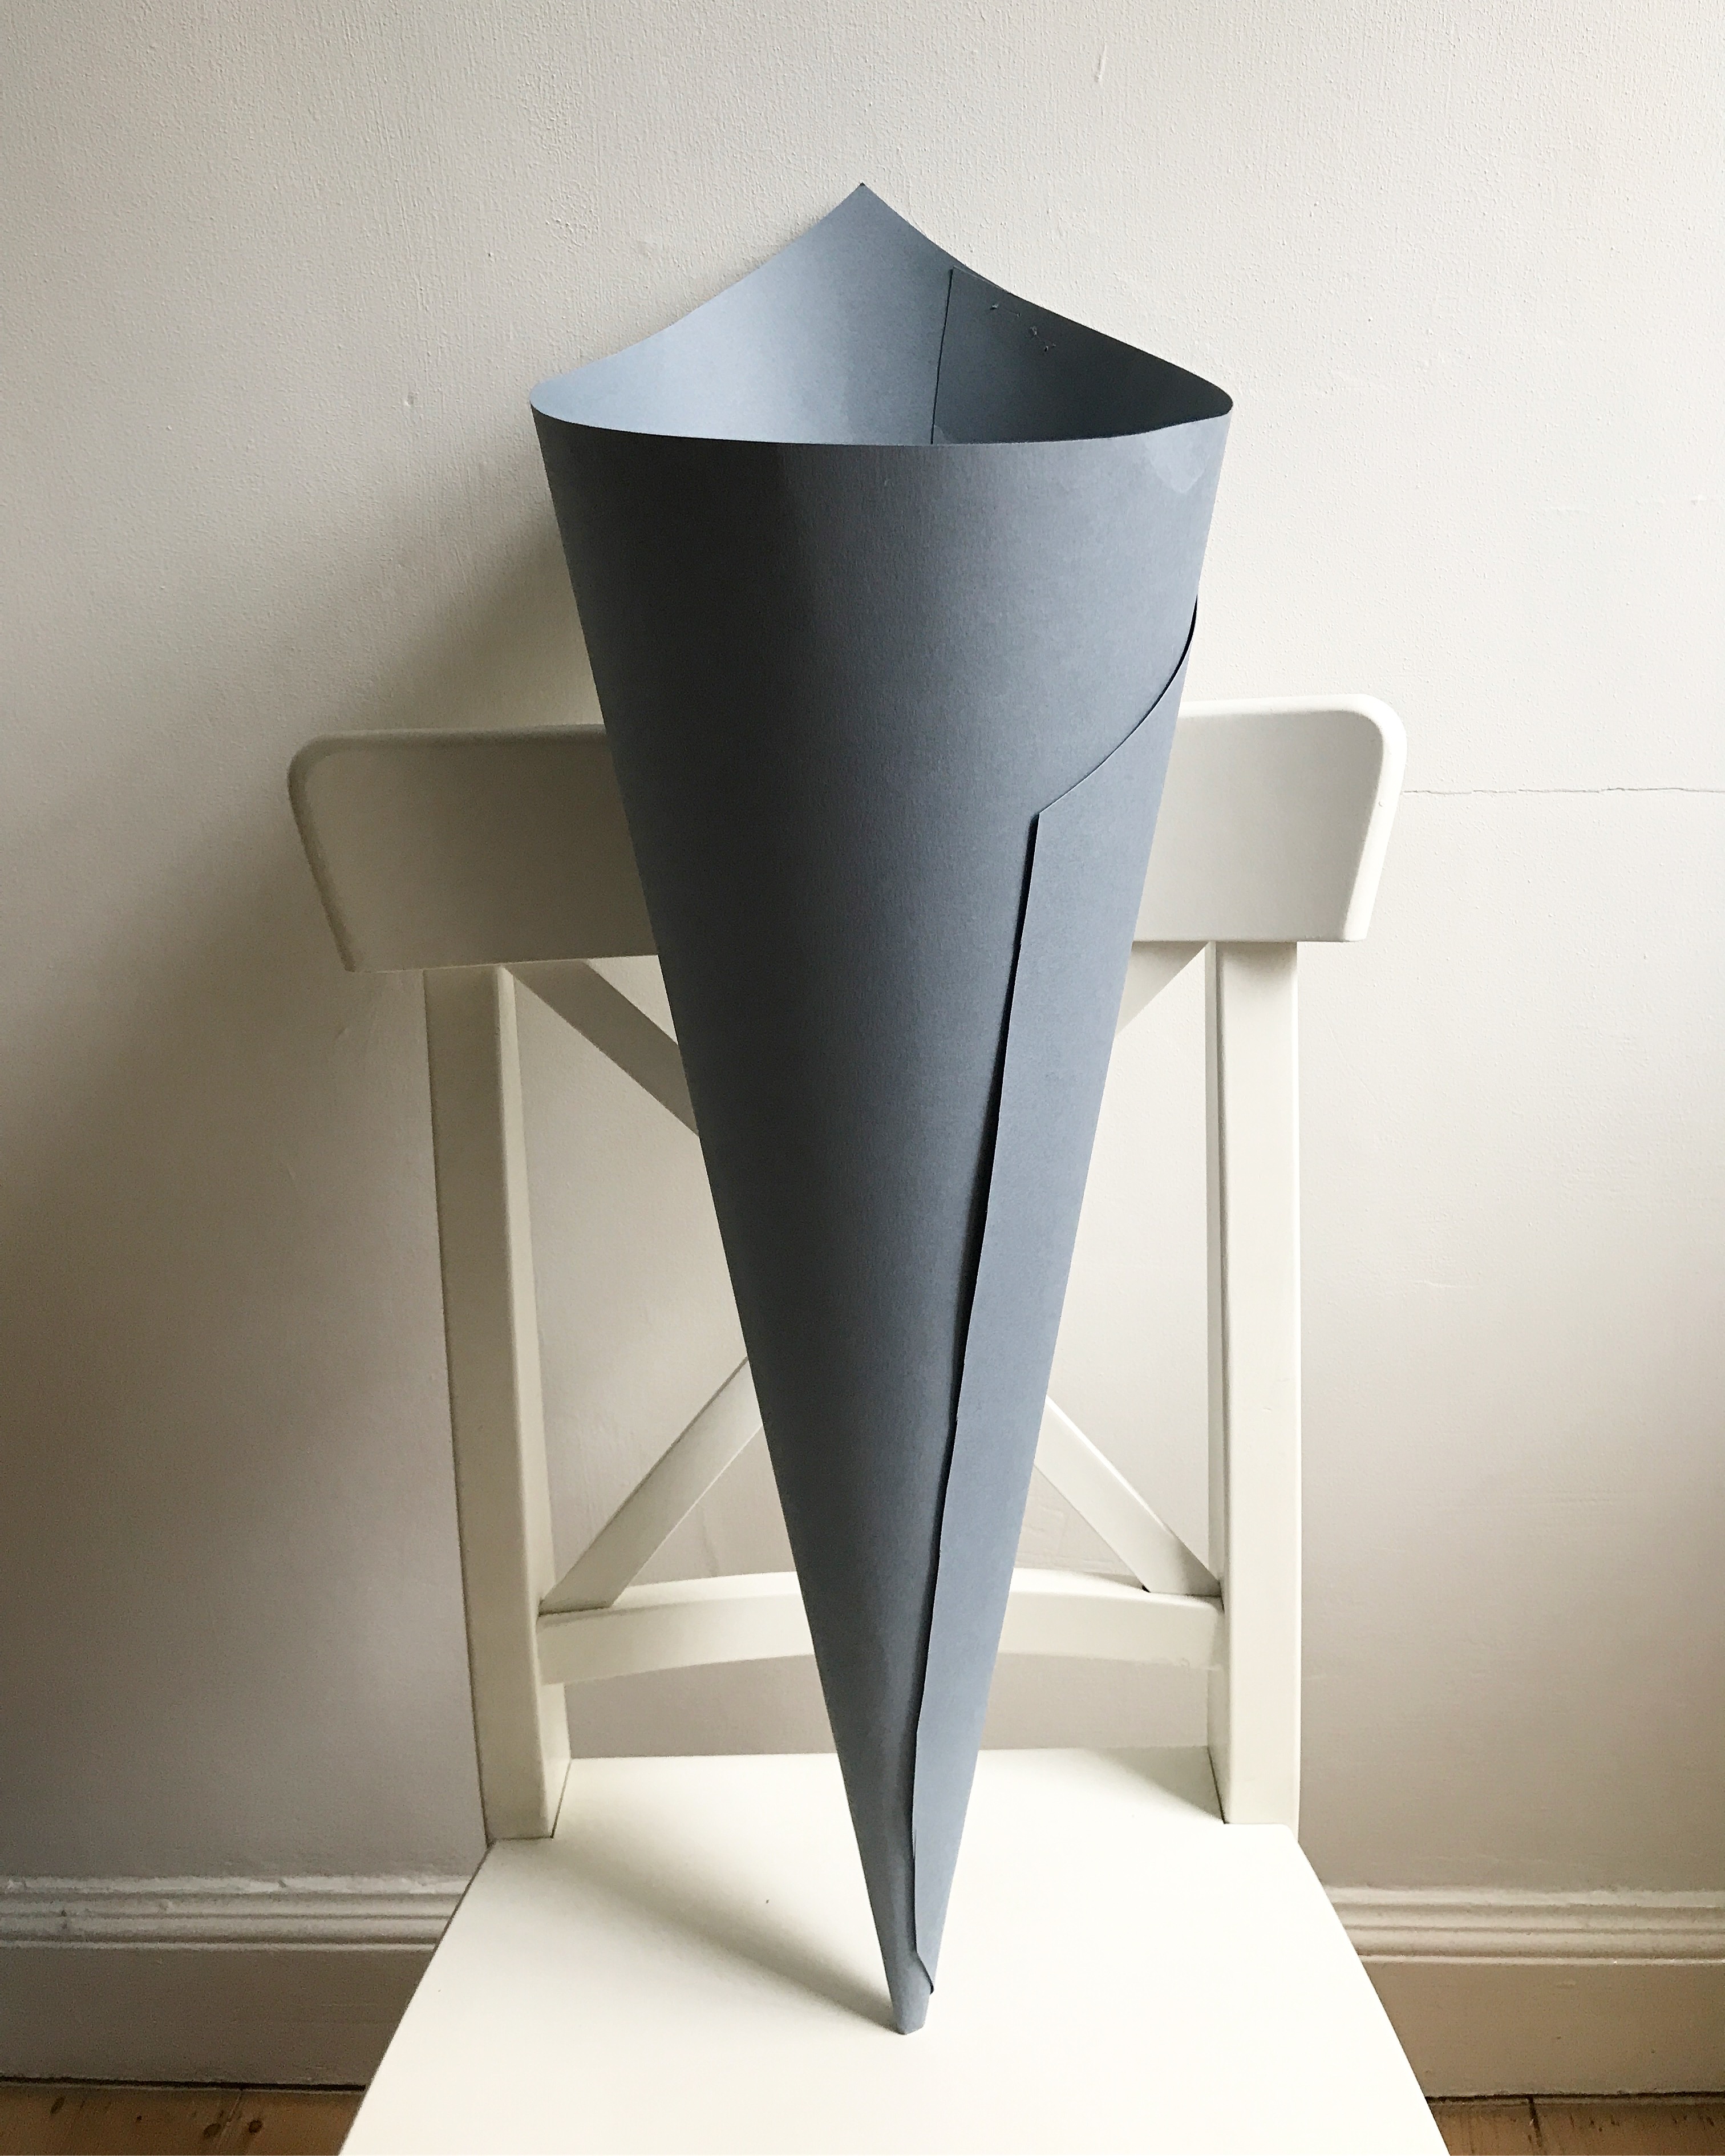
I used a glue gun to glue the cone in to place, as a regular glue stick was not strong enough to hold the card in place, which is under a lot of tension as it tries to unroll again. With the quick drying glue gun, it was secure in seconds.
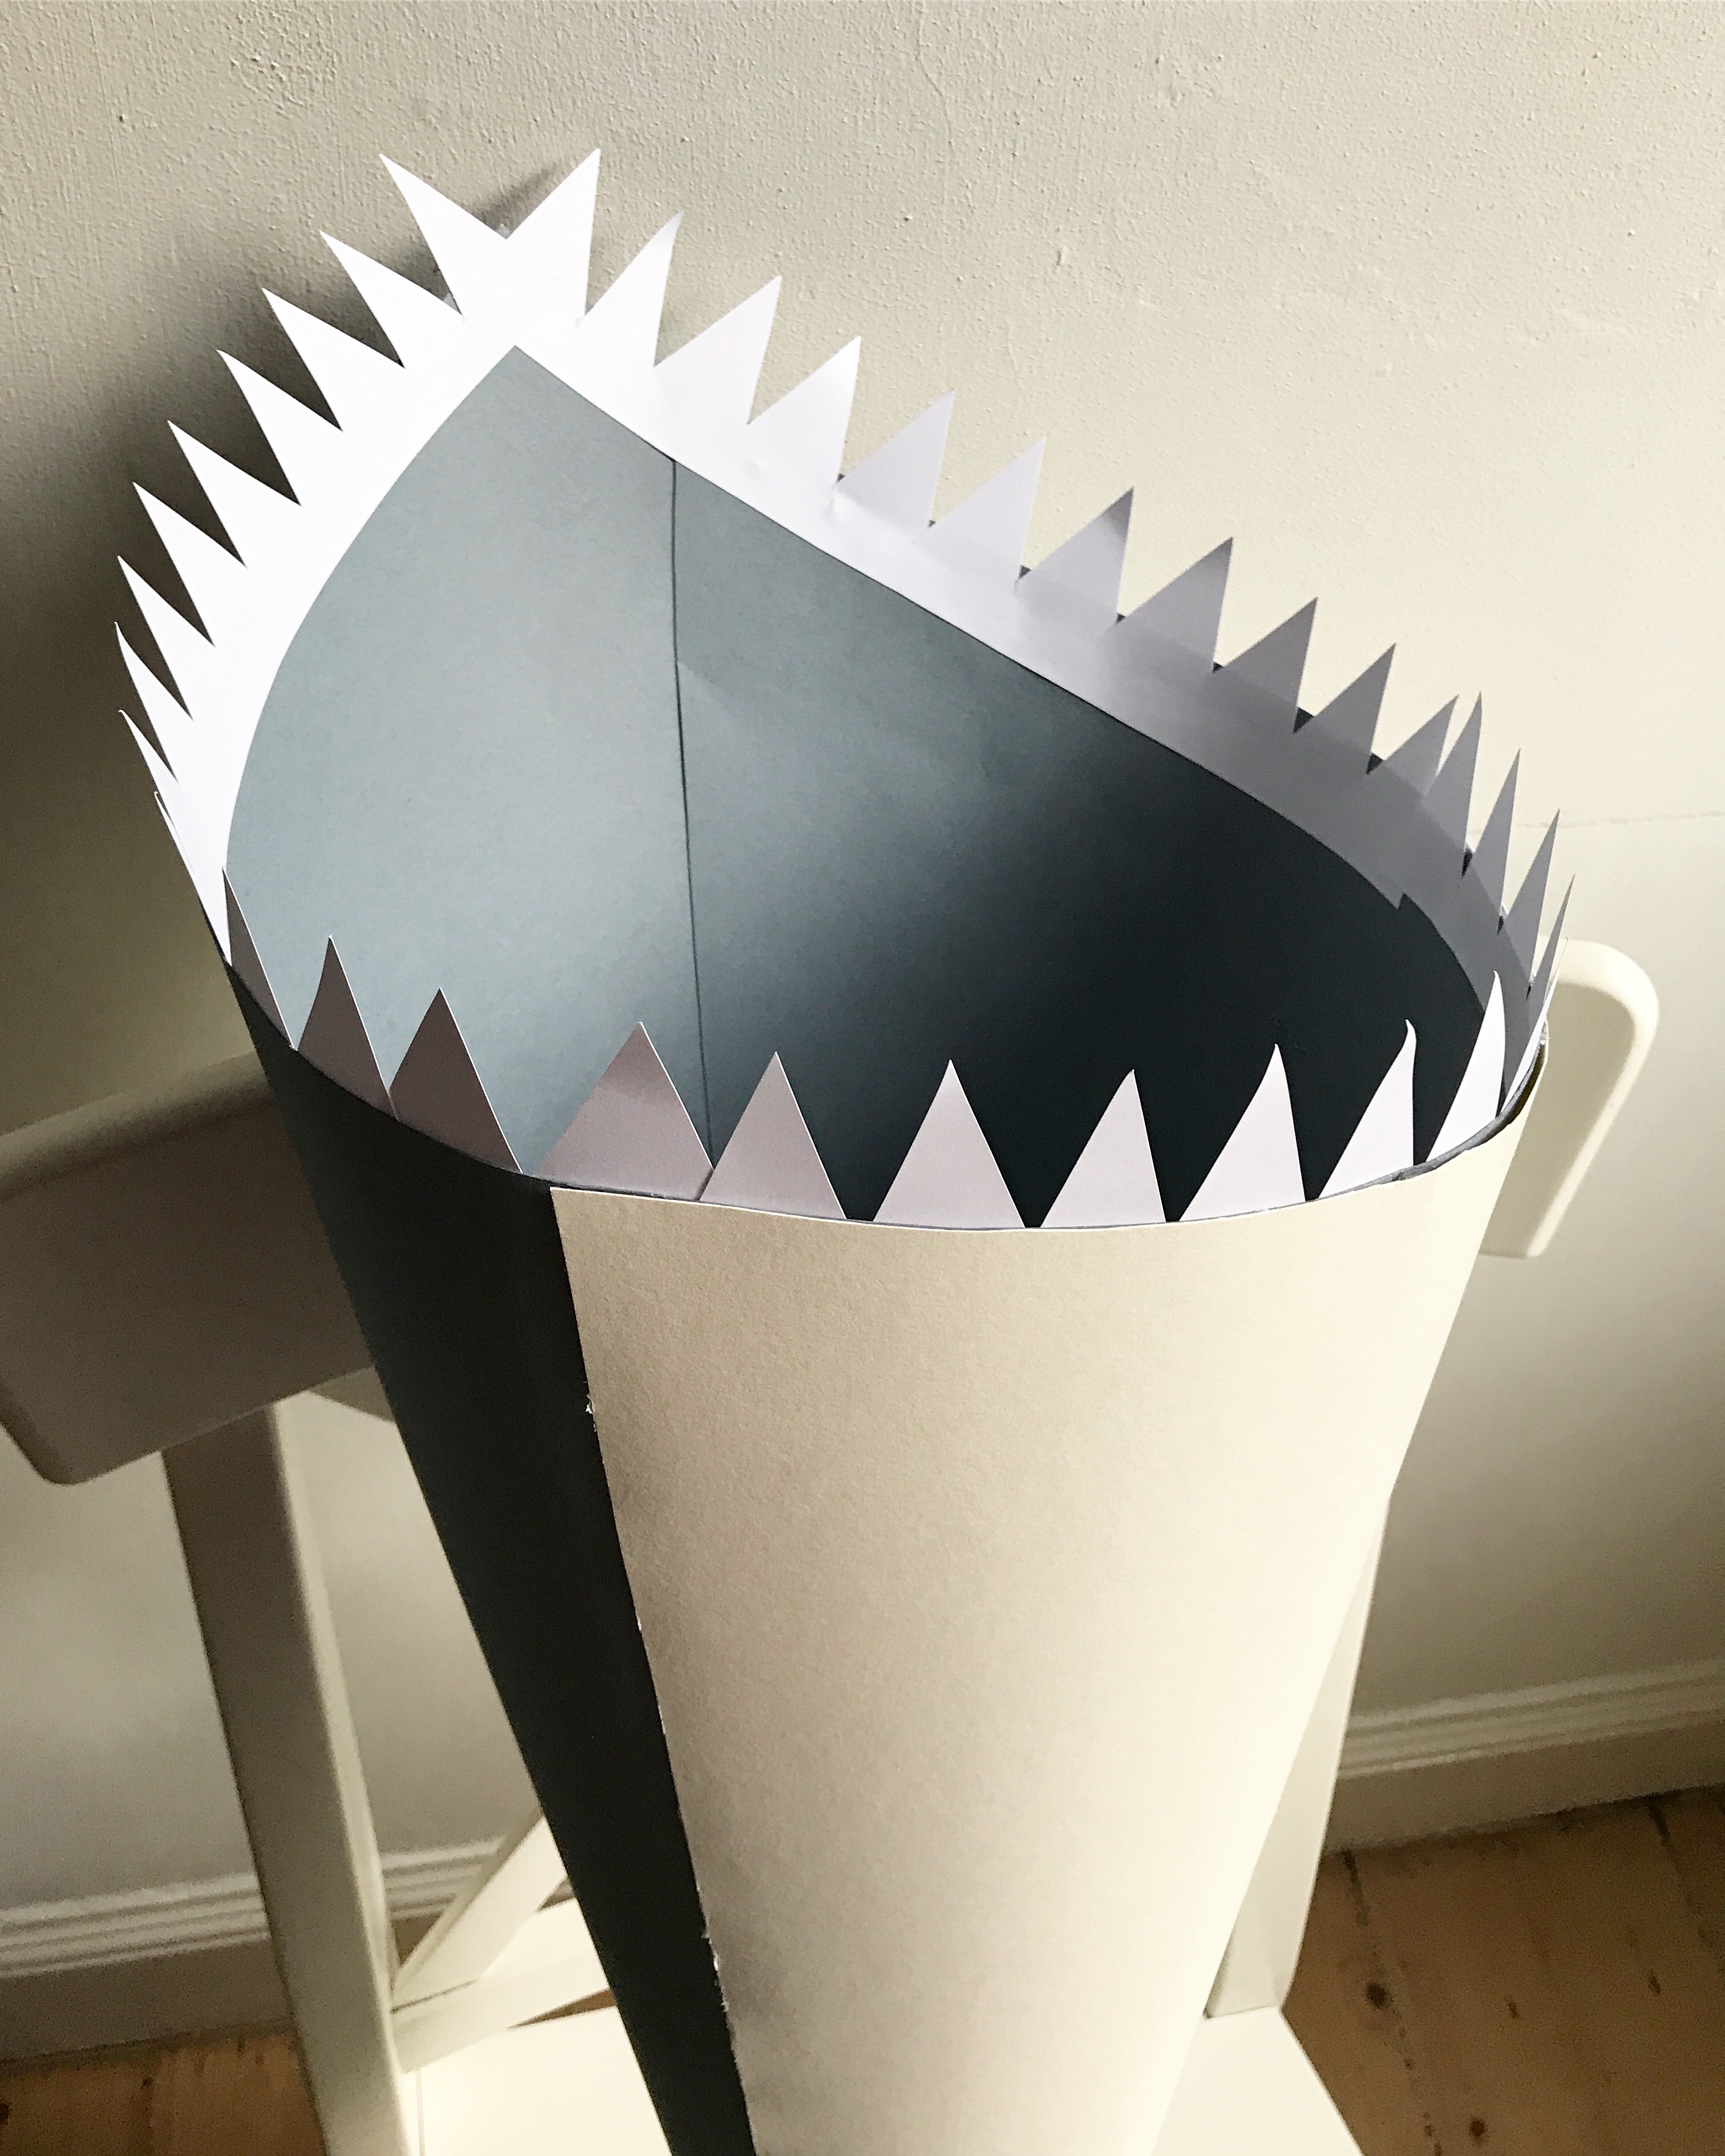
Step 2: Cut a triangular shape from the large cream coloured piece of card, to fit on the lower side of the cone – this will be the underside of the shark. I cut mine a bit longer, then glued it in place and trimmed it.
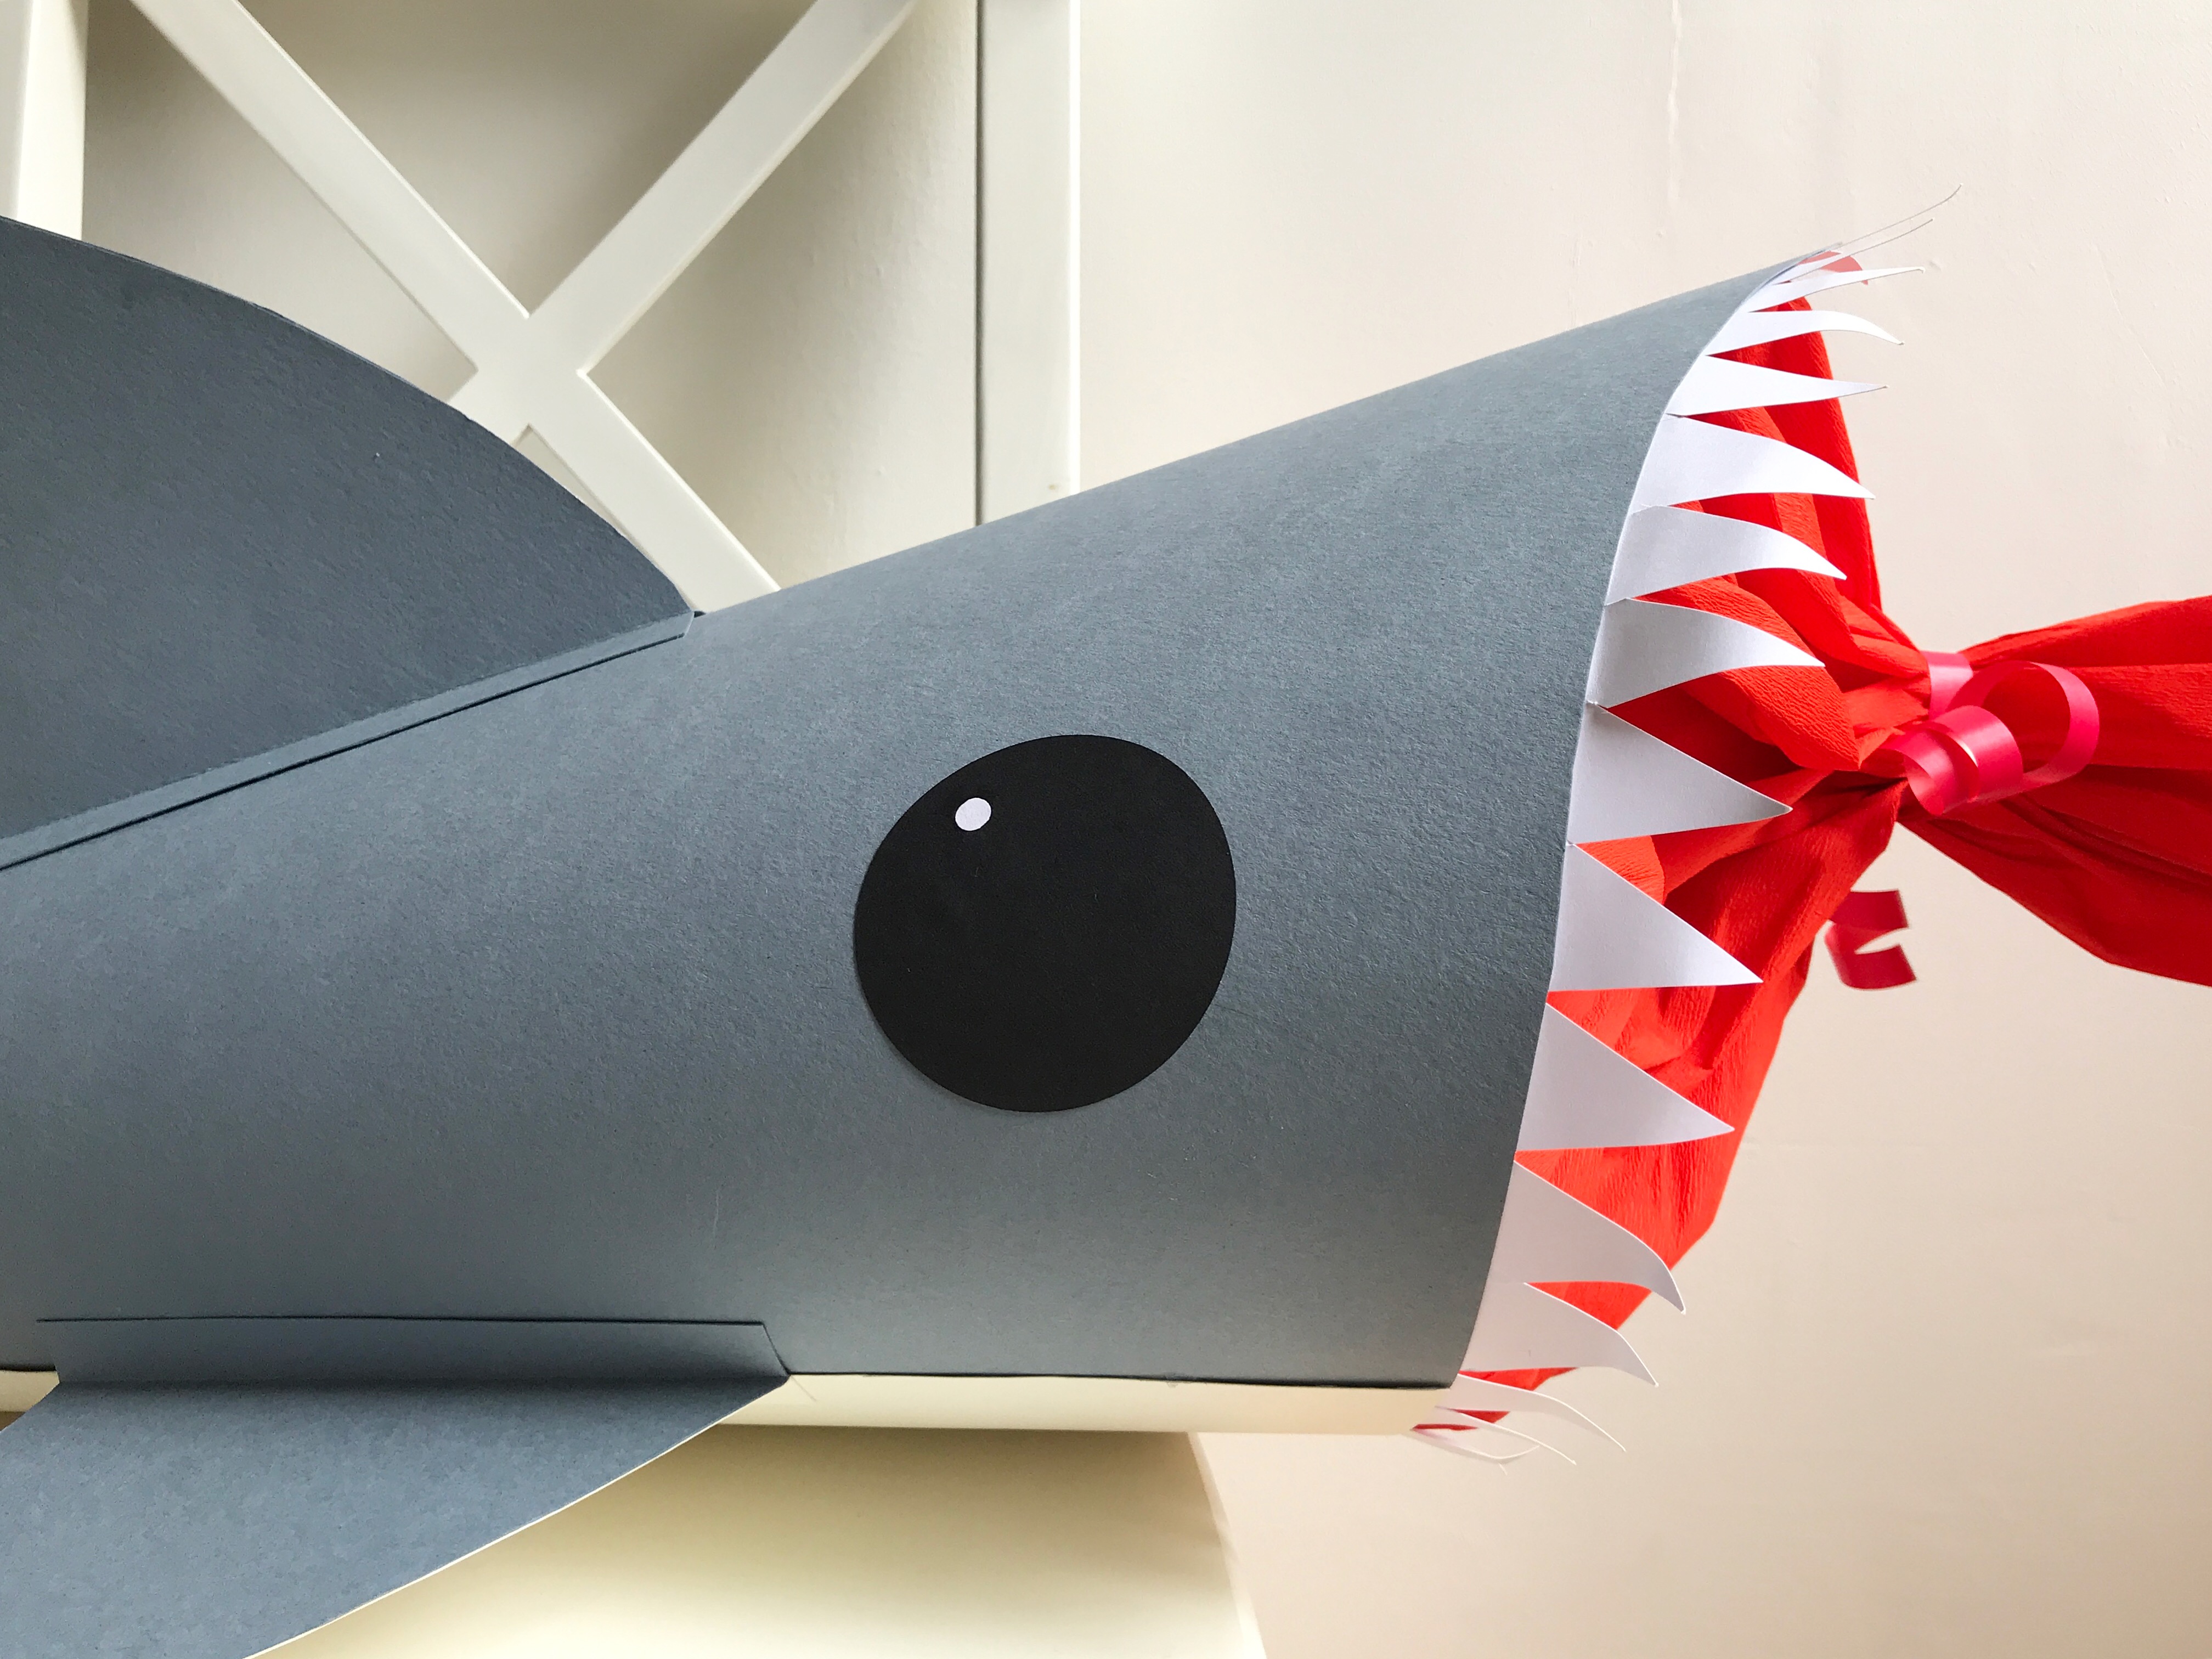
Step 3: Cut your A4 sheet of white card into strips and cut out zig zags along one side of each strip – these will be the teeth. Glue the strips along the inside rim of the cone.
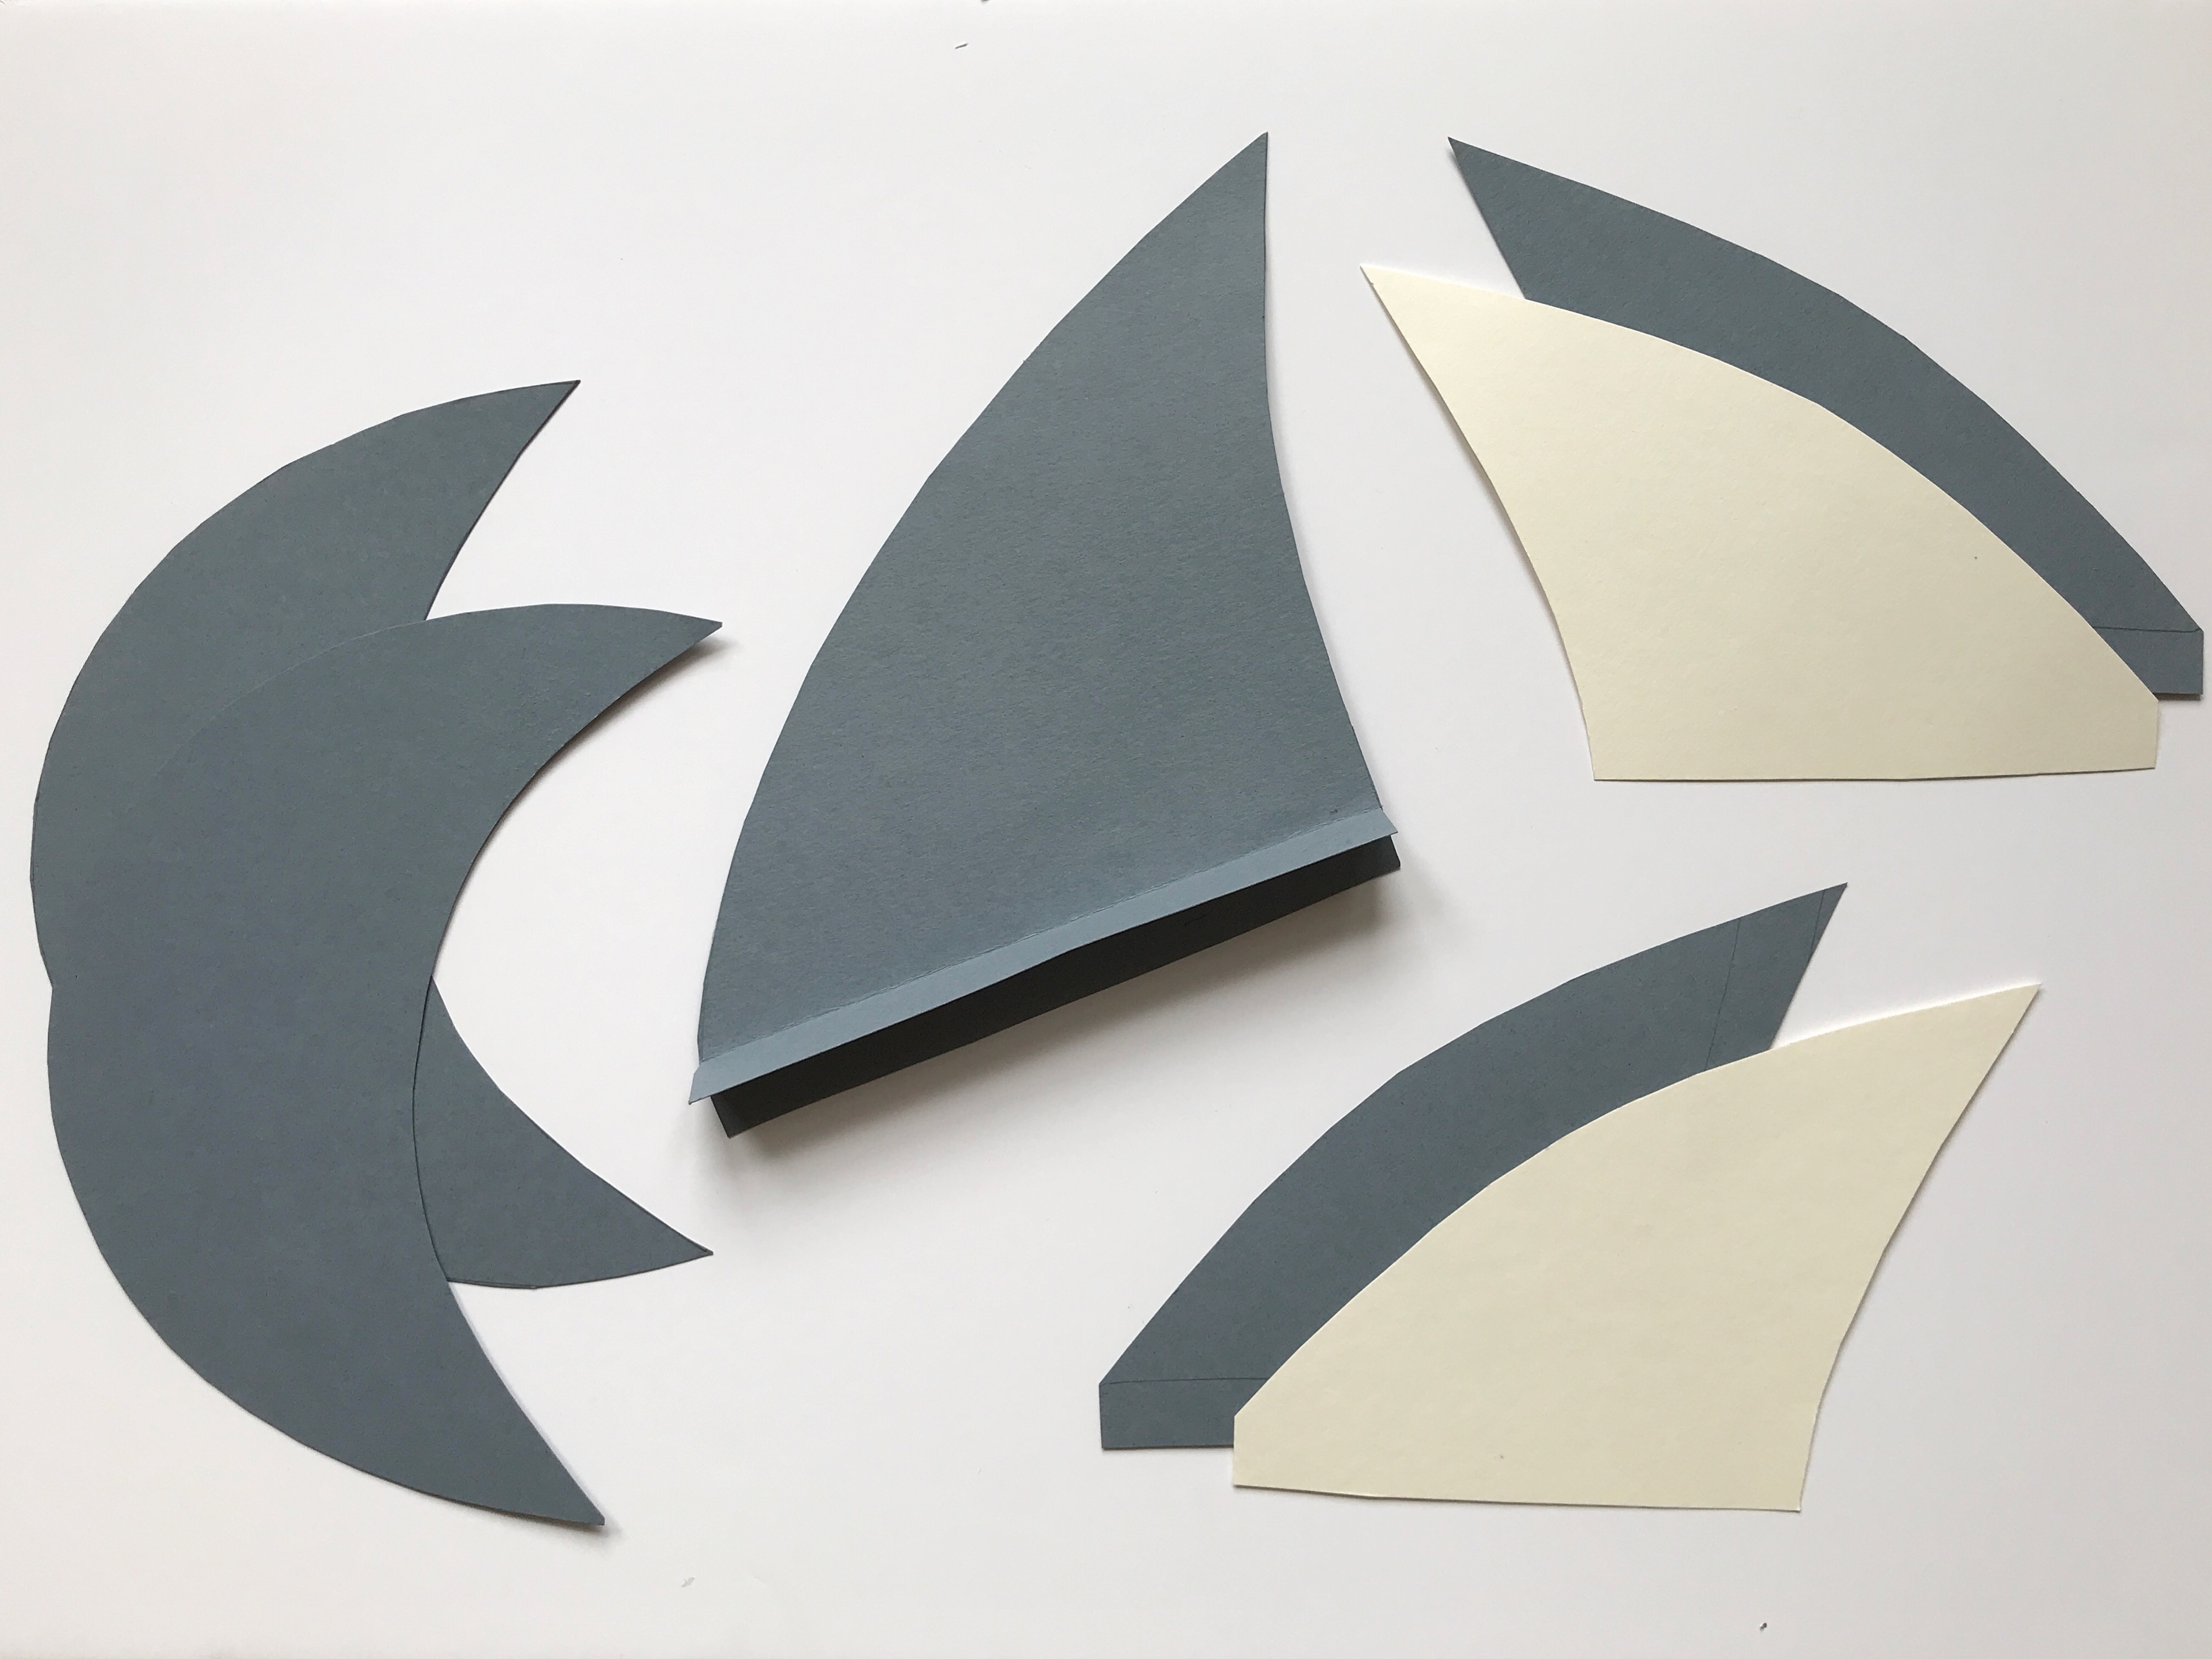
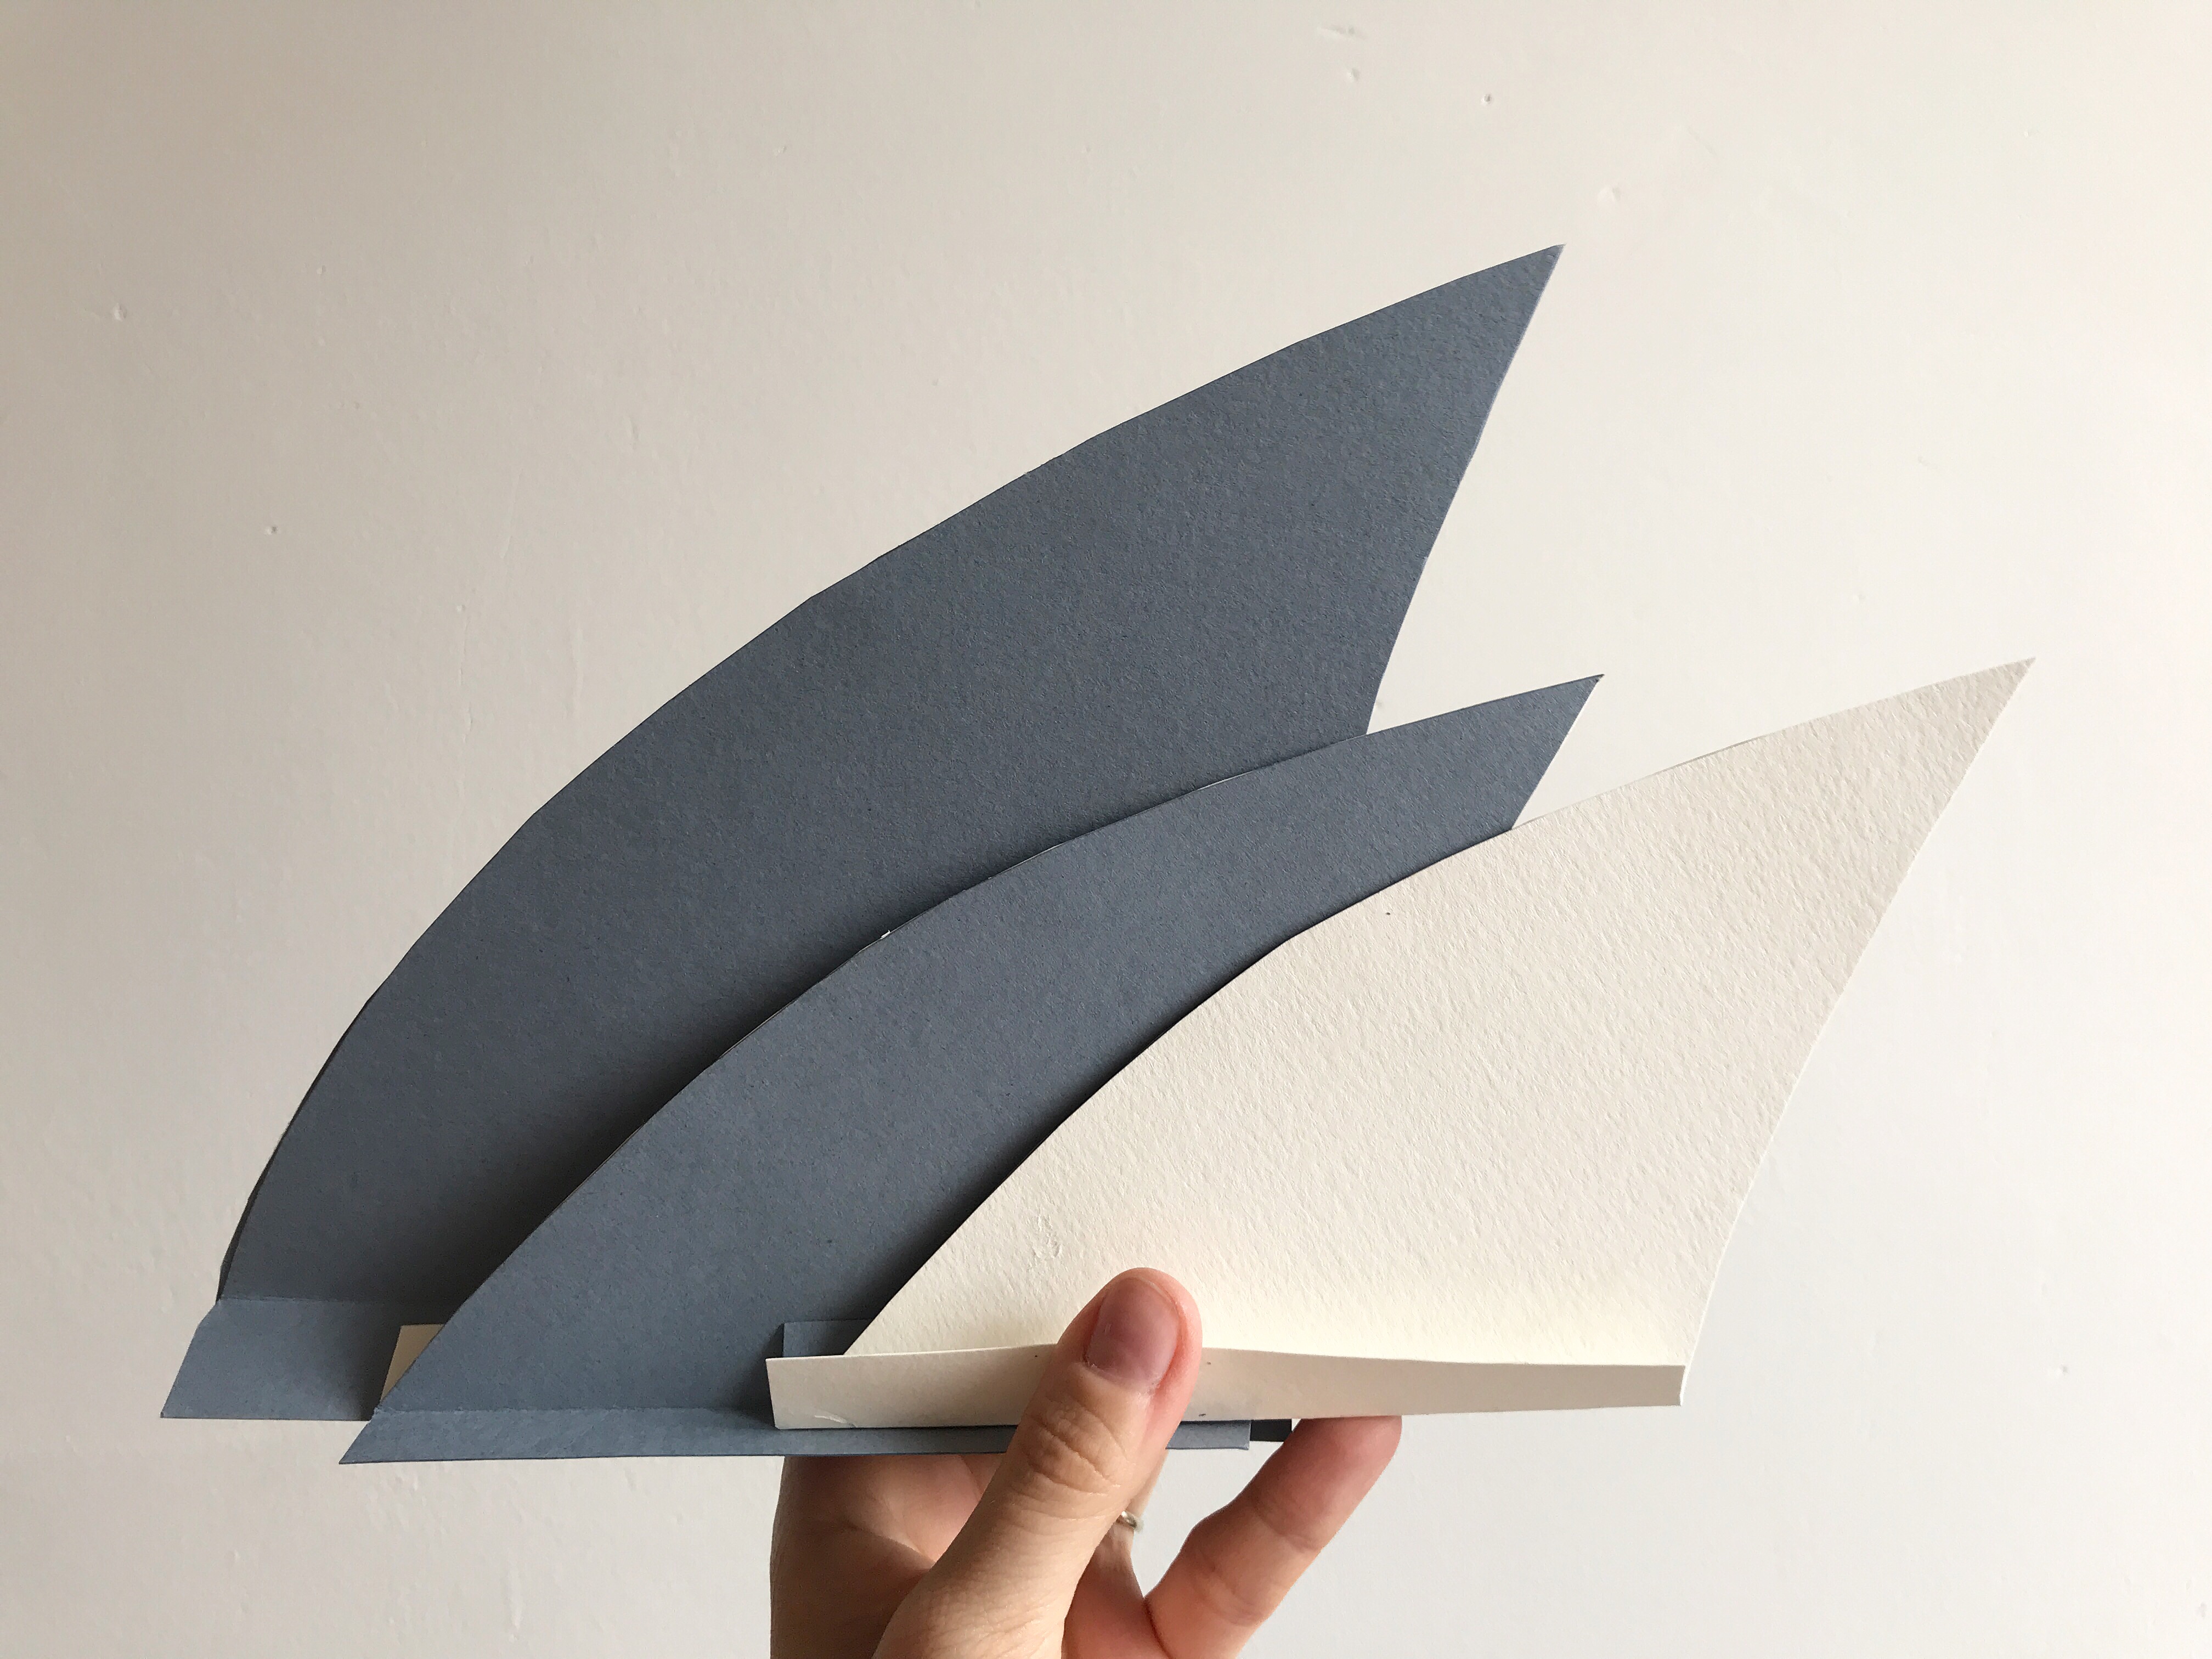
Step 4: Make the fins! You will need one top fin, two side fins, and a tail fin. The tip fin is a bit bigger than the side fins. You can use the photo below as a guideline for sketching out your fins. I cut each fin out twice for stability and as it makes it easier to glue them on to the cone, as shown below. You will need two top fin, two side fin and two tail fin pieces in grey, as well as two side fin pieces in cream (I’ve already glued the top fin pieces together in the photo below):
For the top fins and side fins, glue the two pieces together but leave about 1 cm at the bottom of each fin unglued. Fold these unglued strips to the sides like so:
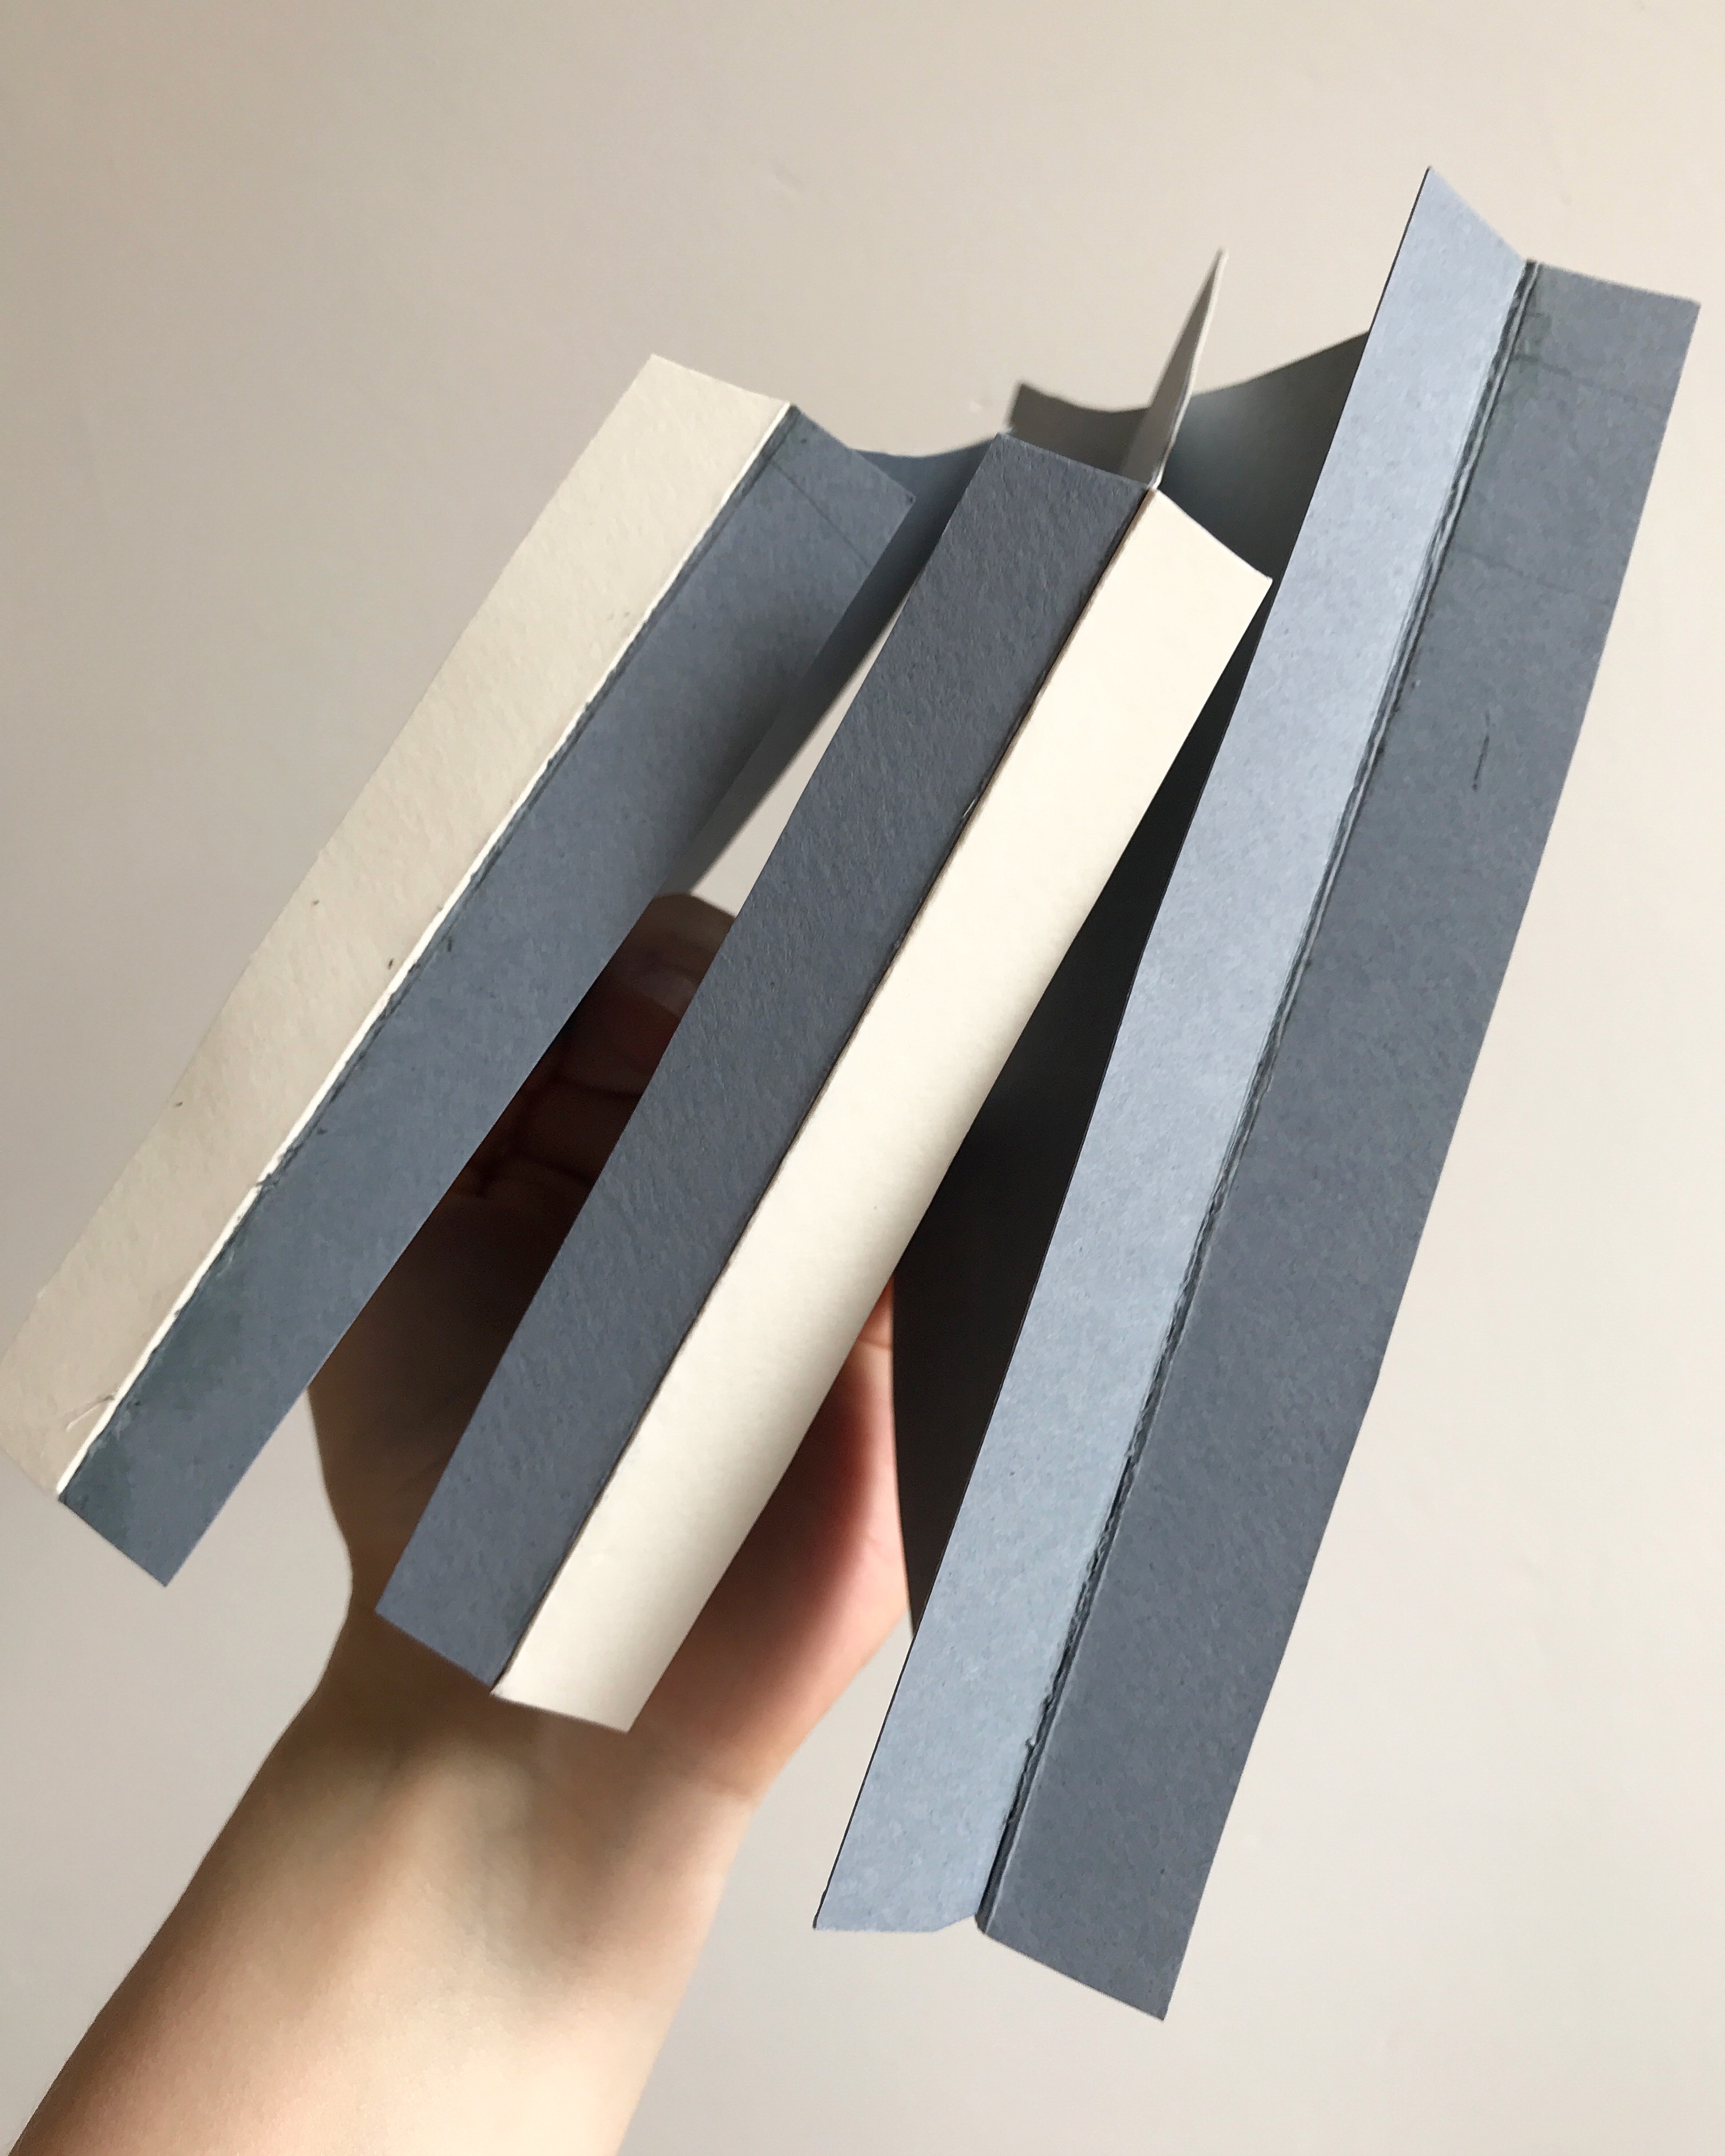
You know have a surface to glue the fins on to the cone. For the side fins, make sure that you glue them together so that one mirrors the other in terms of which side the grey/ cream is on!
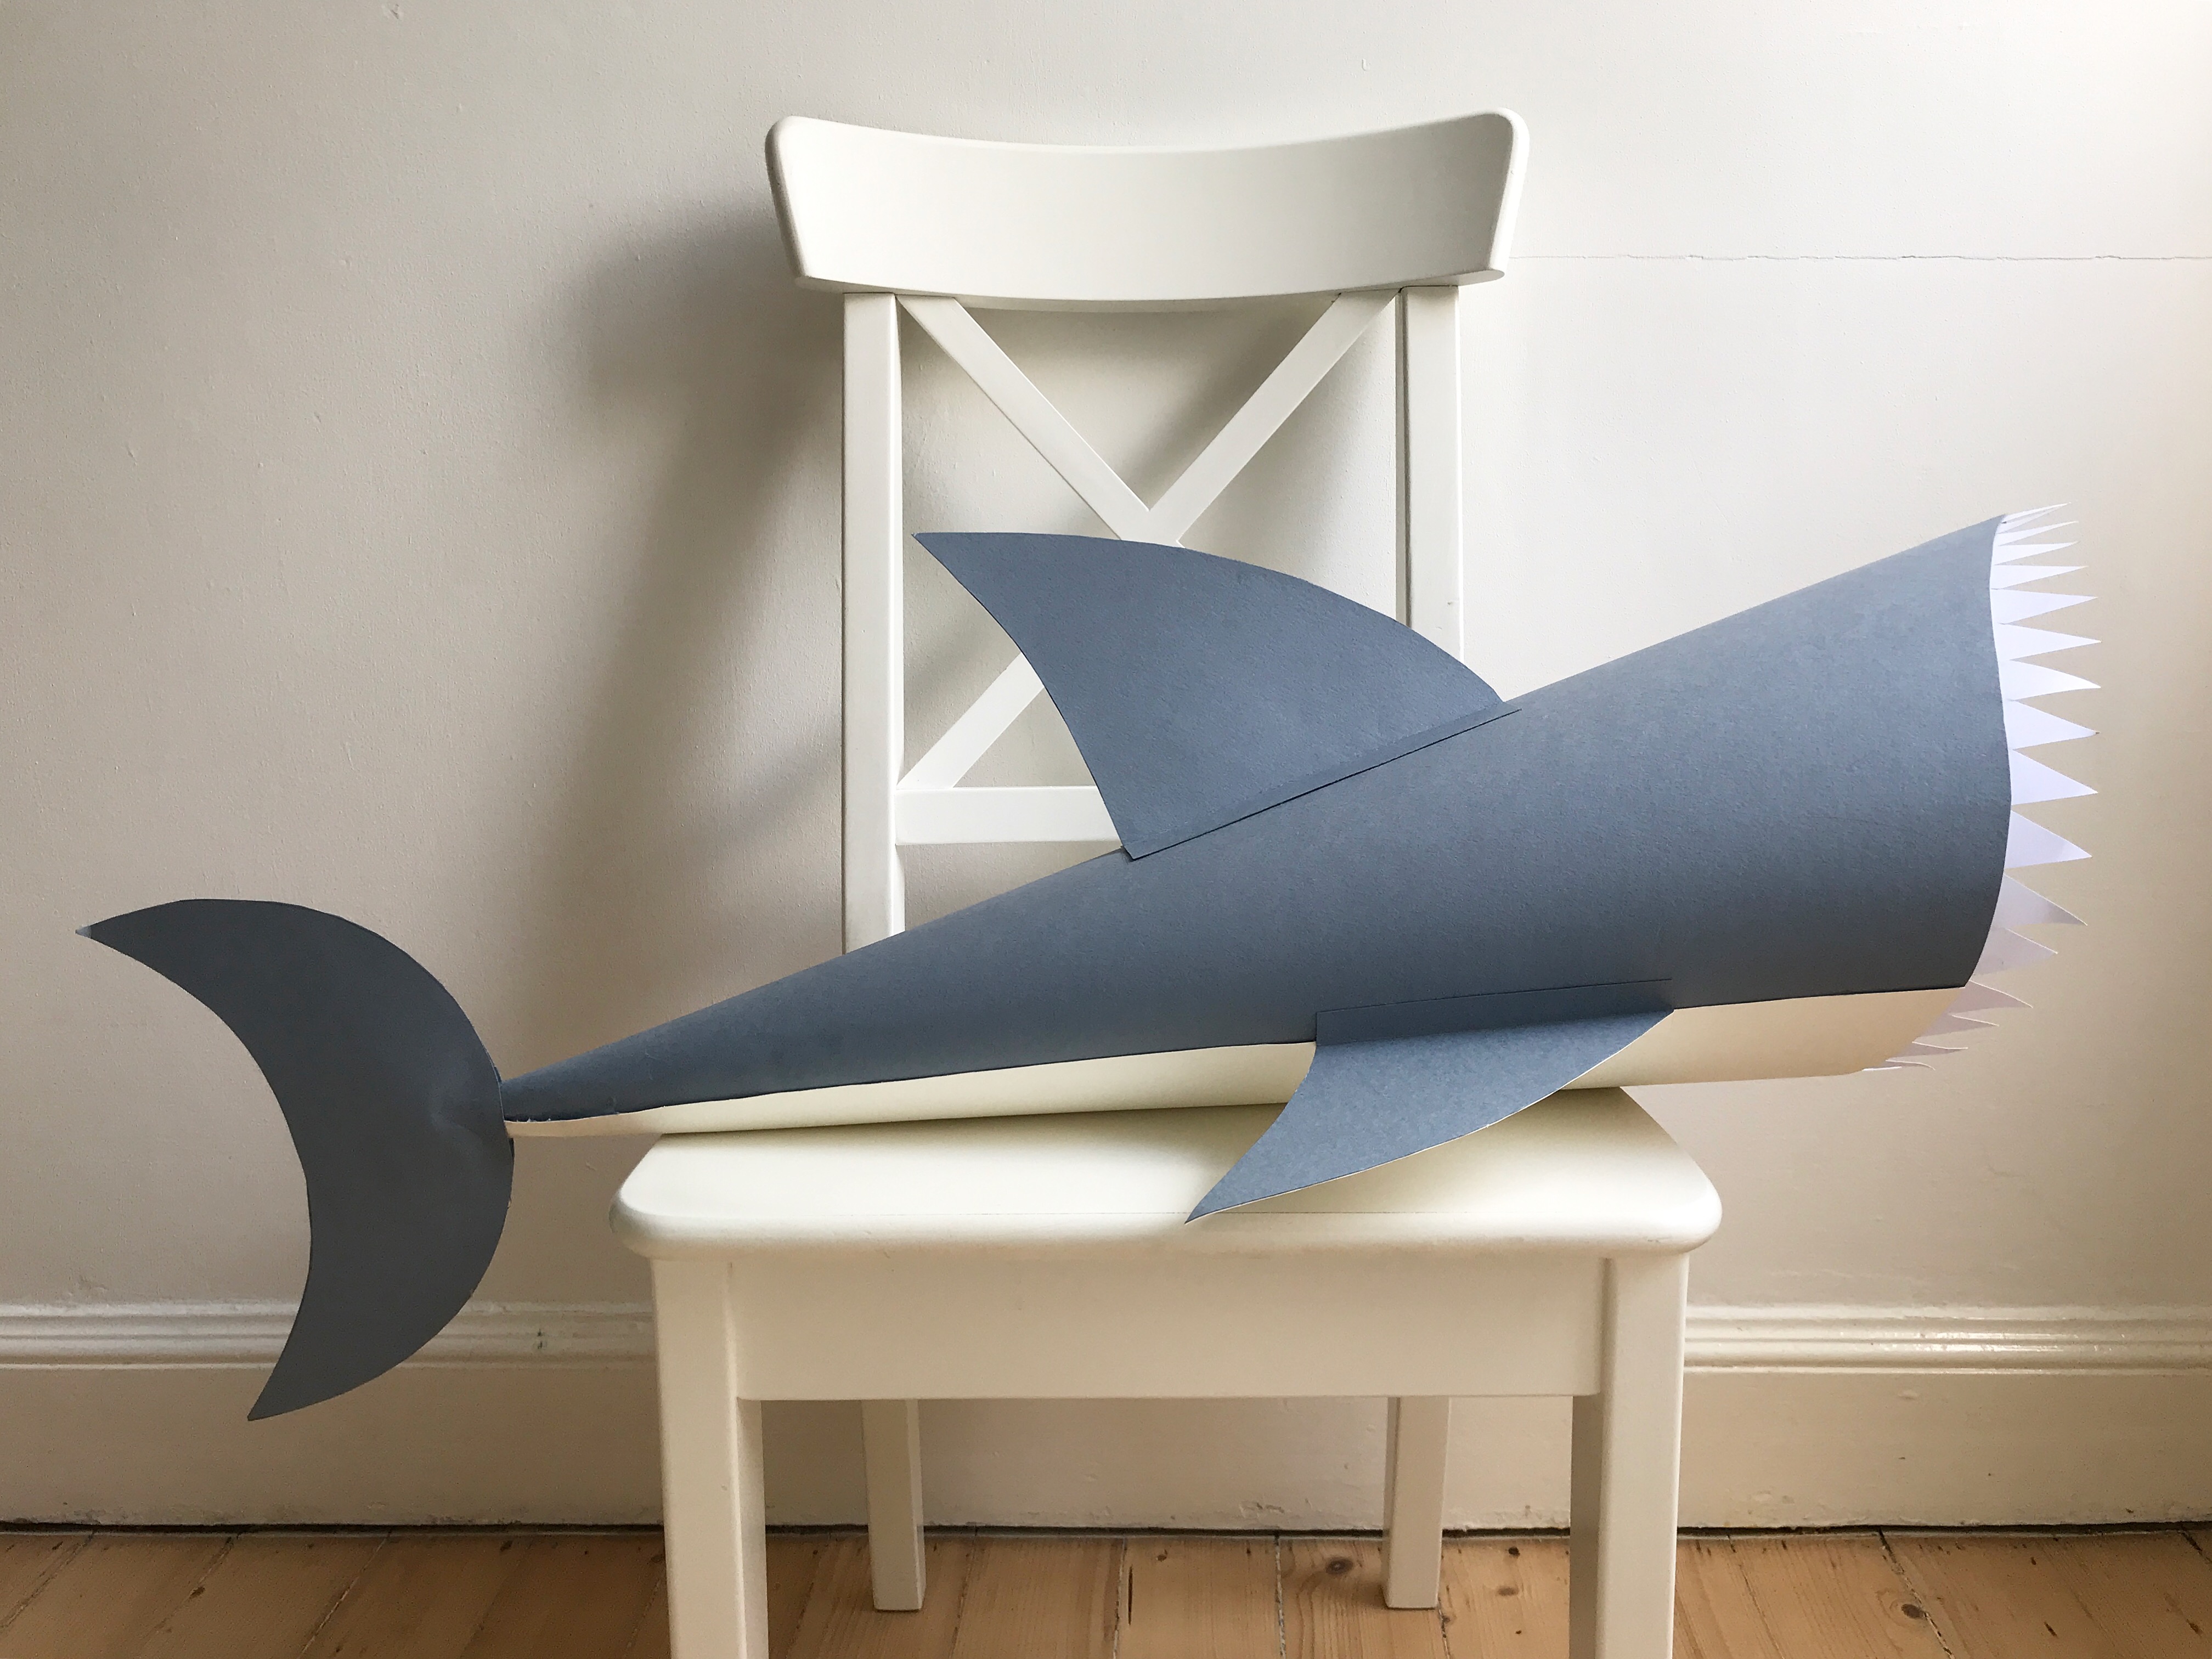
Step 5: Glue the fins in to place. The top fin is about half way down the back of the shark, the side fins are a bit forward of that, and the tail fin gets glues either side of the tip of the cone. I found it easiest glueing the curved side of the tail fin together first, then inserting the cone in to the opening on the other side and glueing that in to place. I used a glue stick to stick the fins together and to stick the top and side fins in to place, but had to use the glue gun to secure the tail fin on to the cone.
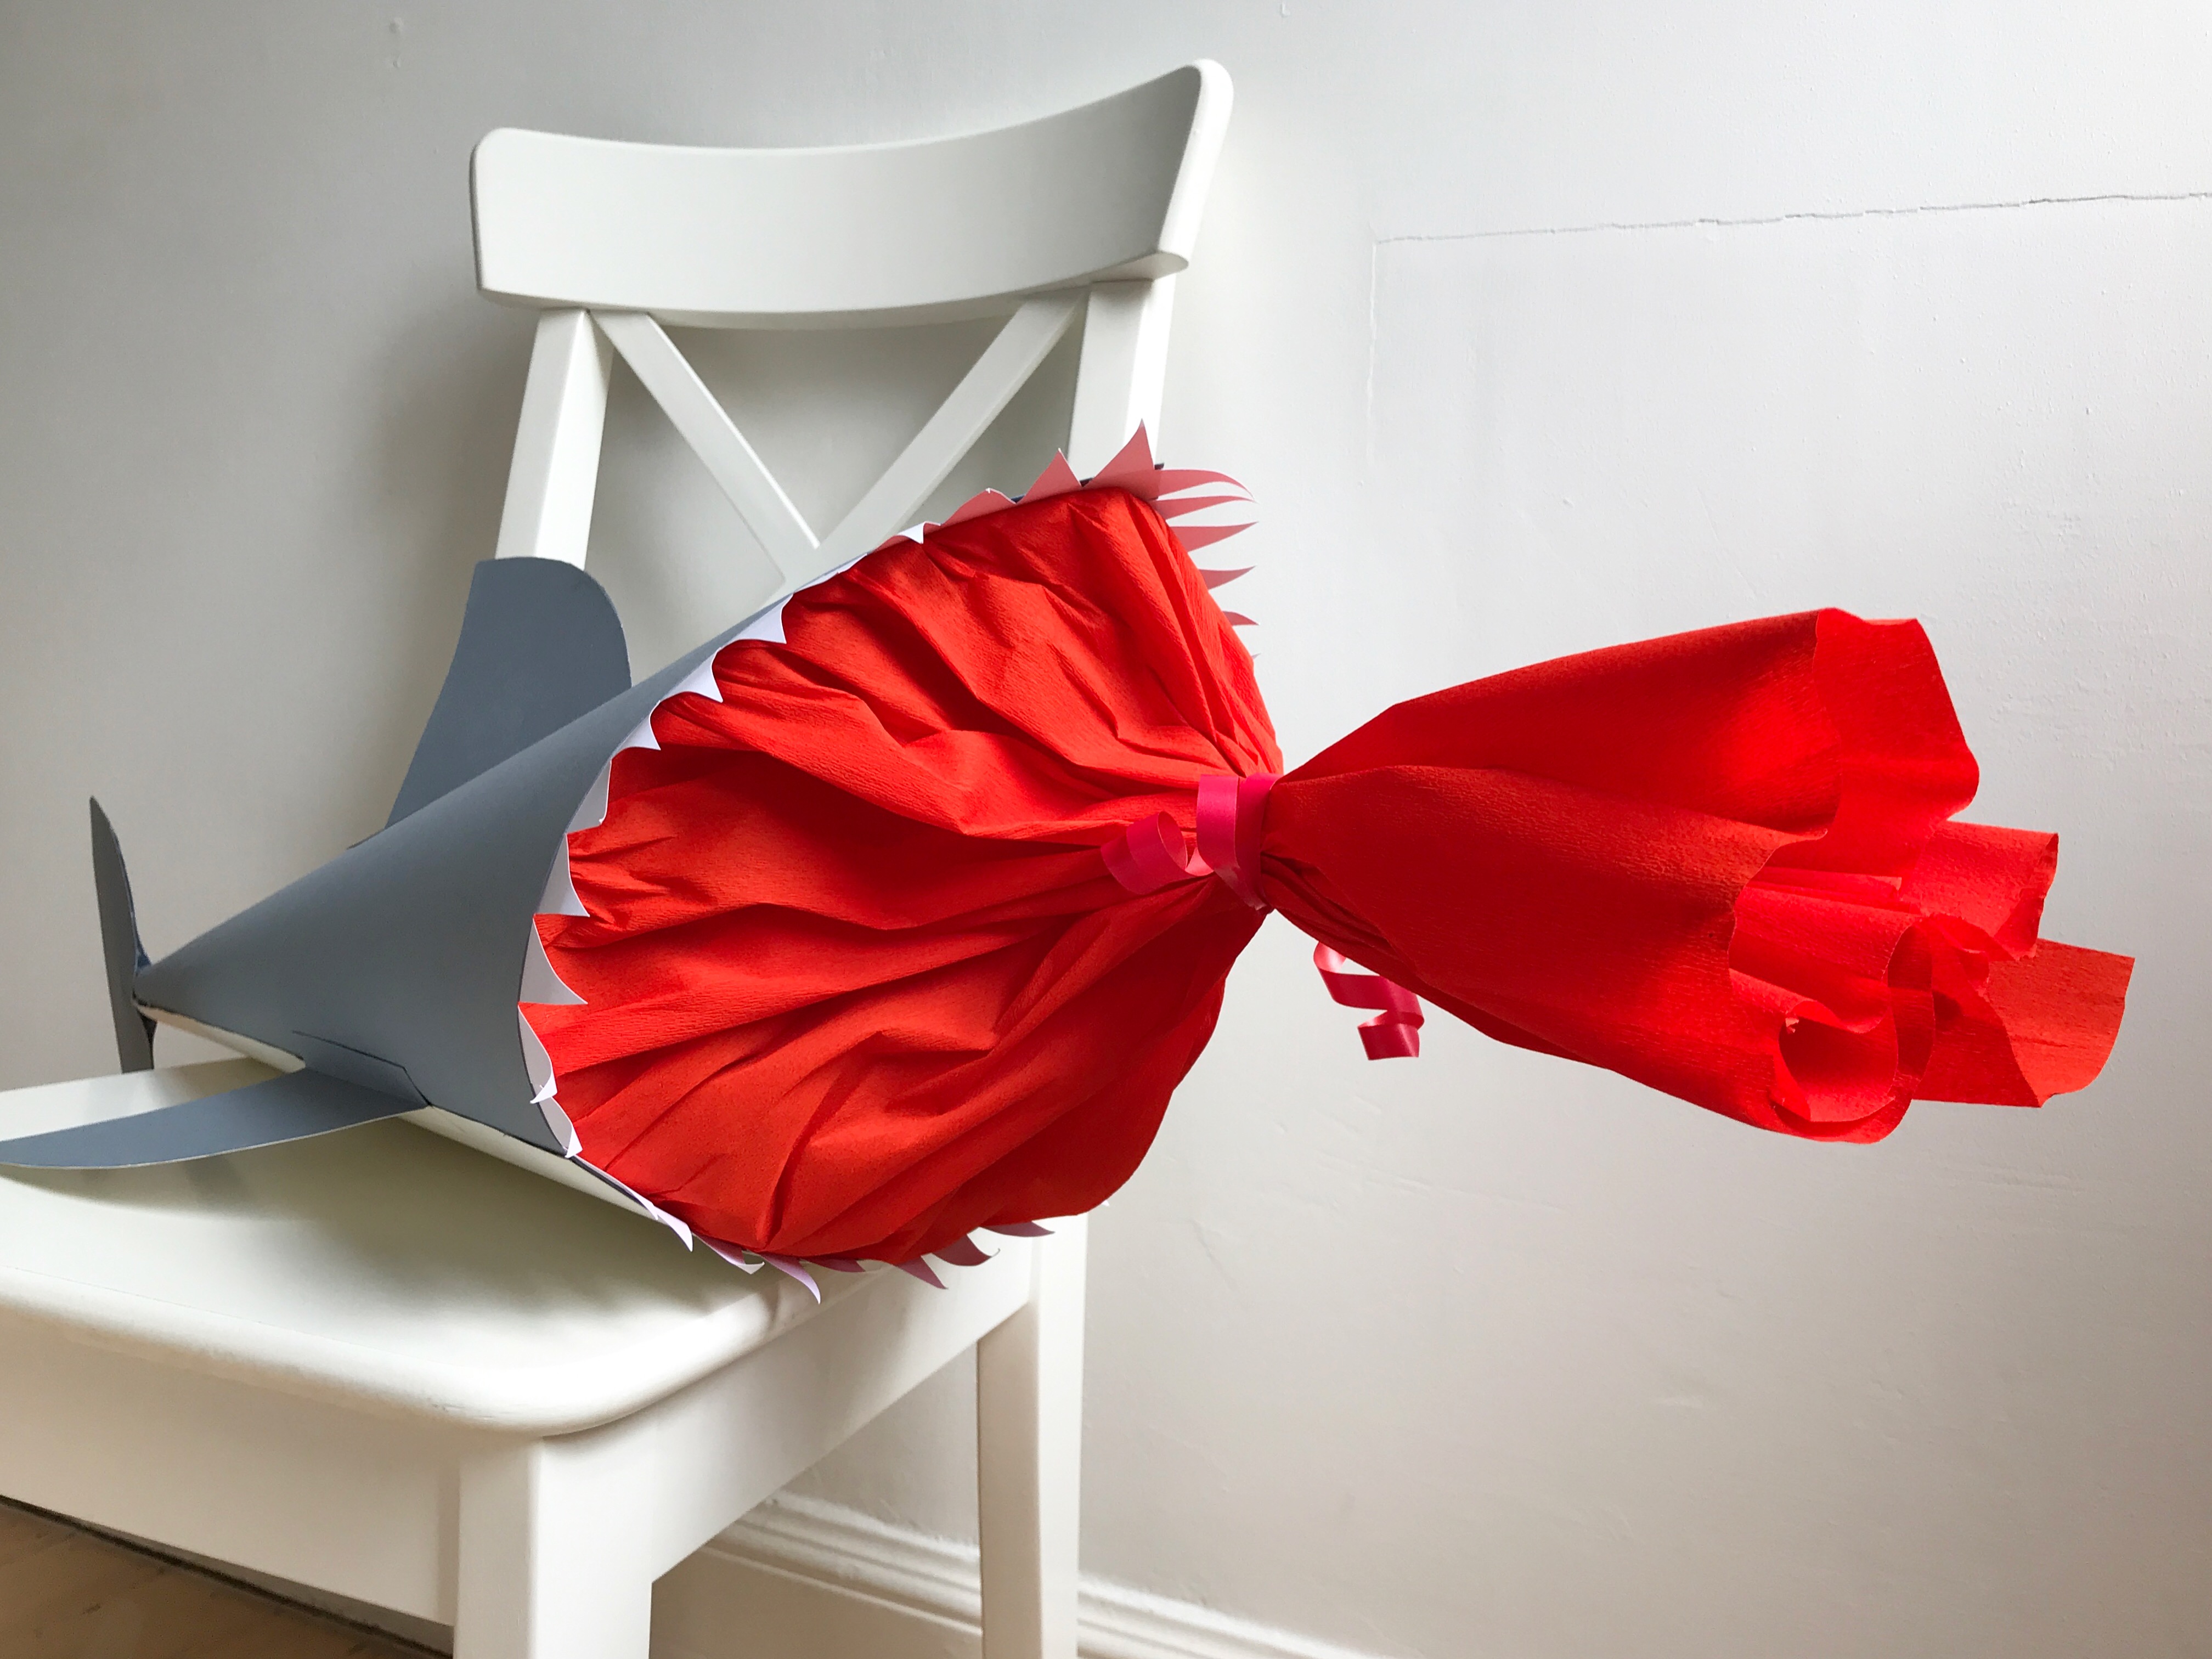
Step 6: Cut a long strip of red crepe paper, about 1.5 times the circumference of your cone. Glue it around the inside rim of your cone, ruffling it slightly as you go round. Then once you have filled the cone, tie the paper together at the top with some red ribbon.
Step 7: Cut out two large circle from the black paper for the eyes – I also added a white dot to each eye, using some scraps of the white card and a hole punch.
And that’s it – one shark themed ‘Schultüte’ ready to make a little boy’s dreams come true on his first day of school. It was a lot easier to make than it perhaps sounds, especially once I’d figured out the logistics of it, and it was definitely worth the effort! Check back in tomorrow to see what I’ve put inside!
[line]
If you make your own Schultüte, I would love to see it, so please feel free to tag me in on Instagram or Twitter! And if you fancy something a little more straight forward, check out my tutorial for the traditional ‘Schultüte’ I made for Oskar three years ago.
Claire
Firstly what a lovely idea! And secondly wow! You’ve done a great job!
What a crafty, clever mummy you are
Siobhan | The Baby Boat Diaries
That looks fab! Well done you! My kids would love that! (They are still obsessed with Baby Shark!)
Kara
That is so cool – Sebby is obsessed with baby shark and this would be perfect to accompany the song
Treasure Every Moment
Oh wow this is seriously impressive and professional looking!! I’d not heard of this tradition before, but my daughter starts school this September so I’ll have to look into this :)
OddHogg
What a cute idea! I love seeing traditions from different countries. My eldest starts at the school nursery in 2 weeks time.
Lyndsey O'Halloran
That’s really impressive and creative! What a nice idea for the first day of school.
Sabina Green
You have done a great job, it looks fab! This is such a lovely idea!
Pingback: WHAT TO PACK IN A ‘SCHULTÜTE’ (Vol.2) – The Bear & The Fox
Anosa
I love this tutorial, we are definitely going to give it a try this weekend.
clare minall
it looks really fun to make and im sure my kids would love that craft
Pingback: Back to School - The Big One! – The Bear & The Fox
Pingback: Top 5 Posts of 2019 – The Bear & The Fox
Pingback: Planning for August – The Bear & The Fox
Monika
Thank you for this cool idea – I made it now for my grandchild. He will start in school on 9. September 2024.