DIY Play Kitchen
10 January 2013
As you may know, we were having a home made Christmas (with a few exceptions such as books and stocking fillers). Our biggest project was our present for the boy – a home made play kitchen – and since we knew we couldn’t take it across the country to my family with us we decided to give ourselves time and not rush things. So it ended up being a New Year’s present instead, but given the amount of presents the boy actually received at Christmas itself I don’t think it really mattered. He’s still too young anyway to fully understand, and it made for a great surprise and diversion in that first January week when the nursery was still closed and we tried to keep him entertained.
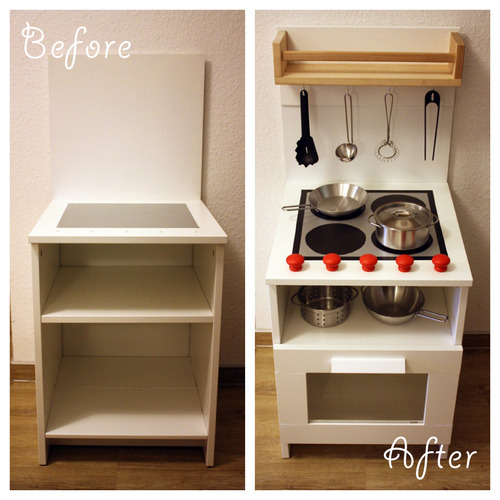
The idea first crossed my mind when I came across similar home made kitchens on the website Ikea Hackers. Given that the boy loves playing in the play kitchen at nursery, and given the price of store bought play kitchens, a home made Ikea hack play kitchen seemed like the perfect solution. And home made it more fun and satisfying too. Here’s how we did it:
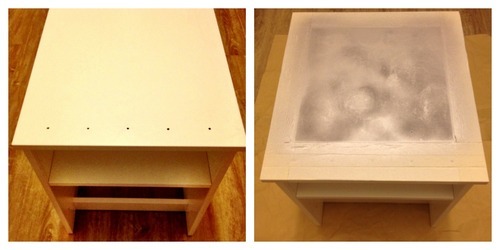
We started off with a BRIMNES bedside cabinet (above left), which we put together according to the instructions up until the point of attaching the runners for the drawer and assembling the drawer. We put the pieces of wood for the drawer aside to repurpose as a later stage. We also drilled 5 holes along the front edge, where the knobs would go.
Next, we taped off a square area on the top of the cabinet with masking tape and spray painted it silver (above right). It took about 4 layers to get an even coverage.
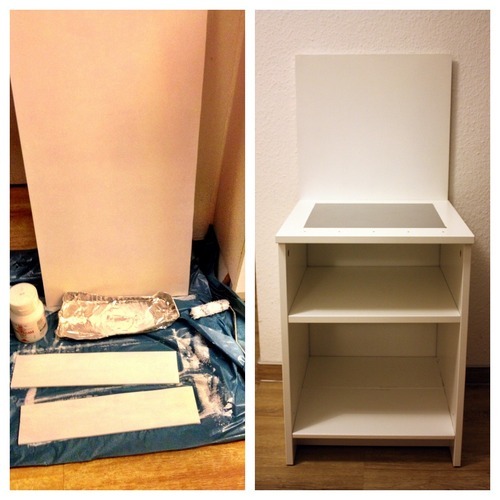
We cut a piece of plywood to make a back for the play kitchen that we would attach a shelf and hooks to, which we painted white (above left). We also cut two smaller pieces of wood to strengthen the place where the shelf and hooks would be screwed in.
Above right, you can see the back attached to the cabinet, for which we used nails. You can also see how we used two pieces of wood that would have made the drawer to put a bottom in to the cabinet (before, the bottom was open). We had to cut the wood down to size a little, and then attached them from underneath with brackets.
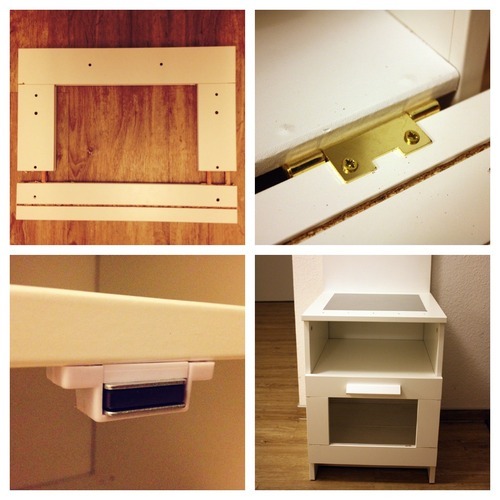
We wanted to reuse the front piece of the cabinet drawer to make an oven door, but it had a glass panel in the centre which we didn’t think was safe for an overactive toddler. So the husband managed to pull the panel apart and remove the glass (above, top left) which we then removed with a plexi glass panel from the DIY store.
We attached the revamped panel to the the bottom of the cabinet we’d just put in with some hinges (above, top right) and then attached a magnet fastener so that it would stay closed (above, bottom left). The handle on the “oven door” (above, bottom right) is the orignal drawer handle.
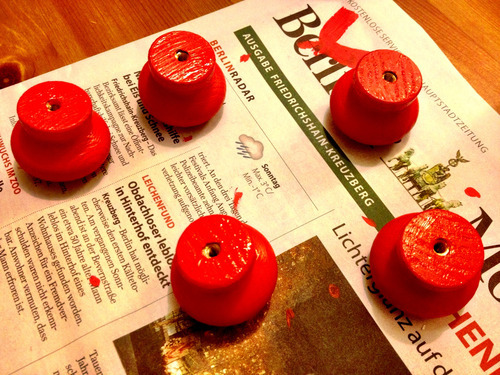
A cooker and oven of course need some knobs, so we got five plain wooden knobs from the DIY store and painted them bright red.
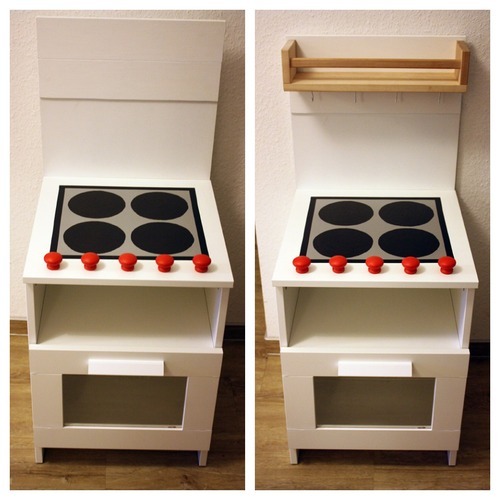
We attached the knobs with some long screw head bolts, with a set of washers underneath to stop the bolts cutting in to the cabinet (above left). We had made the holes a little wider than the bolts and chose bolts that were a little longer than needed, so that even when tightly screwed on they would still move – no one wants to play in a play kitchen with fake knobs that don’t move ;-) To create the hobs, we taped around the silver panel with black insulating tape to make it look neater and stop the silver paint flaking at the edges. Then we painted on the four hobs with black acrylic paint in a circular motion in two layers, to create that slightly grooved effect that old fashioned hobs tend to have. You can also see the two strips of wood attached here, with wood glue, for the shelf and hooks.
Above right you can see the shelf (an Ikea BEKVÄM spice rack) and the hooks attached. We actually ended up screwing the hooks into the shelf rather than the back, as they were at an easier angle then for little hands to hang things on them, so in the end we didn’t actually need the second strip of strengthening wood.
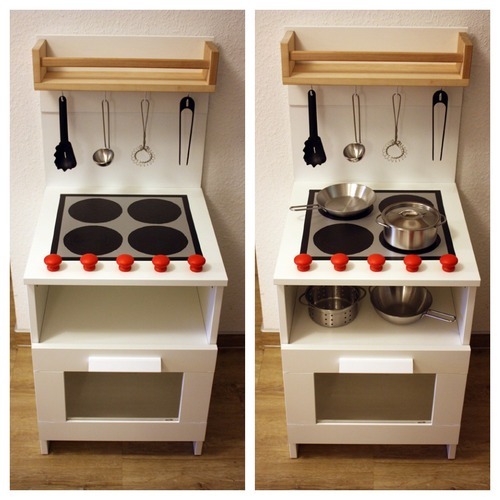
Finally, a play kitchen needs some utensils and pots and pans, of course!
The total cost of the home made play kitchen was about 60 Euros The beside cabinet cost 39 Euros and the spice rack 3 Euros. The wooden knobs cost about 1 Euro each, the plexi glass panel about 3 Euros, and all the iron ware (bolts, hooks, brackets, one packet of screws) came to about 10 Euros in total. We still had the extra wood left over from previous DIY projects, the same goes for all the various paints and the nails.
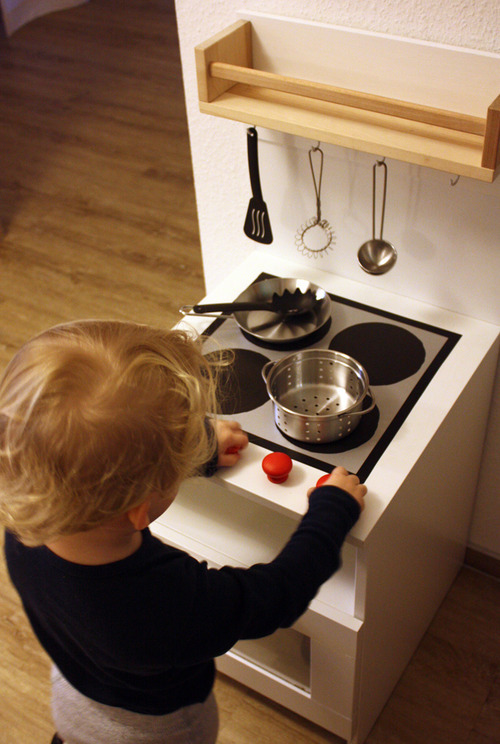
The play kitchen has been a huge success. Not only did it save the last week of the holidays, the boy hasn’t stopped playing with it since! And here’s the little chef himself at work:


Nina
Great job! I love it. I am thinking of making a play kitchen like than for my son who is 2. I think it will be a hit!
admin
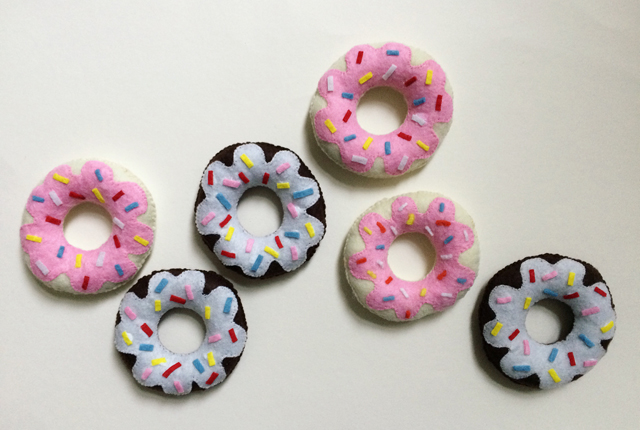
Thank you! My son is now 4 and still loves his play kitchen. In fact, for his Christmas present I made him a bumper box full of felt food. And although he did point out that he had asked for ‘more cars’, he still loved it :)
Pingback: Review: Busy Me Time For Tea Set [AD] – The Bear & The Fox