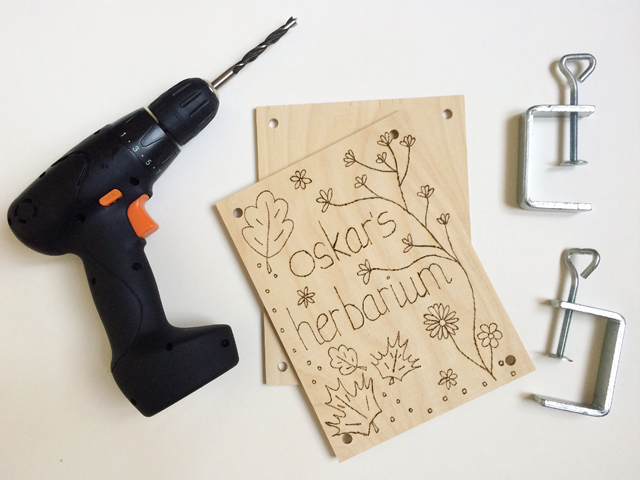
Flower Press Tutorial
So, in my ‘Explorer Kit’ gift idea from the other day, I included a hand made flower press. Here, as promised, is the tutorial of how I made it!
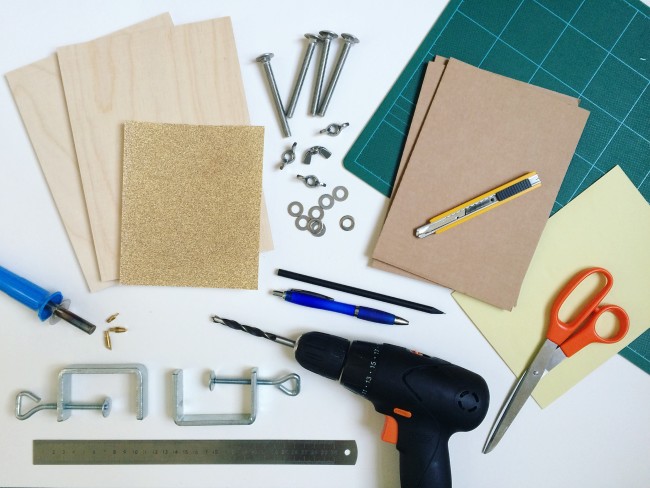
What you will need:
- Two pieces of wood, 17cm x 23cm, 6mm thick. I had them cut to size at a local DIY store.
- A sheet of A4 paper
- A pencil and eraser
- A pair of scissors
- Some sticky tape
- A ball point pen
- A woodburning tool
- A drill with an 8mm piece for drilling wood
- A couple of clamps
- Some sandpaper
- 4 bolts, 6cm long, 8mm diameter
- 4 wing nuts, 8mm diameter
- 8 washers, 8mm diameter
- A large sheet of corrugated cardboard
- 10 sheets of A5 blotting paper
- A cutting board
- A craft knife
- A metal ruler
In case this long list of supplies has put you off, it’s a lot easier than it looks! You just need a lot of stuff. If you can’t get your hands on a wood burning tool or are nervous of using one, you could also paint the cover of your flower press instead.
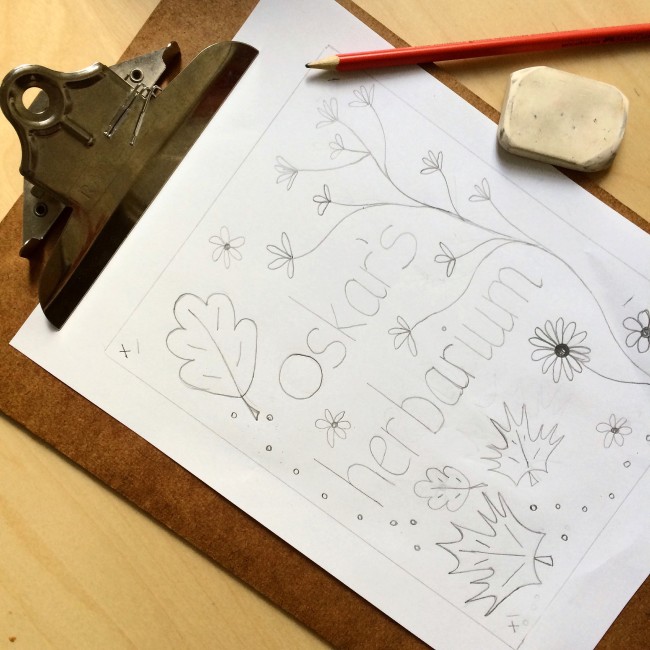
Step 1: Draw around one of the pieces of wood on the sheet of paper, and sketch out your design for the cover of the flower press.
Step 2: Cut out the cover design and use the sticky tape to hold it in place on the piece of wood. Then use the ball point pen to trace over your design, pressing down hard to indent the wood underneath. Then take the pencil and very lightly go over the indentations – now you have your template for burning.
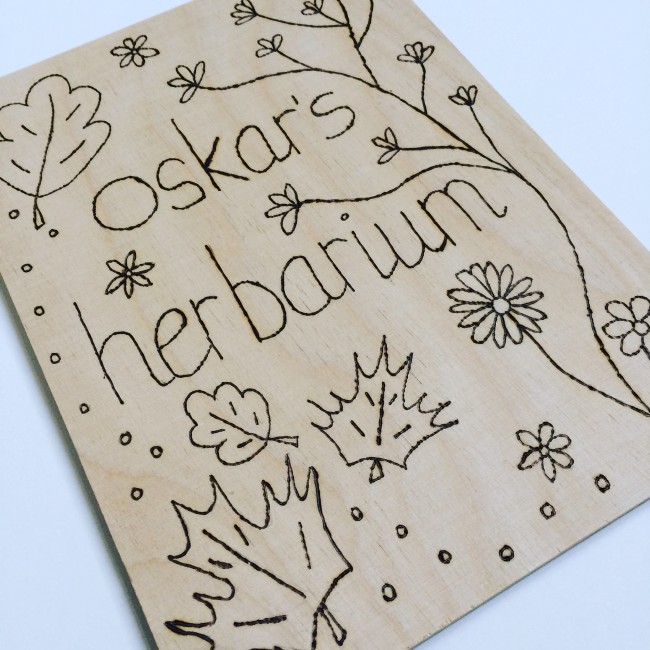
Step 3: With your wood burning tool, go over the cover design on the wood one more time. I used a thin tip that was similar to a ball point pen in size and width. You can see my final burned cover design above. If you’ve never used a wood burning tool before, you may want to practice on a scrap piece of wood first, just to get a feel for it. BE REALLY CAREFUL NOT TO BURN YOURSELF AS THESE TOOLS CAN REACH OVER 500 C!!
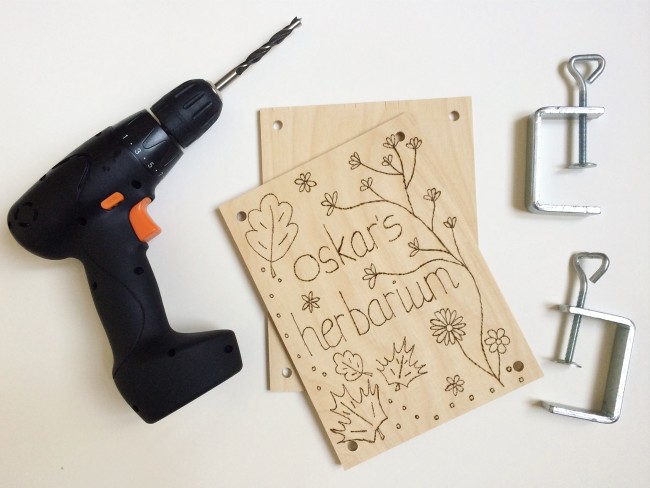
Step 4: Position one of the A5 sheets of blotting paper in the middle of one of your pieces of wood, leaving an equal border around all sides. Mark where the corners are.
Step 5: Use the clamps to hold the two pieces of wood together – I clamped mine to a kitchen stool – with the piece of wood that has the corner markings on top. Now drill through both pieces of wood at once, so that the holes will be in exactly the same place on both pieces. Drill the holes just inside of the corners you marked out in the previous step.
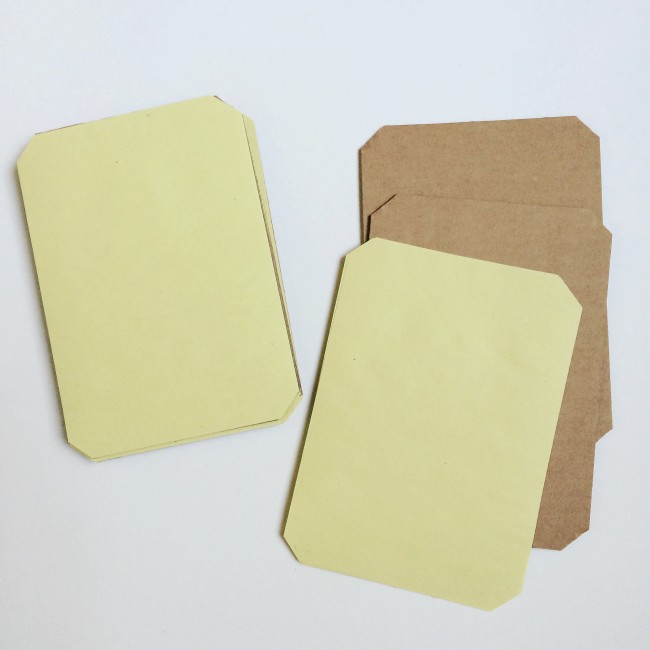
Step 6: Cut out six pieces of A5 size corrugated cardboard, using the craft knife, metal ruler and cutting board.
Step 7: Snip the corners off each piece of cardboard and off the sheets of blotting paper (see above) so that they sit neatly within the drilled holes.
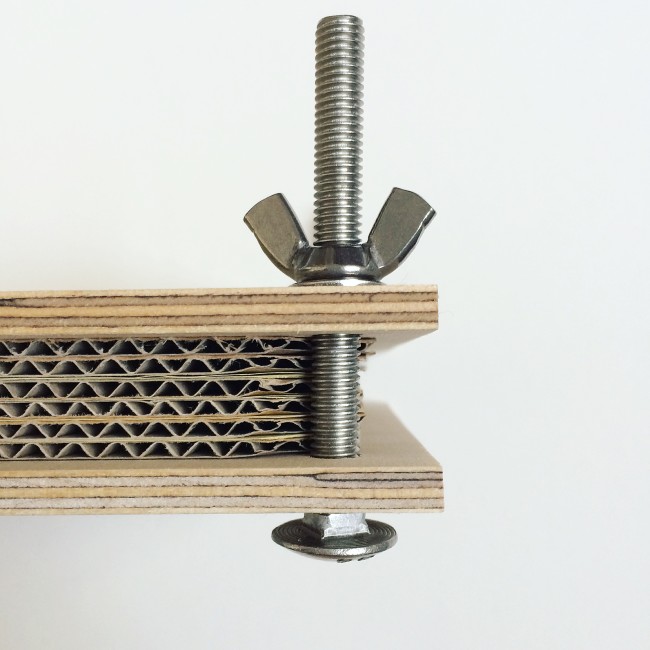
Step 8: Assemble the flower press. For each corner you have a bolt, then a washer, then the plain piece of wood, then the cardboard and blotting paper – alternating one piece of cardboard, two pieces of blotting paper and so on – then your piece of wood with the cover design facing up, then finally another washer on each bolt followed by the wing nuts.
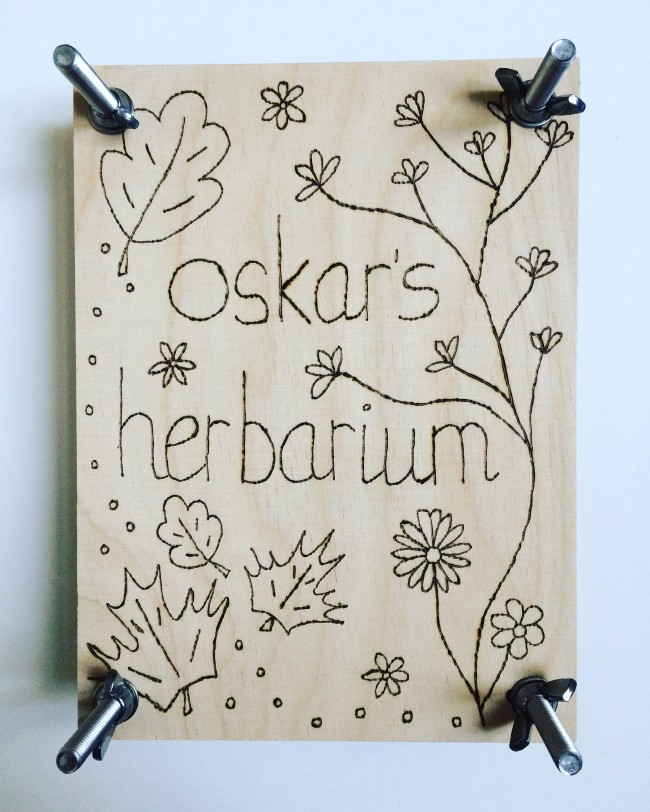
Finished! Your press is now ready for collecting some flowers or leaves, which should always be placed between two sheets of blotting paper.



Pingback: Autumn Leaf Art – The Bear & The Fox