DIY Playmobil Zoo Landscape
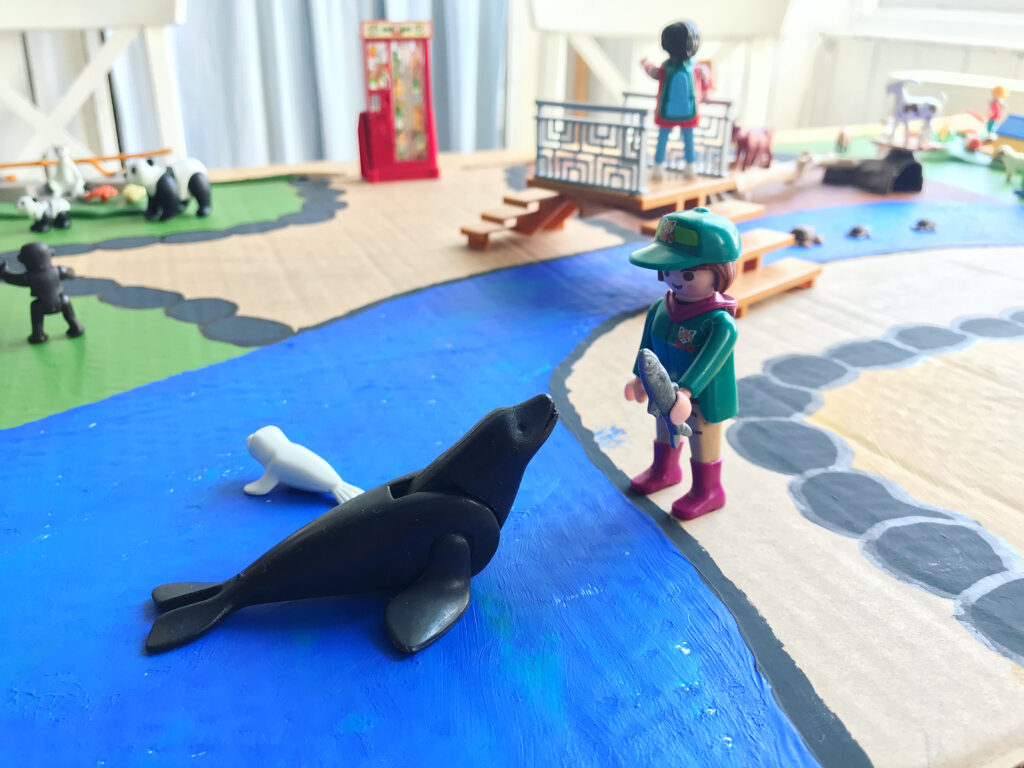
A wee while ago, I shared a review here for Playmobil’s new zoo range, and I mentioned that we had been inspired to create our own zoo landscape to expand our play with it. Well, it’s taken a while, but we’ve finally finished our landscape – just in time for the summer holidays!
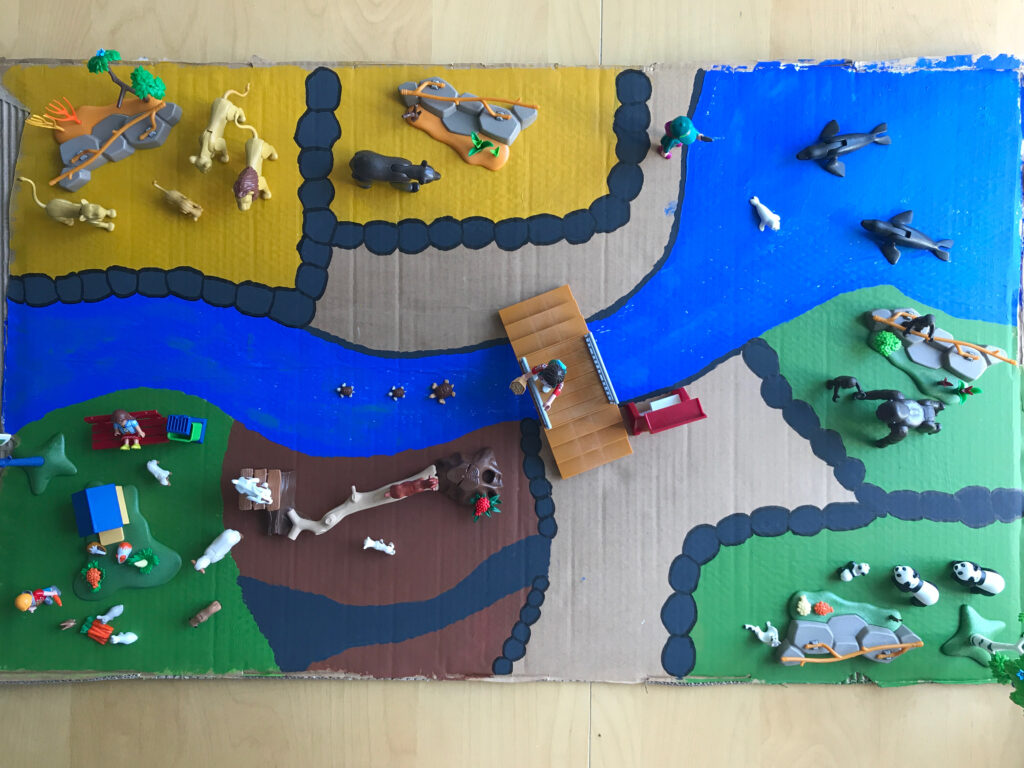
There’s not really that much too it, but I wanted to share it here for some inspiration in case you would like to make your own. I finally get vindicated for hoarding cardboard boxes, because we still had the giant box (flattened for easier storage) that our TV had been delivered in three years ago, and the side of that was the perfect size for a zoo landscape to play on, at 62cm x 104cm.
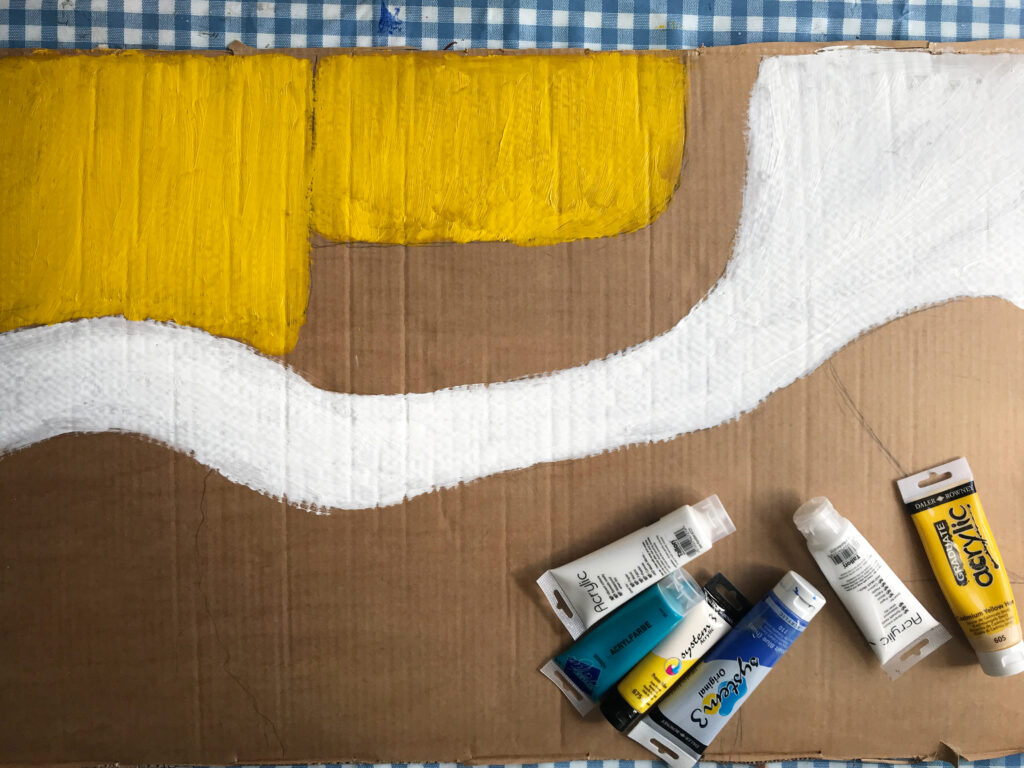
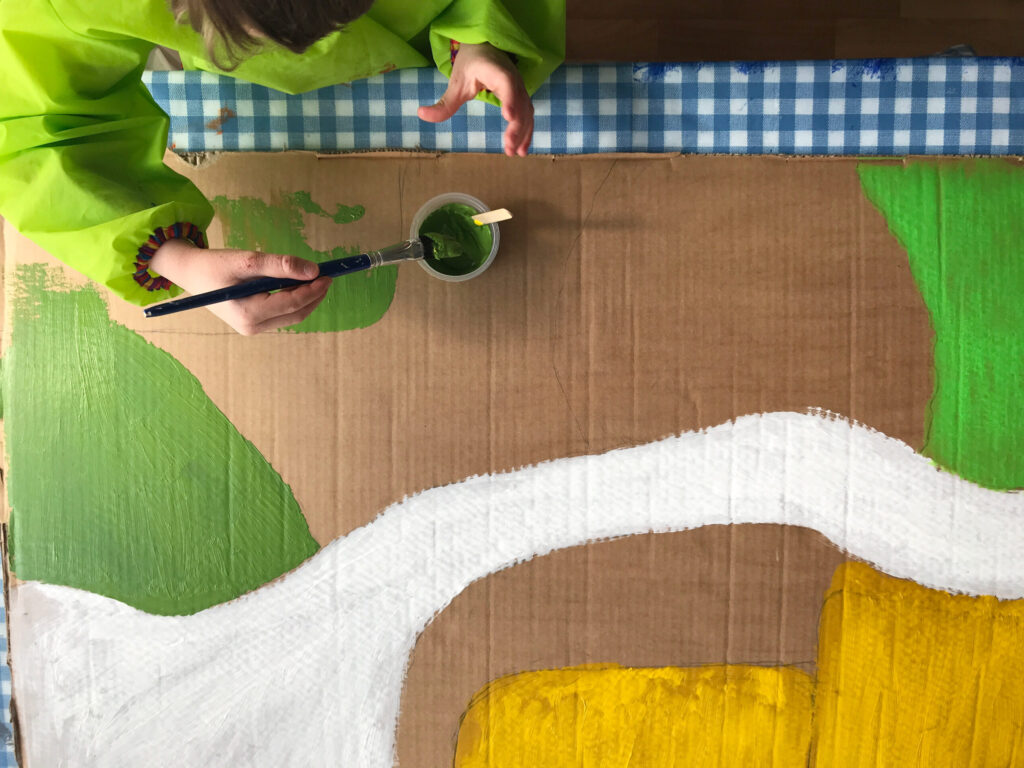
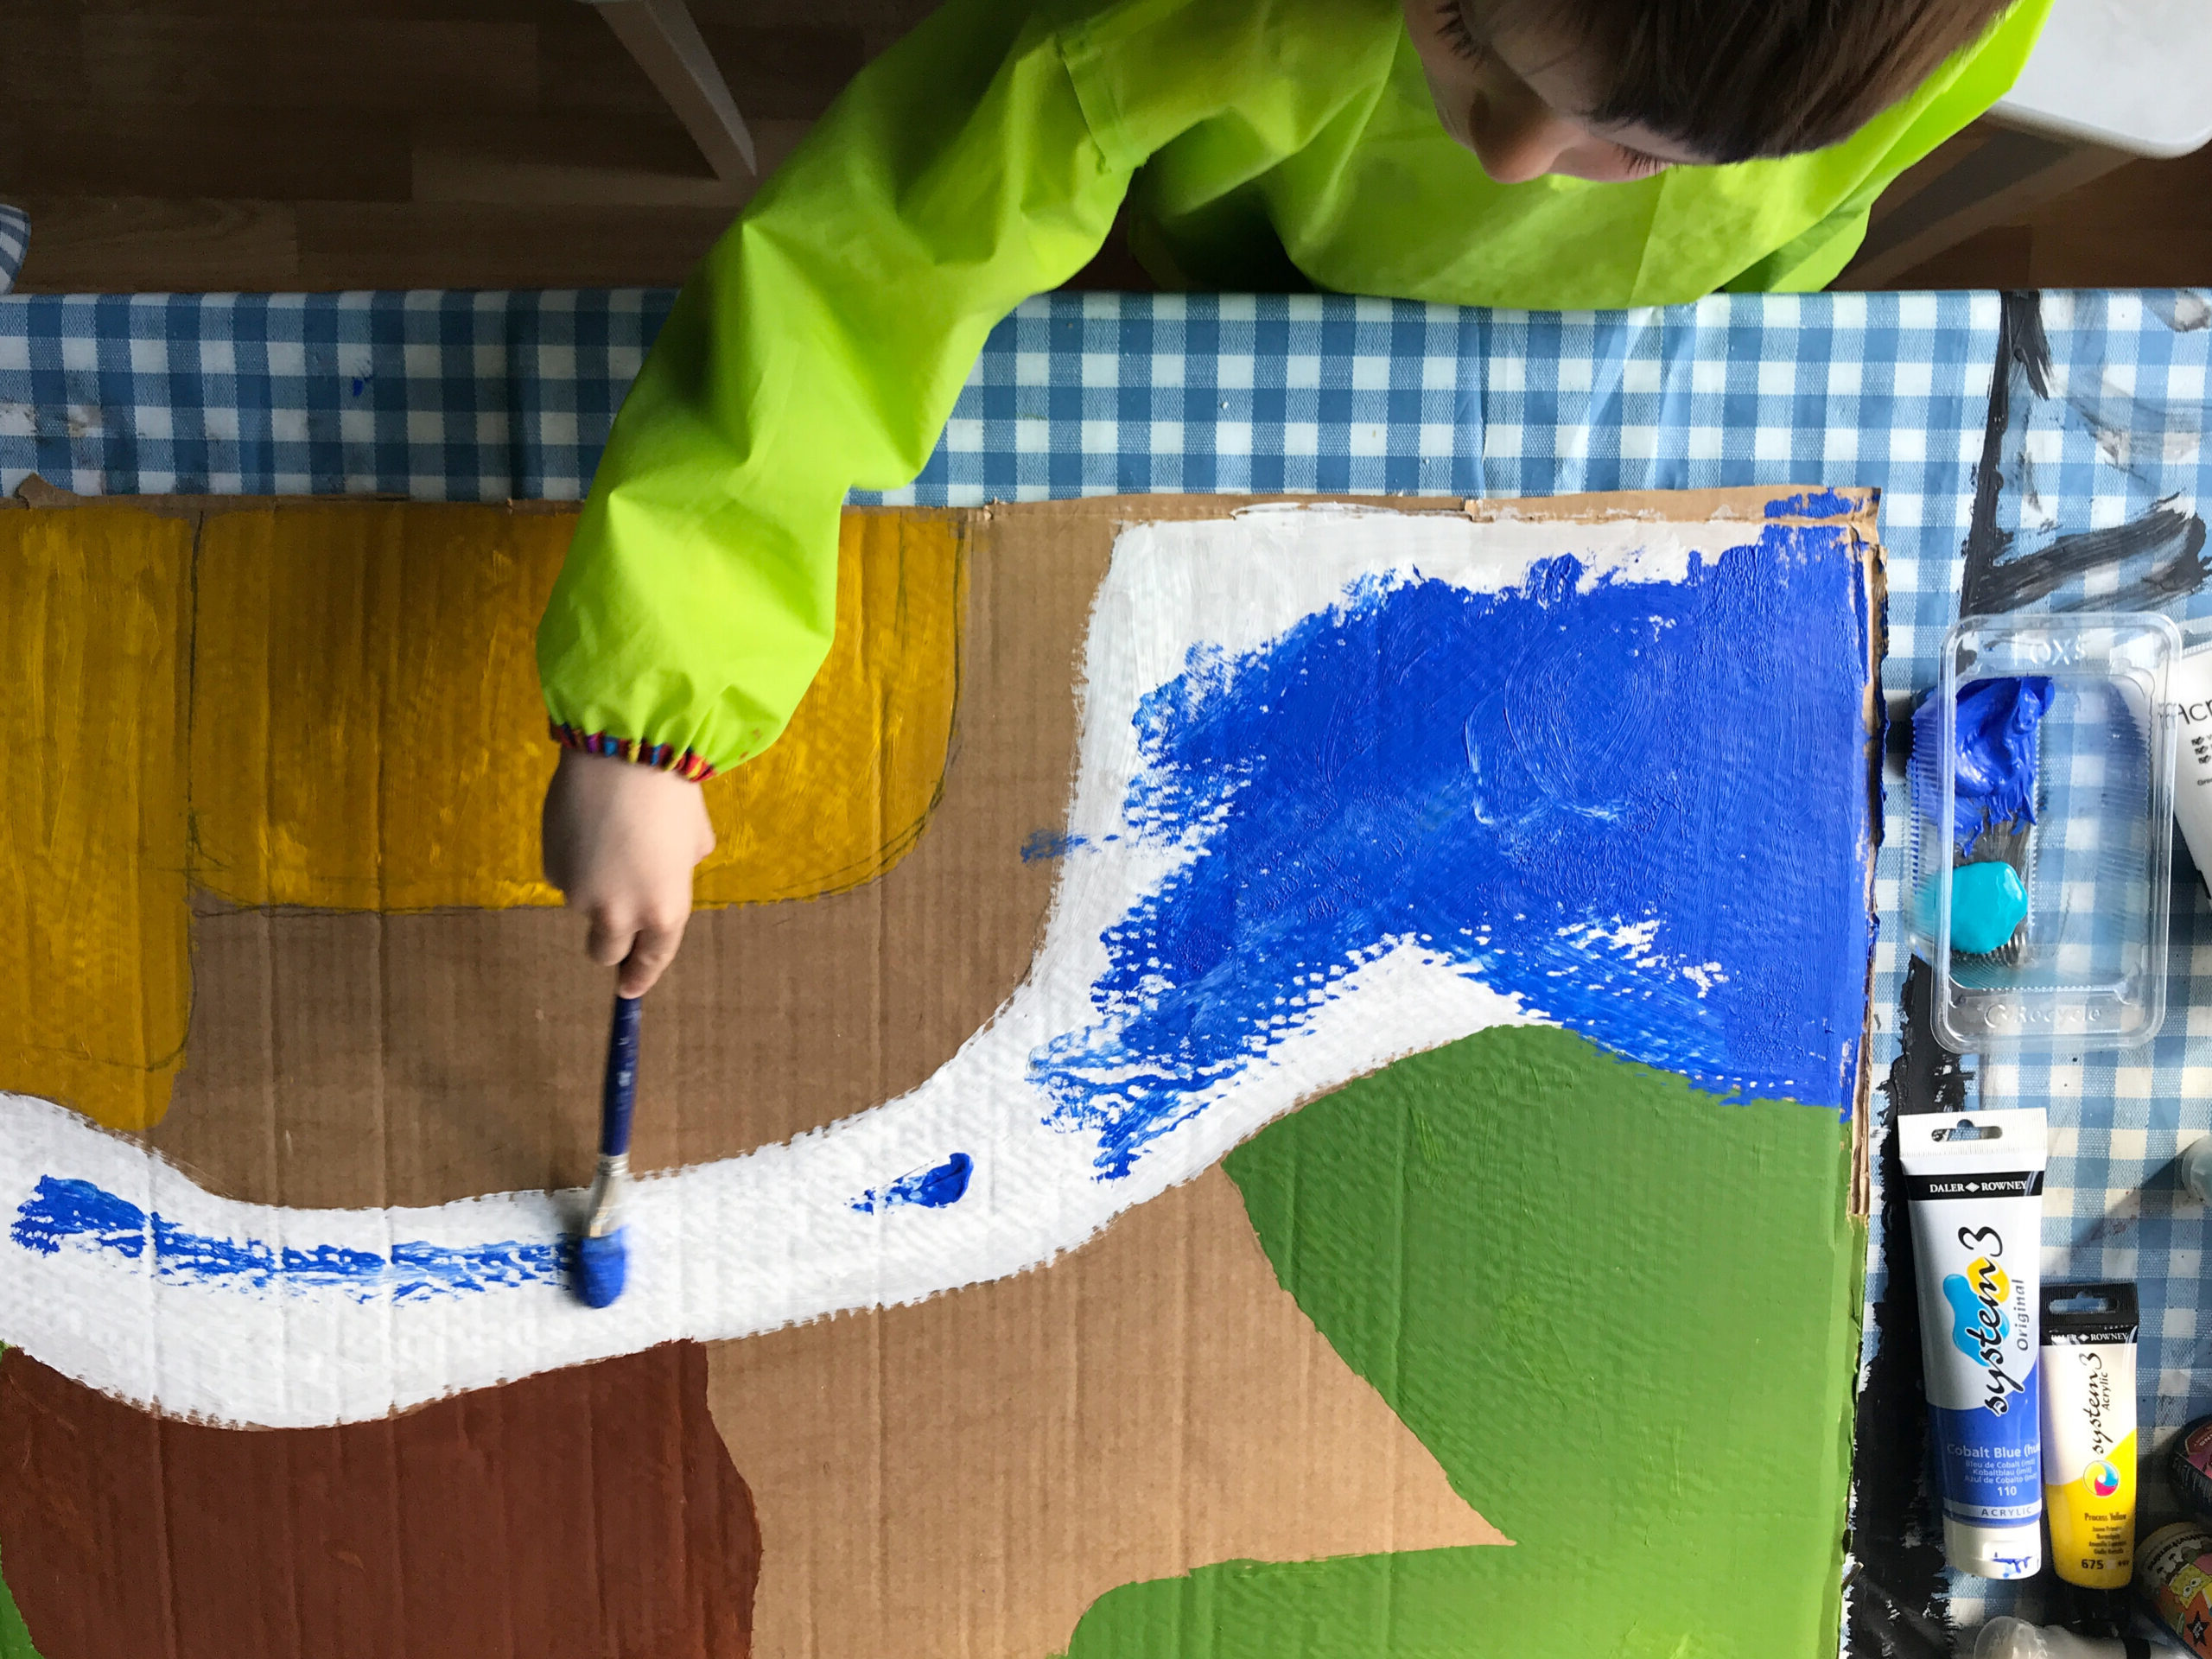
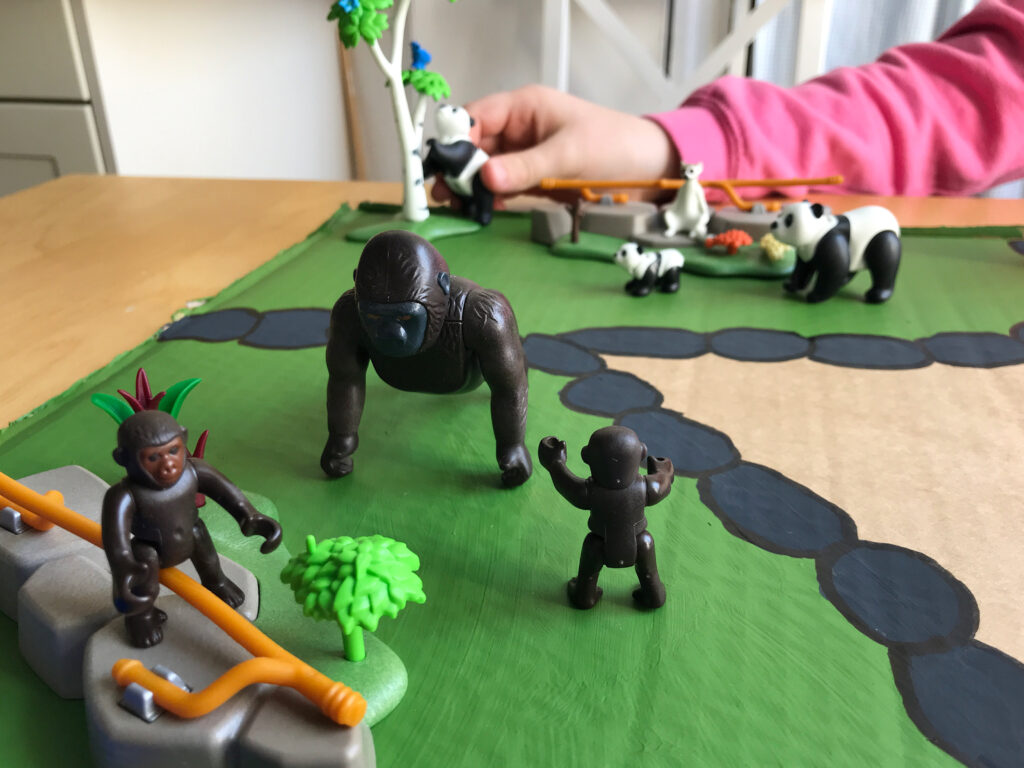
This is very much a project that my 6 year old and I worked on together. I sketched the outlines – under his direction – of the paths, enclosures, and water features that he wanted. Then I mixed up some acrylic paint and we painted it together. We were guided by the animals that we had been sent by Playmobil for review, but also added in some of our own that we already had, including lions, bears and sea lions (the proportions of the enclosures are waaay too small if this was a real zoo, but as it’s a pretend zoo let’s not get hung up on that).
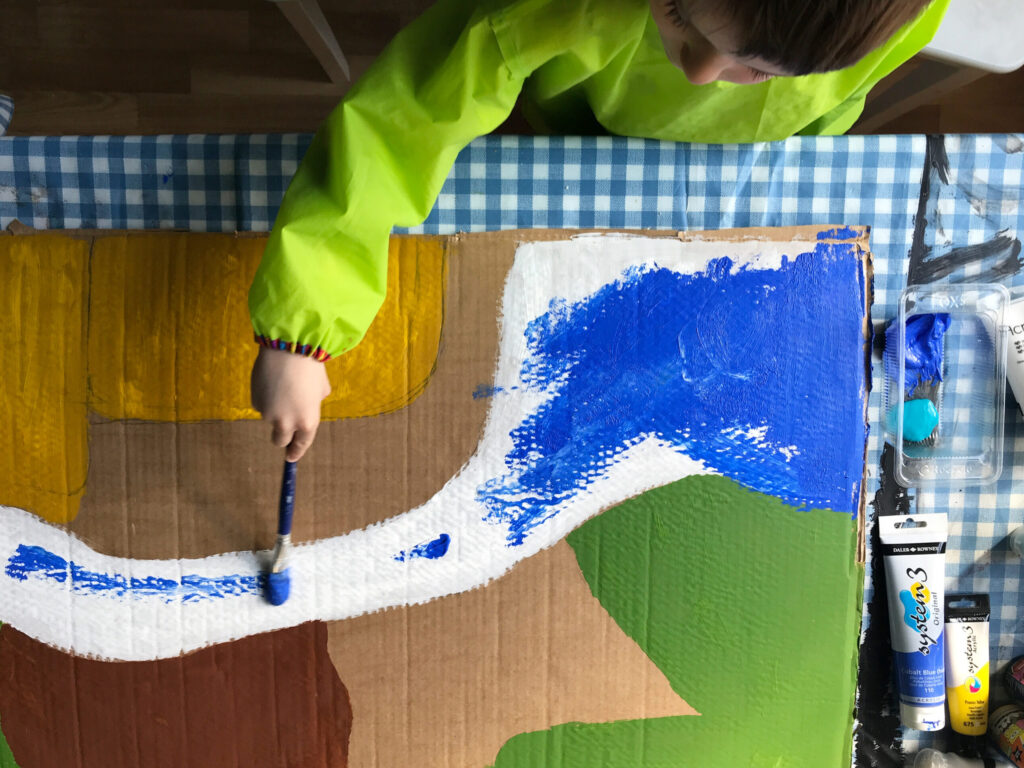
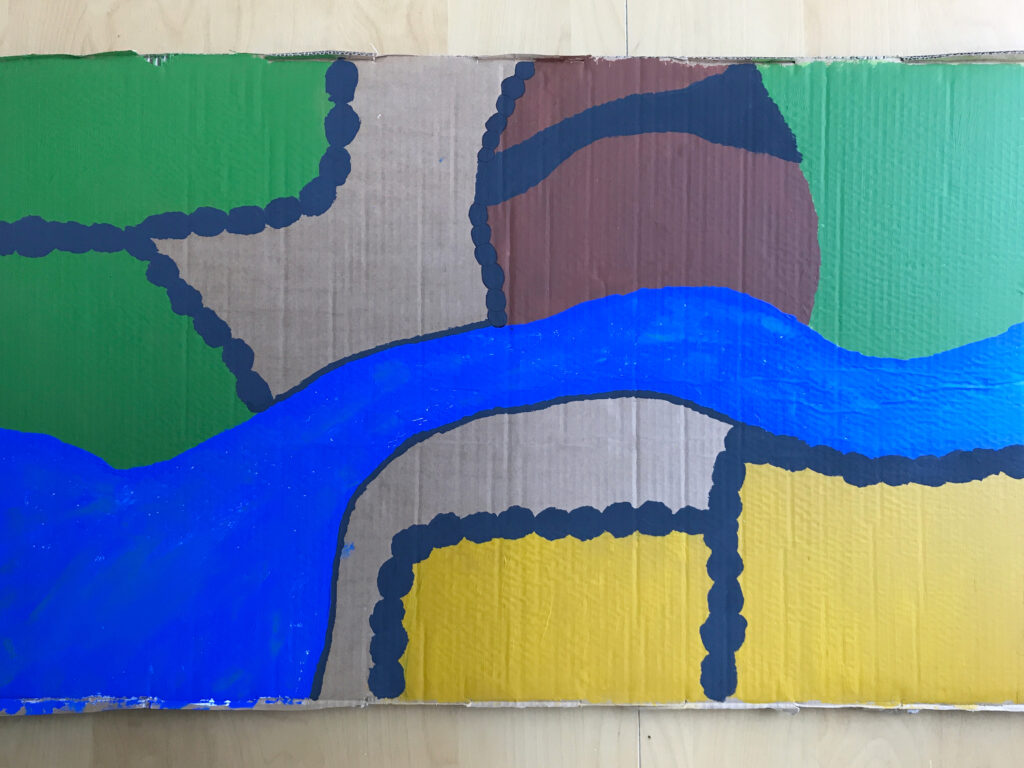
After the paint had dried, I went over some of the borders of the enclosures with a black sharpie pen, and then we were ready to play. Our DIY zoo landscape has already provided us with hours of play, and although it’s big it’s also flat so can easily be slid behind a wardrobe for easy story.
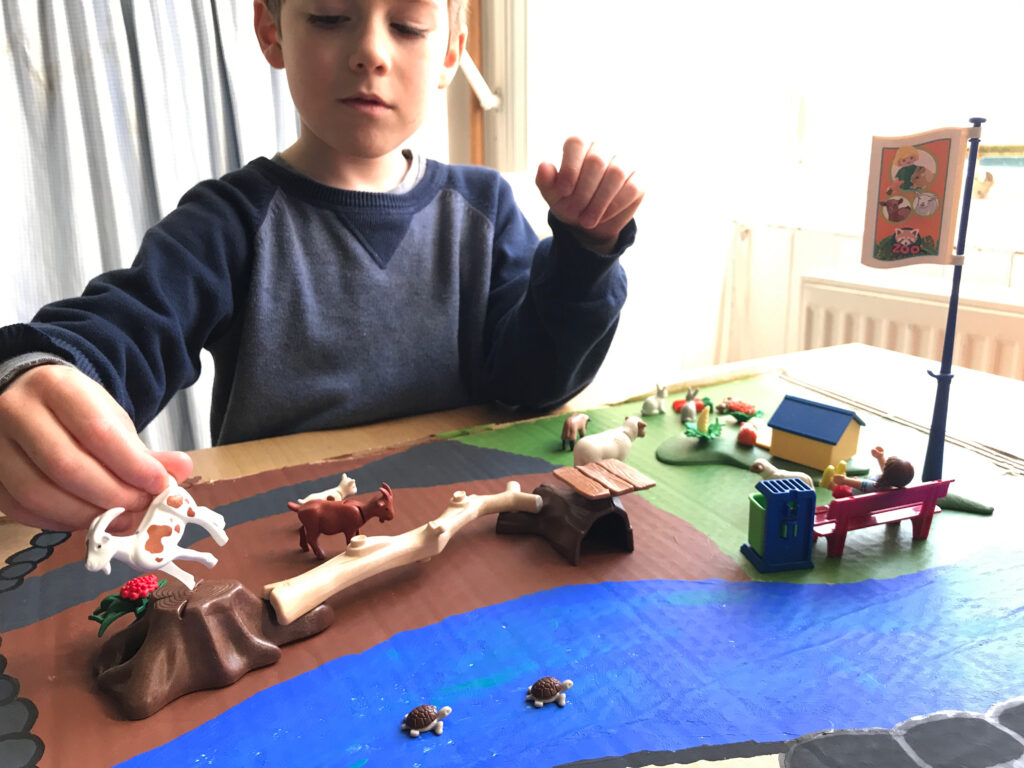
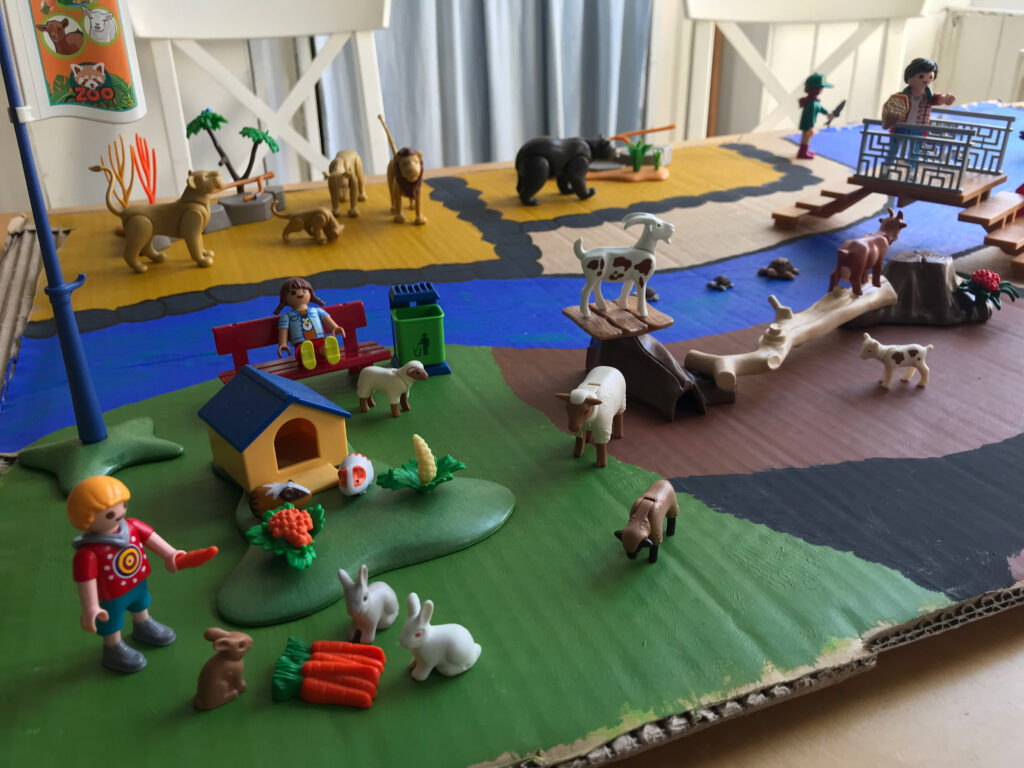
Why not have a go at making your own play landscape, either for Playmobil or for other toys such as Lego figures or Schleich animals. It’s a perfect project for the summer holidays. And it doesn’t have to be a zoo either, you can create any landscape you want! If you do create your own landscapes, we’d love to see them, so please feel free to tag me in on Instagram or Twitter.



Pingback: Complements Playmobil per fer a casa - totnens