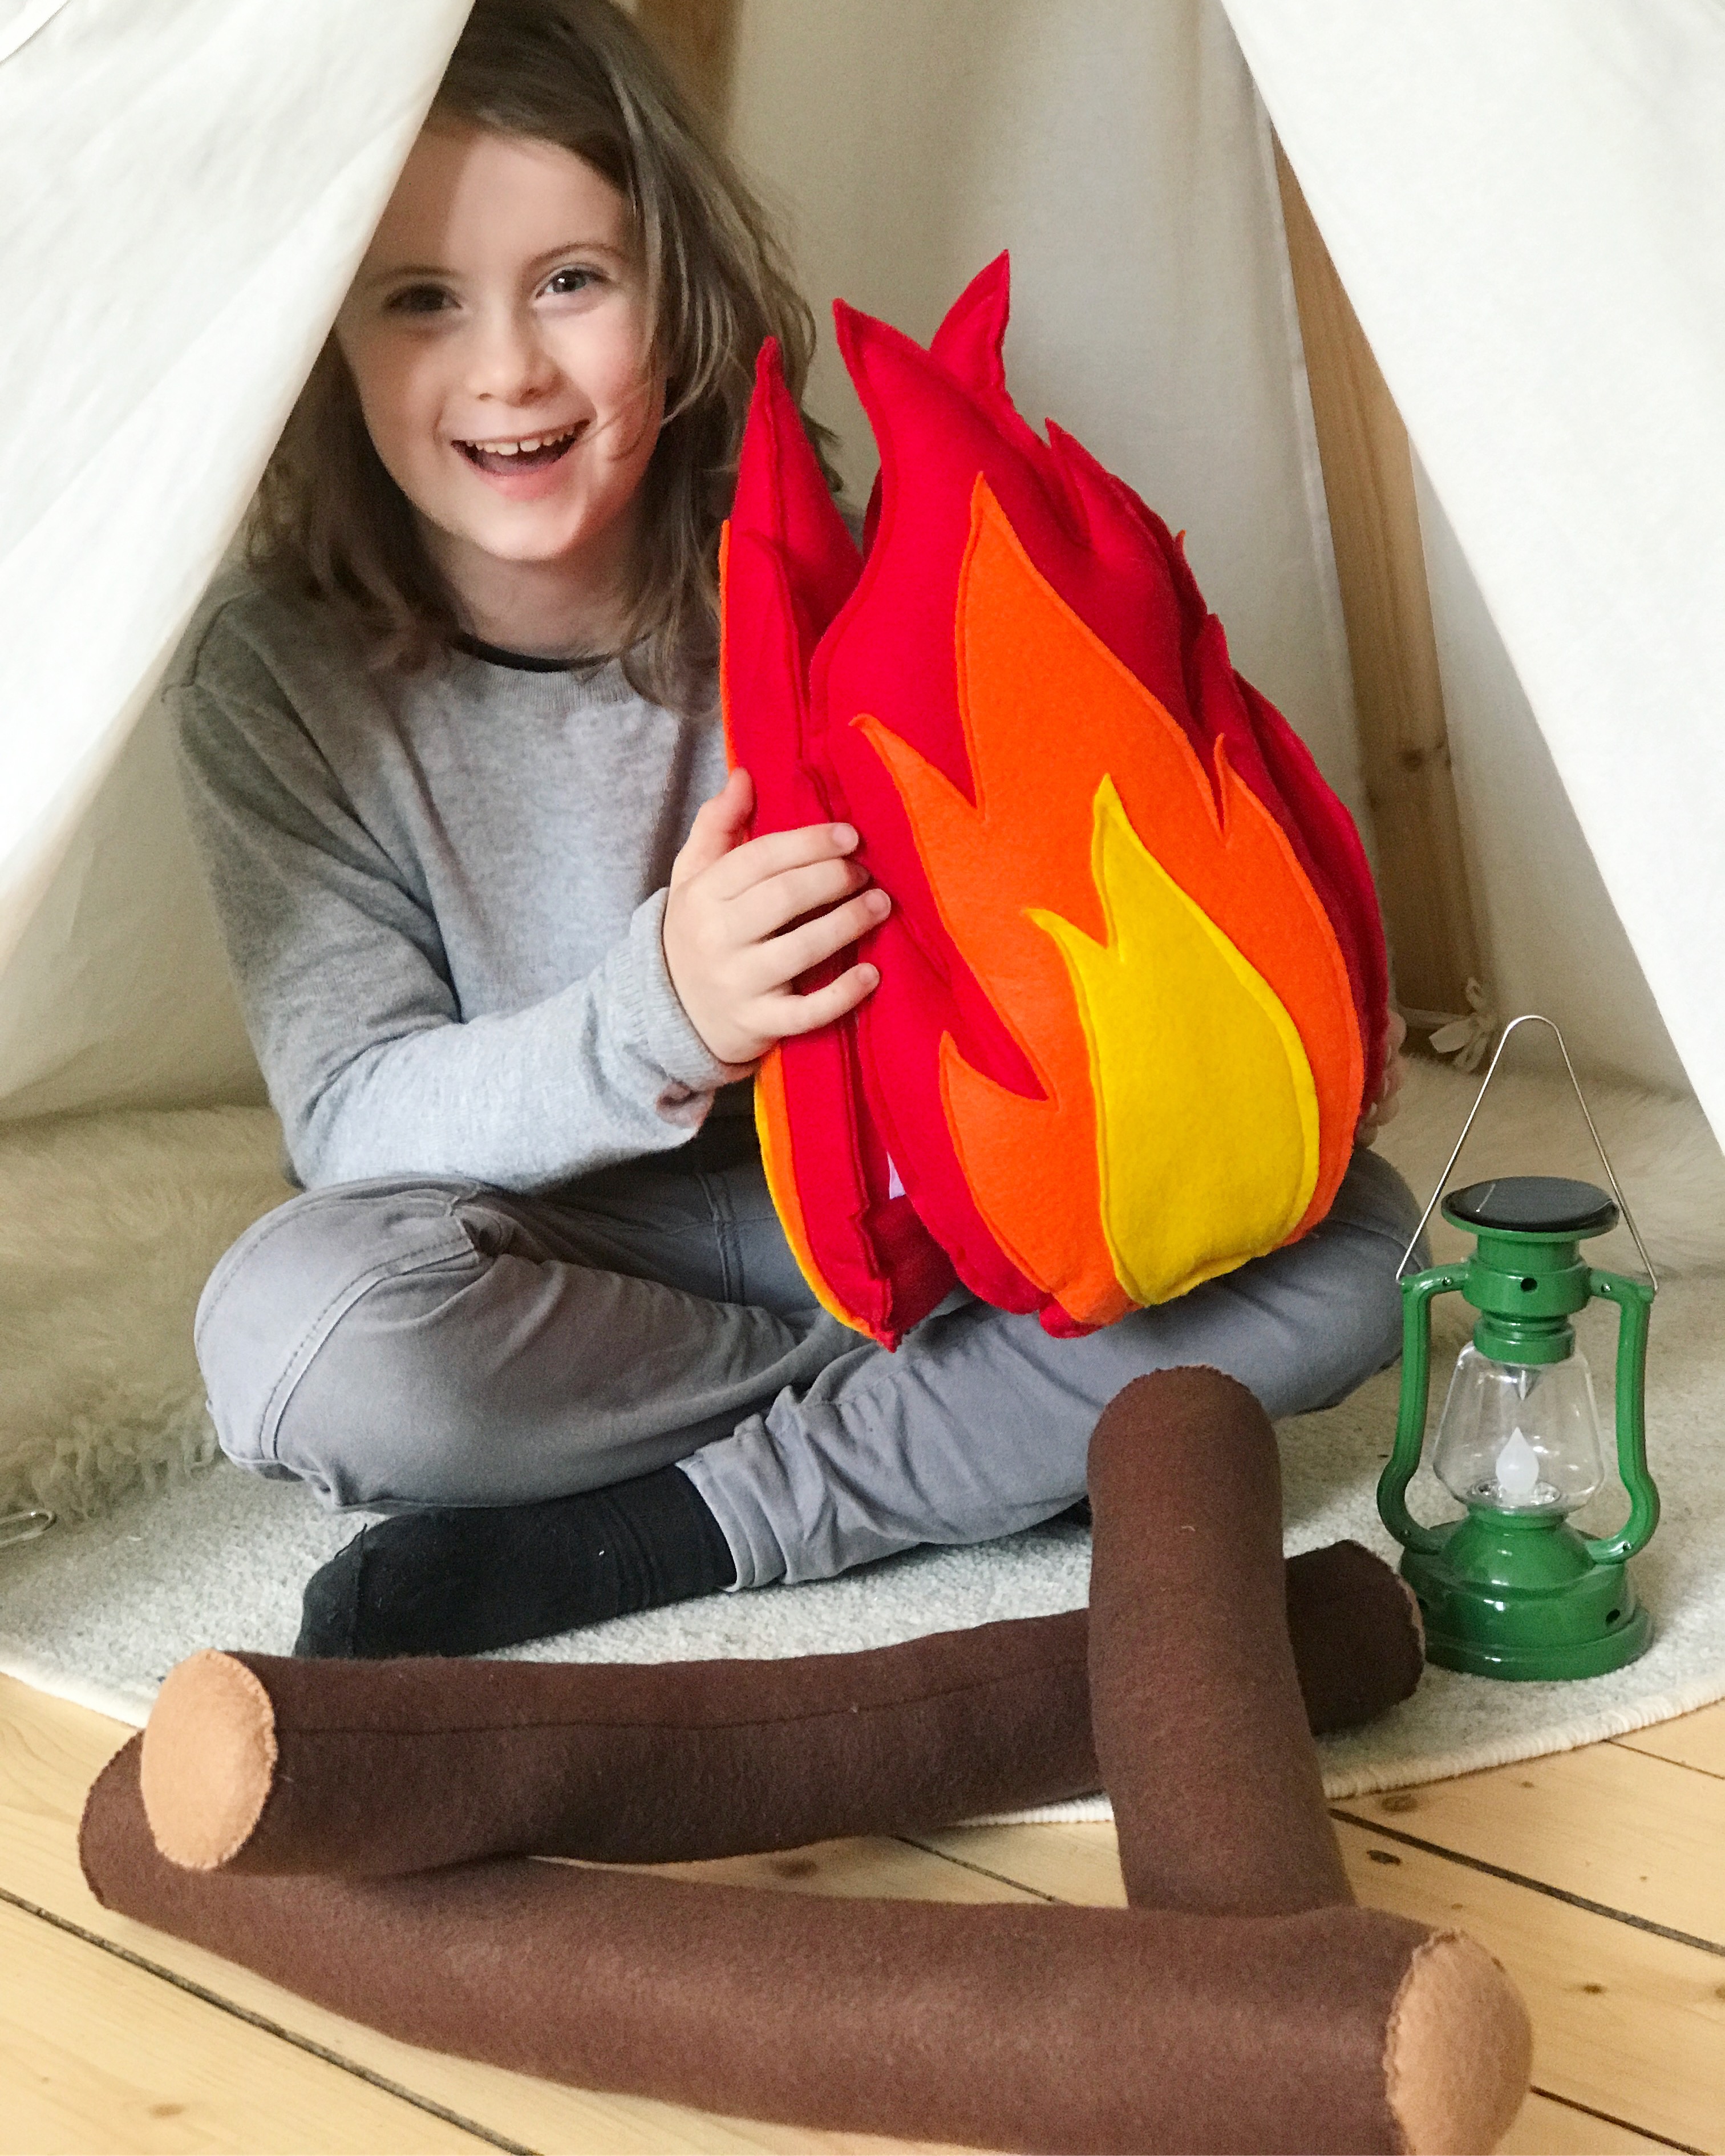
DIY Felt Campfire
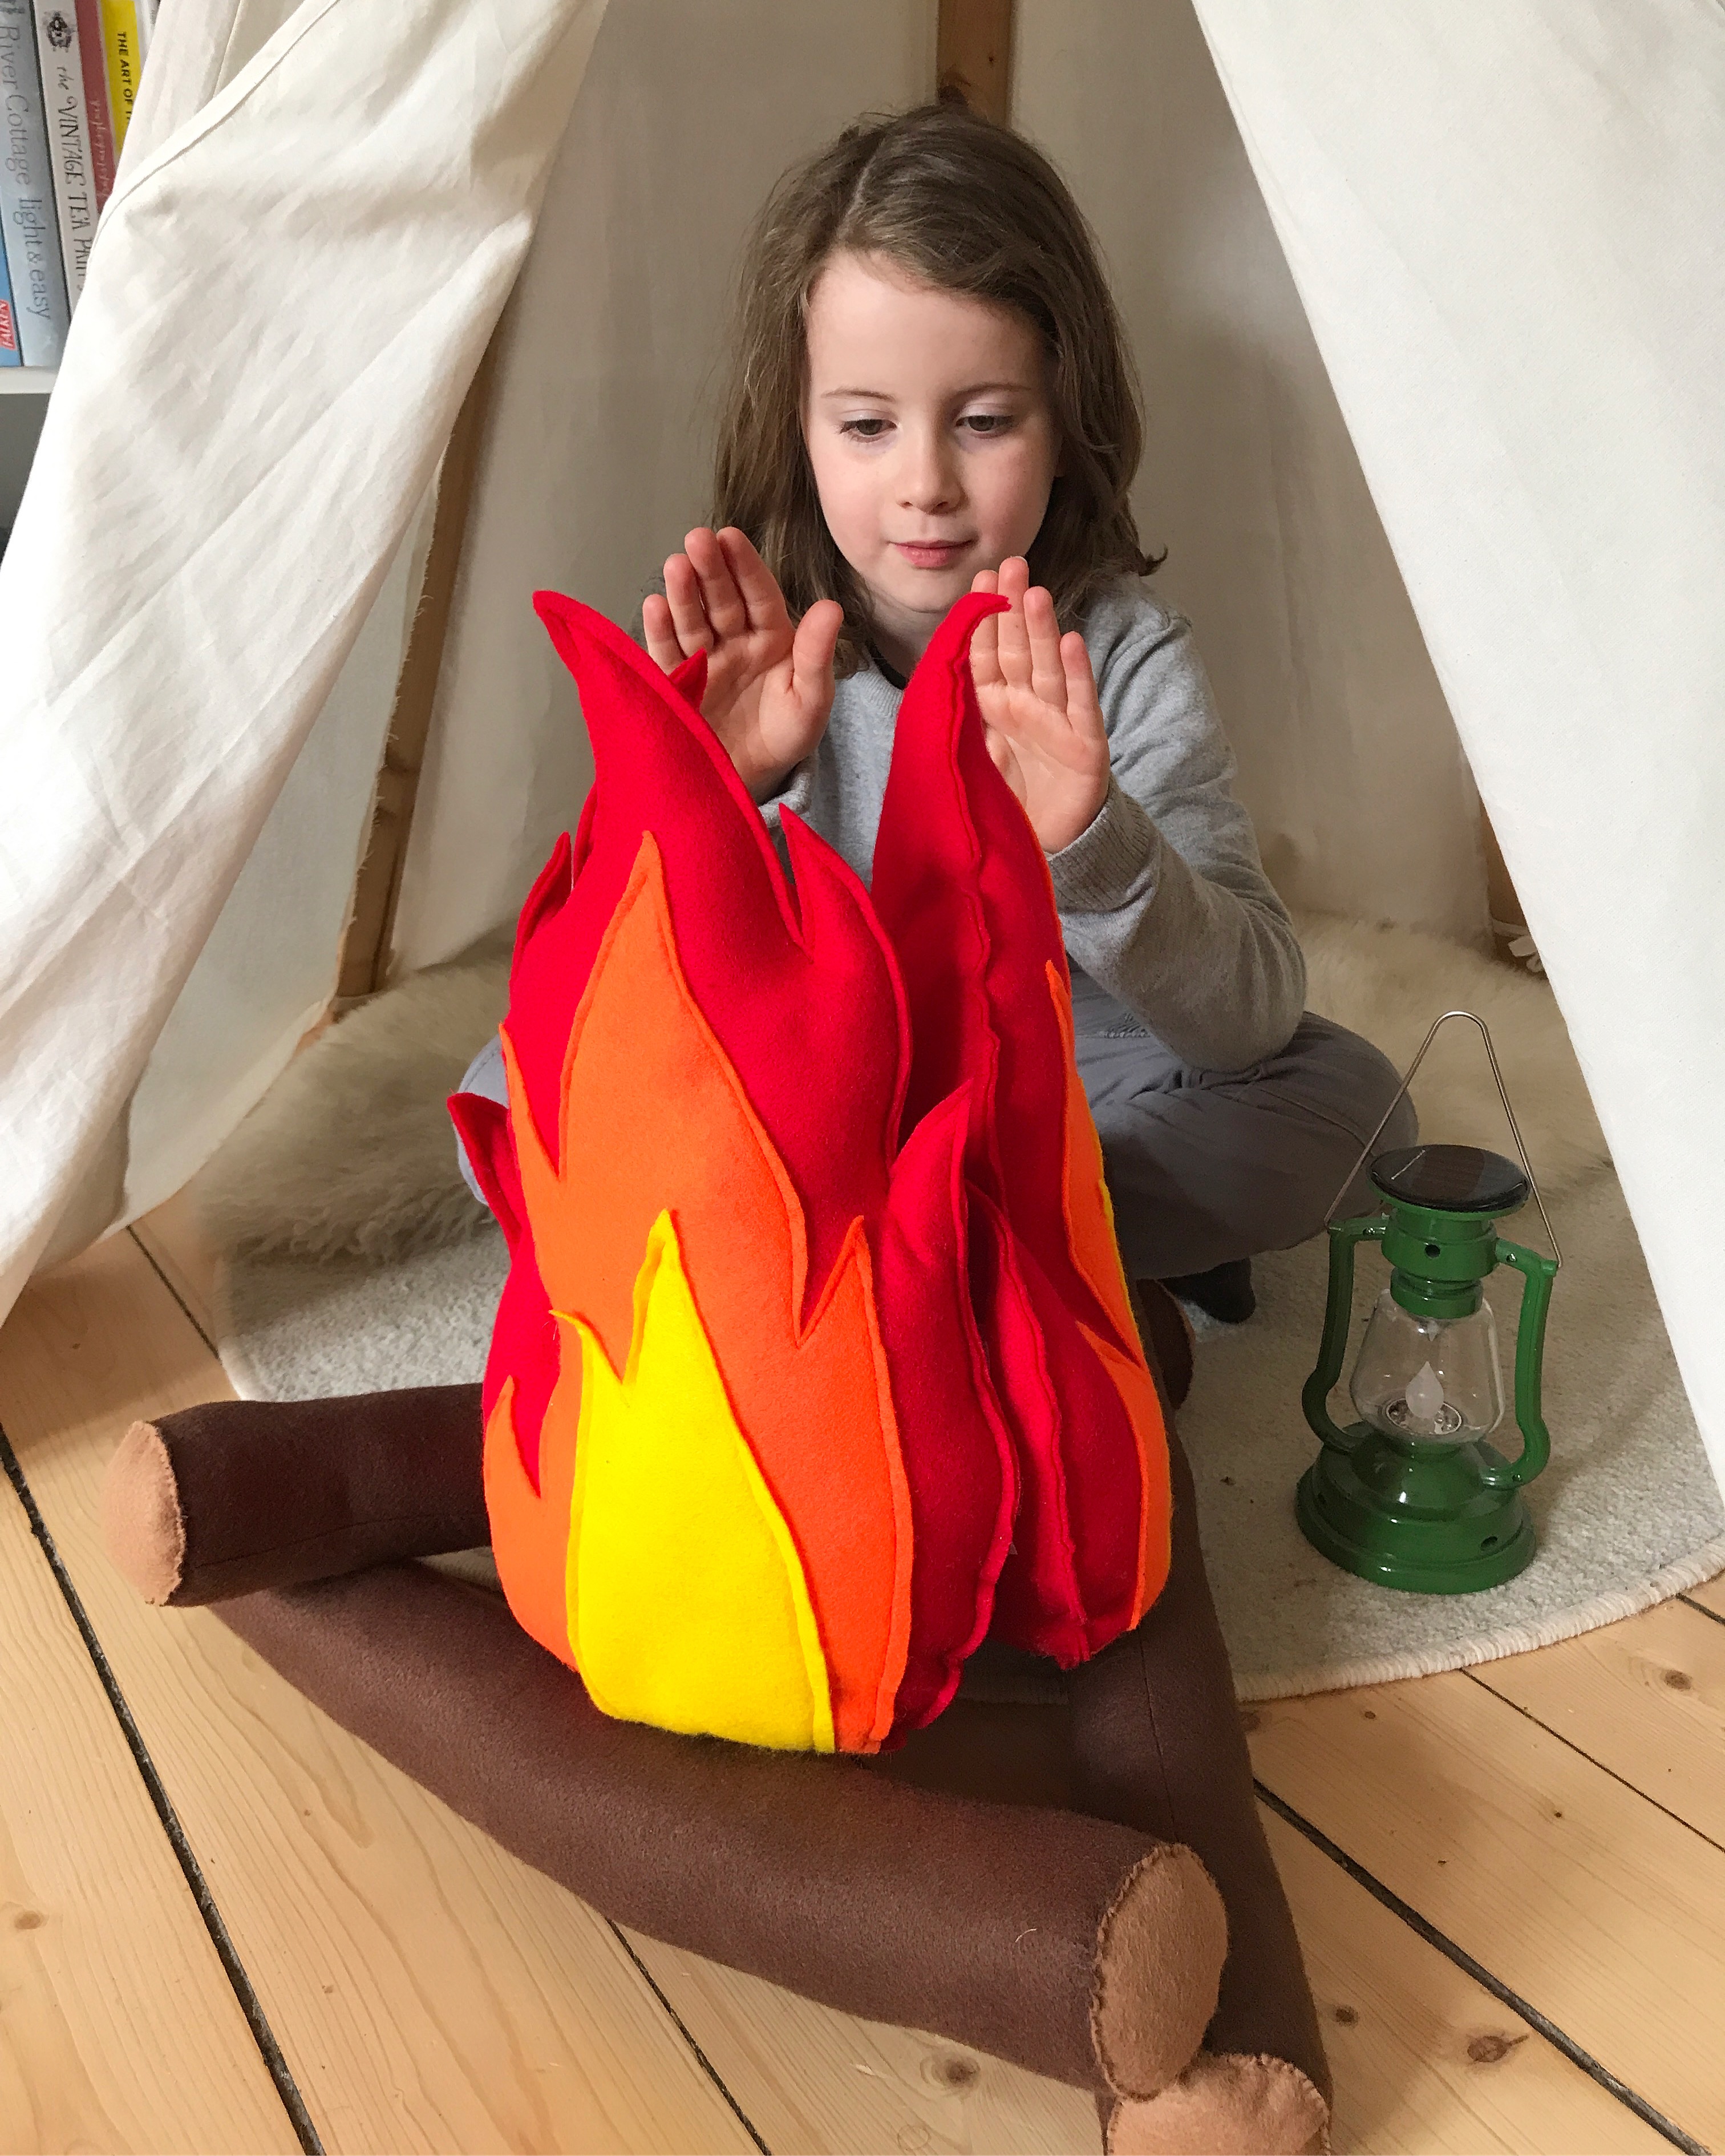
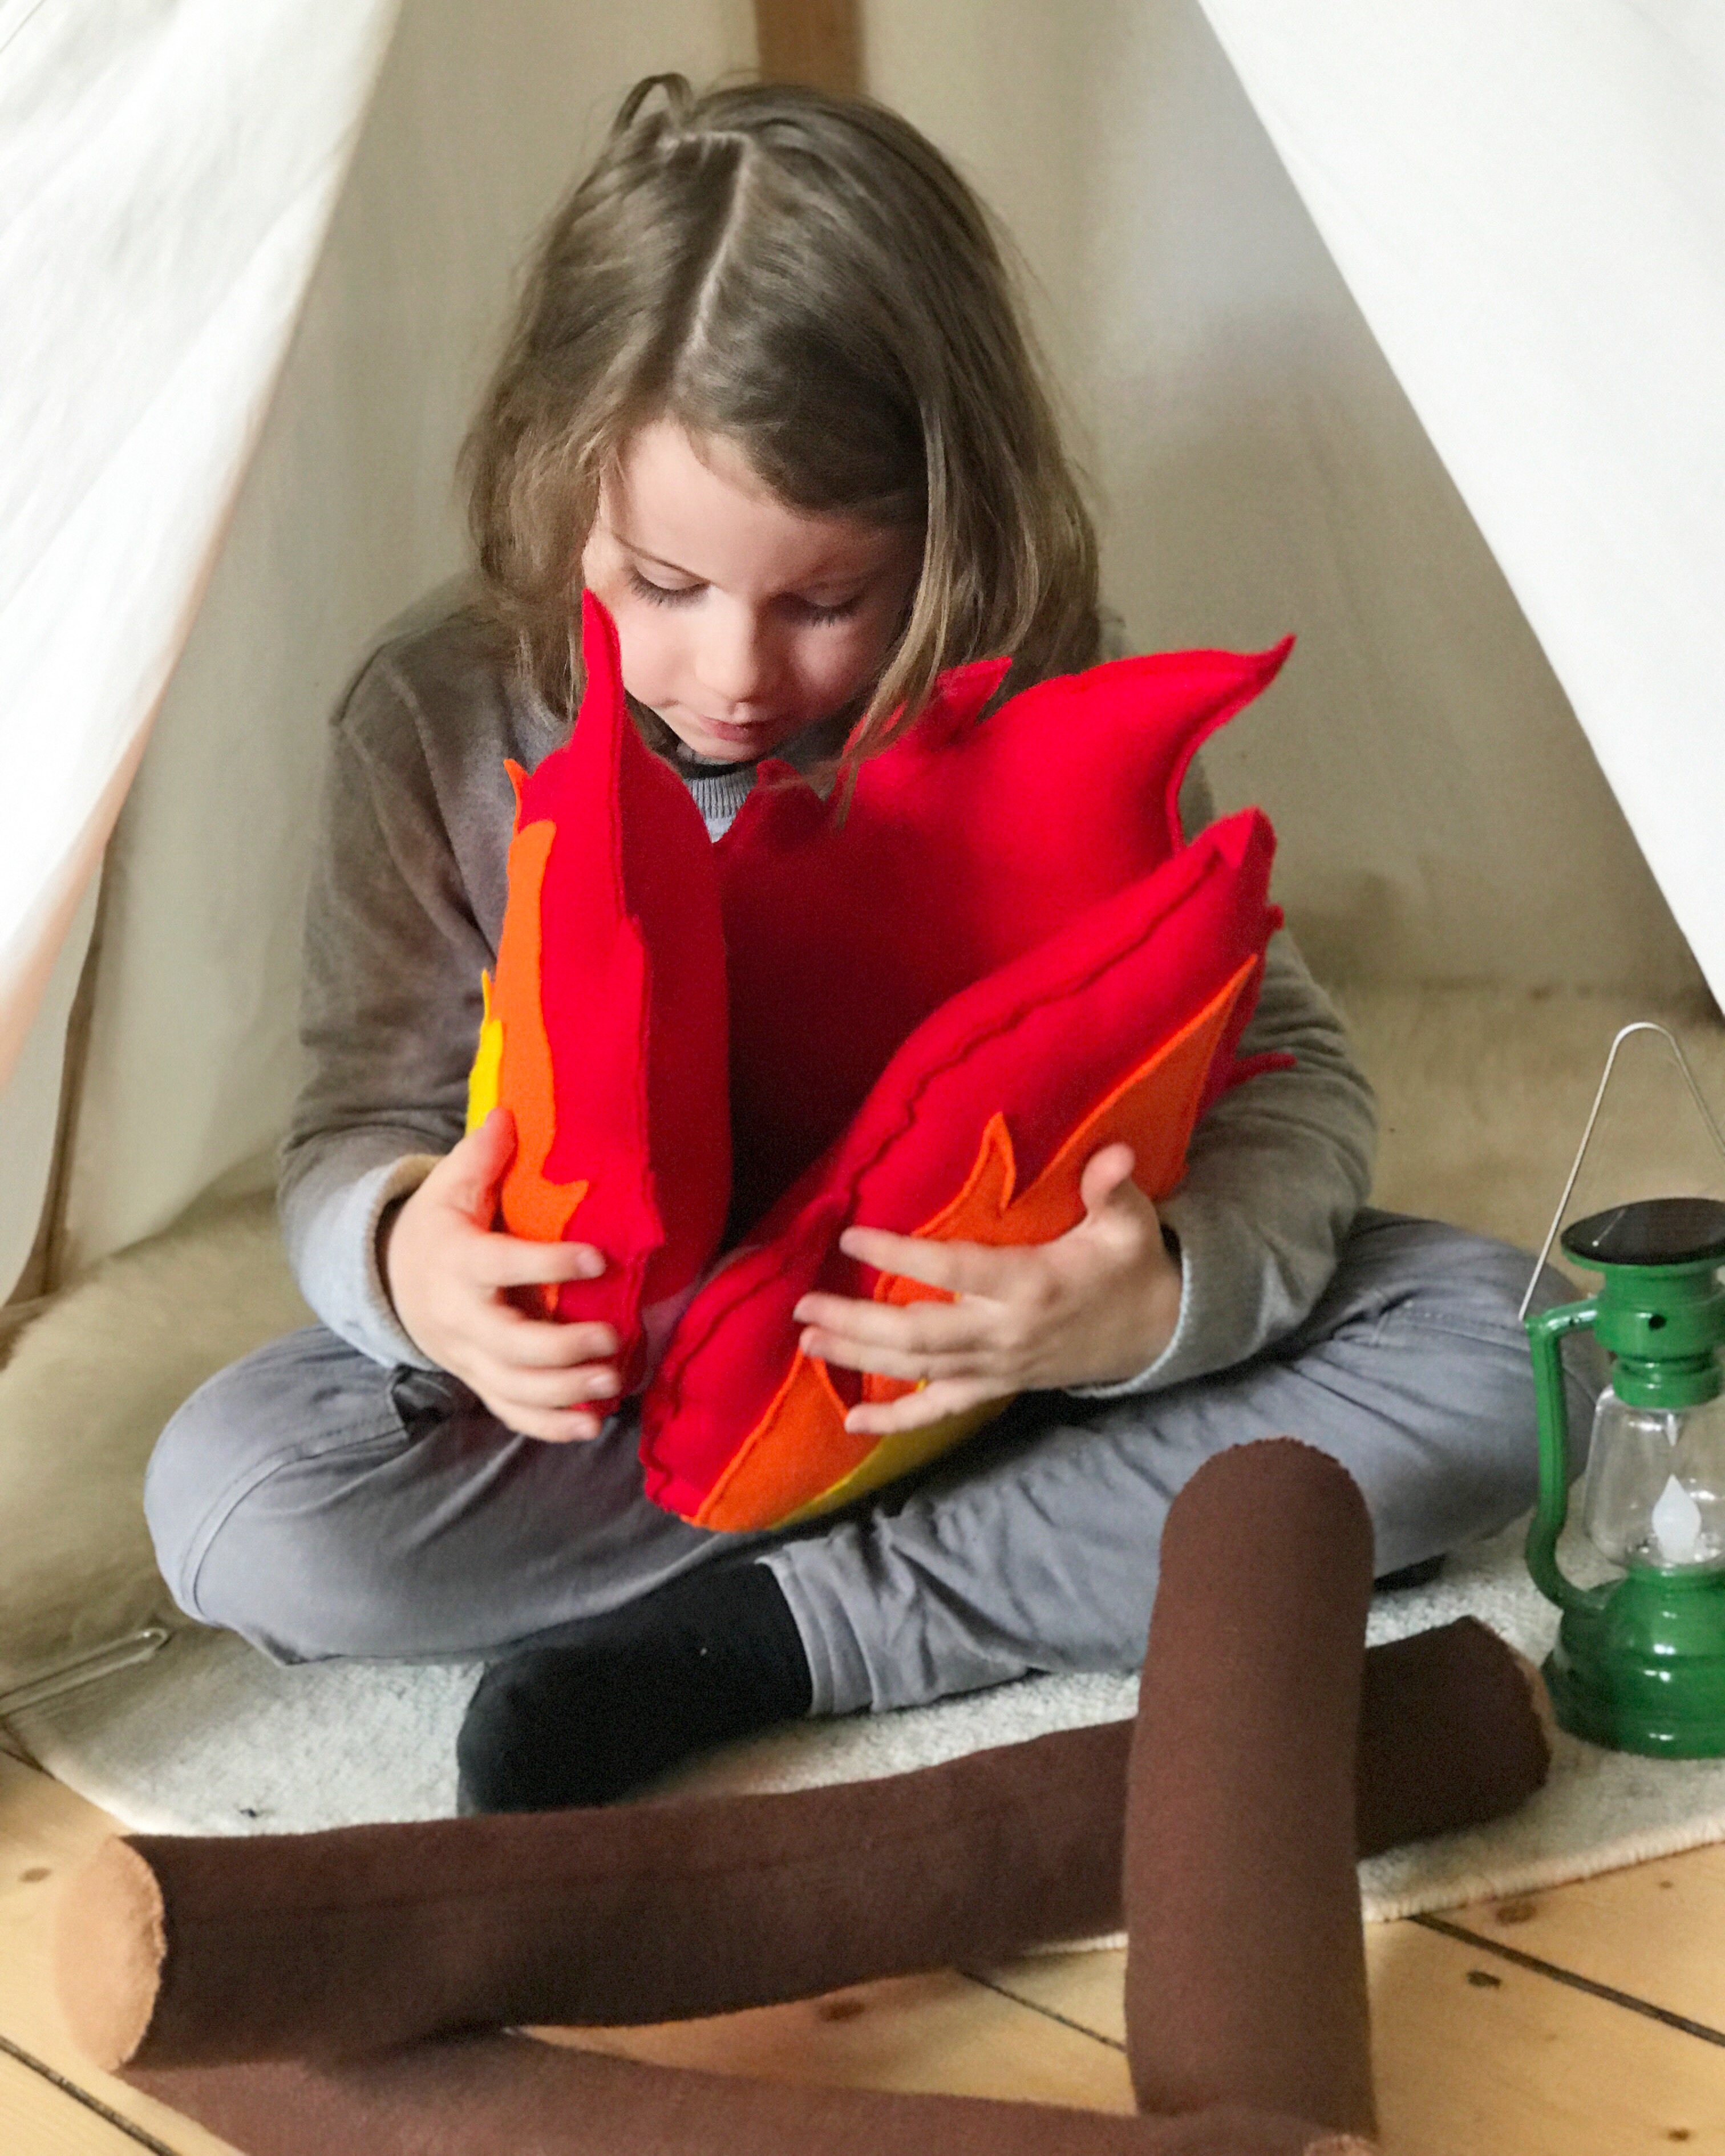
Apparently, the second best thing to going camping is role playing that you are going camping. At least according to my boys. So a while ago, I made them a little felt campfire to make their pretend camping feel a little more real. I wanted to come up with a design that wouldn’t be too bulky, and could be tidied away when not being played with, so I sewed three ‘flames’ and added velcro to the sides of them. The three flames then ‘stick’ together in a triangle, to stand up, but can be pulled apart for better storage.
Today, I’m going to show you how you can make your own set. It involves a little bit of sewing skills, but it’s definitely not as complicated as it looks if you take it one step at a time. I made our campfire set with a sewing machine. You could also sew it by hand though, it will just take you longer.
First of all, here’s what you will need:
- six pieces of red felt, approx. 45cm x 30cm
- three pieces of orange felt, approx. 35cm x 20cm
- three pieces of yellow felt, approx. 35cm x 10cm
- three pieces of dark brown felt, approx. 50cm x 25cm
- six pieces of light brown felt, approx 25cm x 25cm
- 25cm of sew on velcro, cut in to six lengths
- toy stuffing
- scissors
- a pen
- pins
- needles or a sewing machine
- thread in red, orange, yellow and brown
You’ll also need some large sheets of paper and a pencil, to sketch out your templates.
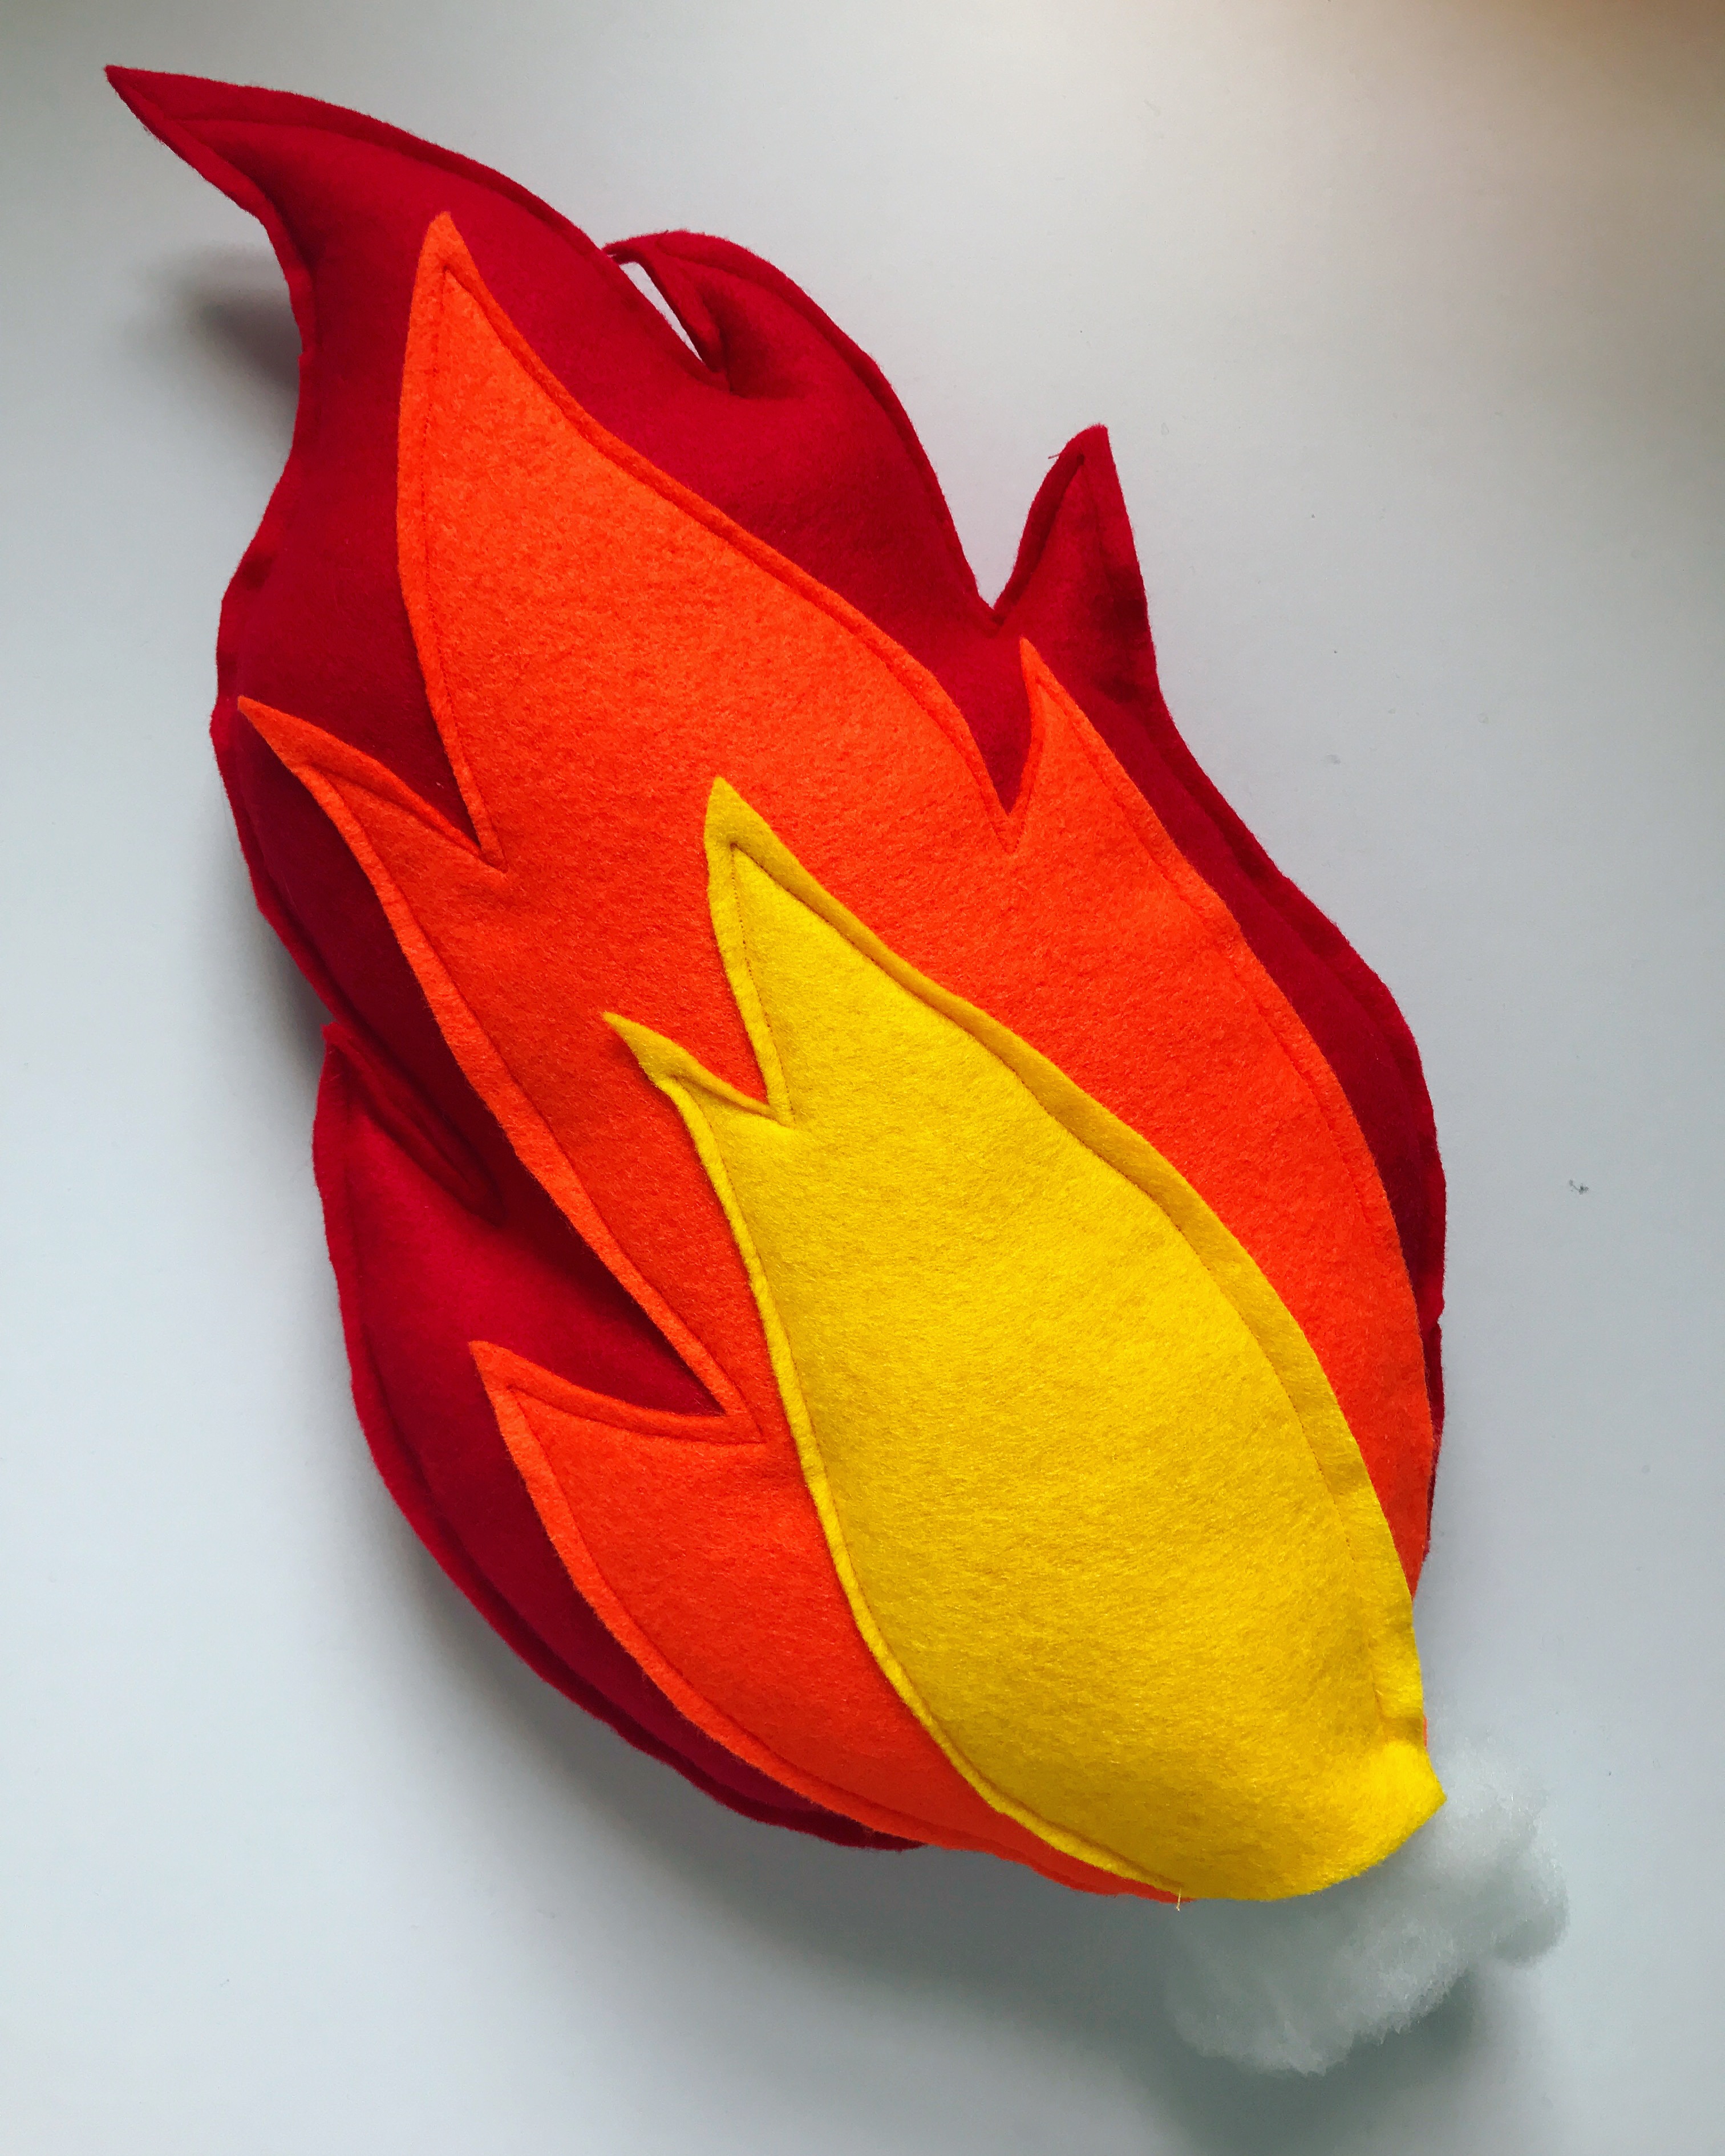
THE FLAMES
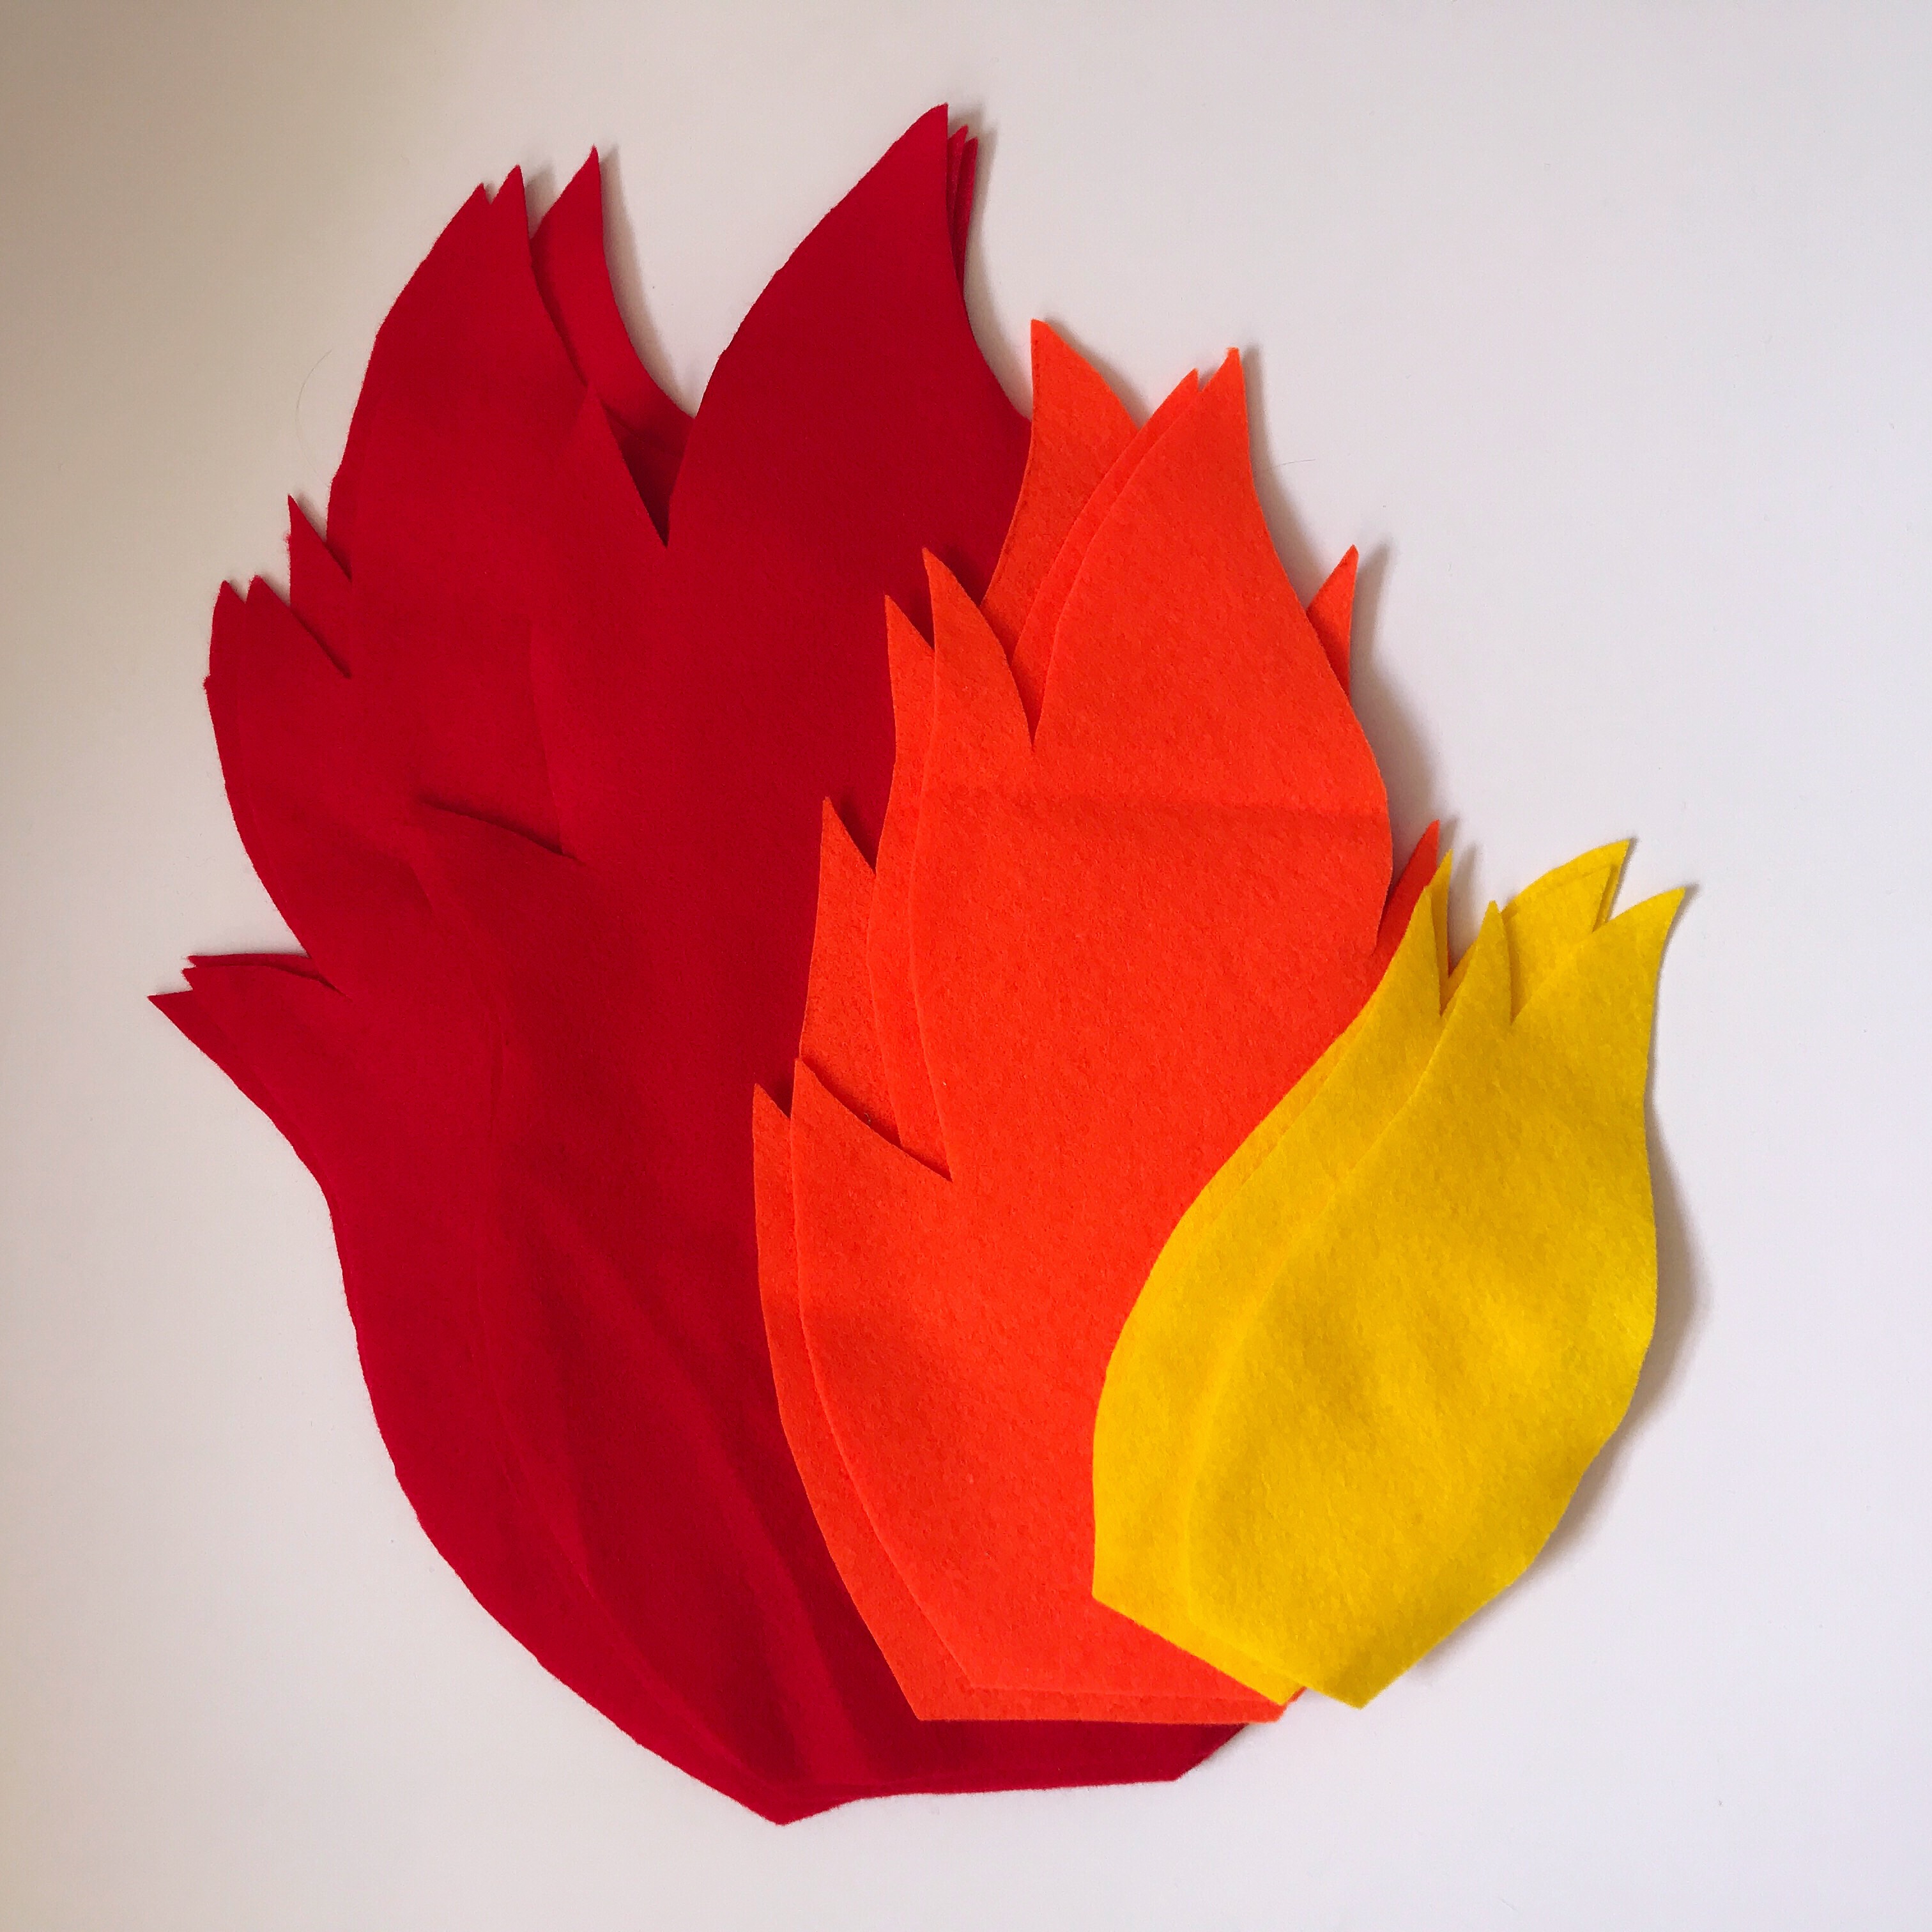
Step 1: Sketch out three different sizes of flame, that will fit one on top of the other. The largest will be for the red felt, the middle sized one for the orange felt, and the smallest for the yellow felt. I just cut some paper the same size as my pieces of felt and then sketched out the flames to fit within that until I felt happy with the shapes. Then I cut them out.
Step 2: Pin your templates to your felt, lightly draw around them with your pen, then cut them out. You need six large (red) flame pieces, and three each of the medium (orange) and the small (yellow).
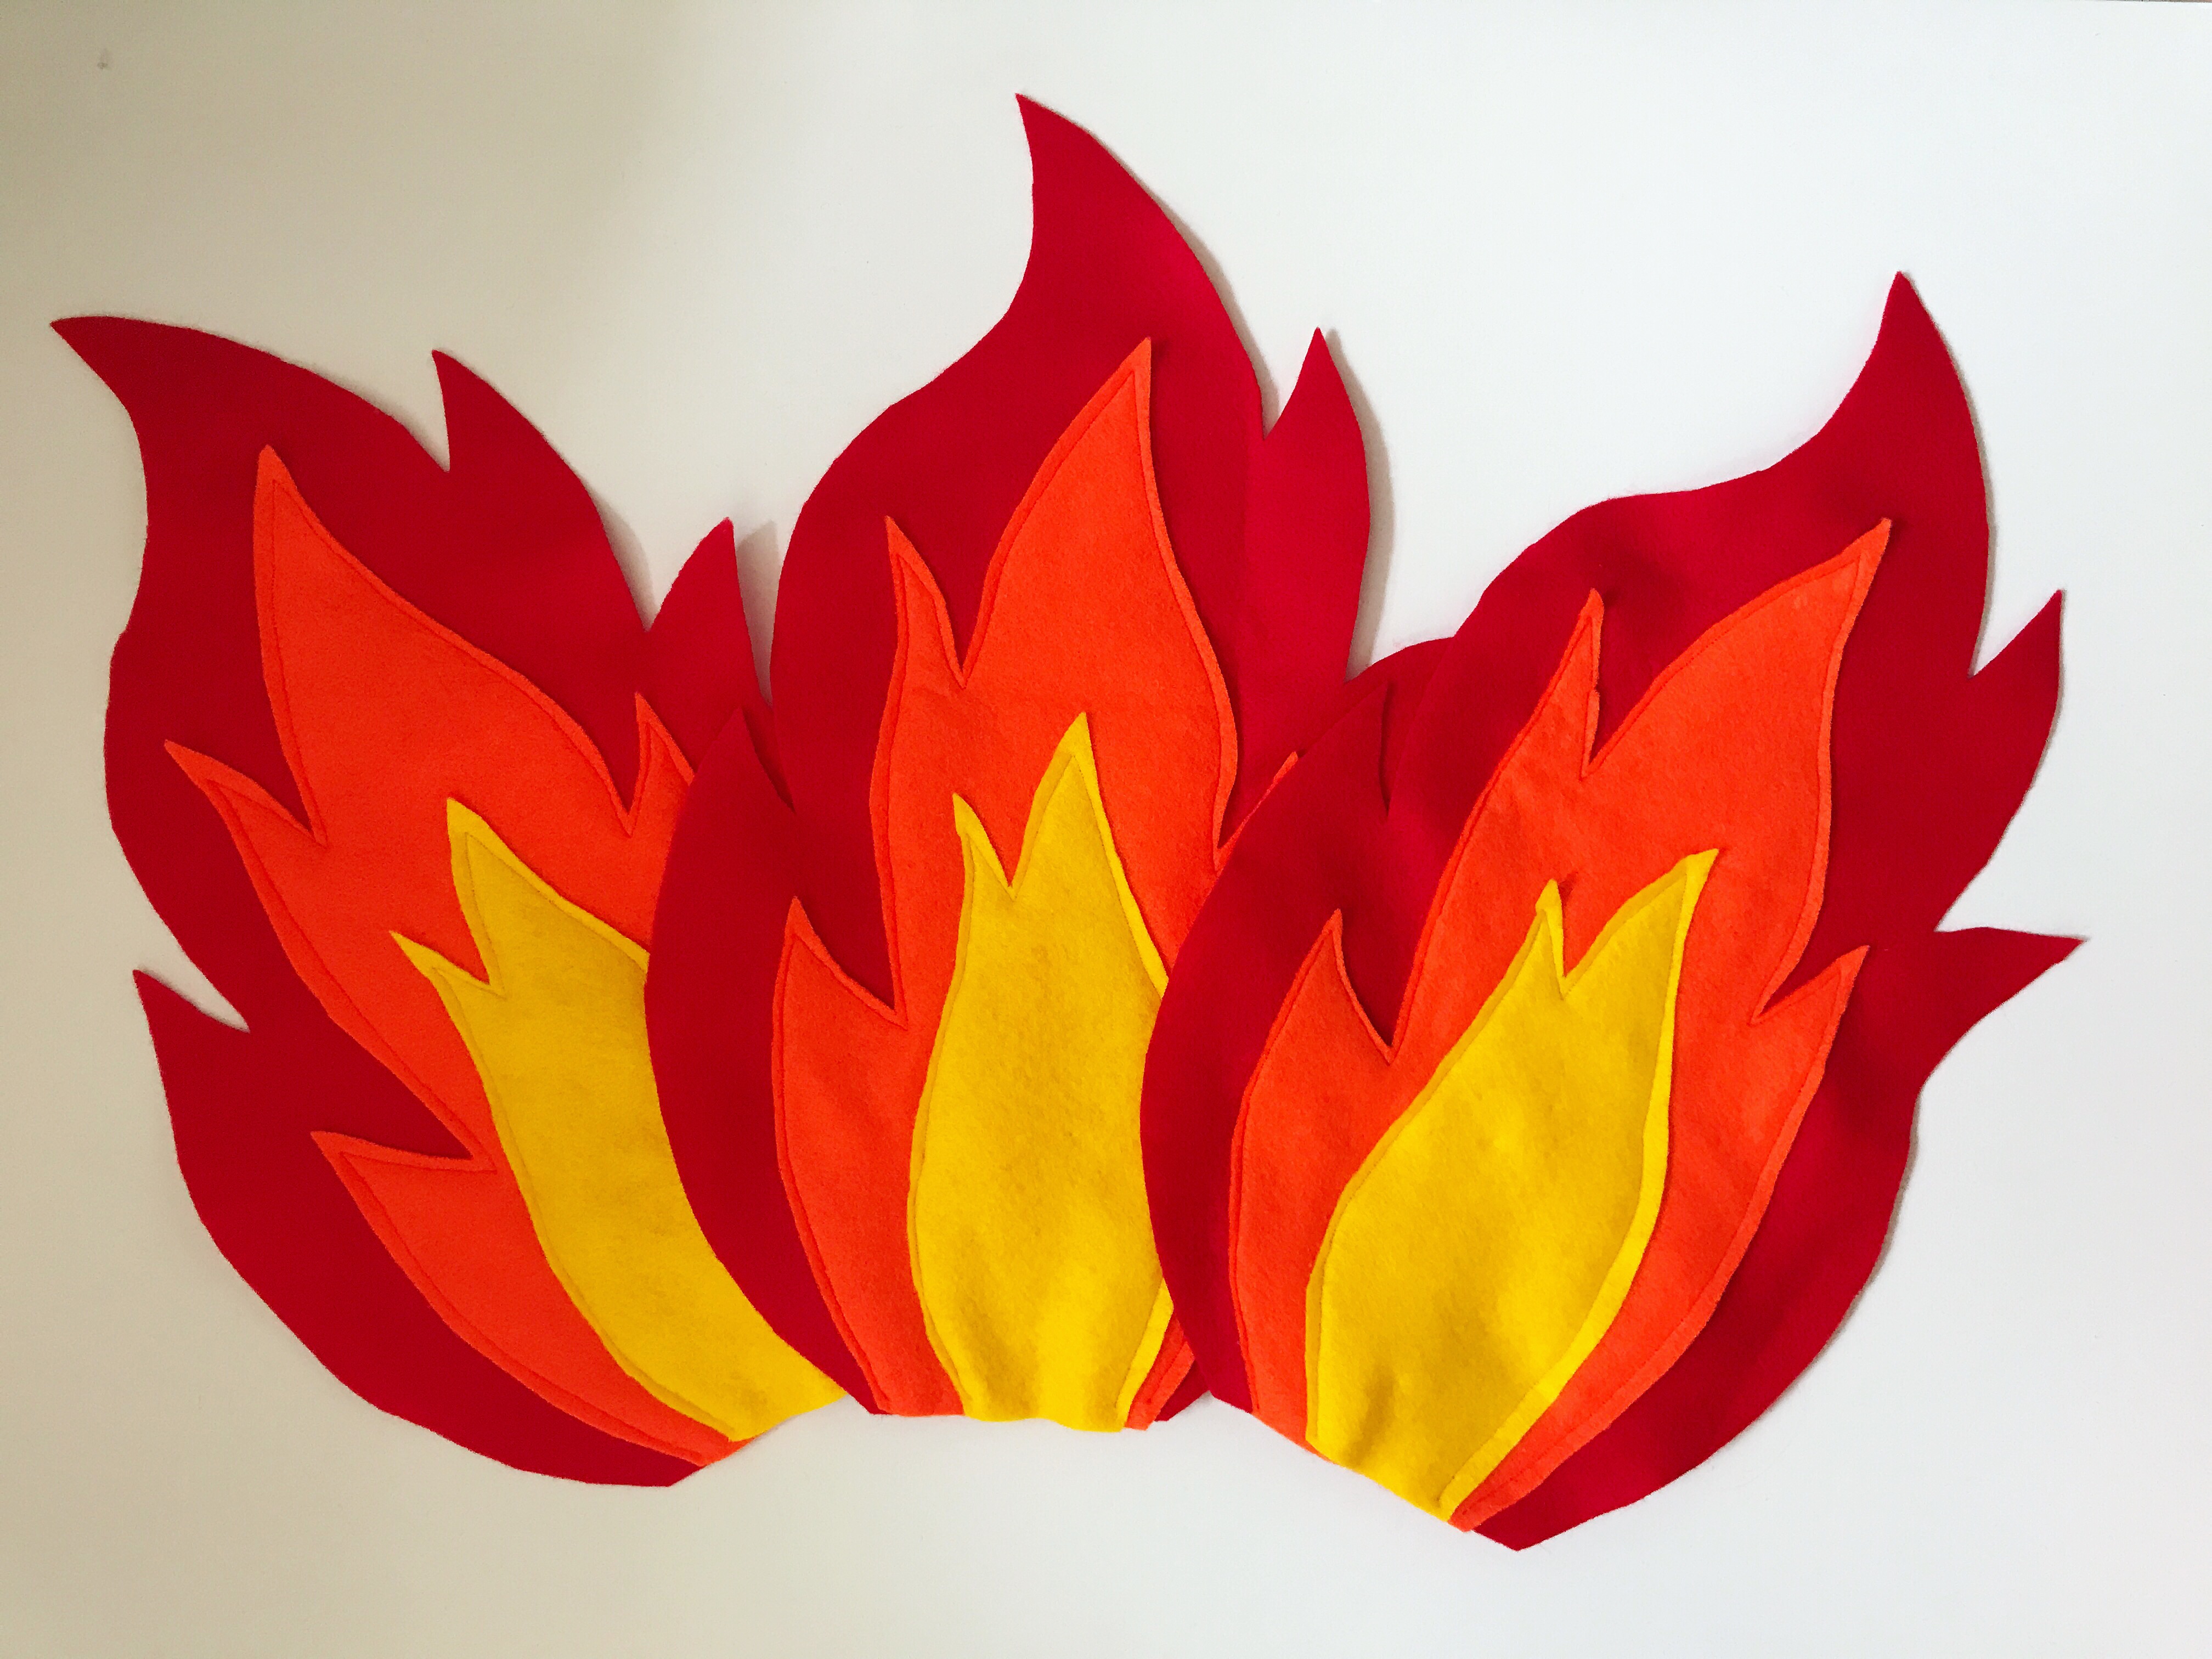
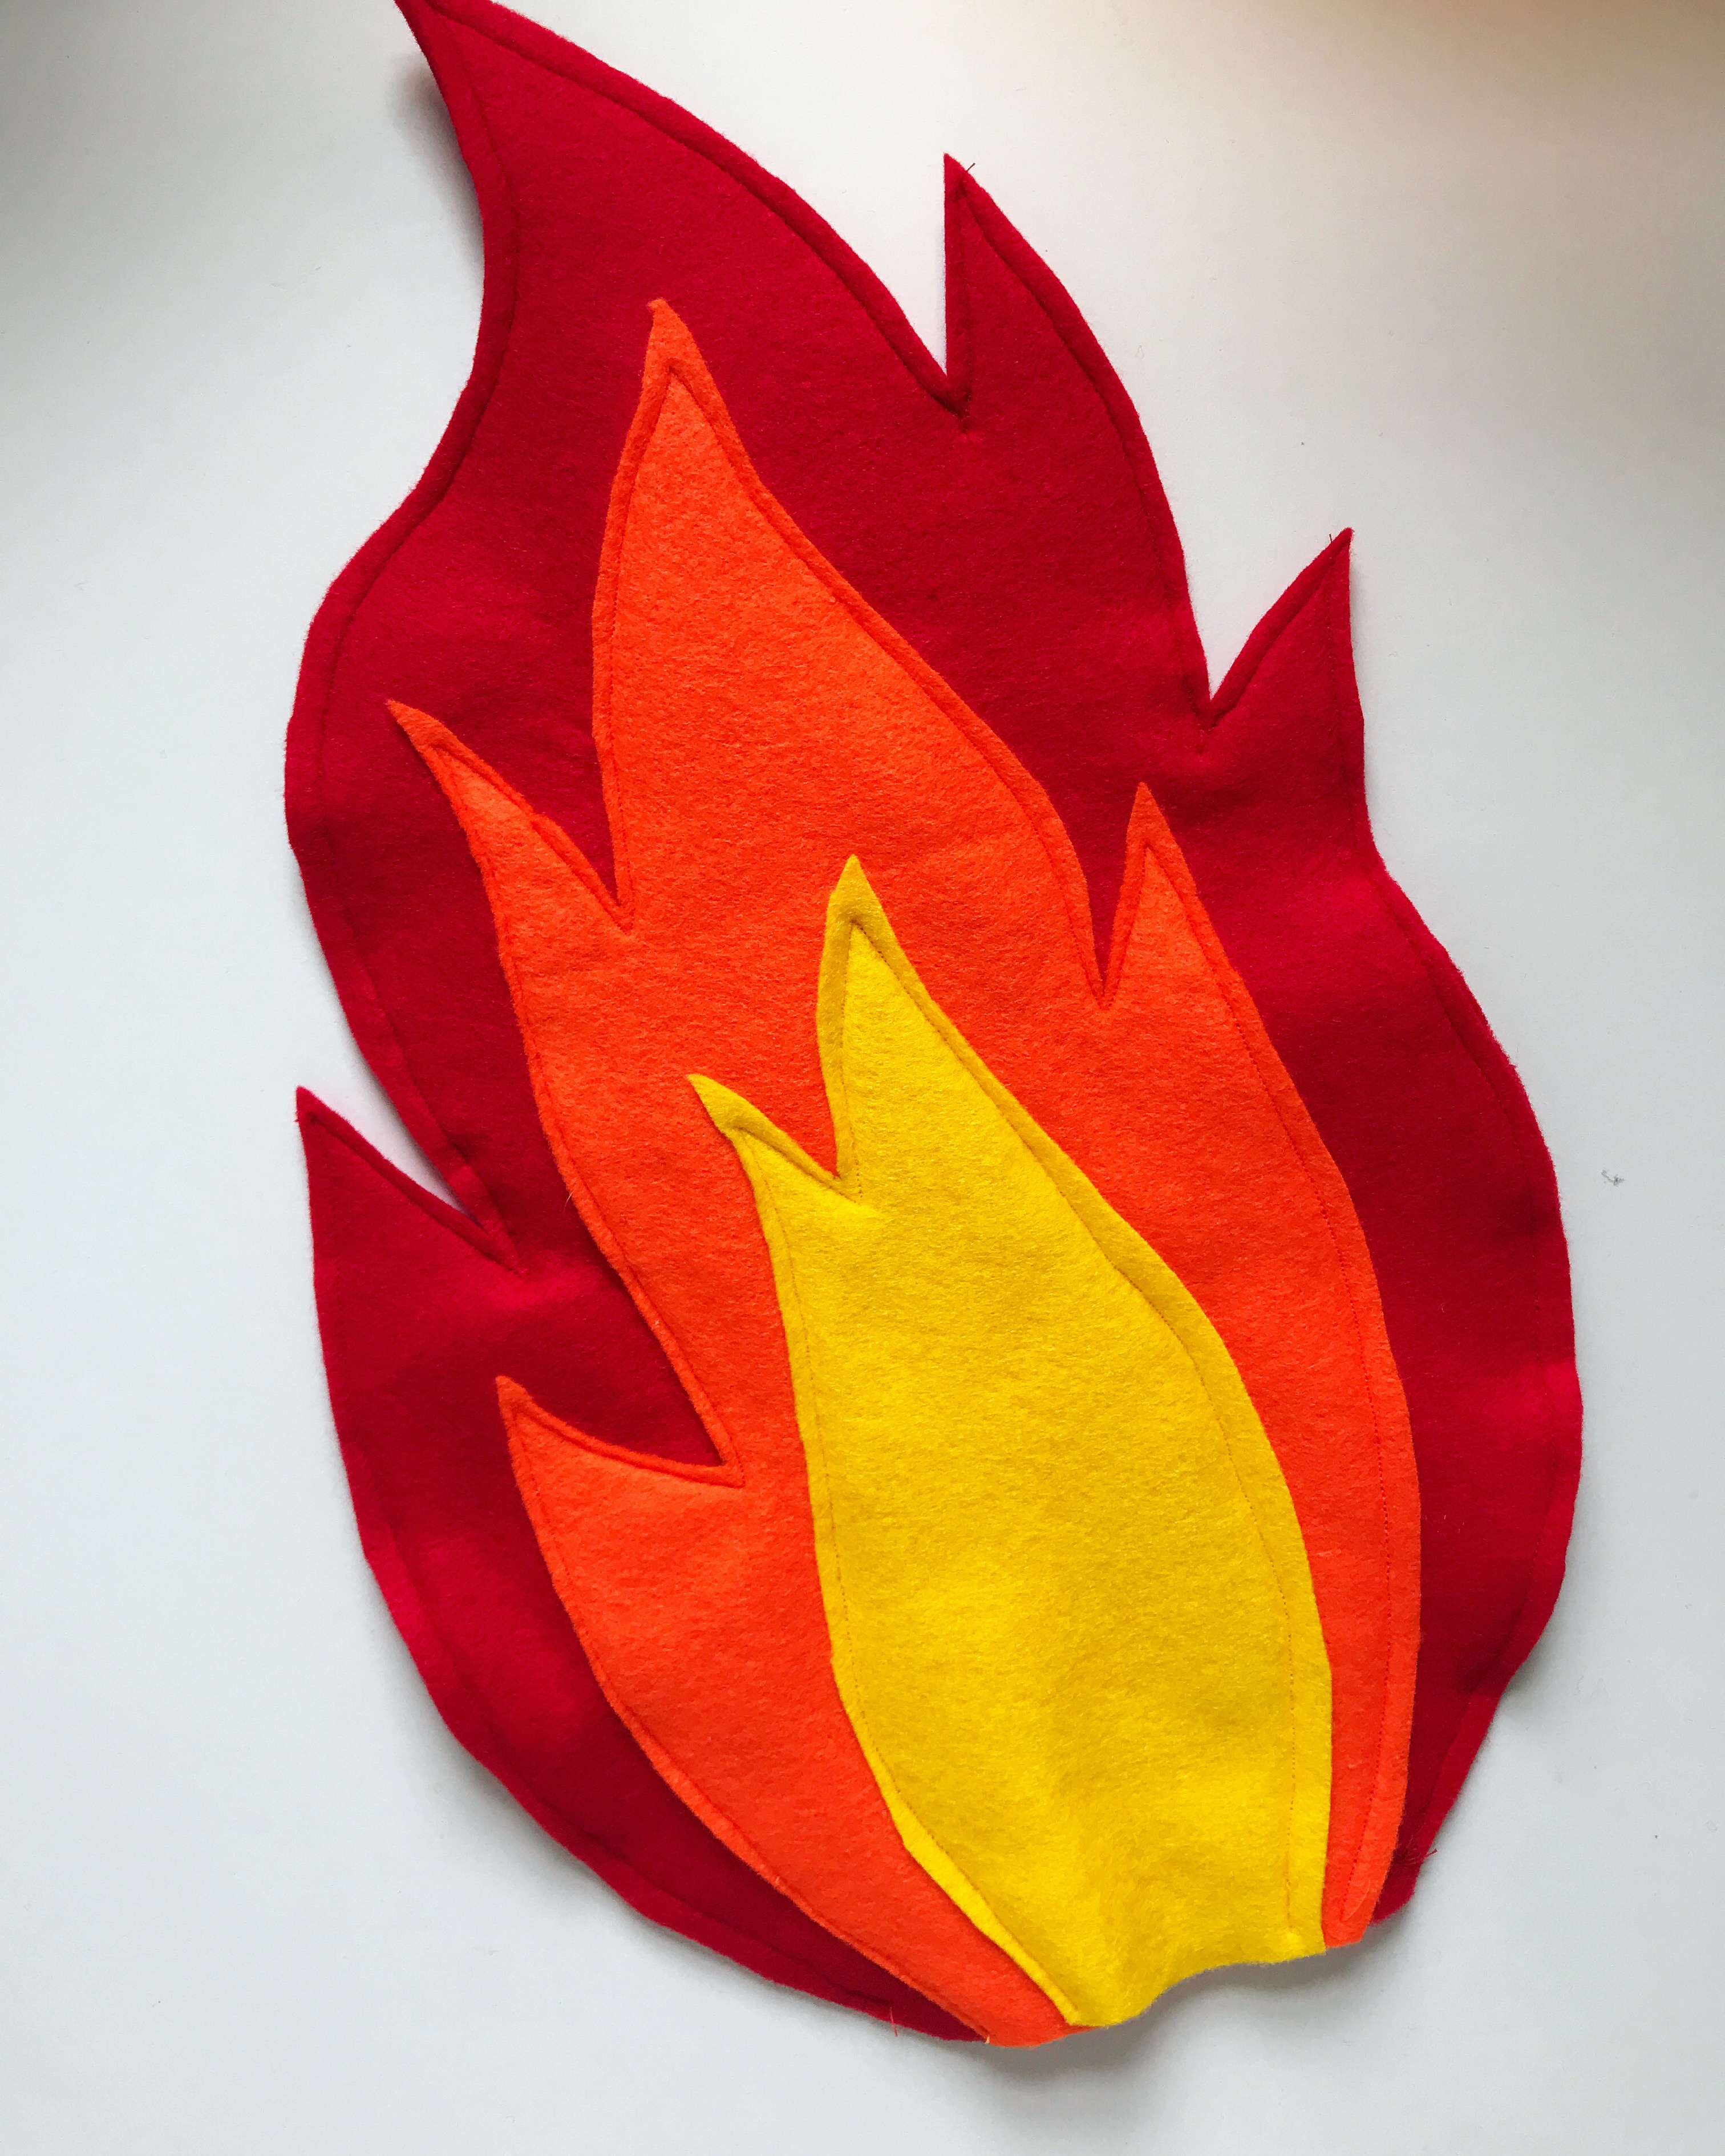
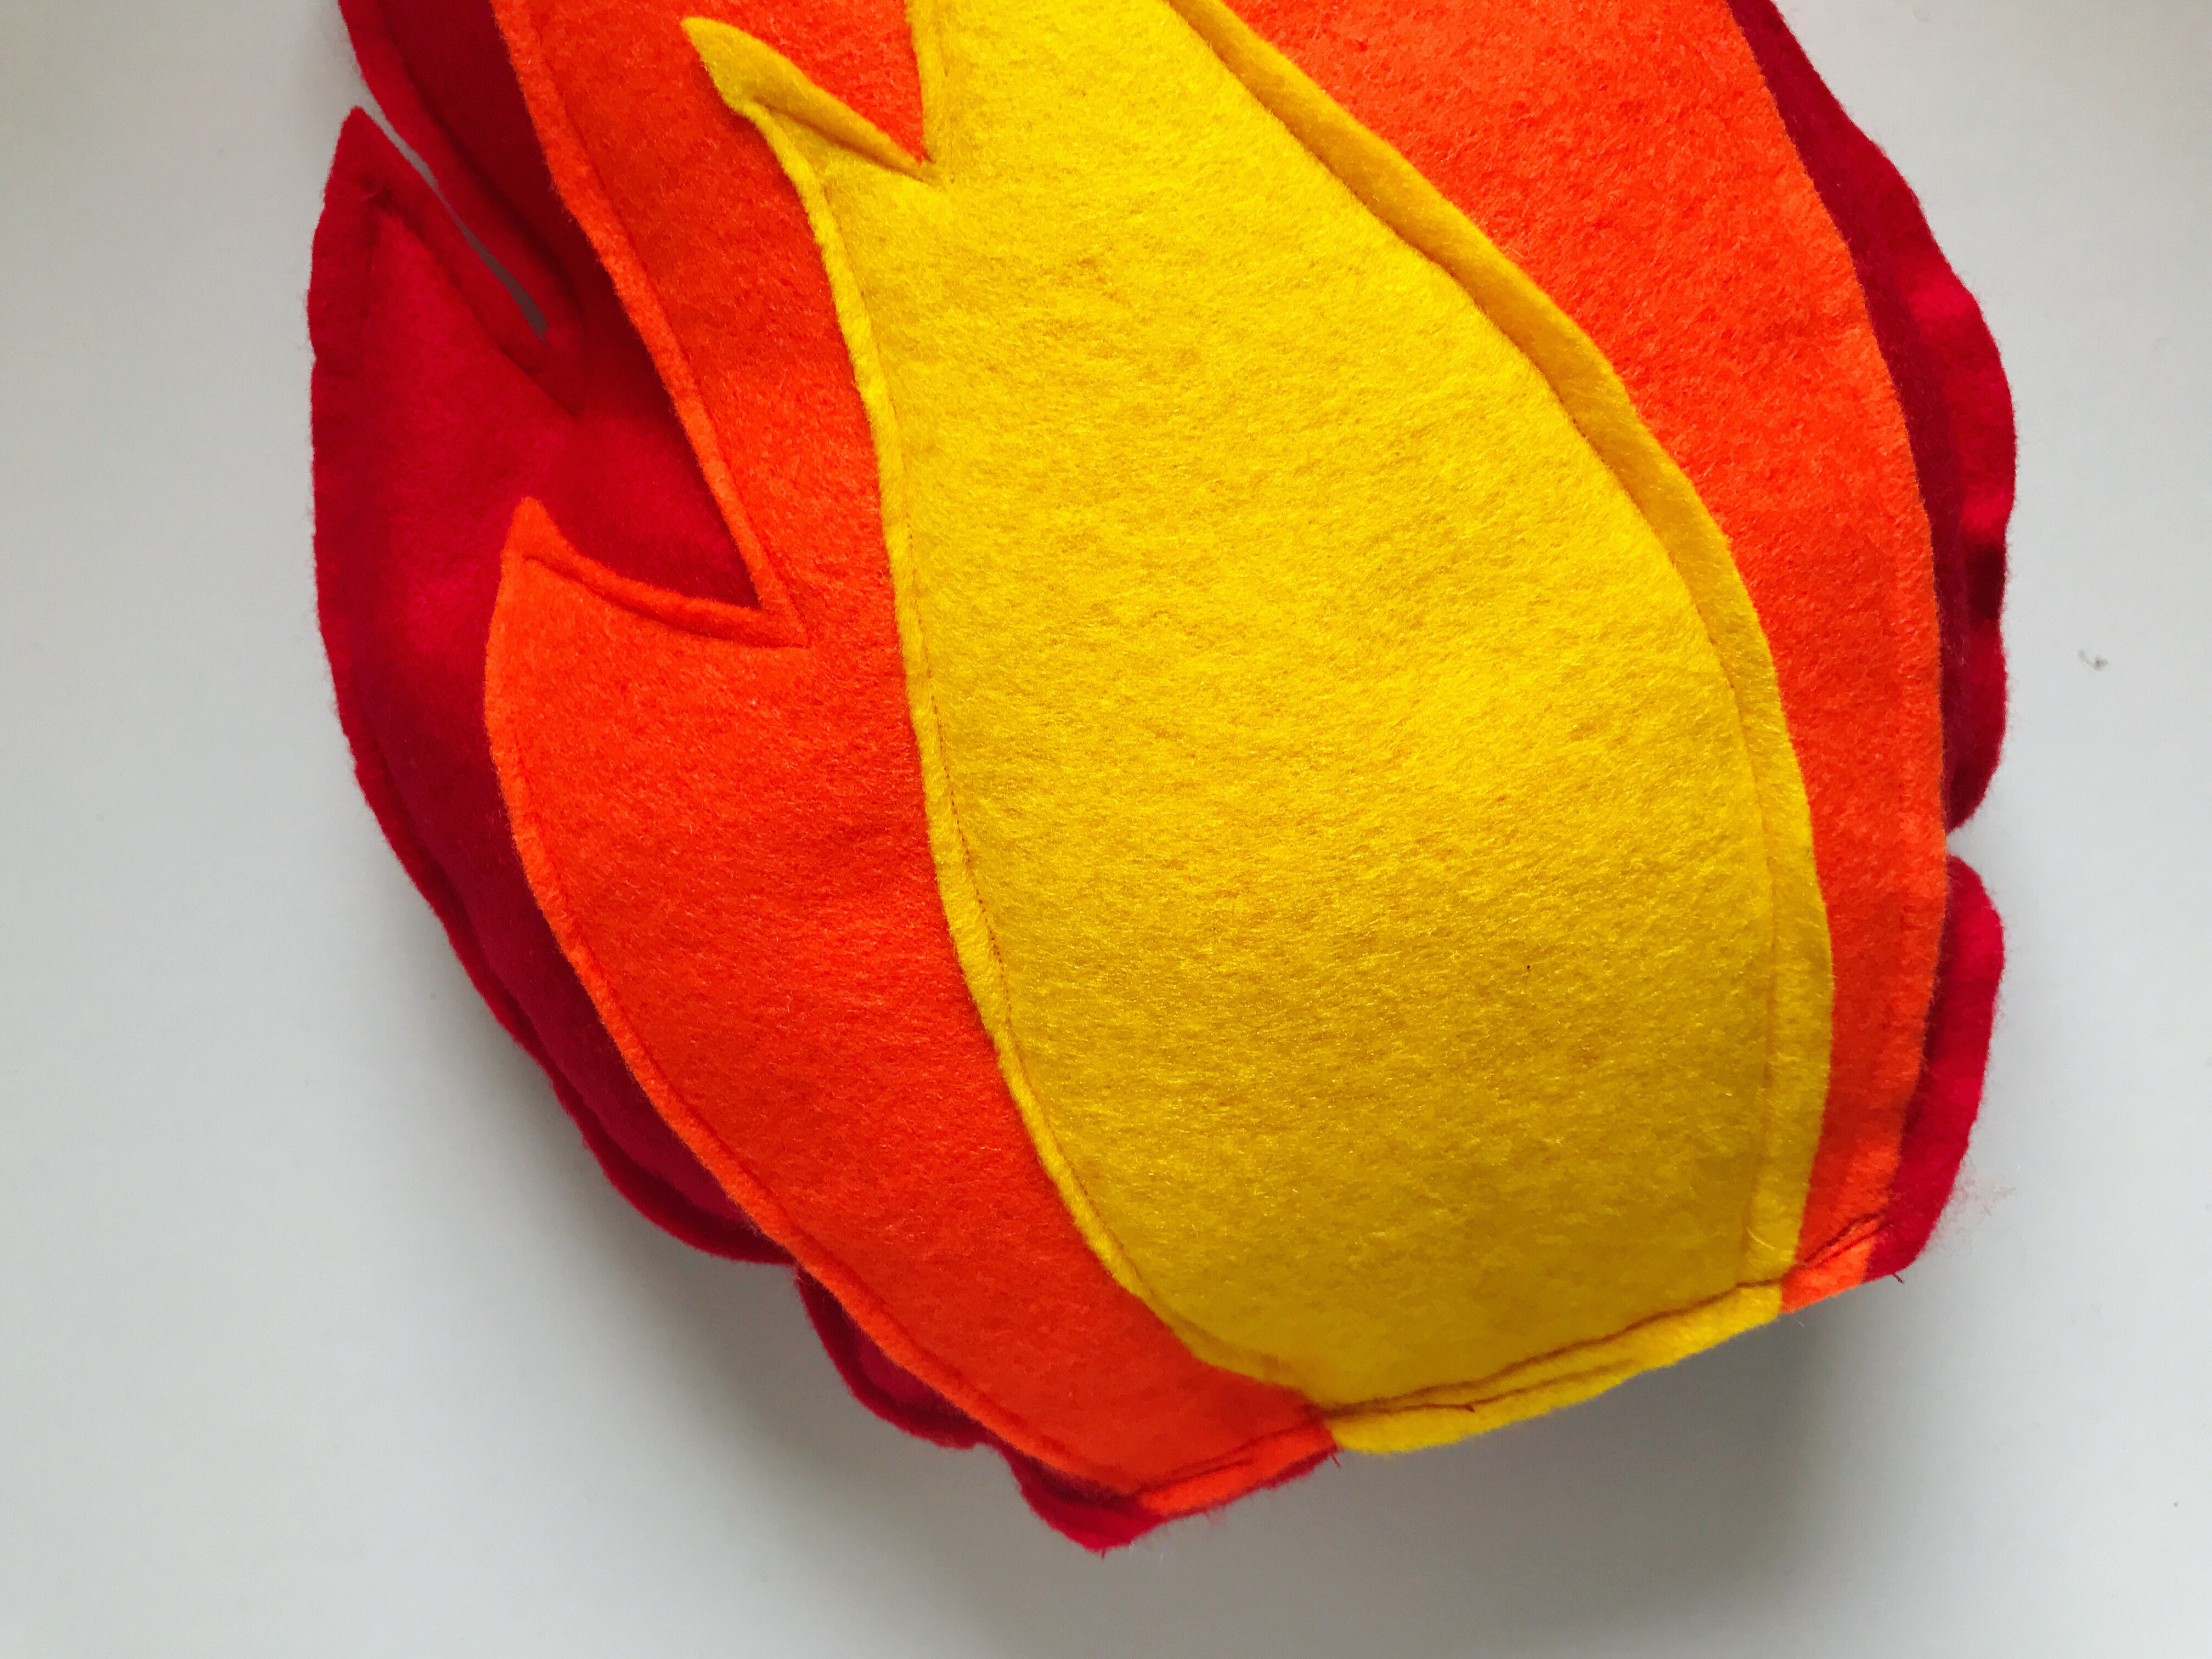
Step 3: Sew a yellow flame on to an orange flame, then the orange on to a red. Do this three times, so that you have three sets of flames.
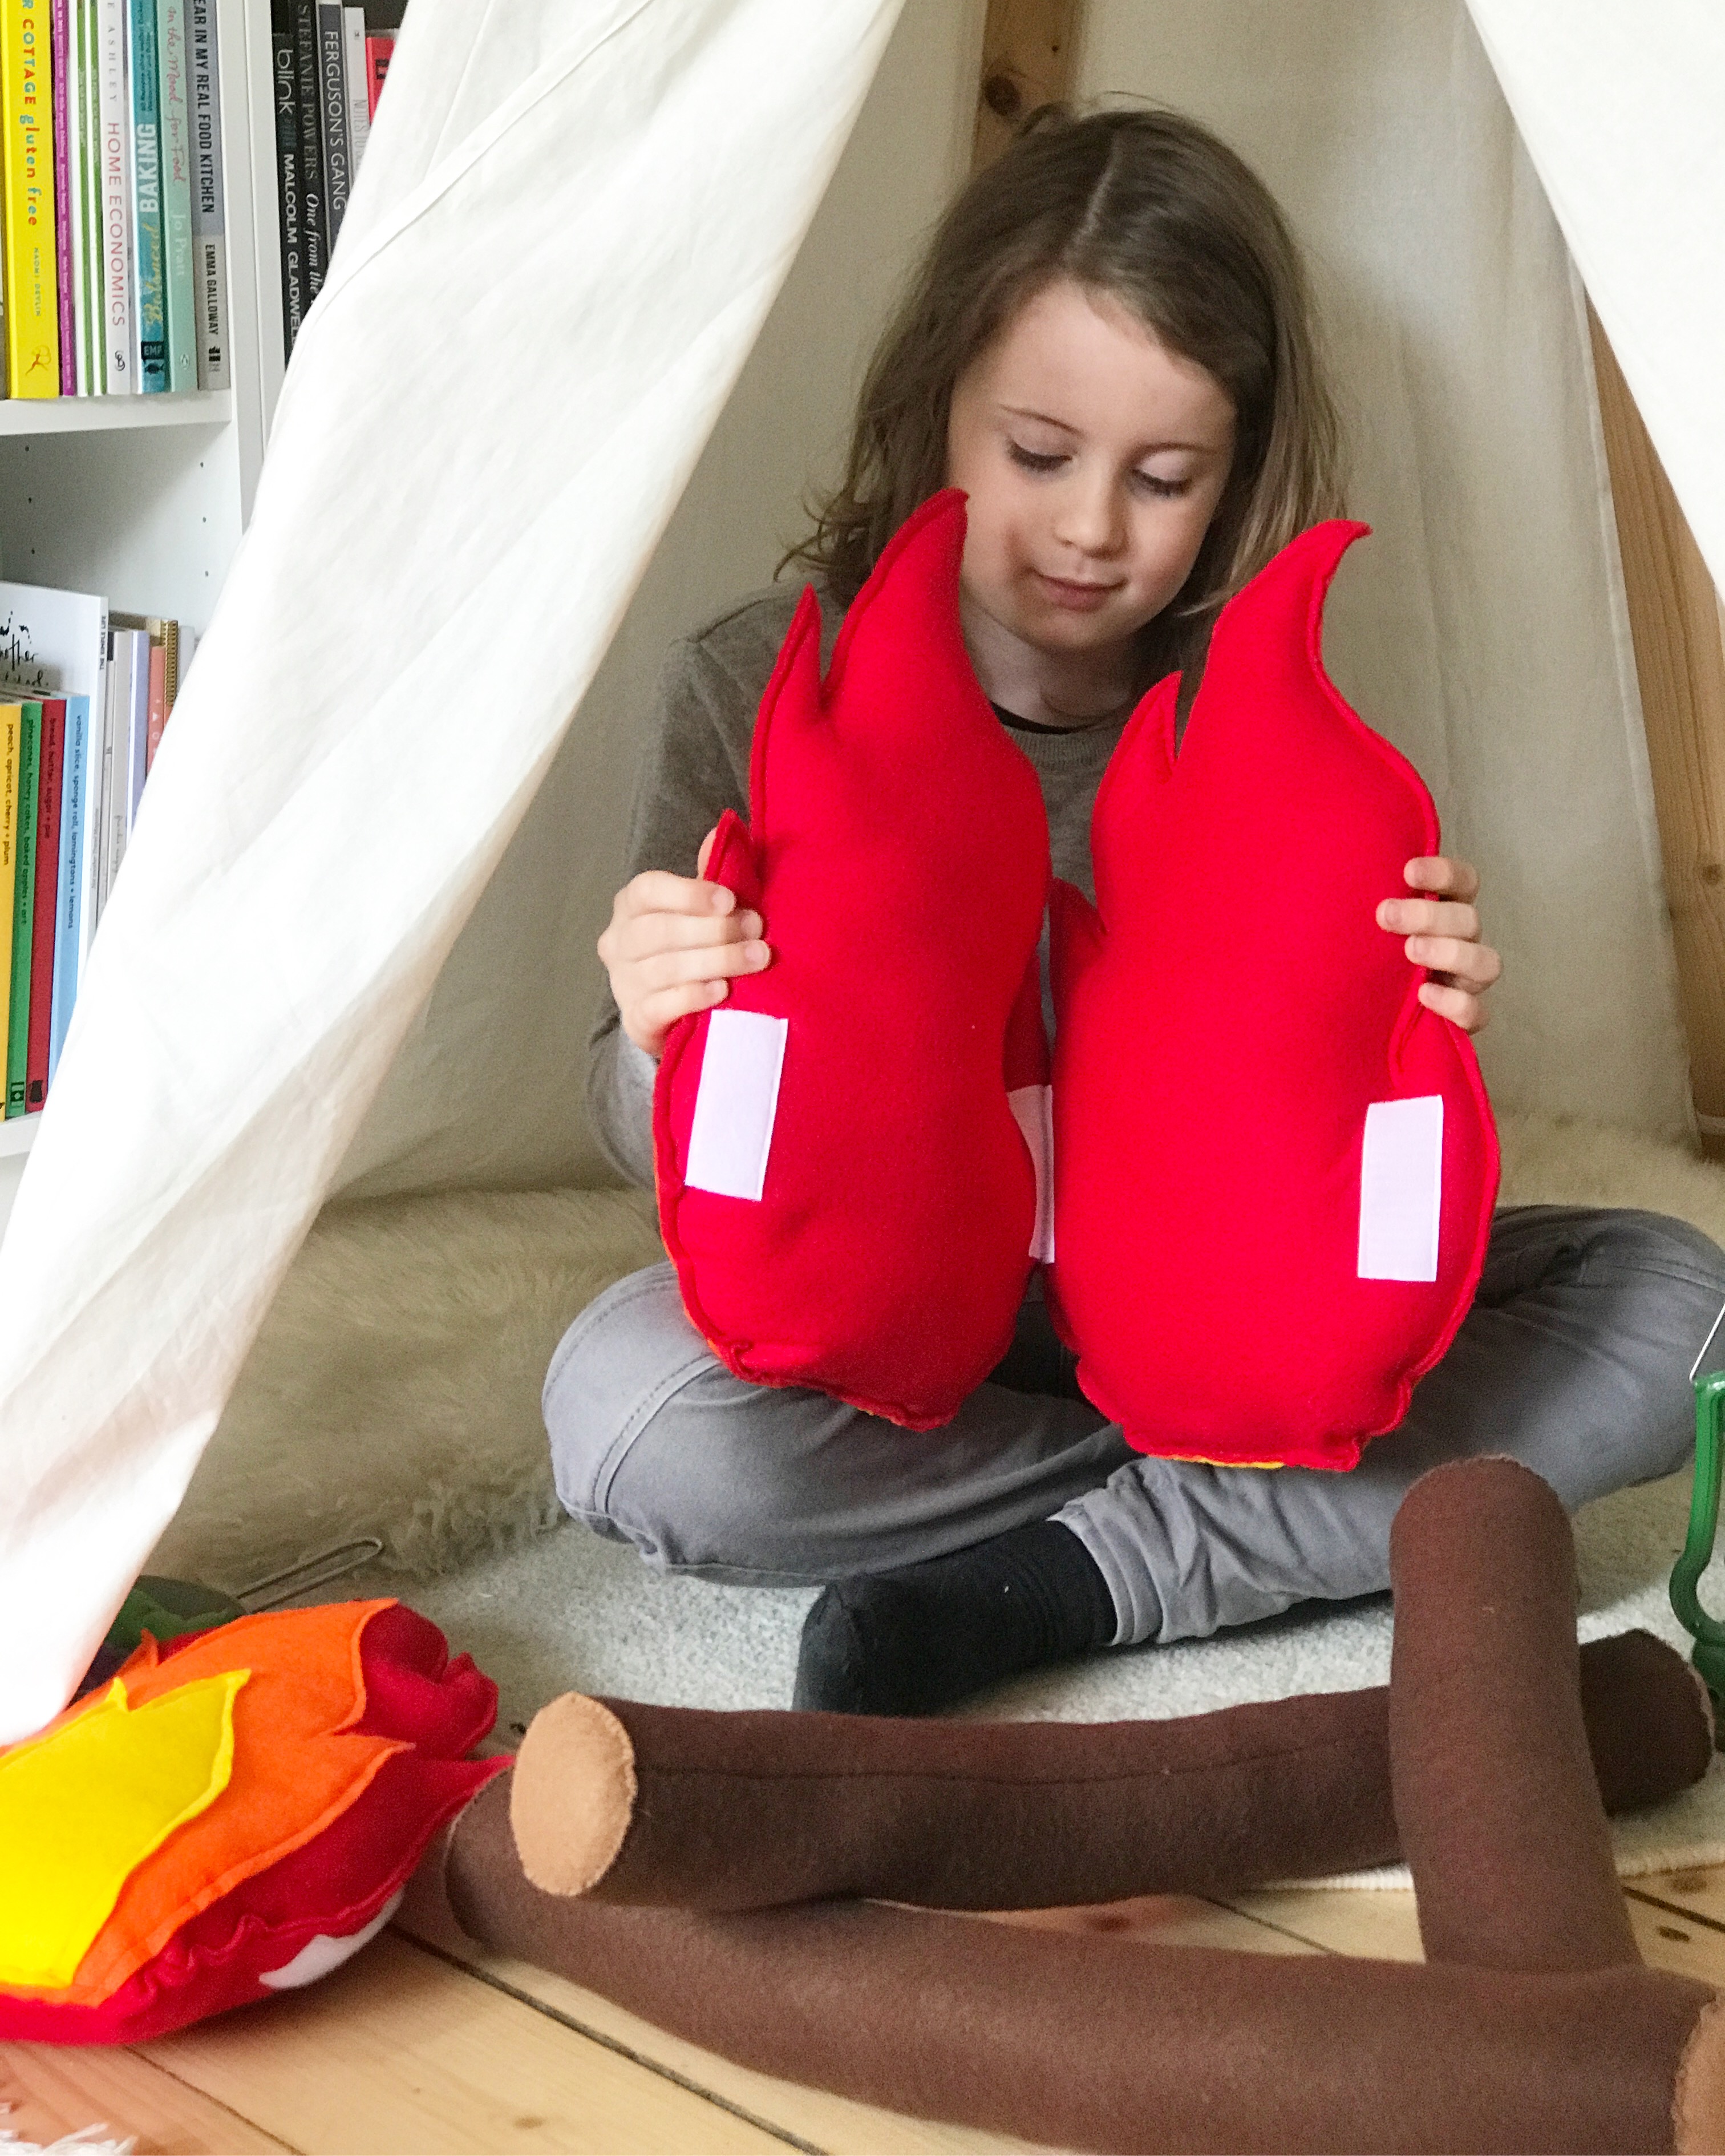
Step 4: Now take the other three plain red flame pieces, and on to the back of them sew the velcro along each side on the bottom half, as shown in the picture. NOTE: There are two things you need to check before sewing the velcro in place! Firstly, pair up each plain red piece with one of your flame sets from Step 3, and then double check you are placing the velcro on what will be the back once the two pieces are sewn together! Secondly, make sure that you always have the fluffy side of the velcro on the left, and the rough side of the velcro on the right – otherwise they won’t match up when you put everything together at the end!
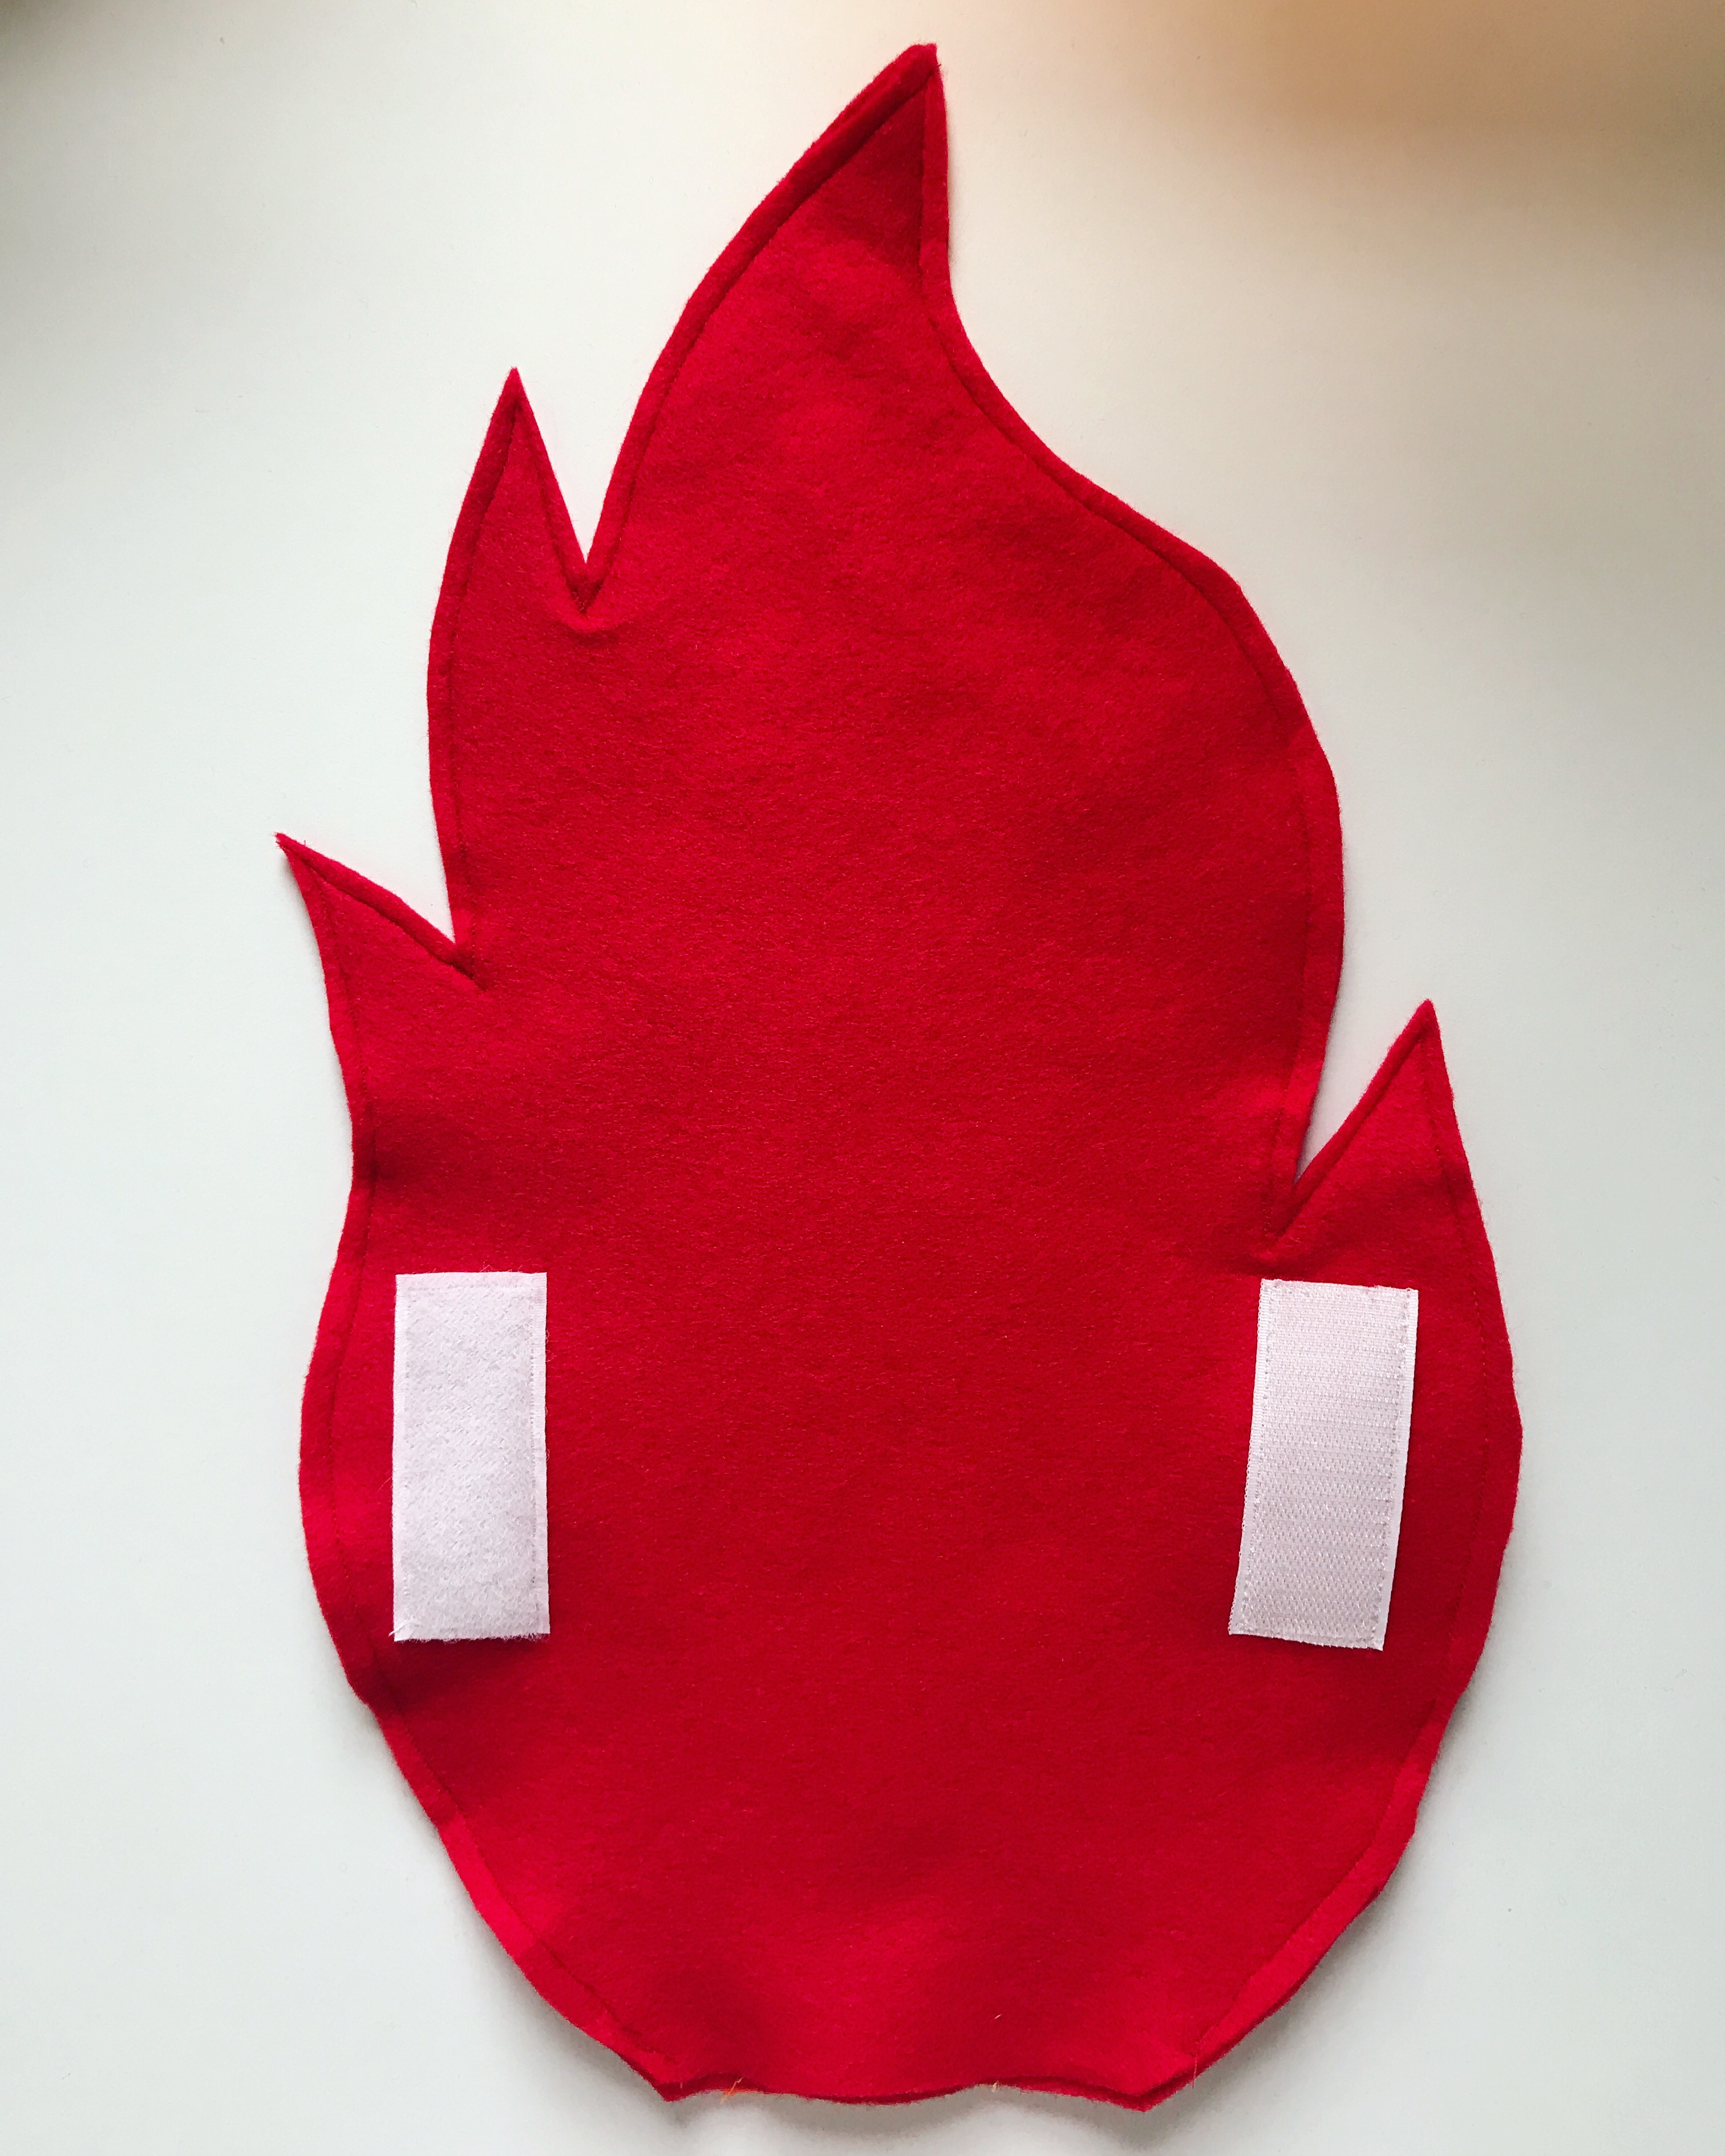
Note: As you will see in the photo, this actually shows Step 5 already done (i.e. the front and backs have already been sewn together), because I forgot to take a photo of Step 4.
Step 5: Now sew a flame set and a plain red velcro piece together – making sure the flames and the velcro are pointing outwards! Leave an opening at the bottom. Do this three times.
Step 6: Stuff each of the three flames with toy stuffing.
Step 7: Sew the opening shut.
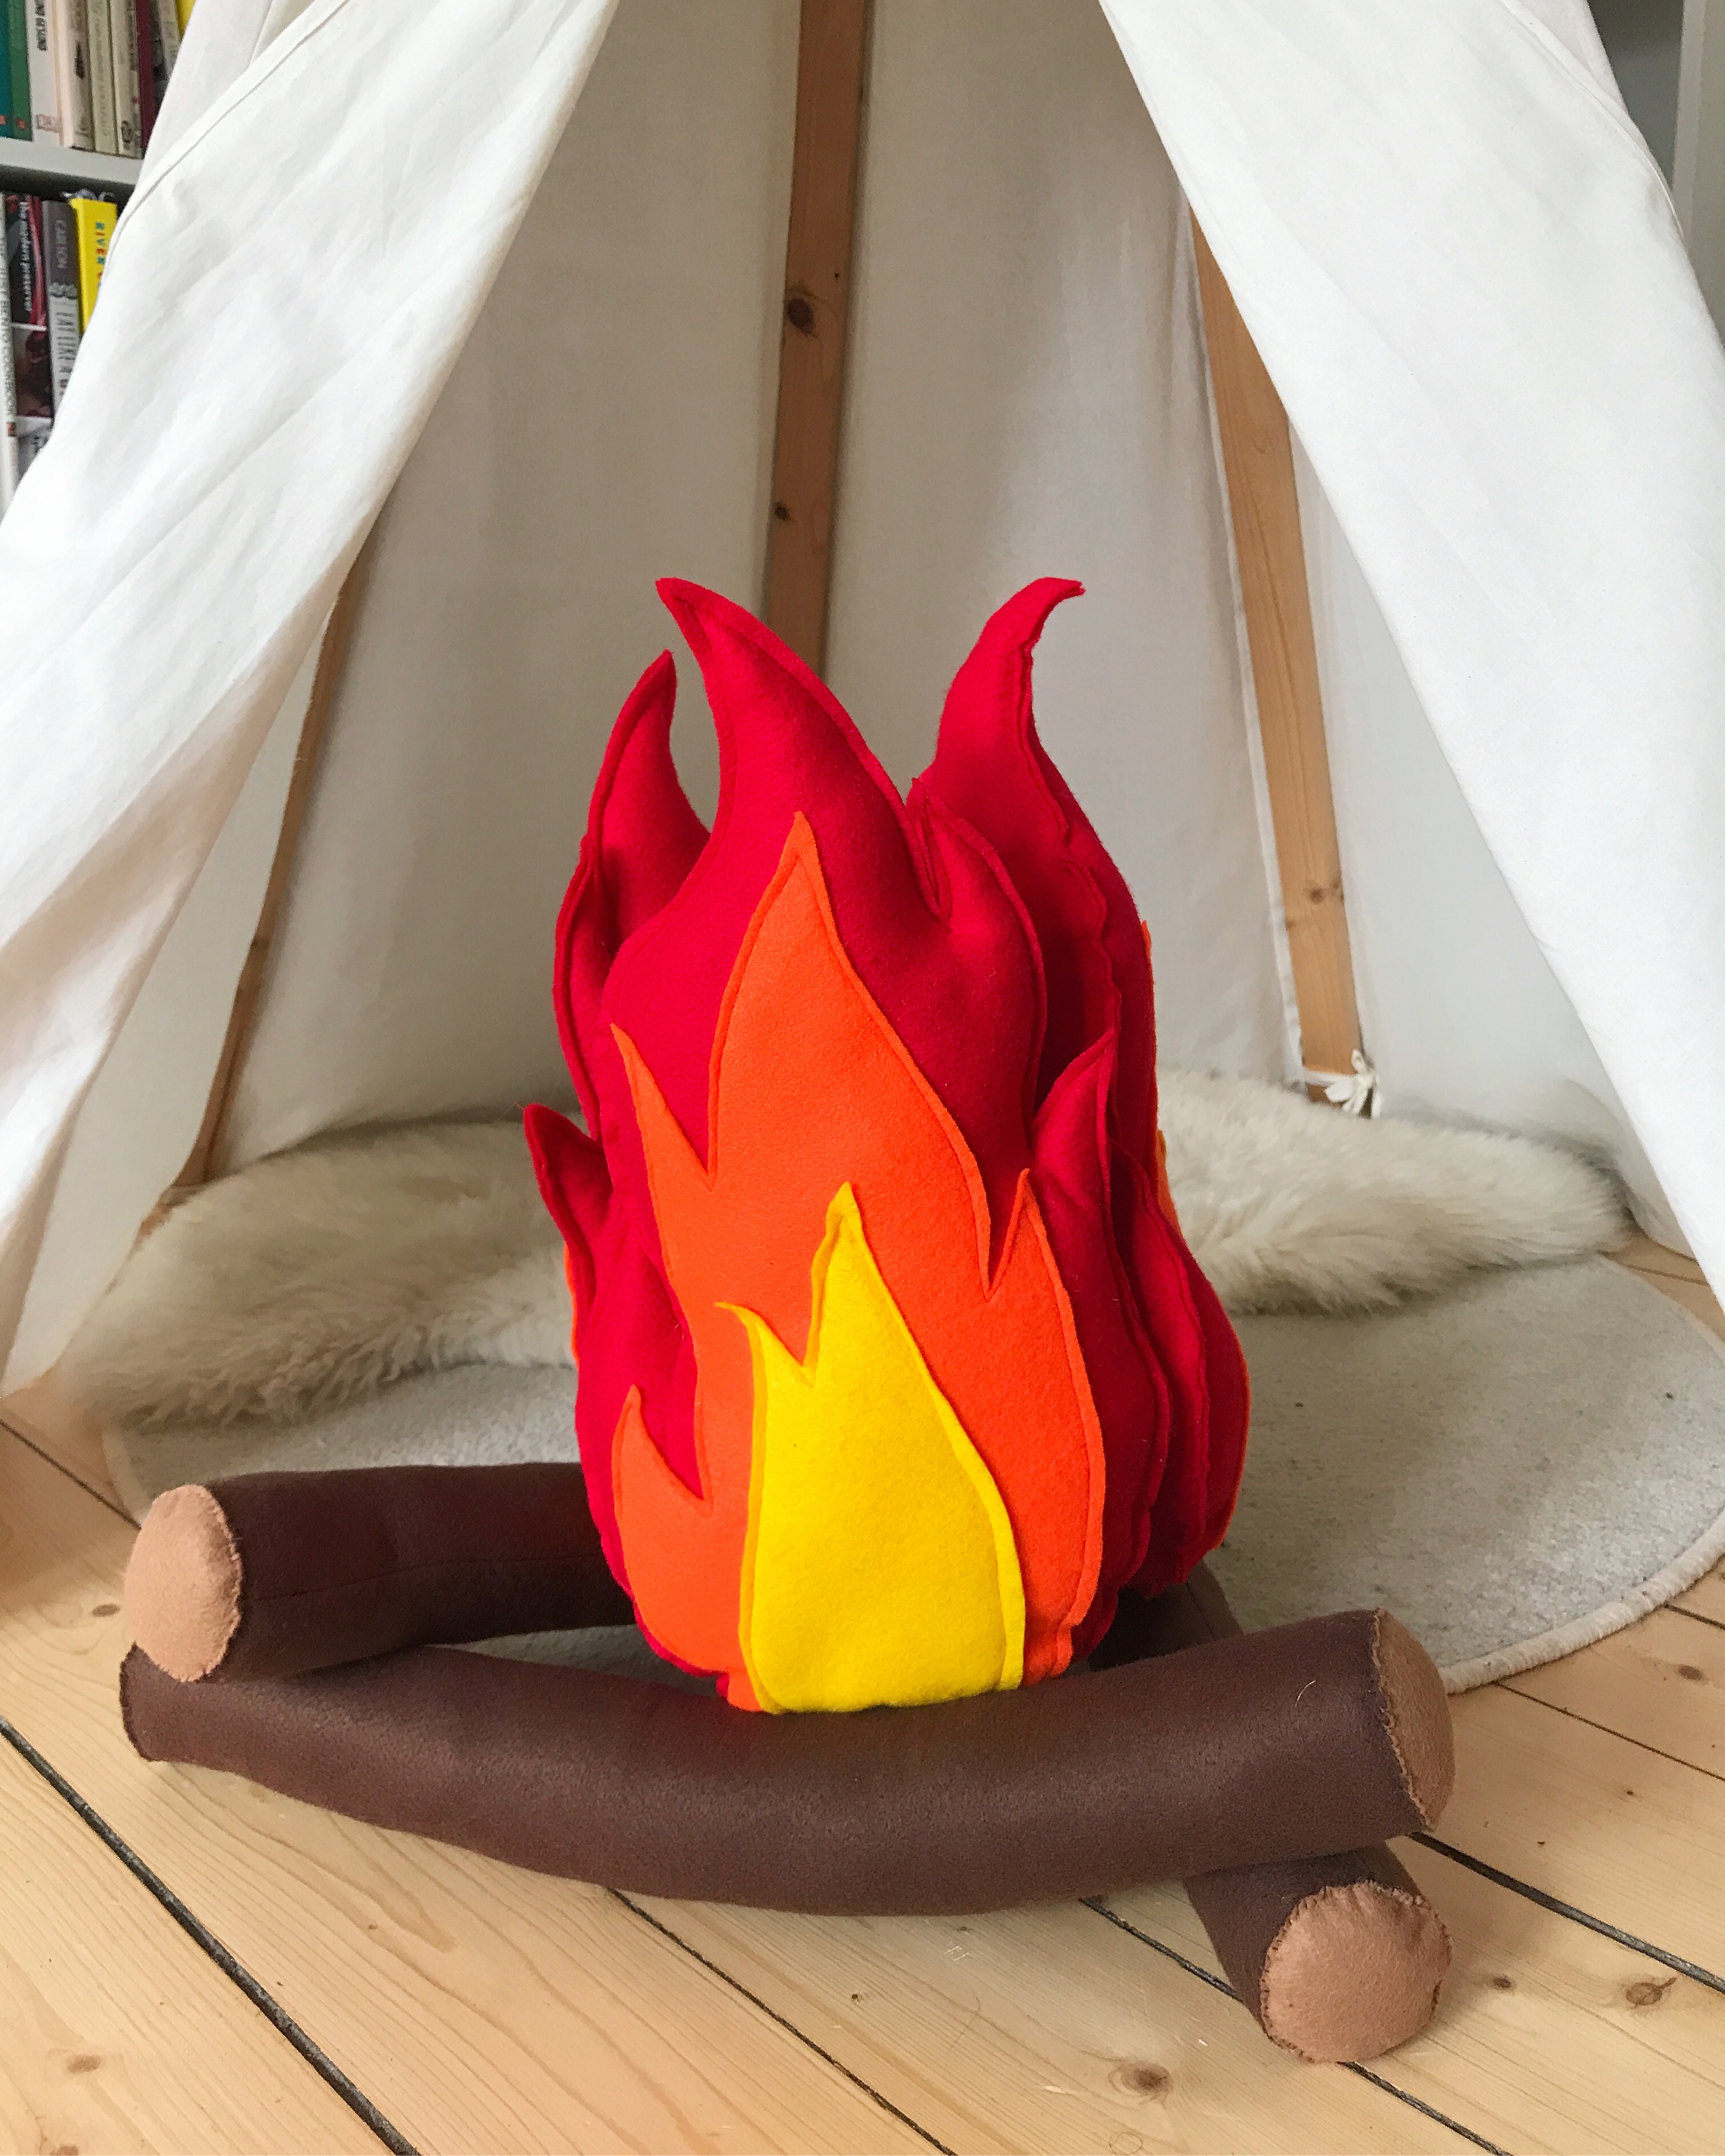
Step 8: Stick the velcro of the three finished flames together to make a stand-up campfire!
THE LOGS
A campfire wouldn’t be complete without some logs, and these were really simple to make.
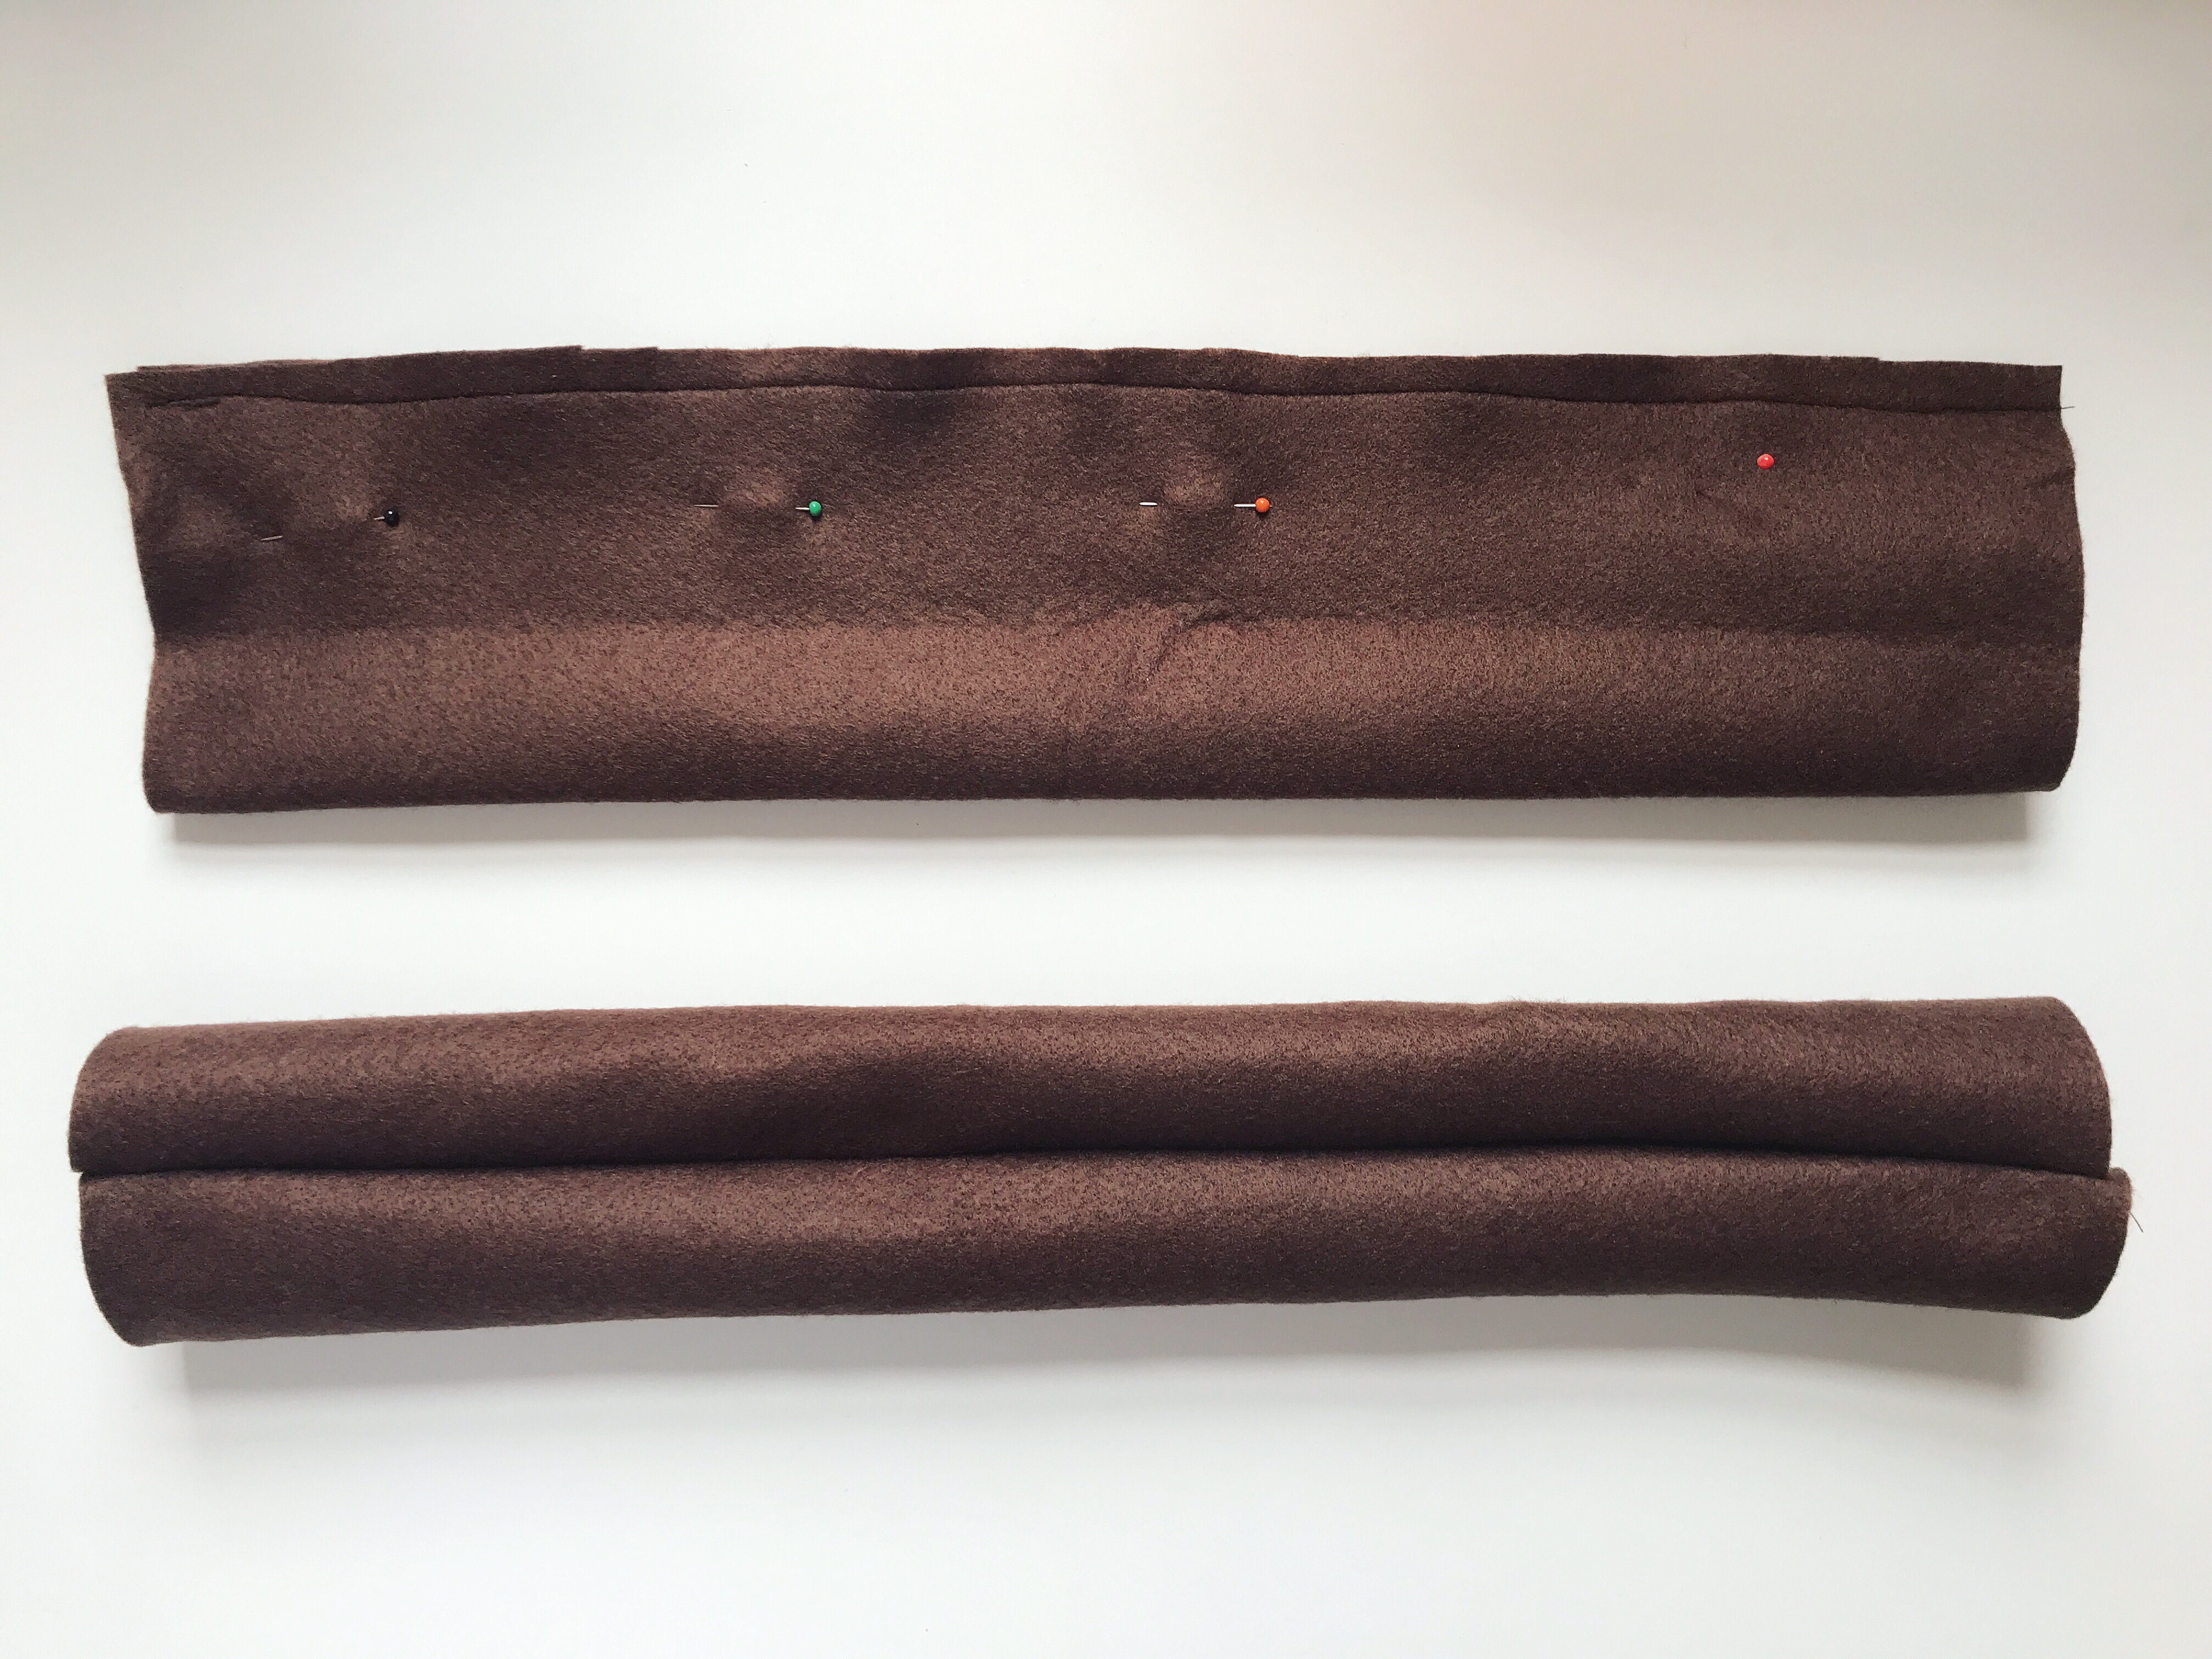
Step 1: Sew a dark brown piece of felt together along the long side, then turn this inside out so the seam is hidden on the inside. It should look like a floppy felt tube.
Step 2: Cut out a circle from the light brown felt, which matches the circumference of the tube you have just sewn in Step 1, and sew it on to one end of the tube.

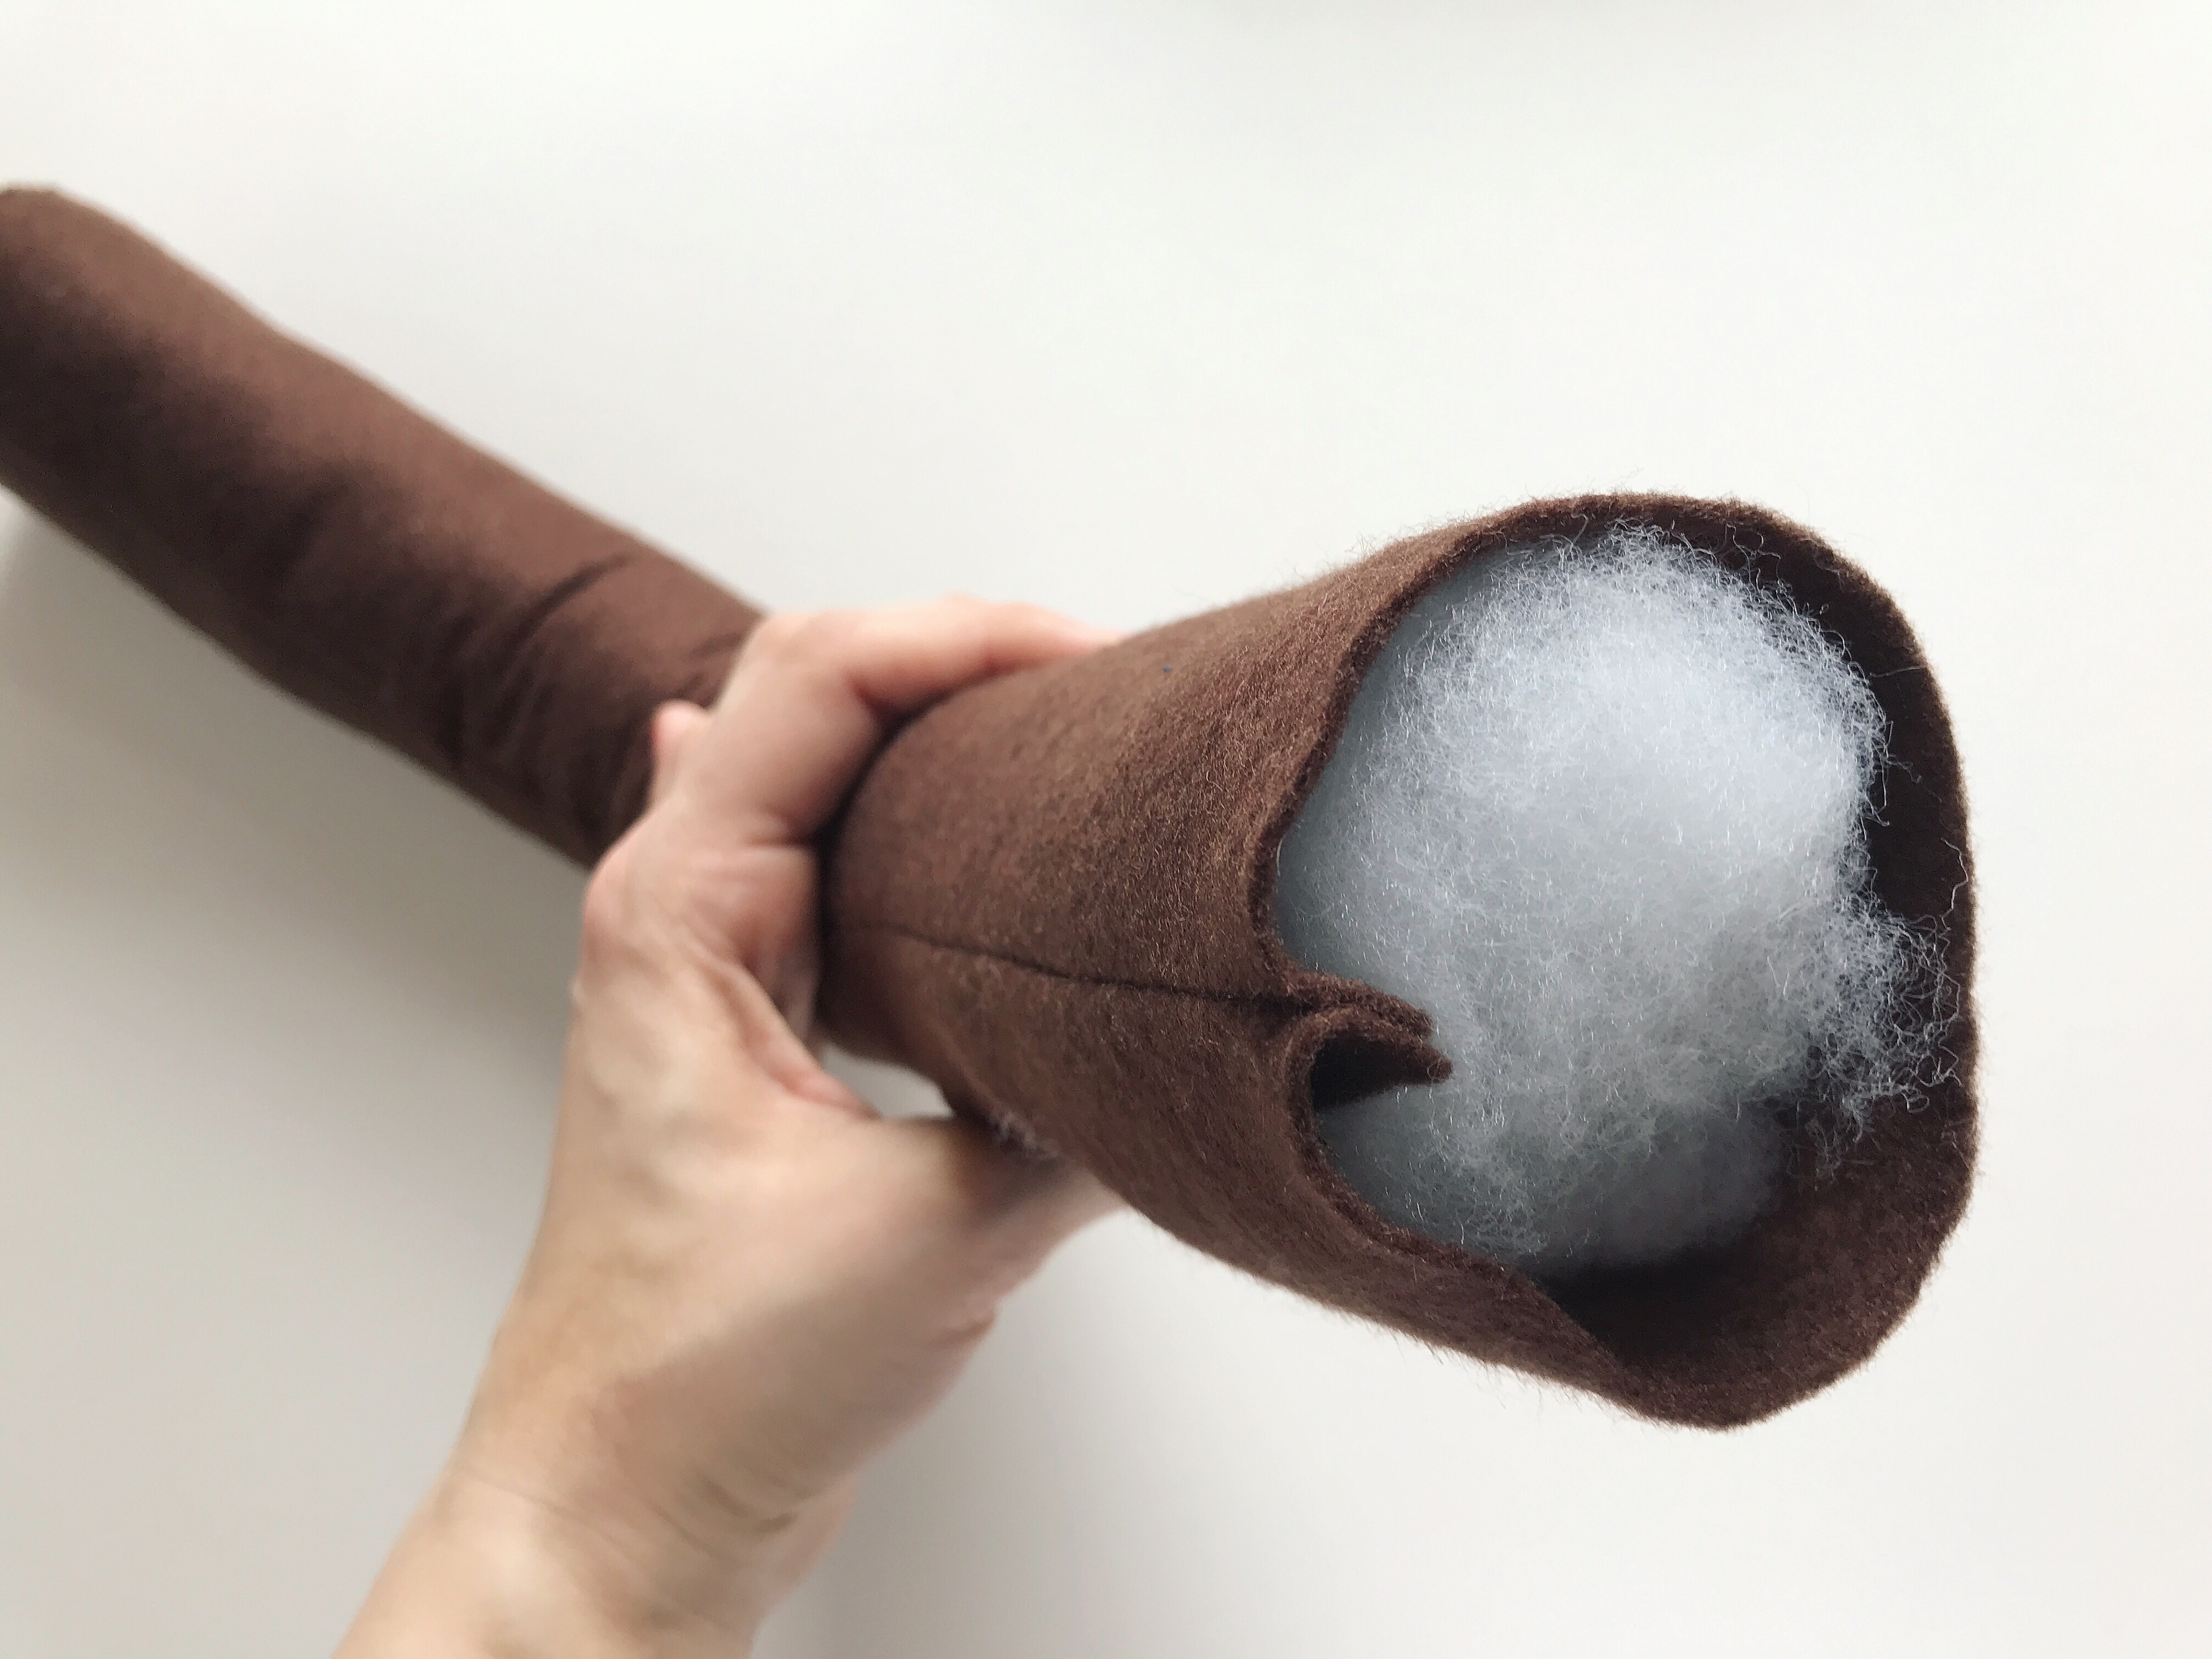
Step 3: Stuff the tube with toy stuffing.
Step 4: Now cut out another circle and sew on to the open end of the tube.
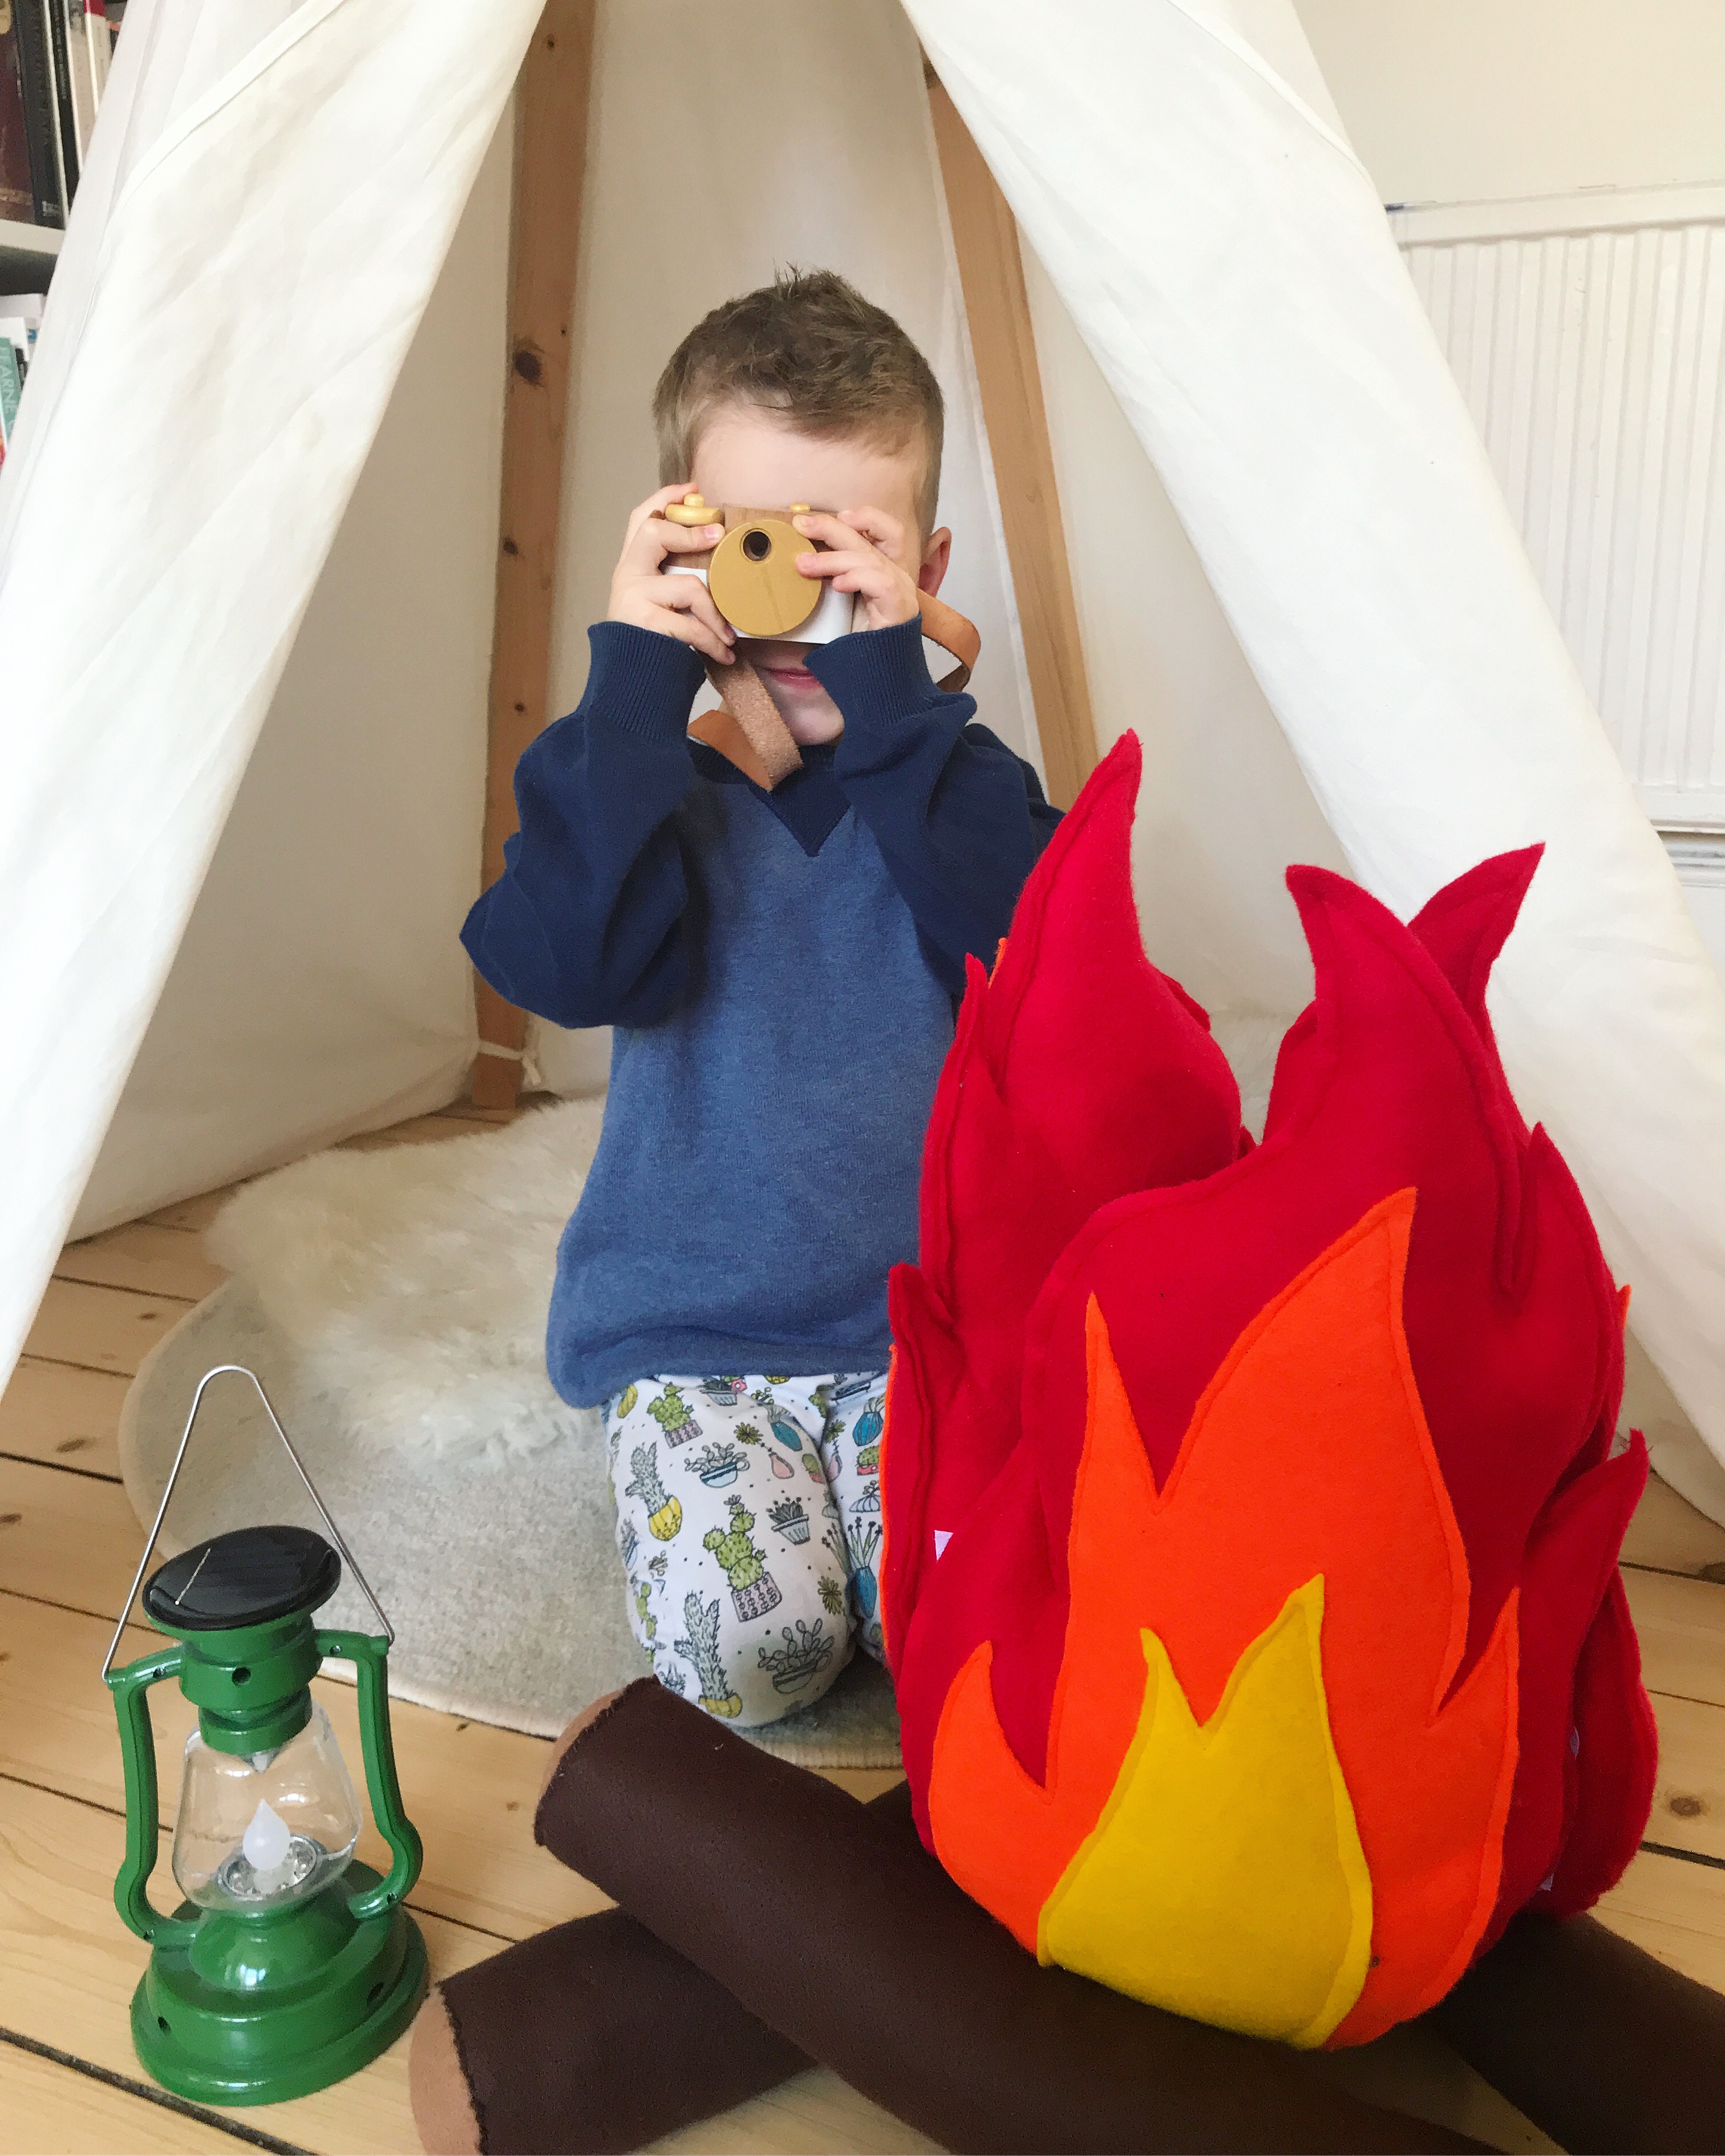
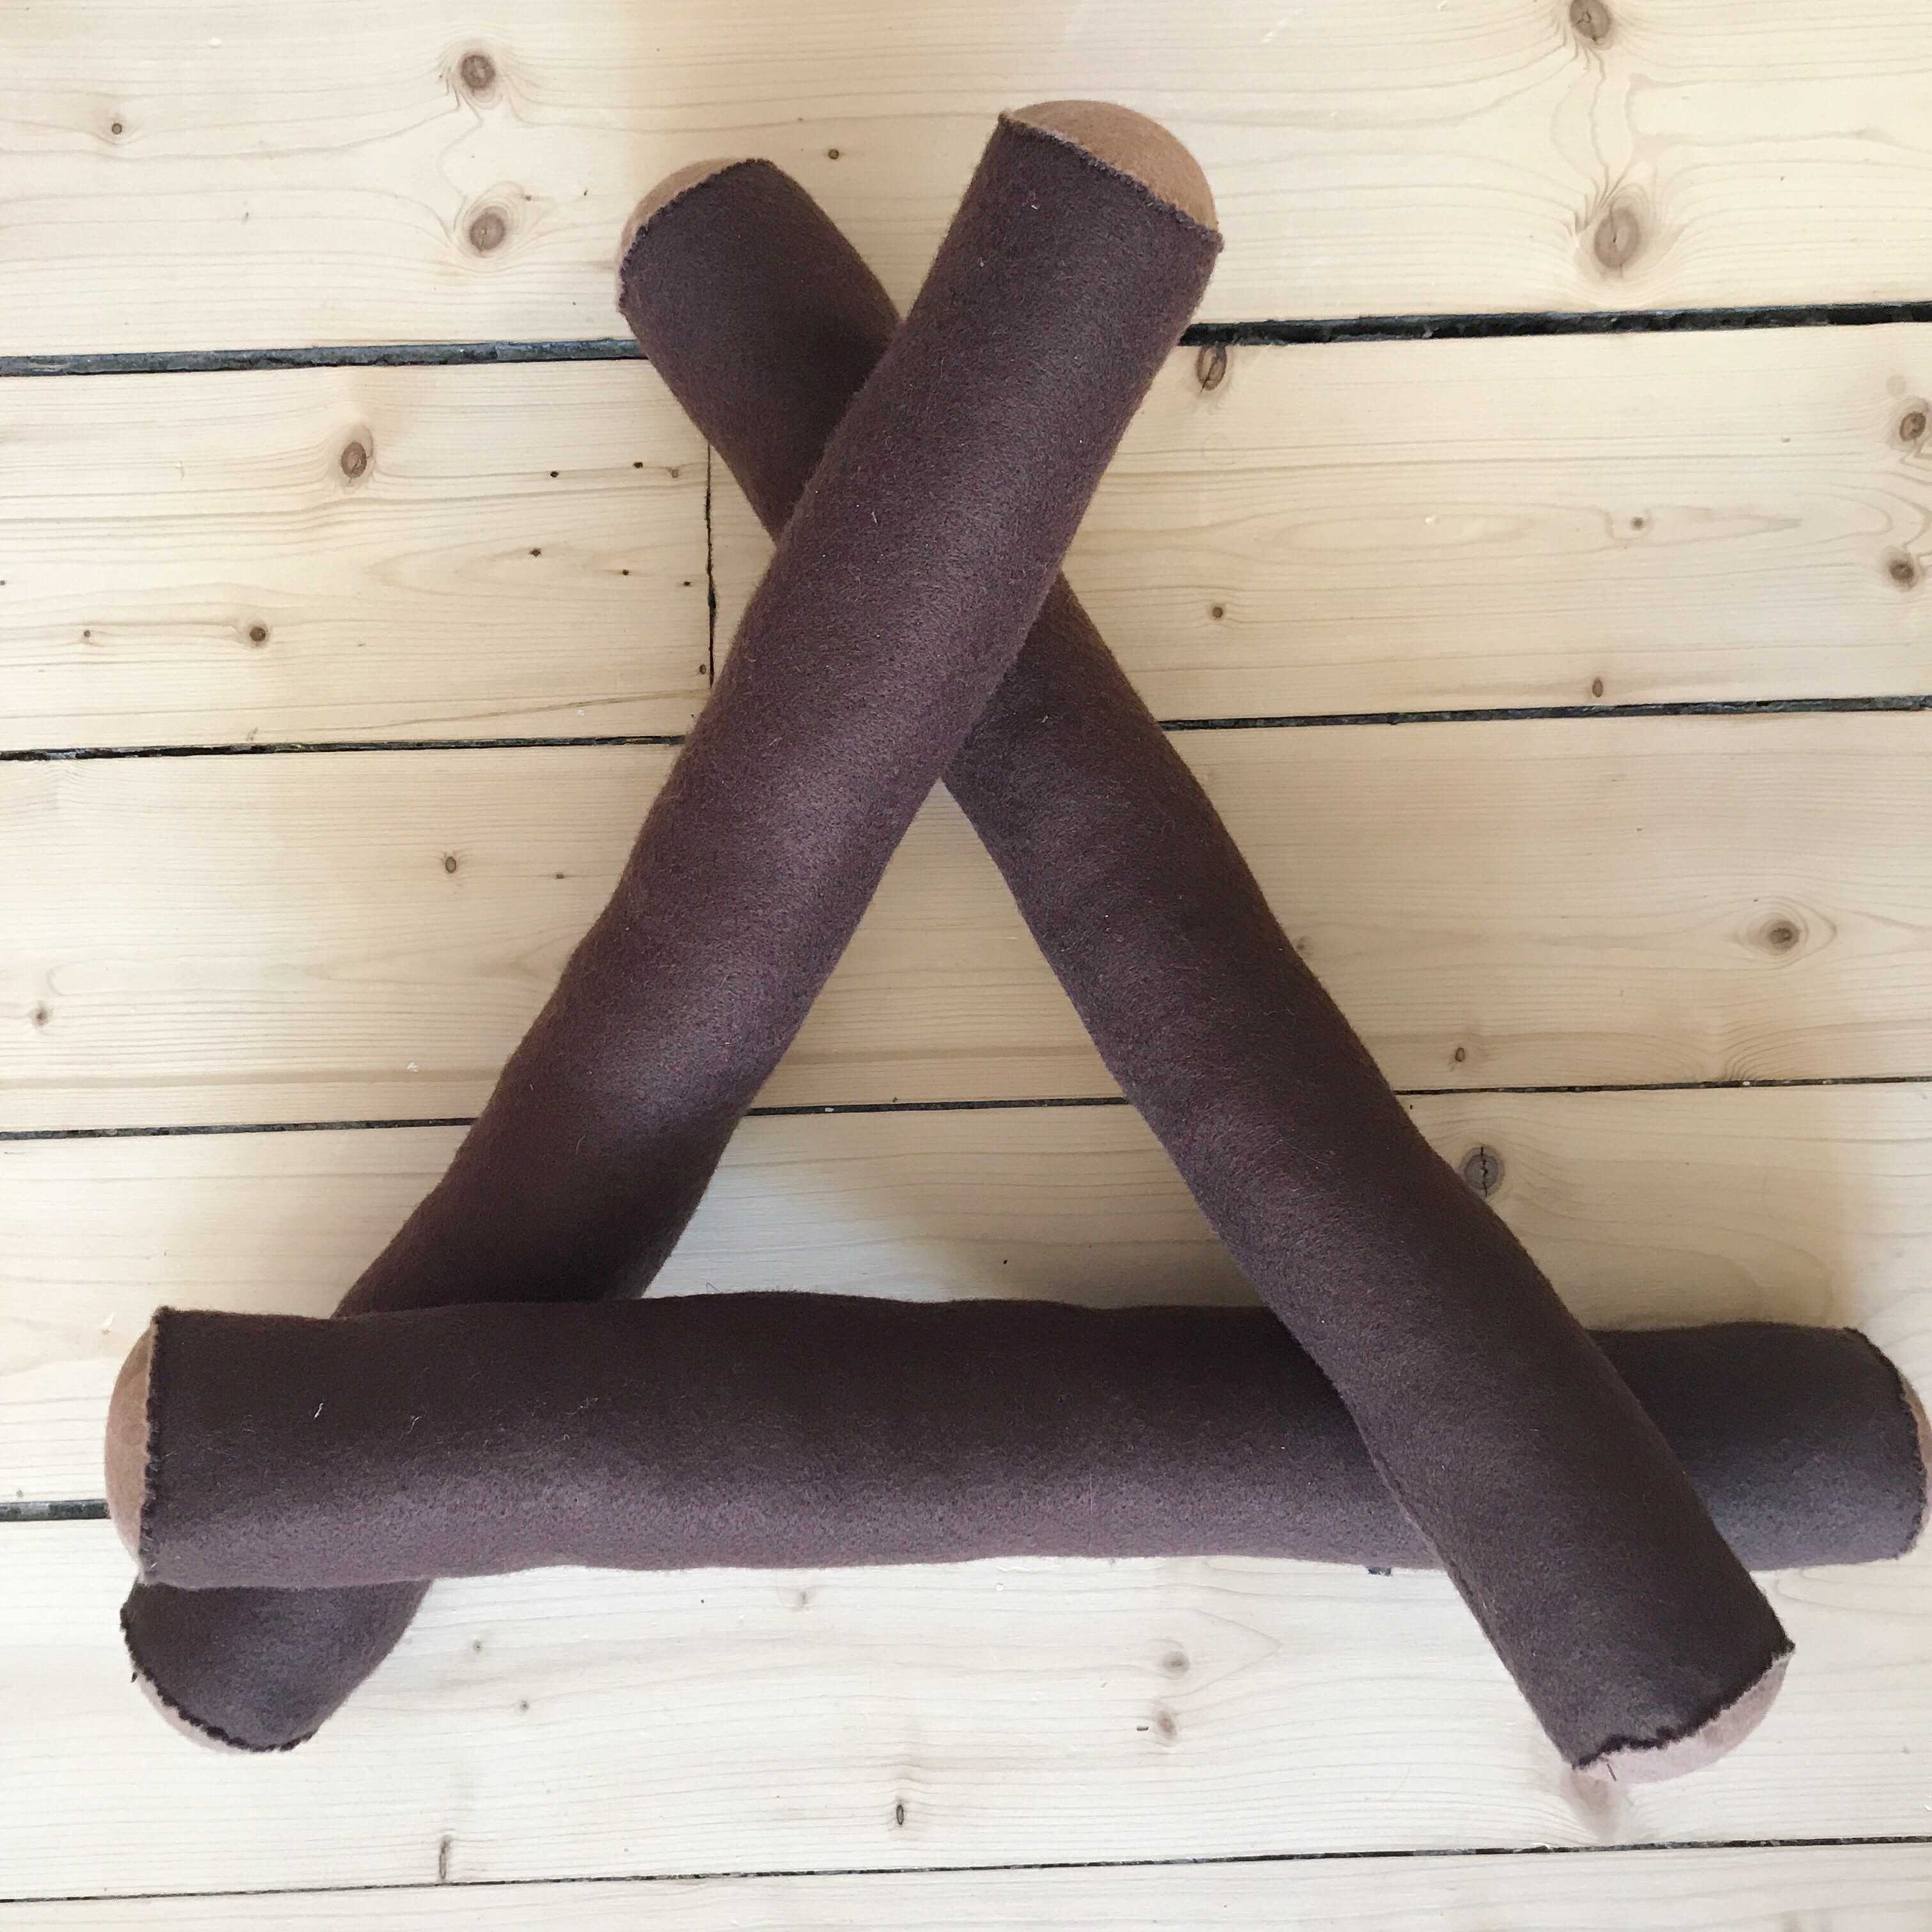
Voila! You have just made a felt log. Repeat the above steps two more times until you have three logs in total. Arrange the three logs in a triangle as shown in the photos below:
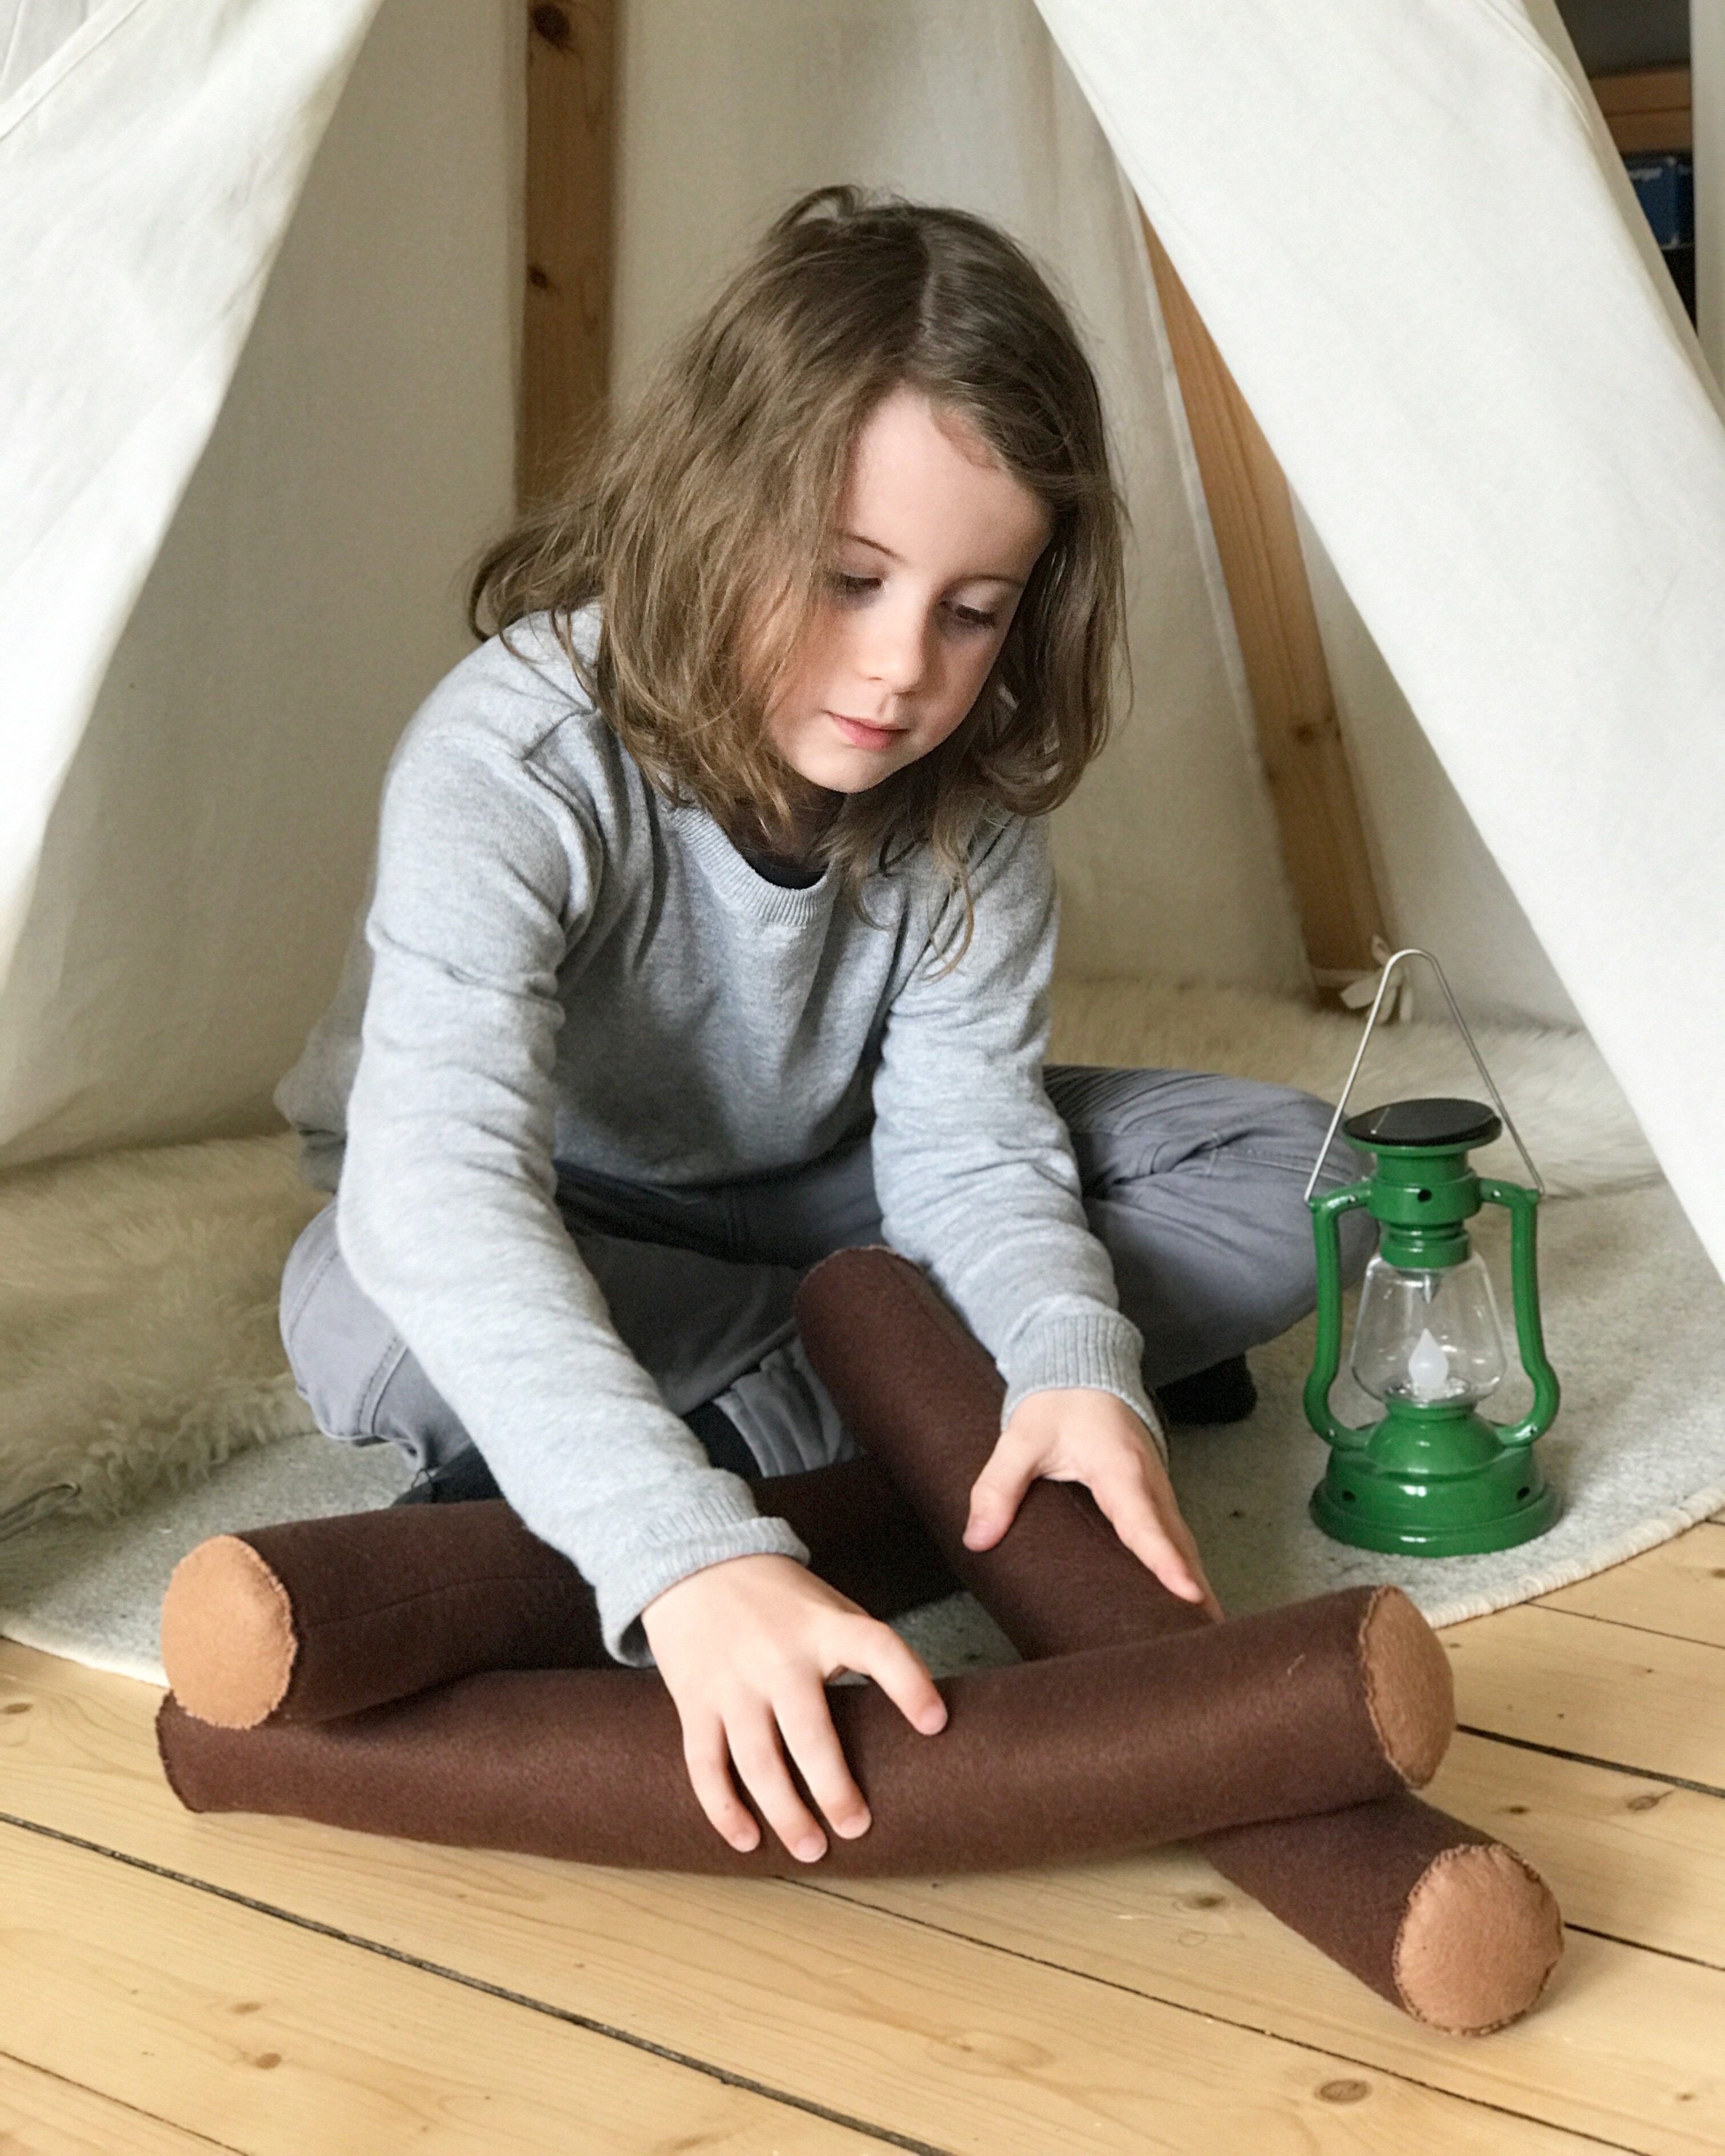
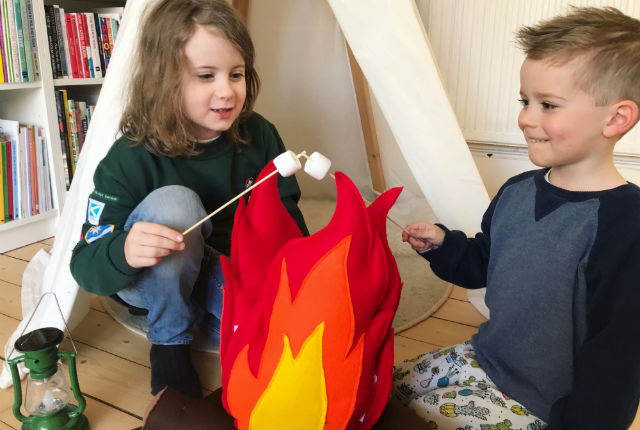
Then place your flames on top – ready for some pretend camping!
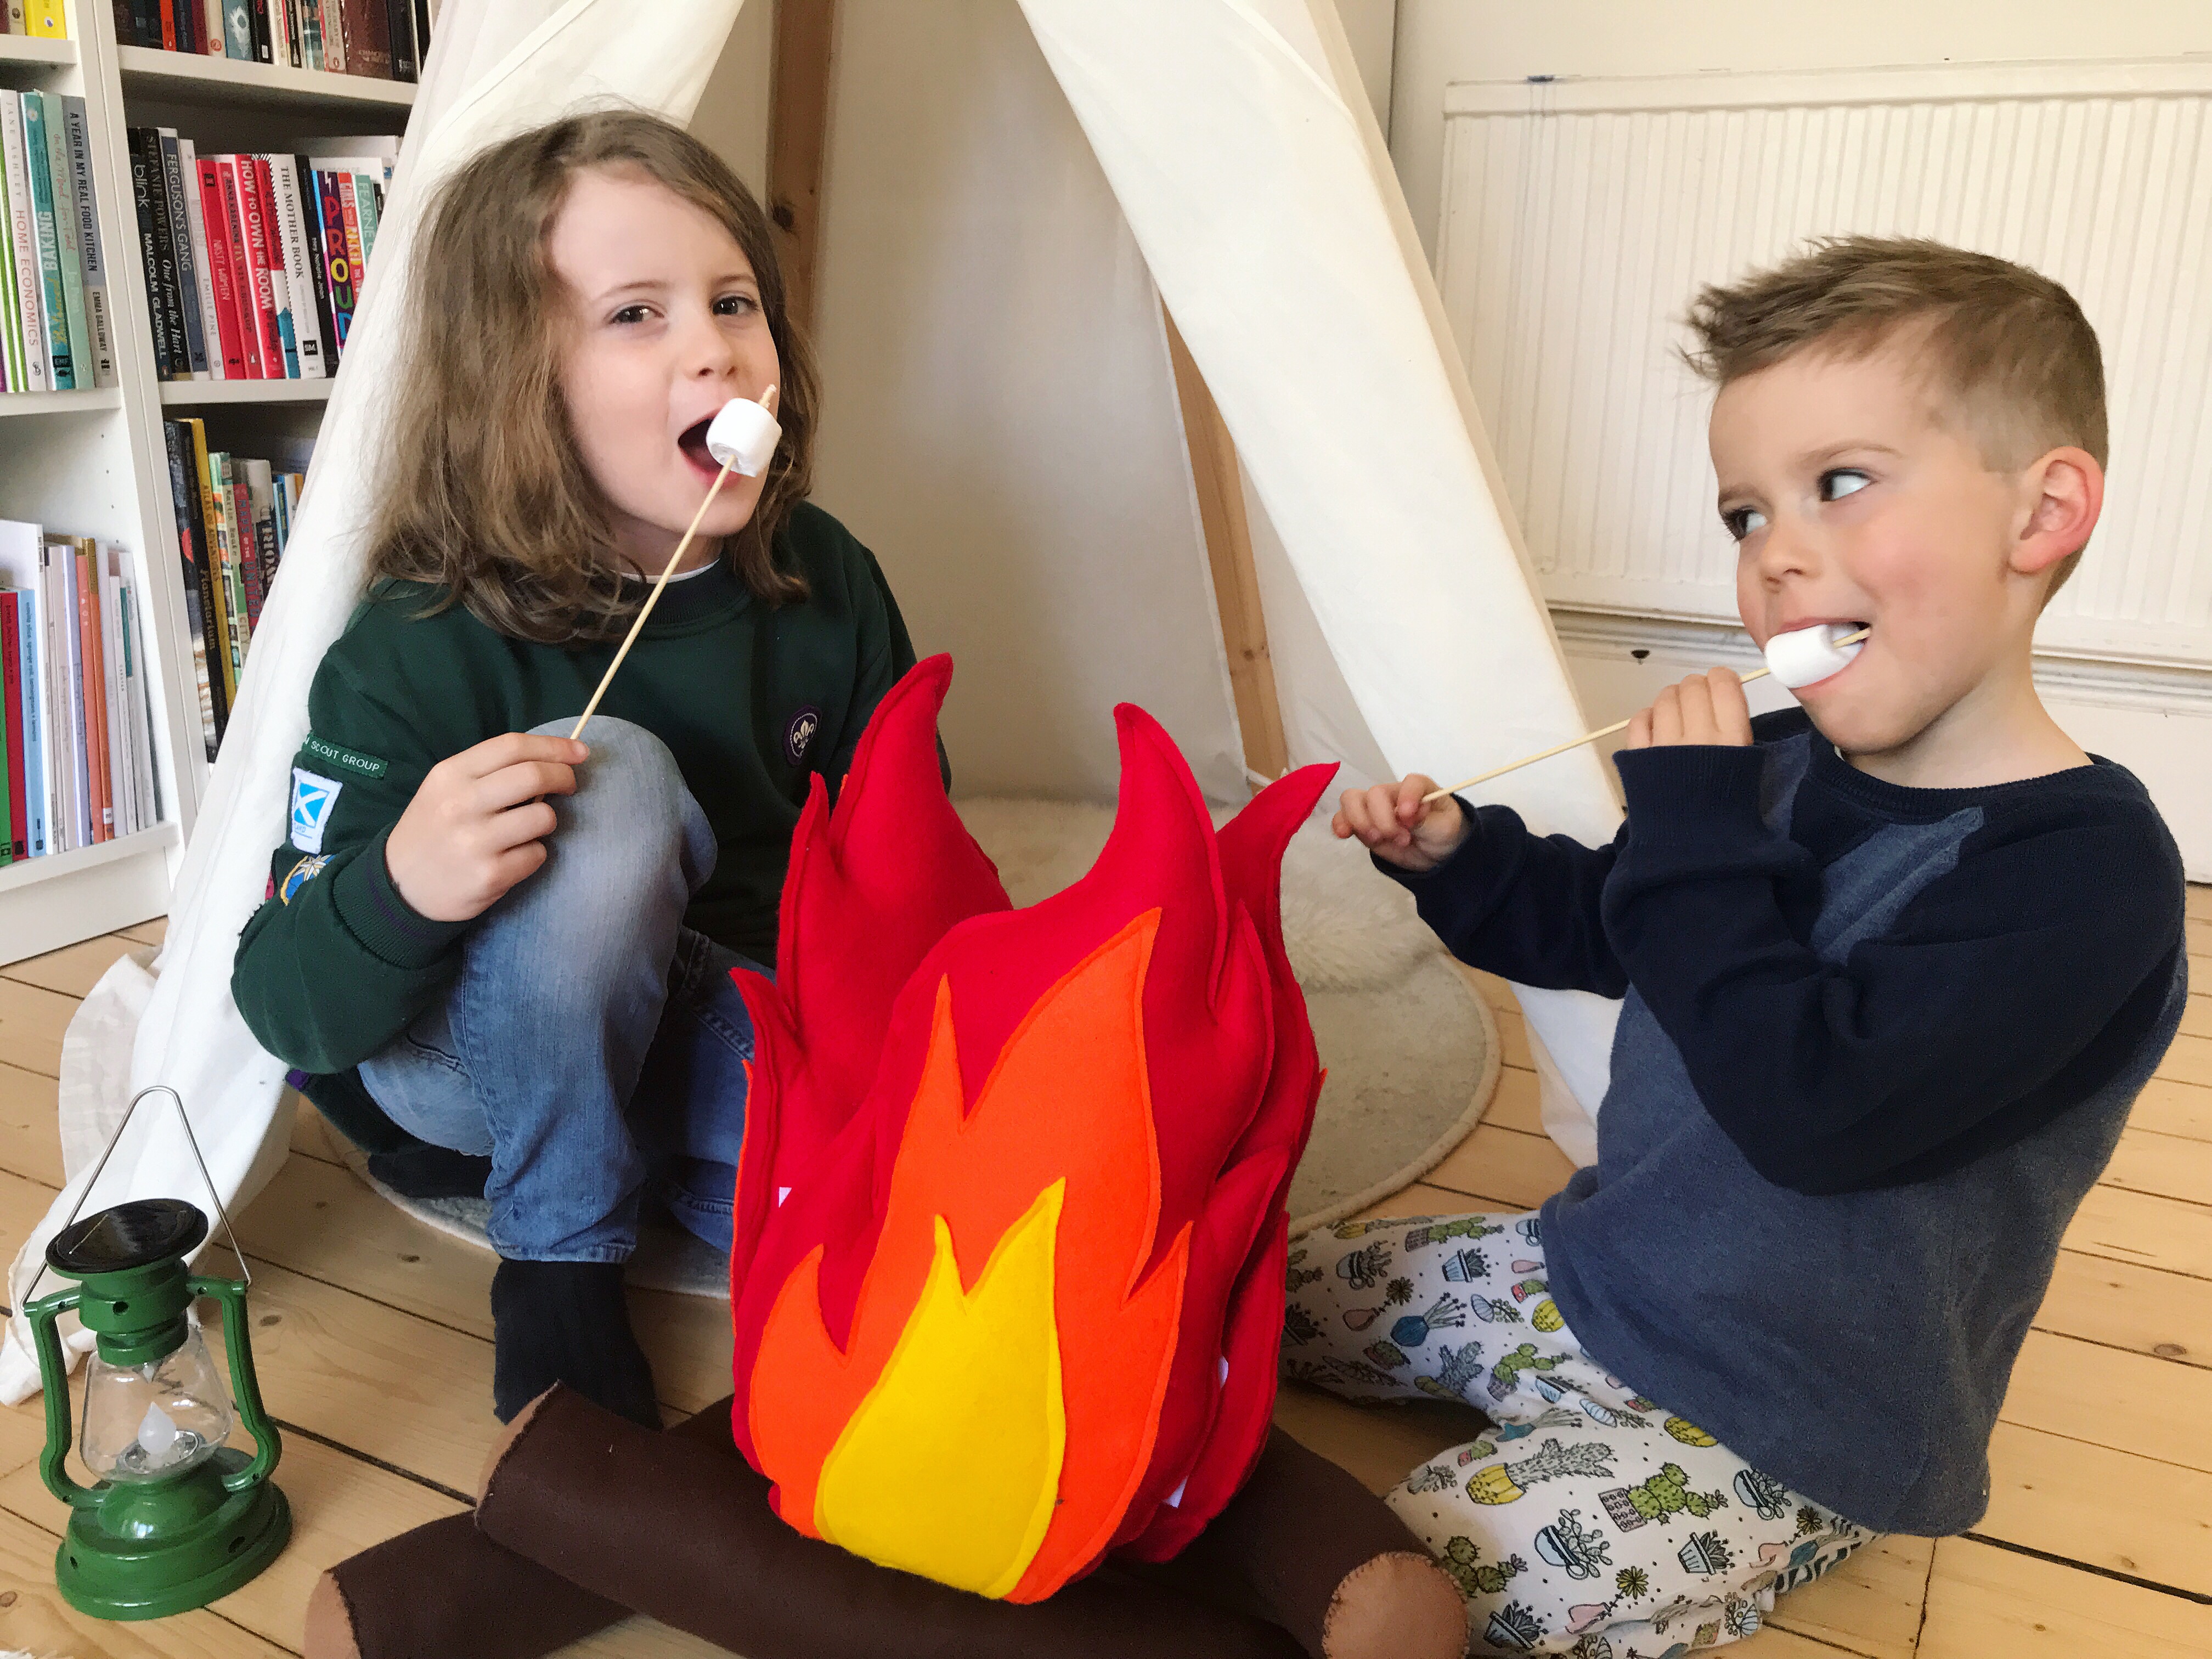
Of course, what would a campfire be without some toasted marshmallows. Unlike the pretend campfire, we used real marshmallows instead of felt ones. We did have to pretend the toasting bit, but I am reliably informed that they still tasted just as yummy!


Sabina Green
Wow Jenni this looks fabulous. I love it? What a great job you have done with this camp fire.
Sarah Howe
Flipping heck this is awesome! My eldest is doing the Great Fire of London at school so this would be perfect!!
Lyndsey O'Halloran
Oh that’s beautiful. What a fantastic idea.
Annette, 3 Little Buttons
Wow!!! How clever are you. That is such a brilliant idea . I love how the kids can ‘build’ the fire themselves. You’re clearly very talented xx
Talya
Ahhh what a sweet idea my daughter loves campfires – this would be lovely for pretend play and indoor den building!
Cath - Passports and Adventures
They look fantastic. What an ingenious idea. I would never have thought to do something like this but it seems simple enough but so effective!
Kelly-Anne
Oh I love this idea, how creative are you? My daughter would love one of these!
Cindy Clinton
I love this!! My grandson’s “big boy” bedroom is a camping theme, so this is perfect. I’m mostly done with it and your instructions have been easy to follow.