DIY Bunting
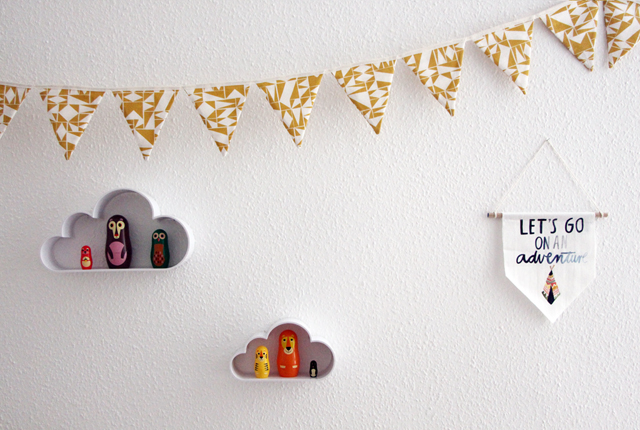
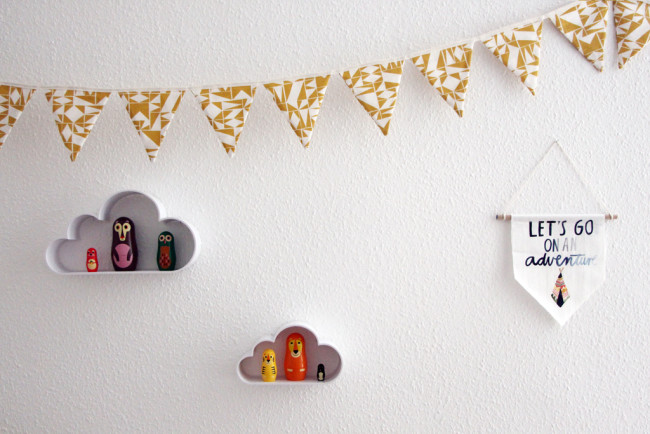
Hello lovely readers, it’s been a while since I posted a DIY and since people keep asking me about the beautiful bunting that appears in my Instagram pictures, I thought I’d share with you how I made it.
We made some quick and easy bunting when we celebrated the Queen’s jubilee a couple of years ago. This version takes a bit more time, but is more hard wearing and durable so will last longer and is worth the extra effort.
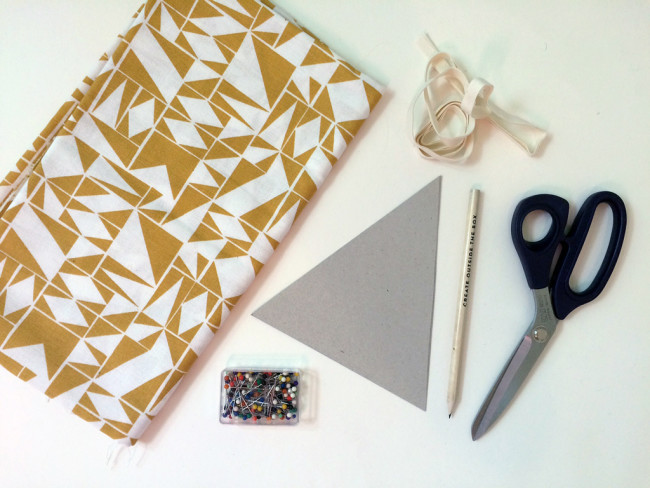
Here’s what you’ll need:
- some fabric
- the bunting template (see below)
- some cardboard
- a pencil
- scissors
- 3.5m of bias tape
- pins
You’ll also need a sewing machine, or else needle and thread but it would be A LOT to sew by hand. It’s really simple sewing though, so easy even for a sewing machine beginner (like me!). An iron will also come in handy. The beautiful fabric is from Super Craft Lab in Berlin, by the way, and they have an online shop too!
>> download the bunting template
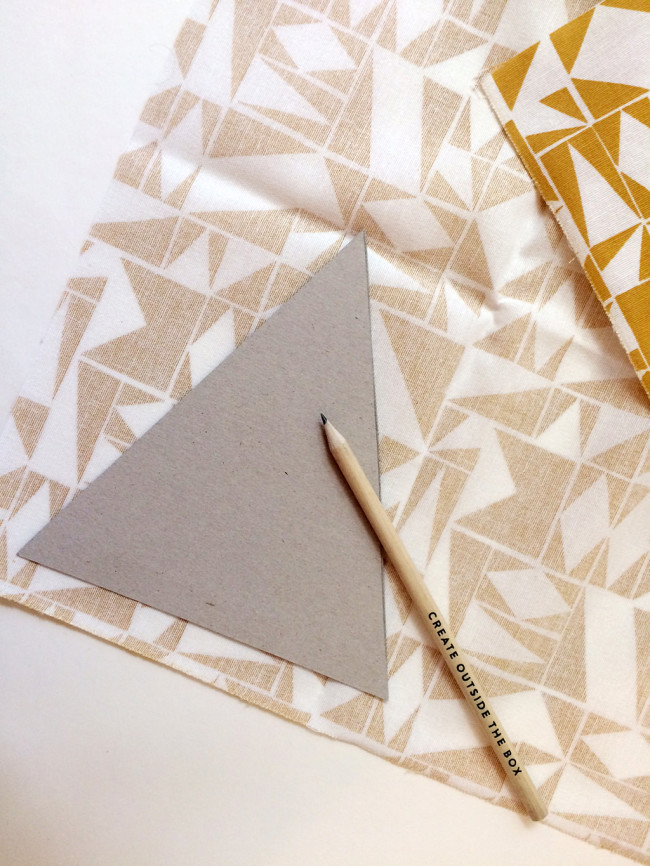
Step 1: Download and print off the bunting template, then transfer it to cardboard and cut that out.
Step 2: Draw around the template and cut out each triangle with an added edge/seam allowance of aprox. 1cm along the two long sides (so don’t draw them too close together). You’ll need to cut out double the amount to the number of triangles you want, so for my bunting I cut out 40 pieces to make a final total of 20 triangles, which gives you a bunting of around 3 metres.
Step 3: Taking two cut out pieces at a time, place them with the wrong sides together and run your sewing machine down one of the long sides then up the other, with the 1cm seam allowance. Leave the top/short side open.
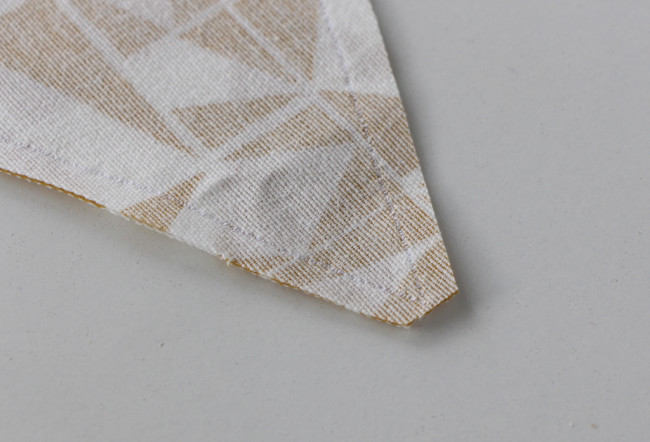
Step 4: Snip off the tip of each triangle, a few mm below were you sewed (see above). This will make it easier to turn the pieces inside out.
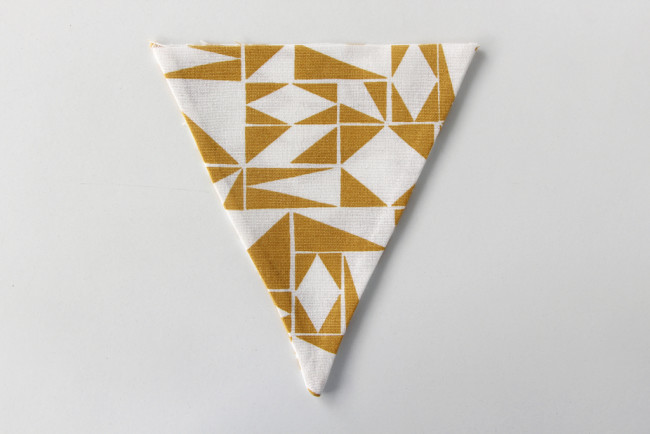
Step 5: Turn each triangle inside out (or outside in?) so that the right side is now on the outside. Your pencil can be a handy helper to get right in to the tip.
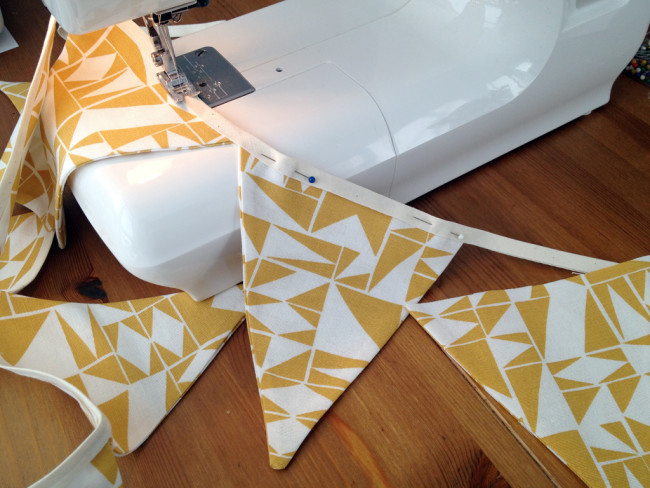
Step 6: Fold your bias tape in half and press with the iron.
Step 7: Leave about 20cm at the end of the bias tape, then pin your first triangle in to place, in between the folded bias tape. Pin the next triangle in place so it is just touching the previous one until you have them all pinned, then sew along the top.
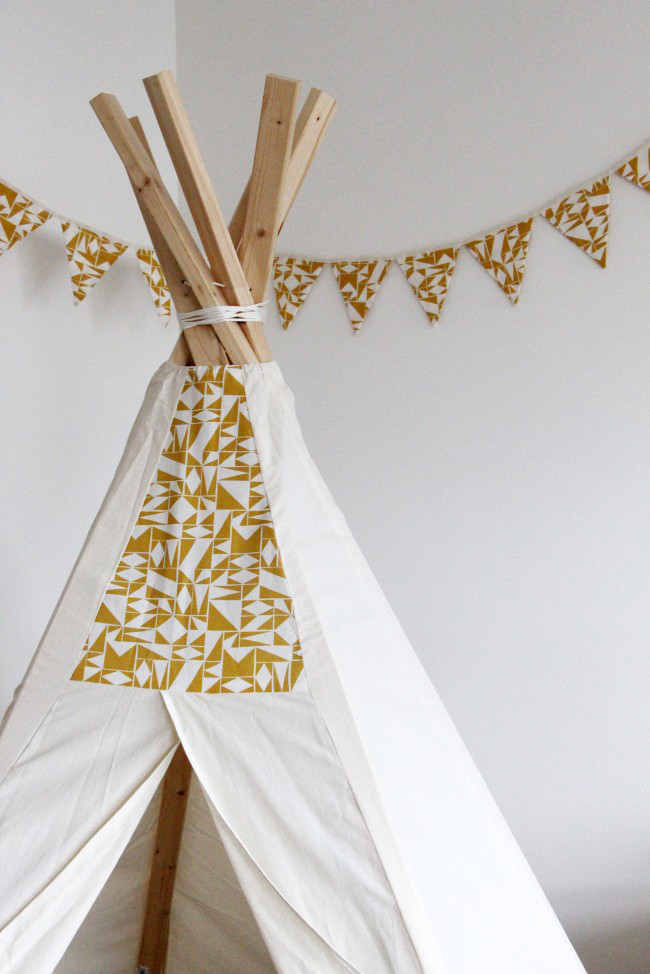
Finished! I used the same fabric that I used when I made our teepee, which really pulls the playroom together. But you can mix it up any way you like. If you make any bunting, I’d love to see some pics! You can share with me over on Facebook or tag me on Instagram or Twitter.
Kate
That is such a beautiful fabric print. I would really love to make my own bunting so thank you for this step by step guide. I just need to learn how to use a sewing machine – it’s been on my to do list for ages but would be a very useful skill! Kate http://www.fivelittlestars.com
Sarah | Boo Roo and Tigger Too
I really love this idea. We are in the middle of sorting our garden and I love the idea of adding some bunting
Cal at Family Makes
I much prefer this lovely double sided bunting – so much better quality and long lasting too. The fabric you’ve chosen is beautiful – it really makes the bunting stand out. I have lots of bias binding squirrelled away, you’ve reminded me to take it out and make something pretty!
Rhian Westbury
The bunting is so pretty and I love how it matches the teepee x
Fashion and Style Police
Love the fabric you have used here. Looks fab.
Musings of a tired mummy...zzz...
Great idea for making something that can be reused for lots of special occasions :) I wish I could used a sewing machine!
Jayne @ Sticky Mud and Belly Laughs
That looks fab, I love how it matches up with the teepee, very useful tutorial :)
Lindsey London Mumma
I love this little creation. It is perfect for any bedroom or party, plus the fabric is super cute.
Elizabeth
Home made bunting is so simple to make and it looks fantastic too. Love how yours matches the teepee!