
Teddy Bear Wardrobe
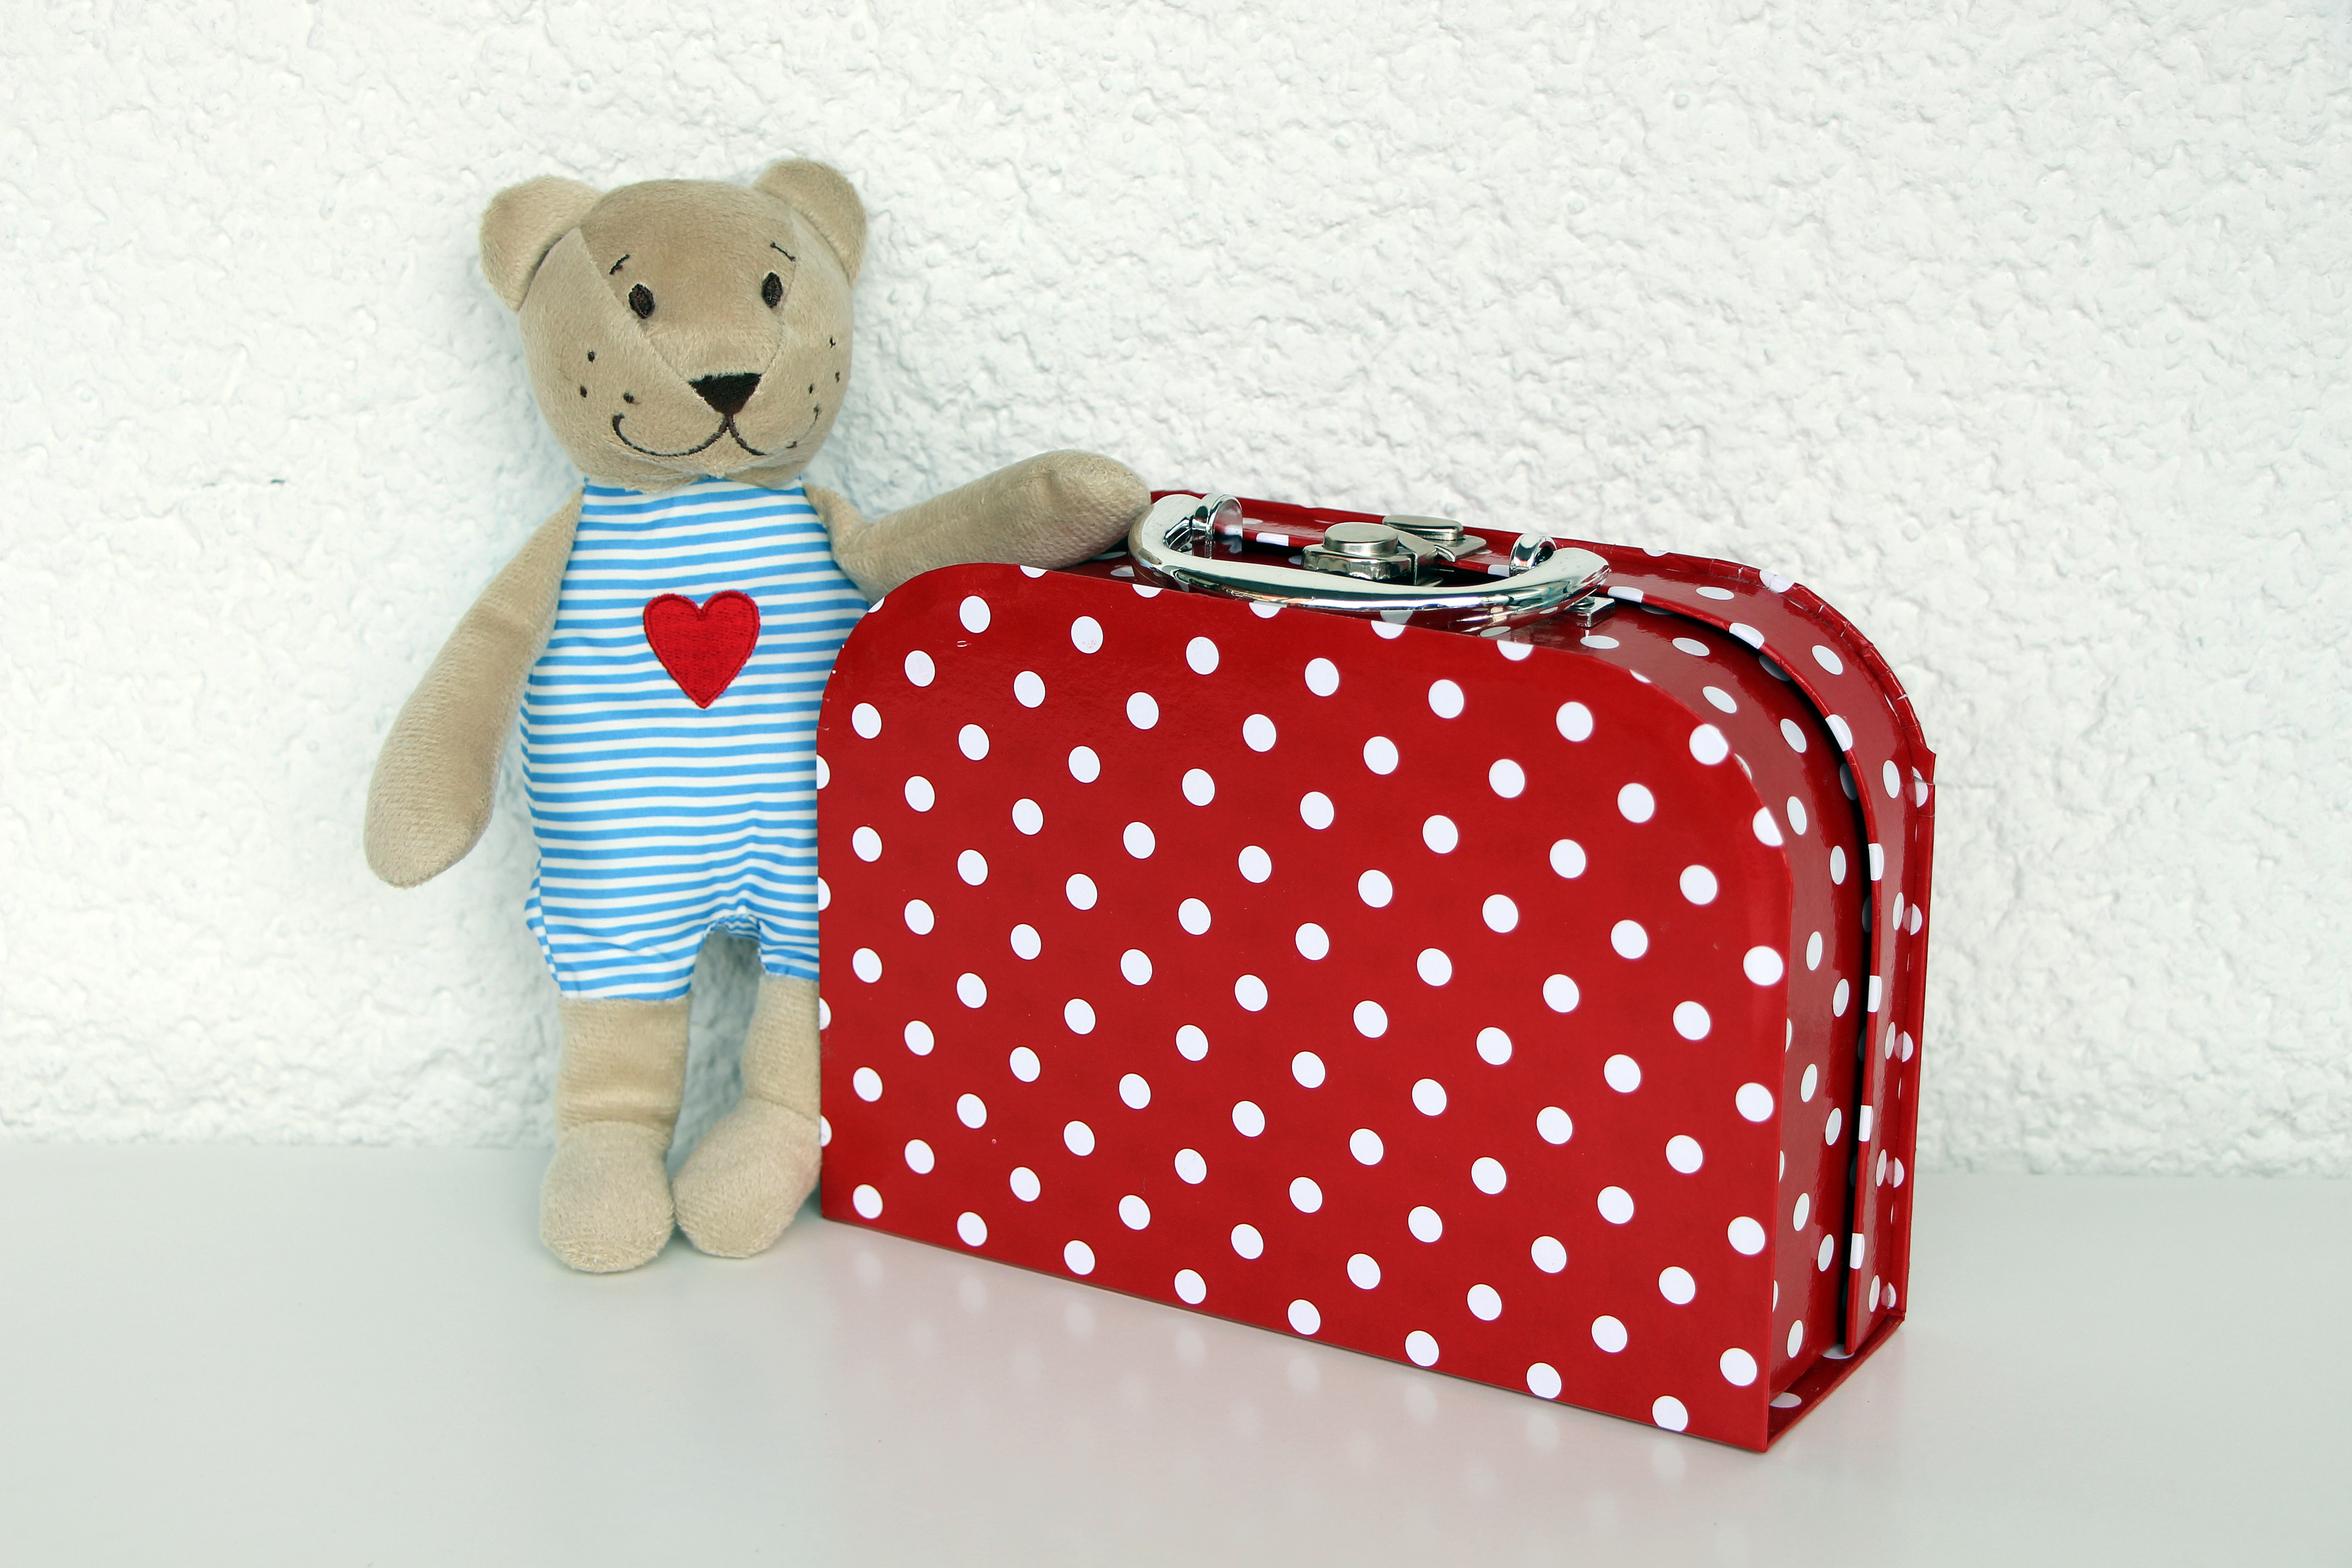
Are you ready for this week’s DIY gift idea? We’re back to sewing this week. Earlier this year, we attended my sister-in-law’s wedding in Scotland and I wanted to bring along something quiet for the boy to play with to keep him occupied if necessary. He already had one of those cheap little teddies from IKEA that he likes to carry around everywhere, and after spotting a little suitcase for a couple of Euros in our local pharmacy, the idea for a teddy travel wardrobe was born.
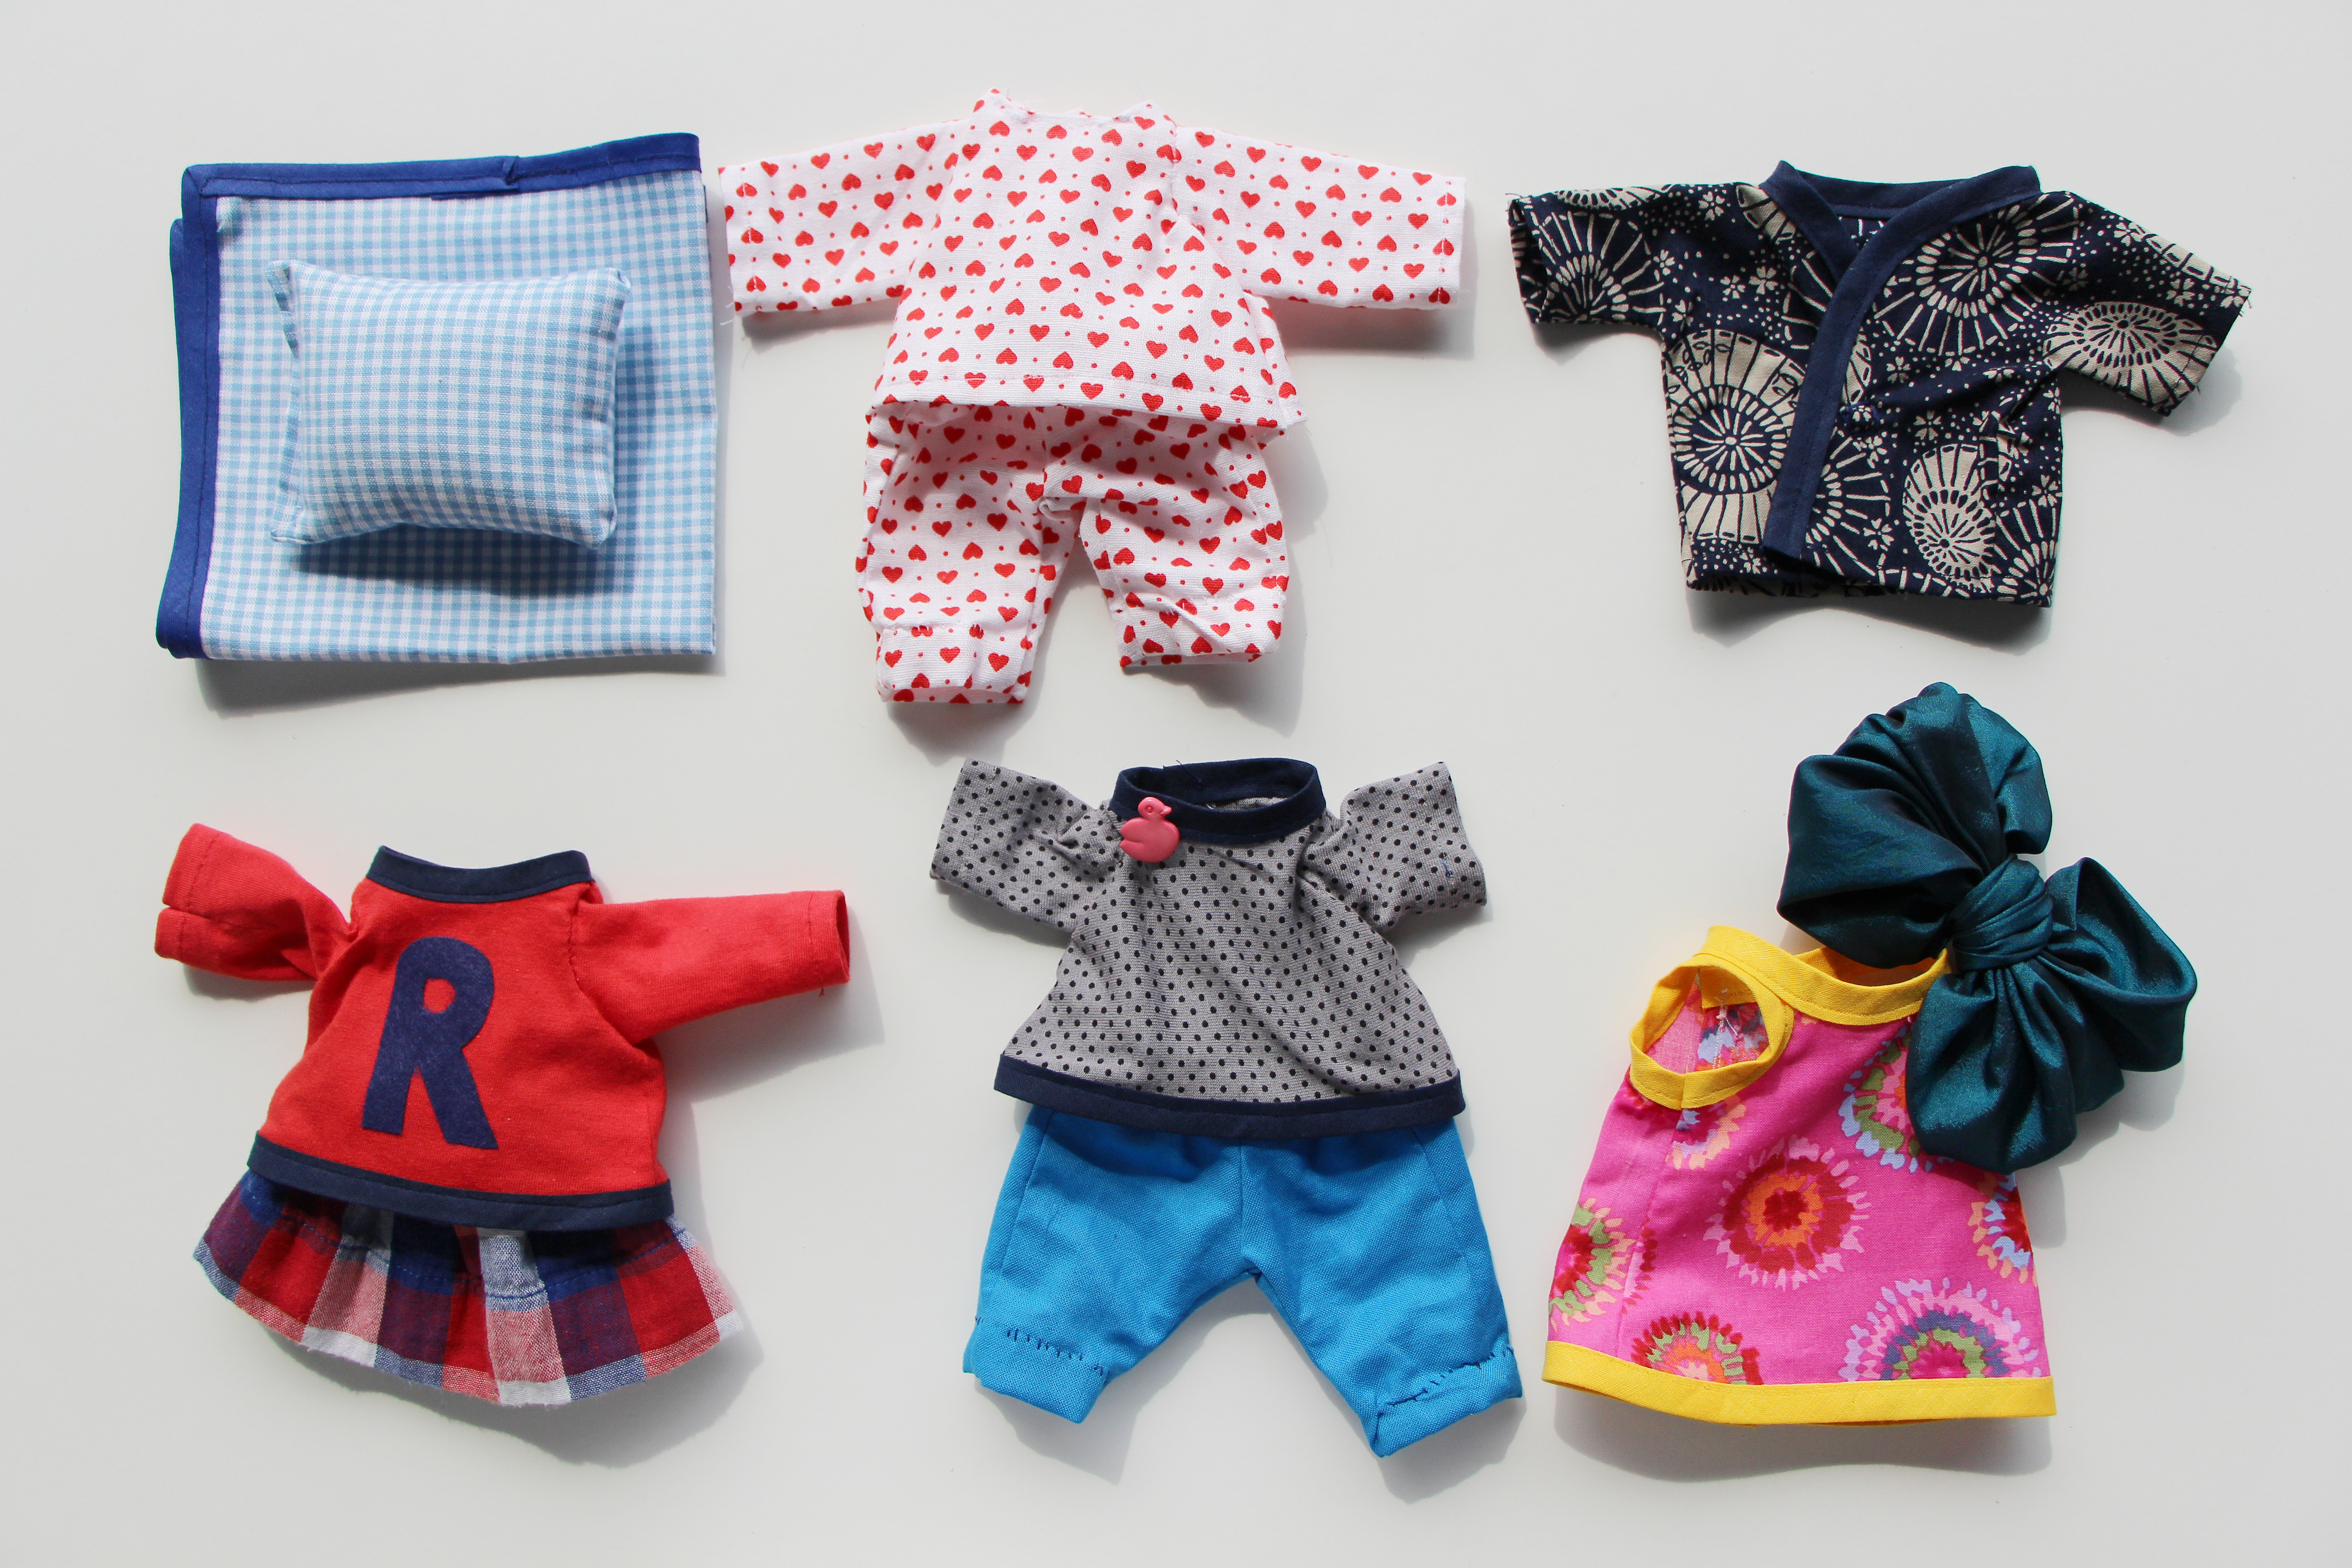
I didn’t want to go over the top, but though it needed enough variation to keep him interested an occupied. In the end, I settled for three outfits, plus a coat, PJs and a pillow and blanket for bedtime.
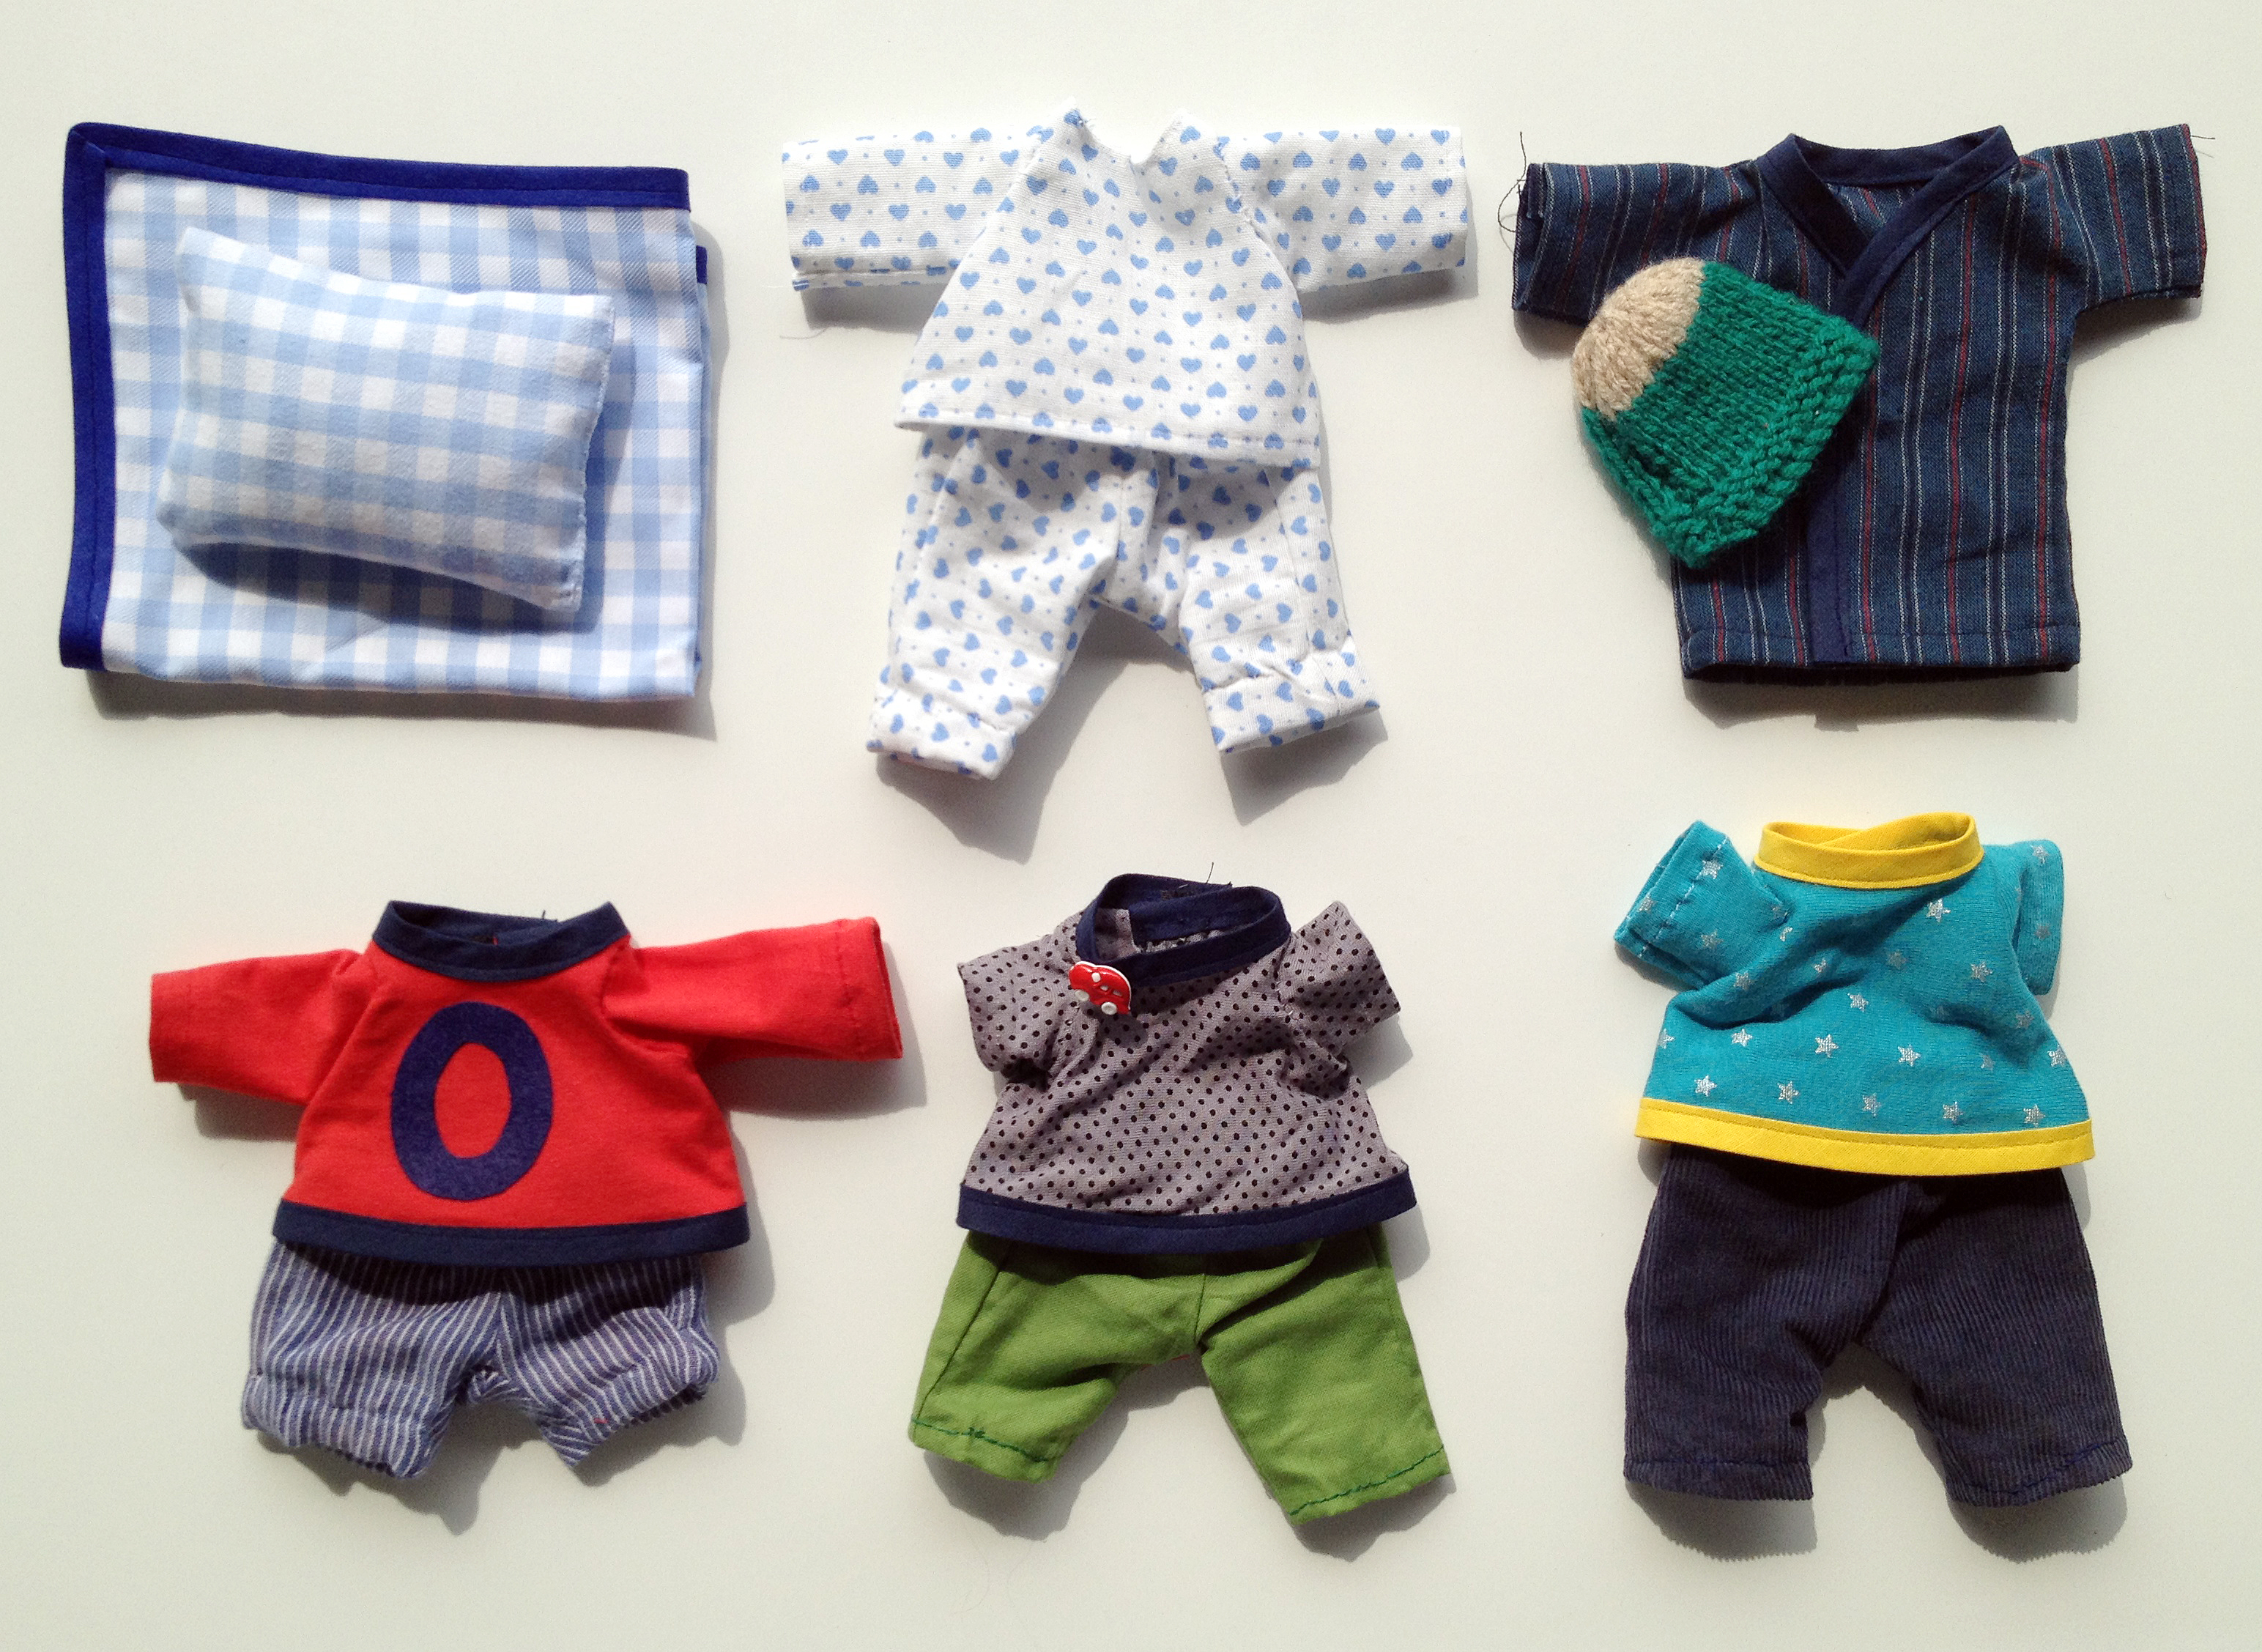
Since the boy’s little cousin would also be at the wedding, I picked up another teddy and proceeded to make two of everything . As they are boy-girl cousins, I decided to make the bears boy-girl cousins too, and added a bit more variation by swapping in a skirt for one of the trousers, and a dress for another of the outfits.
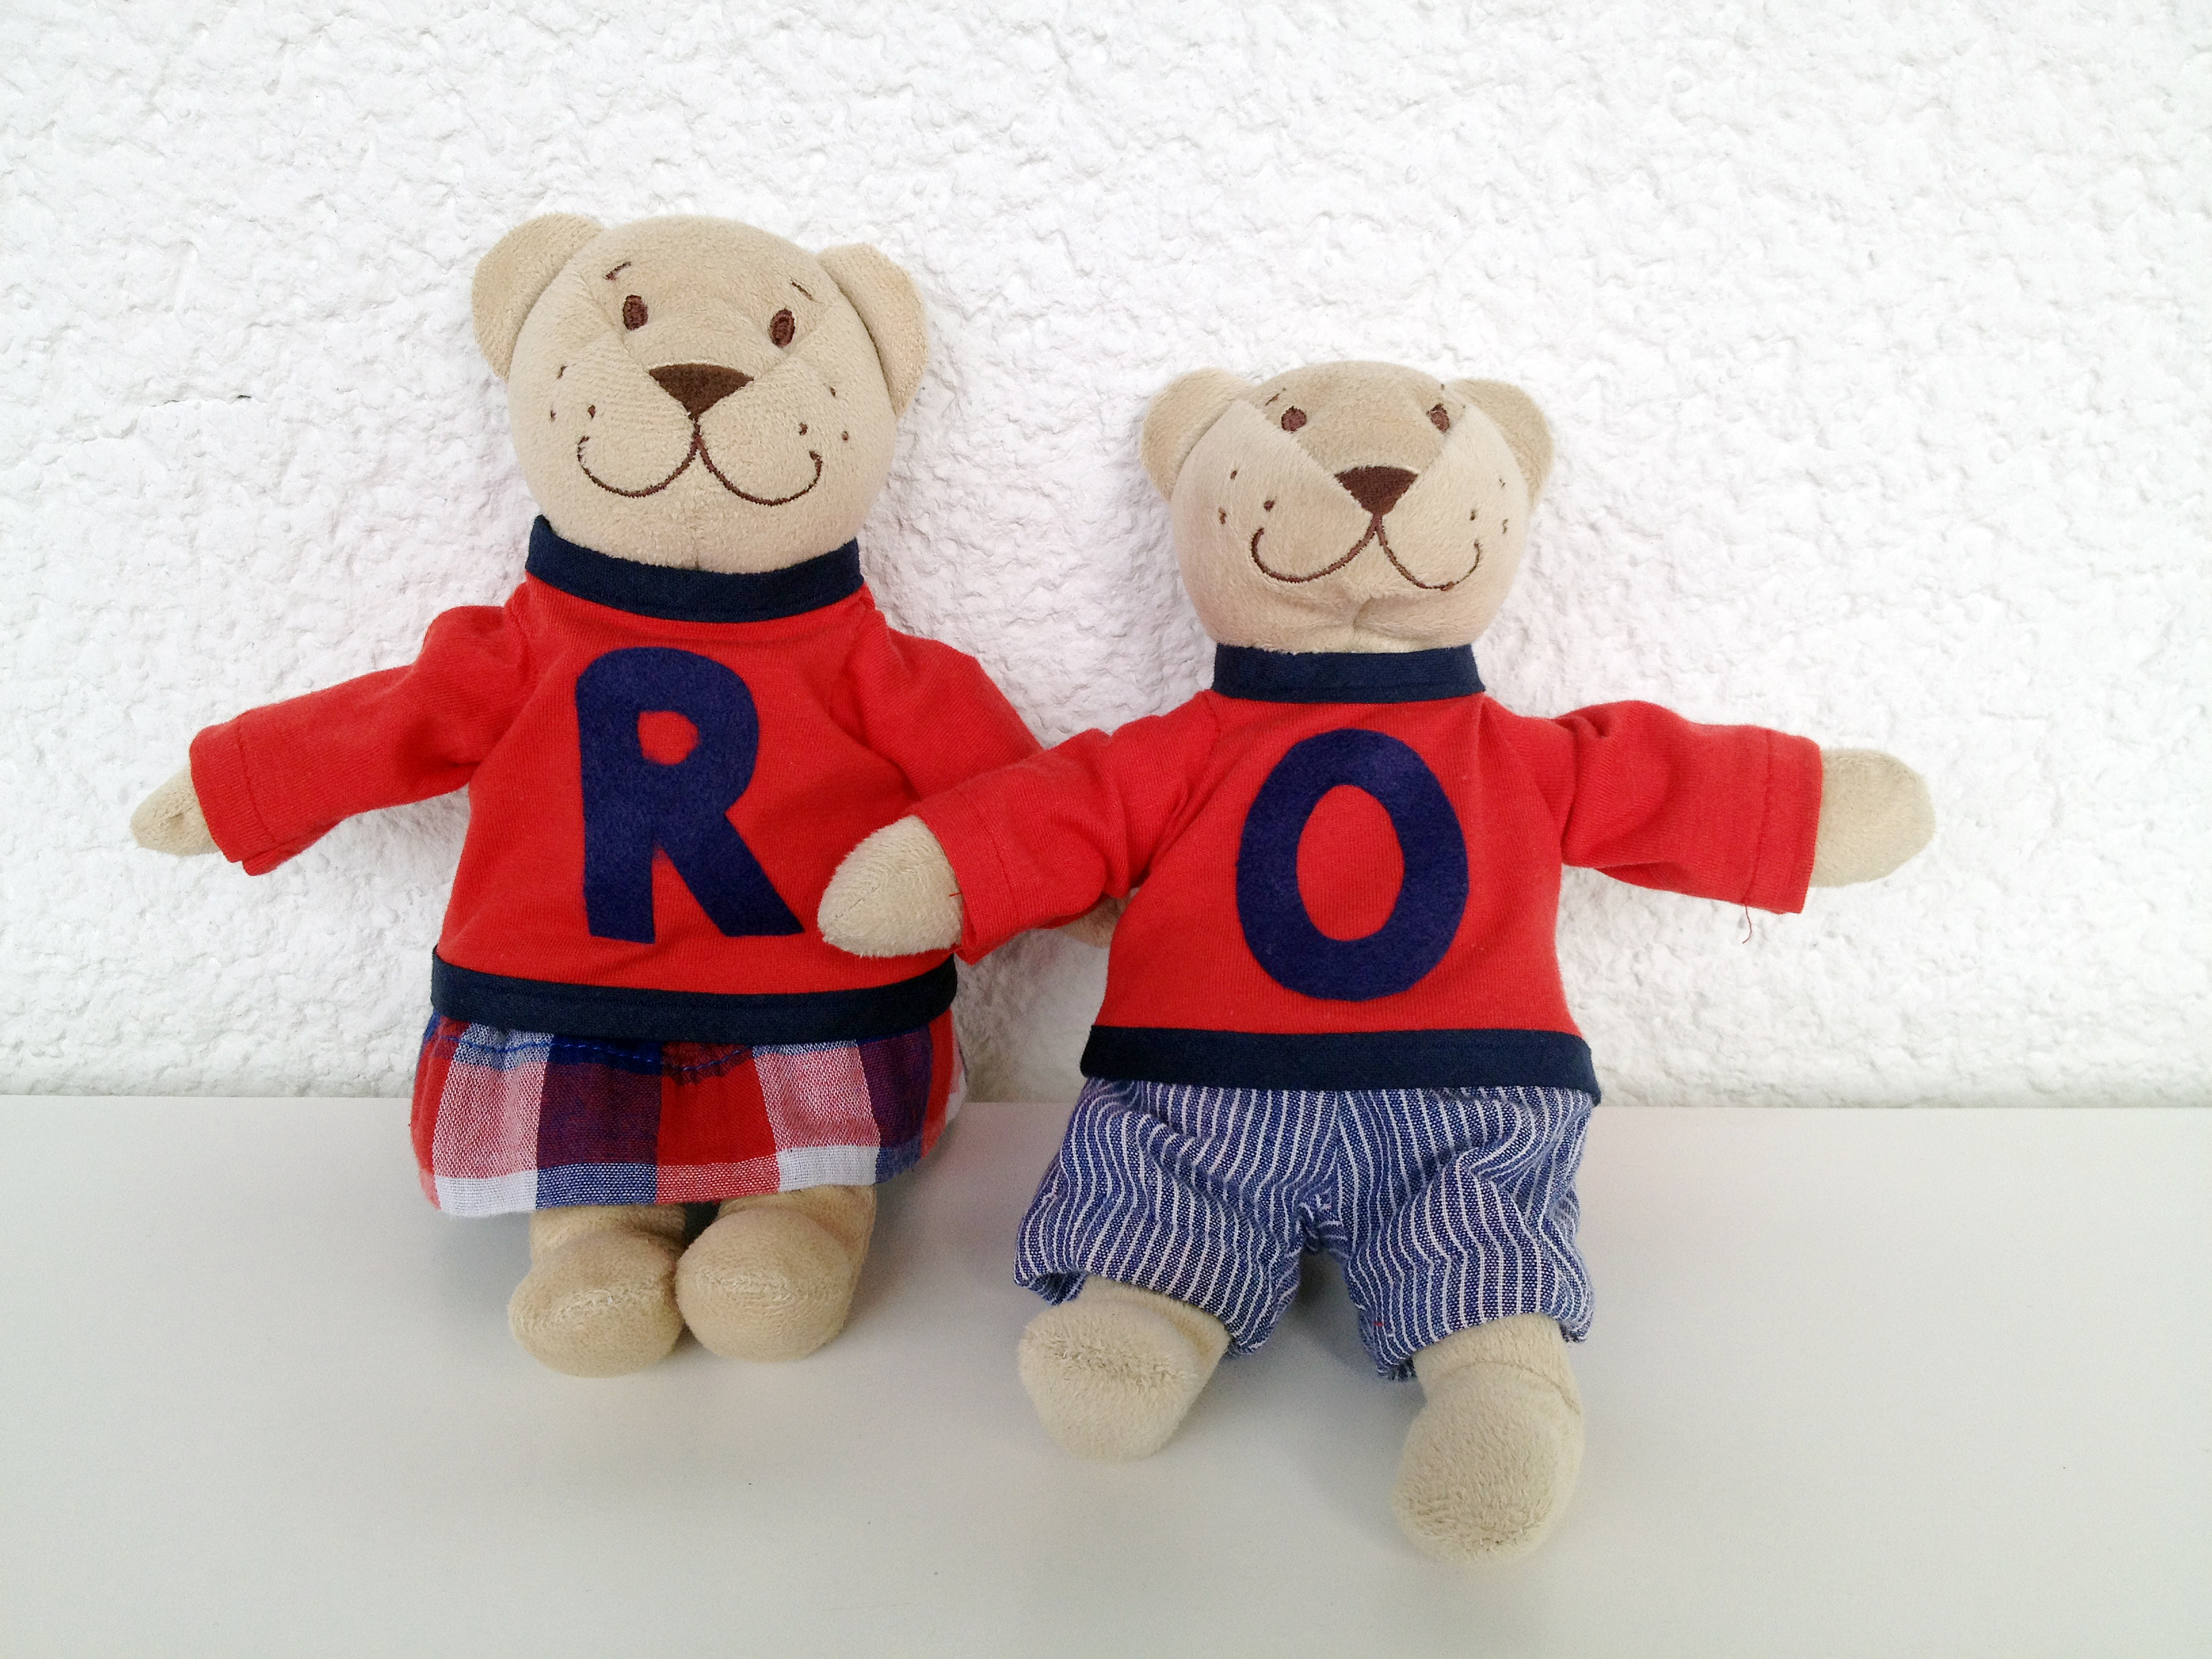
Here the teddies are in matching T-shirts, perhaps for a leisurely game of ball in the park? The letters are made from felt and fixed on with fabric glue (the letters correspond to the cousins’ initials). R bear’s skirt is just the end of an old kid’s shirt sleeve with the top edge sewn over and some elastic pulled through. Easy!
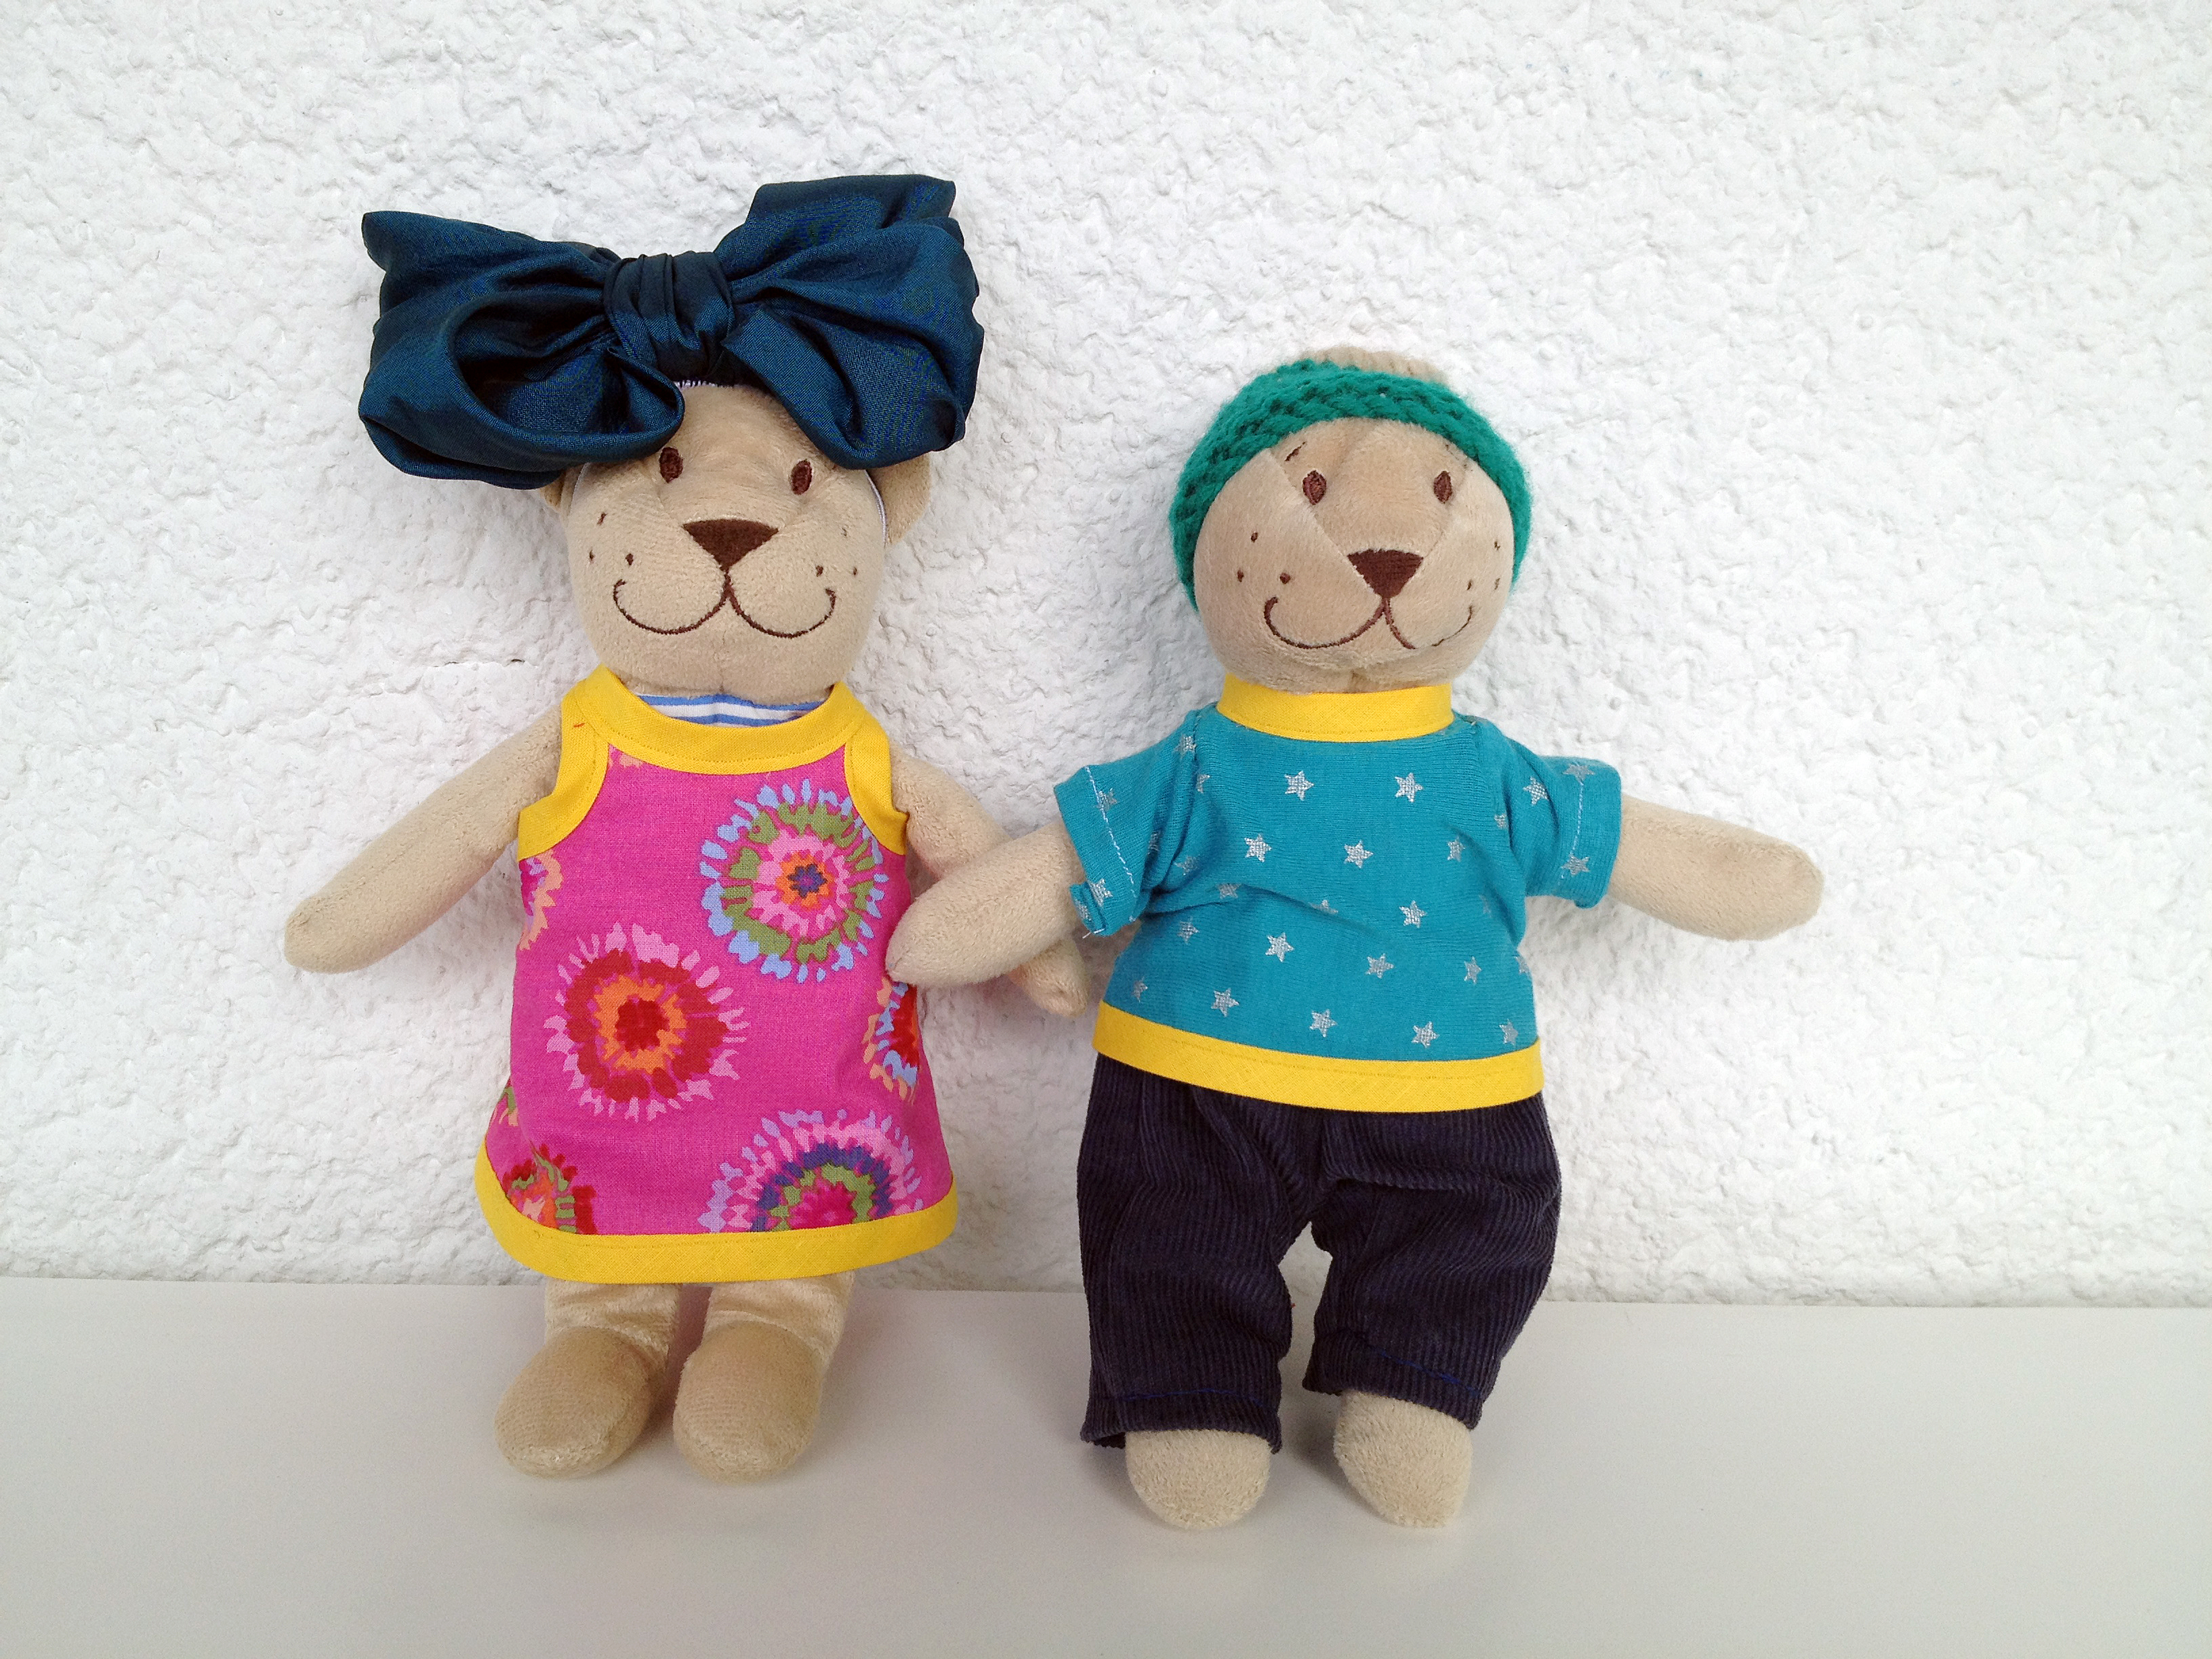
Here the teddies are dressed to go out. The bow is from an old hair band of mine, which I just sewed some elastic to the back of to go around teddy’s head. The wooly hat is from an Instant Smoothie! It was a perfect fit. But if, unlike me, you can knit you could just knit one of course ;)
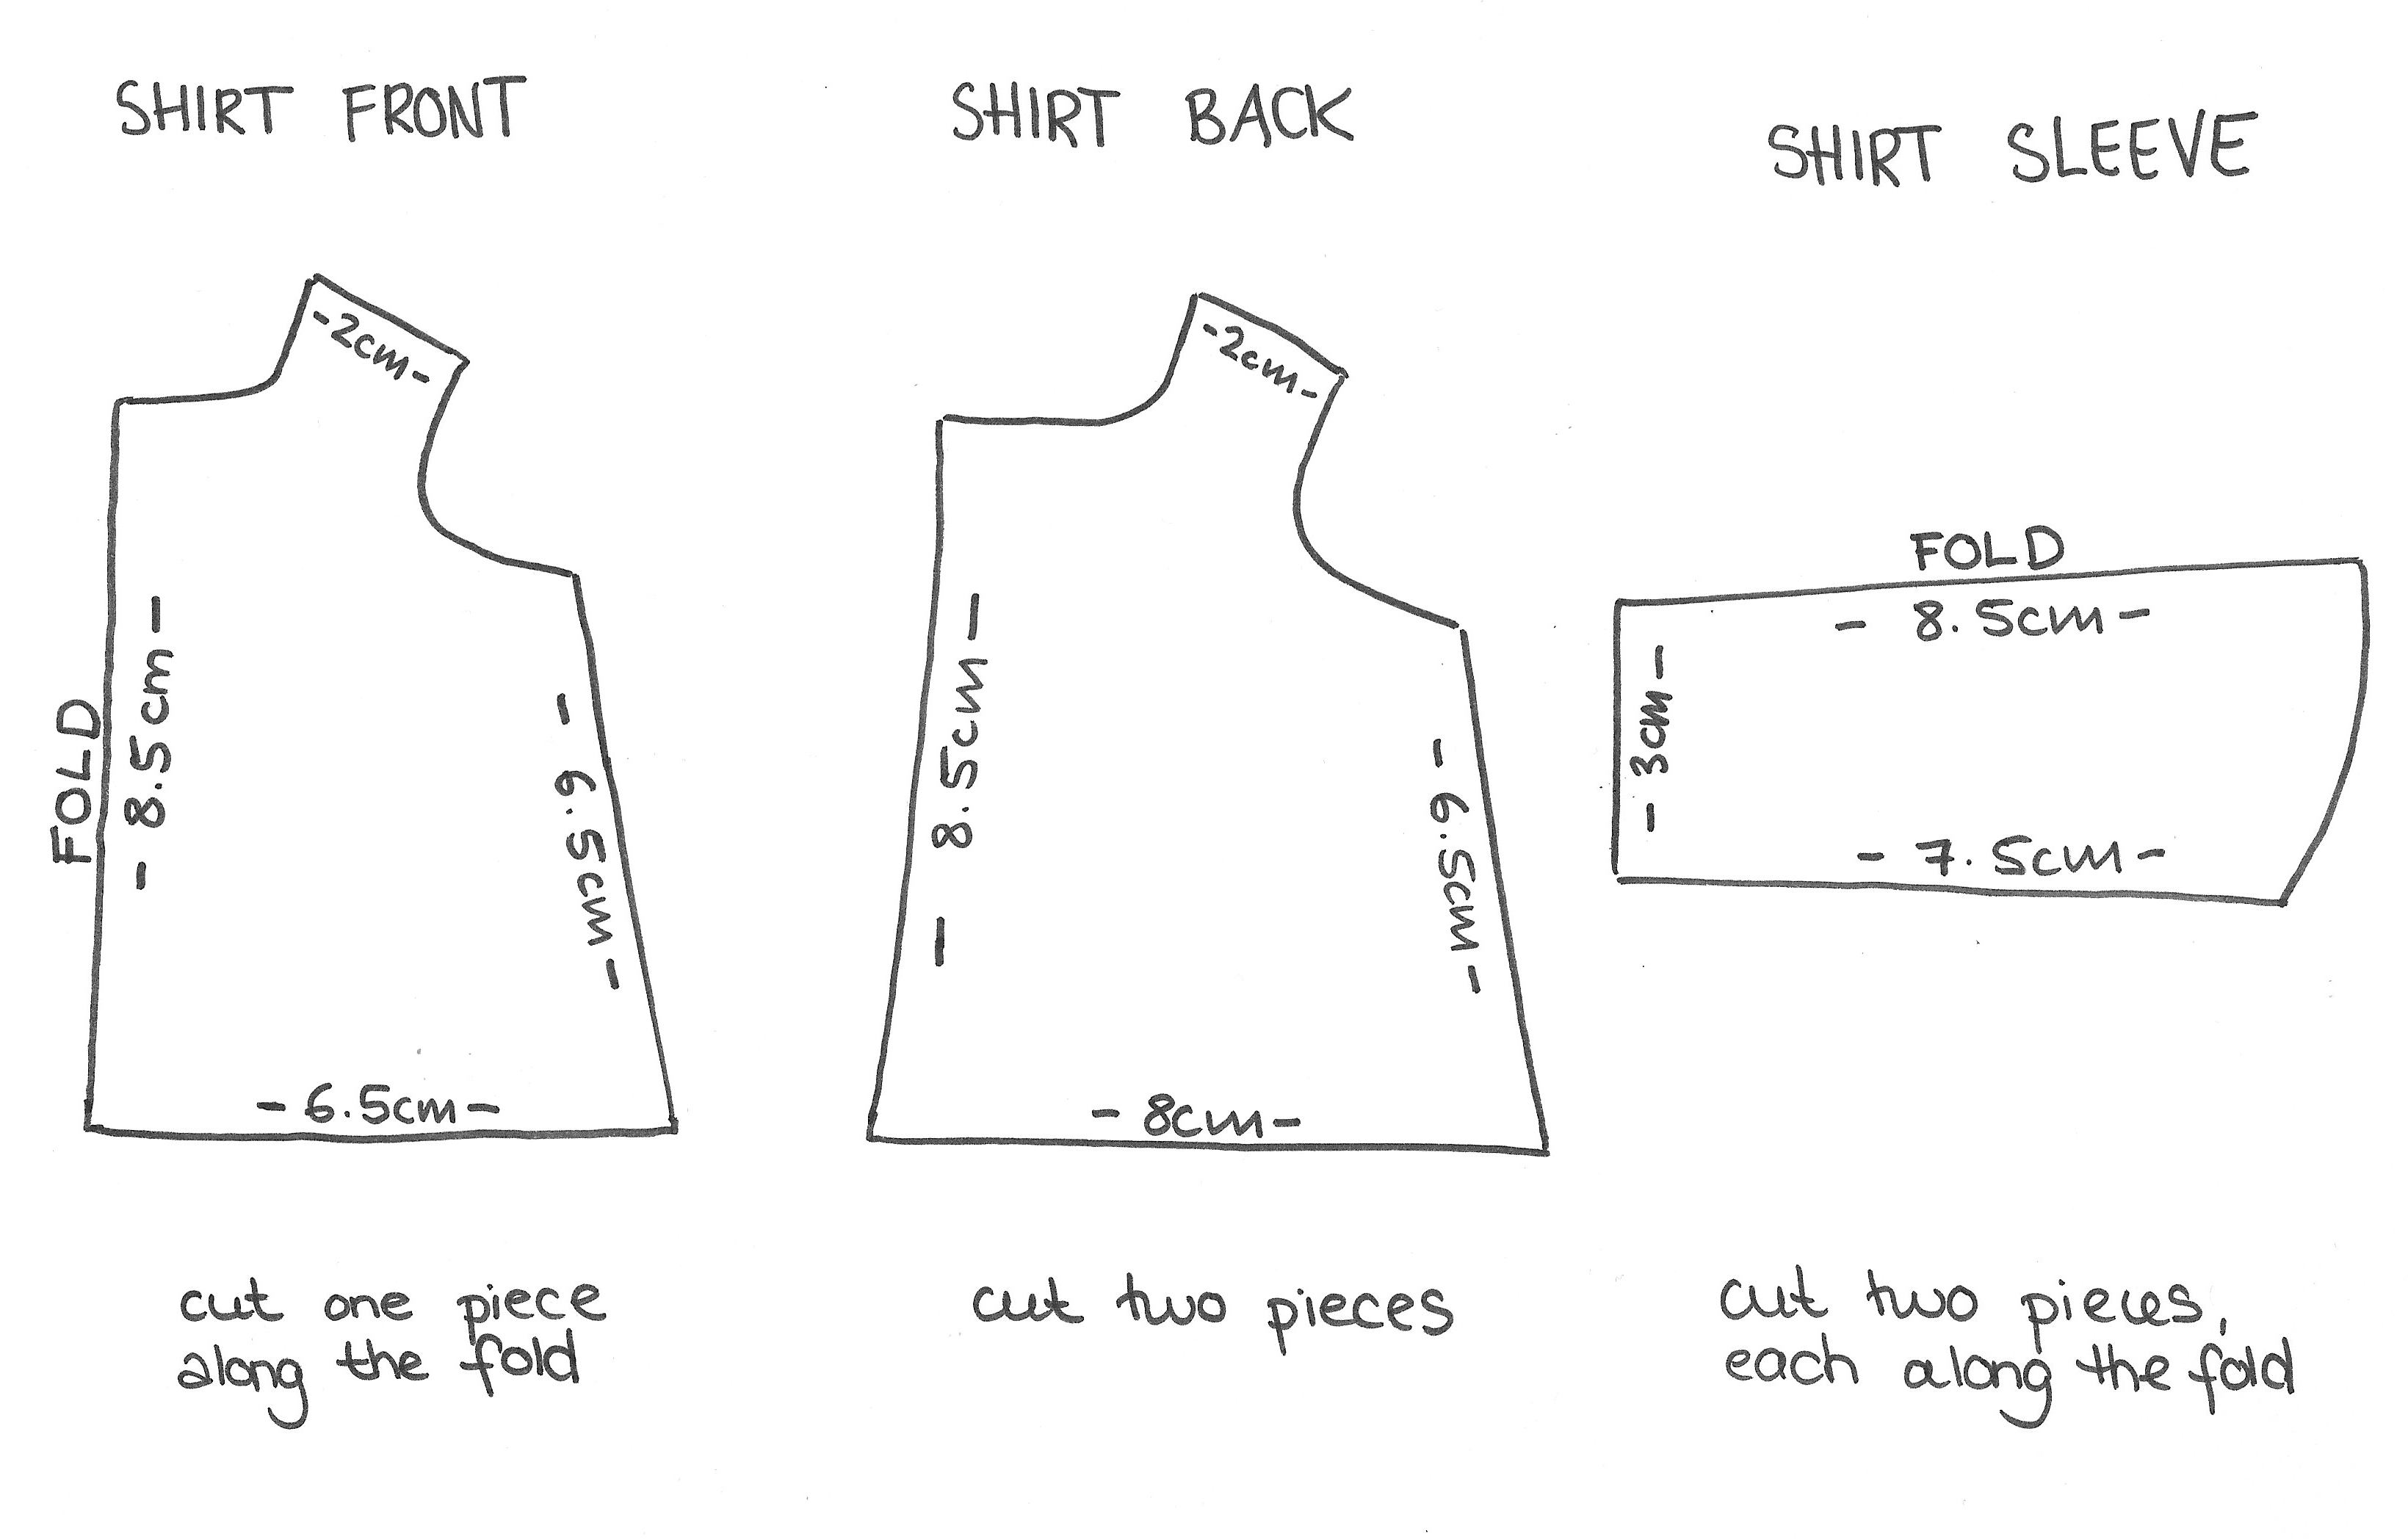
The T-shirts, PJ tops and even the dress are all variations of the same thing. I used an old doll’s T-shirt I still had in a box of *my* old toys in the basement to make a template, then adjusted the size to fit the teddies. For the front, fold a piece of material, lie the template against the fold and cut out one double layered piece. For the back, cut out two separate pieces – don’t be surprised that the back pieces are wider at the bottom than the front pieces, as you’ll need these to overlap where the T-shirts will fasten. Finally, cut out two sleeves, again by folding your material and cutting a double layer against the fold (I hope that makes sense). The template is for a long sleeve T-shirt.
I assembled the T-shirts in the following order:
- Sew the two back pieces on to the front pieces by laying them right sides together and sewing along the side seams and the shoulder seam.
- Hem the open edges of the back pieces.
- Hem the end of the sleeve pieces where teddy’s hands will be.
- Fold the sleeve pieces in half, right sides together, and sew along the open edge.
- Sew the sleeves in to the rest of the T-shirt – this was the most difficult and fiddly bit and almost had me give up at times! I ended up doing this by hand. To do so, I put the sleeves in to position, turned the T-shirts inside out, and hand stitched the sleeves in place.
- Hem the collar and bottom of the T-shirts with some bias tape.
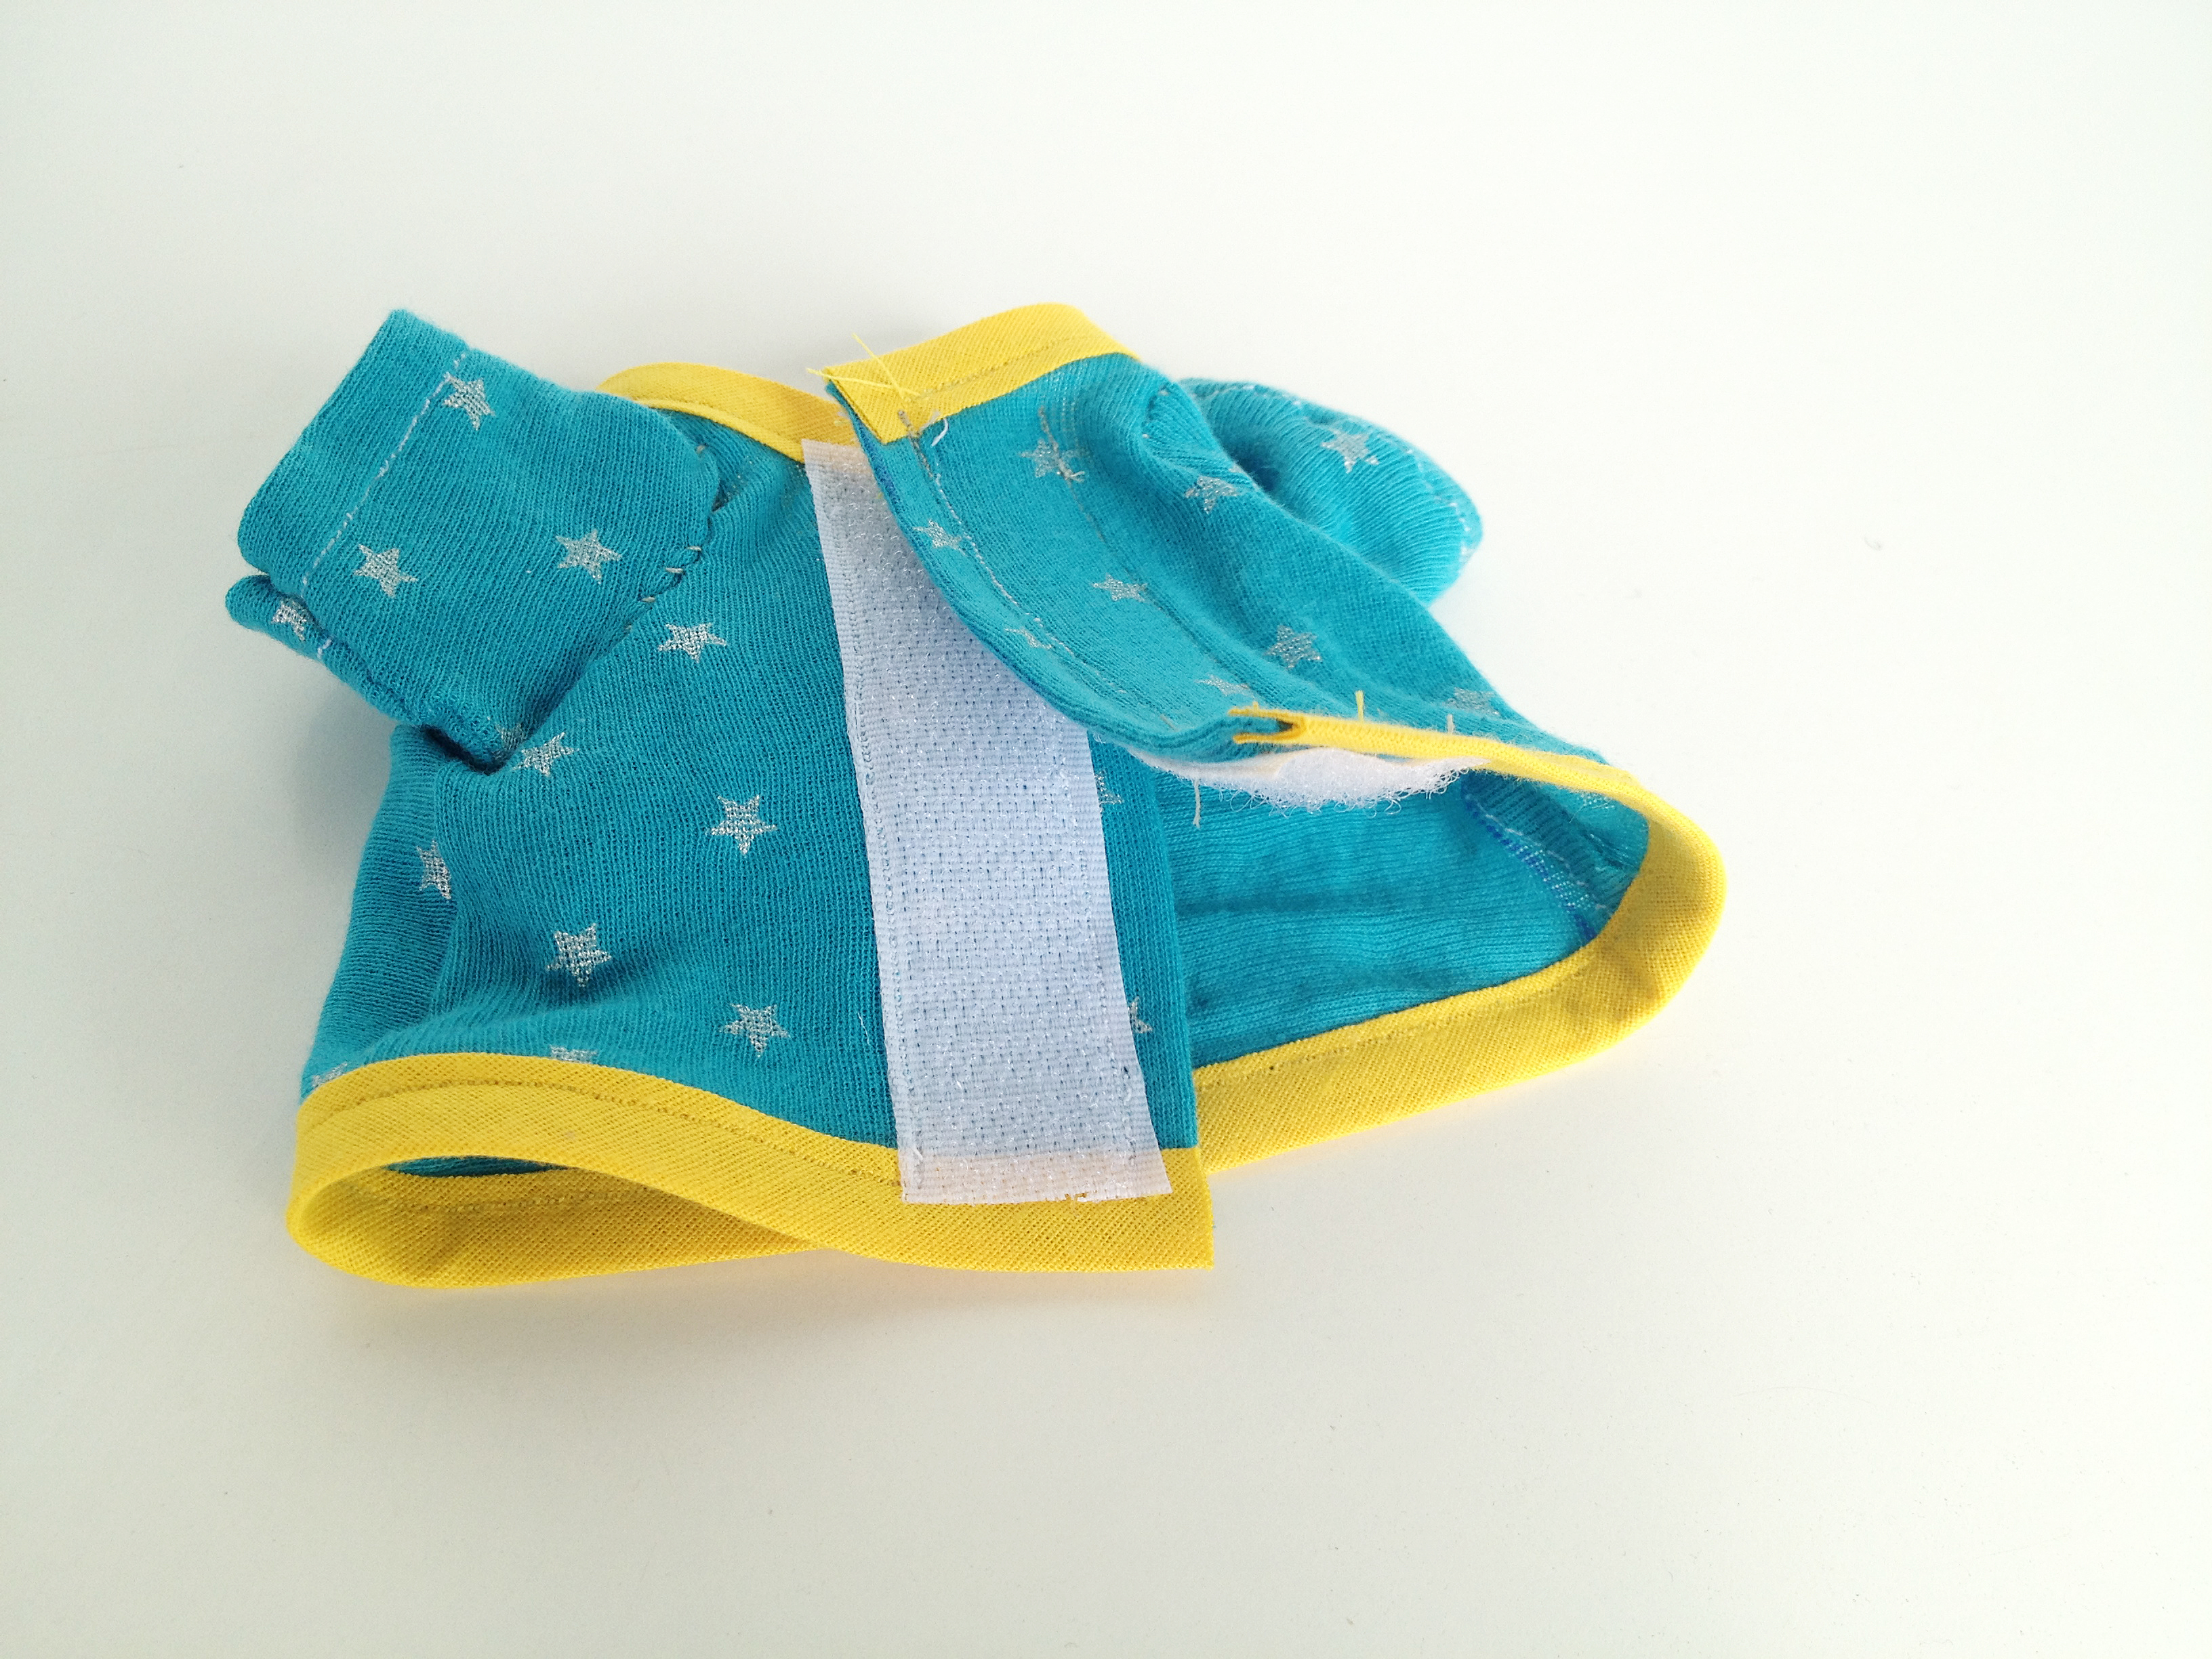
- Sew a strip of velcro on to the back pieces of the T-shirt (see photo below).
Variations: For the short sleeve T-shirts, I just cut the sleeves to the desired shorter length before hemming. For the dress, I just made the front and back pieces longer and left out the sleeves altogether, hemming the ‘arm holes’ with some bias tape instead.
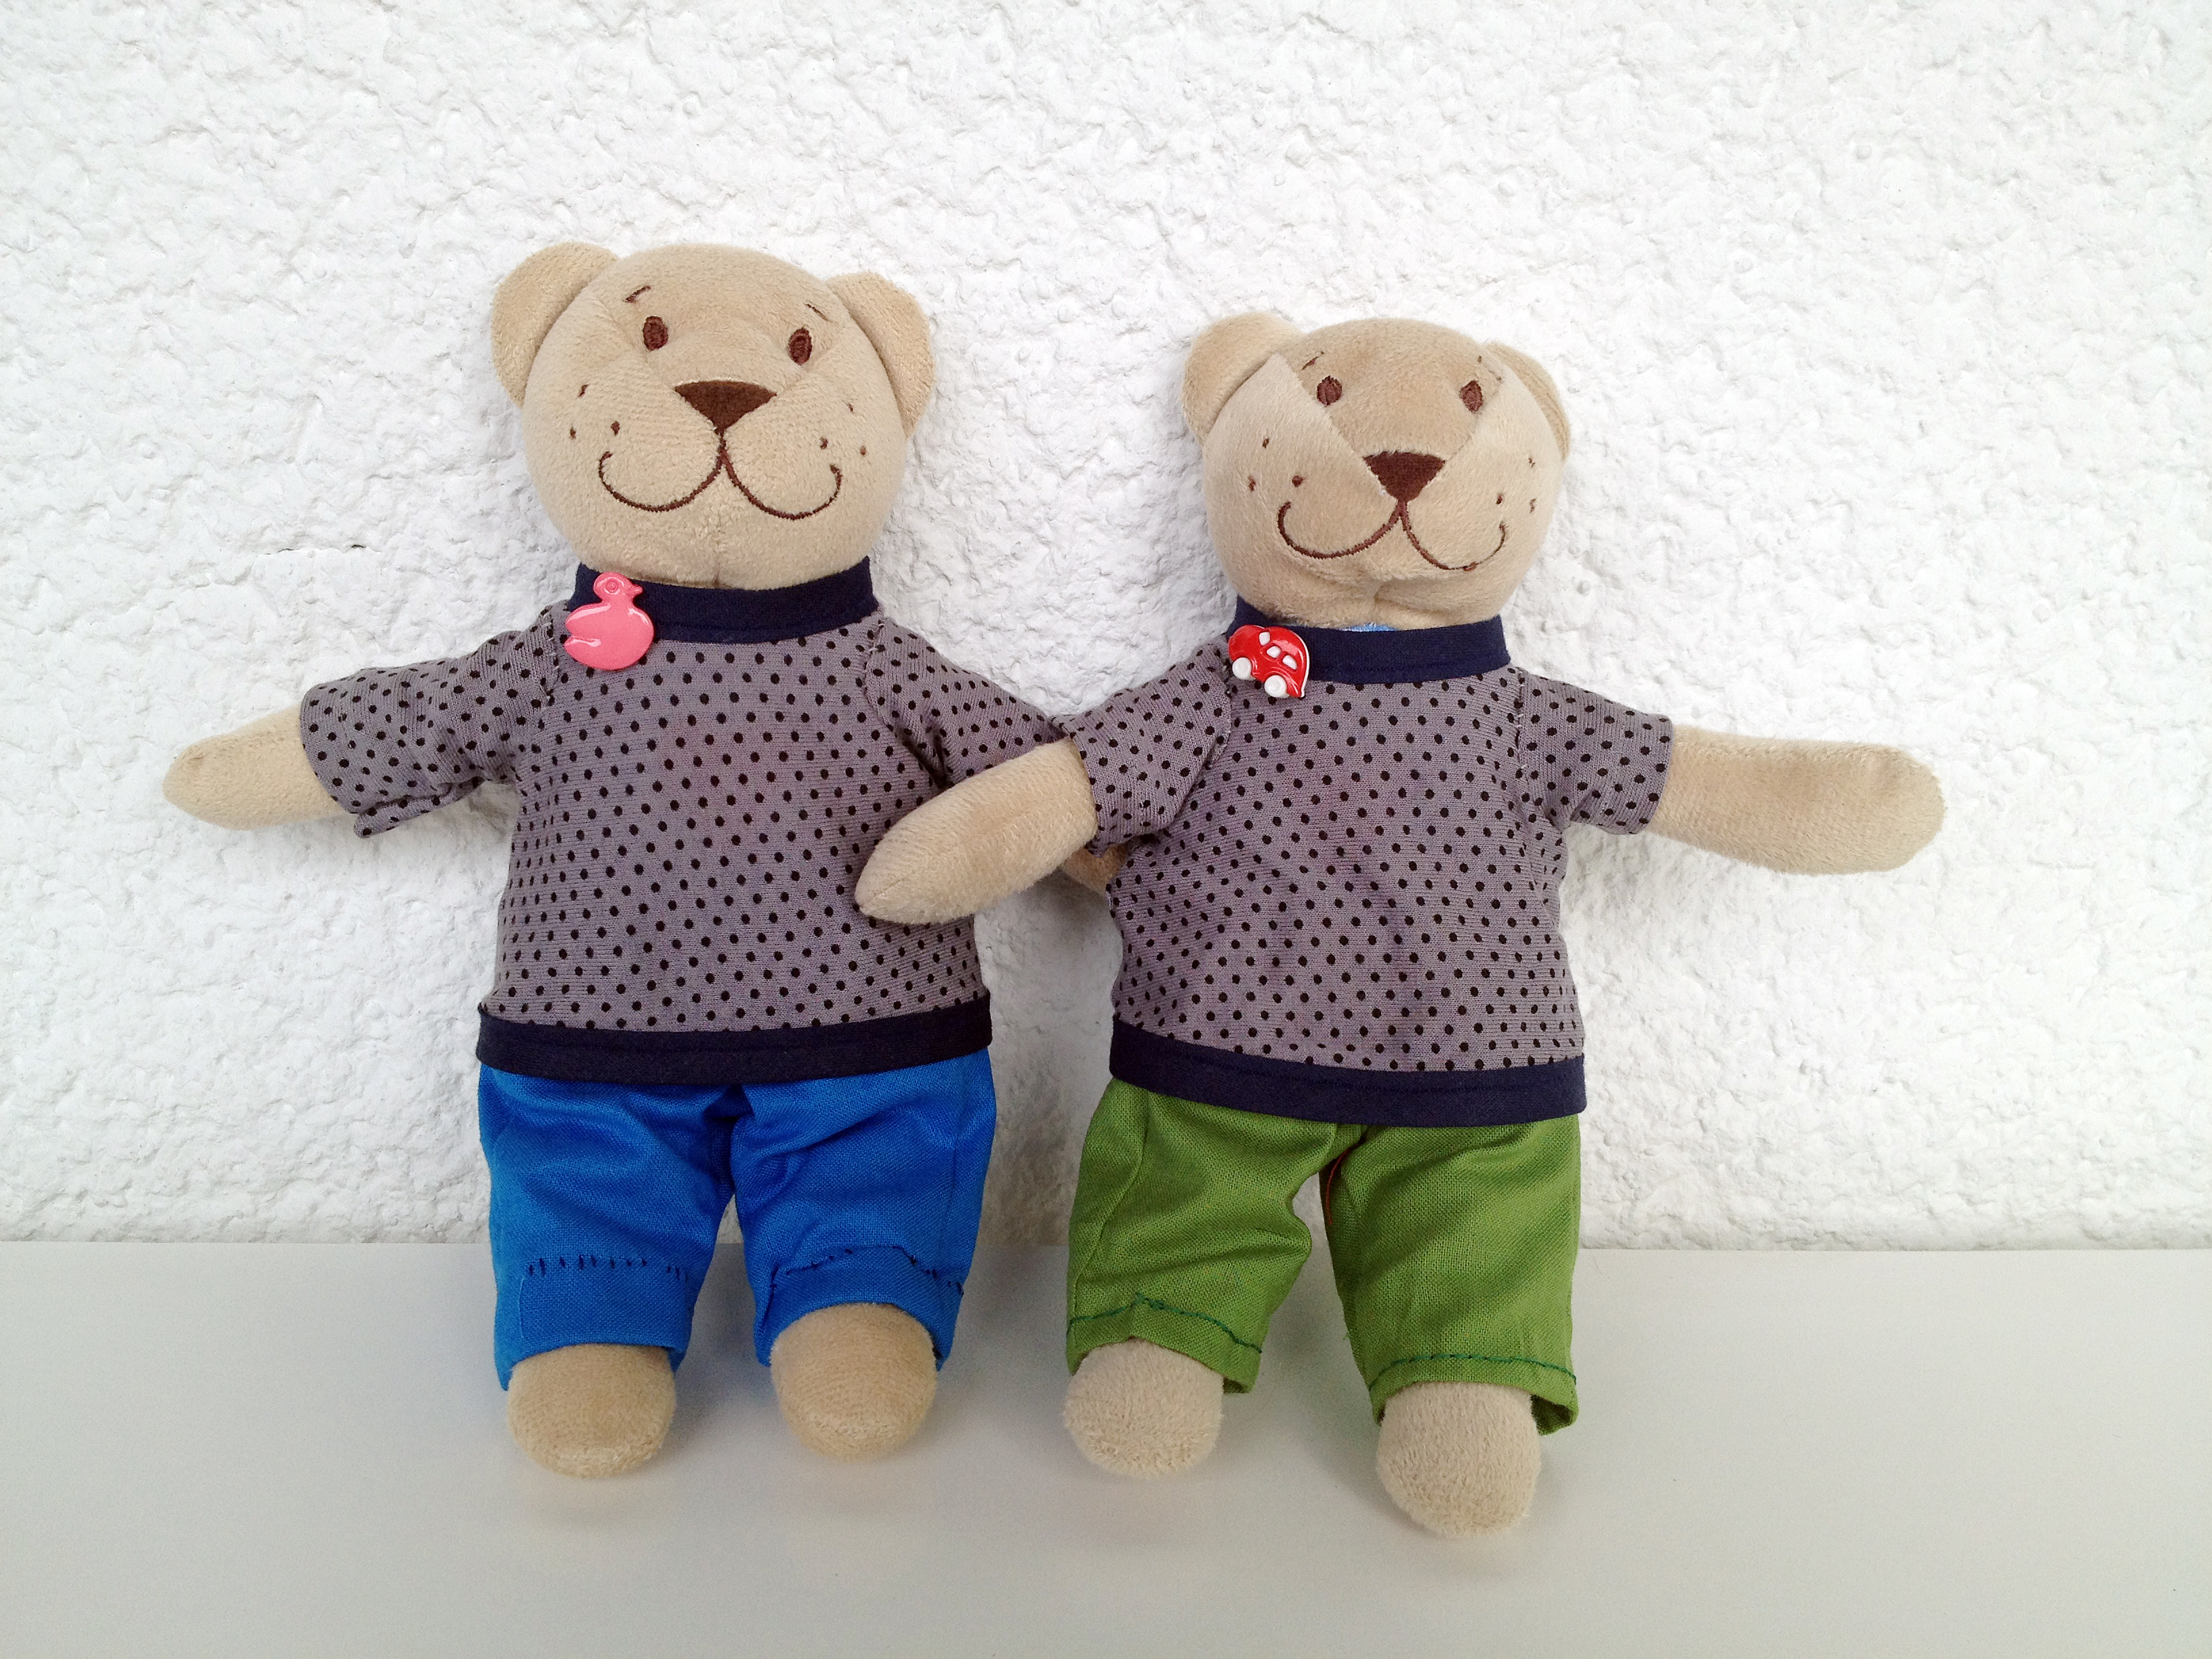
Another matching outfit, though with some variations so the cousins can keep their things apart – I added a novelty button to each of the collars as decoration, and gave them different colours of trousers. The trousers were a bit of a headache all round. I tried different variations, again using old doll’s clothes as a template, but the doll obviously didn’t have as big a bottom as the teddies and none of my attempts fit properly. In the end, I turned to the internet and came across Dana’s fabulous website (this was before my felt food search) – the IKEA teddy seems to be popular, as Dana had had the same idea in making a teddy wardrobe for the exact same bear. Luckily, her teddy blog post included a trouser template for bears with big bottoms, so I suggest you did what I did and just head over to her site for guidance!
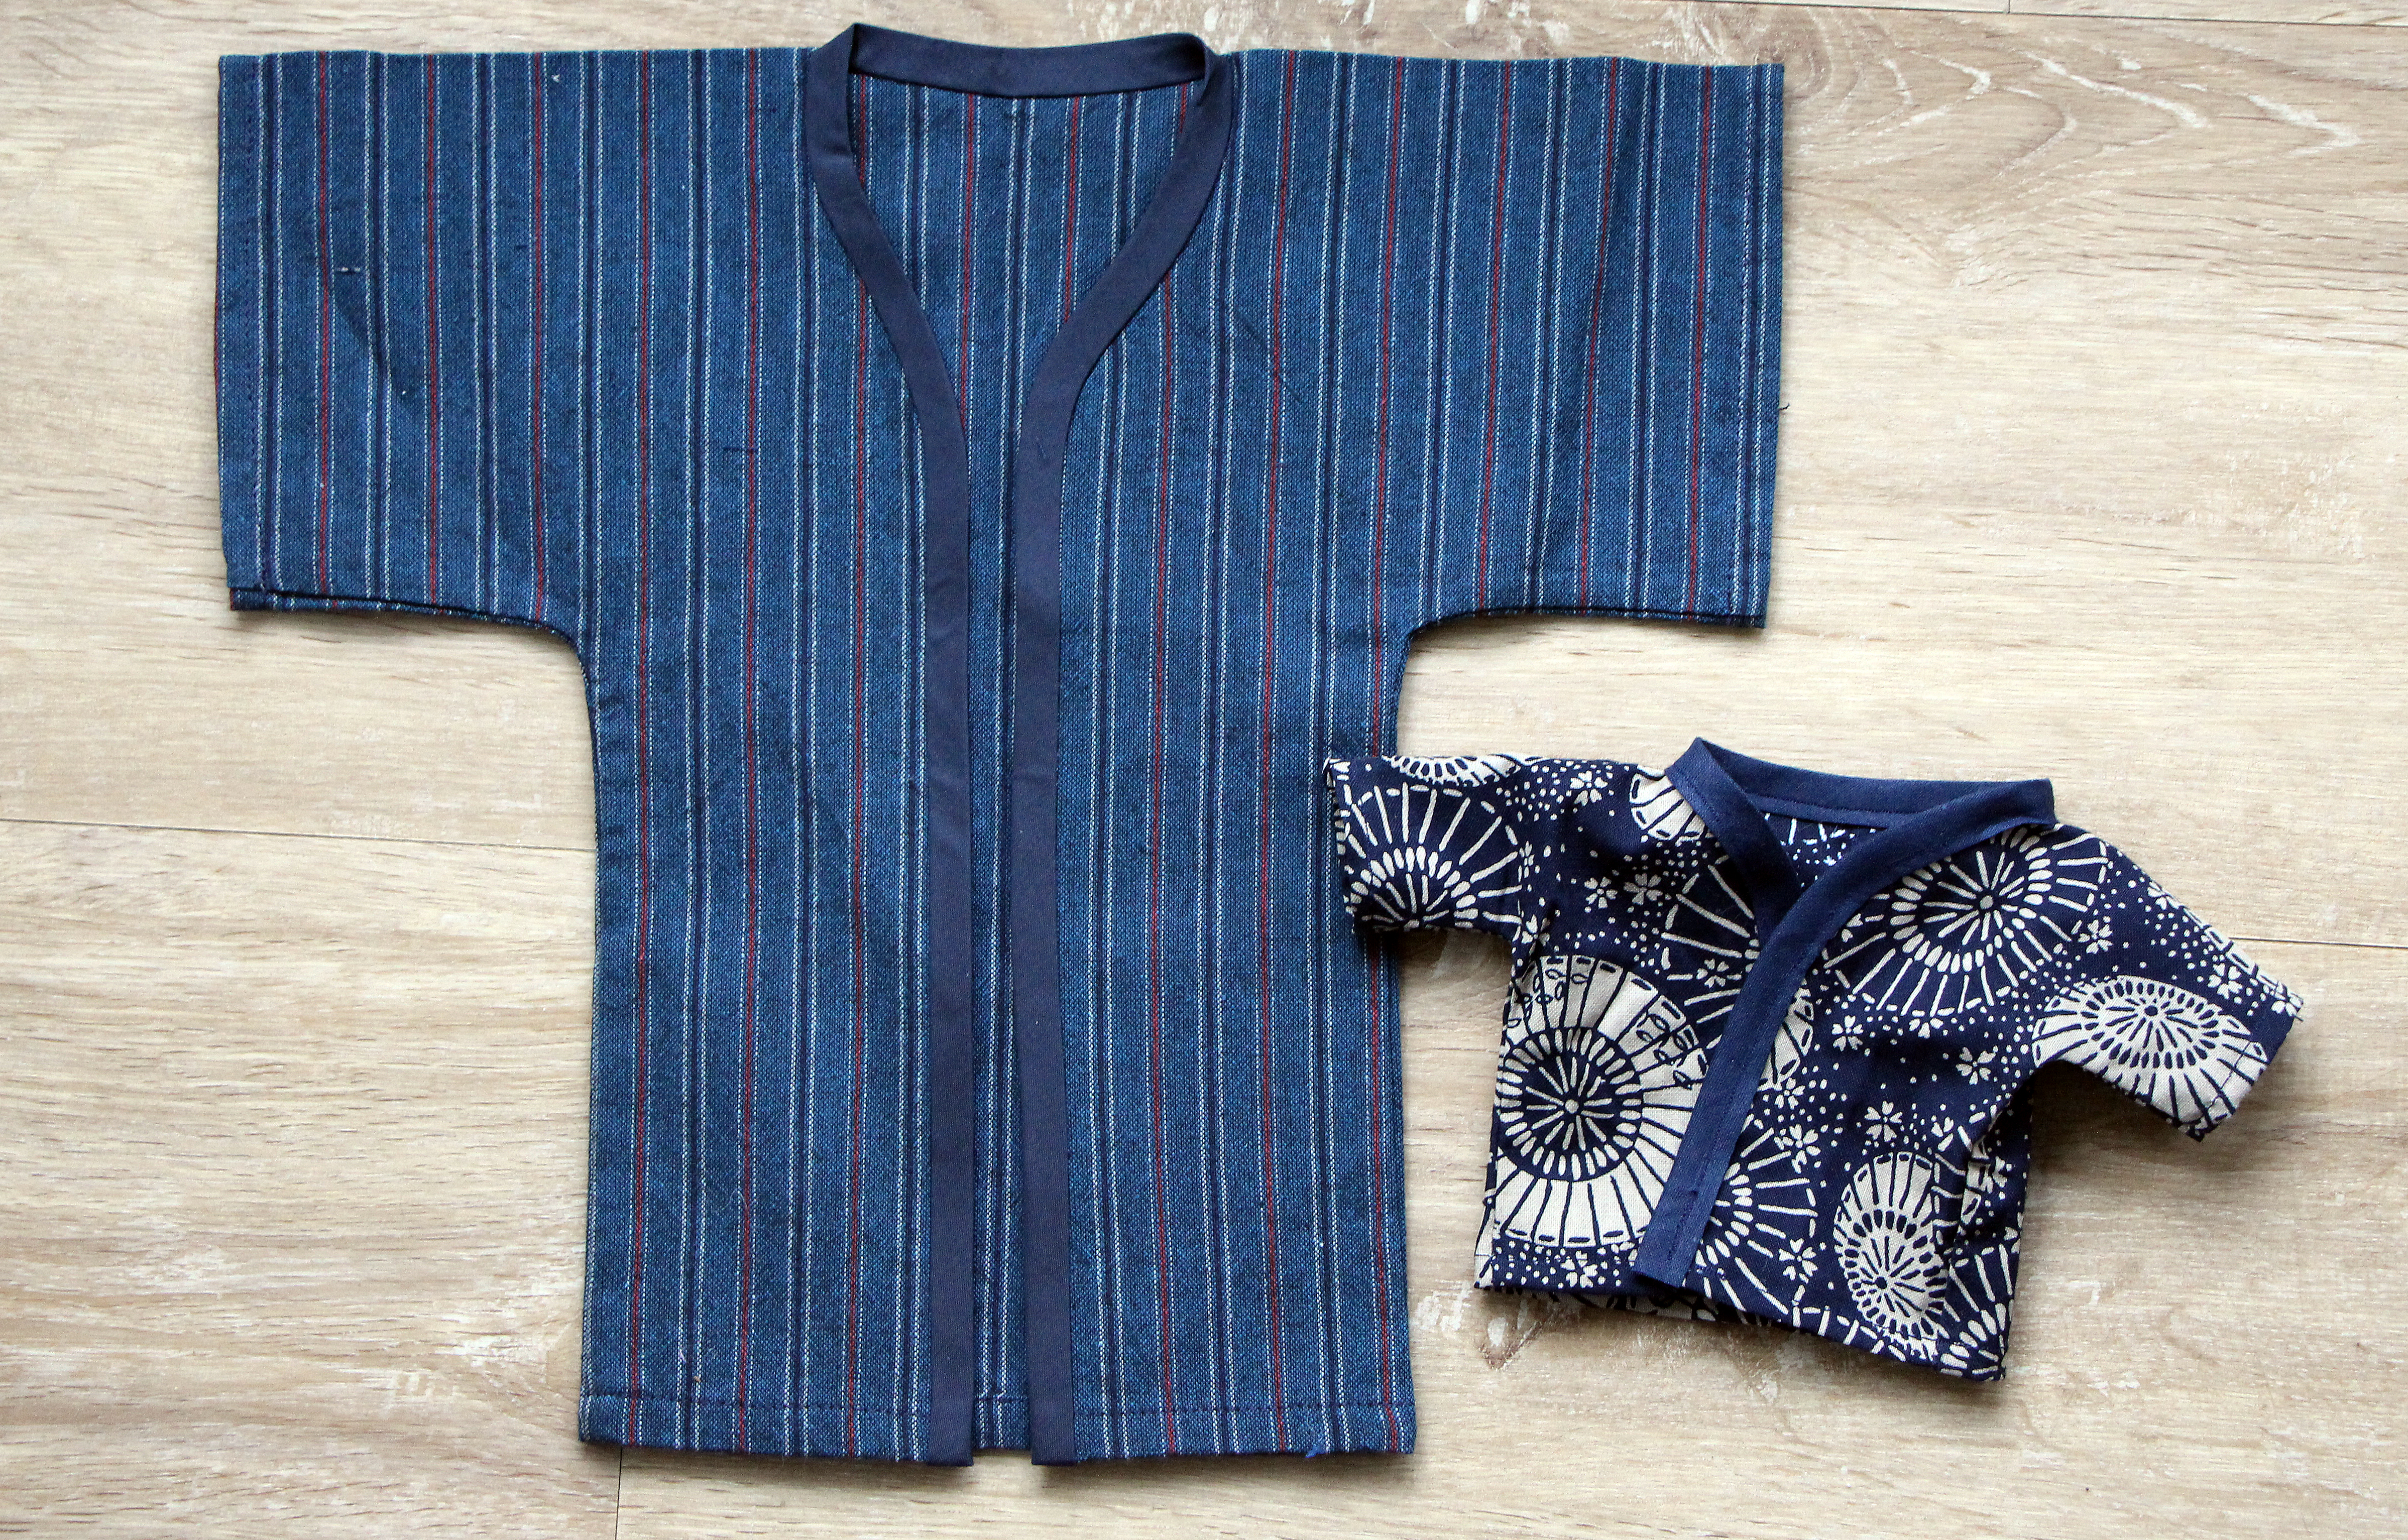
The teddies of course needed a jacket or coat too, and for this – as with the bow, hat and skirt – I just recycled some things at hand. We had unused two kimonos for wine bottles (don’t ask) flying around the house, which I thought could be put to much better use as teddy garments.
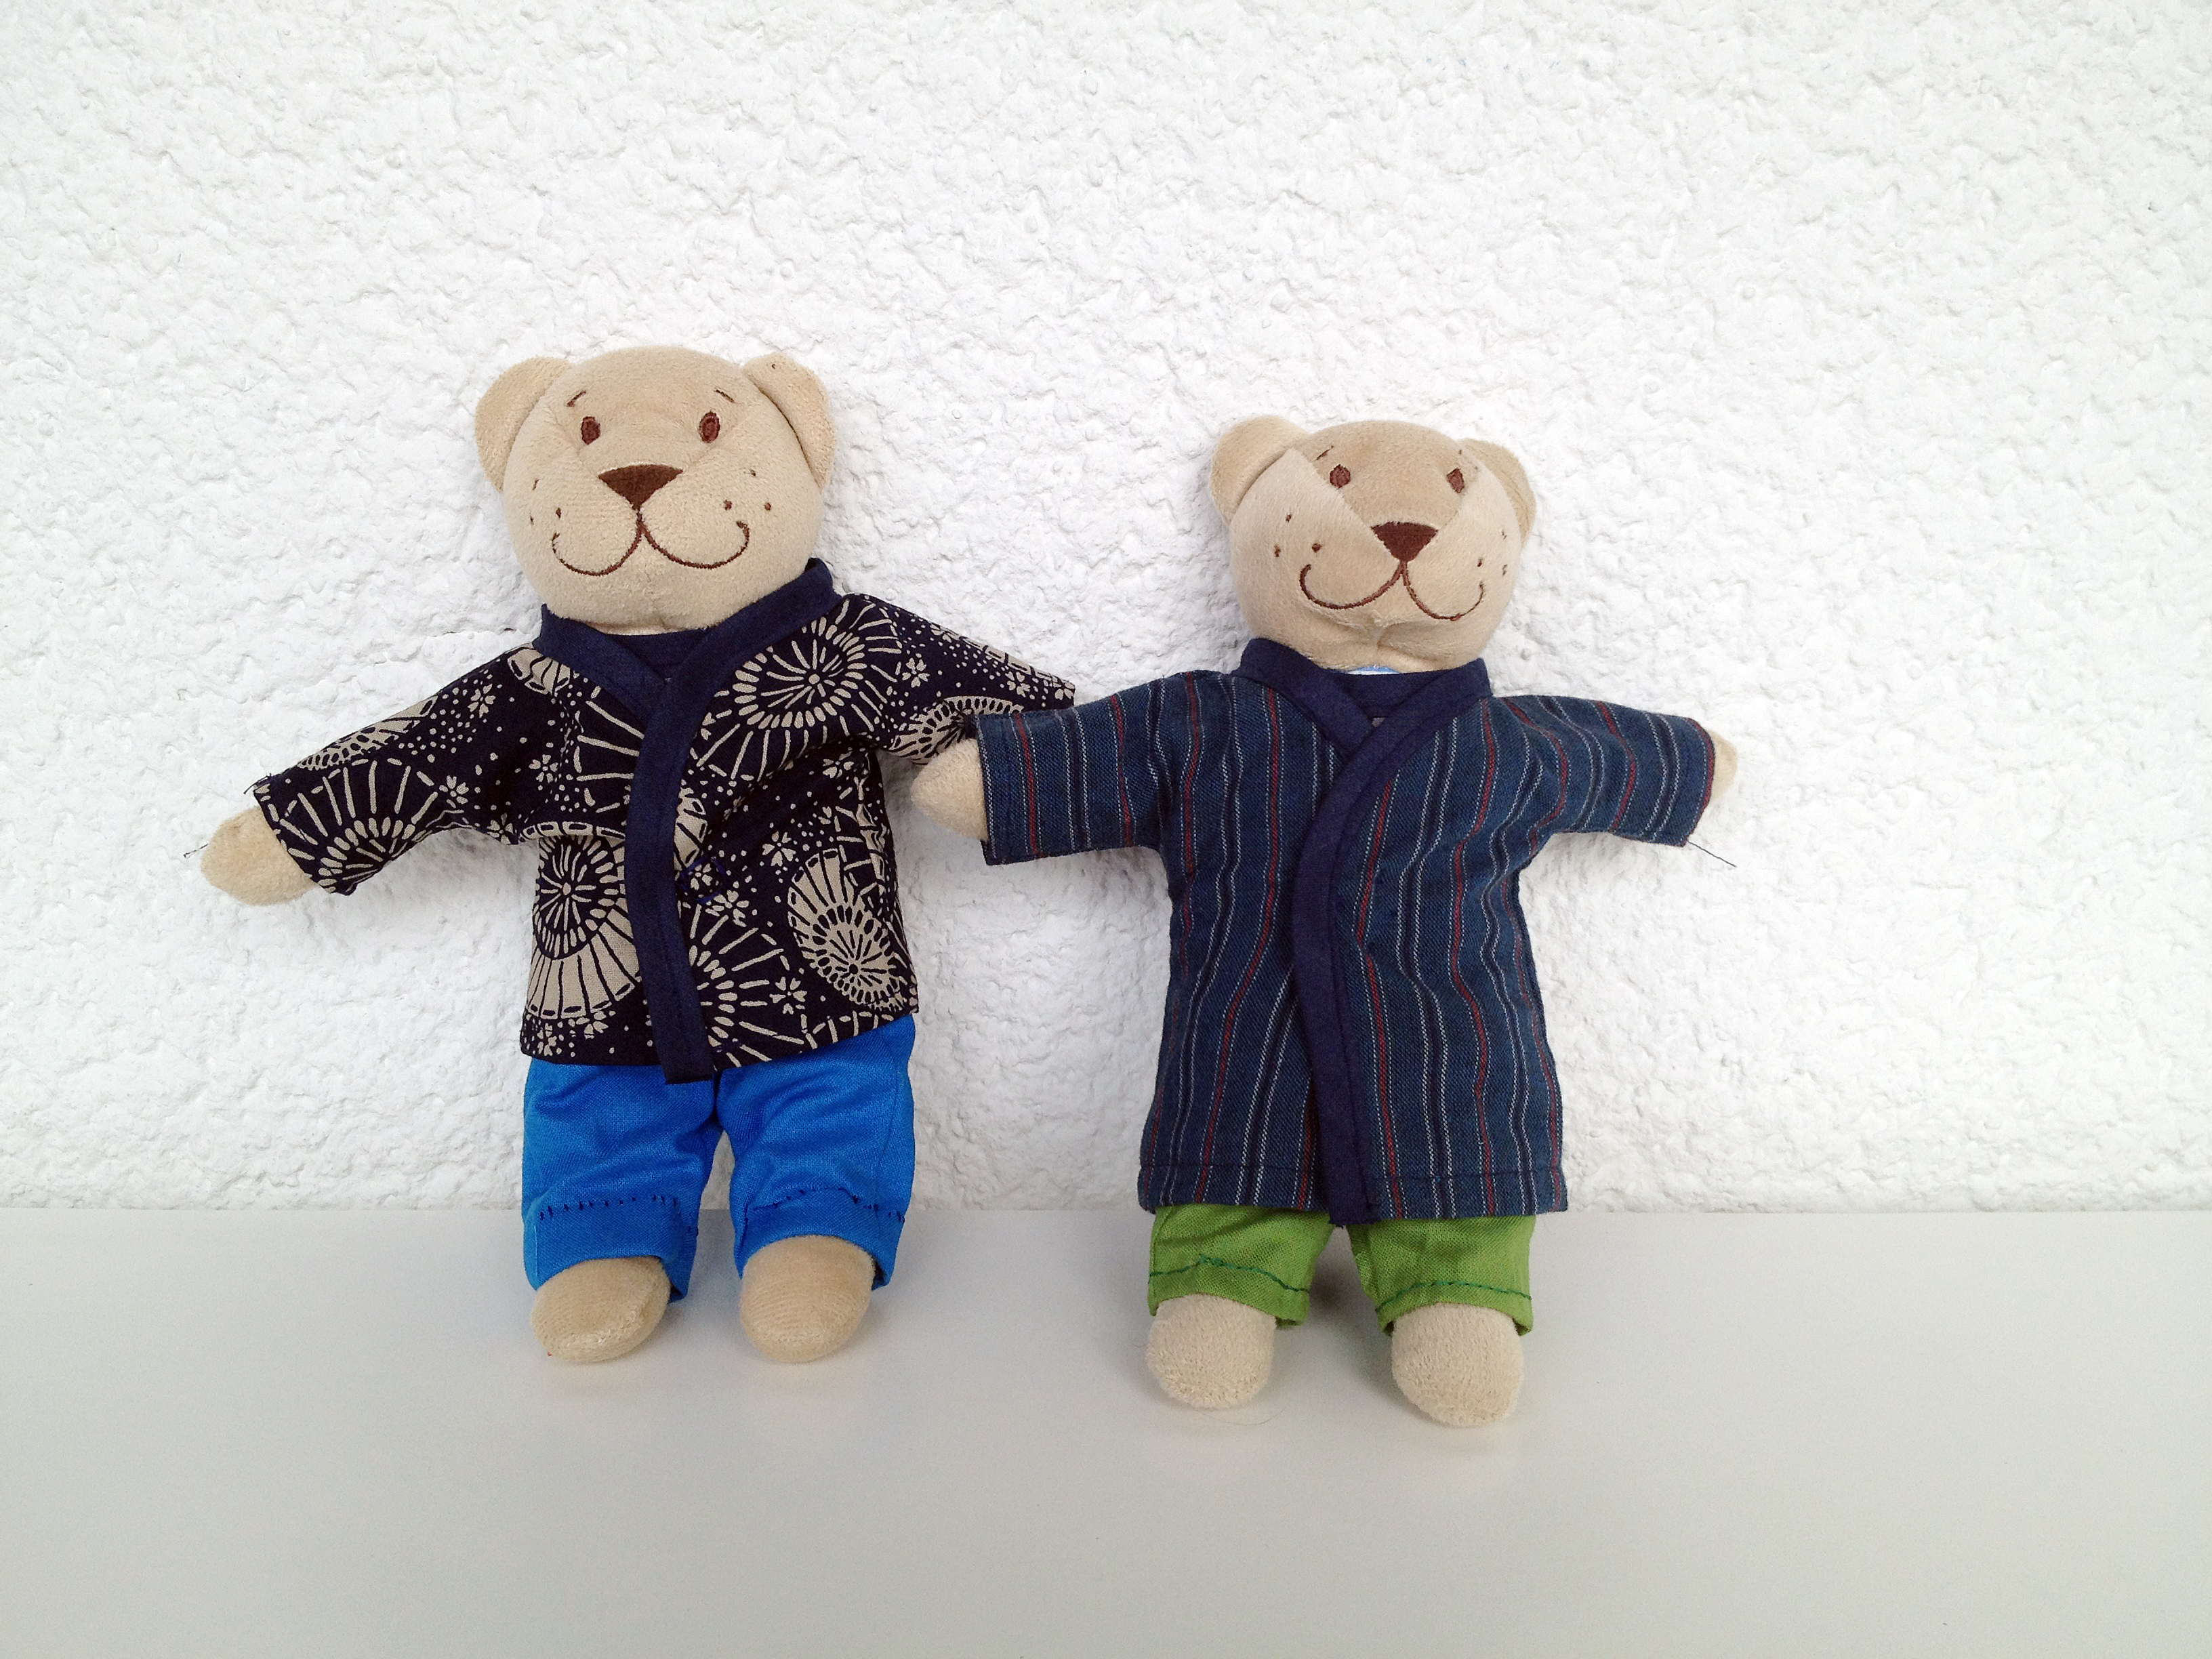
Basically, I just cut the sleeves narrower, shortened the length and sewed it back together, adding some popper buttons along the front. Voila!
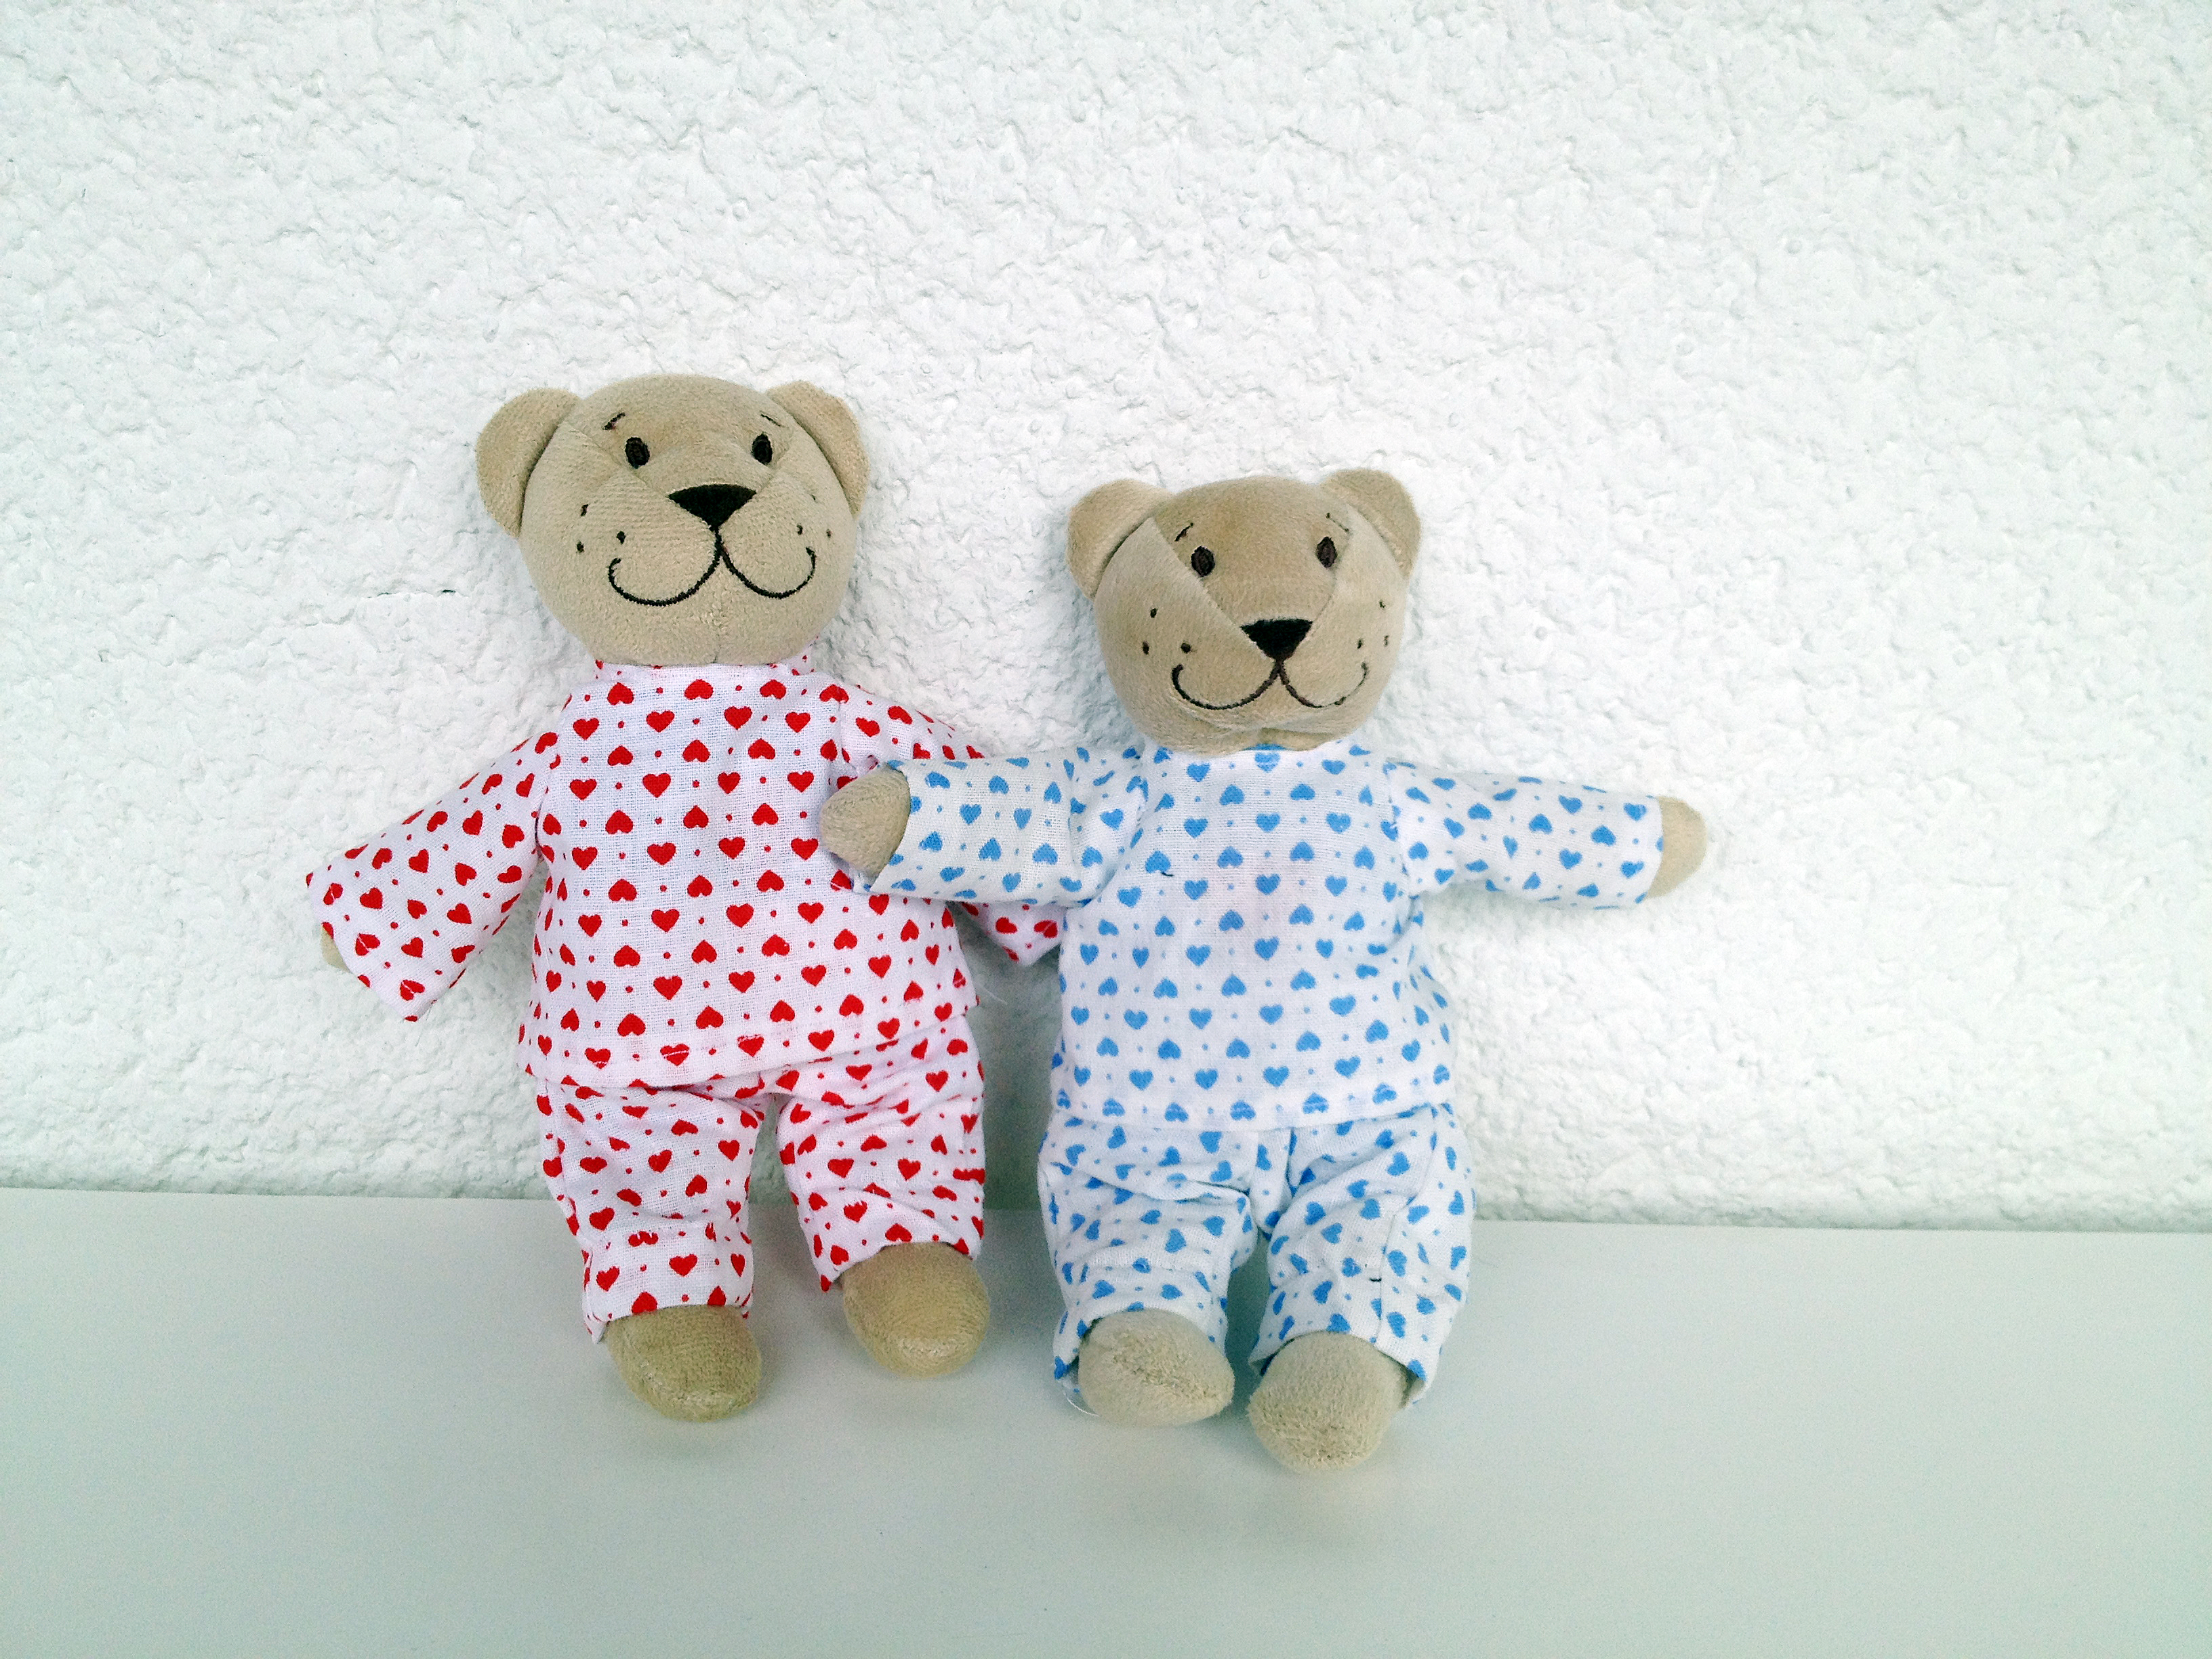
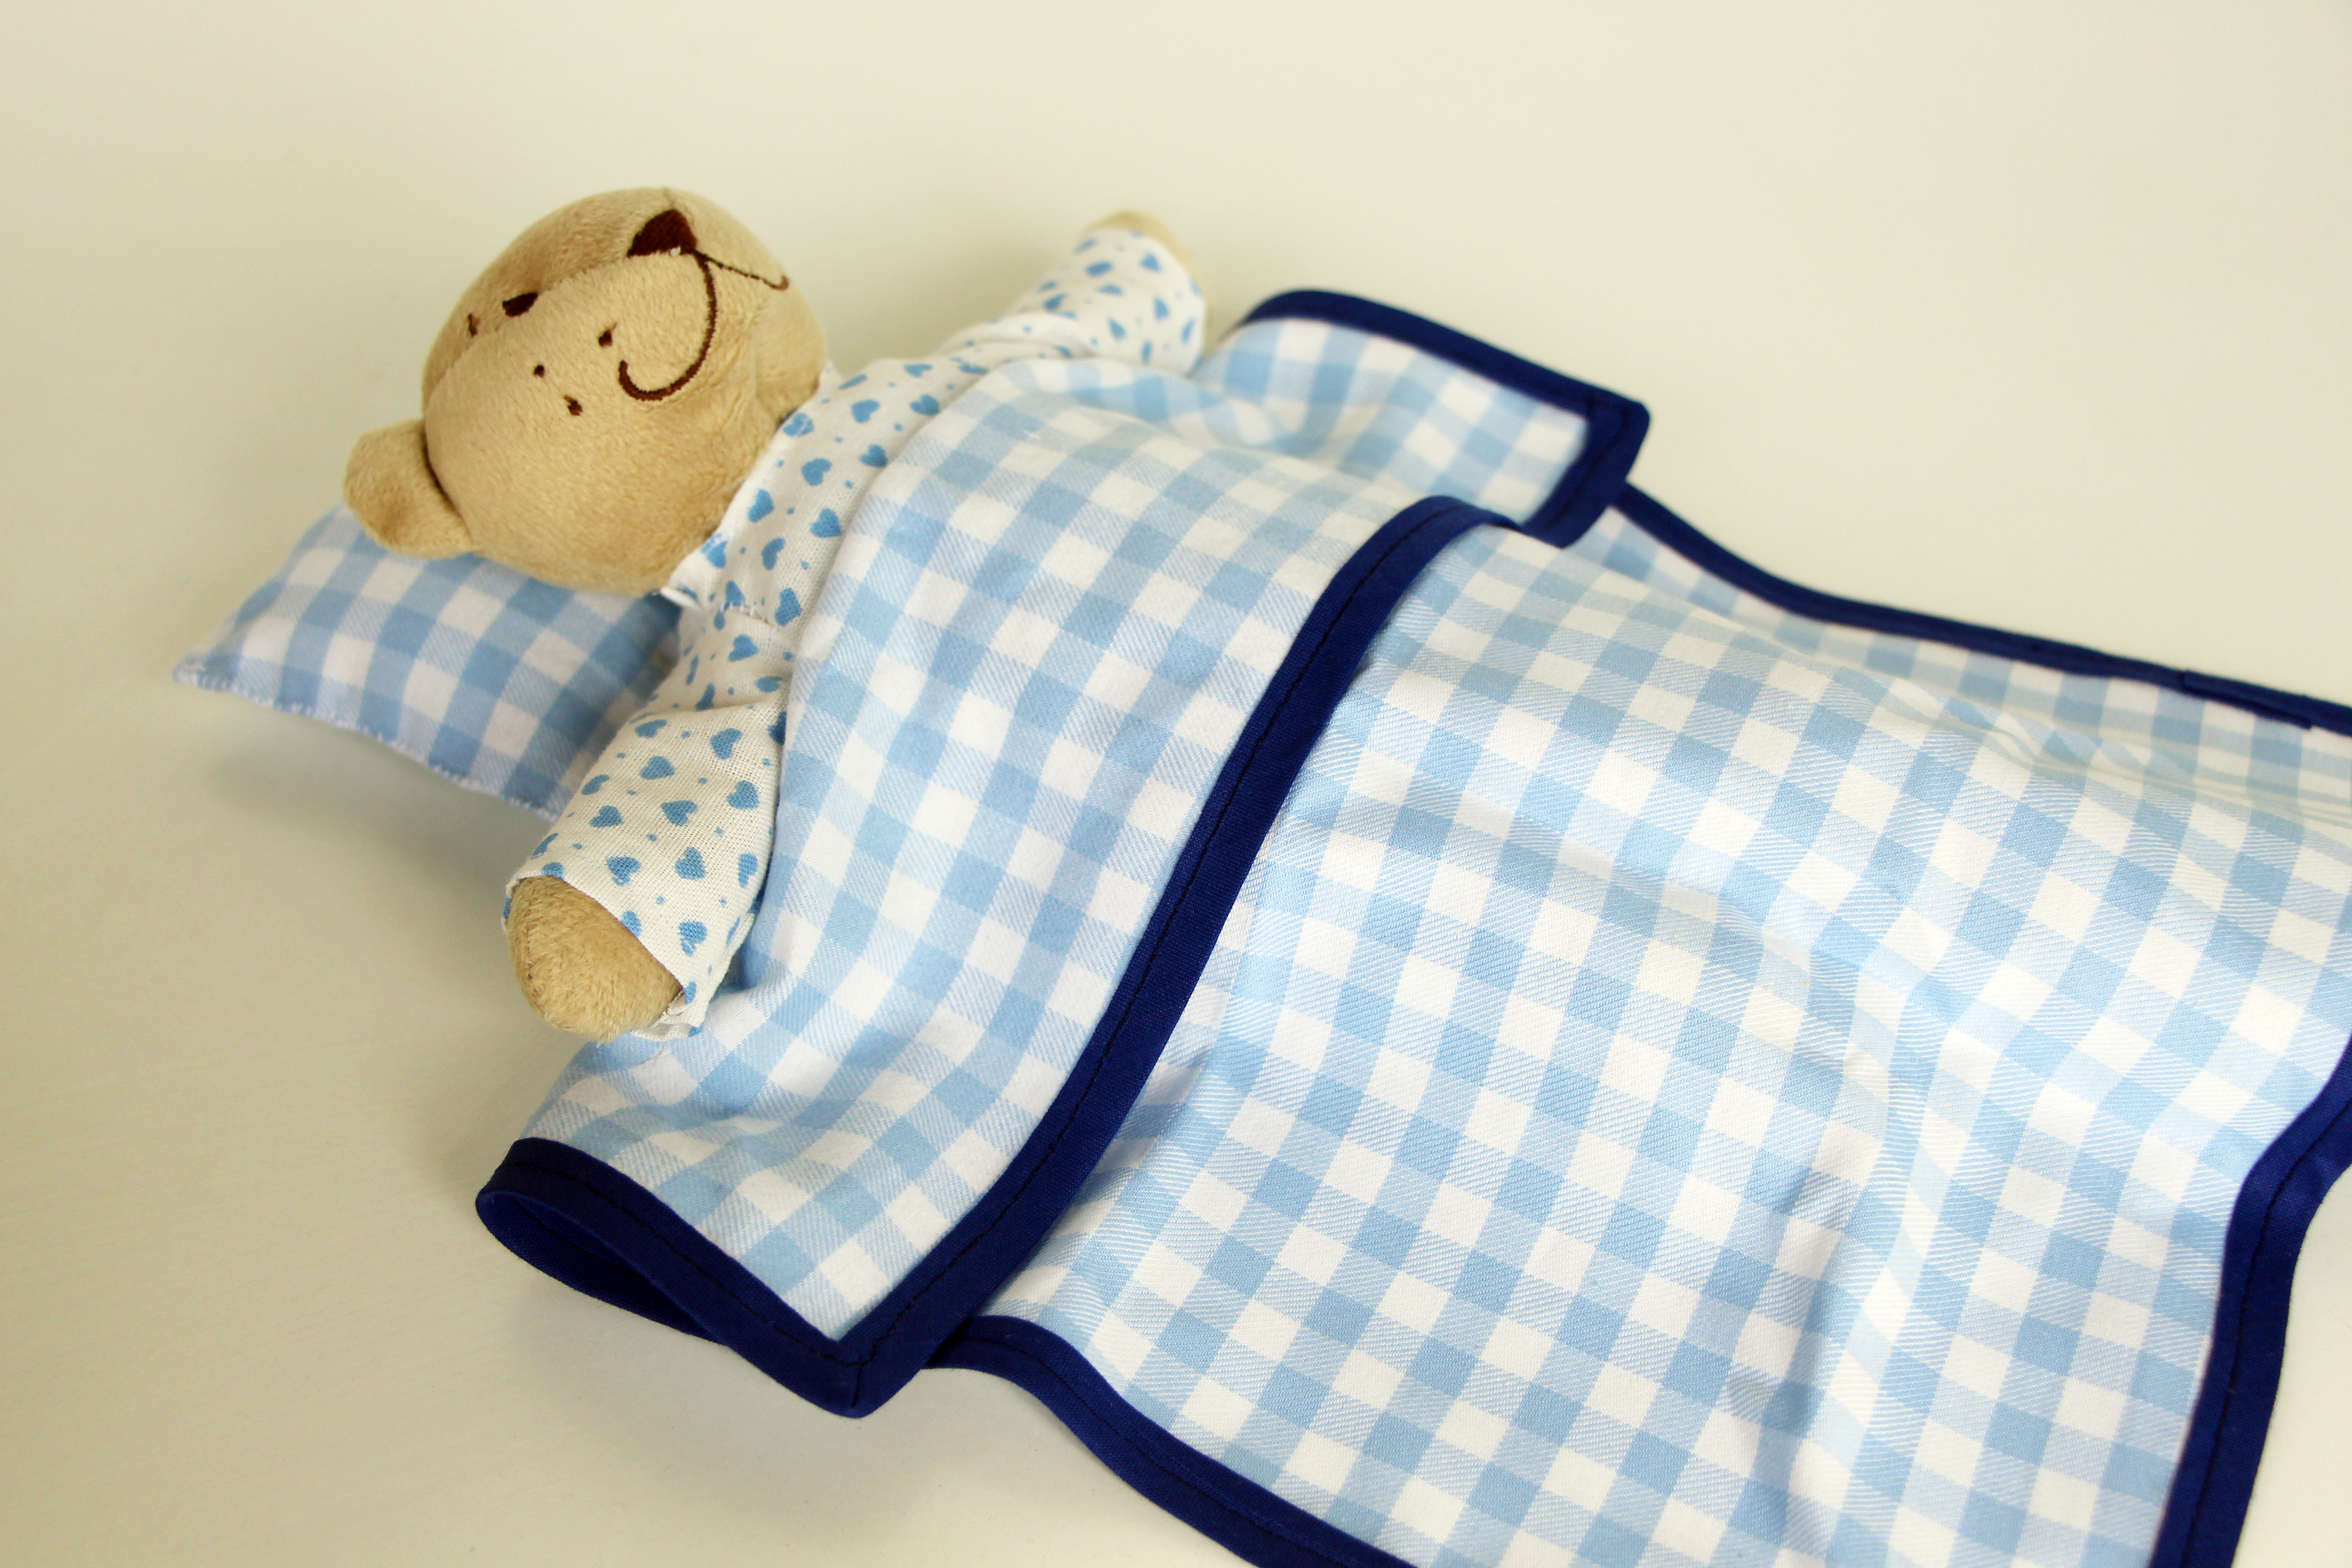
Finally, for bed time – in addition to the PJs – I made a simple pillow by sewing two rectangles of fabric back to back and filling them with some toy stuffing before sewing them shut. The blanket is just a larger, single layer rectangle of fabric hemmed all round with some bias tape. Sweet dreams, teddy!
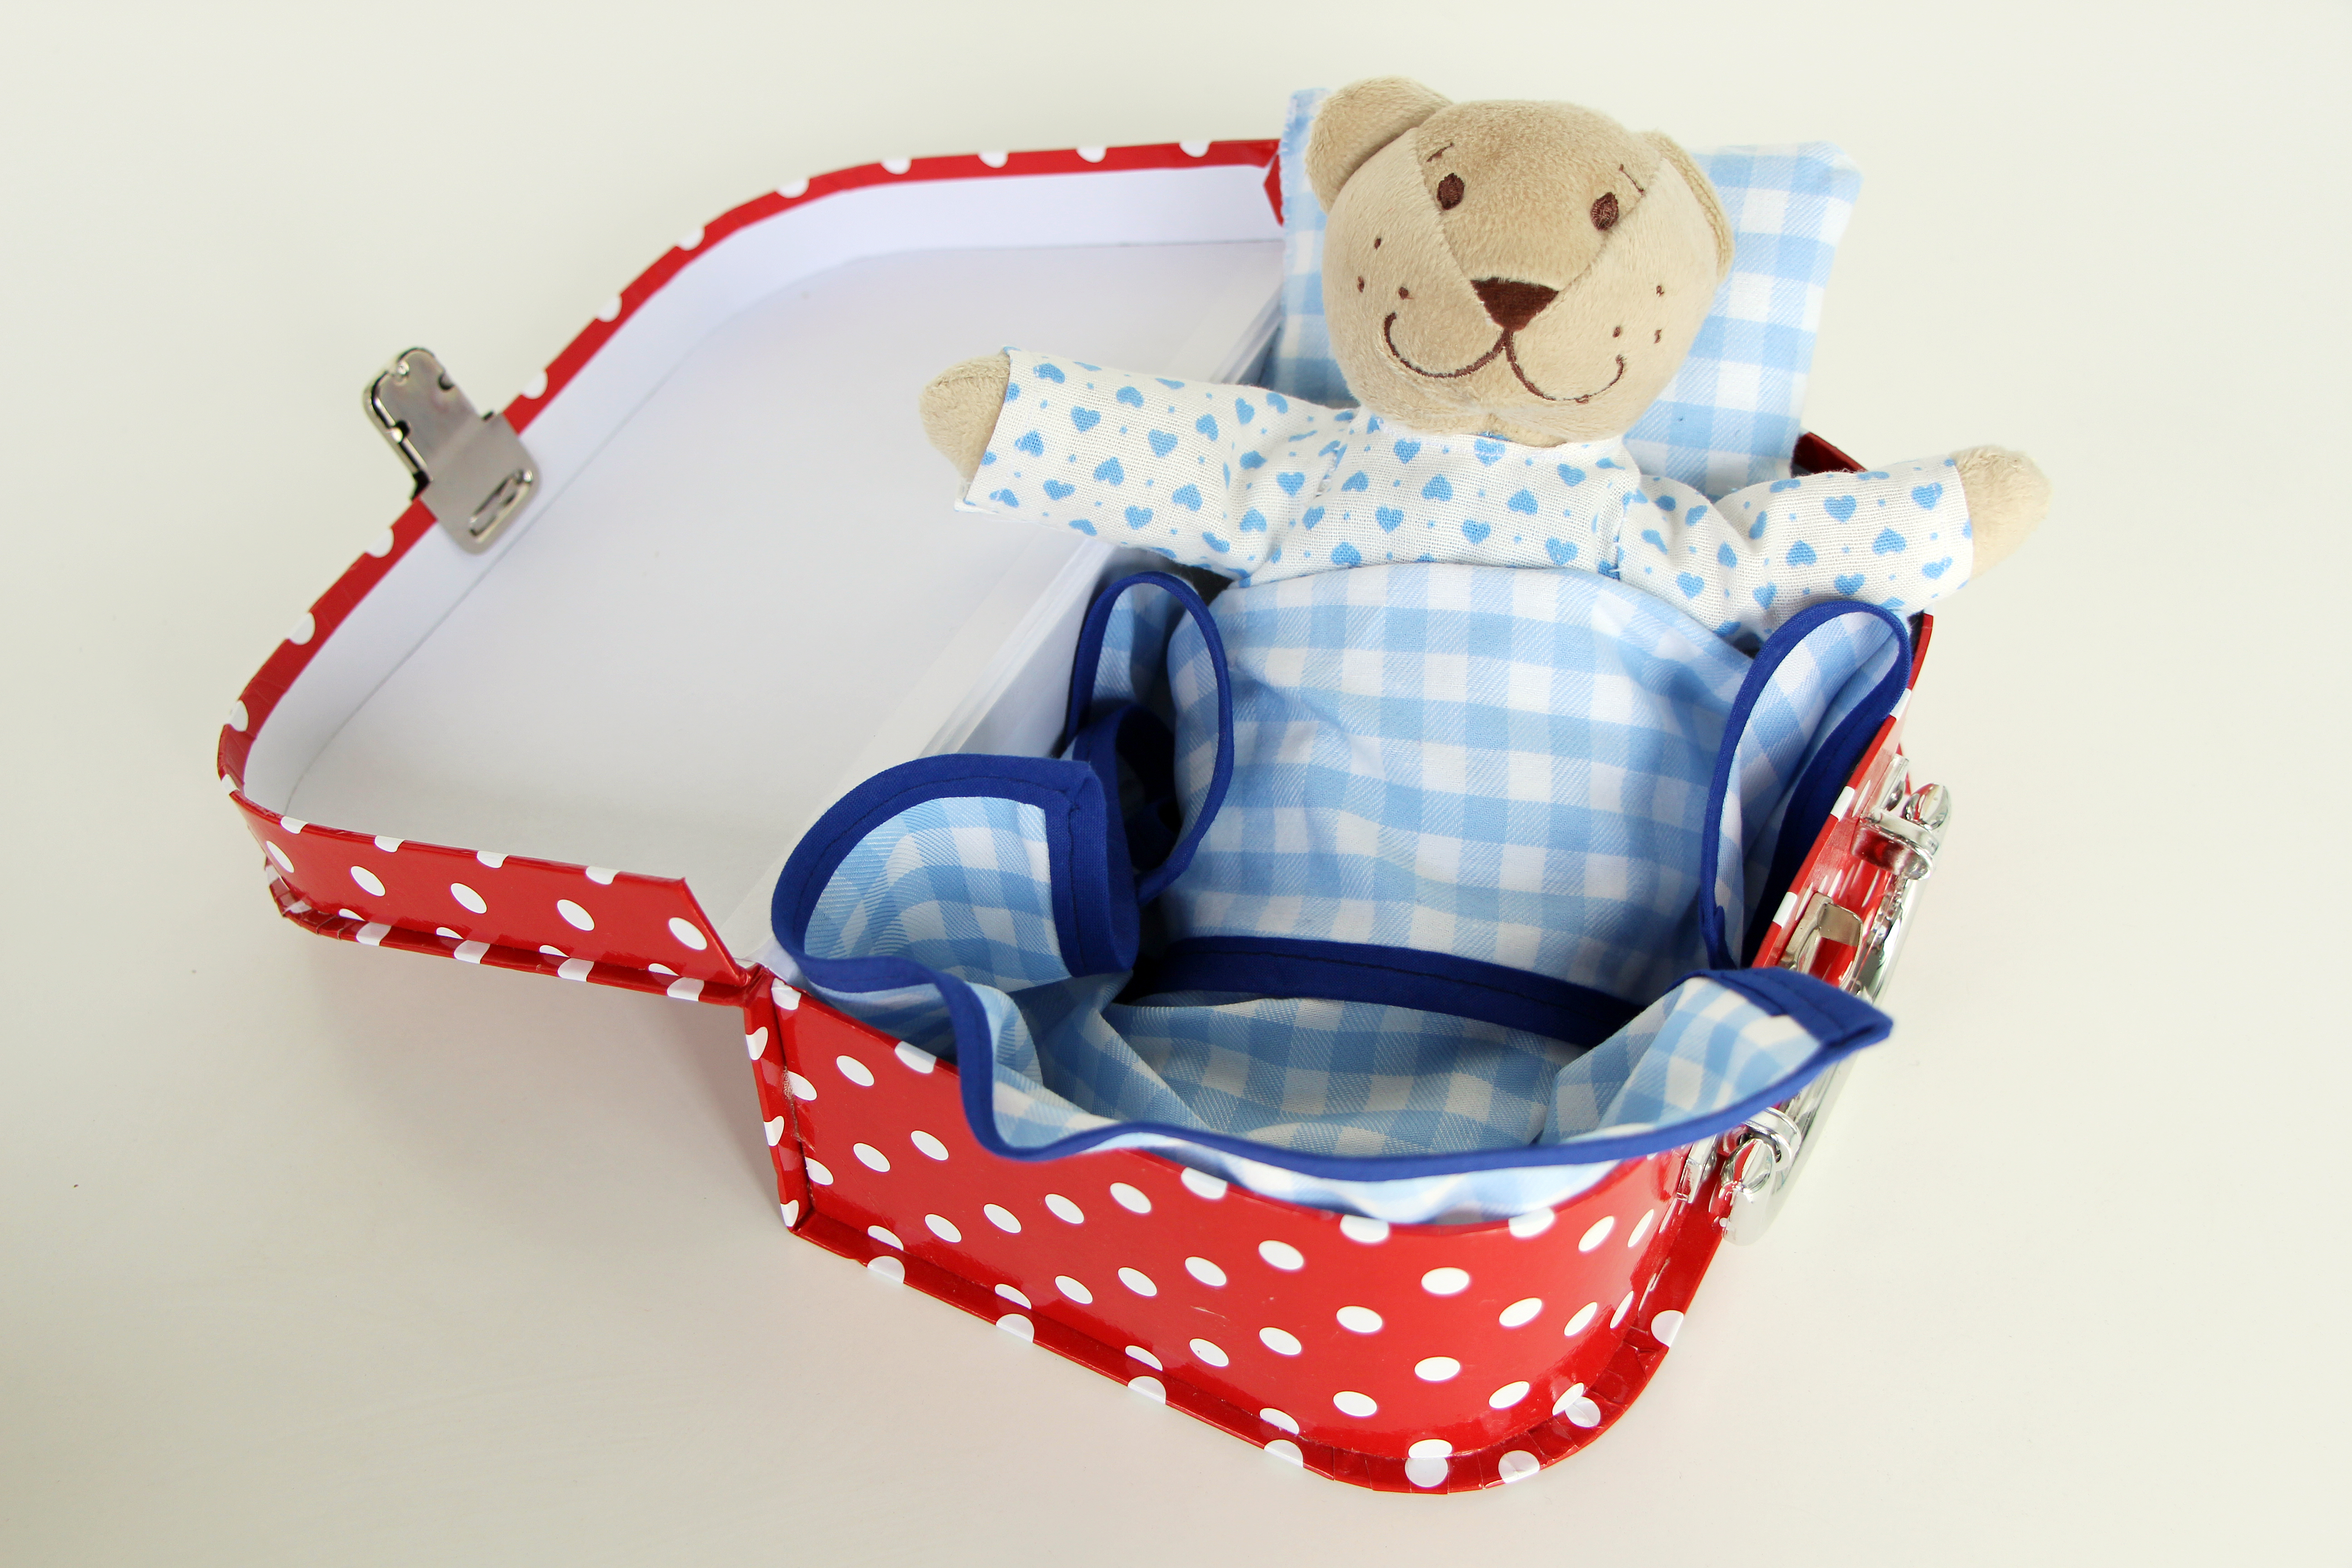
Here teddy is demonstrating how he can also use his suitcase as a bed…
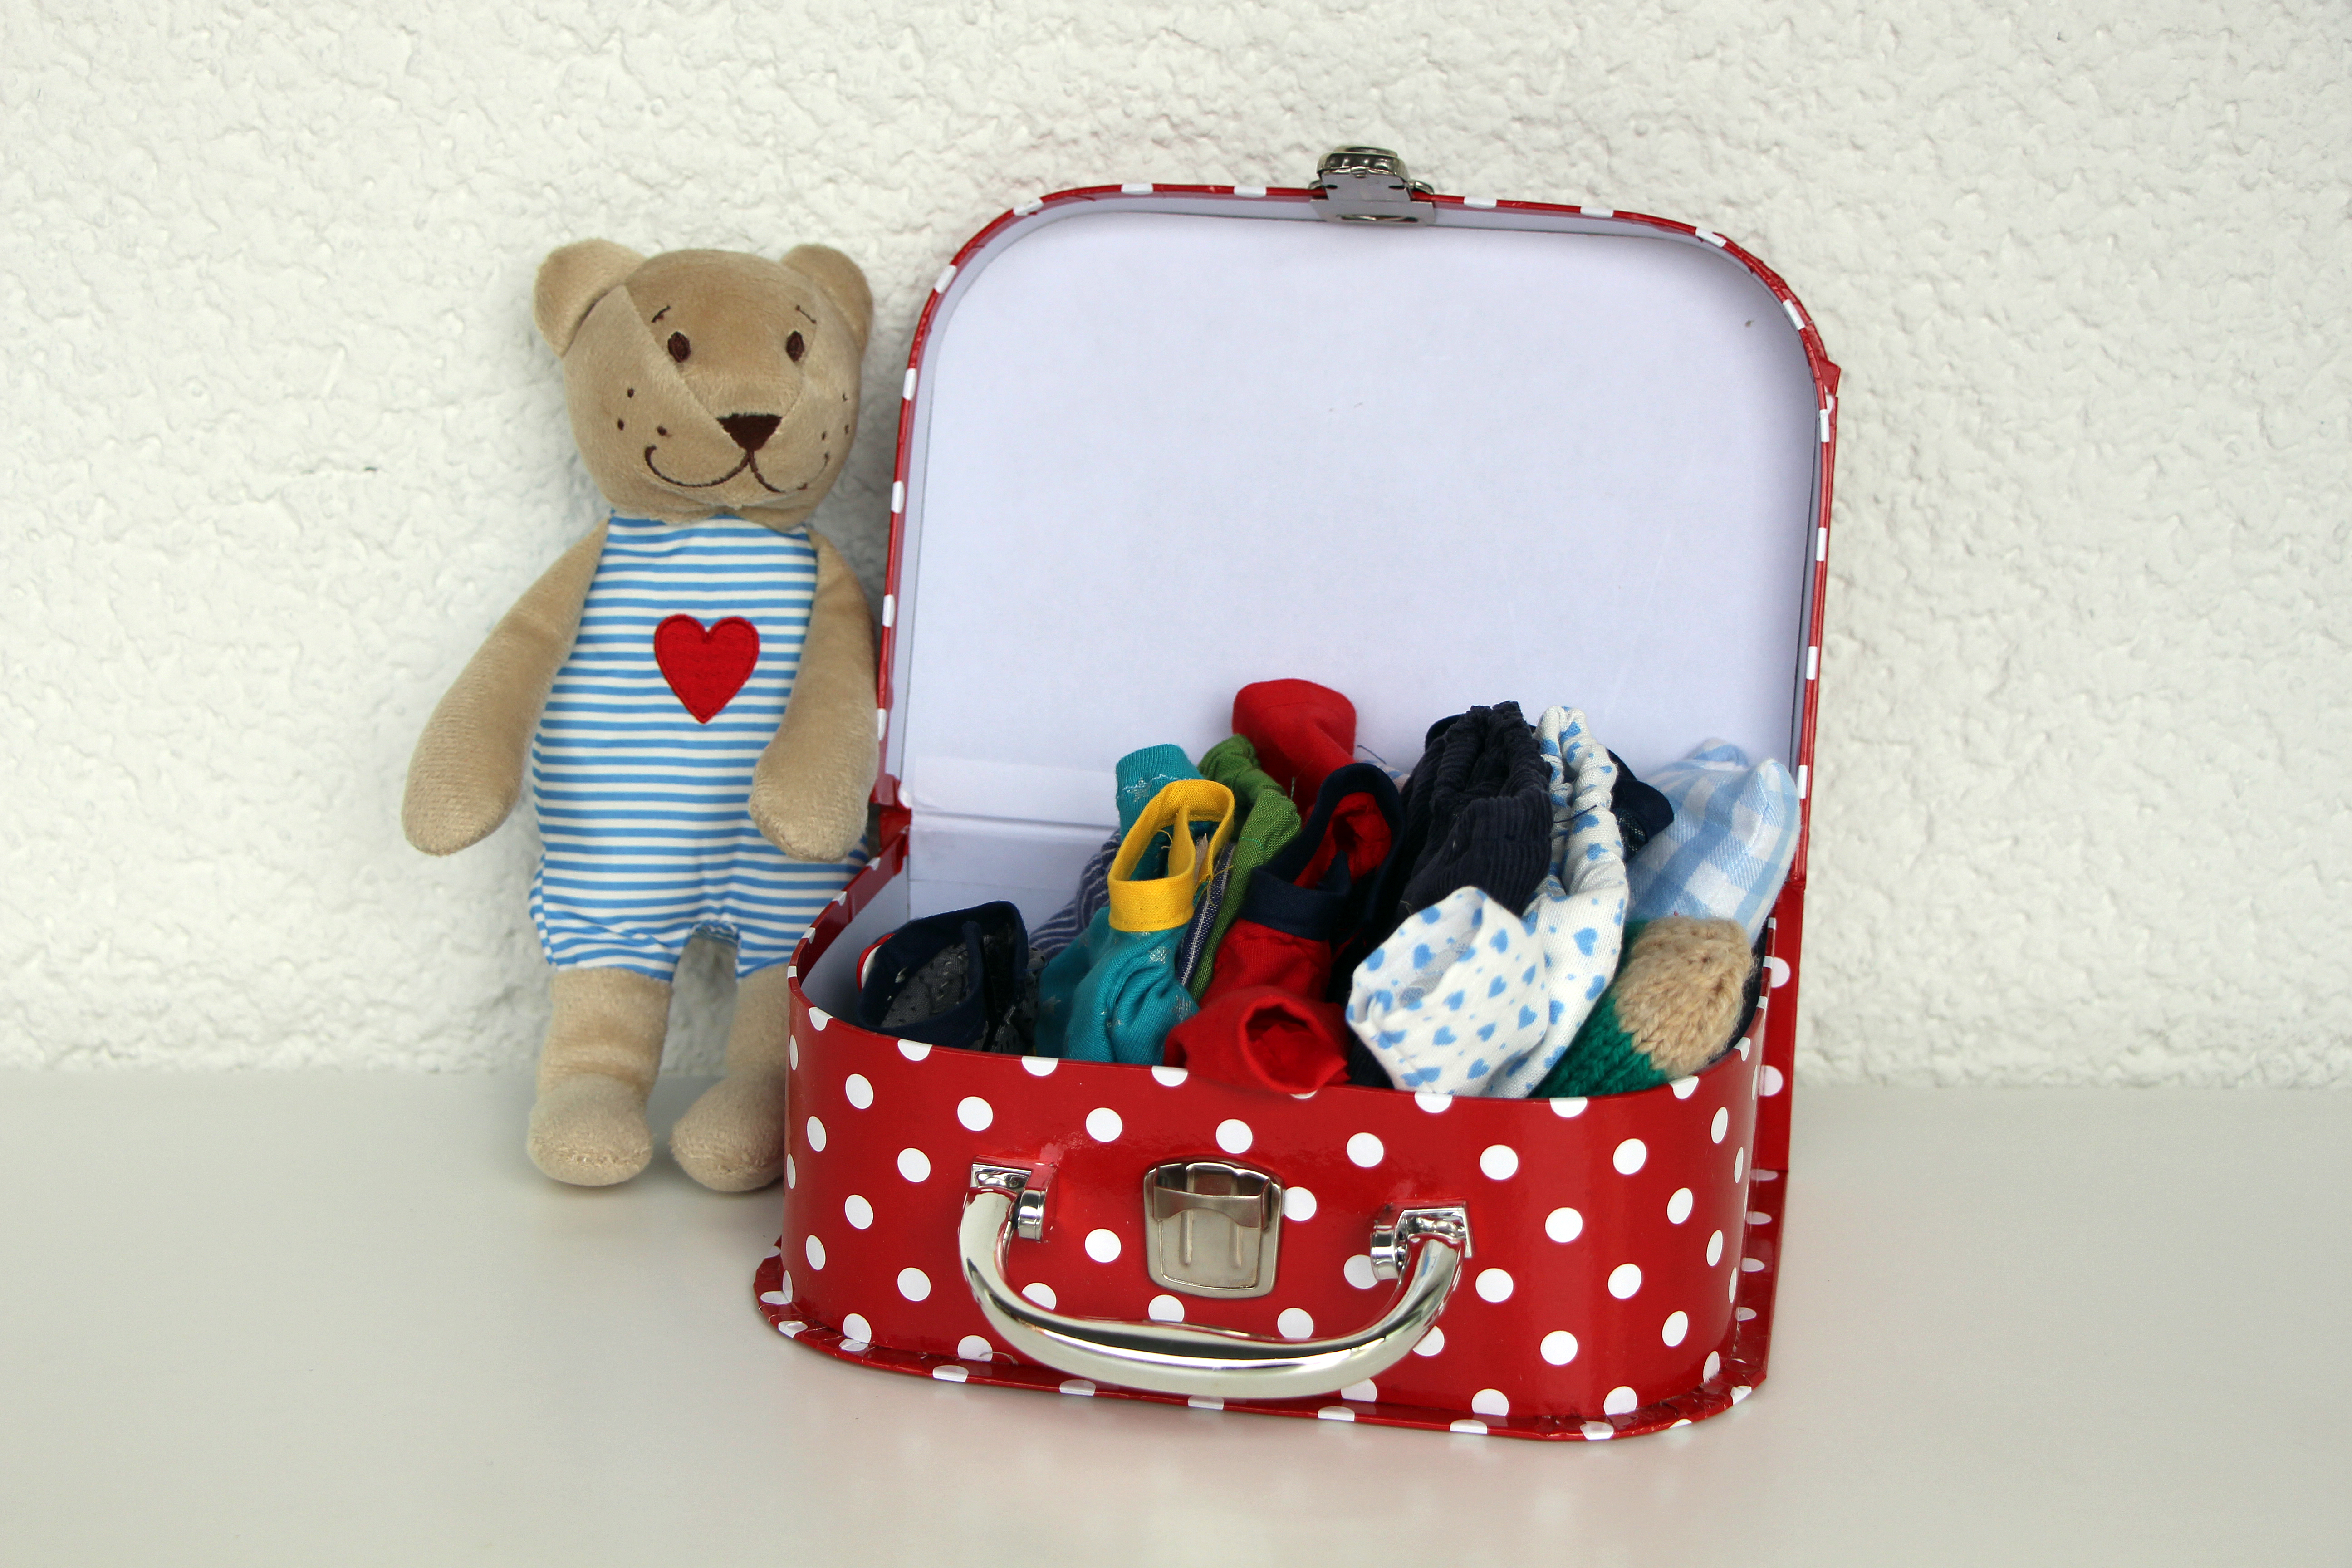
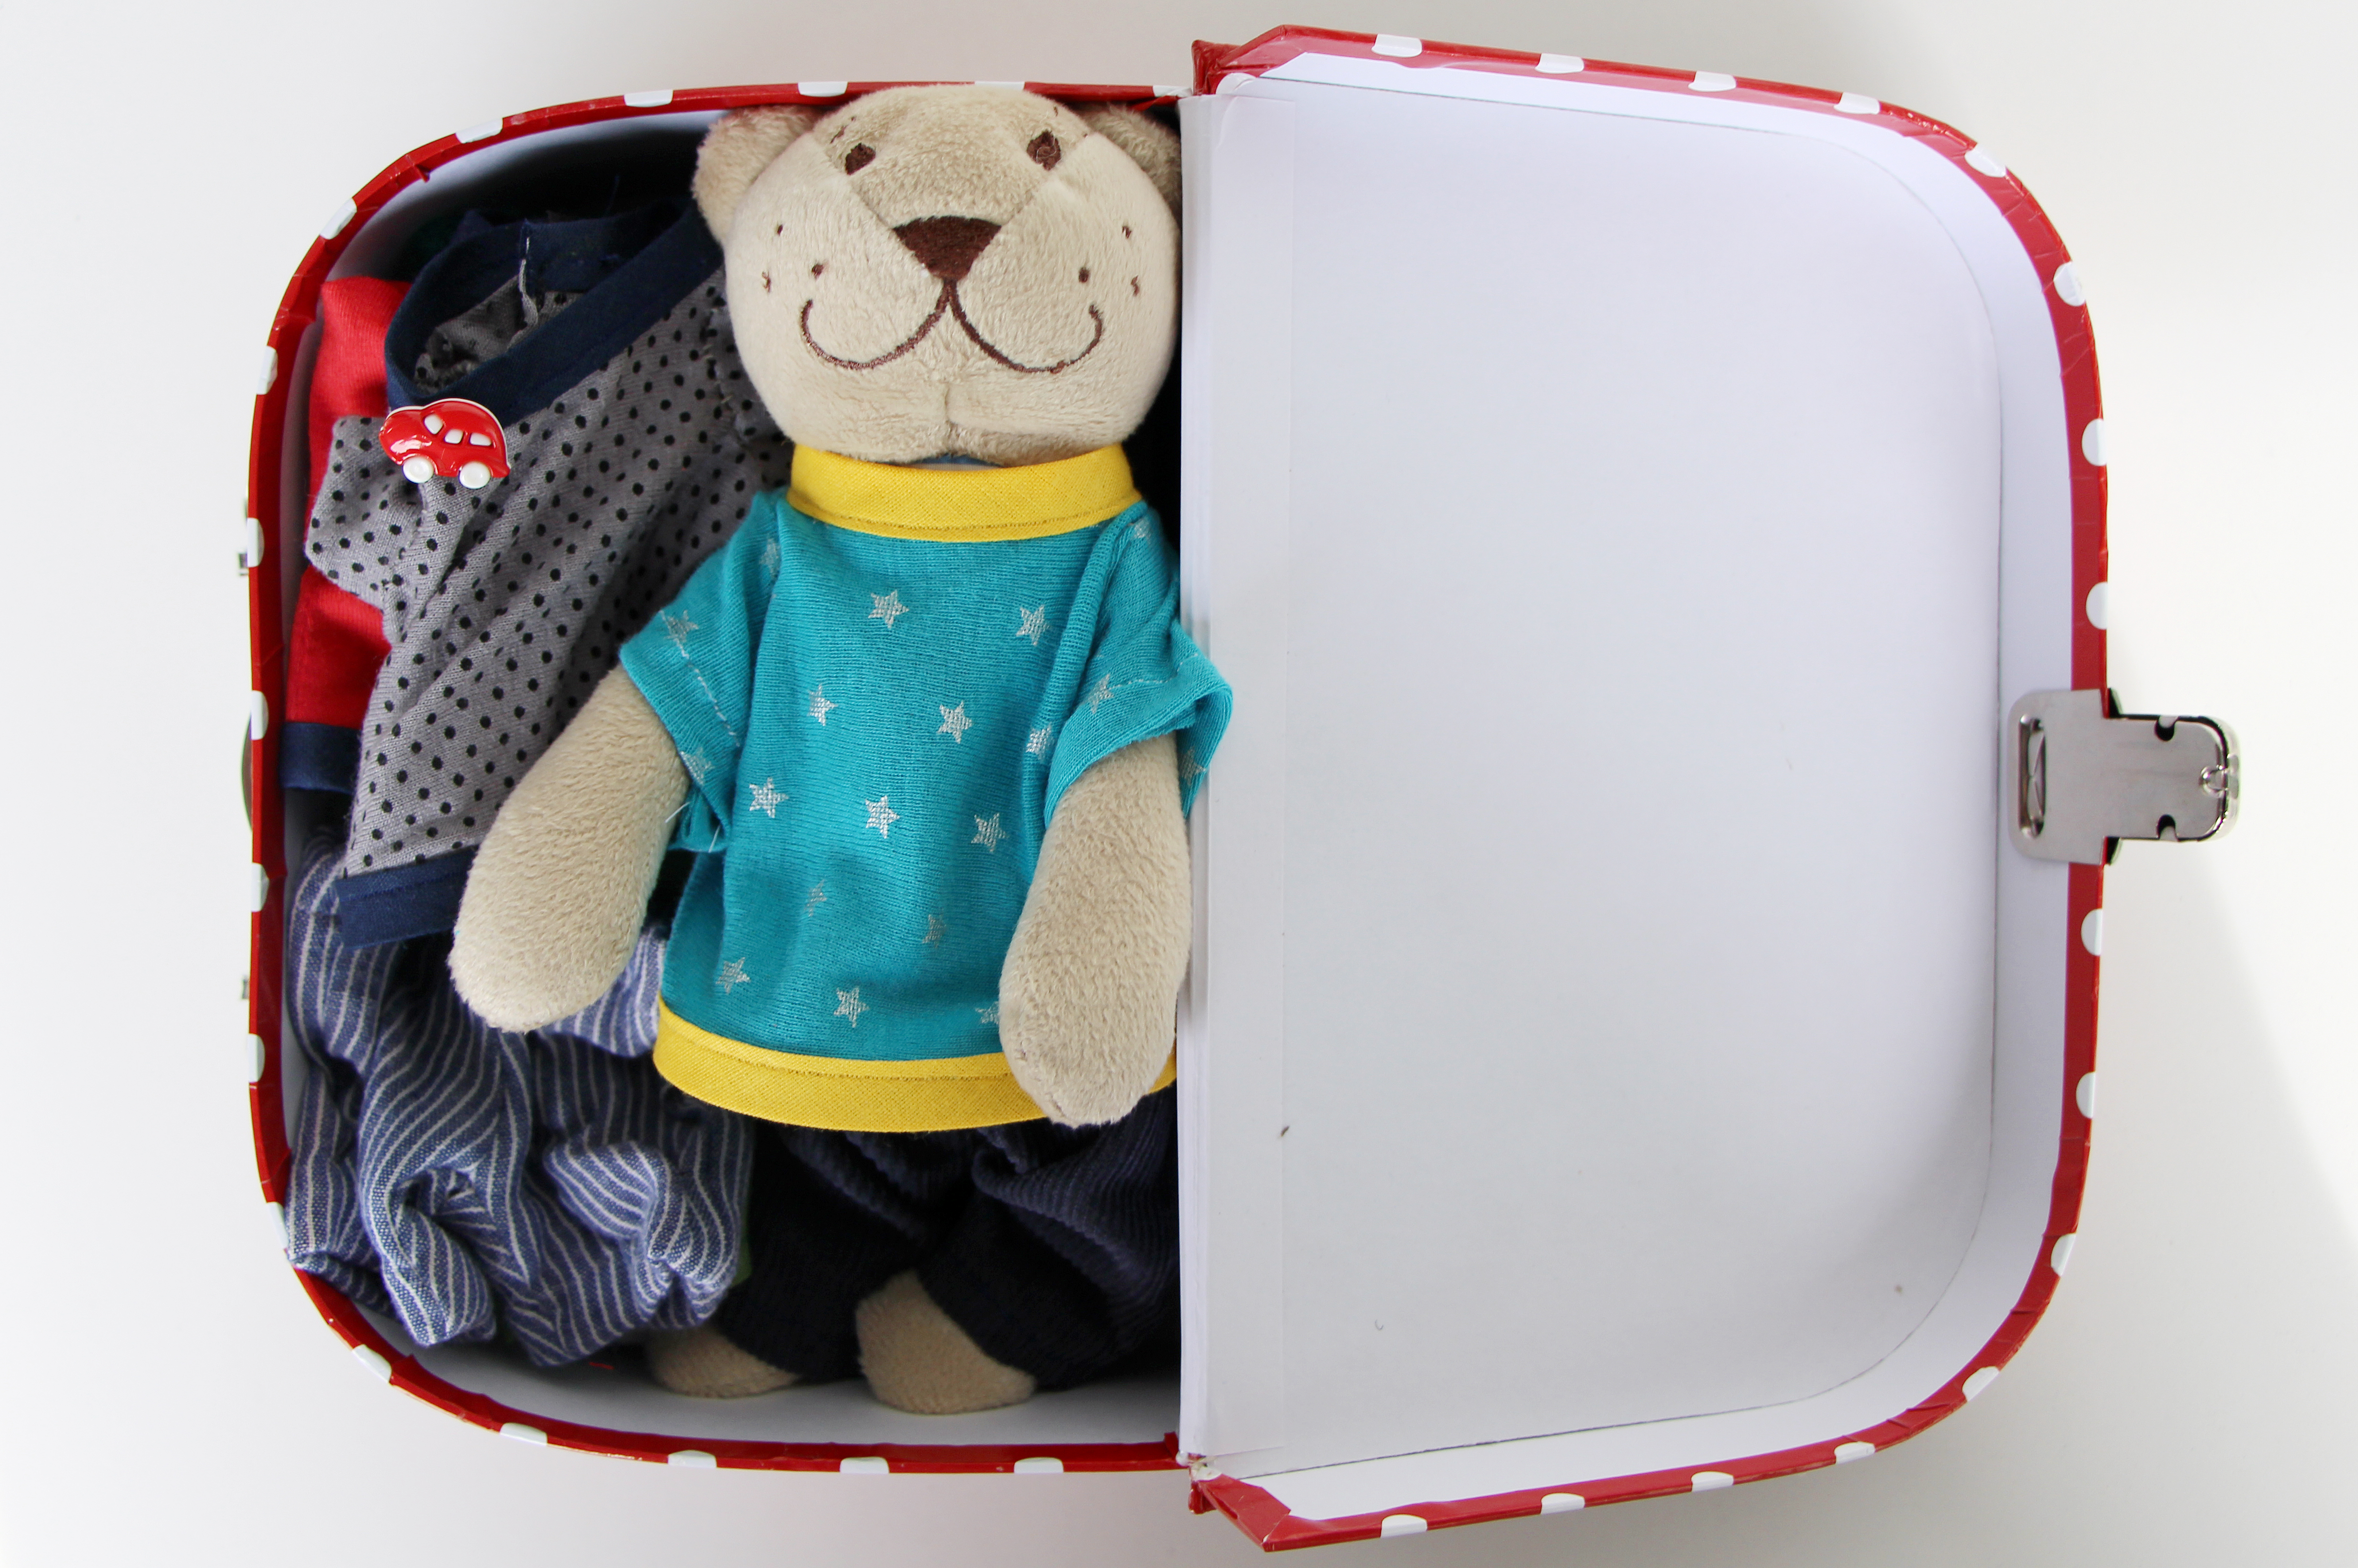
…and here you can see how teddy and all his clothes neatly fit in to the suitcase for transport :)
The boy and his cousin loved their gifts, though in the end they didn’t need them during the wedding. But the boy loved putting teddy to bed in the evening, which made sleeping in a strange hotel room with granny (mummy & daddy had been given the night off!) less upsetting. I have to admit, it was all very fiddly work, so you’ll need a bit of patience for this. There were a few times I almost gave up – and asked myself “Why did I decide to make two of these?!” – but in the end it was all worth it to see the wee cousins’ eyes light up at their gifts.


Pingback: This Weekend | Dejlige Days
Marylou
Love it! <3
Emily
Super inspired by this blog! I ordered the same bear and used those pattern templates to make her some super cute clothes! Awesome job.
Christiane
Hi! I loved this post. I’d like to ask, what fabric do you recommend using when making clothes for a teddy bear? I’m planning to dress up my bear as a doctor and I’m a bit overwhelmed by the choices in the local online fabric store.
Jenni
I mostly used fabric scraps I already had at home. I found that something like a stiffer cotton worked well. Stretchy jersey fabrics were really fiddly to sew.
Rosslyn Edwards
Hi, my granddaughter has the IKEA bear that you have in your photos, his name is Barney. He is now 11 years old and his striped outfit is getting a bit threadbare. Do you make clothes and sell them for this bear.
He has been sown up several times as you can imagine.
Thank you
Jenni
Hello, thanks for reading. I’m afraid this was just a DIY project for my son and niece, I don’t make any teddy clothes to sell.