Review: Canal Toys DIY Bath Fizzers [AD]
Hands up if your kids love bath bombs, or bath fizzers are they are also known. My boys are completely obsessed with them, which is great because it makes convincing them to have a bath much easier. So when we were offered the chance to review the new ‘So Bomb DIY’ bath bomb range from Canal Toys, I new my boys would love it.
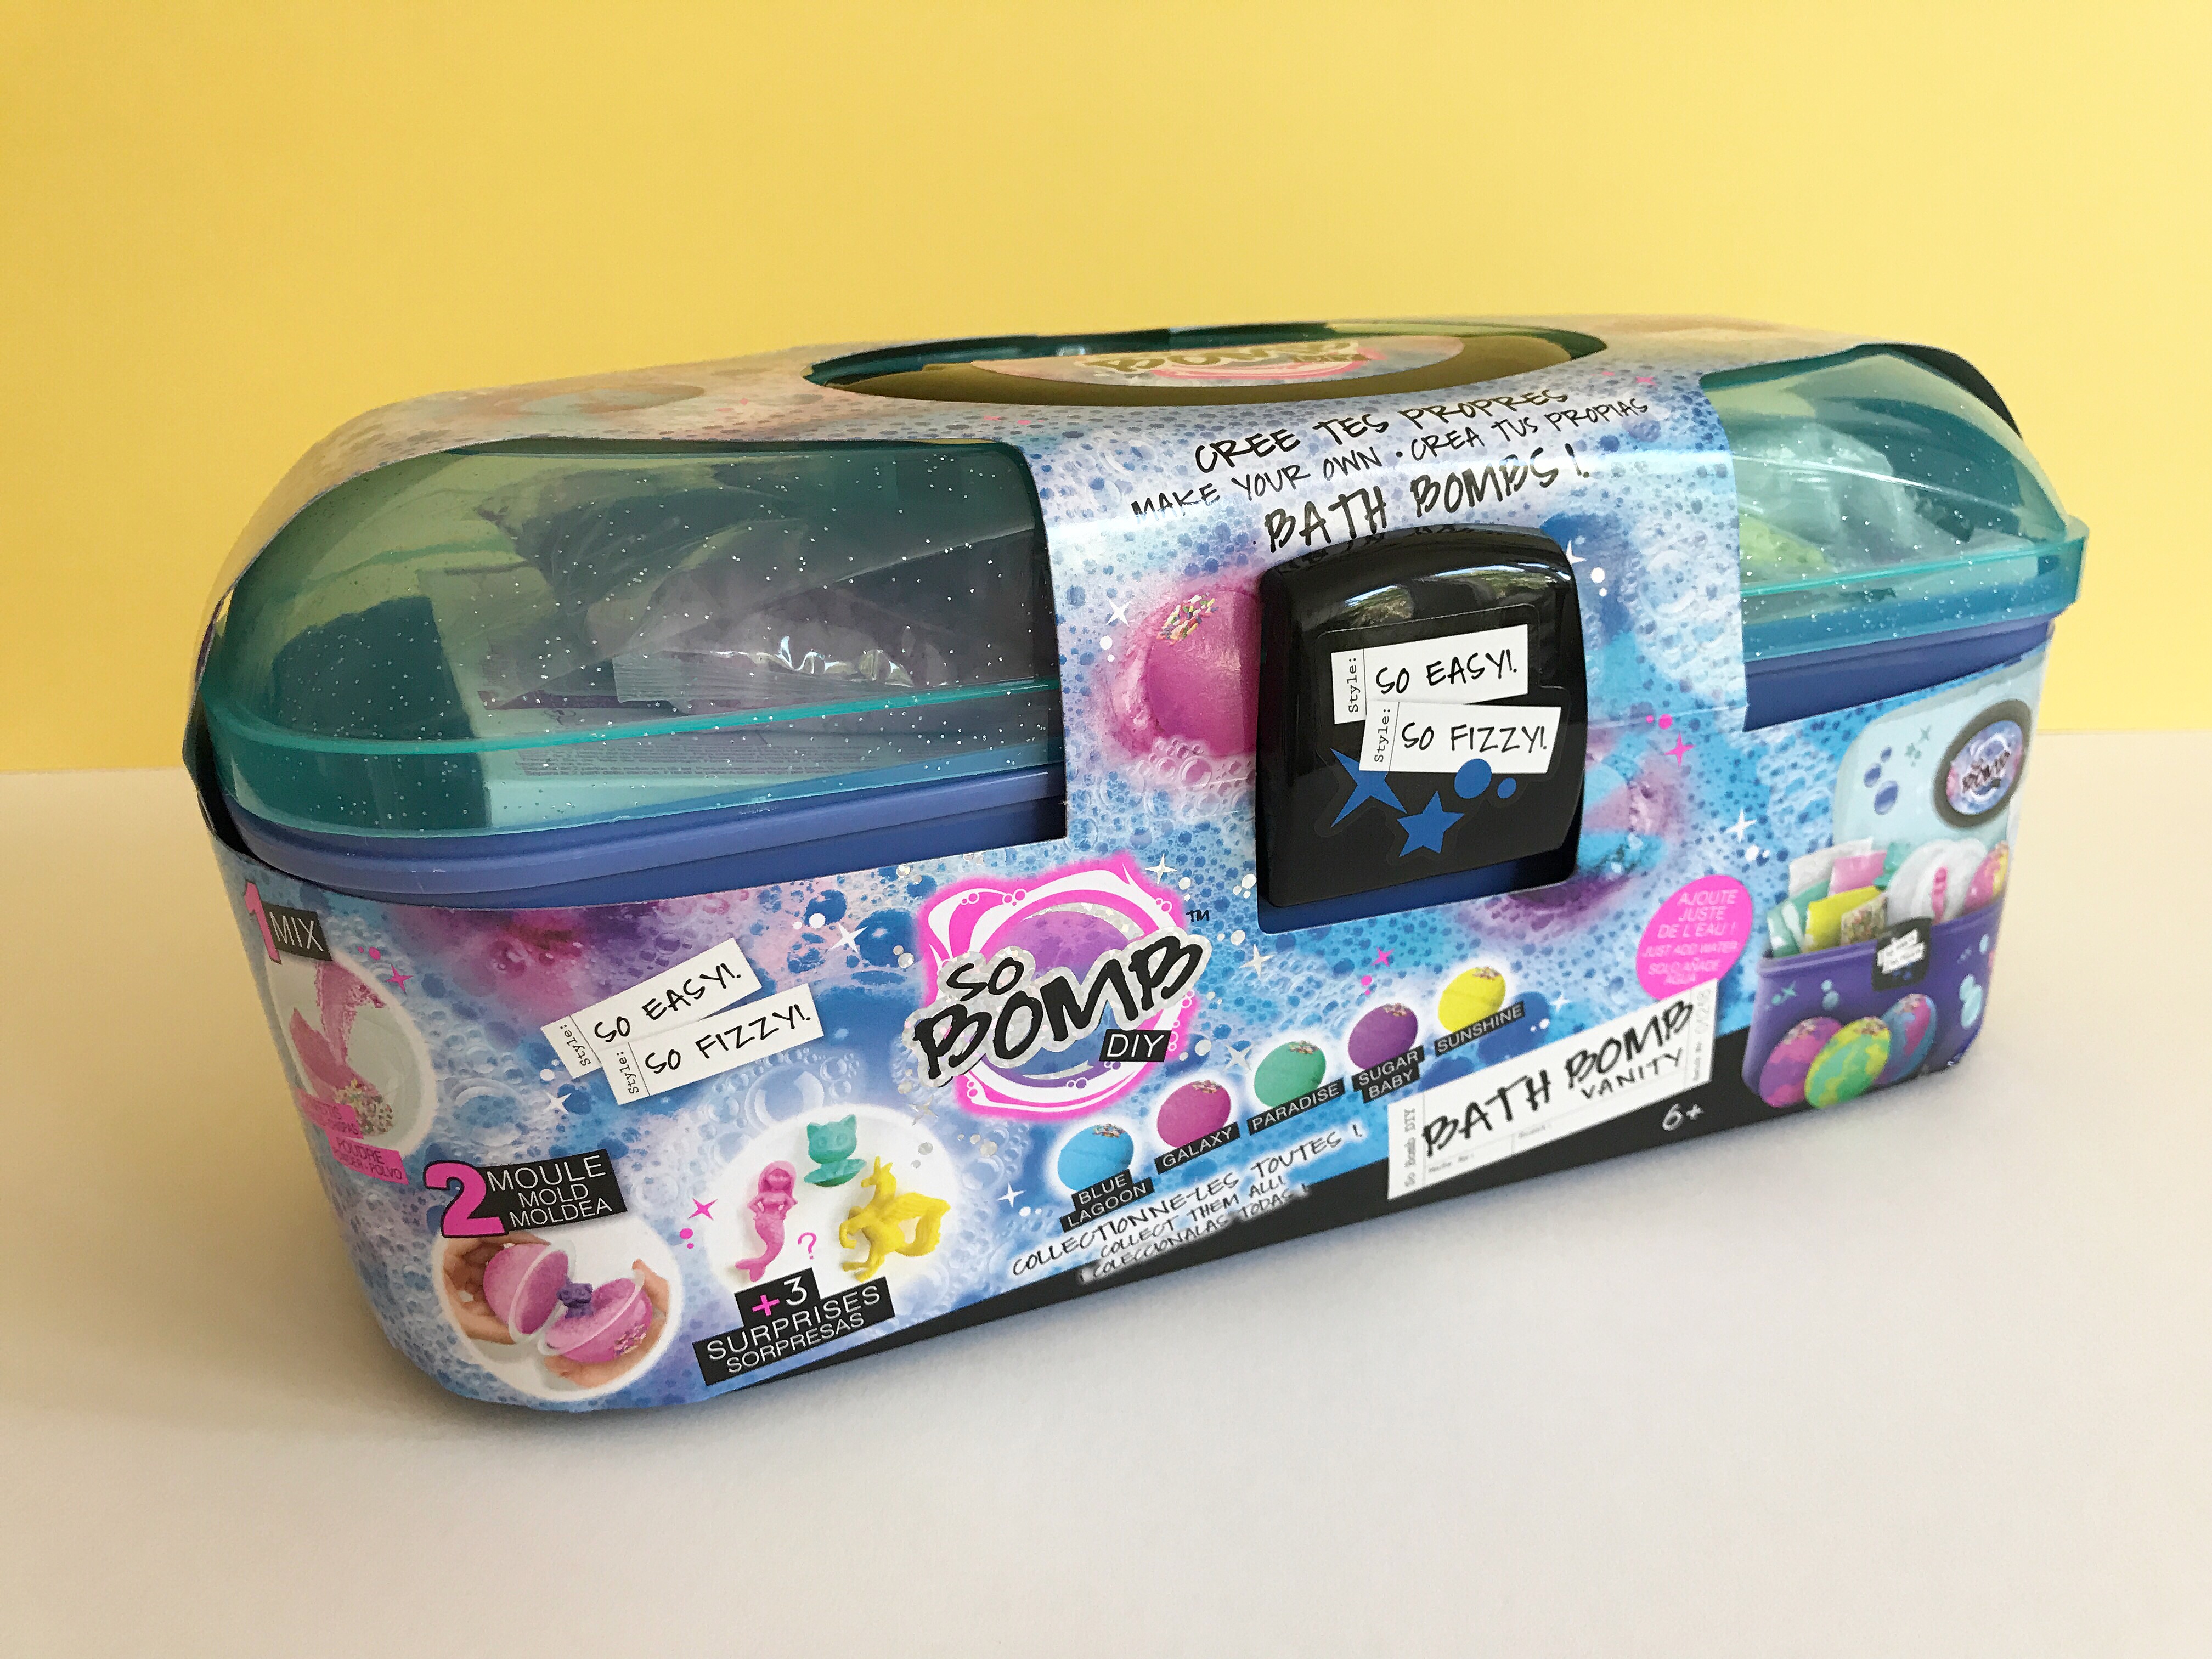
Disclosure: We were sent a free Bath Bomb Vanity case set from Canal Toy’s So Bomb DIY range, in exchange for an honest review. All opinions are out own.
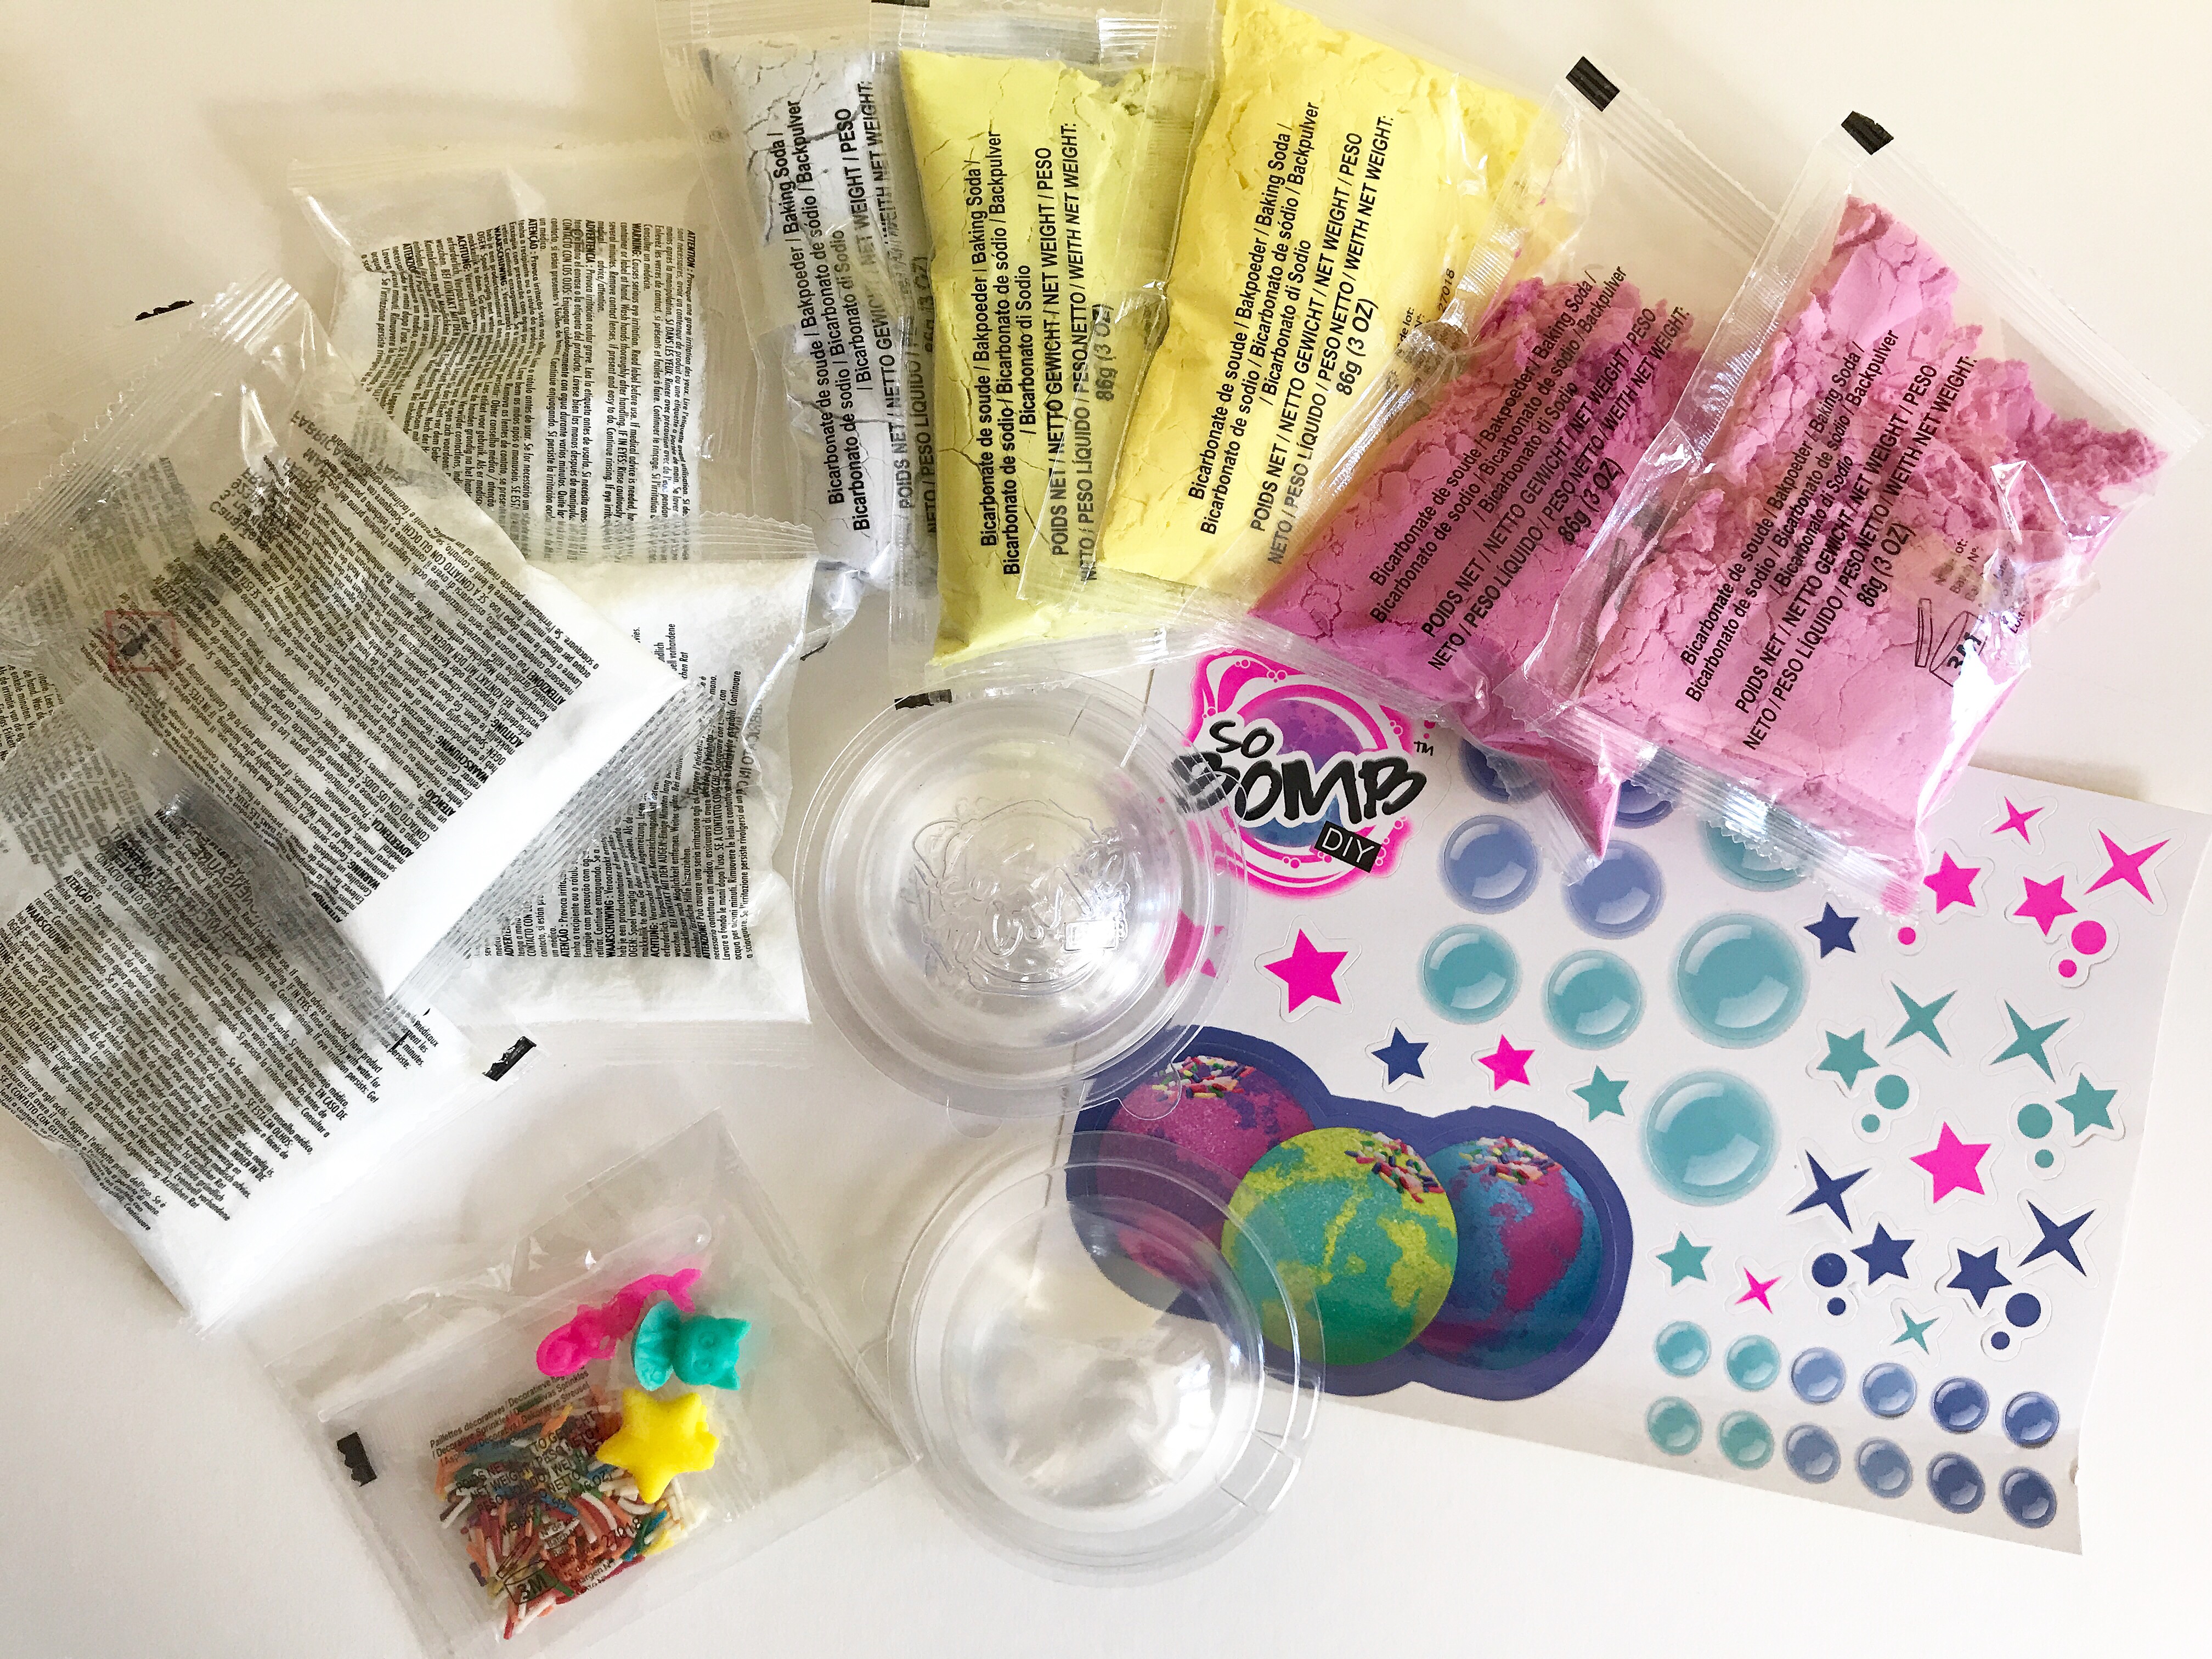
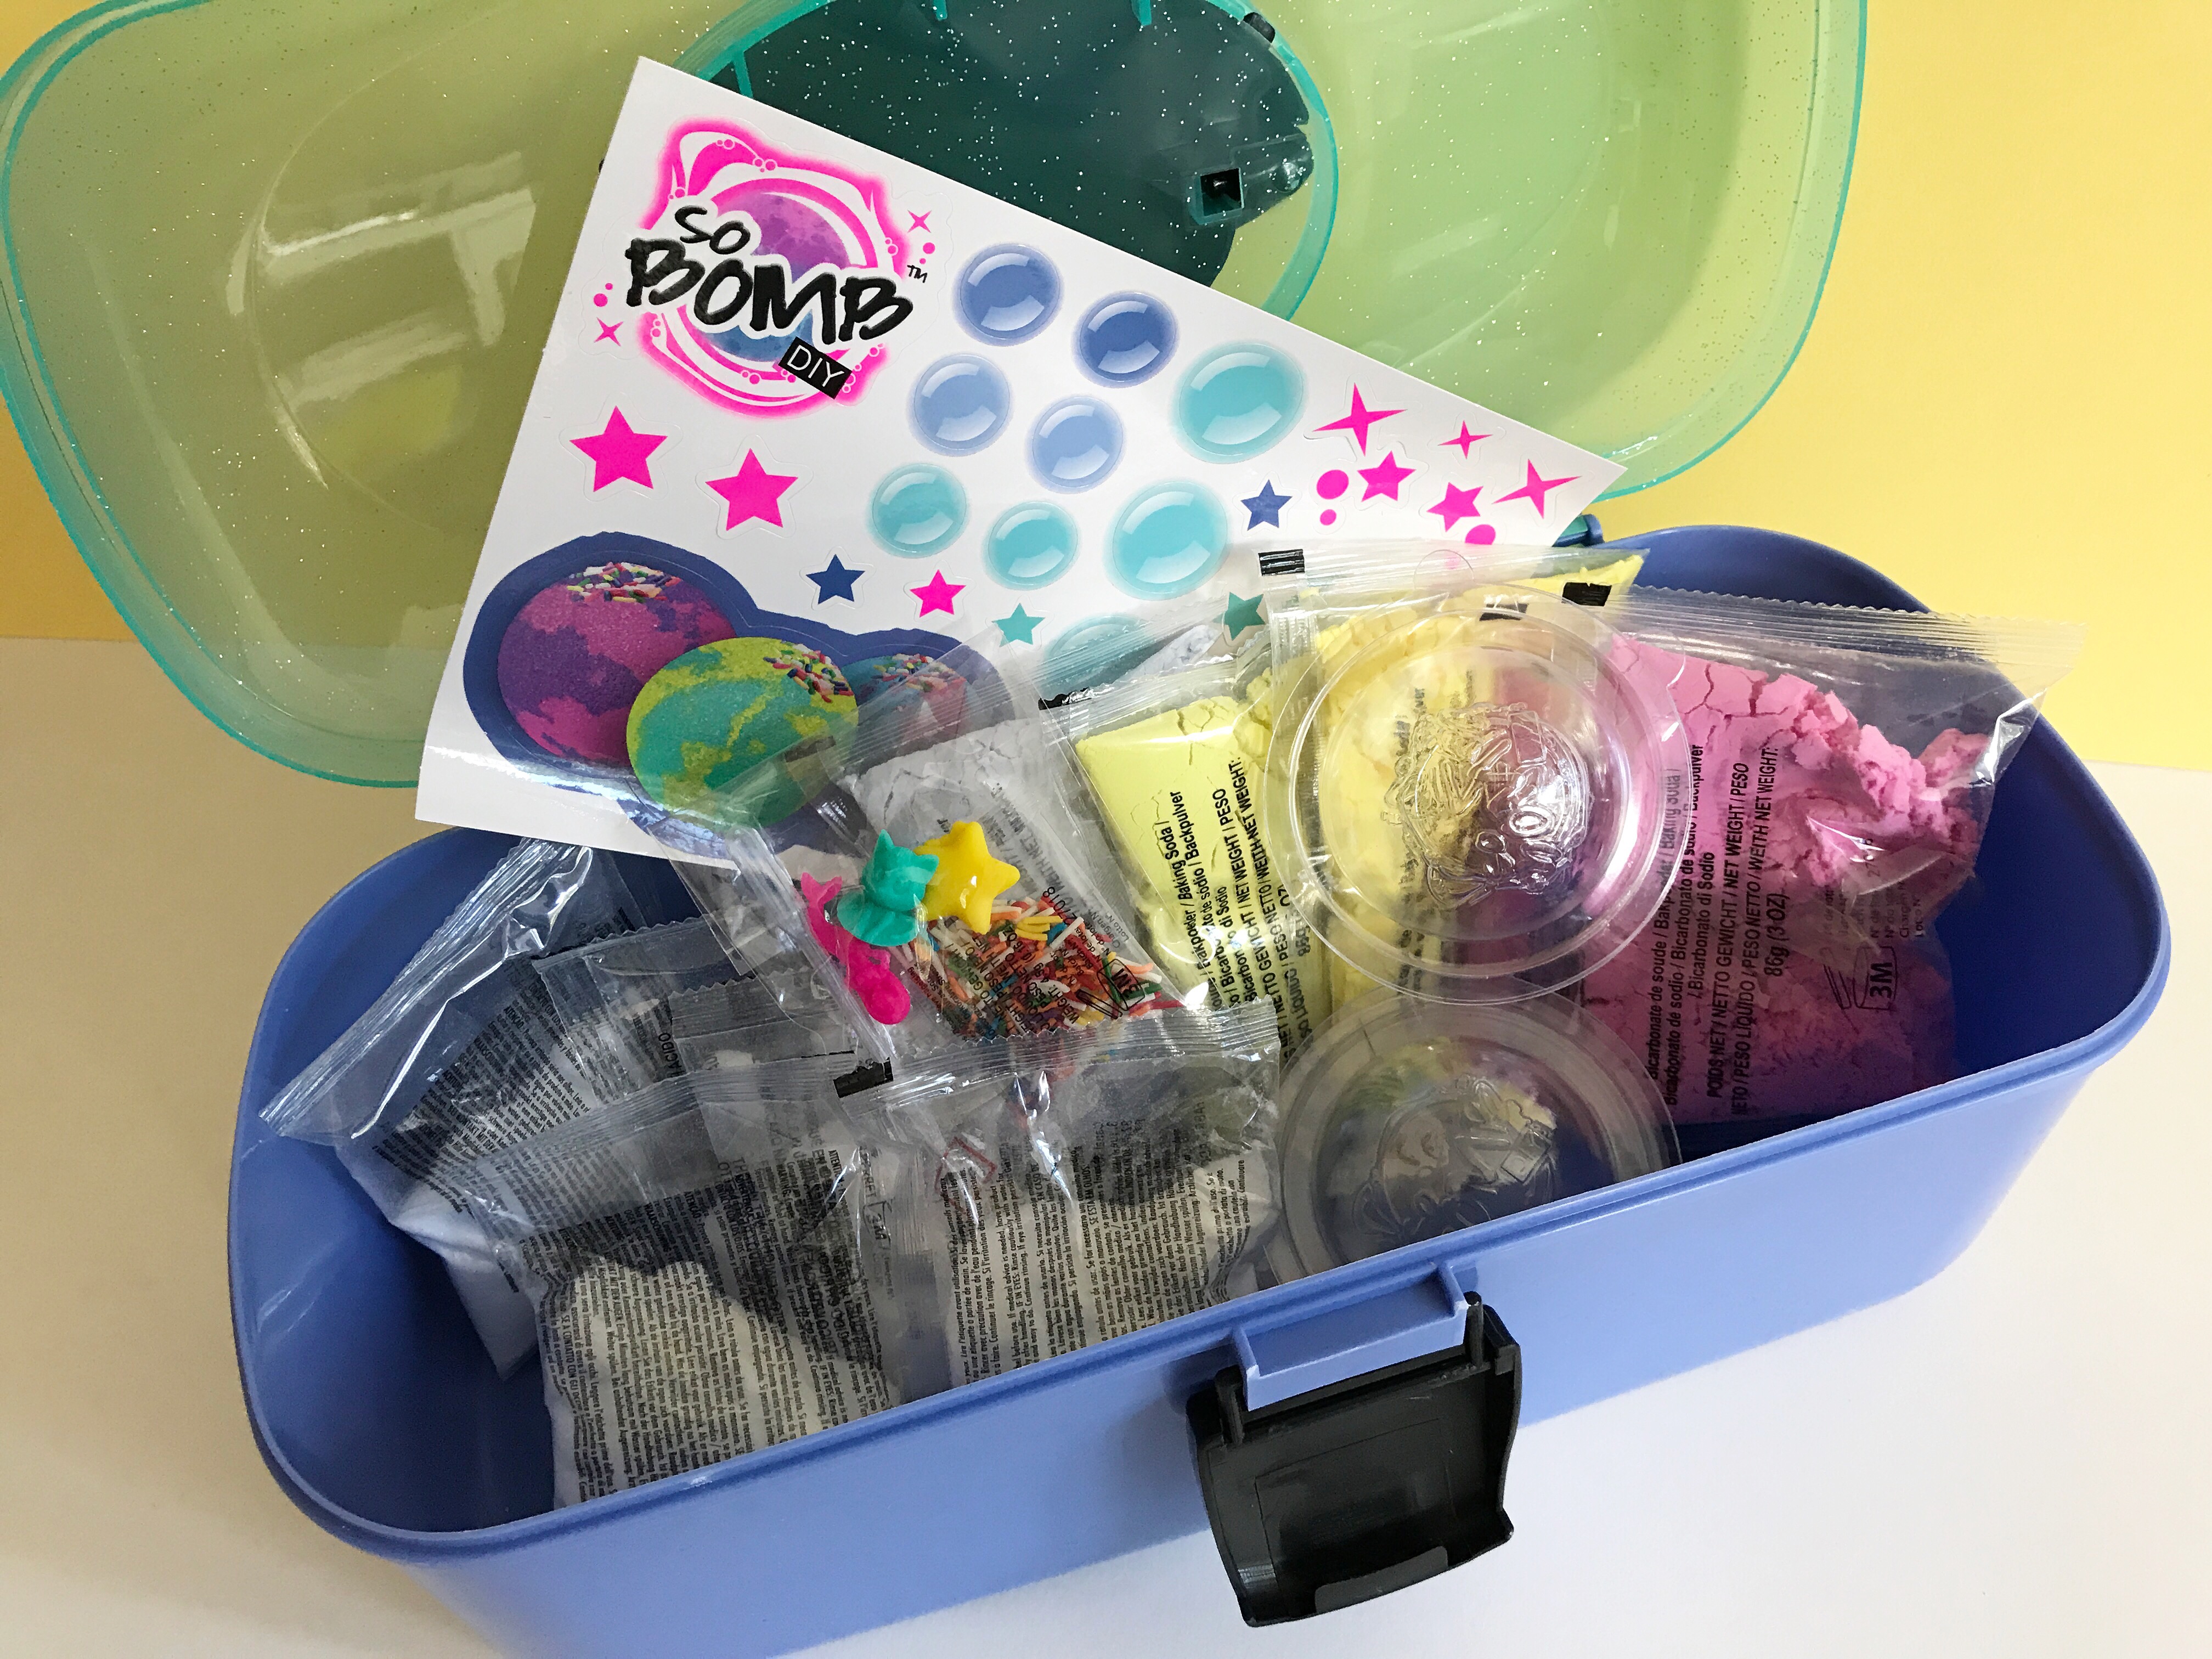
So what’s in the box? The Bath Bomb Vanity set contains enough materials to make five bath bombs, including: 5 sachets of coloured baking soda, 5 sachets of white citric acid powder, 3 bath bomb moulds, 3 collectible figures, a pipette, one sachet of decorative sprinkles, one sheet of stickers to decorate your vanity case. (It’s a surprise which colours of baking soda and which three collectible you will get, so they wont necessarily match what’s on the packaging.) As well as the materials provided, you will also need a small mixing bowl, a spoon, and some water.
You have three moulds, so you can make up to three at a time, but keep in mind that for best results you should use them within a few days of making them. You can make the bath bombs either one solid colour, or mix the colours for different effects such as striped. We decided to start by making two bath bombs, so that the boys could make one each and we could play around with the two colours.
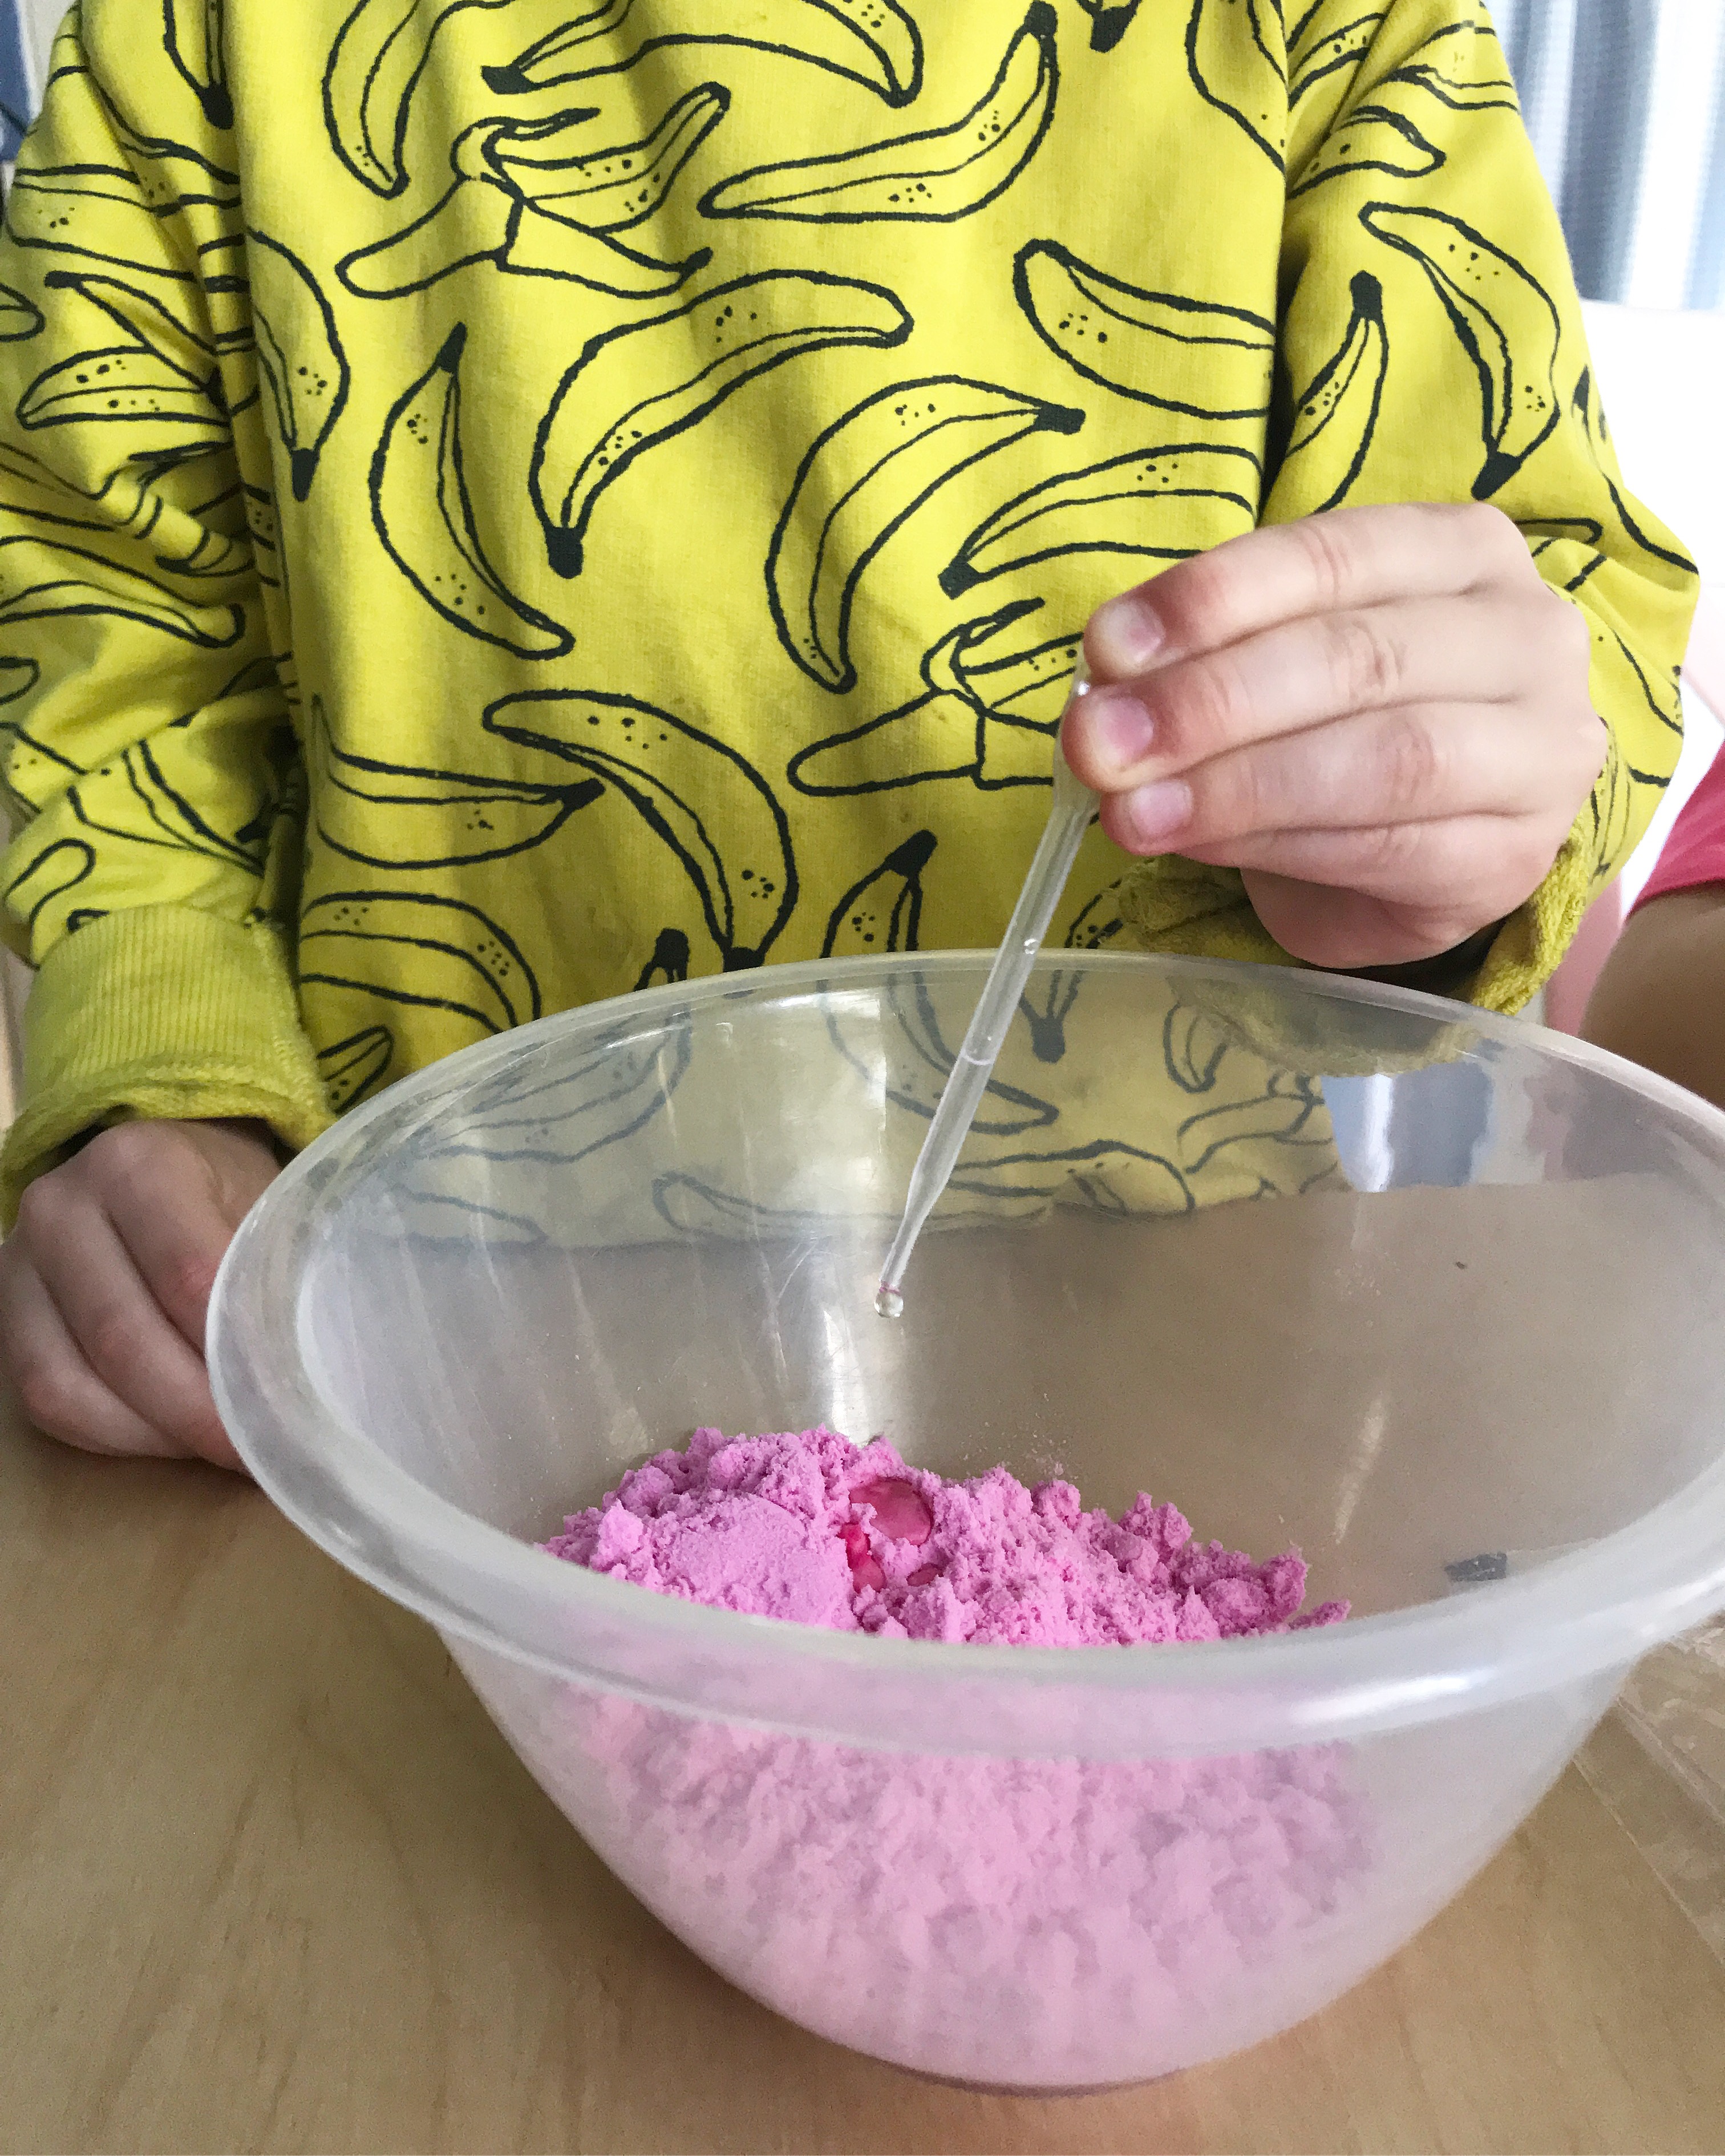
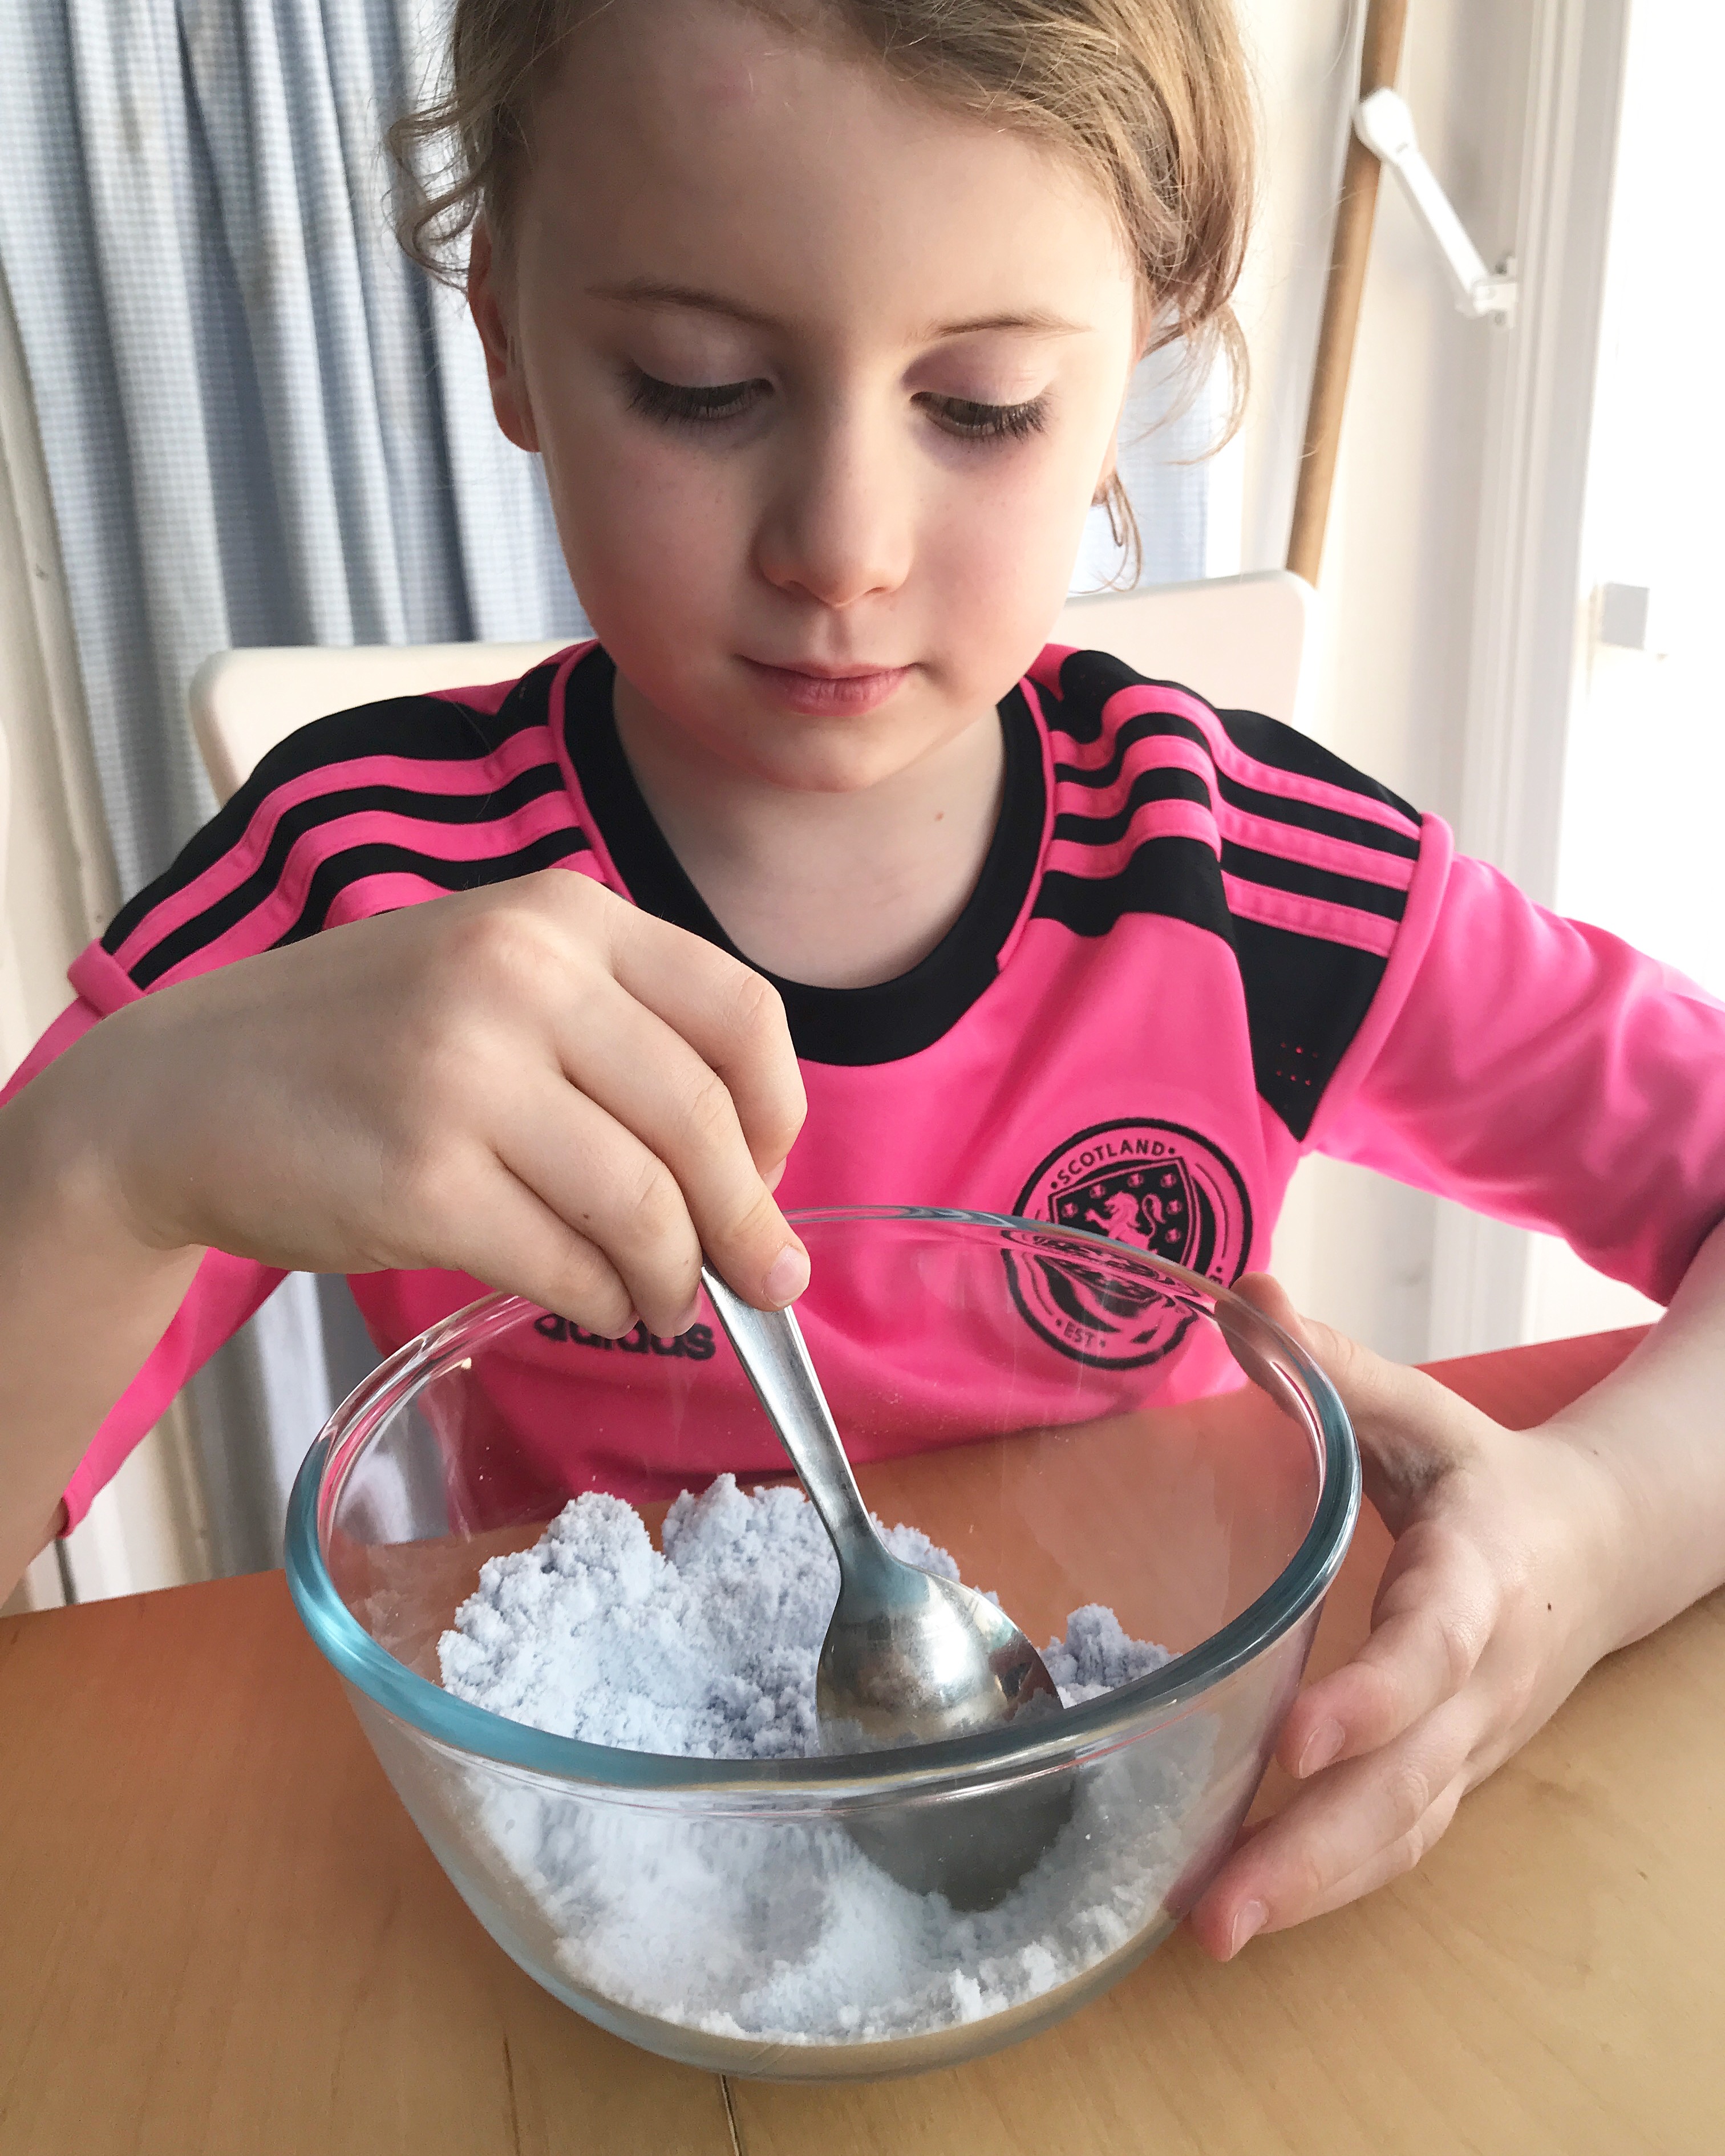
Step 1: Pour a sachet of coloured baking soda in to a bowl.
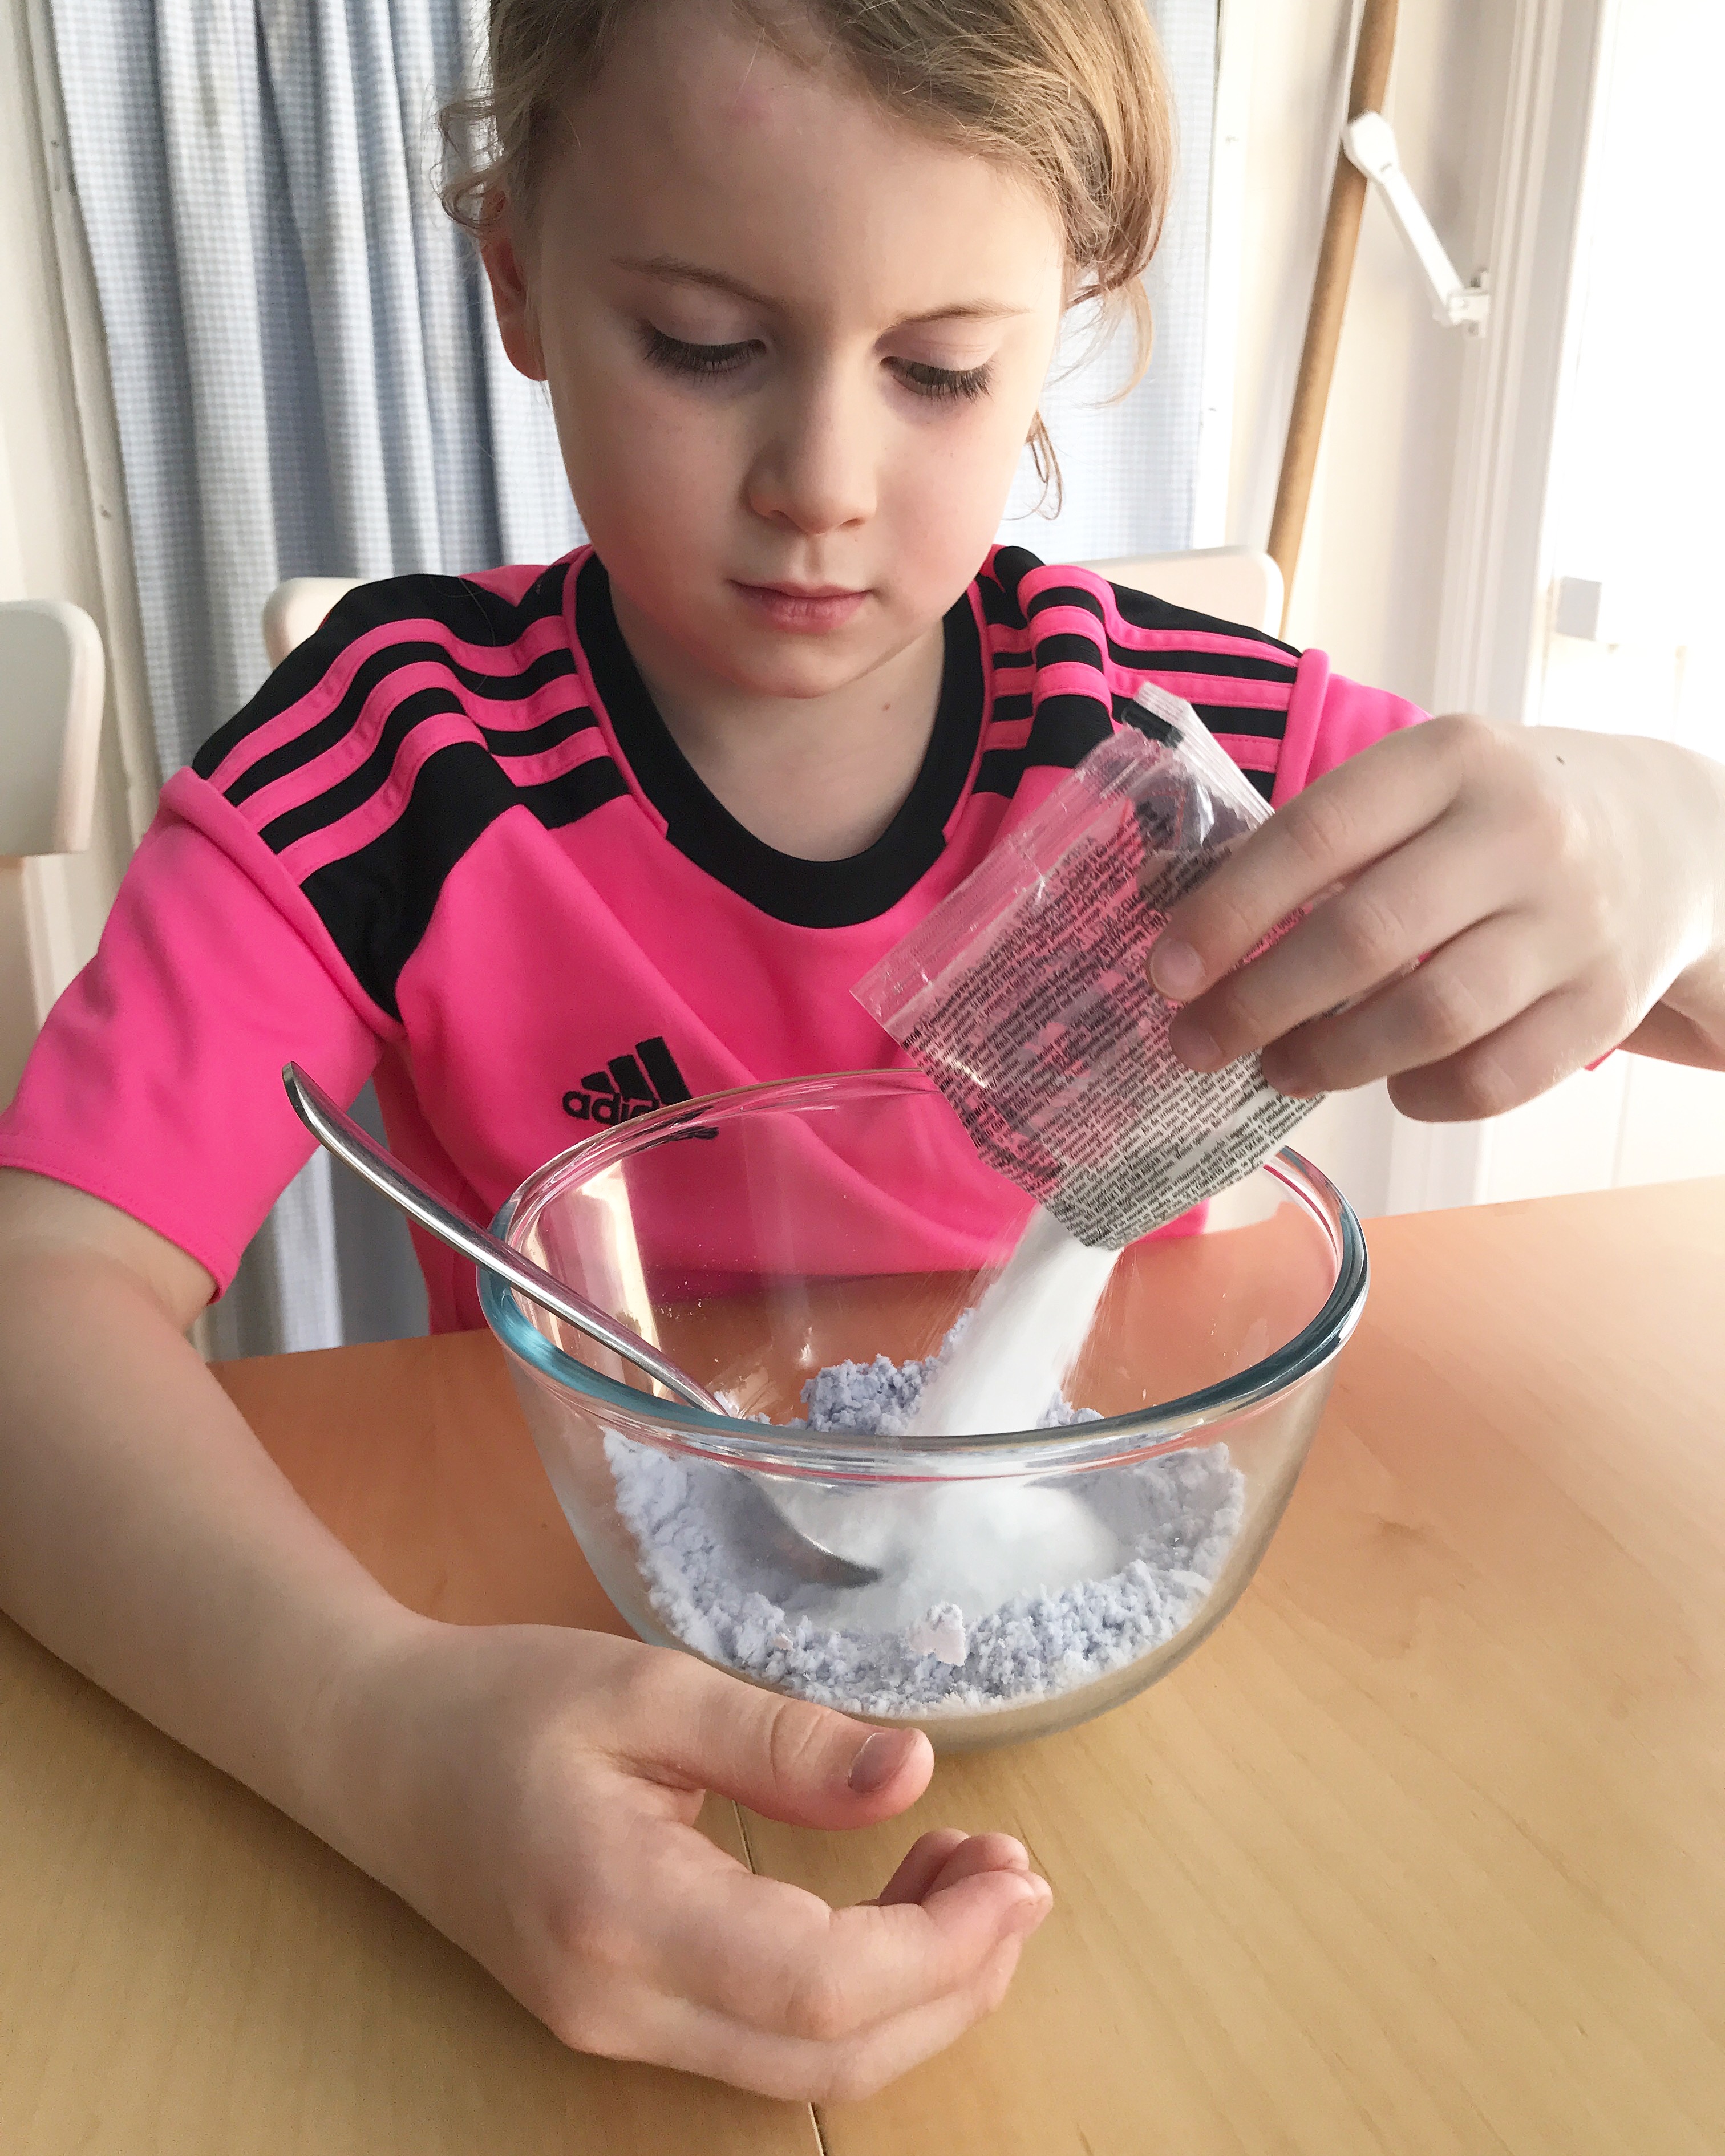
Step 2: Add a pipette full of water to the bowl and mix in until there are no lumps. The amount of water you add is tiny, and you may feel like it’s not made a difference at all, we wondered about this too. But having successfully made and used the bath bombs, we can confirm that yes, it is enough!
Step 3: Add a sachet of citric acid to the bowl and again mix it in until there are no lumps. Repeat Steps 1 to 3 if you want to use more than one colour.
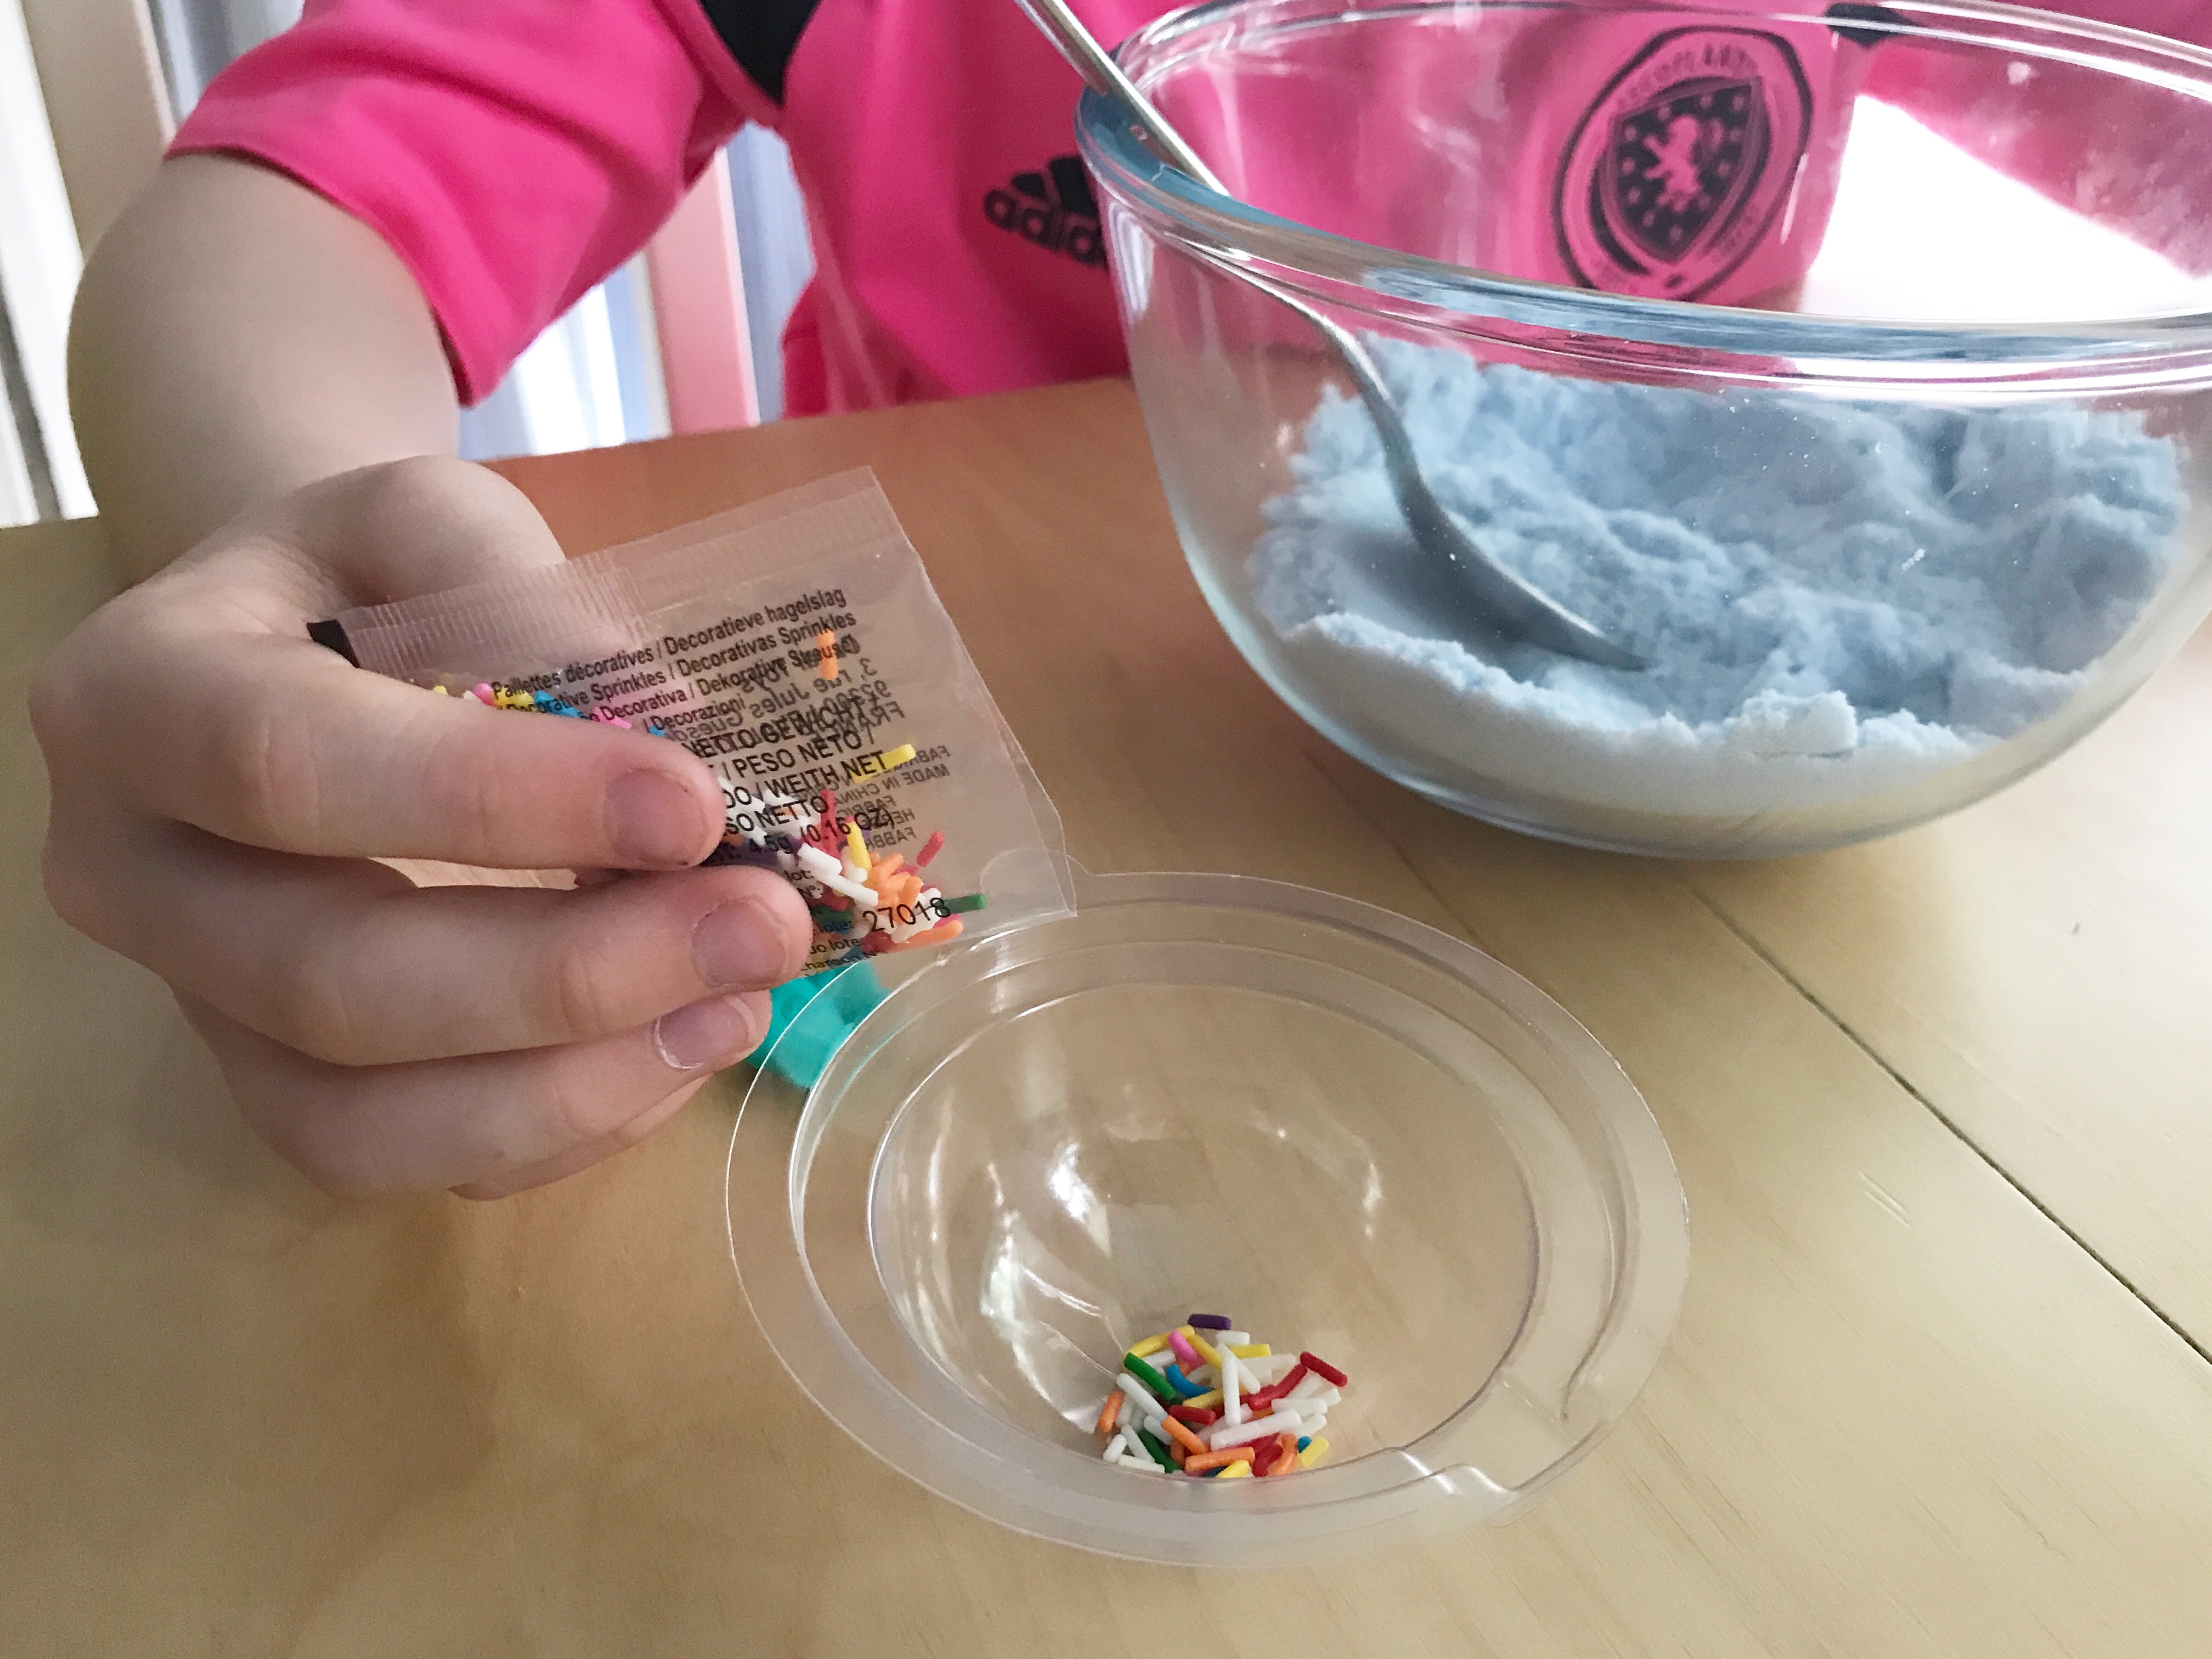
Step 4: Take one of the moulds – you should have one half with a logo on it, and one half that is smooth. Take the half without the logo and pour a few decorative sprinkles in to the bottom of it.
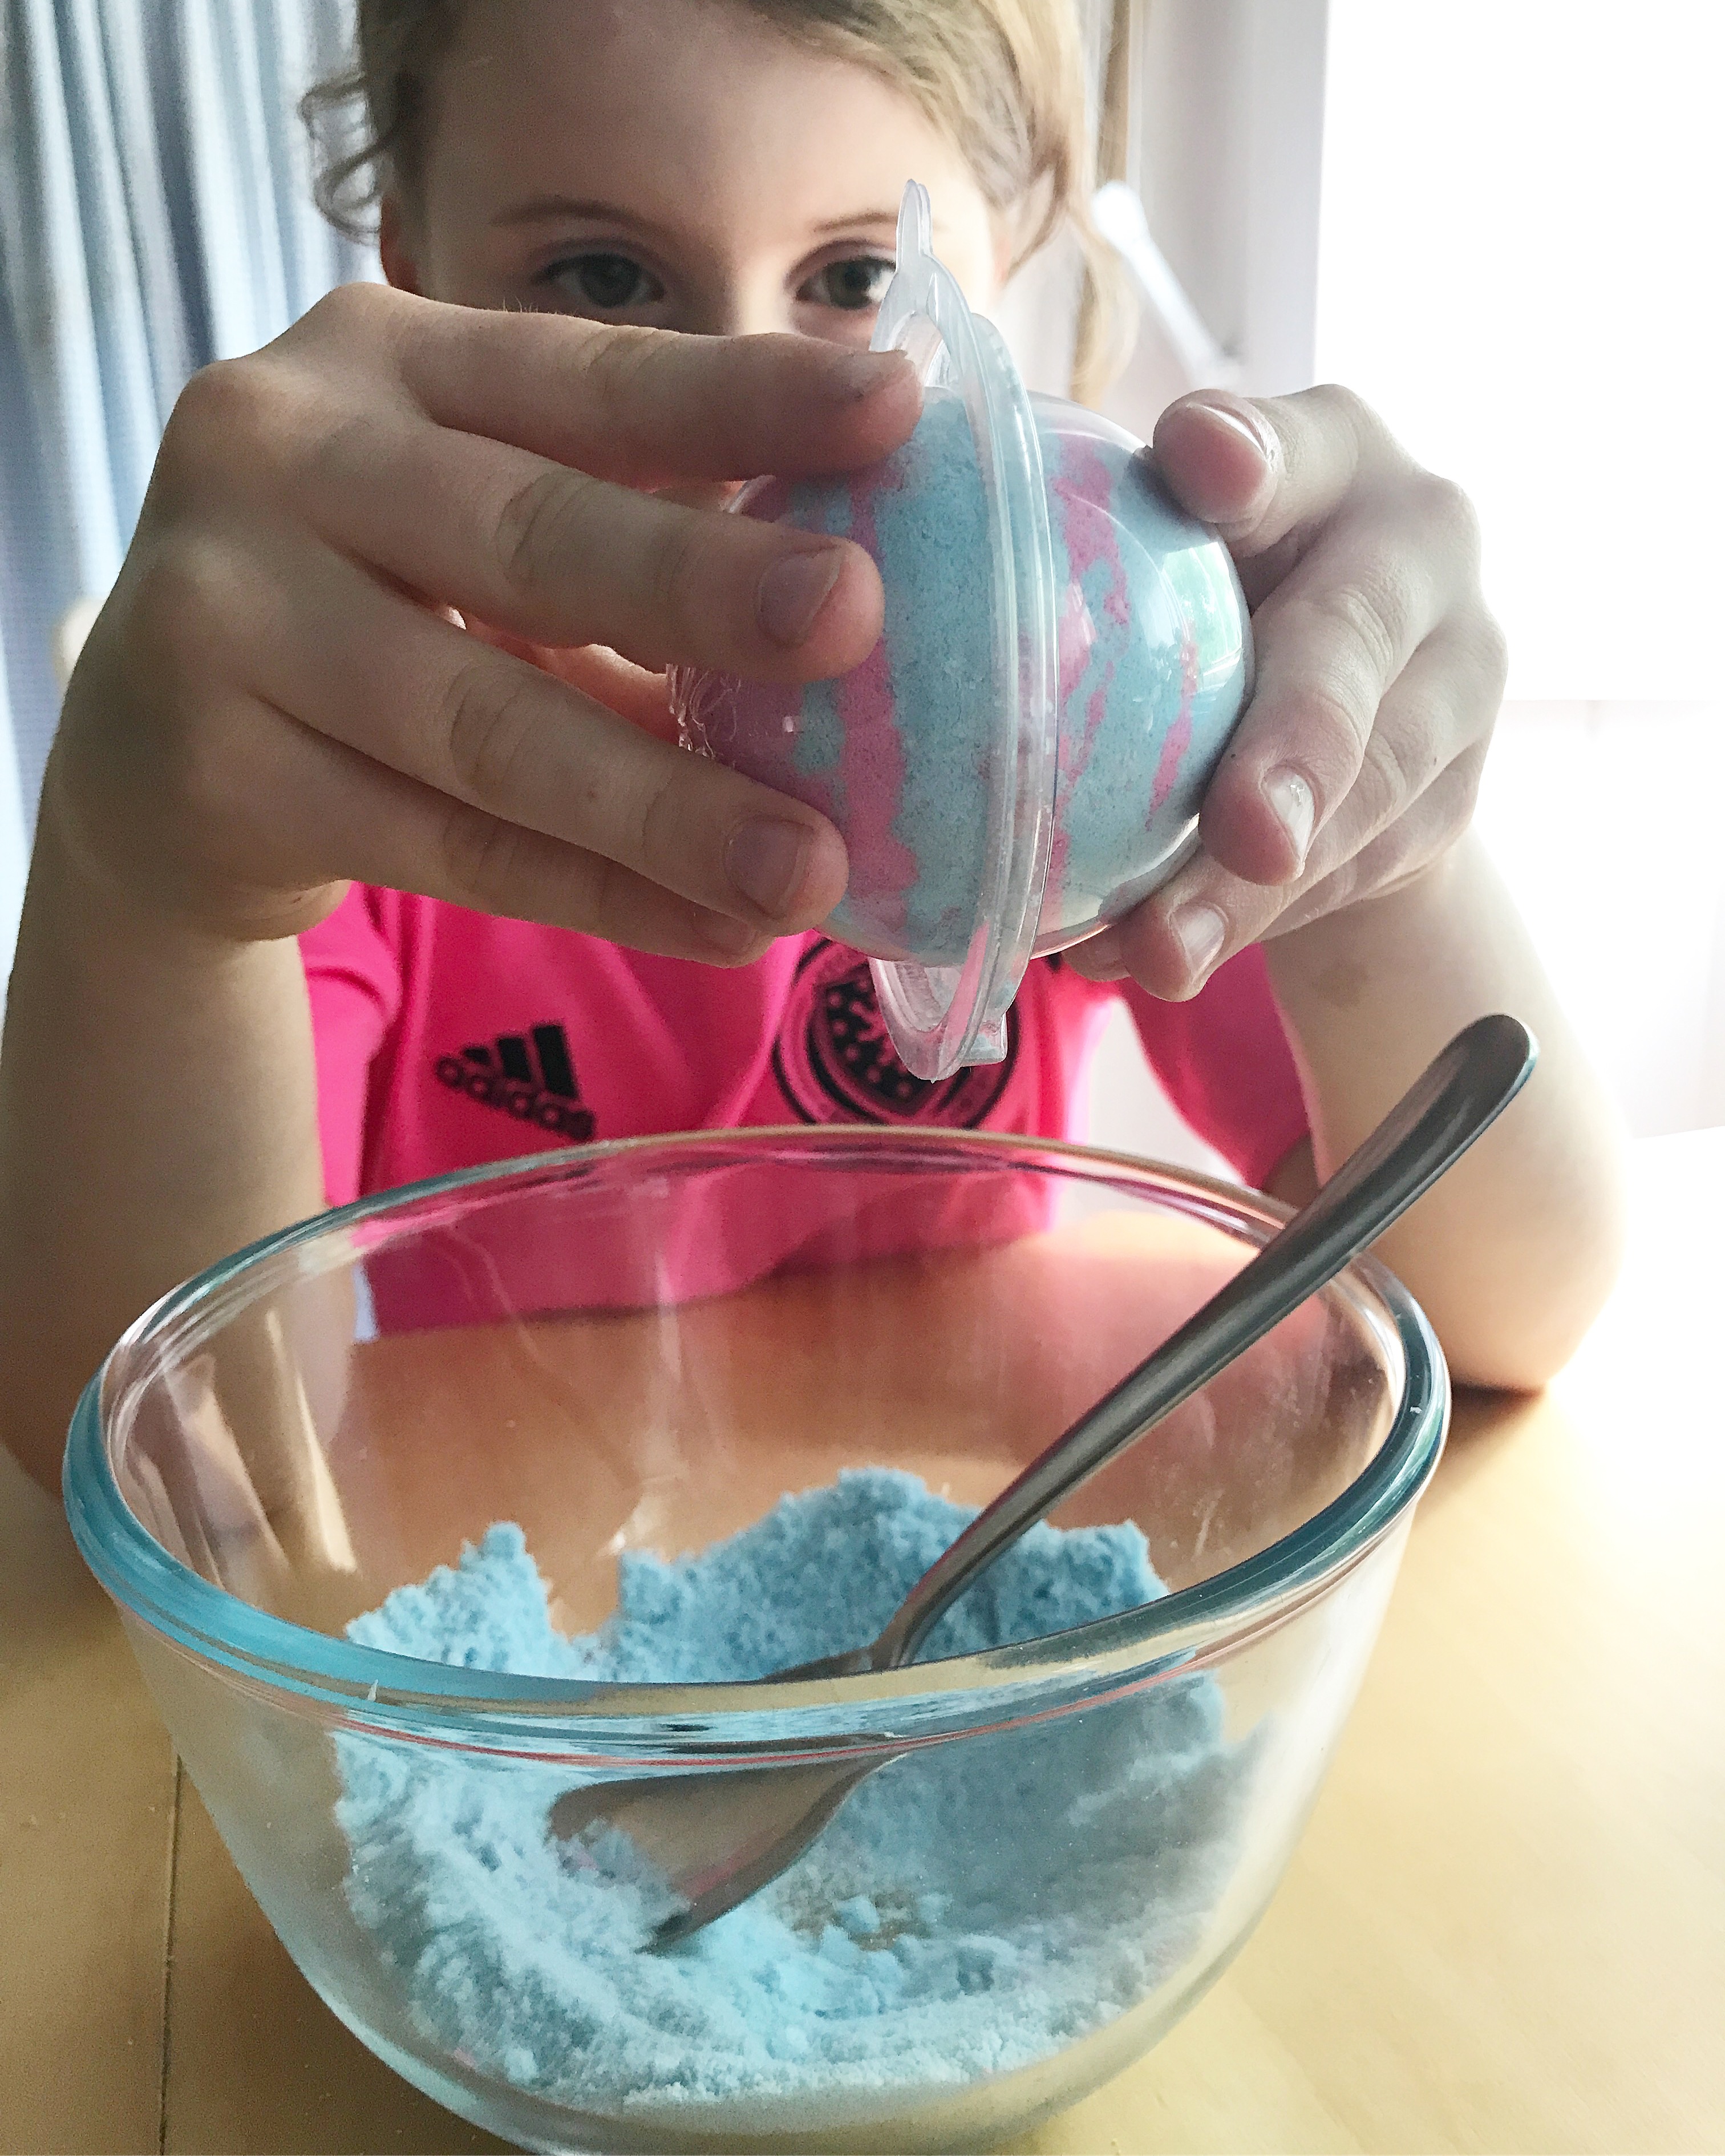
Step 5: Use a spoon to fill the mixed powder in to the mould. The boys decided to layer theirs. You need to make it quite full, so that it comes up above the top of the mould!

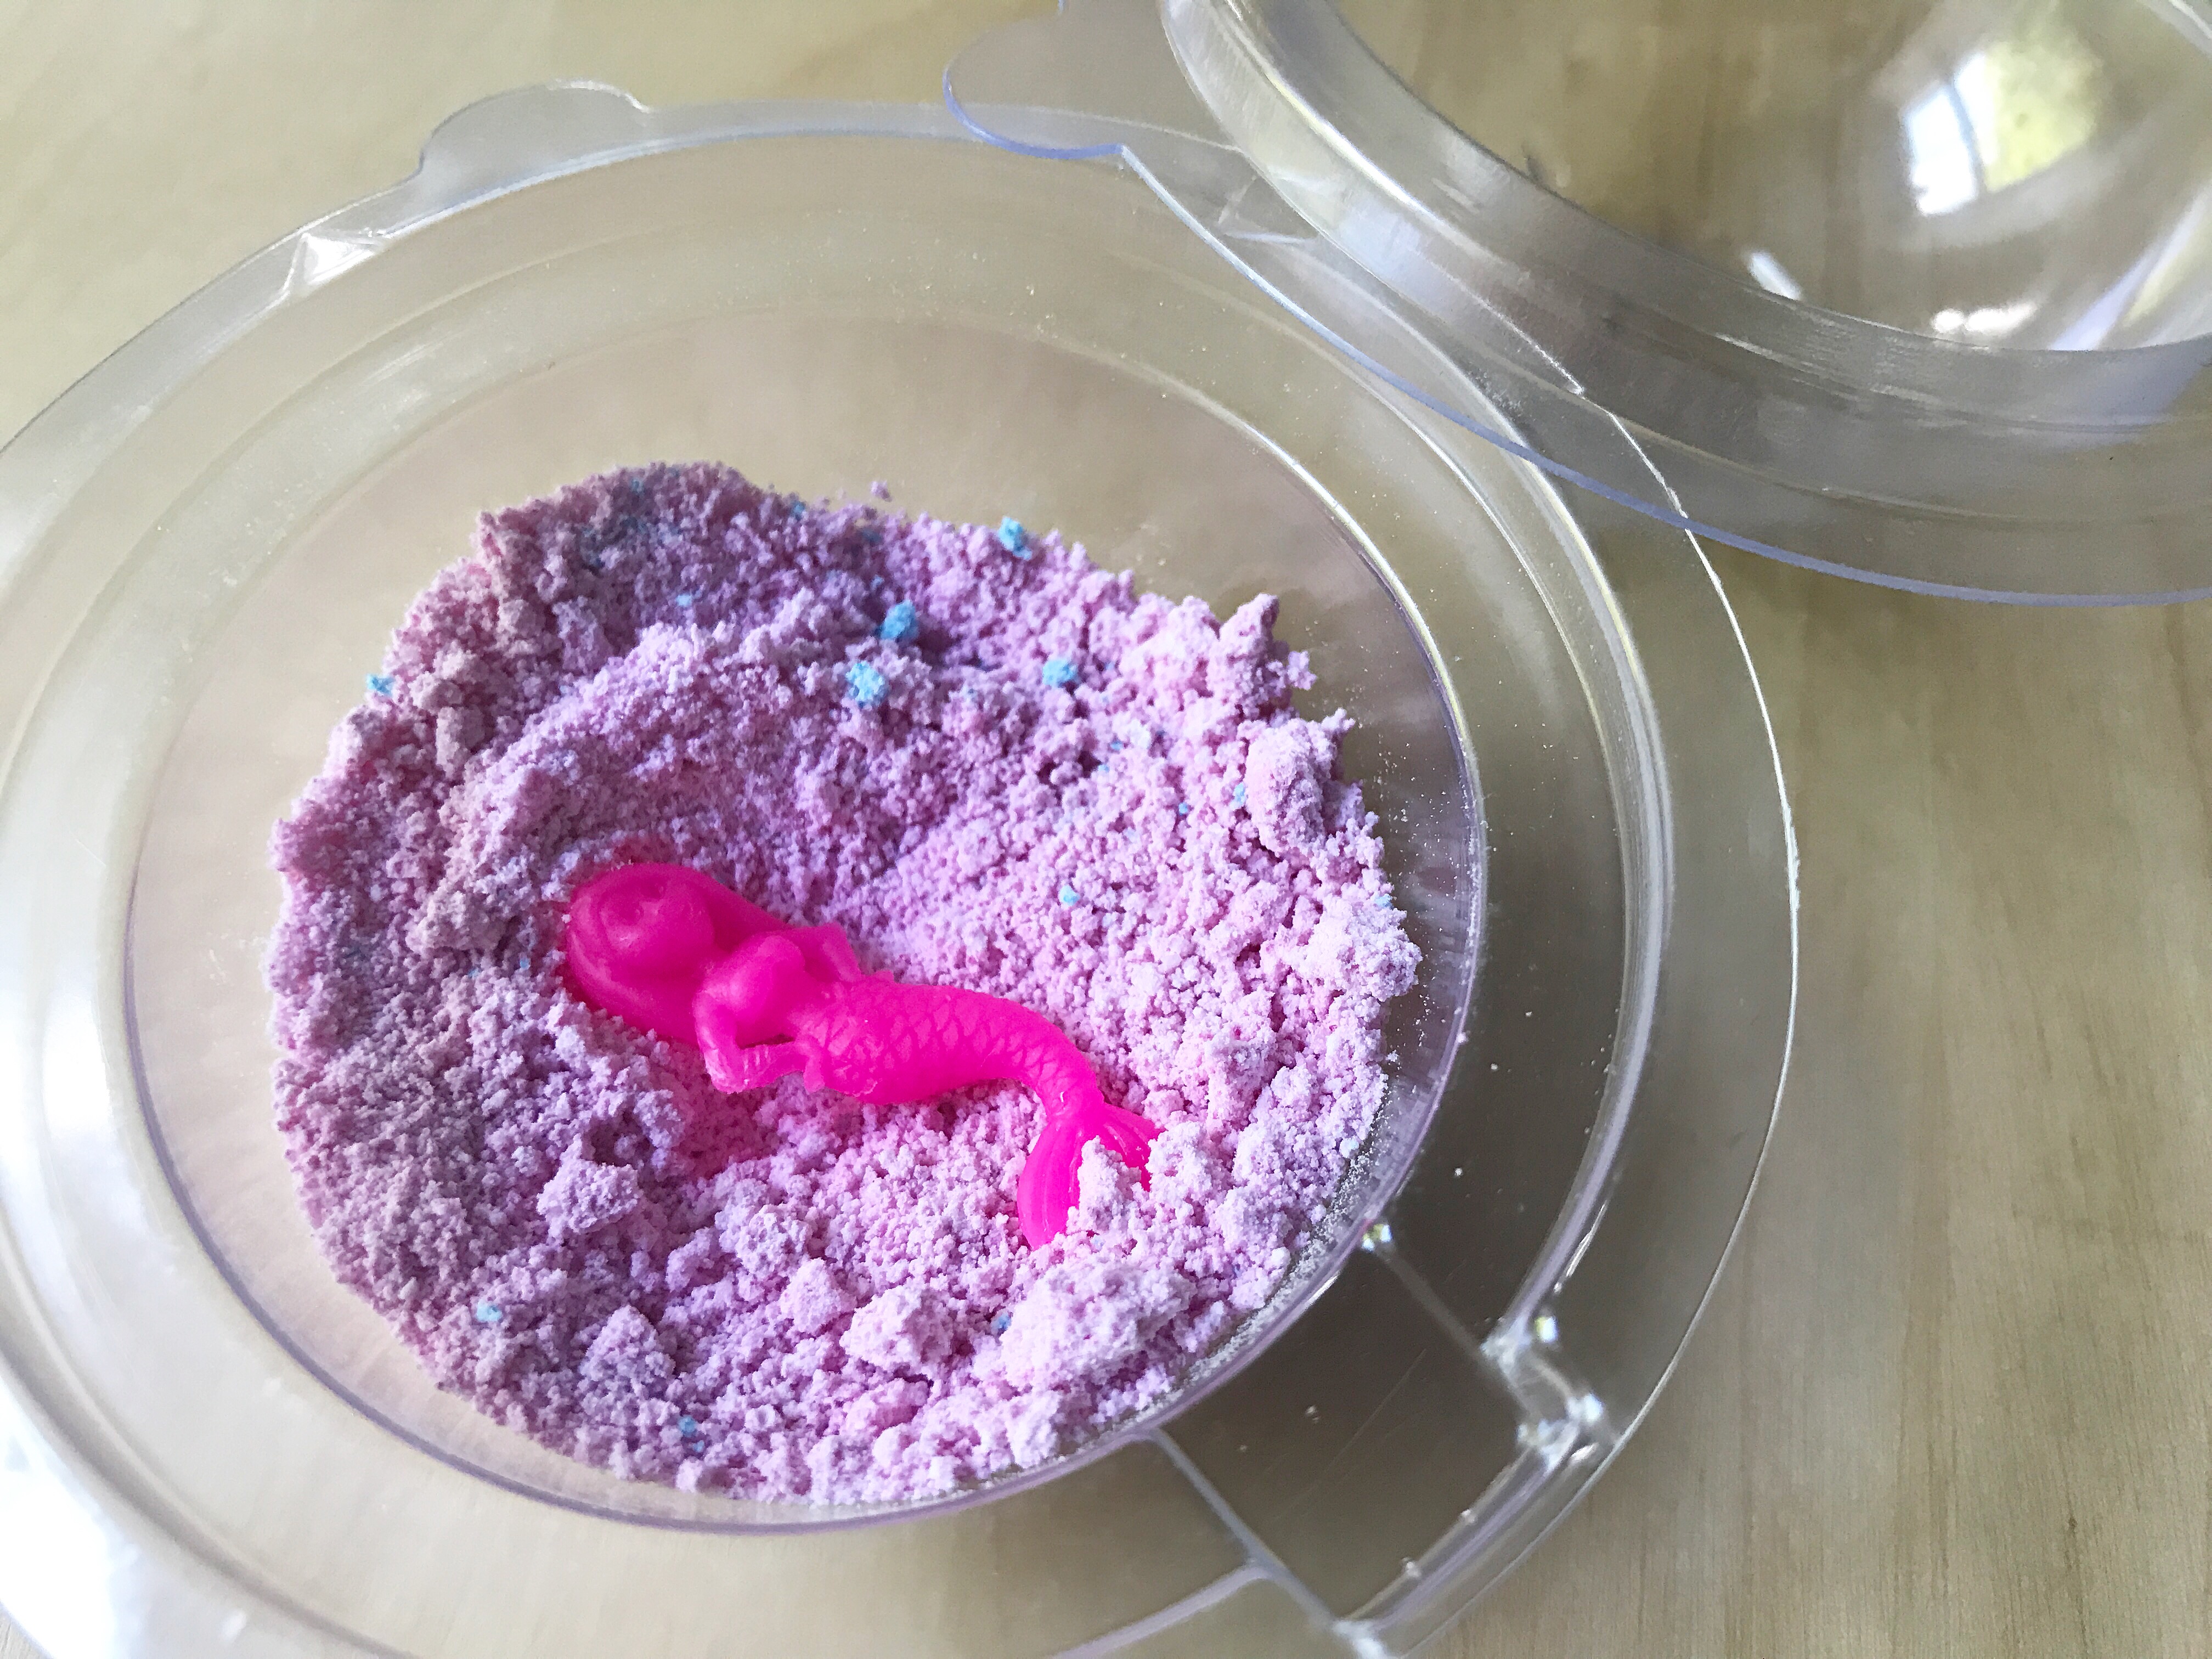
Step 6: Now do the same as in Step 5 for the other half of your mould, but hide one of the collectible figures in it half way through filling it. Again, make sure you’ve filled the mould just past the top.
Step 7: In one swift movement, press the two halves of the mould together. Press firmly around the edges until they are tightly in place. If there’s some of the powder in the way, carefully brush it aside. I had to assist a little with this step. I did the first swift move to fit the two halves together without the powder spilling out, and then the boys pressed them firmly together.
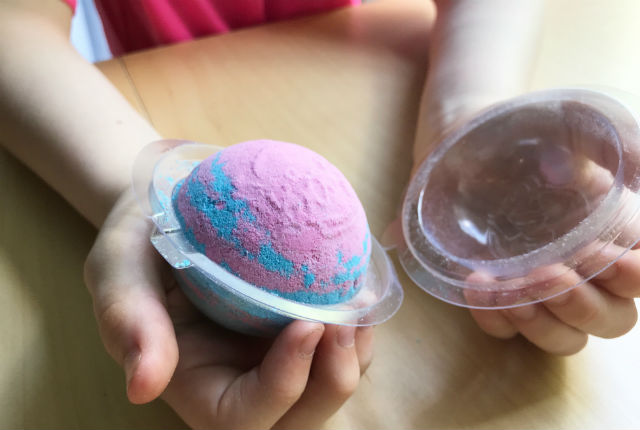
Step 8: Wait! The instructions recommend waiting two hours for the bath bombs to dry, then carefully check to see if it’s dry to touch. if it still feels damp, leave it to dry some more. For best results, it recommends waiting six hours to avoid cracking or breakage, so we played it safe and just went straight for the six hour wait without checking in between. After six hours, the bath bombs had shrunk a little and felt fully dry, both signs that they were ready to take out and use.
We’ve put together a little video to show you all the steps together in action:
The bath bombs were super easy to make. It may seem like a lot of steps, but that’s just because I’ve broken it down for you. Basically, you mix, press, and wait. Then…bath time! The set is recommended for ages 6+, but of course my 4 year old wanted to make one too, and with supervision from myself he managed to do so quite easily. My 8 year old only really needed a little help with that final step of swiftly fitting the two halves of the mould together.

It’s recommended to keep the finished bath bombs in a cool dry place whilst not using them, ideally in the moulds or a sealed plastic bag, and to avoid touching them with wet hands. Despite making the moulds really full, we still had some powder left from each of the two colours, which we also kept in a sealed plastic tub, and once we had made all five bath bombs we had actually collected enough left over powder to make a sixth one!
To use the bath bombs, just place them in a bath full of warm water and they will start fizzing away. The smell is quite pleasant, though it does warn you to keep them away from your eyes as they can cause irritation. I think this is just common sense though, as other bath products like soap also cause irritation if you get them in your eyes, but it’s best to supervise younger children just to make sure. We didn’t have any problems with irritation. You are also advised to wipe away any colour remnants as soon as you’ve emptied the bath, to avoid staining, but again we didn’t actually experience any bath colouration or staining. And don’t forget to remove the collectible from the water before draining your path, so they don’t get stuck in the plug hole!
All in all, we found this bath bomb set very easy to use. The instructions are straight forward, it worked exactly the way it said it would – both making and using them – and as long as you manage not to spill any of the powder in the making process, it’s also fairly mess free. For anyone thinking of trying out bath bomb making with their kids, I can honestly recommend this kit. Plus, once you’ve used everything up, you can re-use the vanity case to keep stuff in!

Treasure Every Moment
This looks like so much fun and my daughter would absolutely love making her own bath bombs! I’m adding this to her Christmas list – thank you :)
MELANIE EDJOURIAN
My little ones love bathbombs. They’d love to make their own too as they love to get hands on. It would make a great gift for my eldests birthday.
Lyndsey O'Halloran
I love that it’s a craft set but also something that can actually be used afterwards!
Mandi Morrison
They look fun to make. My daughter actually got to make her own one in Lush one day and she really enjoyed doing it.
Marie
These look fantastic and a really great gift! They are so pretty too
Kelly
I would love to have a go at making some of these myself. I use to have things like this as a child and loved them. It reminds me of a perfume set I used to have too.
Anosa
I absolutely love this, I can not remember the last time I made a bath boom so cool.
Tracey Kifford
Oh wow, they actually end up looking like bath bombs!! We had a kit once (different brand) and it was so dry and flaky we couldn’t get the material to bind together and we ended up with ‘bath dust’!
Jennifer
My kids love bath fizzers so would love making their own. What a fab idea!
Alexandra Cook
This looks so cute and super fun. My kids would absolutely love this. I need to get one fore them.