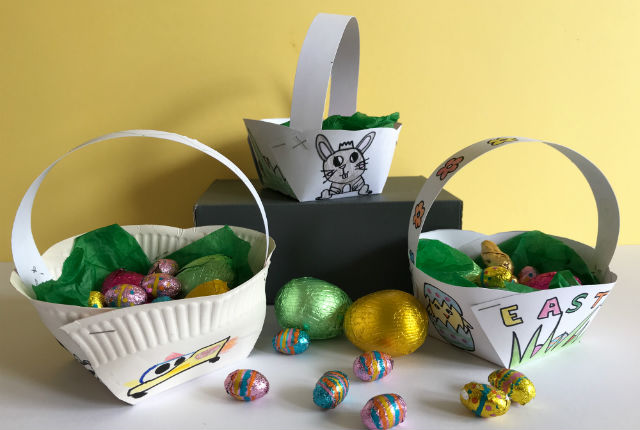
Easy-Peasy Paper Plate Easter Baskets
There’s less than a week to go until Easter Sunday, so we’ve been cranking up the Easter activities in our house. Today we are going to show you how to make your own Easter basket. It’s a super easy way to make one, all you need is a stapler and a plain paper plate (maybe you have some left over from a party?) If you don’t have a paper plate, you can use a piece of thin cardboard instead.
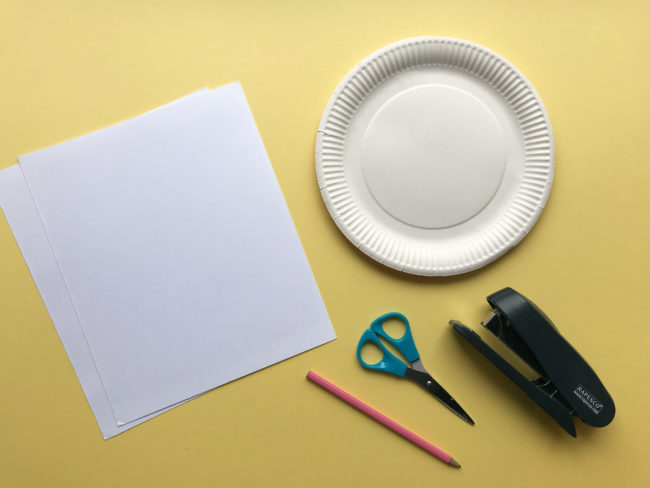
So, you will need a paper plate or piece of cardboard, plus some extra cardboard if you want to add a handle to your basket. Also a pair of scissors and a stapler. And if you want to decorate your basket – this will keep the kids busy for a while! – you’ll need some coloured pencils, pens or crayons too.
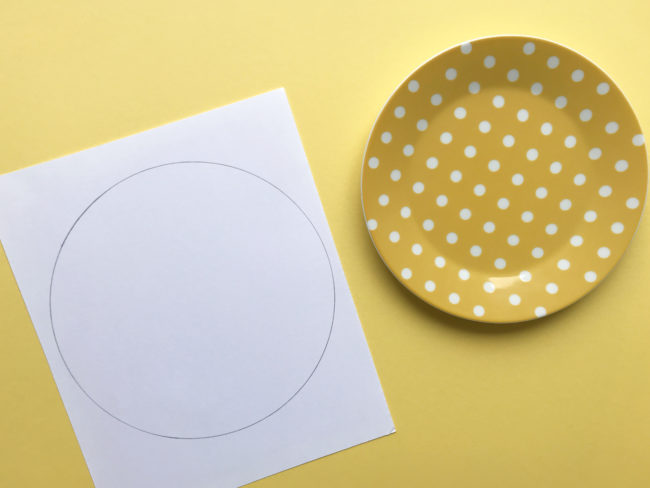
Prep: If you don’t have a plate and are using cardboard, you’ll need to create a disc by drawing around a plate and cutting it out. We used a plate that was 20cm in diameter (the cardboard plate was a little bigger, at 23cm)
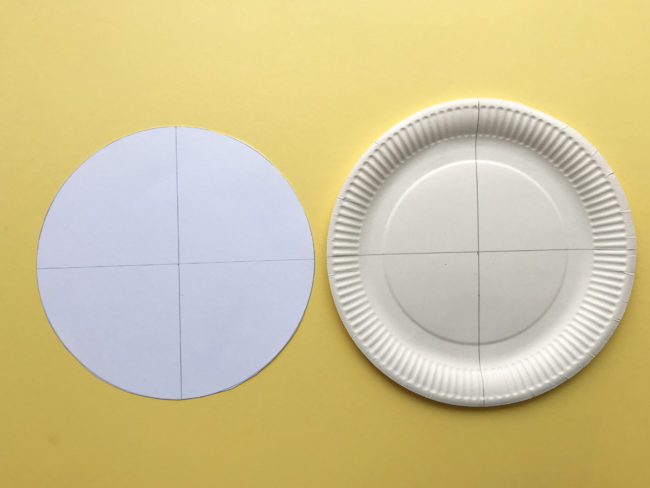
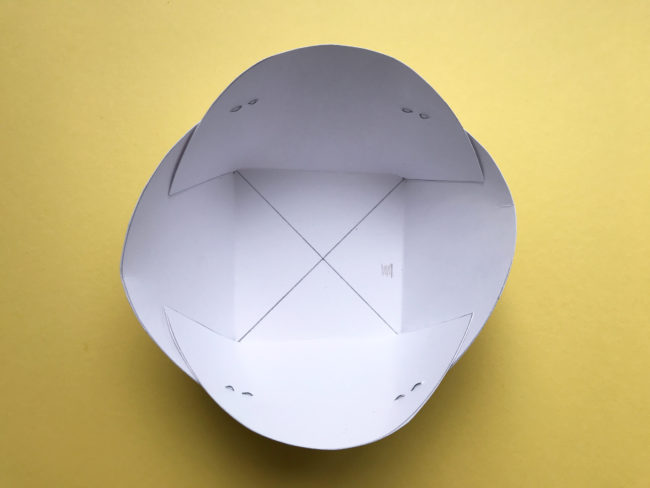
Step 1: On one side of your disc, or on the inside of your plate, draw a cross that meets in the centre. A ruler would be handy here, but I actually used the spine of a magazine as all our rulers had gone walkabout…
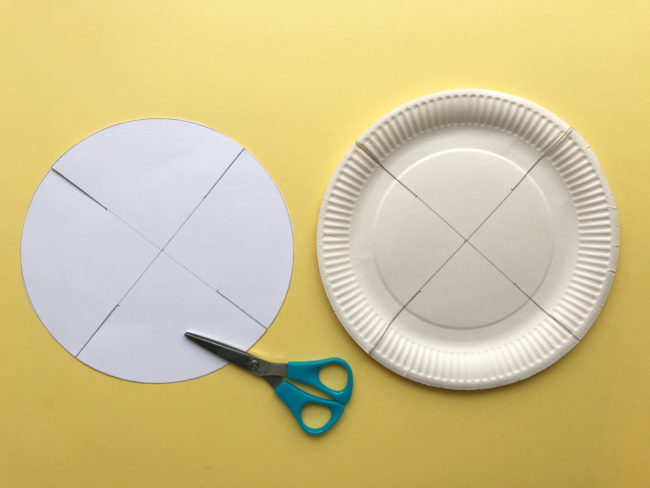
Step 2: Along each of the four lines, cut from the outside about 5cm to 6.5cm in to the middle of your disc/ plate (we did 5cm for the 20cm disc, and 6.5cm for the 23cm plate)
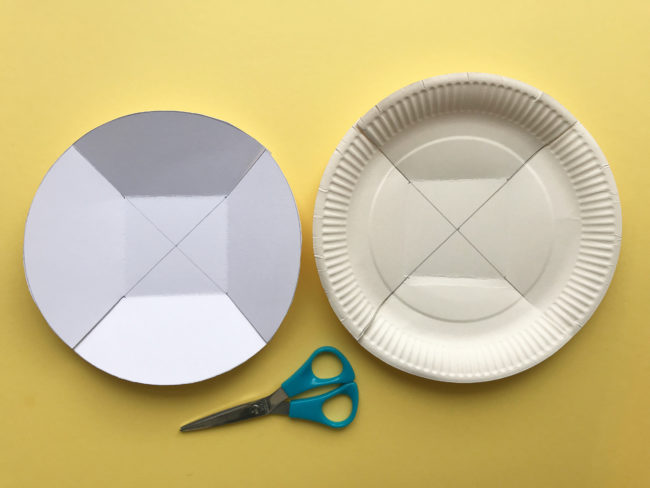
Step 3: Now fold the four sides in, as shown above, creasing along the fold lines.
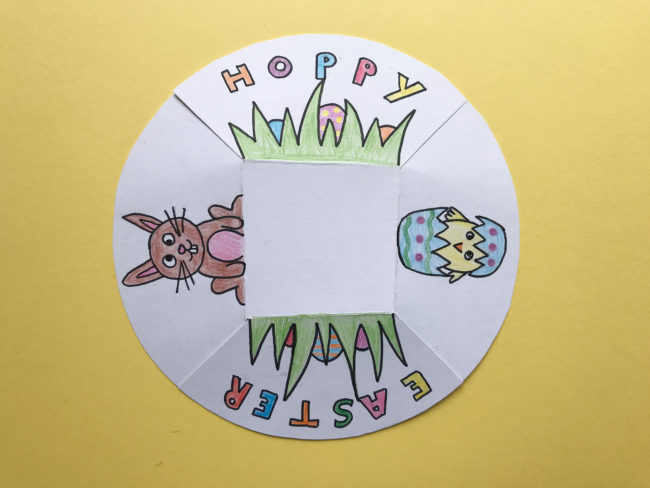
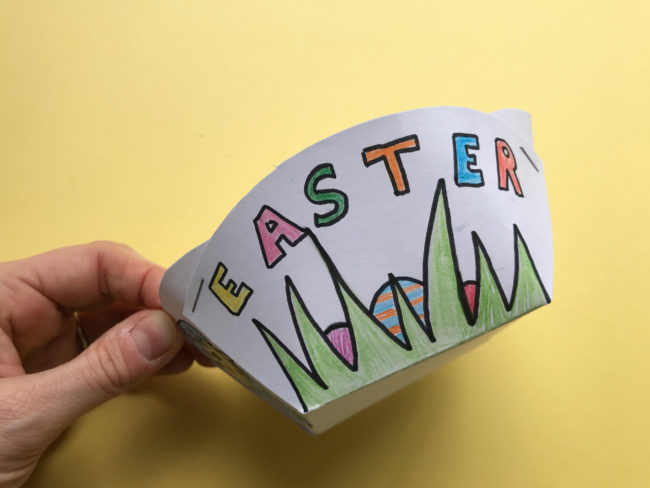
Step 4: Turn your disc/ plate over and decorate the other side. Keep in mind that on two of your four sections you will only see the middle of what you draw.
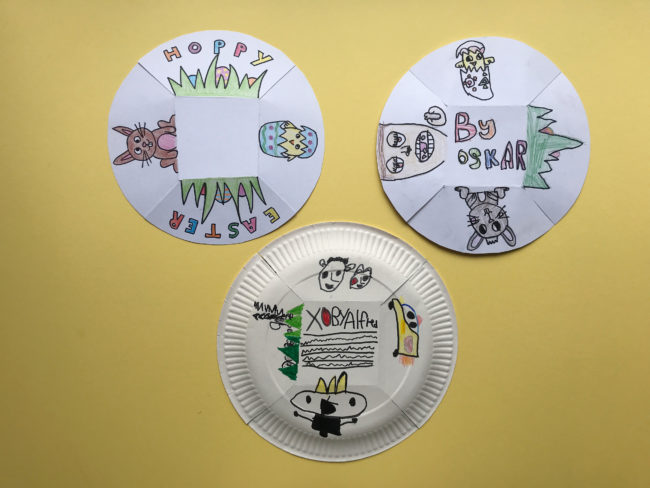
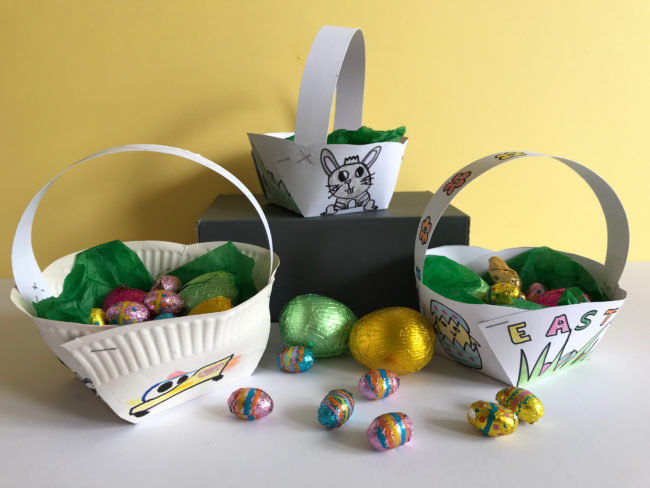
Here’s all three of our designs – two on cardboard discs and one on a plate.
Step 5: Staple the sides together as shown above, with two sides on the inside and two sides on the outside. I’ve added some more pics below to show what it looks like from all angles.
Here’s one of the sides wrapping around the other two next to it.
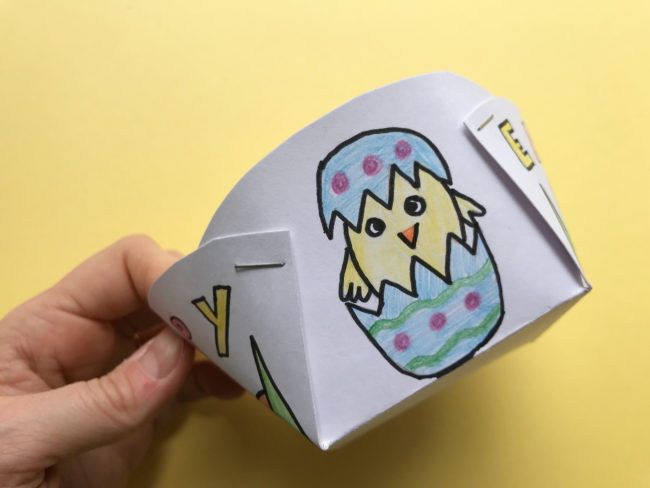
And here’s one of the sides that go on the inside – as you can see, only the middle of that side remains visible once stapled in place.
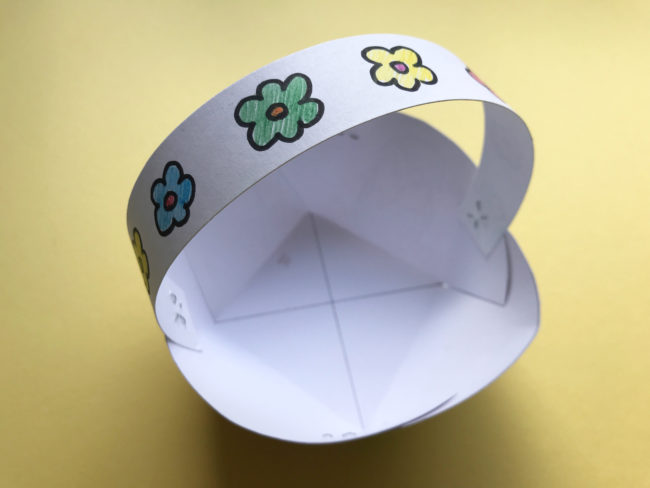 Step 6: If you want to add a handle, cut a strip to of cardboard to your desired length, and staple it on to the inside of your basket as shown above. If you want to decorate the handle, remember to do that before stapling it on!
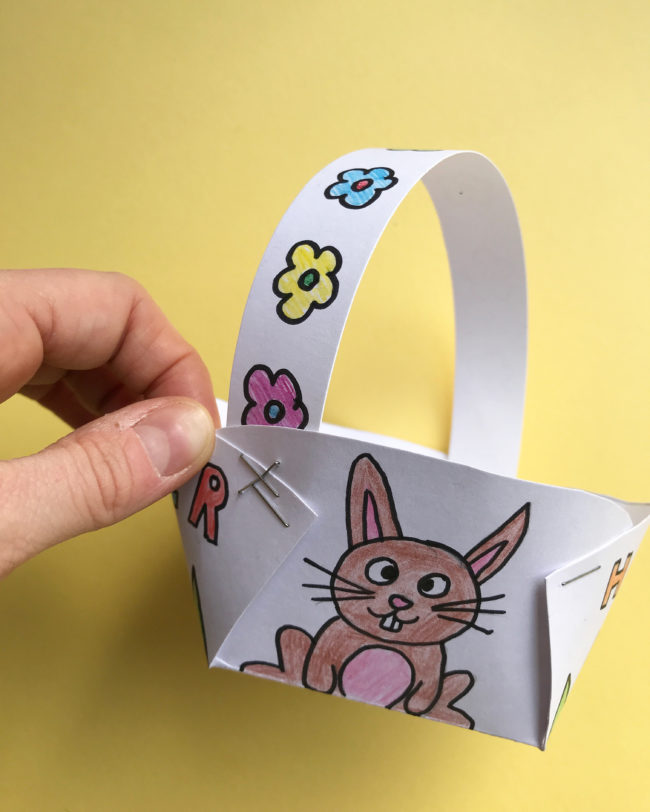
Here’s another view of the handle from the outside of the basket – I would recommend stapling it where the sides cross over, to avoid putting a staple through the middle of your pictures!
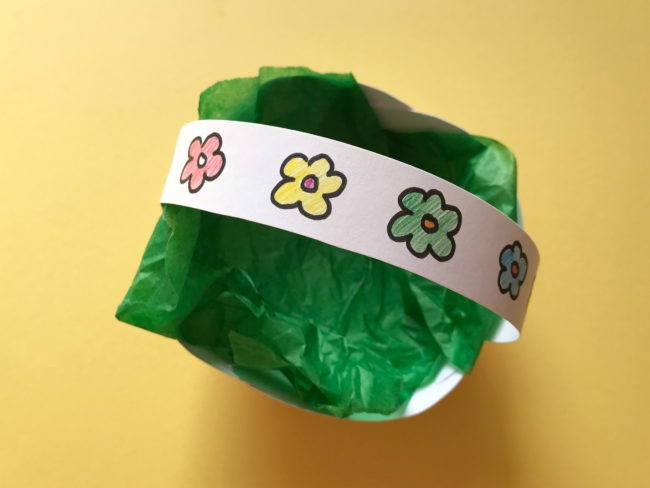
And that’s it really. We added some green tissue paper to pad the basket and make it look more like an Easter nest. Then all that’s left is to fill it with Easter goodies!
If you make your own Easter baskets, I would love to see them, so please feel free to share pictures of your creations and to tag me in on Twitter or Instagram!
[line]
Check out our past posts for more Easter inspiration.
Pingback: Paper Plate Rainbow Cloud – The Bear & The Fox
Pingback: Planning for April – The Bear & The Fox
Pingback: 30 Fun And Easy Easter Crafts For The Whole Family! -
Pingback: Planning for March – The Bear & The Fox